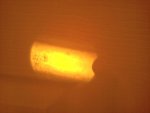
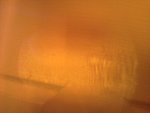
So basically, i think i may have burnt a hole in the diode window of my survival lasers 1.4w. I tried cleaning it off with q tips and iso alcohol but can't seem to remove it. About 1/4 of the raw diode output is blurry and partially missing. I would take a picture but my phone camera can't see it very well. I'm wondering if i should just leave it as be or if i should get it fixed. I don't know how to build so i'm not to sure what i would have to do in order to fix it. I know i will need a new diode and probably to solder something. any advice? could i send it to someone on here if i want it fixed that badly? I should have just left it be instead of trying to get that last small artifact off the diode window
Welcome to Laser Pointer Forums - discuss green laser pointers, blue laser pointers, and all types of lasers
Buy Site Supporter Role (remove some ads) | LPF Donations
Links below open in new window
FrozenGate by Avery
Navigation
Install the app
How to install the app on iOS
Follow along with the video below to see how to install our site as a web app on your home screen.
Note: This feature may not be available in some browsers.
More options

You are using an out of date browser. It may not display this or other websites correctly.
You should upgrade or use an alternative browser.
You should upgrade or use an alternative browser.
Burnt whole is diode window?
- Thread starter jaycob533
- Start date


- Joined
- Jan 13, 2010
- Messages
- 2,516
- Points
- 63
Put your safety glasses over your camera and take a picture of the dot. It should be very noticeable.
jcranmer
0
- Joined
- Mar 23, 2011
- Messages
- 2,095
- Points
- 63
If you turn the focus nut do the holes rotate or stay in the same place? If they rotate the issue is with the lens.
From what I can see of your photos that looks pretty normal to me.
From what I can see of your photos that looks pretty normal to me.
Some of the smaller ones rotate from the 3 element lens but the darkest circle on the more focused dot does not move. The blurriness on the right in the more unfocused dot is what whats causing the problem. I just had the laser flipped the opposite way in each picture. when focused its not noticeable but i'm worried how it looks once it diverges. I'll see tonight.
JLSE
1
- Joined
- Dec 13, 2007
- Messages
- 3,580
- Points
- 0
I repaired a diode for another member here.. Similar problem. Not sure what
caused it, but the window had a tiny hole where the light is emitted..
Solution is to decan and get rid of the glass.. I wouldnt run it much
more, or you may run the chance of damaging the emitter.

caused it, but the window had a tiny hole where the light is emitted..
Solution is to decan and get rid of the glass.. I wouldnt run it much
more, or you may run the chance of damaging the emitter.

- Joined
- Oct 14, 2011
- Messages
- 2,369
- Points
- 83
but you need a decanning tool for that or a surgical hand and a dremel!
If you don't have that surgical hand nor a decanning tool nor experience in doin it i give you 95% chance of TOTAL FAILLURE lol
If you don't have that surgical hand nor a decanning tool nor experience in doin it i give you 95% chance of TOTAL FAILLURE lol
- Joined
- Jan 13, 2010
- Messages
- 2,516
- Points
- 63
Honestly if I were you I'd ignore it. Either way you look at it. If the glass is damaged or has crap on it its going to degrade anyways. I'd not worry about it and if it stops working you could probably have it fixed by a member here for the price of a diode and some labor.
JLSE
1
- Joined
- Dec 13, 2007
- Messages
- 3,580
- Points
- 0
but you need a decanning tool for that or a surgical hand and a dremel!
If you don't have that surgical hand nor a decanning tool nor experience in doin it i give you 95% chance of TOTAL FAILLURE lol
This is true, but keep in mind there are a few with the tool to do this
and for a simple decanning, most only charge the shipping.
As far as using a dremmel, I would advise against it.. All that vibration and dust
cannot be good for a component of such a sensitive nature..
I used a dremmel once, then bought the tool. To understand the difference
its best to look at 2 diodes decanned with both methods under a microscope.
A lot of debris ends up on the chip itself with a dremmel :undecided:
Worst comes to worst i just buy this i guess. Survival Laser 1.4 445nm Diode & Driver Module
- Joined
- Sep 20, 2008
- Messages
- 17,635
- Points
- 113
Has everyone missed JLSE's Signature....:thinking:
Jerry
You can contact us at any time on our Website: J.BAUER Electronics
Jerry
You can contact us at any time on our Website: J.BAUER Electronics
Last edited:
- Joined
- Jun 19, 2010
- Messages
- 1,487
- Points
- 63
JLSE did a great job de-canning my 445nm diode for me!......even sent the can end back with the diode.
This is definitely one of those right tool for the right job times.
This is definitely one of those right tool for the right job times.
daguin
0
- Joined
- Mar 29, 2008
- Messages
- 15,989
- Points
- 113
I have seen a couple of dozen 445nm diodes with permanent damage to the window caused by the beam.
I have not yet seen one that completely burned through the glass
Perhaps windowless cans or open cans are the future for these diodes
Peace,
dave
I have not yet seen one that completely burned through the glass
Perhaps windowless cans or open cans are the future for these diodes
Peace,
dave
Last edited:
- Joined
- Jun 19, 2010
- Messages
- 1,487
- Points
- 63
Welcome back Dave!
These are some photo's that JLSE took of my 445nm diode surgery. There are some Very well done pictures of the window damage and diode after de-canning!
Thanks again for the great work here.
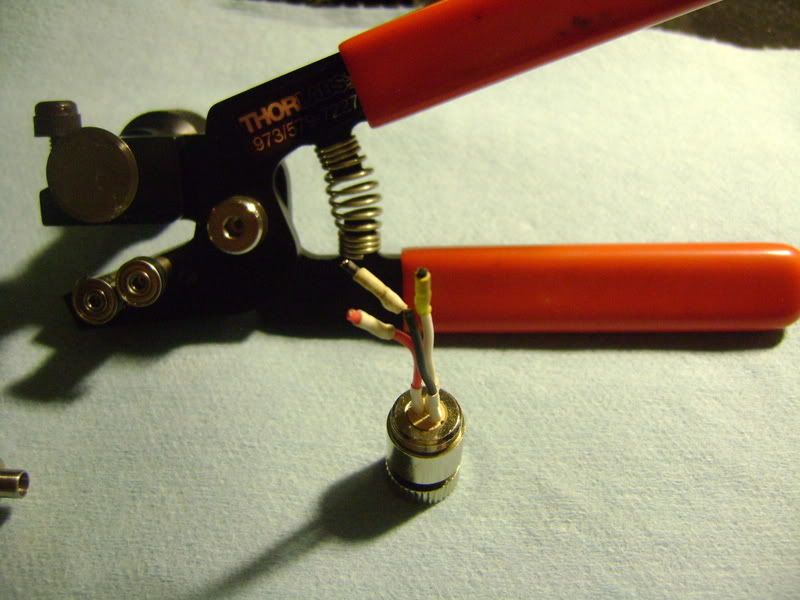
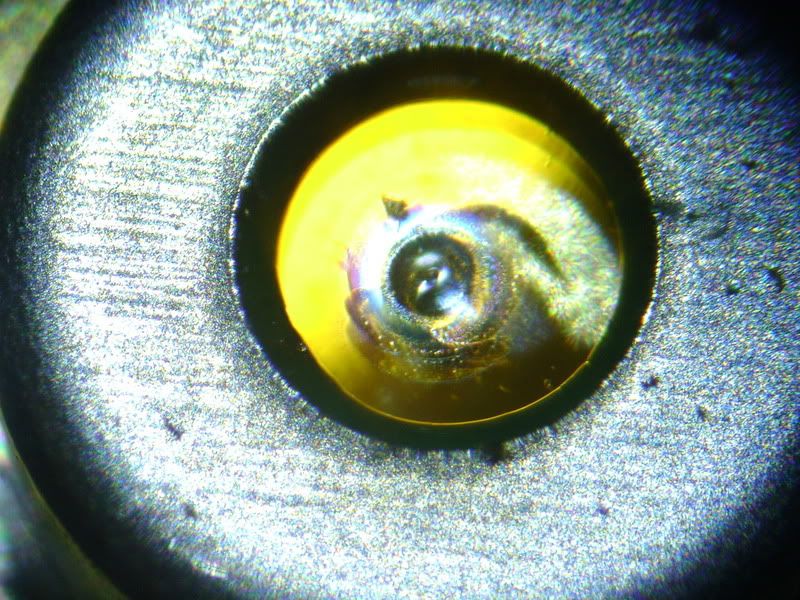
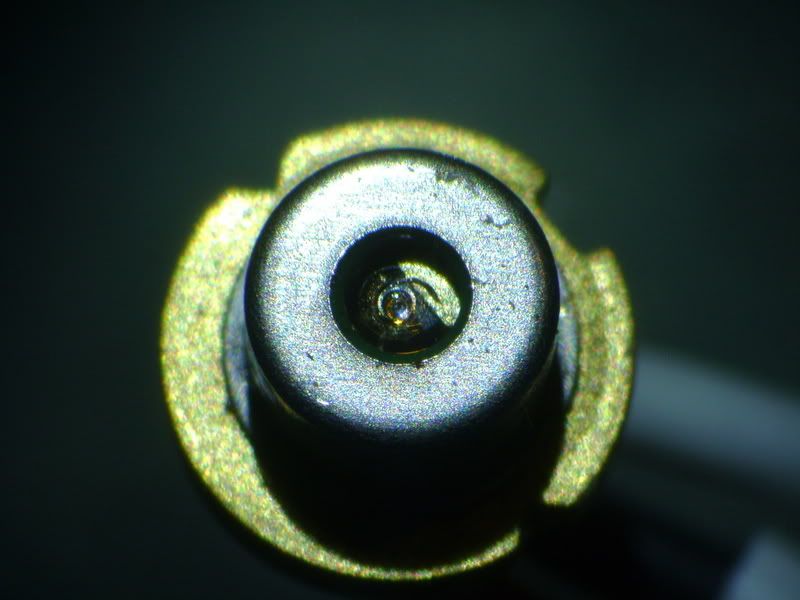
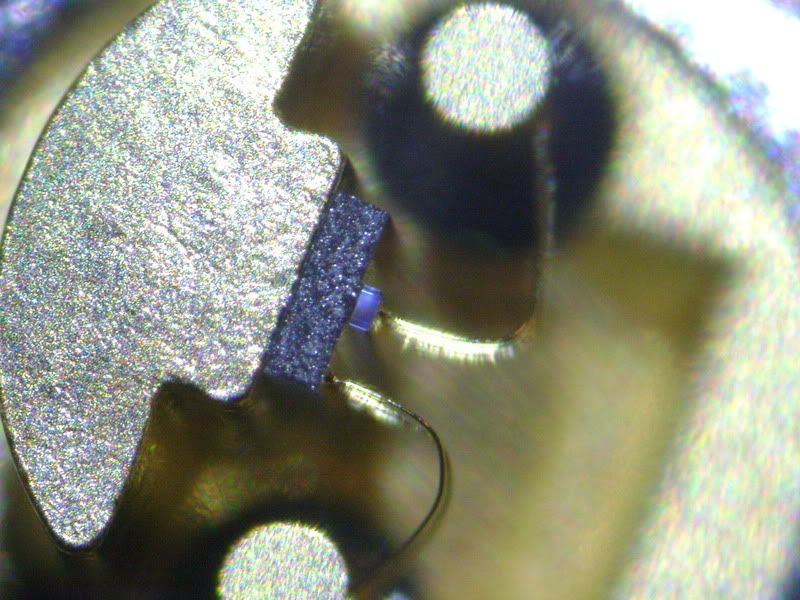
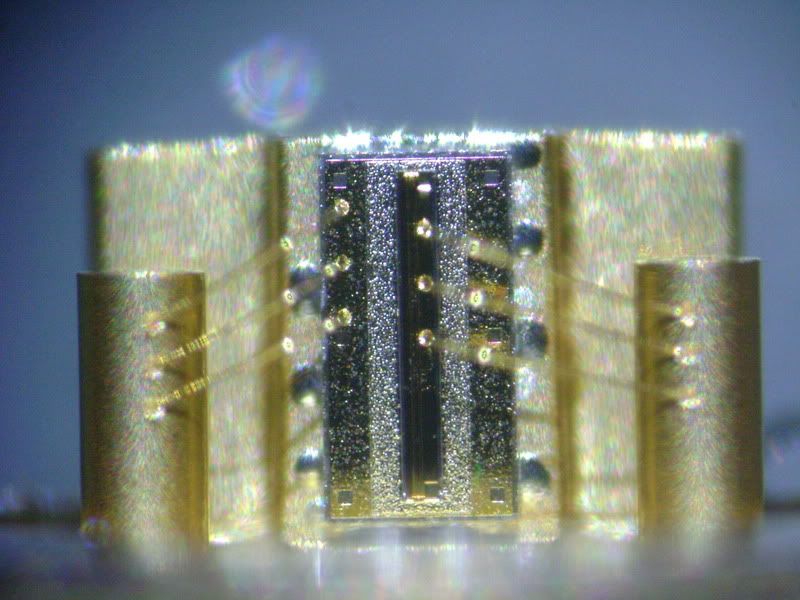
These are some photo's that JLSE took of my 445nm diode surgery. There are some Very well done pictures of the window damage and diode after de-canning!
Thanks again for the great work here.


JLSE
1
- Joined
- Dec 13, 2007
- Messages
- 3,580
- Points
- 0
I have seen a couple of dozen 445nm diodes with permanent damage to the window caused by the beam.
I have not yet seen one that completely burned through the glass
Perhaps windowless cans or open cans are the future for these diodes
Peace,
dave
Ive seen a few with damage, but only one that actually pierced the glass..
On a side note, good thing these arent 3.8mm diodes, found that the thorlabs
tool does not accommodate the smaller diodes, and cannot be decanned.
Im working on a solution for this, either a bigger wheel, or a second position
for the existing cutting wheel to sit for smaller diodes..
Welcome back Dave!
These are some photo's that JLSE took of my 445nm diode surgery. There are some Very well done pictures of the window damage and diode after de-canning!
Im just glad that diode was okay after the decanning.. Considering the damage
right in front of the die, it was lucky to not have suffered any further damage.
The point of emission is only a fraction of a mm from that hole
Welcome back Dave!
These are some photo's that JLSE took of my 445nm diode surgery. There are some Very well done pictures of the window damage and diode after de-canning!
Thanks again for the great work here.


Wow. That window looks like it has a small melted bubble on the inside and out. Mine looks nothing like that. I'm afraid i may have possibly scratched it. I looked at it last night and seeing there was no noticeable effect when focused to infinity even when looking at the dot nearly as far as i could see using binoculars, I'm probably just gong to suck it up and live with it. Although it is unpleasant seeing the artifacts while unfocused there is no real point of fixing it when its fine at infinity. Infinity or near to it is the only way i really use my laser so i don't really think its worth the money and hassle. If it breaks or gets significantly worse then i will simply replace it when that time comes. Thanks for everyones input!


