Welcome to Laser Pointer Forums - discuss green laser pointers, blue laser pointers, and all types of lasers

LPF Donation via Stripe | LPF Donation - Other Methods

Links below open in new window

ArcticMyst Security by Avery

A New Machinist

Rifter

0
Joined
May 8, 2014
Messages
572
Points
0
Looks good so far, I'm looking forward to seeing what you come up with.


upaa27

0
Joined
Jul 10, 2013
Messages
618
Points
28
Finally got the threading tools in today and immediately went to work

269902151.jpg

I know its a bit rough. I will fix it up asap it was just late here.
269902150.jpg

Tapped the heatsink
269902149.jpg

Screws together, but I need to work on it a bit more.

What do you guys think? I still have yet to add some more "decorations" and polish it so it might be a bit longer before this is done.
 
Joined
Aug 14, 2013
Messages
2,655
Points
63
It looks like the bar may have been a bit too large
for the die. Ideally, it should be turned to the major
diameter of the threads. Also a very thin oil may
help.
 

upaa27

0
Joined
Jul 10, 2013
Messages
618
Points
28
Thanks for the tip. I actually used the lathe to cut the outside thread as I felt it would be a bit more accurate than if I did it manually.

Any recommendations to clean the thread up?
 
Joined
Aug 14, 2013
Messages
2,655
Points
63
Ahh, well the above still applies. Turn it down to the
major diameter and then switch to the threading tool.
Set your compound at 29.5° and lock your cross
slide. Feed in with the compound instead of the
cross slide. That way it only cuts on one side of the
thread. Lube it with very light oil or milk. Clean up
all the milk when you're done if you use that, or else
you will have a big stink on your hands. :beer:
 

upaa27

0
Joined
Jul 10, 2013
Messages
618
Points
28
Hey guys,

Sorry for no recent updates.

I have modified the heatsink and cleaned the thread relatively well...

However while doing the thread for the tailcap, the chuck decided to be a beyotch and it let the tool rip the battery tube out.

The battery tube is now crushed and bent so now have to buy more copper. :cryyy:

I did complete a labby heatsink for the CNC mill so going to have to see how that goes...

Any suggestions for the material to use for the labby heatsink?
 
Joined
Aug 14, 2013
Messages
2,655
Points
63
6061 makes a fine heatsink if it's finned
and fan cooled. Just give it a thick core
for full contact with the module and you'll
be fine. On the tube it sounds like there
wasn't enough wall thickness to support the
machining operation. Sometimes you can
press in a slug to back up thin stuff.
Just be aware of the expansion this will
cause.
 
Joined
Feb 9, 2008
Messages
152
Points
18
I used to be a machinist for years. In my experience, fine threads work best for anything meant to be tightened by hand, and cutting outside threads on a lathe is far better than trying to use a threading die. It is also better to cut your threads before you drill inside of them(battery tube).

I have included a design of mine for a laser pointer head that I used for a 9mm. 445nm (3.2W)laser pointer that I made last year out of copper. The lathe that I used was in a friends' garage and was old and not capable of threading, so I press fit the pieces together. If it did do threading, I would have made the battery tube as well. I just used an old laser pointer tube to make it work.

The last picture shows my 445nm lasers together, the silver one being the one in this design.
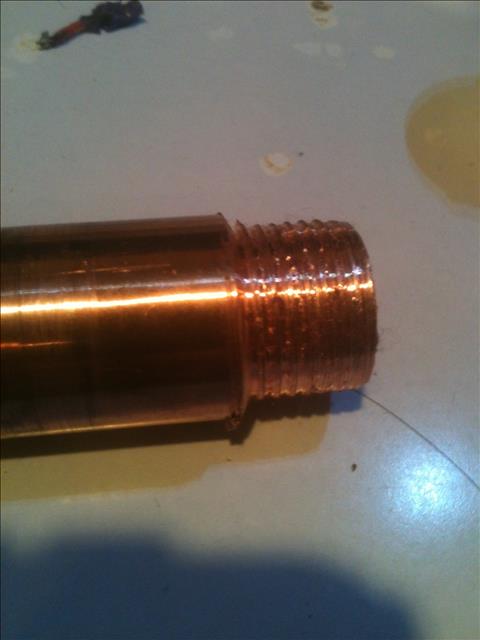
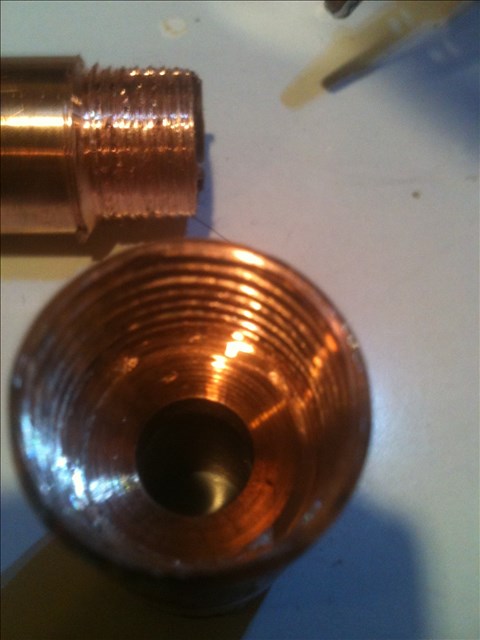
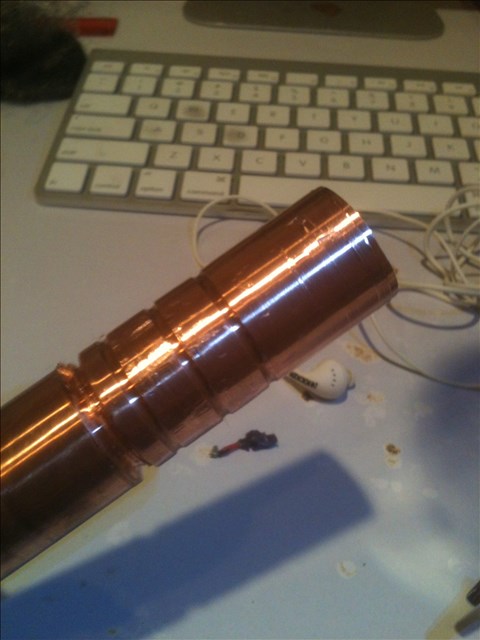
It's kind of ugly but it works very well.
 

Attachments

  • IMG_0873.jpg
    IMG_0873.jpg
    74.5 KB · Views: 76
  • IMG_0853.jpg
    IMG_0853.jpg
    61.2 KB · Views: 68
  • IMG_0856.jpg
    IMG_0856.jpg
    67.5 KB · Views: 65
  • IMG_0857.jpg
    IMG_0857.jpg
    68 KB · Views: 59
  • IMG_0899.jpg
    IMG_0899.jpg
    110.9 KB · Views: 79
  • IMG_0902.jpg
    IMG_0902.jpg
    102.5 KB · Views: 72
  • IMG_0904.jpg
    IMG_0904.jpg
    103.6 KB · Views: 89
Joined
Aug 14, 2013
Messages
2,655
Points
63
What tool did you cut the 9mm shoulder with?
I was looking into counterbores a while back,
but couldn't find anything in the right size.
 
Joined
Feb 9, 2008
Messages
152
Points
18
I drilled the diodes' 9mm shoulder width an 8.5mm(approximately)drill, then used a 9mm reamer(flat bottom-no chamfer) to go 0.060'' deep.

The diode measured 0.0605'' by 9mm, so this made it get contact on the front, back, and outside diameter for better heatsinking.

With enough practice, and a lot of patience you can hold a tolerance of .0005''. I wish I had a lathe!!!!!!! And a mill...... And a surface grinder... AND......
 
Joined
Aug 14, 2013
Messages
2,655
Points
63
I drilled the diodes' 9mm shoulder width an 8.5mm(approximately)drill, then used a 9mm reamer(flat bottom-no chamfer) to go 0.060'' deep.

Ahh, okay, I was wondering about that.
Thanks for sharing. The reamers I was
looking at all seemed to have a chamfer at
the bottom, even the so-called bottoming
ones. It's good to know there are some out
there that will work, it's just a matter of
finding them.
 

upaa27

0
Joined
Jul 10, 2013
Messages
618
Points
28
Went in to work more on my host finally and it is turning out really nice.

I will get some pictures up tomorrow.
 

upaa27

0
Joined
Jul 10, 2013
Messages
618
Points
28
Sorry a bit late with the pics. Been busy.


image_11.jpg

image_12.jpg

Going to turn down the outer diameter a bit then stop before the end to create a grip.

Been also thing of tailcap switches to use. Any ideas?
 
Last edited:
Joined
Dec 15, 2014
Messages
6,775
Points
113
Sounds great wish you luck buddy. once you get started need to see some finished samples.Looks good so far copper and aluminum nice hosts.


Top