I'll start with extraction...
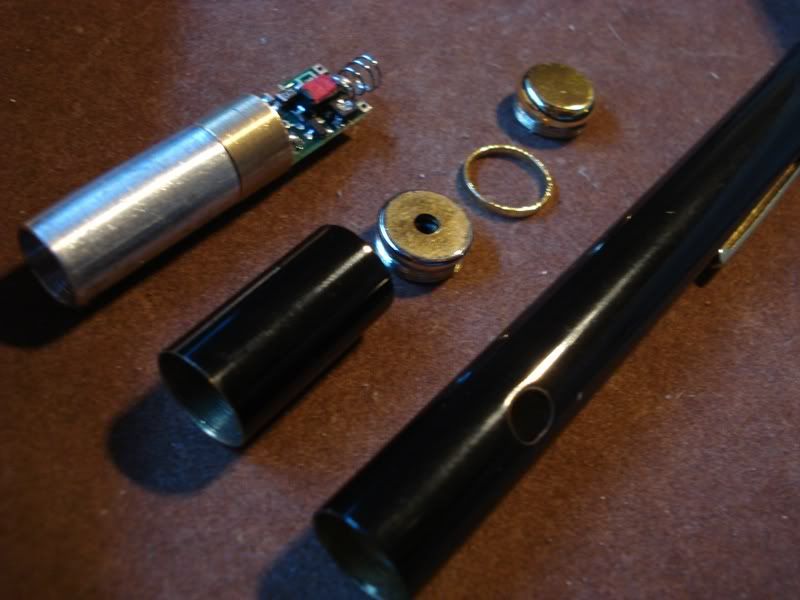
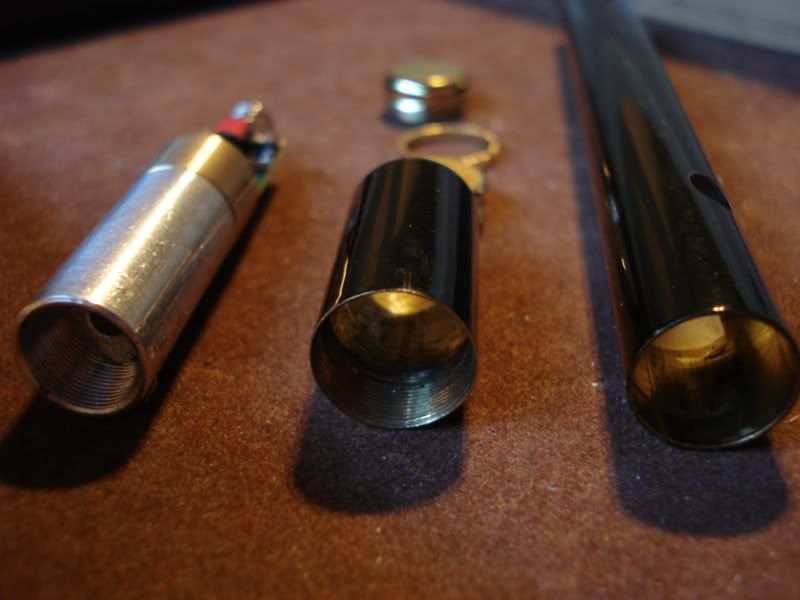
The X series laser comes apart in two pieces that are separated by the gold ring. Pretty self explanatory.
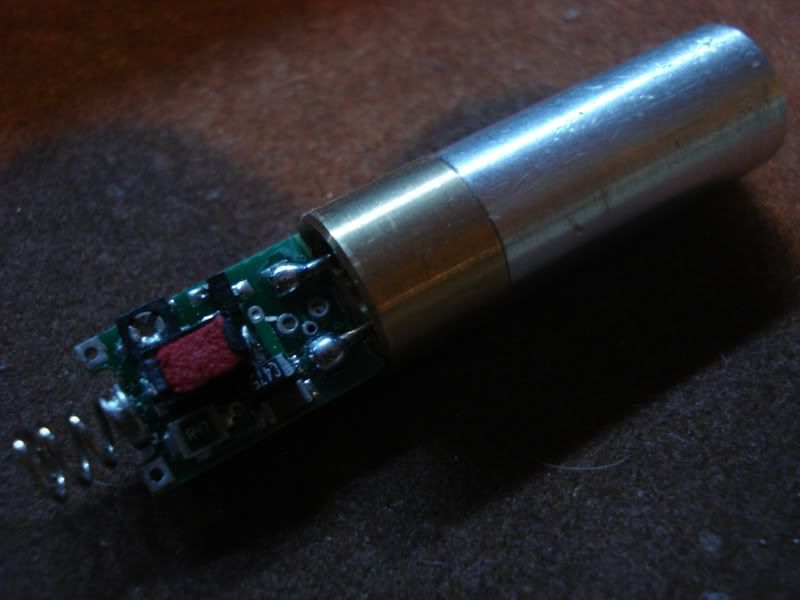
The top comes out fairly easily without much effort. All it takes is a little bit of wiggling and eventually it should slide right out. However, when I was removing the top from the battery case, I turned it a bit and the diode and driver unscrewed from the heatsink. This made it easier because I did not have to worry about snapping off the driver while I pulled it out. If you can get it all out in one piece it makes no difference. By the way, the threads are the same as any, so if you turn it the wrong way you'll break off the driver.
The hard part was figuring out how to remove the brass casing (top) from the module. It is pressed and glued in pretty well...
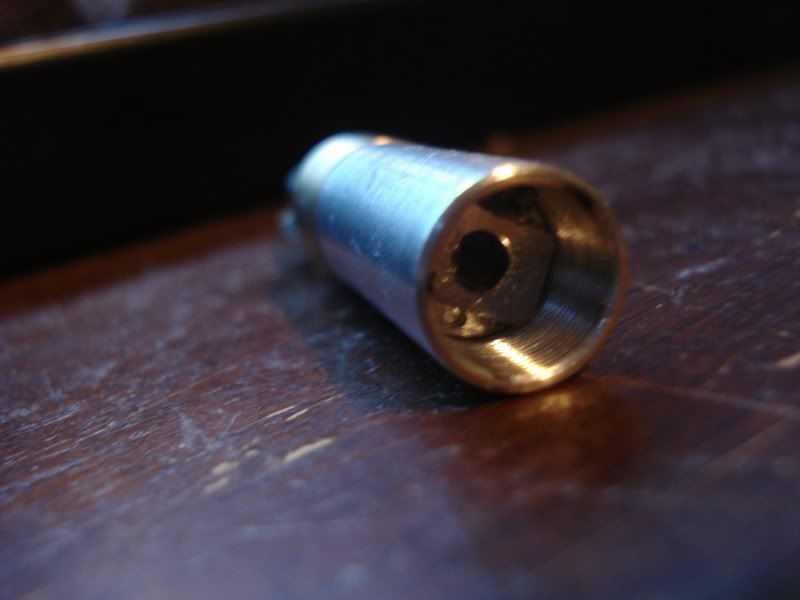
The module protrudes from the bottom of the casing about 1.5 cm and the gold ring does not come off until you get the module out (it's kind of annoying, actually).
So, after much consideration, I did not cut into the case as I originally planned, I pressed it out with a C-clamp. It was scary (putting so much pressure on an extremely delicate $200 optical array is nerve racking).
First, I unscrewed the diode/driver from the heatsink and safely set it aside. Then I drilled out a piece of hard plastic tube to the perfect size. The inside diameter of the tube matched the outside diameter of the module, the width didn't matter, but it had to have enough length to allow the module to be pressed out of that end. So I used a metal cylinder about the diameter of the module and set that on the top of (with the aperture cover and collimating lens removed, of course). So on one end, there was the protruding module (thats the side it comes out of) and on the other end is the aperture now fitted with a piece of metal. This is used to press the module out, and the drilled out plastic keeps the case in place... This is really hard to explain.
So anyway, I put it all in a C clamp and it took a while, but I got it all out in one piece. The case is unscathed and ready to be used as a custom laser host.
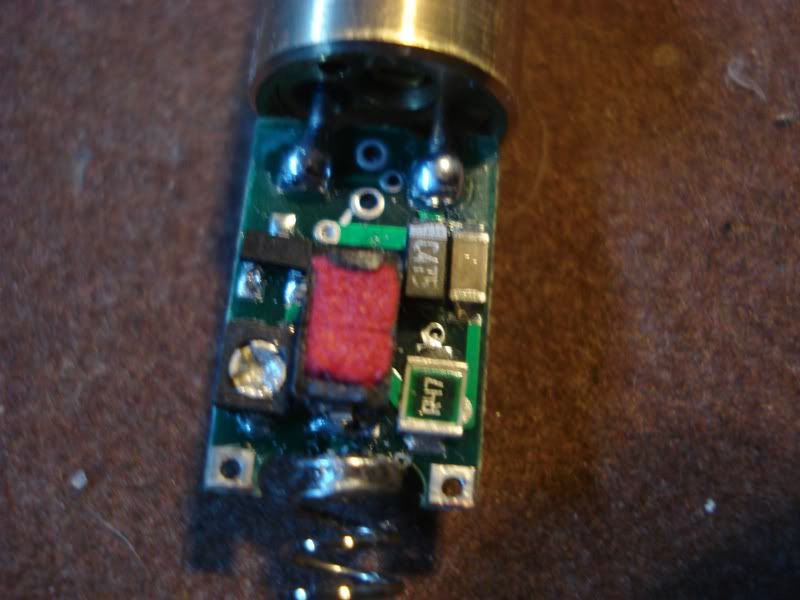
Next, I had to fix the button problem. The button was already getting finicky (thanks to friends depressing the button with excessive force) and I needed to short it. So I opened up the switch and shorted it. Then I covered it up with a piece of red foam. Just because.
This whole process was a lot more complicated and stressful than it sounds.
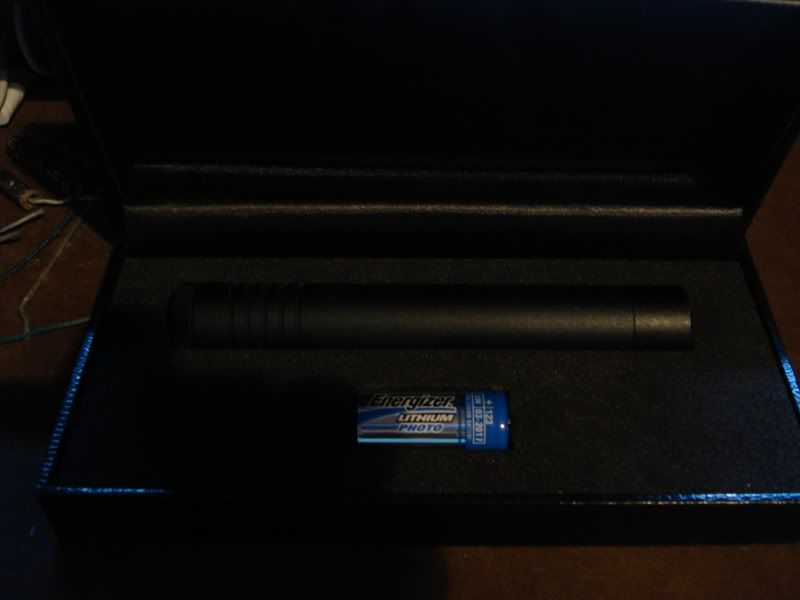
I installed everything into the Galileo body, bought a new CR123A and fired it up. To all you it may look like just another 100mW green, but to me, it's the result of hard work and sweat on an empty stomach. And it's beautiful.
;D
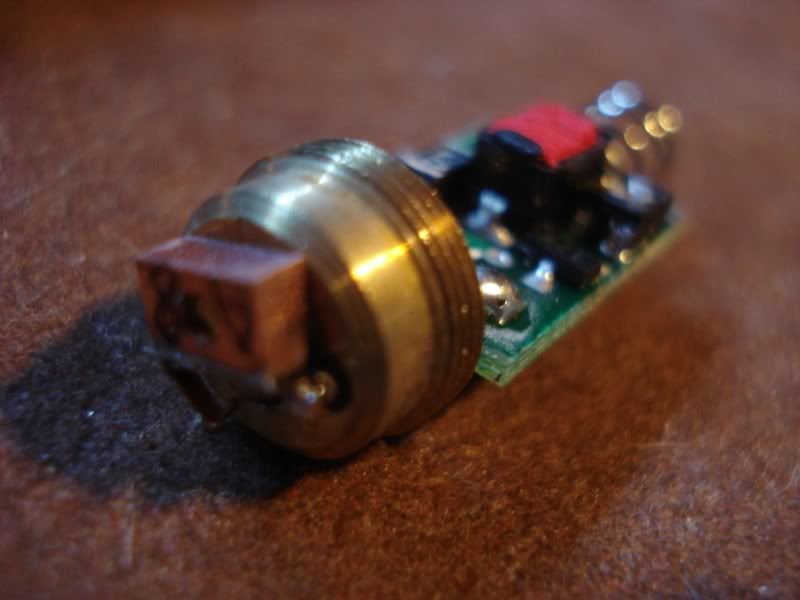
Complete Module
Top of Driver (red thing is the button)
Bottom of Driver
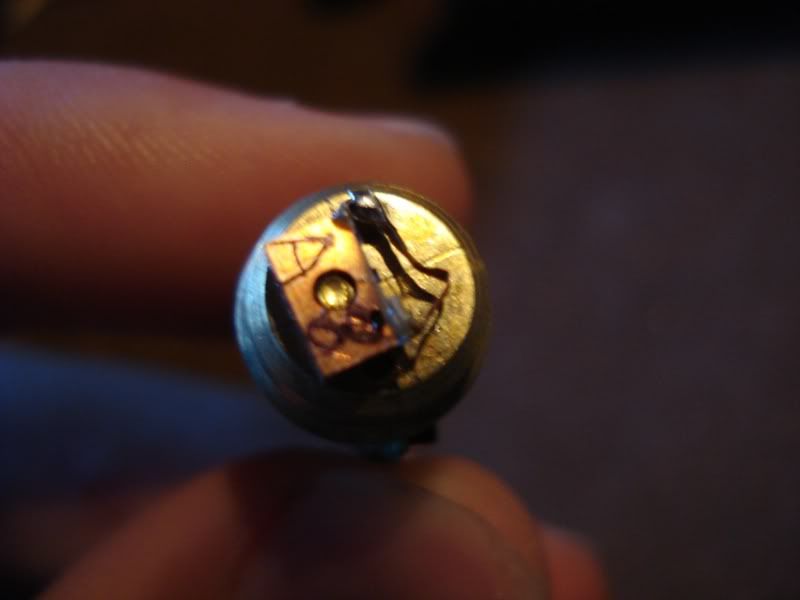
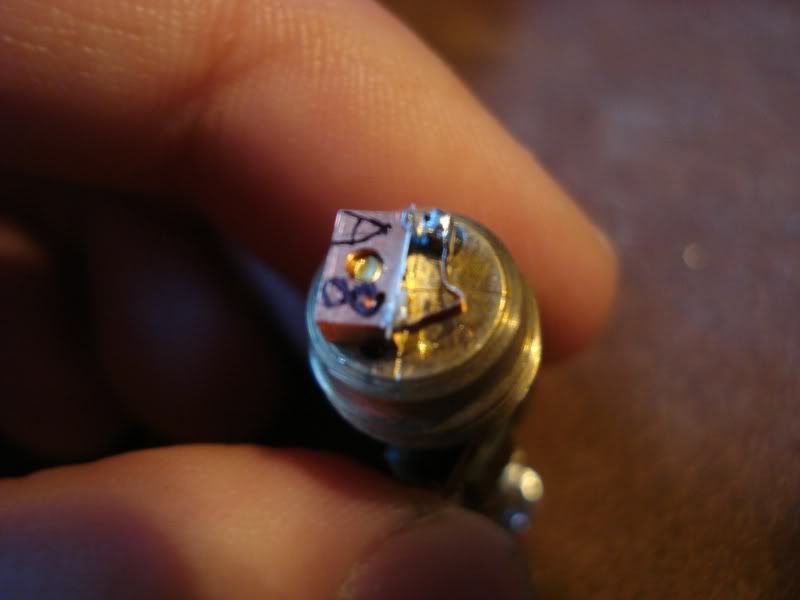
Front View of Module
Disassembled
Pump Diode!
Crystals in Heatsink
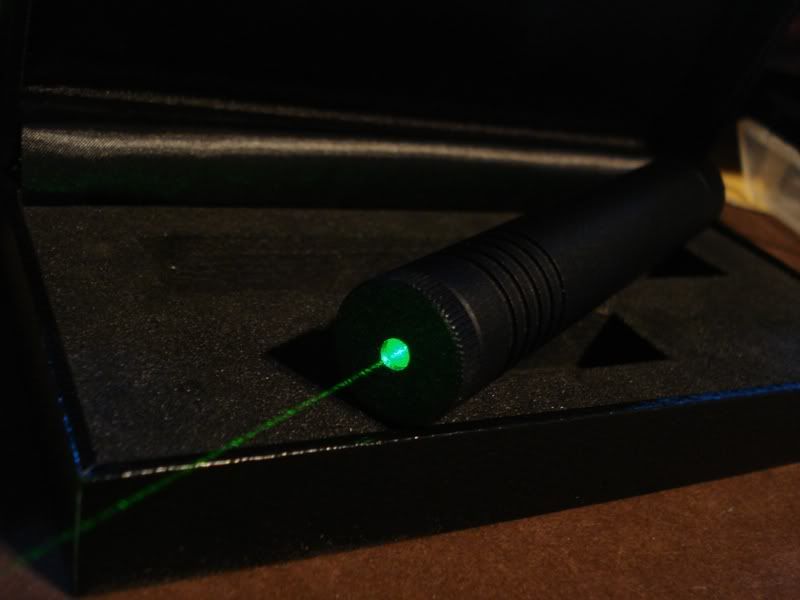
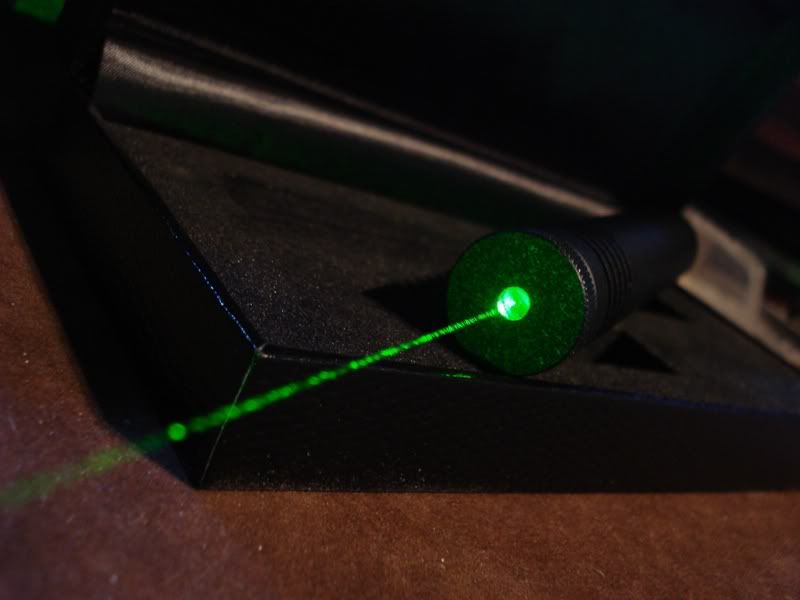
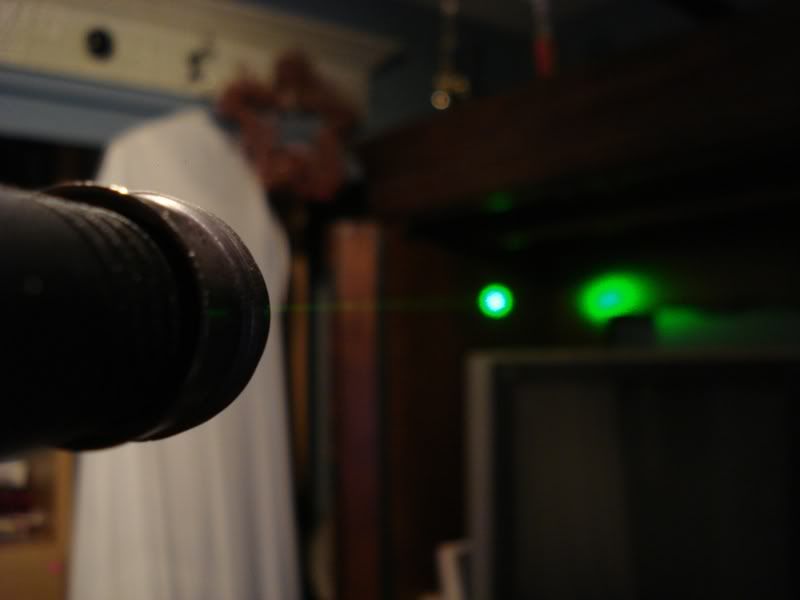
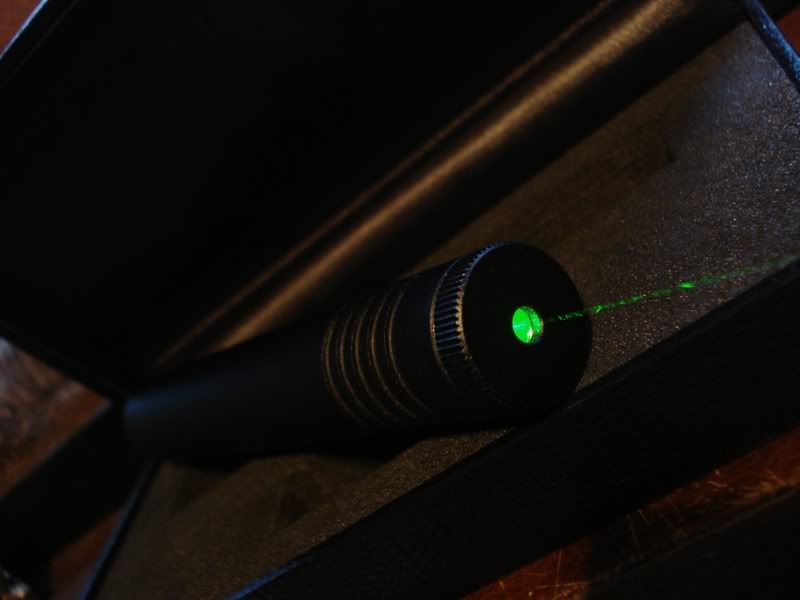
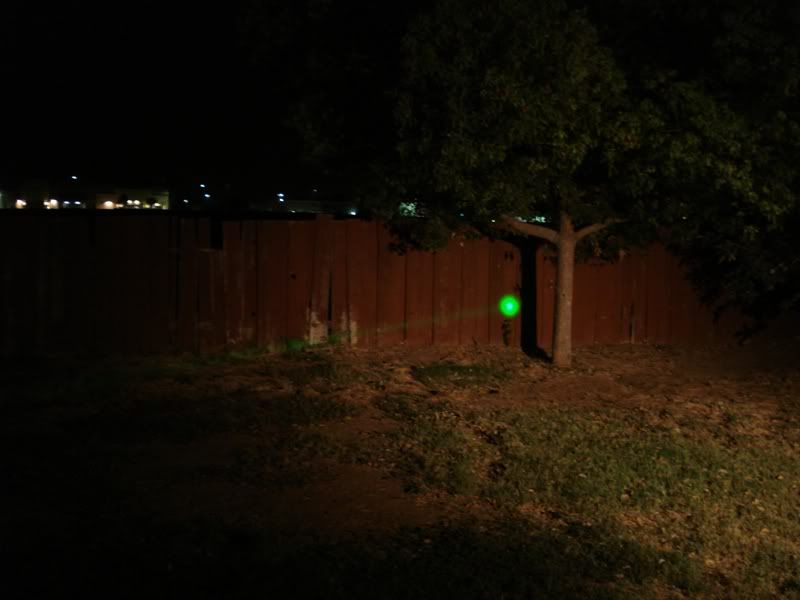
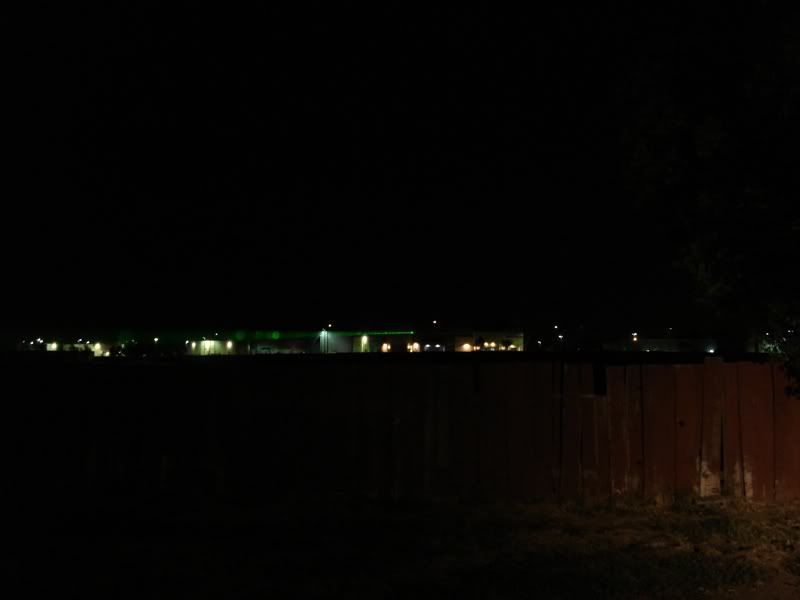
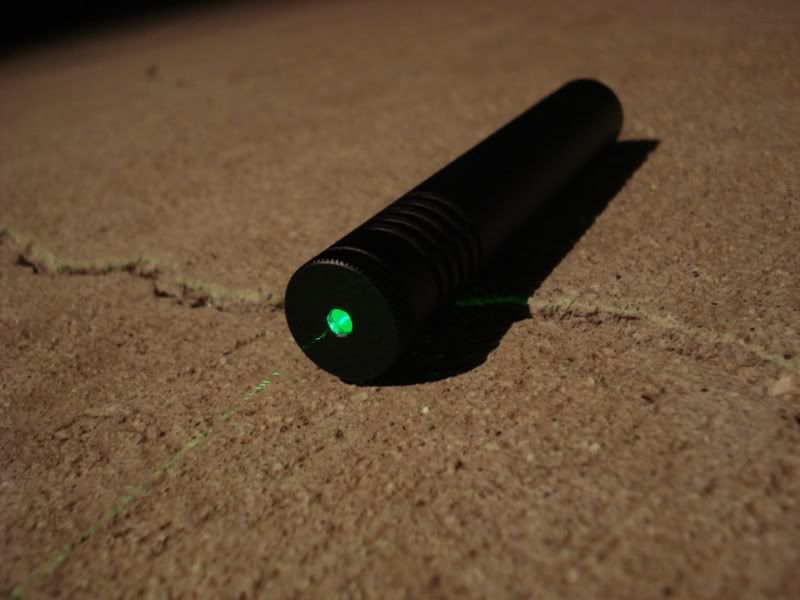
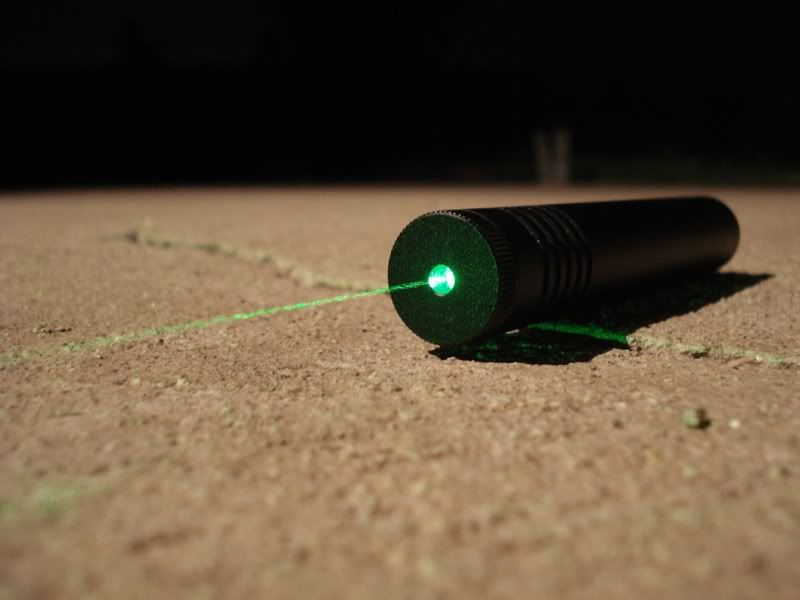
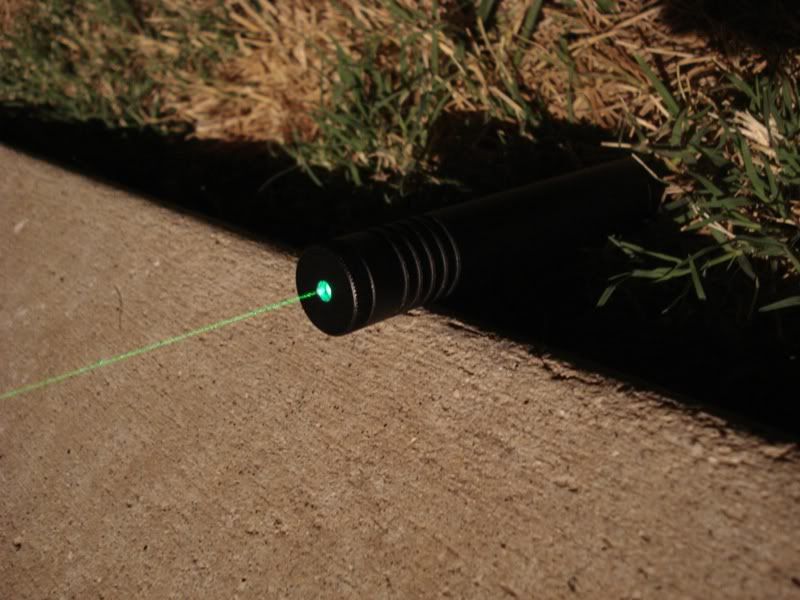
G105 (no smoke, no fog, normal exposure; Honest beam shots!)
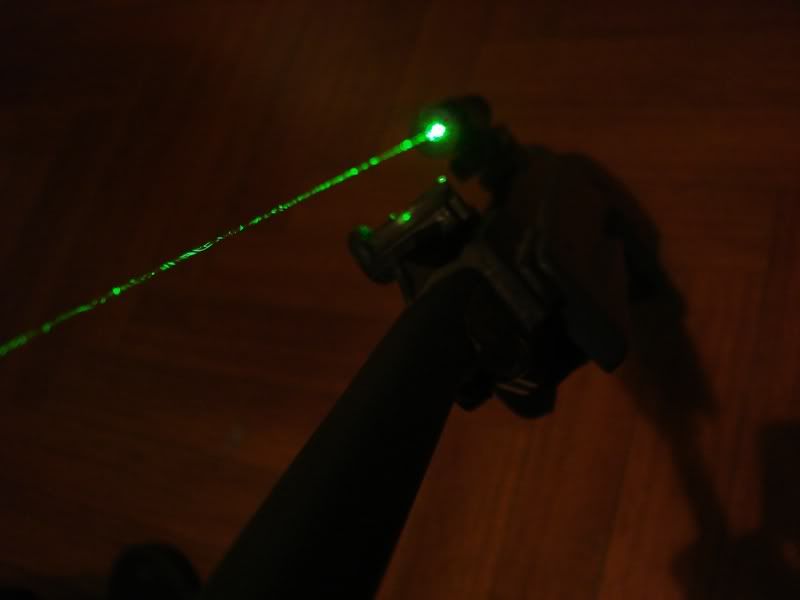
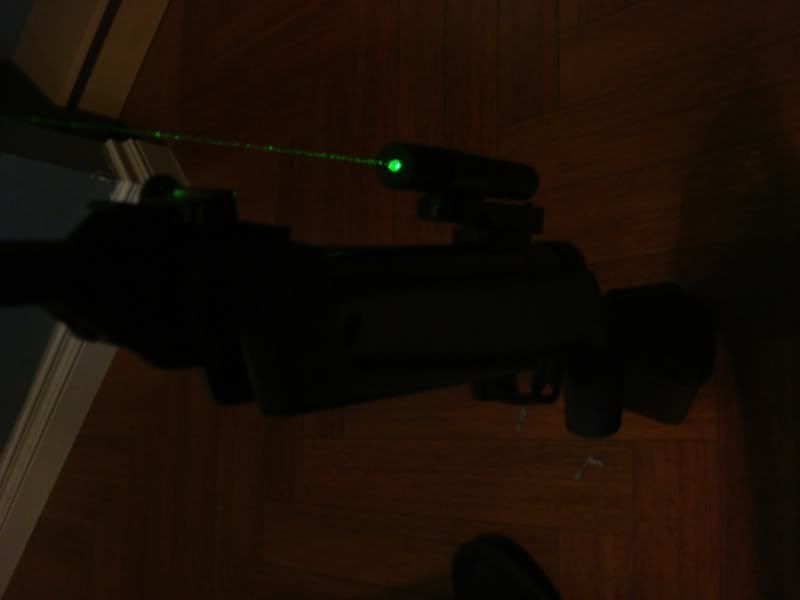
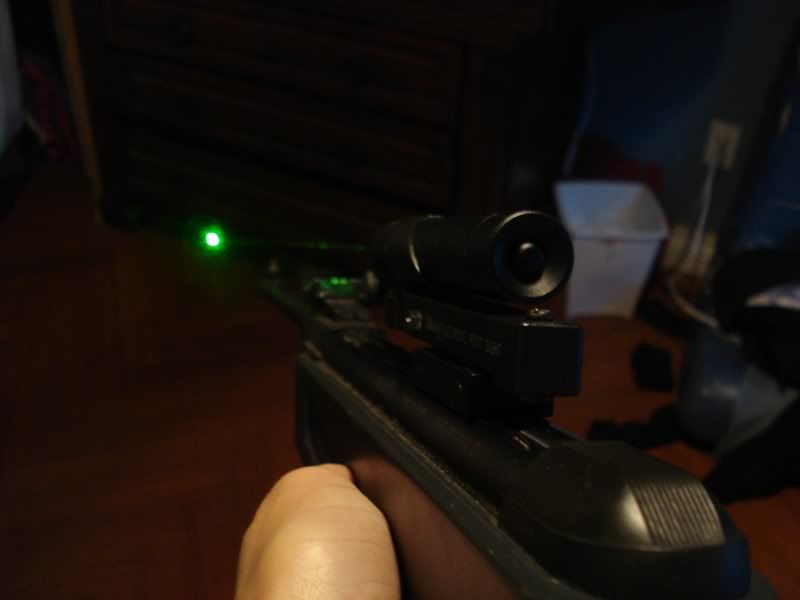
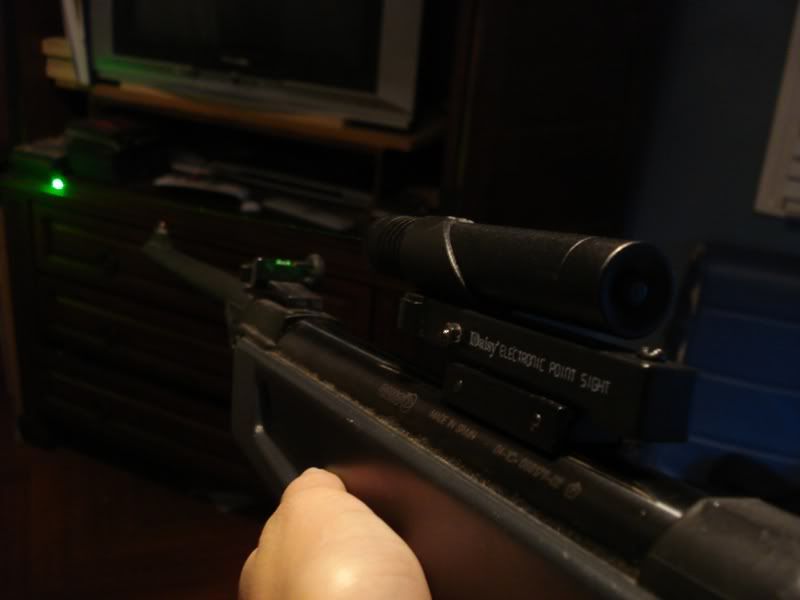
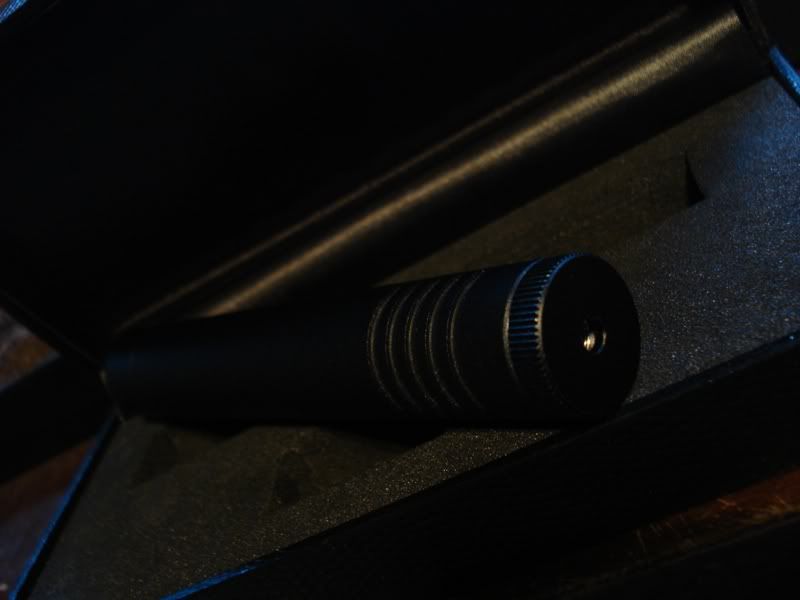
Mounted!
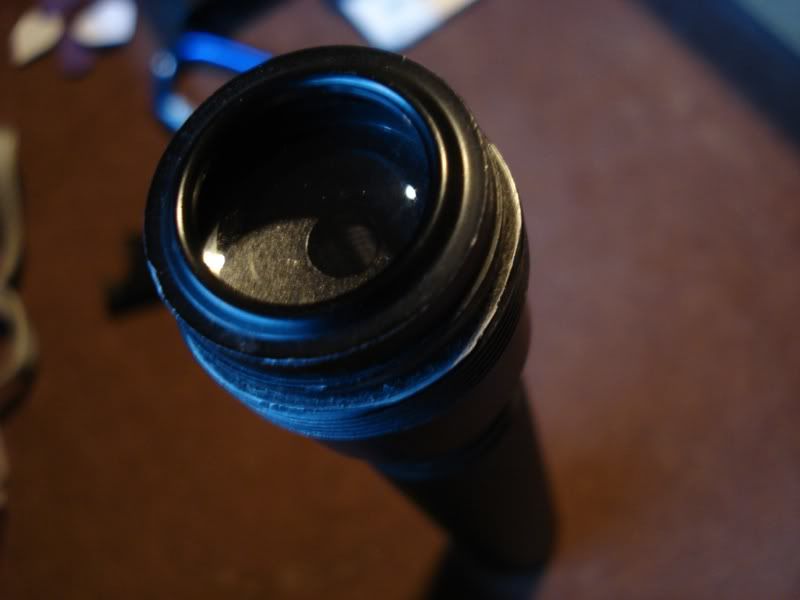
Focusing Lens Cap I Made
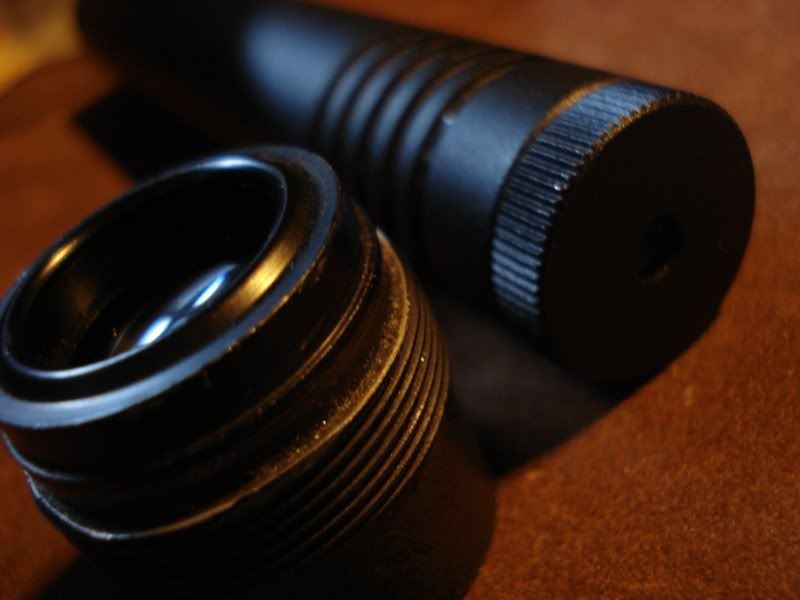
Outside
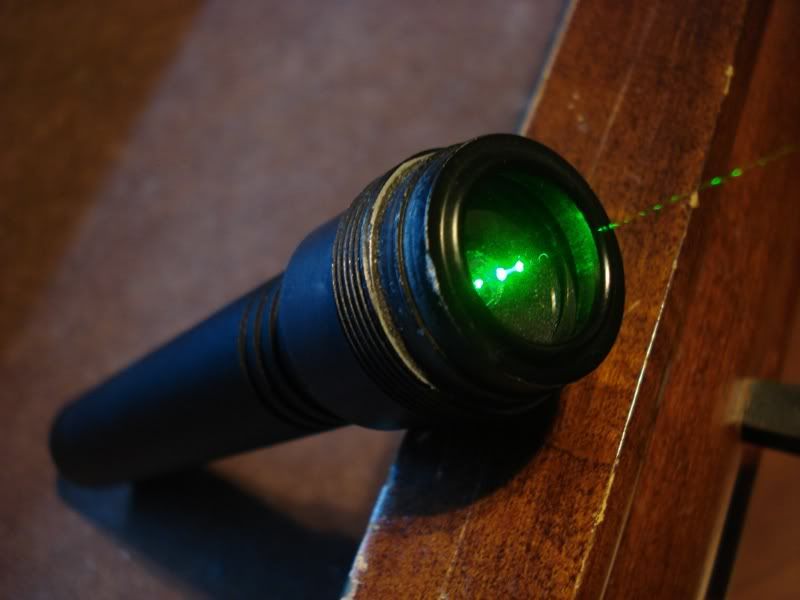
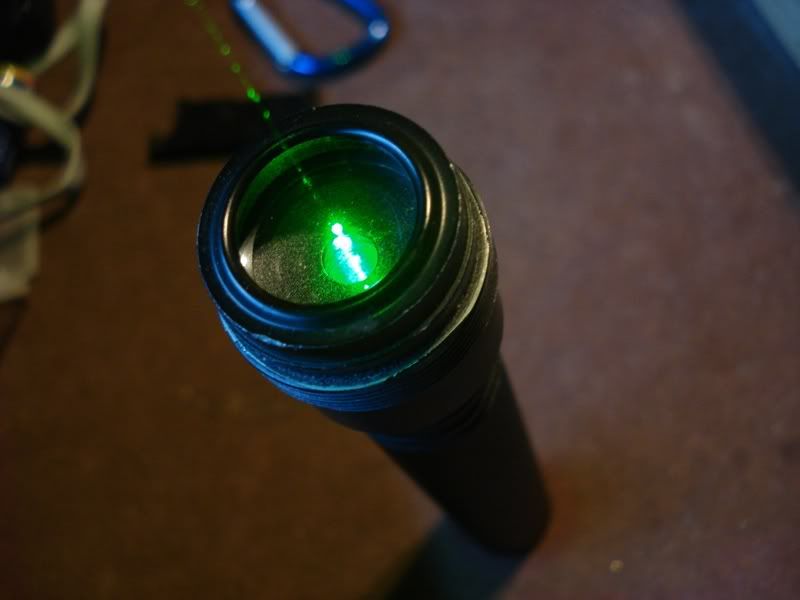
With lens
Without Lens


")