Tanman54
0
- Joined
- Dec 4, 2011
- Messages
- 21
- Points
- 0
What You Will Need:
1x 5mW Green Laser
1x Small Screwdriver
1x Pair of needle nose pliers
(Optional) Knife to help remove the cap
The Pictures Go In Order With The Text Instructions.
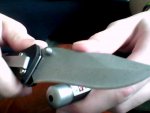
1. Find a way to remove the cap from your laser.
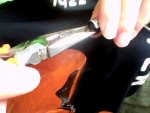
2.Get your needle nose pliers and start to twist the collimating lens housing.
3.Once you get the housing out (set aside for now) you can get your small screwdriver.
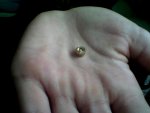
4. Stick the screwdriver head into the little indent on the side of the housing of the doubling crystal.
5. Now just fiddle around until you pop that hole piece out and set that aside.
6. Re-insert the collimating lens housing into the laser just barely. (Only twist in 3-5 times)
7. Now you are done!!!
WARNING!!
IR LASERS ARE VERY DANGEROUS AS ARE MOST LASERS!!! PLEASE USE PROPER EYE PROTECTION WHEN HANDLING AND LASERS!!!
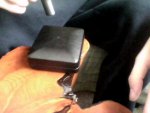
The last picture is not very clear but its showing the IR dot on a black surface.
Attachments
Last edited:


