- Joined
- Mar 13, 2017
- Messages
- 24
- Points
- 3
Sorry! Low quality images 
Next time, i will prepare a high-quality!
Easily built using MFX driver and Easy fit host.
See the "Drivers, Test-load, Power Supply, & Batteries" and my post.
(sorry. Links cannot be placed because the number of articles written is less than 20)
1. Module build.
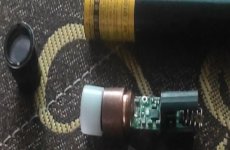
There is nothing special to explain. diode mounted Aixiz module insert to MFX driver's diode side slot. (Soldering)
Tact switch and LED indicator soldering.
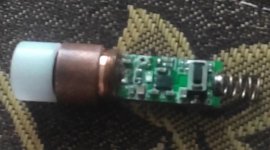
2. Module backside.
Solder the positive electrode pad of the MFX driver and the "Stem pin" of the diode mounted on the Aixiz module.
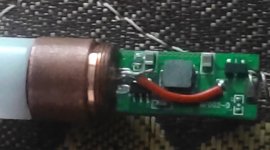
3. Spacer mount.
Insert the lens and lens spacer in front of the aixiz module. Insert the circuit spacer into the MFX driver.
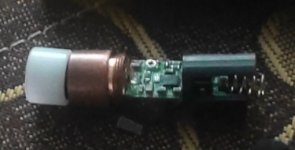
4. Insert module in easy fit host.
Insert it! attach LED indicator bar and black button.
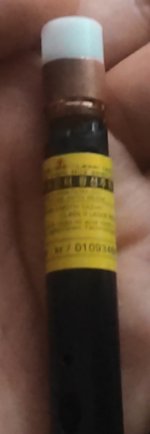

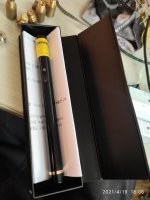
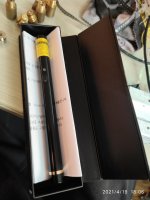
5. Final.
Insert battery (i'm use the 2 x AAA dry cells)
And tighten battery cap.
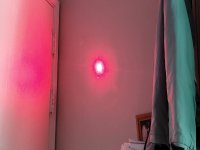
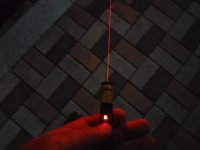
Next, push the button, laser will working.
While watching the state of the laser beam, use a small screwdriver or the like to turn the lens to adjust the focus.
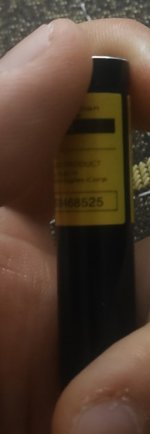
When focusing is complete, just tighten the front cap. (Attach laser warning stickers according to your preference)
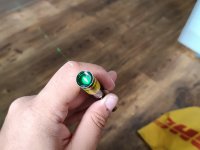
The process is the same for other color builds. 488...473...405...
Next time, i will prepare a high-quality!
Easily built using MFX driver and Easy fit host.
See the "Drivers, Test-load, Power Supply, & Batteries" and my post.
(sorry. Links cannot be placed because the number of articles written is less than 20)
1. Module build.
There is nothing special to explain. diode mounted Aixiz module insert to MFX driver's diode side slot. (Soldering)
Tact switch and LED indicator soldering.

2. Module backside.
Solder the positive electrode pad of the MFX driver and the "Stem pin" of the diode mounted on the Aixiz module.

3. Spacer mount.
Insert the lens and lens spacer in front of the aixiz module. Insert the circuit spacer into the MFX driver.

4. Insert module in easy fit host.
Insert it! attach LED indicator bar and black button.


5. Final.
Insert battery (i'm use the 2 x AAA dry cells)
And tighten battery cap.
Next, push the button, laser will working.
While watching the state of the laser beam, use a small screwdriver or the like to turn the lens to adjust the focus.
When focusing is complete, just tighten the front cap. (Attach laser warning stickers according to your preference)

The process is the same for other color builds. 488...473...405...


