brucemir
0
- Joined
- Aug 3, 2012
- Messages
- 1,219
- Points
- 113
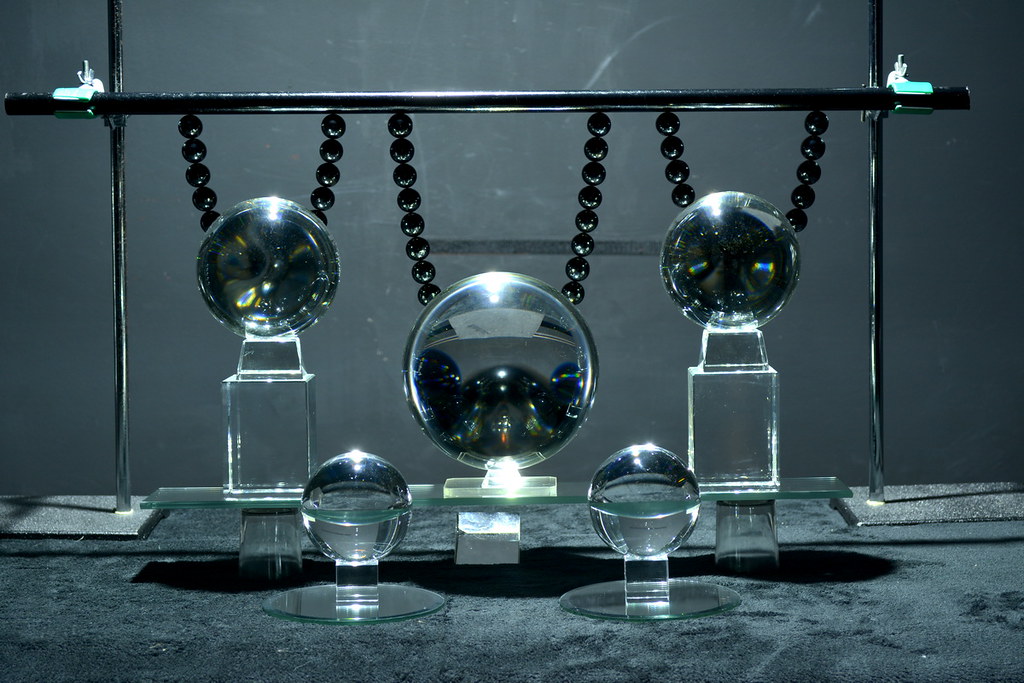
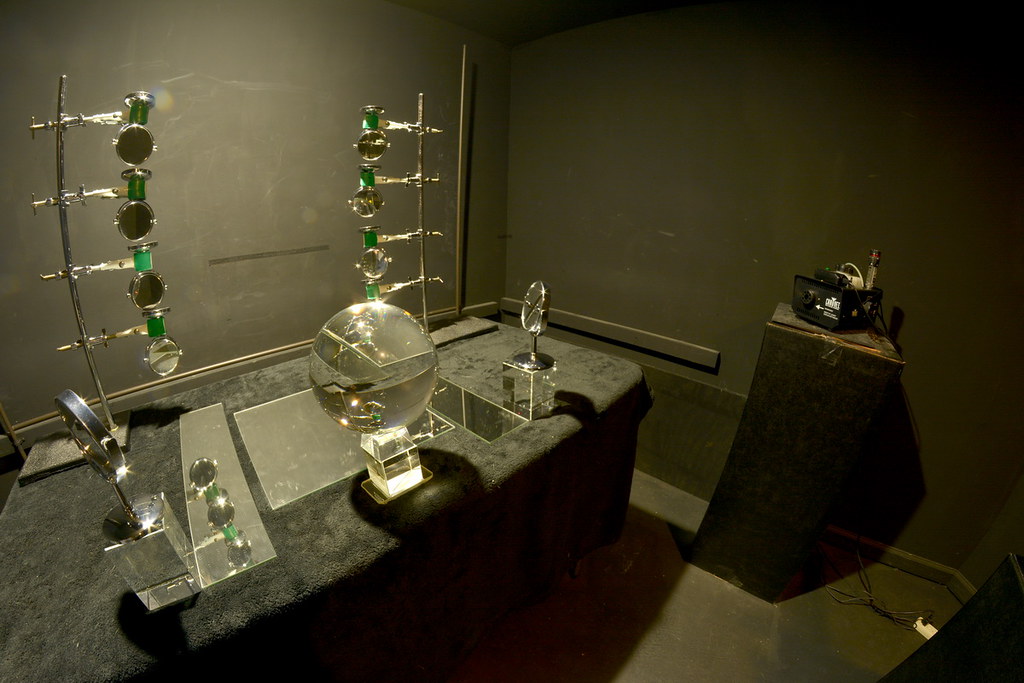
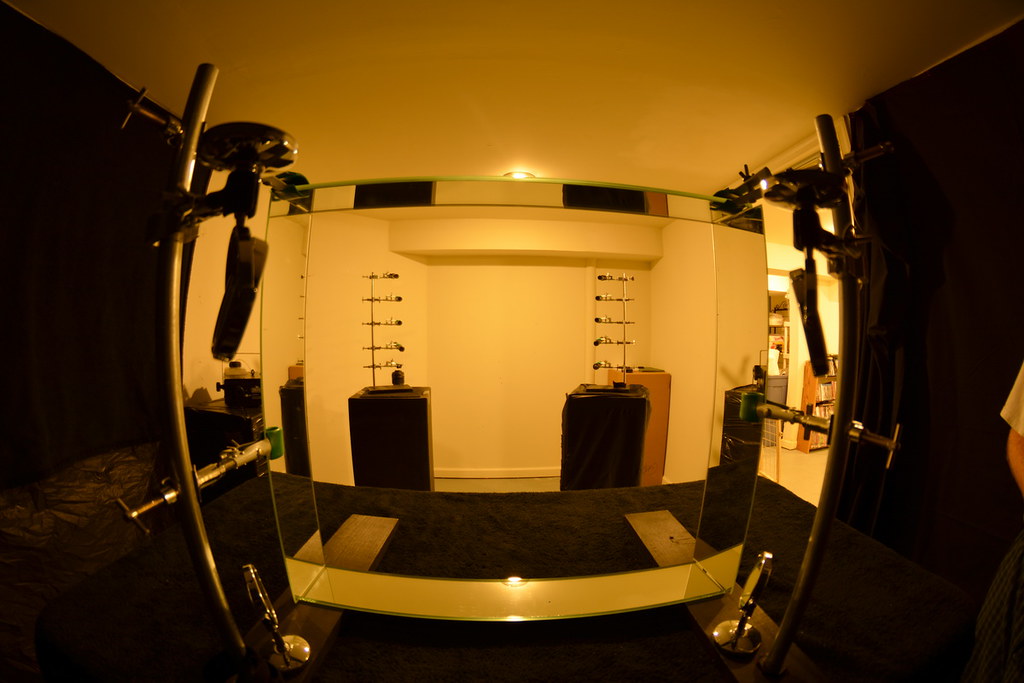
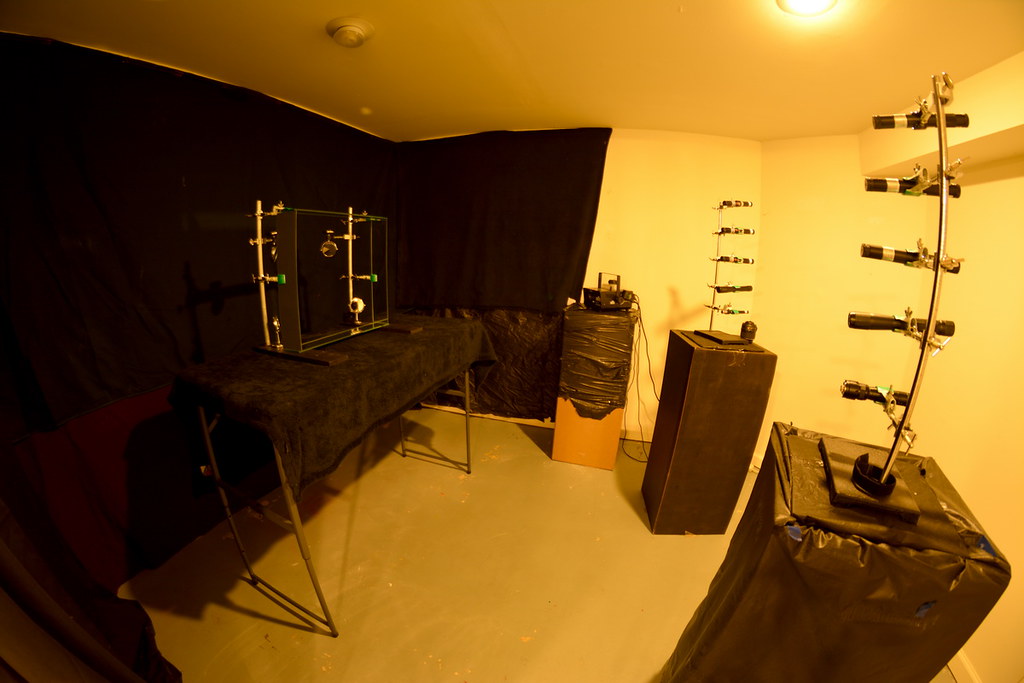
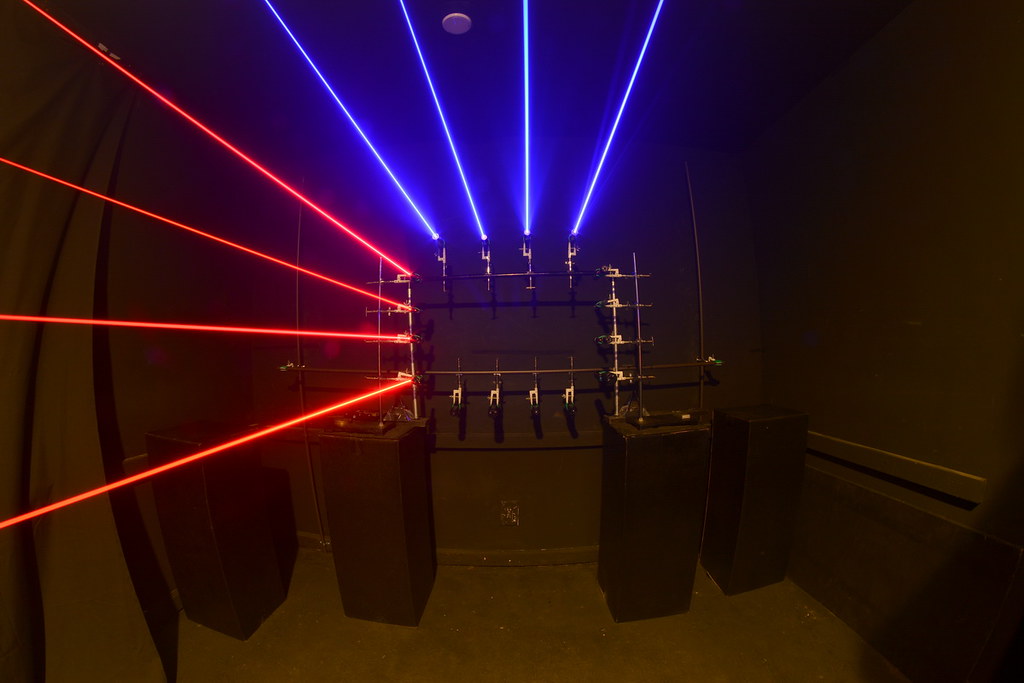
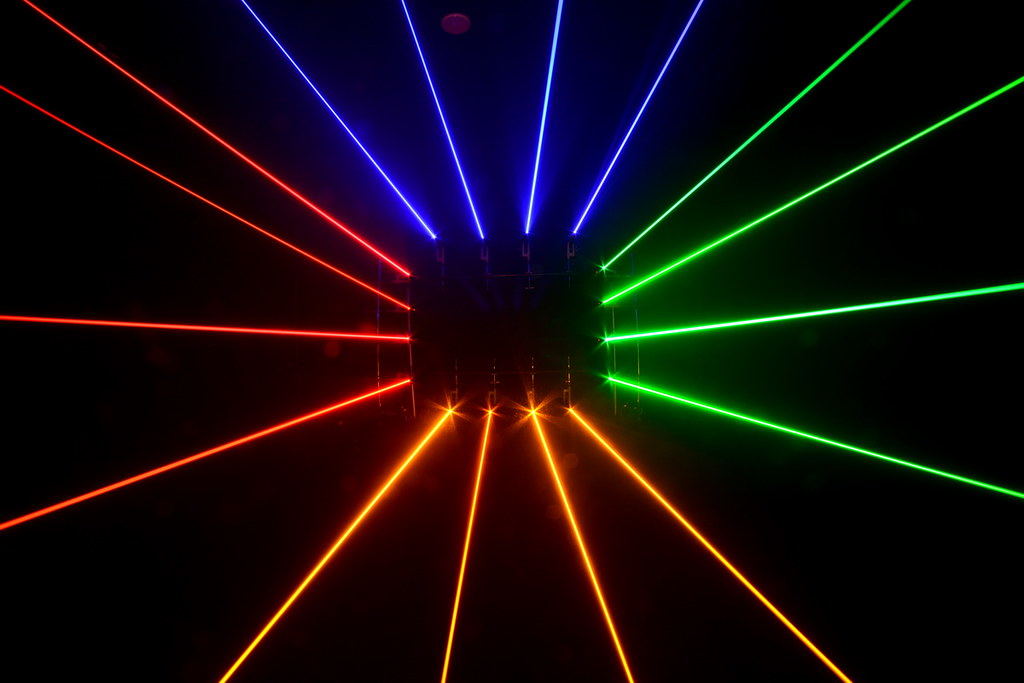
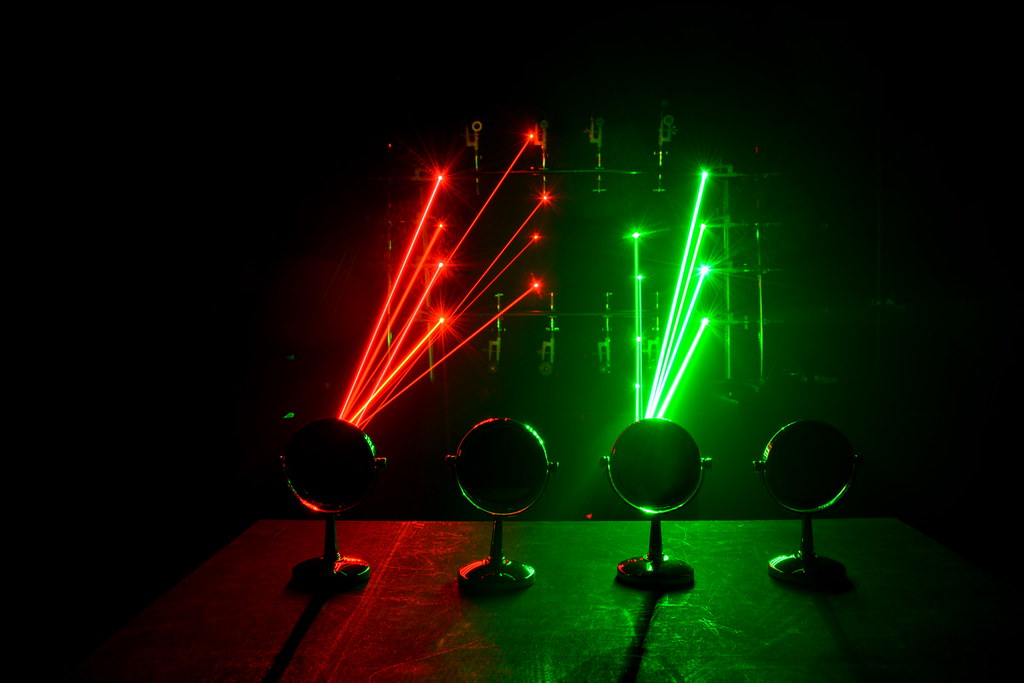
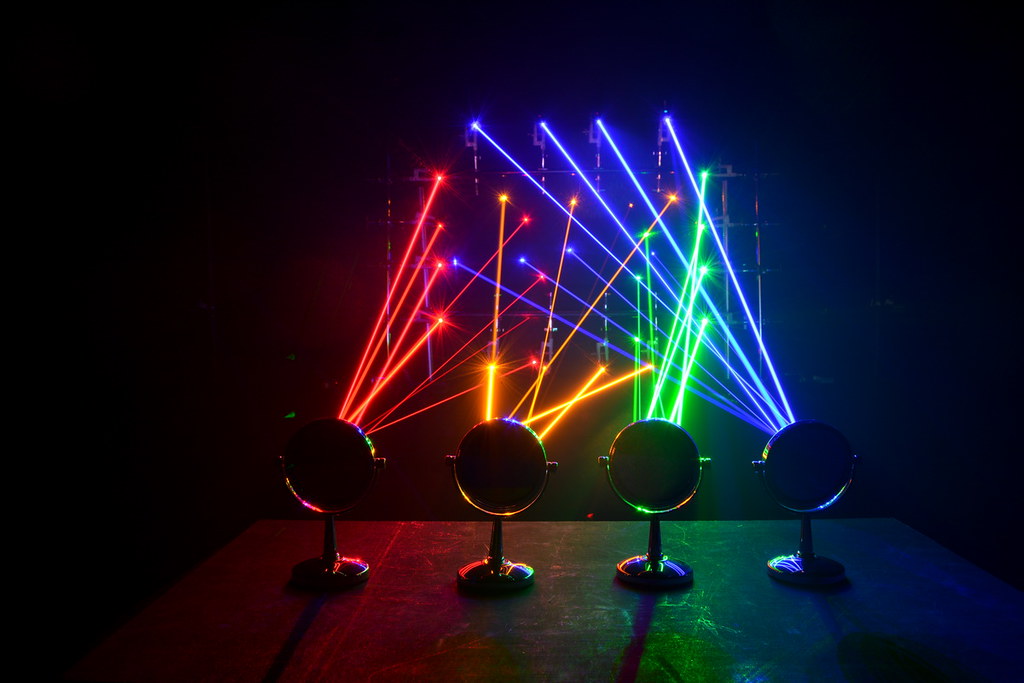
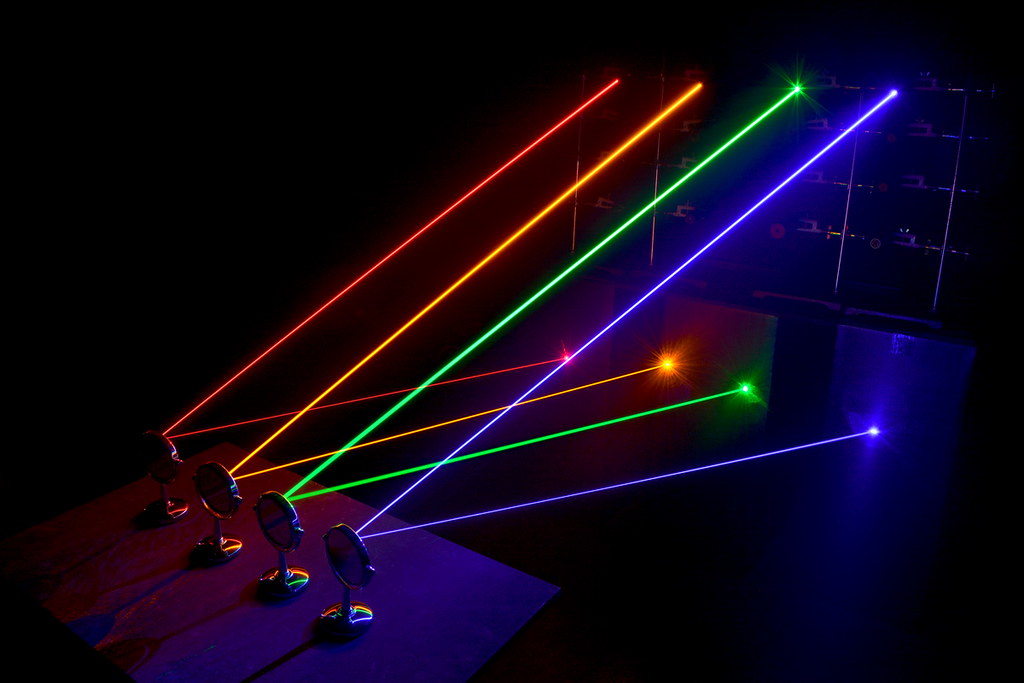
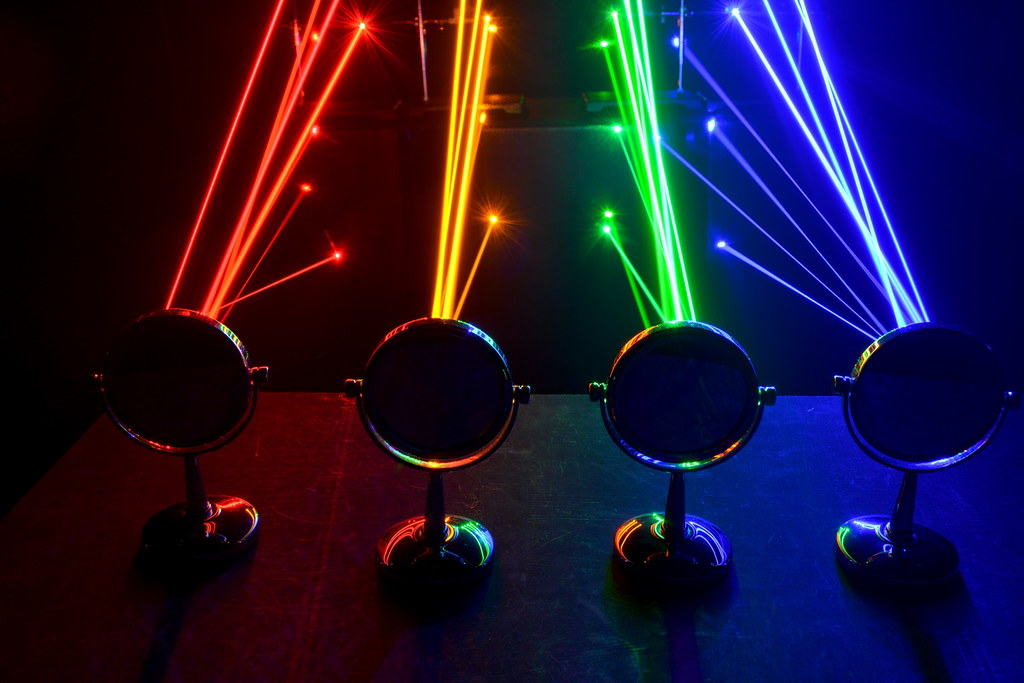
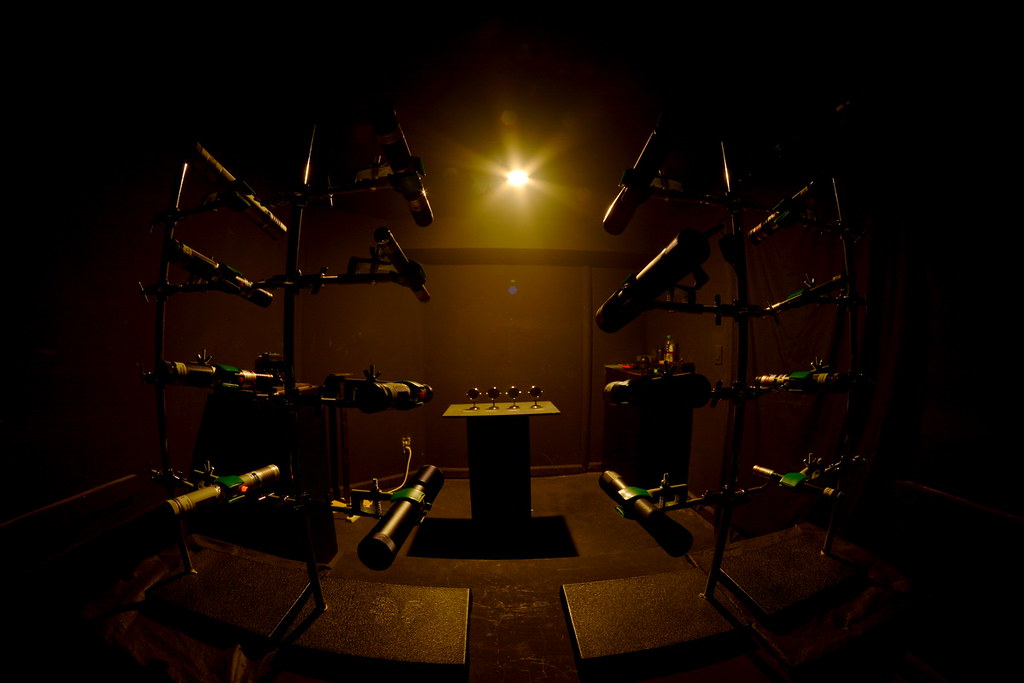
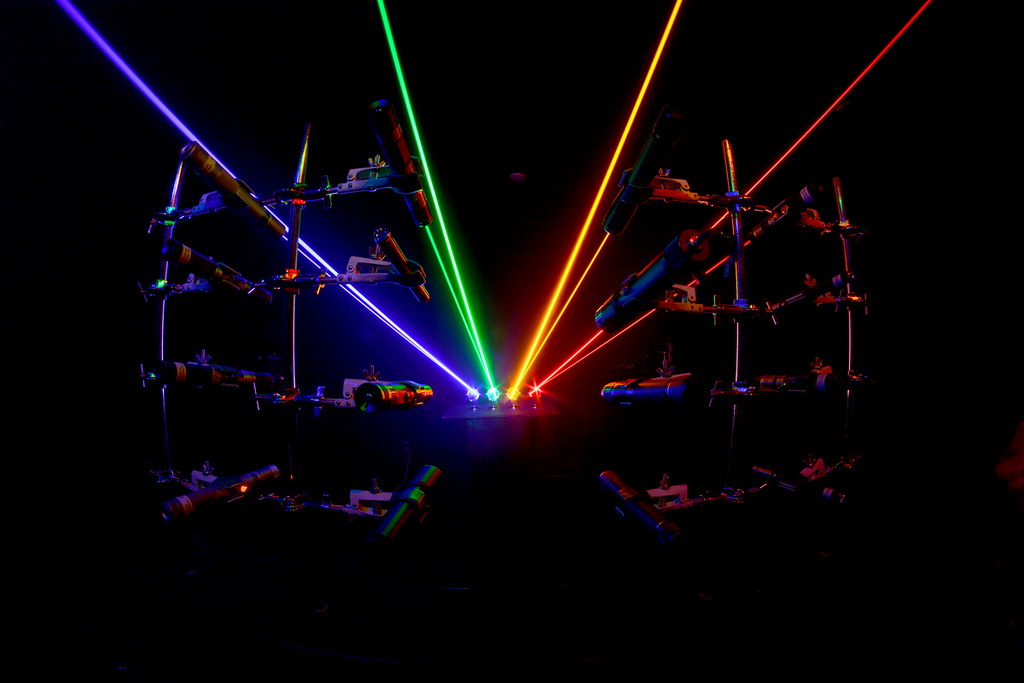
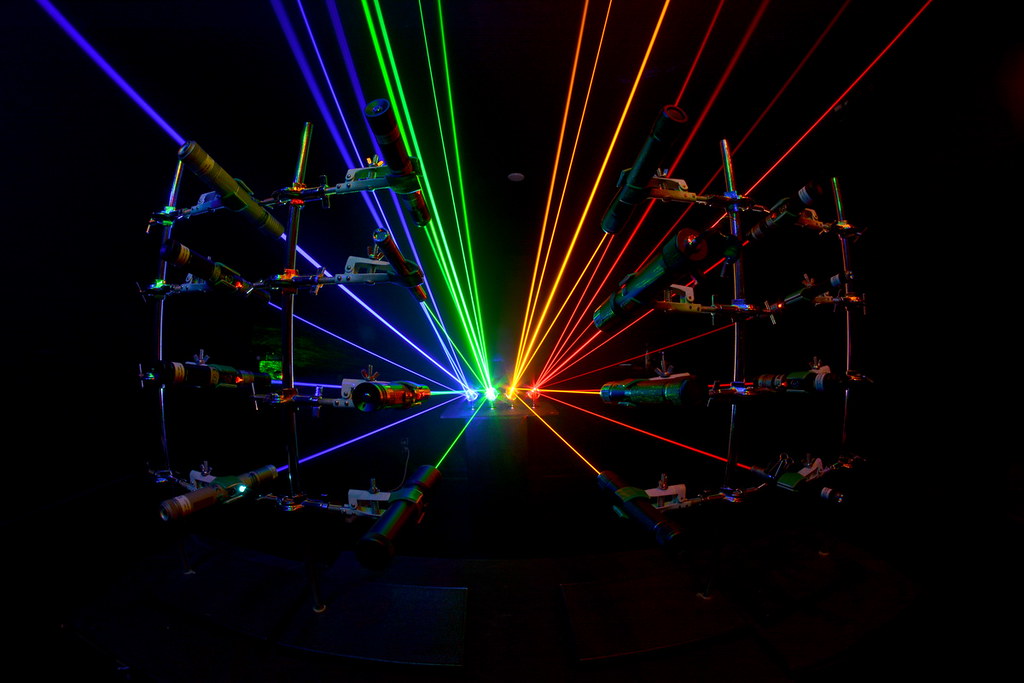
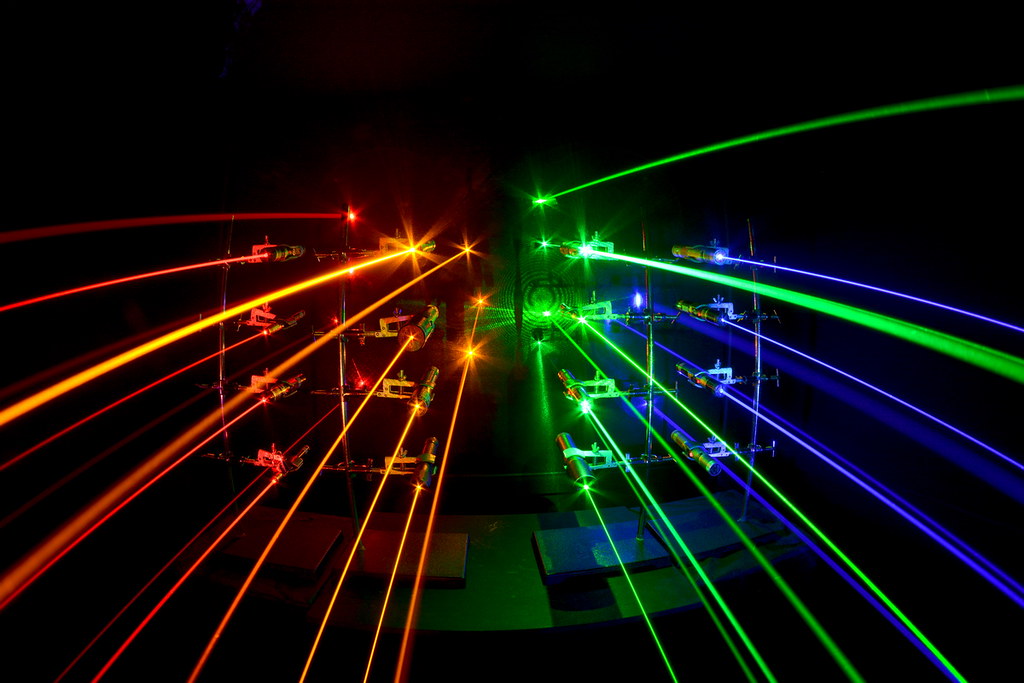
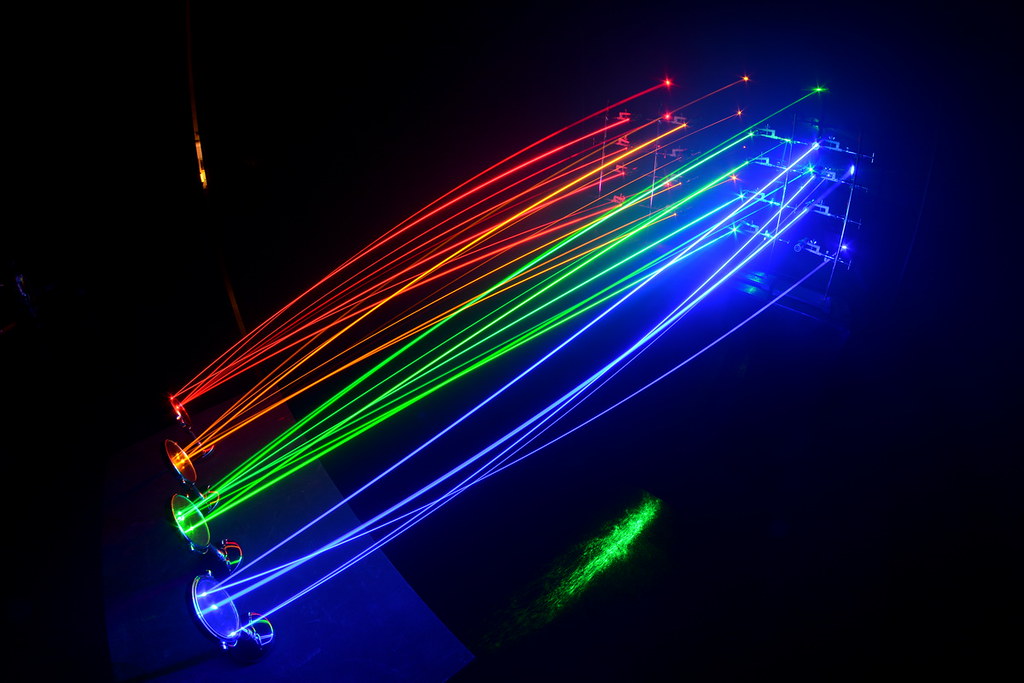
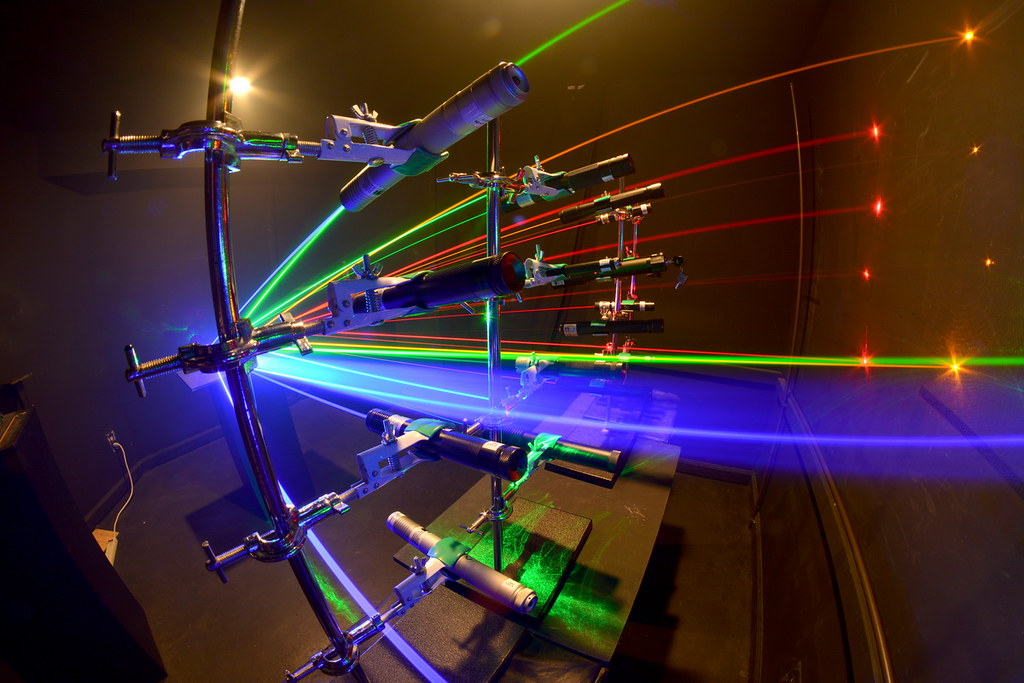
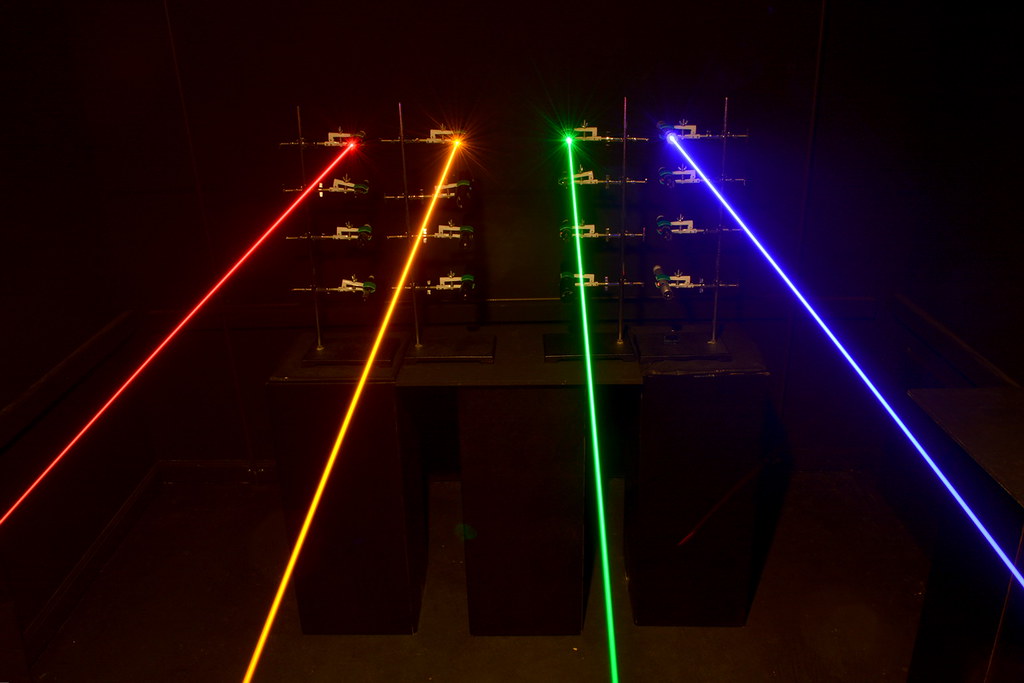
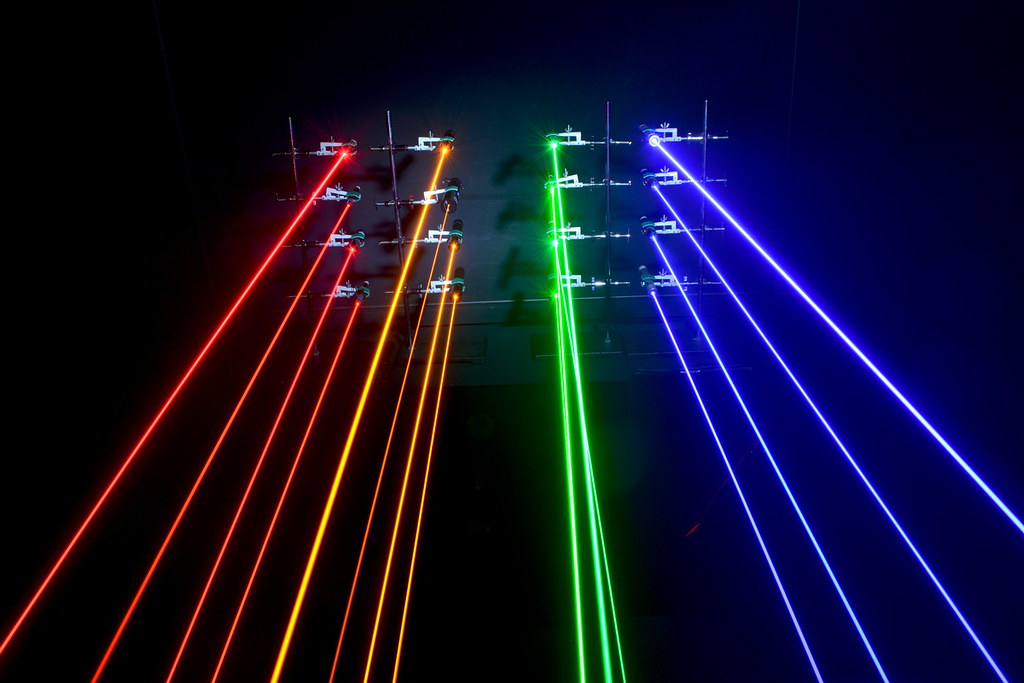
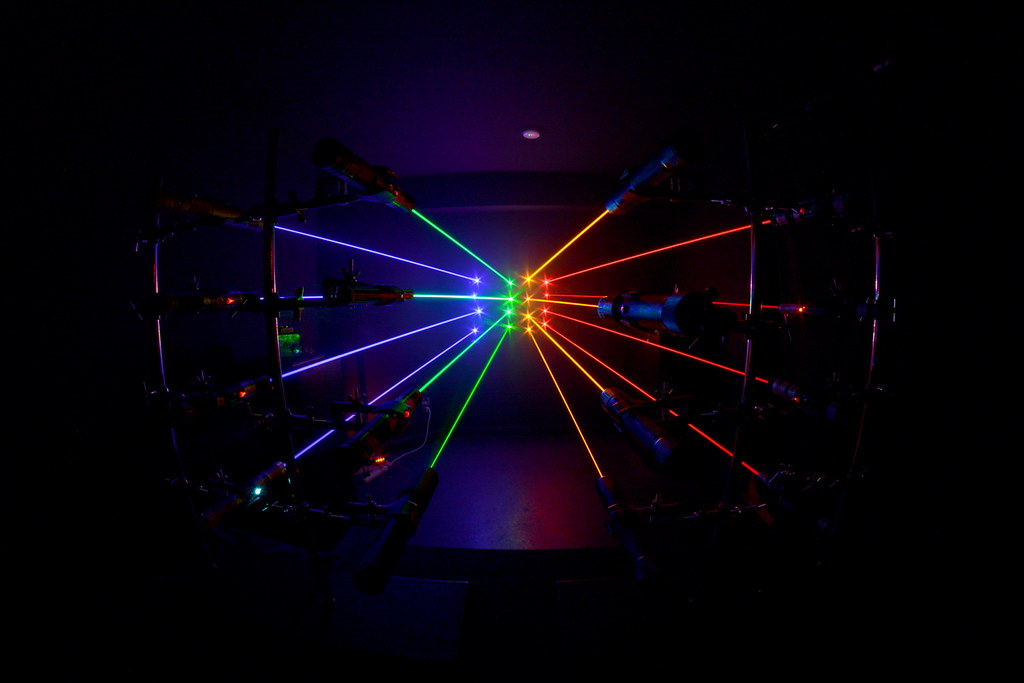
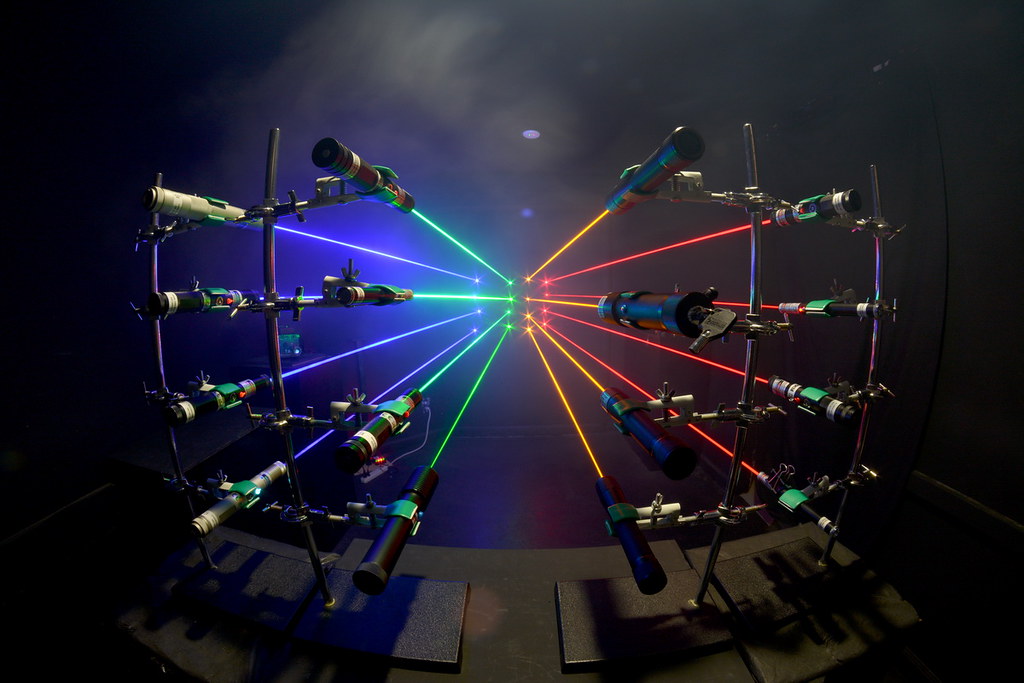
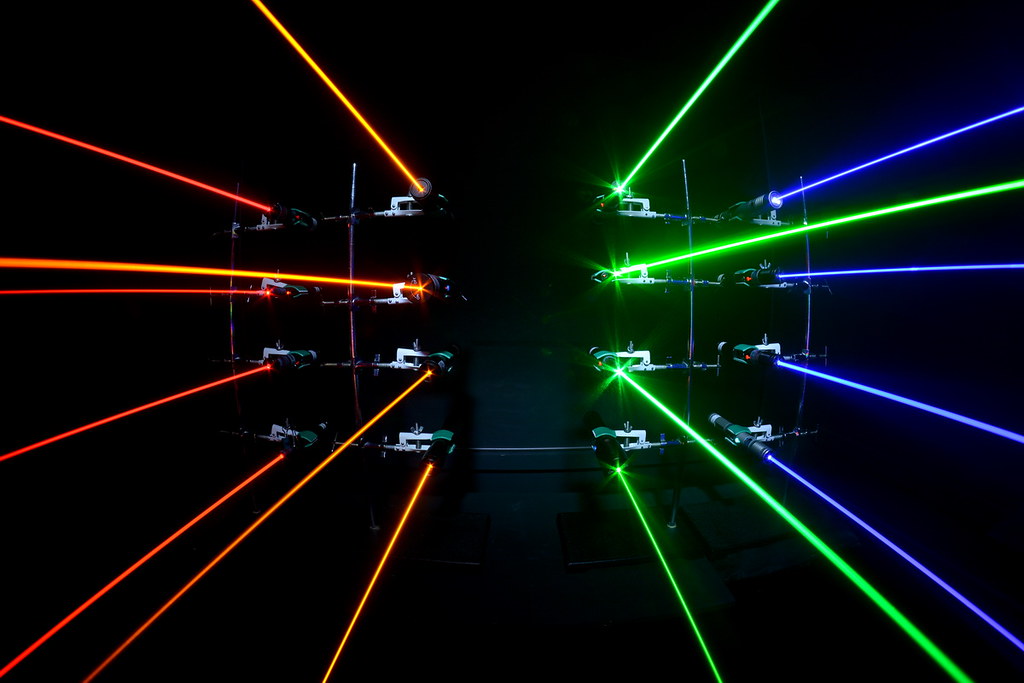
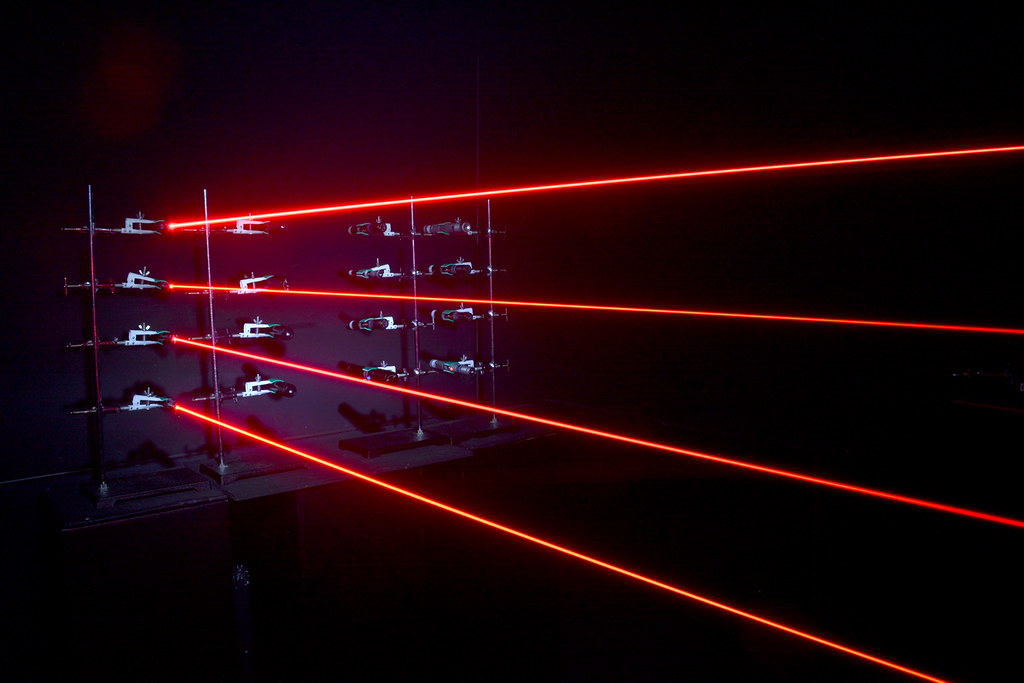
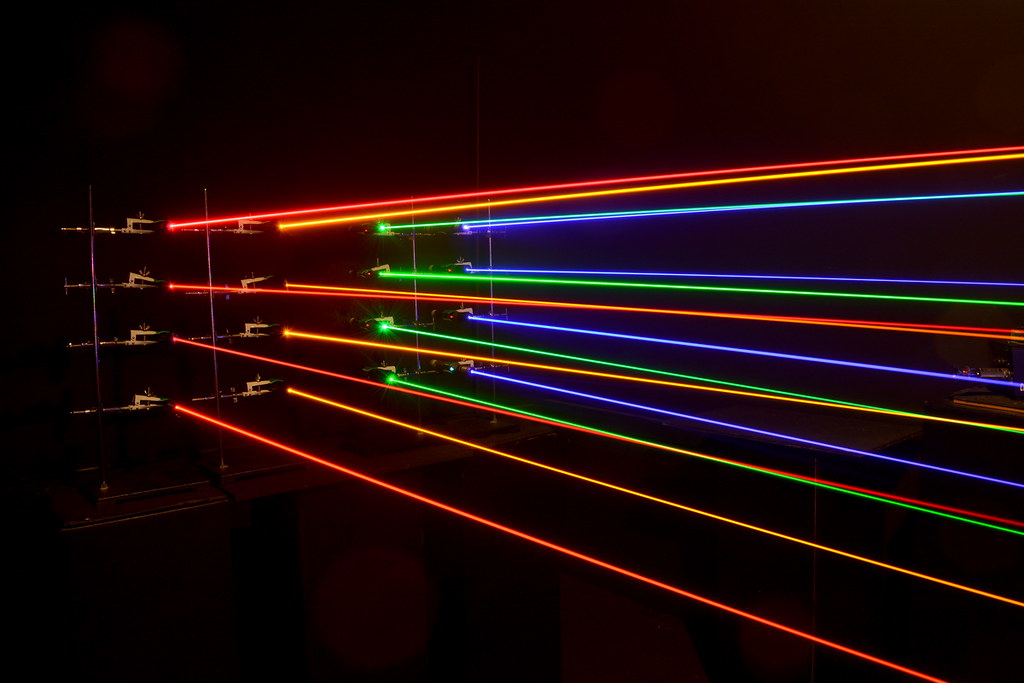
For these pics I first set up a square of 16 lasers, four of the same color on each side. I added a mirror for each color and soon realized that the "square" set up would not work the way I had visualized and set the lasers up in 4 vertical rows, each row with four of the same color. This is when the pics came out more geometric and visually more pleasing to me. The lasers used in each color were mixed:
the red were two 650nm and two 638nm
the yellow were three 589nm and a 593.5
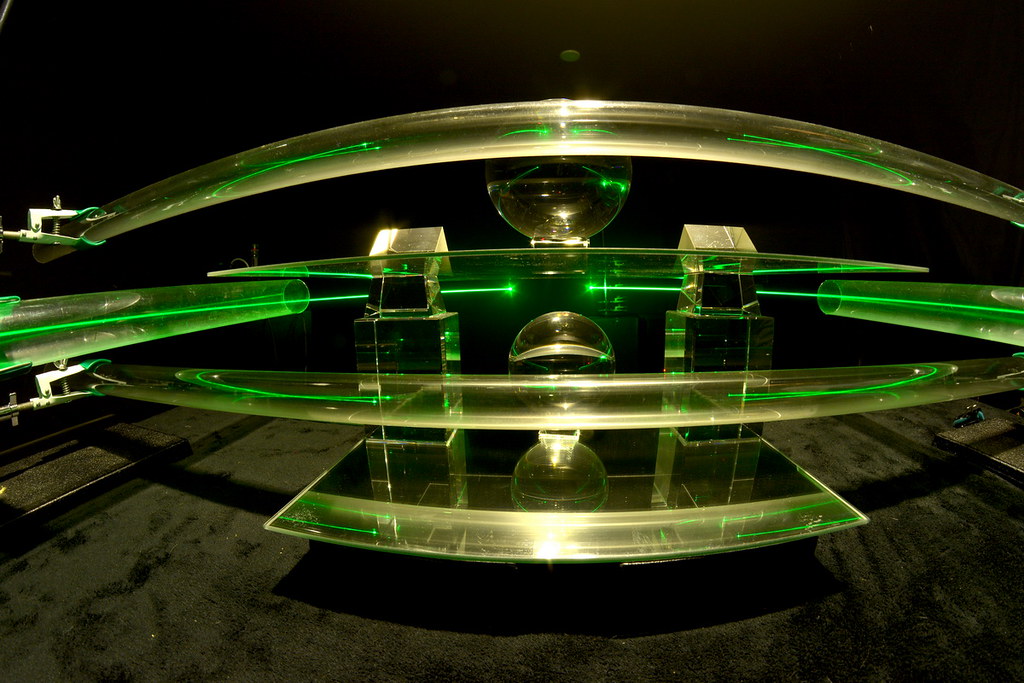
the green were two 520nm and two 532nm
the blue were two 460nm, one 450nm and one 445nm
On some on them you can see the differences in frequencies, but with that many lasers on at the same time the colors blend more and I wasn't to concerned about that. But for the first time using this set up I have many ideas to explore using this set up. In the next few weeks I have some good ideas using the four vertical laser stands. Enjoy
 DSC_1685_resize by brucemir, on Flickr
 DSC_1688_resize by brucemir, on Flickr
 DSC_1703_resize by brucemir, on Flickr
 DSC_1706_resize by brucemir, on Flickr
 DSC_1711_resize by brucemir, on Flickr
 DSC_1717_resize by brucemir, on Flickr
 DSC_1723_resize by brucemir, on Flickr
 DSC_1736_resize by brucemir, on Flickr
 DSC_1752_resize by brucemir, on Flickr
 DSC_1750_resize by brucemir, on Flickr
 DSC_1755_resize by brucemir, on Flickr
 DSC_1758_resize by brucemir, on Flickr
 DSC_1761_resize by brucemir, on Flickr
 DSC_1764_resize by brucemir, on Flickr
 DSC_1763_resize by brucemir, on Flickr
 DSC_1765_resize by brucemir, on Flickr
 DSC_1767_resize by brucemir, on Flickr
 DSC_1770_resize by brucemir, on Flickr
 DSC_1775_resize by brucemir, on Flickr
 DSC_1781_resize by brucemir, on Flickr
 DSC_1783_resize by brucemir, on Flickr
 DSC_1786_resize by brucemir, on Flickr
 DSC_1789_resize by brucemir, on Flickr
 DSC_1790_resize by brucemir, on Flickr
 DSC_1792_resize by brucemir, on Flickr
 DSC_1795_resize by brucemir, on Flickr
 DSC_1796_resize by brucemir, on Flickr
the red were two 650nm and two 638nm
the yellow were three 589nm and a 593.5
the green were two 520nm and two 532nm
the blue were two 460nm, one 450nm and one 445nm
On some on them you can see the differences in frequencies, but with that many lasers on at the same time the colors blend more and I wasn't to concerned about that. But for the first time using this set up I have many ideas to explore using this set up. In the next few weeks I have some good ideas using the four vertical laser stands. Enjoy
DSC_1685_resize by brucemir, on FlickrDSC_1688_resize by brucemir, on FlickrDSC_1703_resize by brucemir, on FlickrDSC_1706_resize by brucemir, on FlickrDSC_1711_resize by brucemir, on FlickrDSC_1717_resize by brucemir, on FlickrDSC_1723_resize by brucemir, on FlickrDSC_1736_resize by brucemir, on FlickrDSC_1752_resize by brucemir, on FlickrDSC_1750_resize by brucemir, on FlickrDSC_1755_resize by brucemir, on FlickrDSC_1758_resize by brucemir, on FlickrDSC_1761_resize by brucemir, on FlickrDSC_1764_resize by brucemir, on FlickrDSC_1763_resize by brucemir, on FlickrDSC_1765_resize by brucemir, on FlickrDSC_1767_resize by brucemir, on FlickrDSC_1770_resize by brucemir, on FlickrDSC_1775_resize by brucemir, on FlickrDSC_1781_resize by brucemir, on FlickrDSC_1783_resize by brucemir, on FlickrDSC_1786_resize by brucemir, on FlickrDSC_1789_resize by brucemir, on FlickrDSC_1790_resize by brucemir, on FlickrDSC_1792_resize by brucemir, on FlickrDSC_1795_resize by brucemir, on FlickrDSC_1796_resize by brucemir, on Flickr

")