Ra1nfade
0
- Joined
- Jan 27, 2011
- Messages
- 701
- Points
- 0
With the growing popularity and the comments left in my thread I decided to do a tutorial on how to access the acrylic lens on your Rifle.
FIRST
Read this and then continue only if you feel confident in performing this mod and have a soldering iron as this mod may require a solder repair (maybe not if your talented enough") )
)
AND READ EACH STEP THOUROUGHLY, please
You must have at least moderate skills with tools and some Patiance
The steps below aided with pics should guide you though. Some steps are pictorially but will be worded.
First, lets make sure you NEED to do a swap. I believe the newer versions of the rifle have an AR coated glass lens (not positive but this was suppose to be an upgrade from the first version)
(MAKE SURE THERE IS NOT BATTERIES IN YOU LASER)
for this step and the rest following
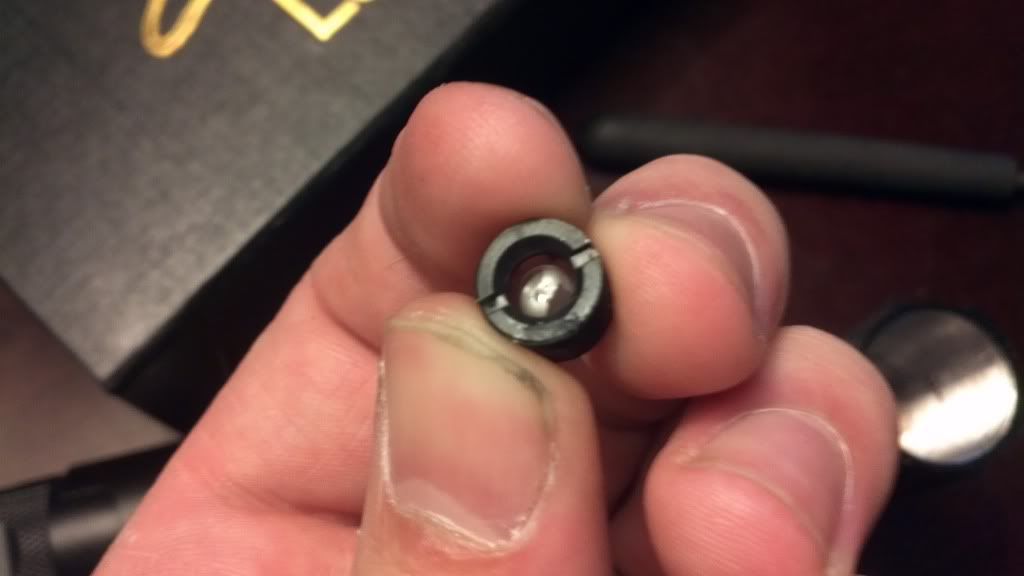
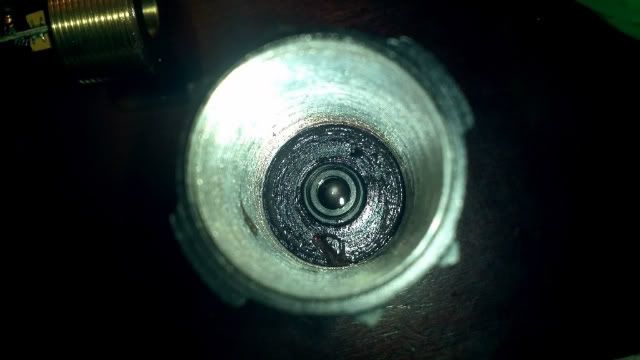
You can tell by unscrewing your diffraction grating tip and looking down the aperture to see if the piece surrounding the lens is plastic. If yes then its an acrylic. If no then your good to go
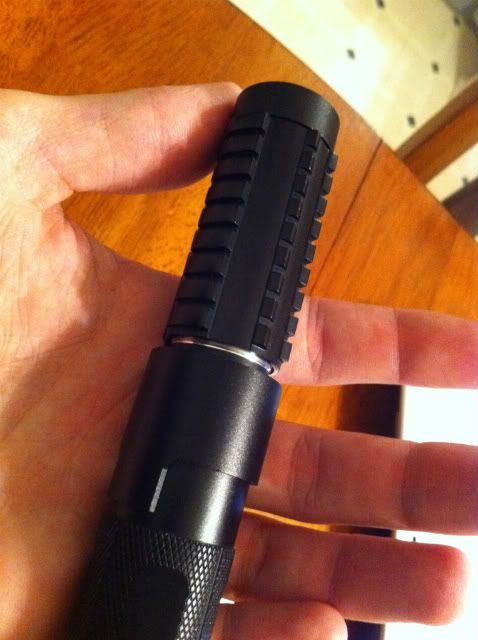
Next your going to unscrew your rifle body at the following joint
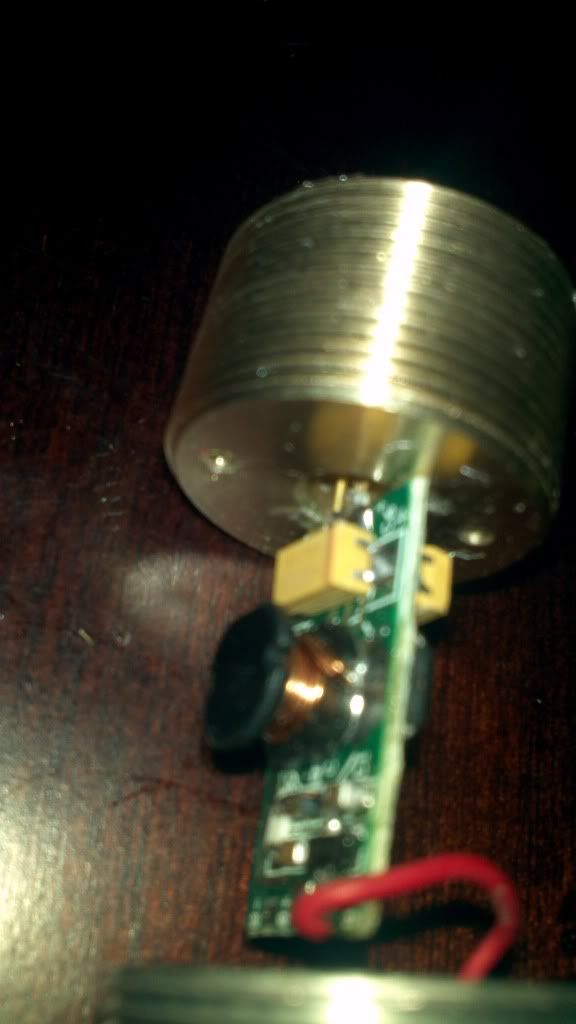
After unscrewing your laser you will see the following.
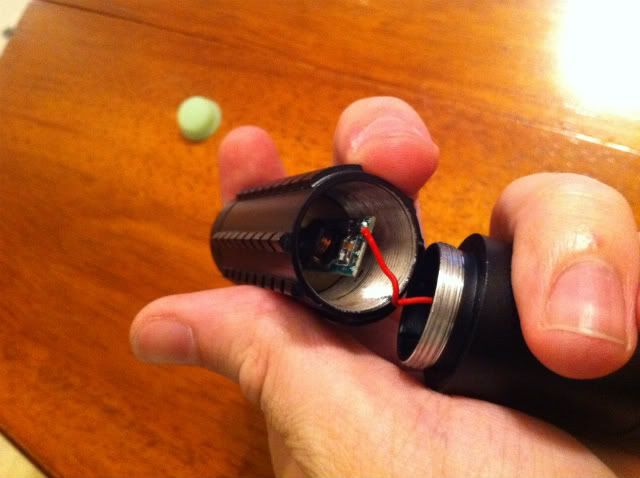
The next thing is to remove the piece of epoxy that holds the driver HS into place. Take your time and be careful not to break the leads from your diode to your driver. It should be moderately easy to break the joint with an All or sharp pick. There will most likely be one spot of epoxy on the OD of the HS and also look the threads over to make sure there is not remnants of epoxy clogging them.
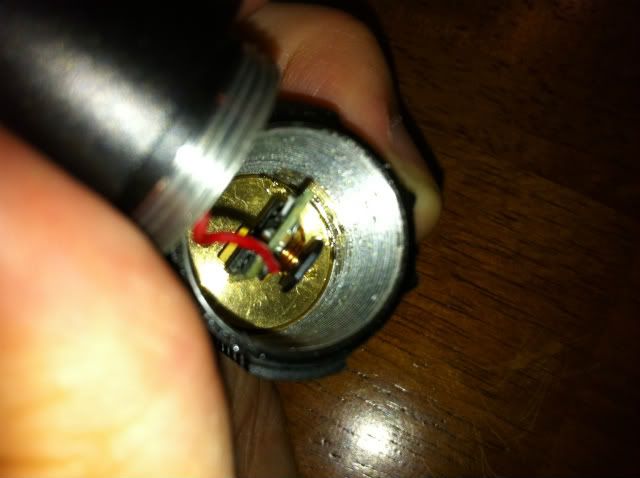
The next few steps involve the patience... Next with a screwdriver or a pair of retaning ring pliers unscrew the module from the barrel of the host. You should see two drills holes in the HS. These will allow you to perform this step.
If you have the module out then in the bottom of the barrel you should see what your wanting the change. Take care in this step as if you're swapping to a 405-G1 multiple attempts may be required to acheive a nice dot. You can unscrew the lens by using a thin pair of needle nose pliers. Once you have the new lens installed its time to put her all back togethor again!
Make sure upon reassembly that you 'pre-twist' the wire in the opposite direction so that when you screw the host back togethor the wire going to the driver does not break.
FIRST
Read this and then continue only if you feel confident in performing this mod and have a soldering iron as this mod may require a solder repair (maybe not if your talented enough
)AND READ EACH STEP THOUROUGHLY, please
You must have at least moderate skills with tools and some Patiance
The steps below aided with pics should guide you though. Some steps are pictorially but will be worded.
First, lets make sure you NEED to do a swap. I believe the newer versions of the rifle have an AR coated glass lens (not positive but this was suppose to be an upgrade from the first version)
(MAKE SURE THERE IS NOT BATTERIES IN YOU LASER)
for this step and the rest following
You can tell by unscrewing your diffraction grating tip and looking down the aperture to see if the piece surrounding the lens is plastic. If yes then its an acrylic. If no then your good to go
Next your going to unscrew your rifle body at the following joint
After unscrewing your laser you will see the following.
The next thing is to remove the piece of epoxy that holds the driver HS into place. Take your time and be careful not to break the leads from your diode to your driver. It should be moderately easy to break the joint with an All or sharp pick. There will most likely be one spot of epoxy on the OD of the HS and also look the threads over to make sure there is not remnants of epoxy clogging them.
The next few steps involve the patience... Next with a screwdriver or a pair of retaning ring pliers unscrew the module from the barrel of the host. You should see two drills holes in the HS. These will allow you to perform this step.
If you have the module out then in the bottom of the barrel you should see what your wanting the change. Take care in this step as if you're swapping to a 405-G1 multiple attempts may be required to acheive a nice dot. You can unscrew the lens by using a thin pair of needle nose pliers. Once you have the new lens installed its time to put her all back togethor again!
Make sure upon reassembly that you 'pre-twist' the wire in the opposite direction so that when you screw the host back togethor the wire going to the driver does not break.