- Joined
- Aug 25, 2010
- Messages
- 533
- Points
- 63
Here is my new project, a granulated triple r-candy rocket to lift an heavy 8" shell!
Sorry, I haven't the pics of every build step, so this is a not-fully documented tutorial (as I usually do).
Some datas:
All the tubes are made in aluminum, ID 27mm, OD 30mm.
The central rocket is 400mm lenght, the other two are 300mm lenght.
The hole diameters are 12mm.
The central rocket has a hole lenght of 310mm, the shorter rockets has a lenght of 240mm.
The granulated mix (KNO3, Sucrose, RIO, Titanium sponge) was pressed at about 7000 PSI.
I used 4x1250mm Samba long sticks to have a decent counterbalancing.
The tubes and the sticks will be rescued the day after the launch, to protect the environment and to save some moneys for the next launch LOL.
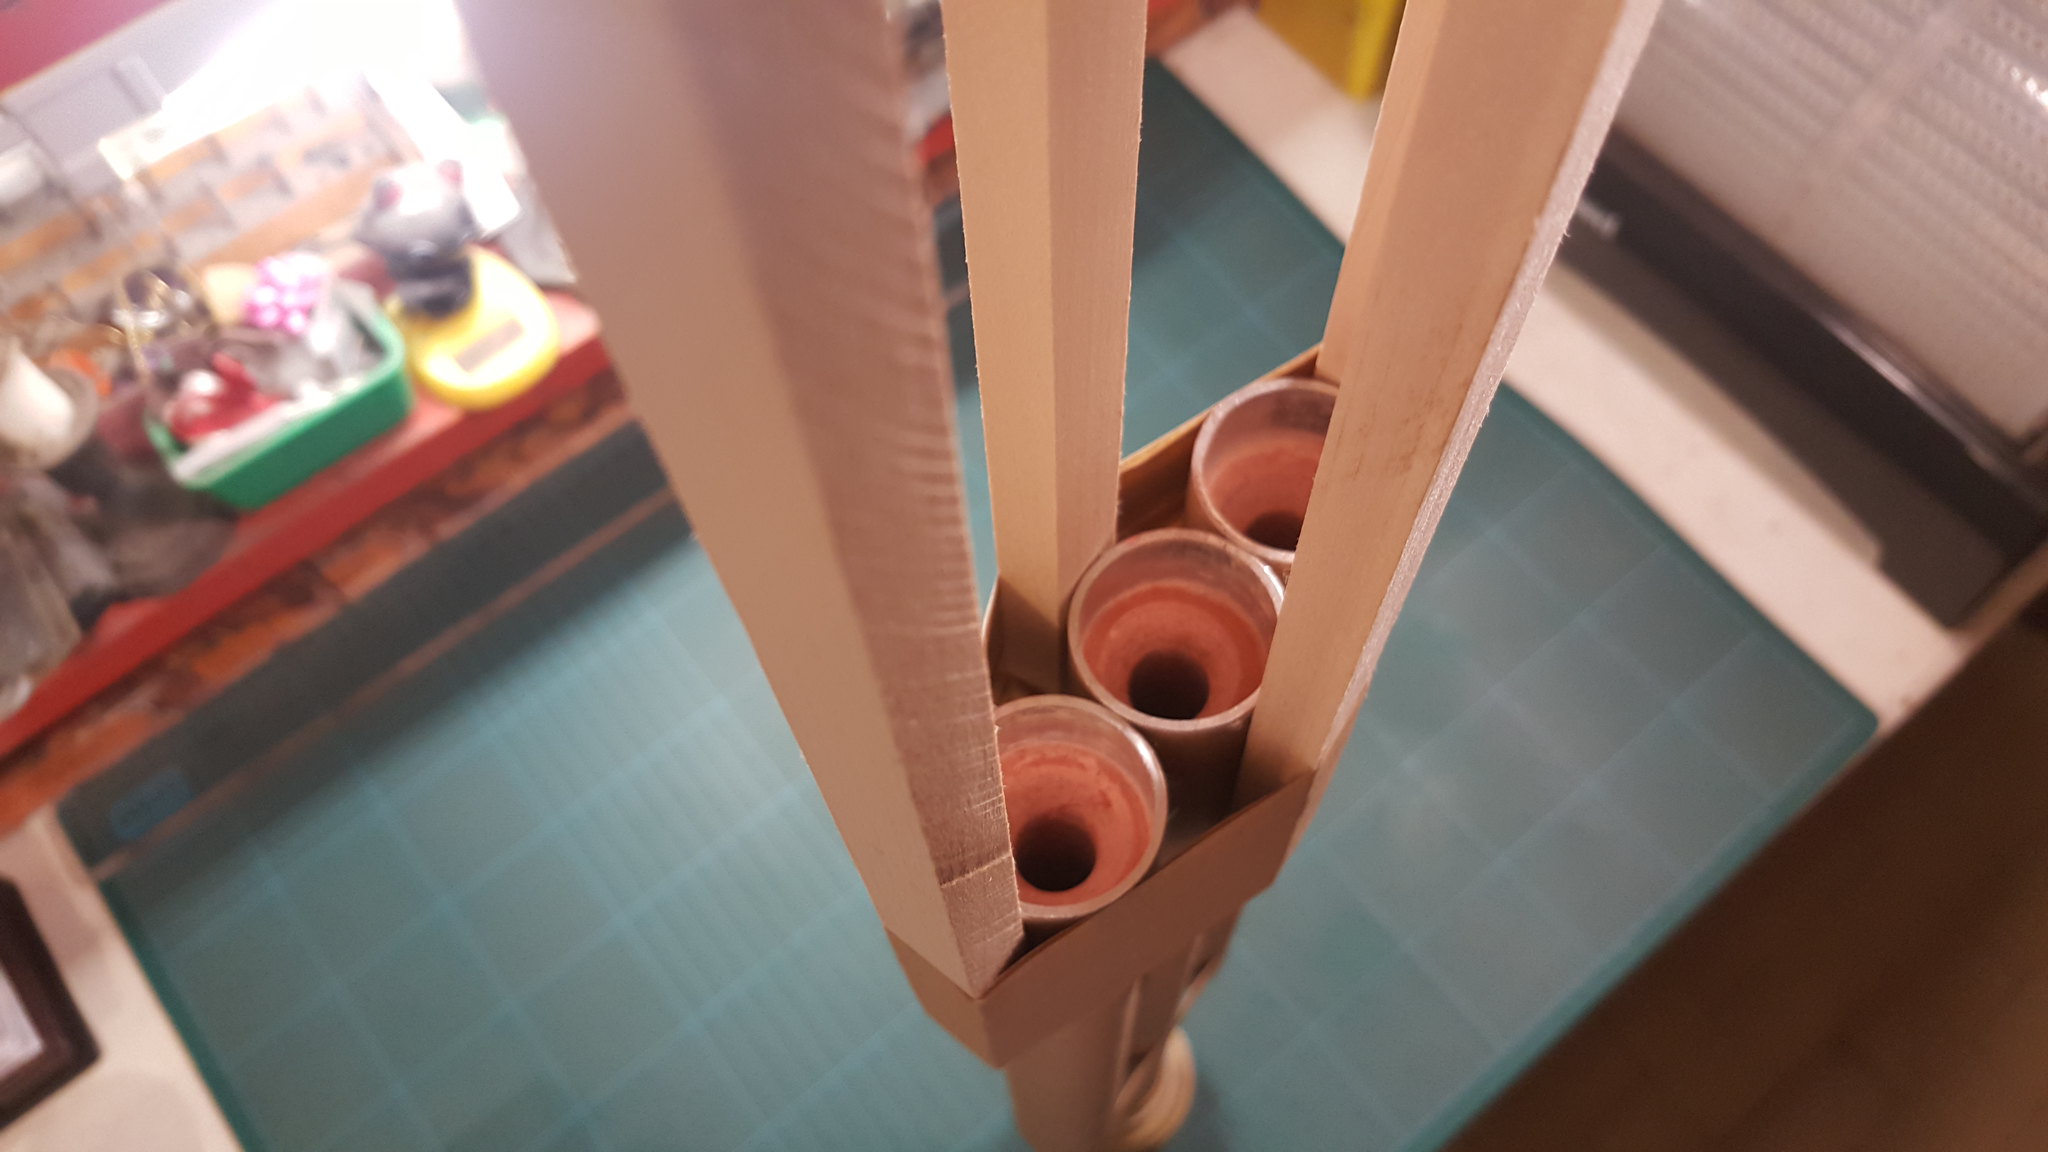
Back view of the three rockets:
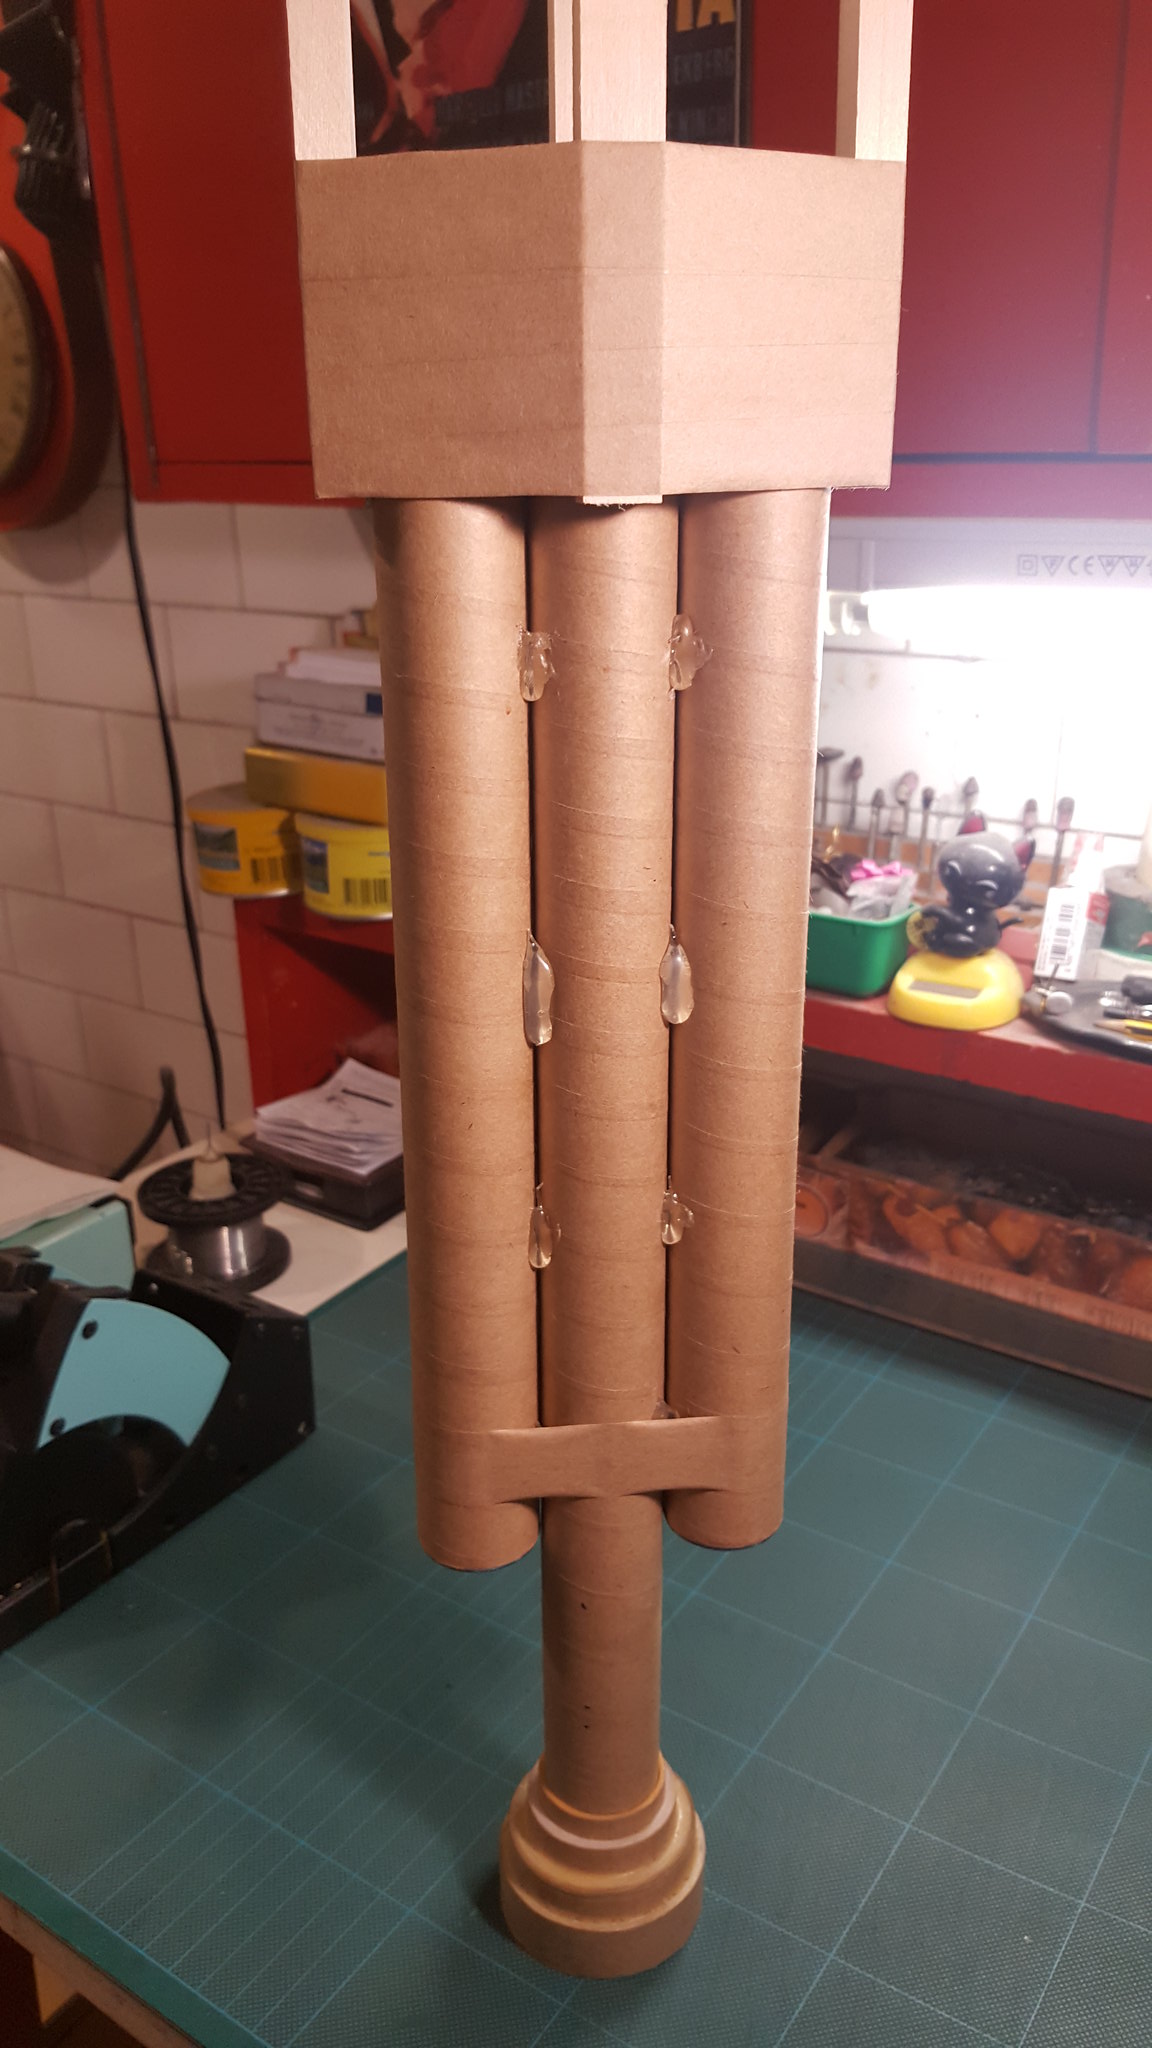
The three rockets glued:
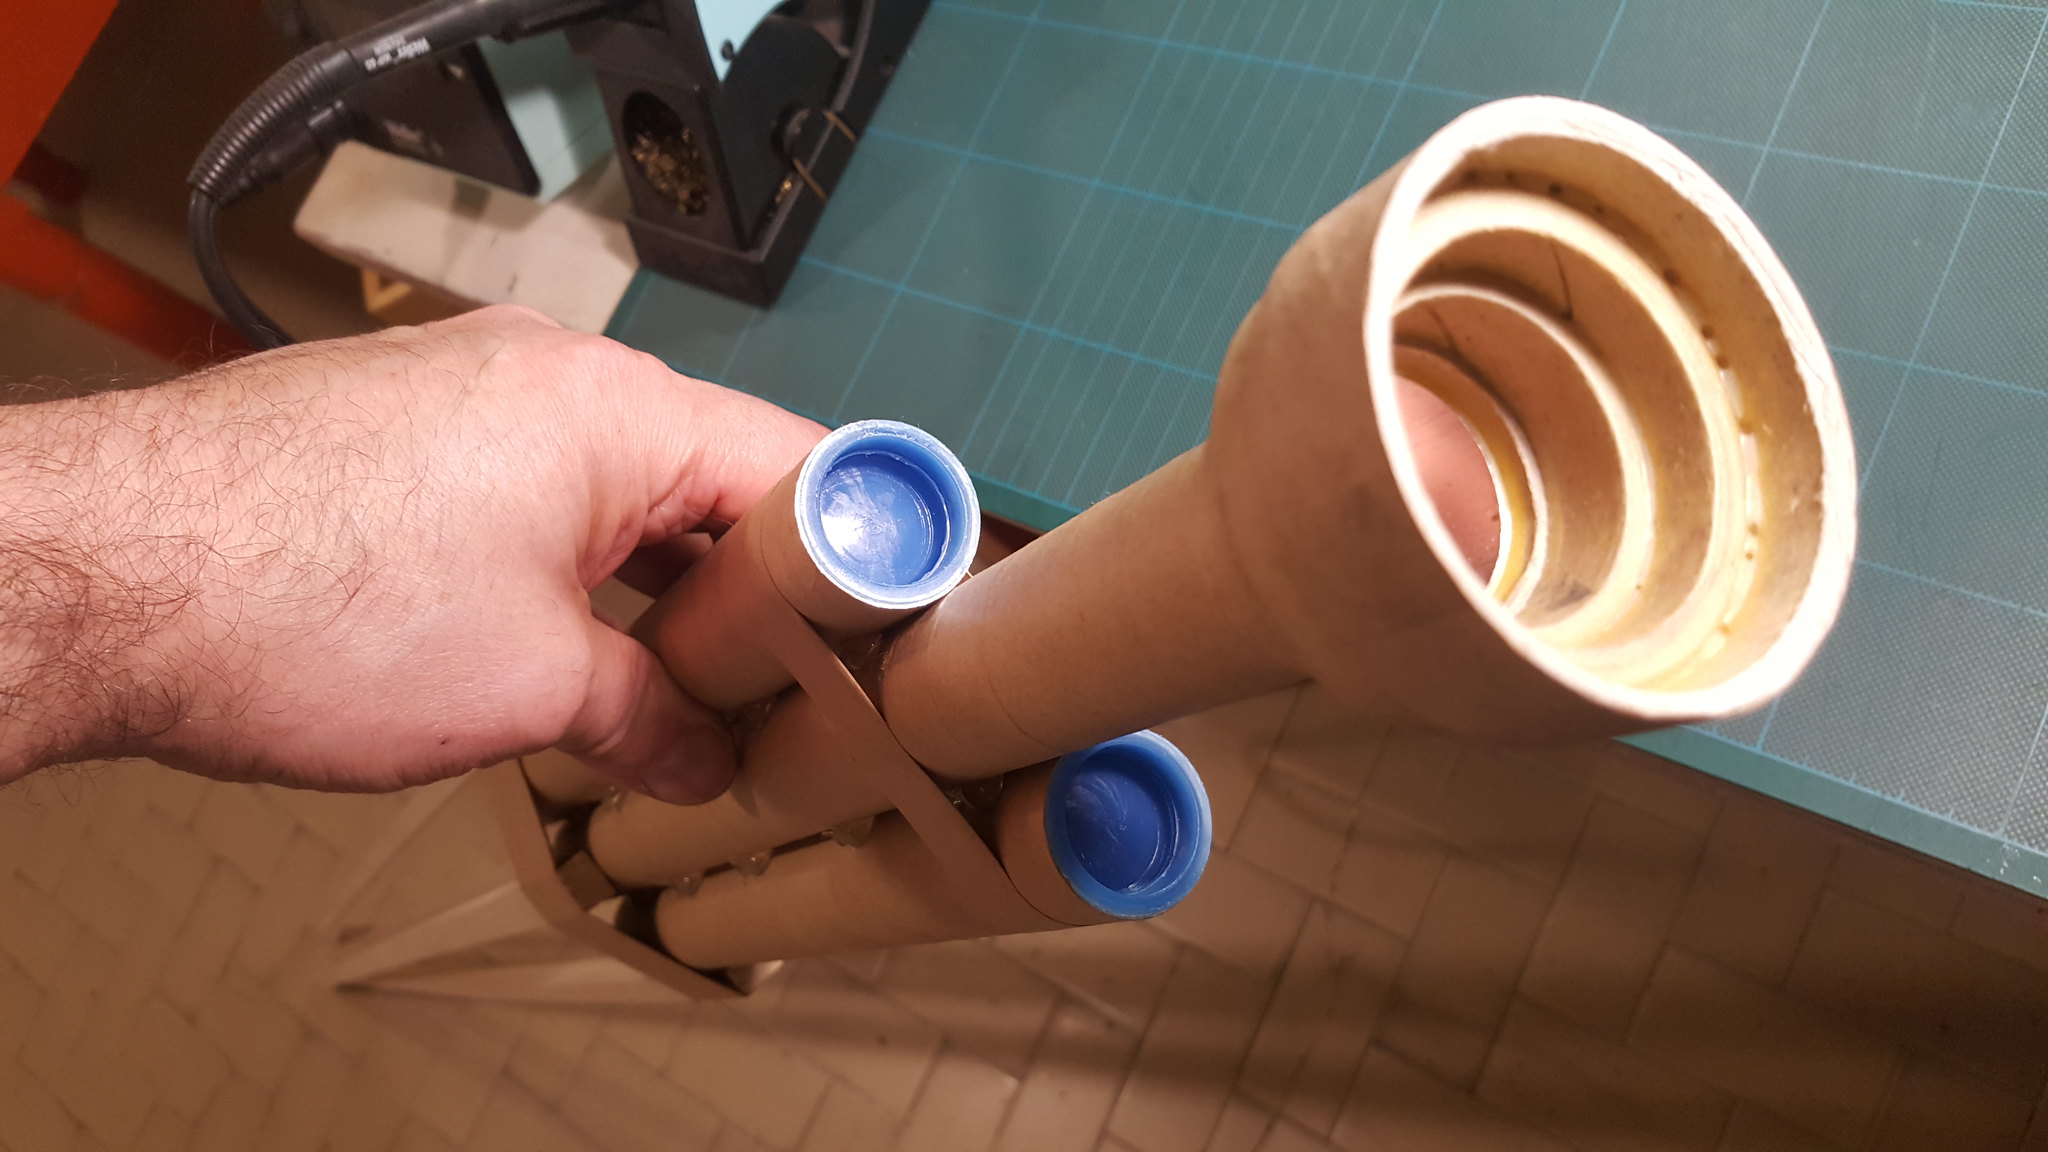
Putting caps at the end of every side rocket:
Making two holes in the compound to insert the fast fuses. The depth of the hole determine the delay of the ignition, so more depth are the
holes, lower will be the detonation:
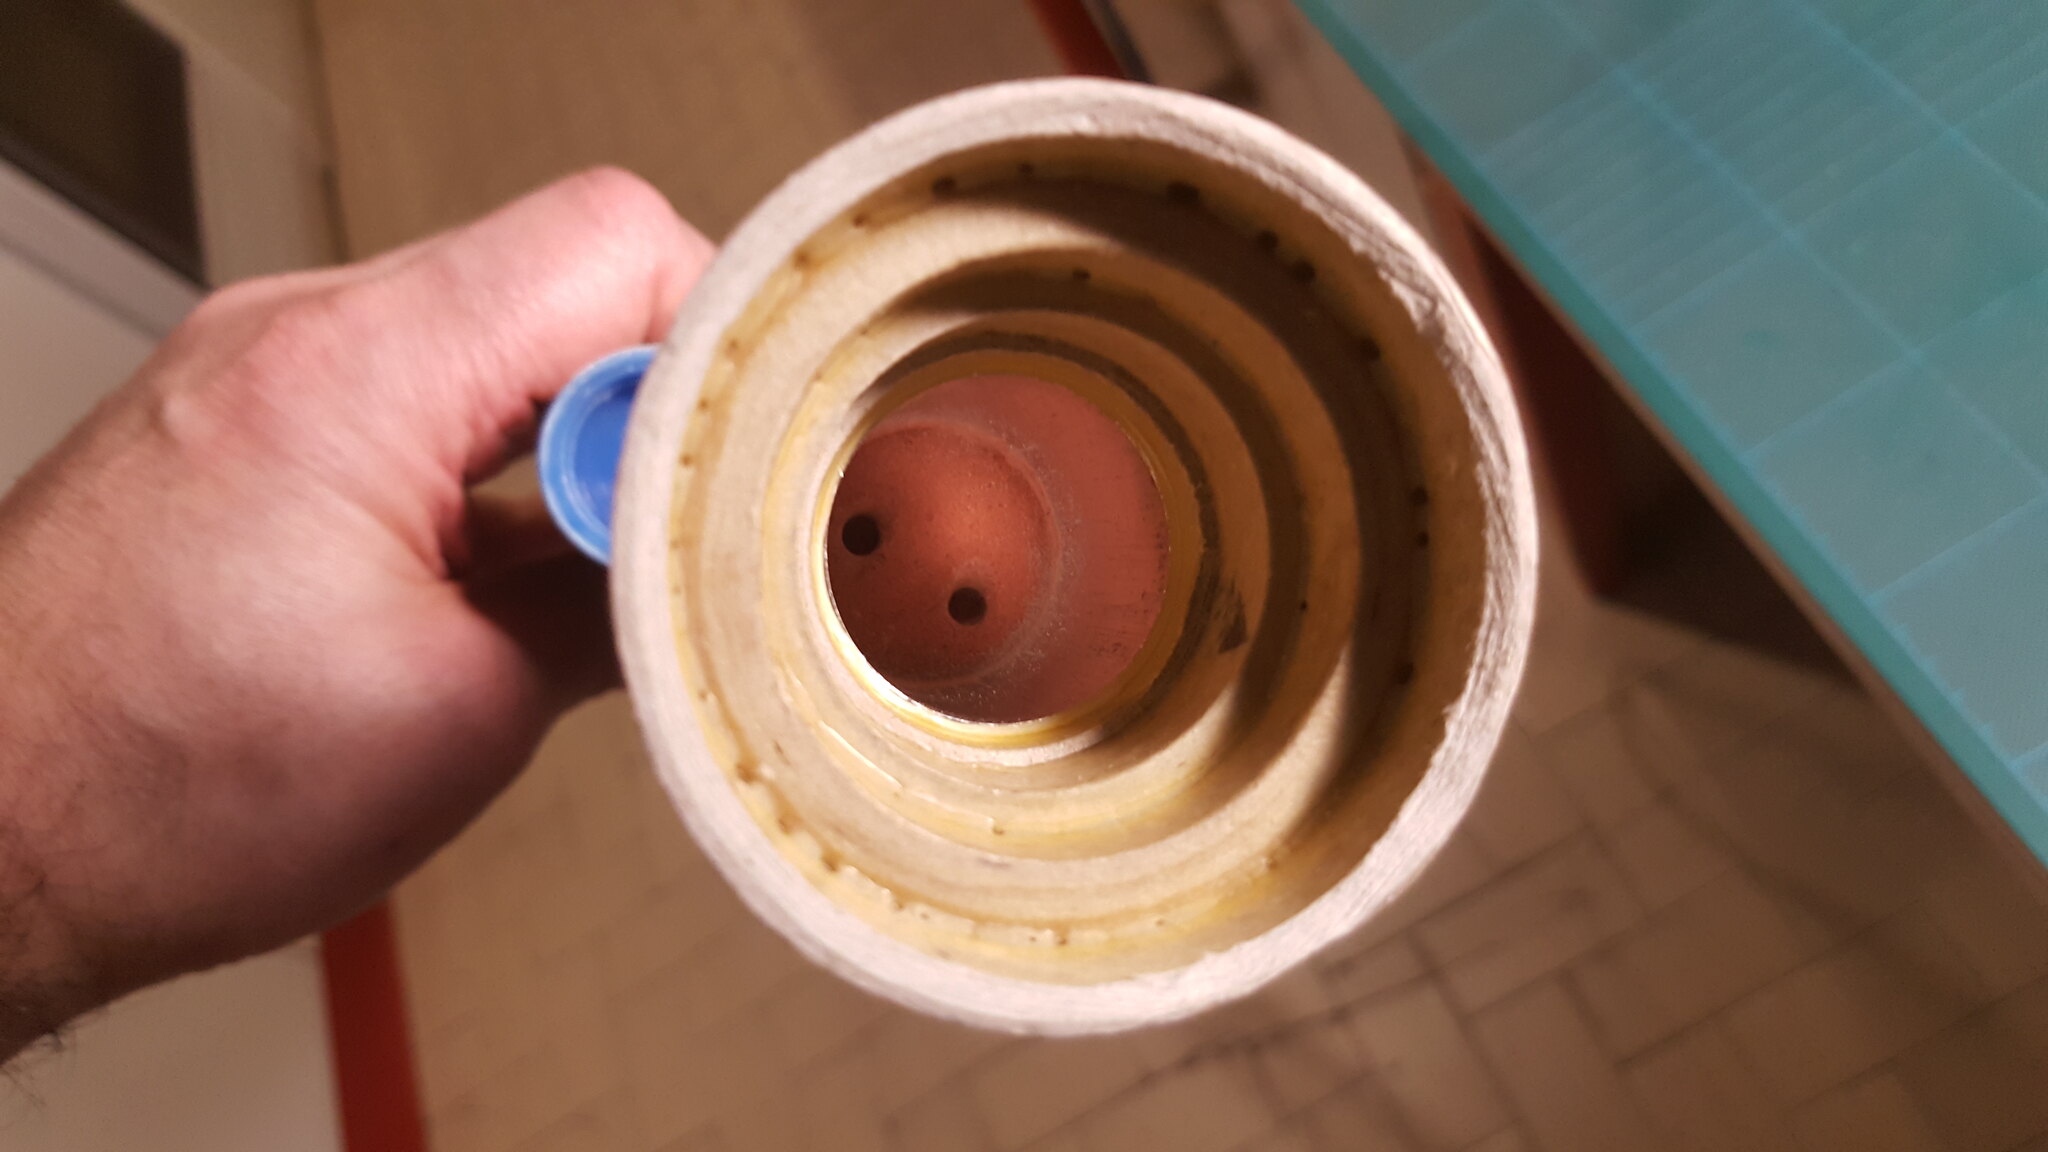
I have created two holes into the delay because I suffered some failure with superfast visco fuses (failed shell ignition due to interrupted fuses),
and since it is not a great show to see a 5 KG fireworks fall to the land completely intact, I prefer to put two fuses instead one.
The delay thickness on the top is 4 cm, but since it is too much, I created 10mm deep holes, so the fuses will be ignited some seconds before the
end of the delay.
It is a good idea to make enough delay thickness due to the high internal rocket pressure, especially the long one, that it is pushed to the limit.
A too thin delay is risky because the pressure can blow up it.
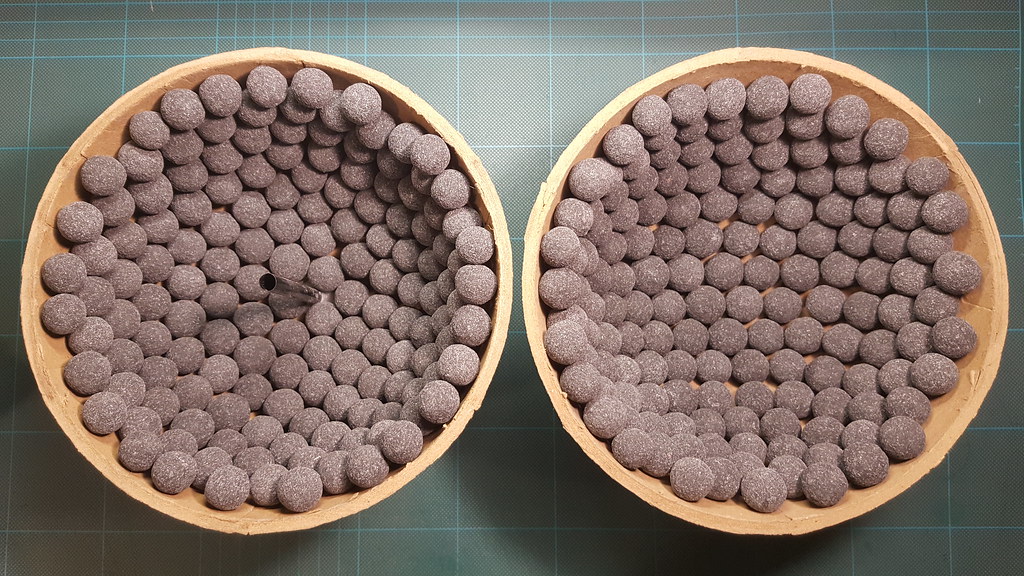
First layer of Kamuro stars. They were made with a mix of two kinds of charcoals: a coconut airfloat charcoal for initial slow burning and 20 mesh
raw lumpwood charcoal for a long-lasting effect falling sparks:
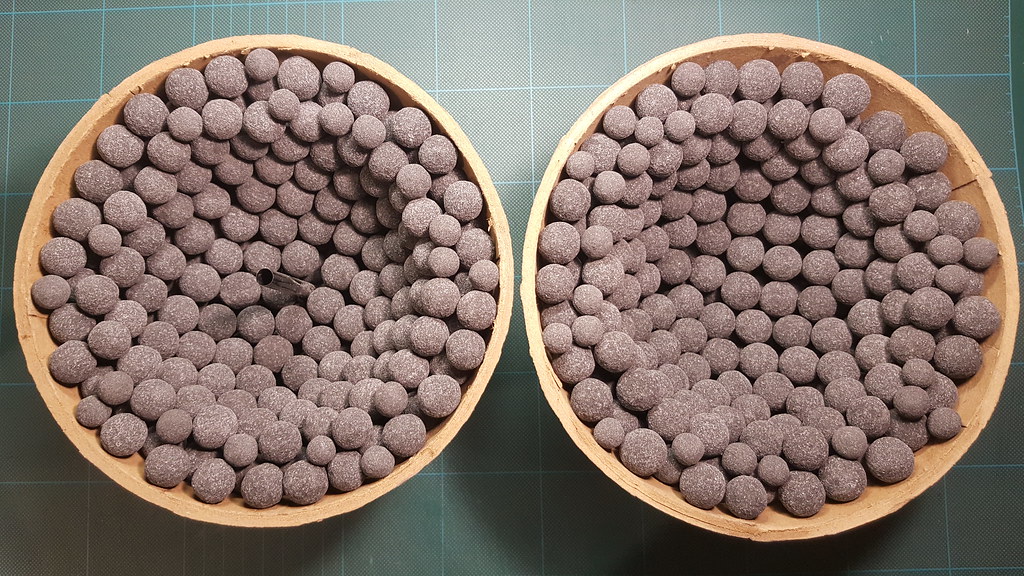
Second layer of Kamuro stars:
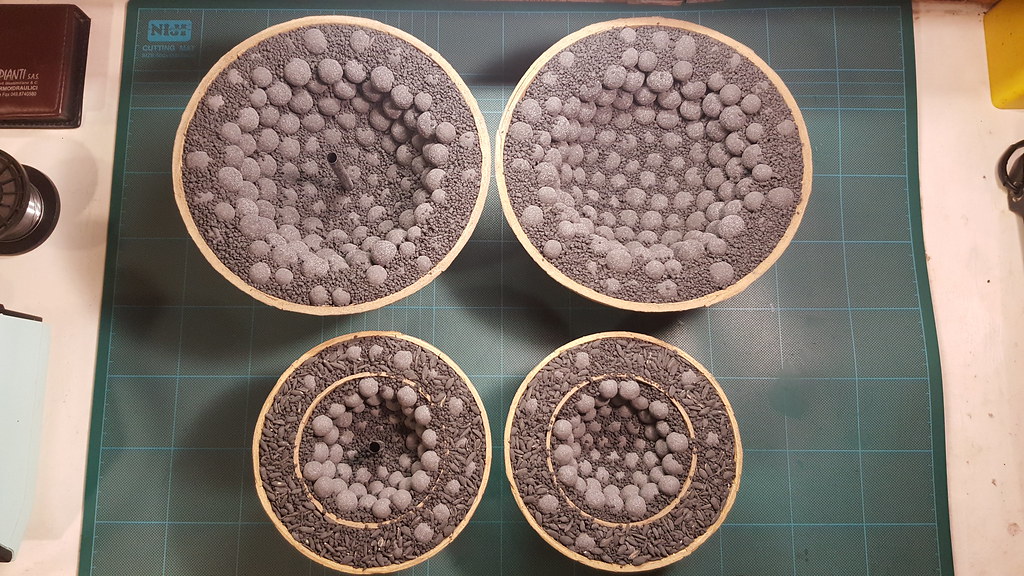
(Experimental) To be sure that the outer layer will be ignited correctly I filled all the interspaces with granulated fast BP.
They added about 400 grams to the total shell weight.
Then I placed the classical tissue paper bag full of coated rice hulls for the breaking charge.
The smaller 6" shell is another experiment of mine: my first double-petaled shell.
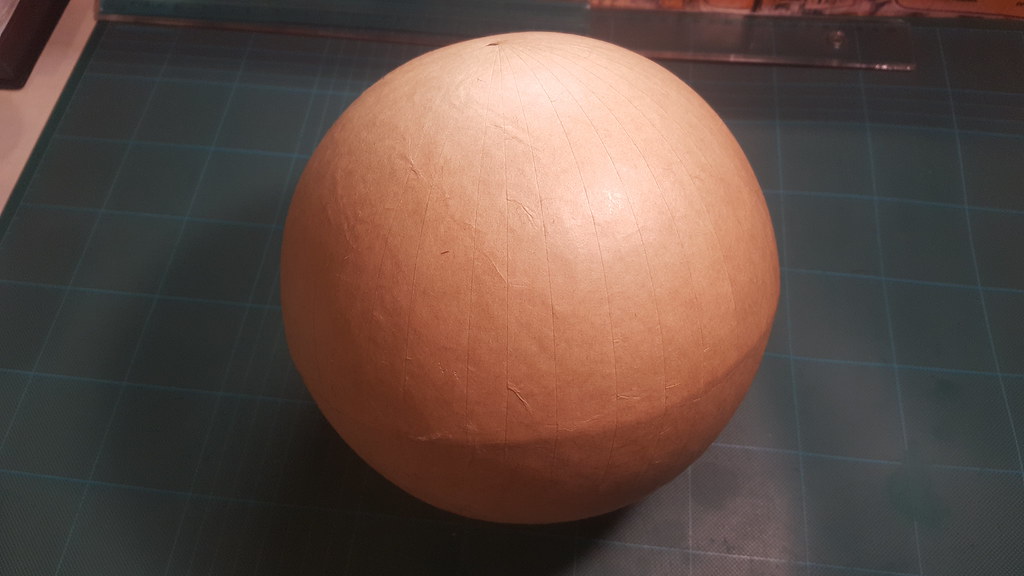
The finished pasted 8" shell:
Double fast fuse inserted into two different holes drilled directly in the pressed mix to be sure to have the shell ignition.
Some cotton balls will help to keep everything in place:
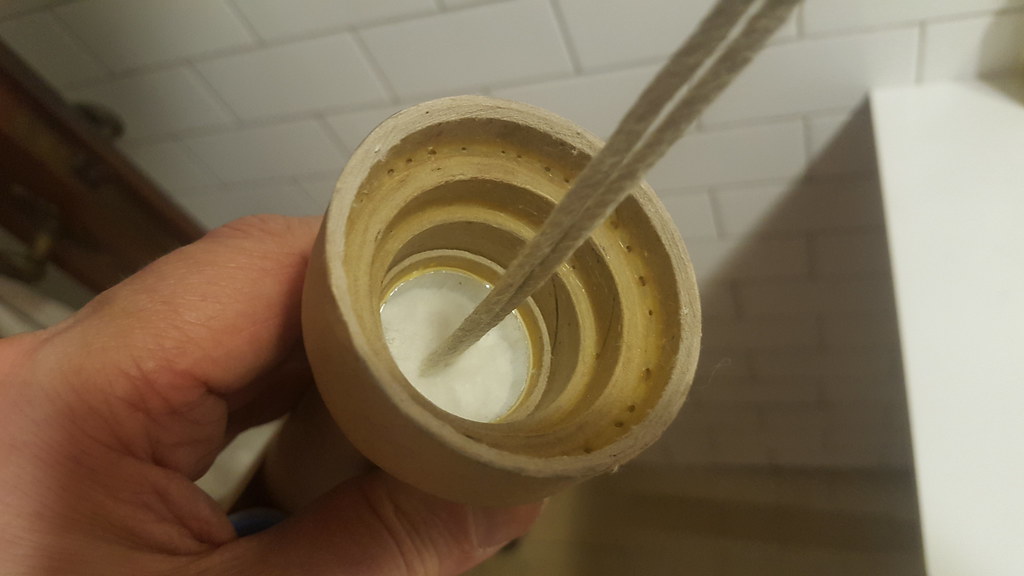
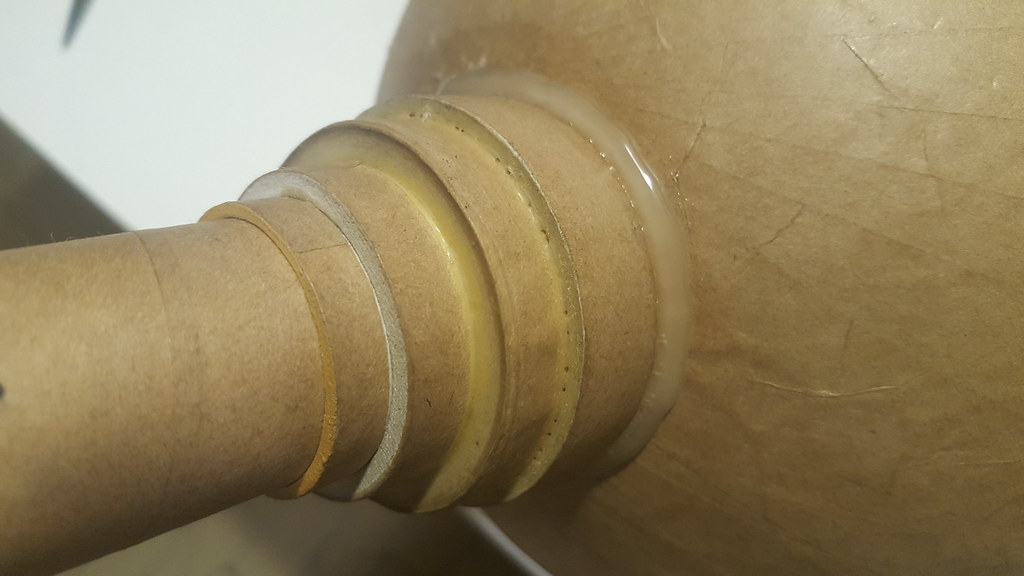
A close shot of the custom handmade shell adapters. Three kinds of glue was used: Titebond, Kostrufiss and thermal glue:
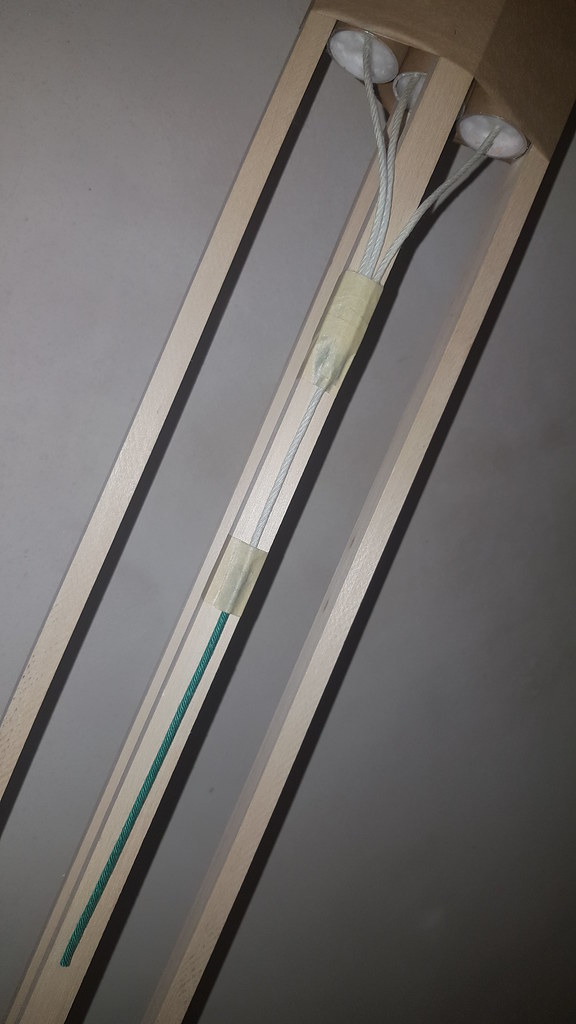
The three fast fuses joined to an unique fast fuse joined to a slow fuse.
To be sure to have a solid path I cut vertically every fuse for some millimeters and then
inserted one inside the other:
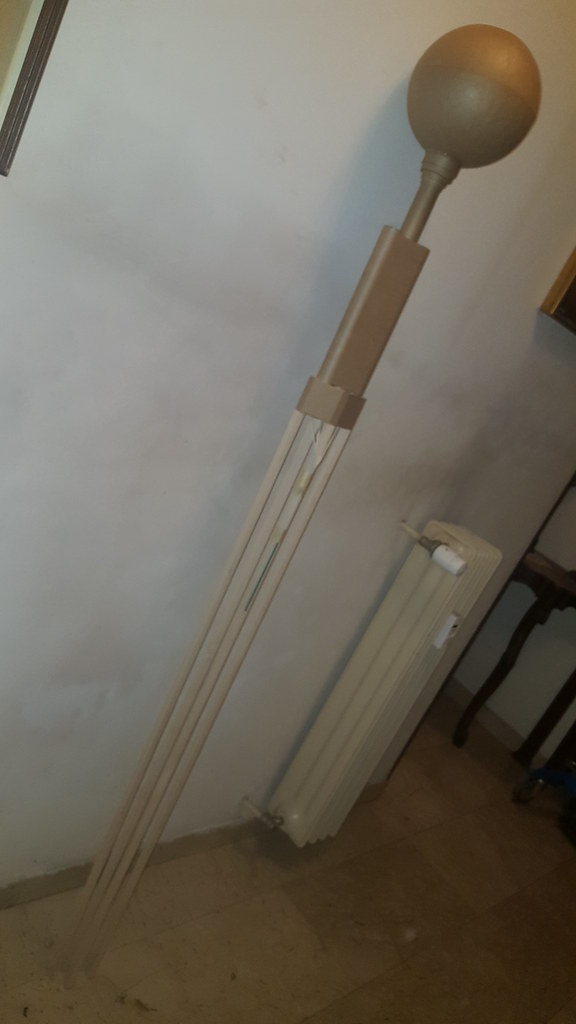
And finally the monster, a 1900mm rocket with a massive weight near 5 KG:
The first launch:
A better rocket was build later. Here is the launch:
A third spectacular kamuro shell launched at the end of the year:
.. and this is my first 6" double-petaled shell:
Sorry, I haven't the pics of every build step, so this is a not-fully documented tutorial (as I usually do).
Some datas:
All the tubes are made in aluminum, ID 27mm, OD 30mm.
The central rocket is 400mm lenght, the other two are 300mm lenght.
The hole diameters are 12mm.
The central rocket has a hole lenght of 310mm, the shorter rockets has a lenght of 240mm.
The granulated mix (KNO3, Sucrose, RIO, Titanium sponge) was pressed at about 7000 PSI.
I used 4x1250mm Samba long sticks to have a decent counterbalancing.
The tubes and the sticks will be rescued the day after the launch, to protect the environment and to save some moneys for the next launch LOL.
Back view of the three rockets:

The three rockets glued:

Putting caps at the end of every side rocket:

Making two holes in the compound to insert the fast fuses. The depth of the hole determine the delay of the ignition, so more depth are the
holes, lower will be the detonation:

I have created two holes into the delay because I suffered some failure with superfast visco fuses (failed shell ignition due to interrupted fuses),
and since it is not a great show to see a 5 KG fireworks fall to the land completely intact, I prefer to put two fuses instead one.
The delay thickness on the top is 4 cm, but since it is too much, I created 10mm deep holes, so the fuses will be ignited some seconds before the
end of the delay.
It is a good idea to make enough delay thickness due to the high internal rocket pressure, especially the long one, that it is pushed to the limit.
A too thin delay is risky because the pressure can blow up it.
First layer of Kamuro stars. They were made with a mix of two kinds of charcoals: a coconut airfloat charcoal for initial slow burning and 20 mesh
raw lumpwood charcoal for a long-lasting effect falling sparks:

Second layer of Kamuro stars:

(Experimental) To be sure that the outer layer will be ignited correctly I filled all the interspaces with granulated fast BP.
They added about 400 grams to the total shell weight.
Then I placed the classical tissue paper bag full of coated rice hulls for the breaking charge.
The smaller 6" shell is another experiment of mine: my first double-petaled shell.

The finished pasted 8" shell:

Double fast fuse inserted into two different holes drilled directly in the pressed mix to be sure to have the shell ignition.
Some cotton balls will help to keep everything in place:

A close shot of the custom handmade shell adapters. Three kinds of glue was used: Titebond, Kostrufiss and thermal glue:

The three fast fuses joined to an unique fast fuse joined to a slow fuse.
To be sure to have a solid path I cut vertically every fuse for some millimeters and then
inserted one inside the other:

And finally the monster, a 1900mm rocket with a massive weight near 5 KG:

The first launch:
A better rocket was build later. Here is the launch:
A third spectacular kamuro shell launched at the end of the year:
.. and this is my first 6" double-petaled shell:


