djQUAN
0
- Joined
- May 27, 2013
- Messages
- 1,154
- Points
- 63
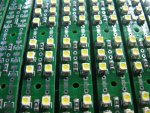
I've used the tweezer method most of the time but when I went building about 100 LED strip boards (each board has 8 1206 size resistors and 24 Osram PLCC LEDs) I needed a faster method.
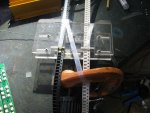
Since I'll be simply having two kinds of parts, I made a simple dispenser from acrylic. Machined it to hold the tape and using weights to automatically peel the cover tape.

I used ferrite toroids and clips to pull the cover tape from the carrier.

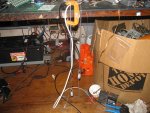
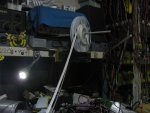
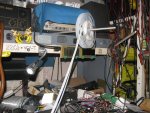
A convenient place to stick an aluminum rod to hold the reels

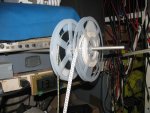
The reels of LEDs and resistors

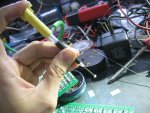
Since the tweezers won't fit in the carrier tape to grab the part, a vacuum tweezer was needed. Not those crappy pen style ones, I made one from a syringe needle, some tubes and a diaphragm pump for continuous vacuum. lifting my index finger uncovers a hole releasing the vacuum dropping the part.

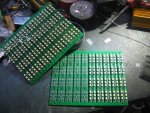
The panels of boards. One done, the other halfway through.

I haven't invested in a reflow oven, paste and stencil so all this was hand soldered.

Since I'll be simply having two kinds of parts, I made a simple dispenser from acrylic. Machined it to hold the tape and using weights to automatically peel the cover tape.
I used ferrite toroids and clips to pull the cover tape from the carrier.
A convenient place to stick an aluminum rod to hold the reels
The reels of LEDs and resistors
Since the tweezers won't fit in the carrier tape to grab the part, a vacuum tweezer was needed. Not those crappy pen style ones, I made one from a syringe needle, some tubes and a diaphragm pump for continuous vacuum. lifting my index finger uncovers a hole releasing the vacuum dropping the part.
The panels of boards. One done, the other halfway through.
I haven't invested in a reflow oven, paste and stencil so all this was hand soldered.
Attachments
Last edited by a moderator:


