Welcome to Laser Pointer Forums - discuss green laser pointers, blue laser pointers, and all types of lasers

LPF Donation via Stripe | LPF Donation - Other Methods

Links below open in new window

ArcticMyst Security by Avery

LEP white light source -edit- LEP handheld flashlight build and test photos

djQUAN

0
Joined
May 27, 2013
Messages
1,154
Points
63
I wanted a LEP flashlight but it's too pricey and not available in my usual purchasing sites so I couldn't get one.

I was suggested to check out an Ali store for an engraver head diode upgrade and stumbled upon this gem.

It looks like an LEP light source so I purchased one along with my diode and it arrived.

Spec sheet from the ad
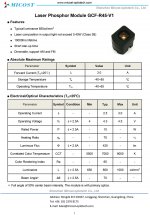
Hbdb3b7ad61164979b597ba4171b493977.jpg

It is not small so making a handheld might be a bit bulky but I might find a way.
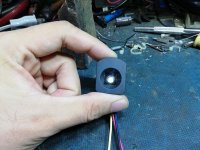
IMG_20210706_232233.jpg

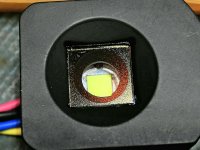
Aperture side, power off
IMG_20210706_232922.jpg

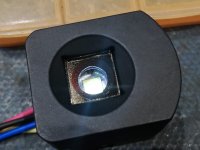
Aperture side, low current
IMG_20210706_232847.jpg

With about 1A current to the diode, (can do 2.5A max)
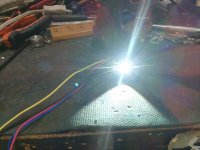
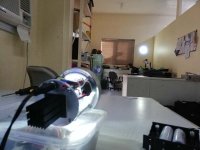
IMG_20210706_232208.jpg

Using a random lens from DTR's projector optics package
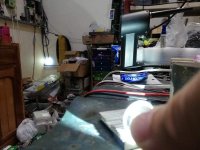
IMG_20210706_232809.jpg

I have a few ideas to make this work in a handheld so I'll update this thread as it progresses. RHD's sample driver might finally be used here. ;)
 
Last edited:


djQUAN

0
Joined
May 27, 2013
Messages
1,154
Points
63
V1 build - proof of concept

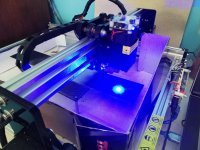
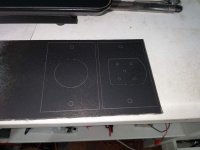
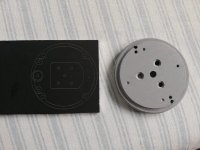
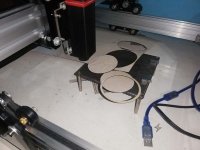
I used my laser engraver to transfer the cad drawing to aluminum plate for the lens and LEP holders to be able to test its performace.
IMG_20210710_130532.jpg

Here is the etched aluminum plate which was sprayed in black paint.
IMG_20210710_130632.jpg

LEP light source and a lens from DTR's projector lens assembly.
IMG_20210710_135850.jpg

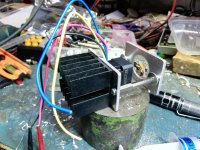
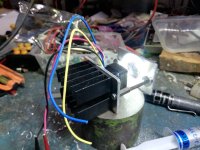
I added a heatsink at the back of the LEP source as it gets pretty hot in use, about 11W power input.
IMG_20210710_140147.jpg

Test glowing
IMG_20210710_140200.jpg

Springs are added on the ends of the standoffs so that I can fine tune focus
IMG_20210710_140230.jpg

The semi-portable assembly so I can take it to test at longer distances. I used rhd's clean edge driver which pushes about 2.7A into the LEP module with 2x 18650 in series.
IMG_20210710_144412.jpg

Testing at a longer distance in the garage
IMG_20210710_182212.jpg

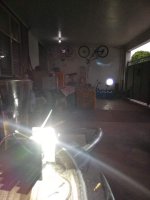
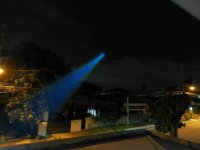
Obligatory beam photo
IMG_20210710_193158.jpg

The limitations of a small diameter lens with a bit long FL (for this purpose) is showing. It is rated at 420lm output but a lot of it is wasted as the light is outside the lens diameter. Only about 40% of the emitted light is focused into a tight beam. A bigger lens is needed.
 

djQUAN

0
Joined
May 27, 2013
Messages
1,154
Points
63
V2 - Bigger lens = better output

I have an old OEM projector headlight with the reflector bowl corroded but the lens is still good. I tested the lens by temporarily gluing it to the LEP module for testing.
IMG_20210711_130250.jpg

It does look promising and nearly all the light output from the LEP module is within the lens diameter. The spot size is also decent.
IMG_20210711_130311.jpg

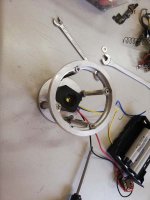
Now to make it a little more permanent. The aluminum plate will hold the LEP module and the round one is from a lens holder assembly from a 100W LED flood lamp. The lens used is crap but the car headlight lens fits perfectly so I get to reuse the holder assy.
IMG_20210711_142801.jpg

After a bit of manual machining, they line up perfectly.
IMG_20210711_152618.jpg

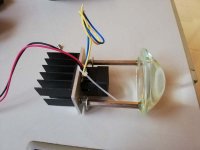
The LEP module installed, the mechanical assembly uses brass standoffs to space them at the correct distance.
IMG_20210711_155037.jpg

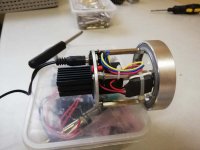
Ready for testing. Driver is wrapped in heatshrink tube for insulation, during testing, heat is not an issue for the driver as it is over 90% efficient at most operating ranges.
IMG_20210711_162744.jpg

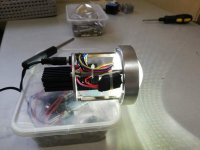
Lit up. Notice there is much less back spill compared to V1. The only back spill is from due to the lens not having anti reflective coating.
IMG_20210711_162751.jpg

Distance spot test.
IMG_20210711_162804.jpg

to be continued...
 

djQUAN

0
Joined
May 27, 2013
Messages
1,154
Points
63
V2 pt2

The joys of having a laser cutter/engraver. I made cardboard spacers to fine tune the lens focus distance from the LEP module.
IMG_20210713_220941.jpg

A fan was added with a smaller heatsink to improve the operating duty cycle.
IMG_20210711_195920.jpg

The red and black 2mm jacks are for the thermistor sensor output built into the LEP module. A multimeter in ohms mode can be plugged here to estimate diode temperature during prolonged runtime.
IMG_20210711_195938.jpg

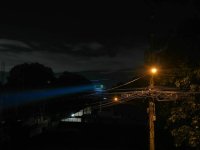
Beamshot with the new lens
IMG_20210711_194316.jpg

A distance test: Control image
IMG_20210711_194623.jpg

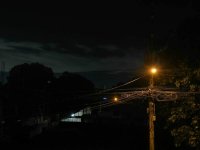
With the LEP on.The tiny spot at the end is a water tank about 600m away from my house. I had tried a structure 1km away but it is too well lit to be able to take decent pics but It does reach. The flashlight should be able to throw further in darker areas.
IMG_20210711_194729.jpg

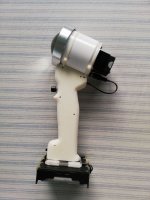
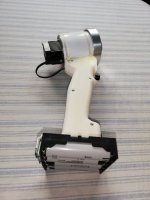
Nearly completed. Just needs a better way of holding the batteries. I decided on 2S2P with BMS for longer runtimes. Handle was carved from two 12mm sheets of some material used for tabletops, a synthetic resin substitute for granite/marble. It was easy to cut and shape but smells like fiberglass resin.
IMG_20210712_174334.jpg

Just below the lens, above the trigger button are two 5mm LEDs which are used as dim lighting (separately switched) when walking at night as the main beam will be too blindingly bright up close not to mention the small spot is pretty useless.
IMG_20210712_174345.jpg

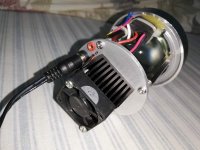
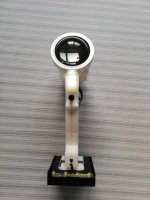
Back side with the fan visible. The fan is a 5V unit overdriven at 8.4V but works just fine and pushes a lot more air for a 25mm unit.
IMG_20210712_174350.jpg

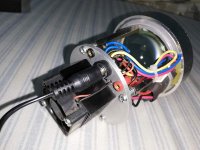
Just for completeness, the other side.
IMG_20210712_174401.jpg

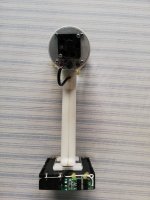
It just needs a better enclosed battery holder (acrylic box comes into mind) and this should be complete.
 

djQUAN

0
Joined
May 27, 2013
Messages
1,154
Points
63
Check "Surplus Shed" for large diameter lenses.
The OEM projector lens works quite well actually so I guess I'll be keeping that. I was looking at these before as a source of lenses but thought I'd try the ones I had on hand before spending which turned out great.

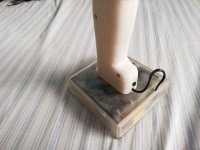
I had finished the battery box using acrylic.
IMG_20210715_152918.jpg

An XT30 was used to make the holder detachable.
IMG_20210715_152931.jpg

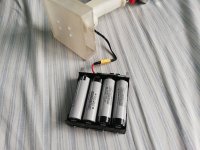
4X 18650 in 2S2P with BMS to prevent over discharging in extended use.
IMG_20210715_152949.jpg


Top