Welcome to Laser Pointer Forums - discuss green laser pointers, blue laser pointers, and all types of lasers

Buy Site Supporter Role (remove some ads) | LPF Donations

Links below open in new window

FrozenGate by Avery

Autopsy of a green module (NSFW)

Joined
Aug 26, 2008
Messages
387
Points
18
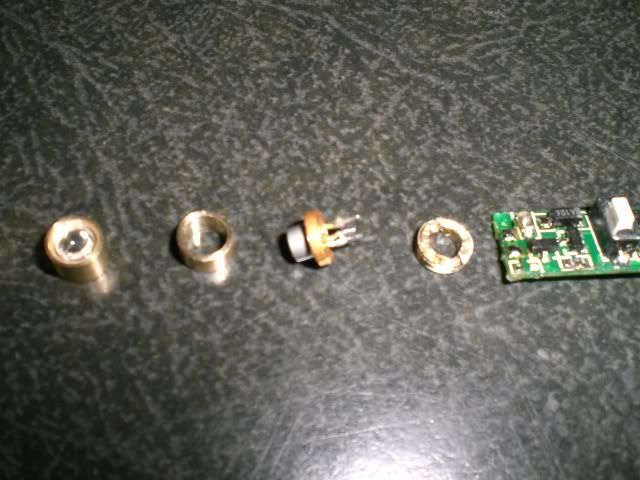
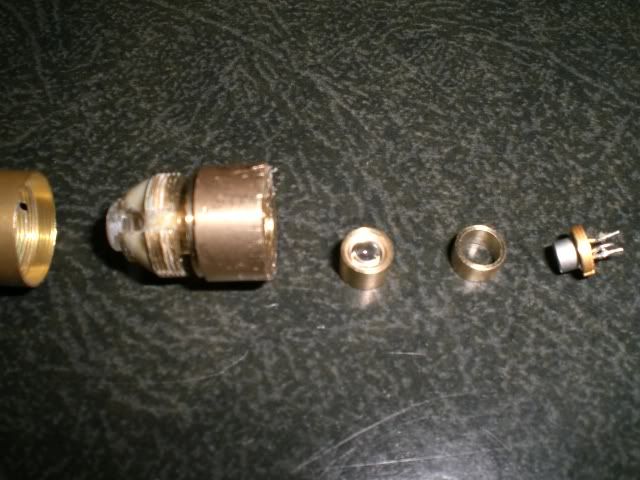
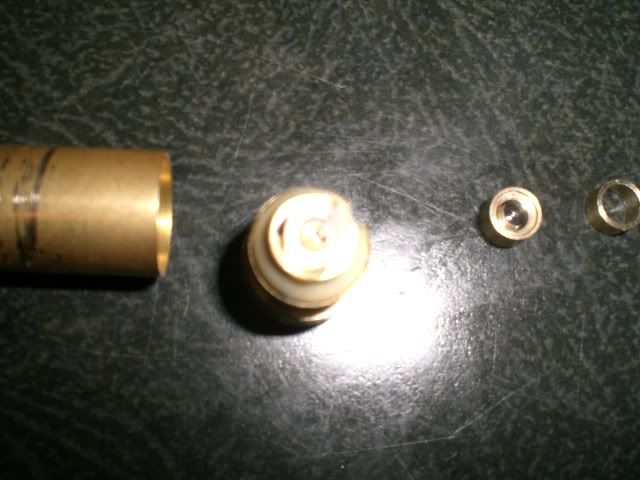
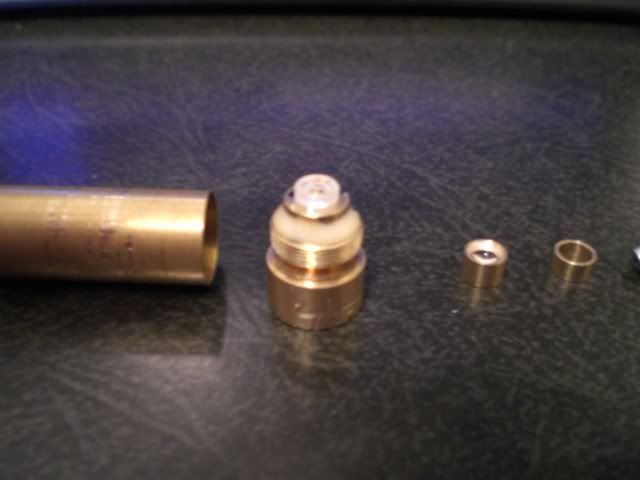
Just kidding about the NSFW, but will probably get 10,000 hits ;)  Anyway, this is the 20 mW green module I purchased from Standstone11 that did not work (she is replacing it).  Before I dissected it I tested both the driver and the diode...which neither worked.  Sooooo I thought I would dismantle it to see what its' design looked like.  One thing that is interesting, is that the 808 nM diode is not pressed in but held in place by a small retainer ring.  So if I replace the diode I could just drop it in :)  The module is laid out in the order it came apart.  If there is an expert out there...please chime in and identify the parts, especially which parts are the special crystals, etc.  There is still the collimation lens in the main body, you would need a spanner wench to unscrew it out.  For simplification lets number the pieces 1-7 starting left to right in photo number 1. 1=main body. 5=808 nM diode. 6=retaining ring. 7=driver.  I'm not sure what 2-4 are called?  P.S. No animals were harmed in the making of this thread ;D
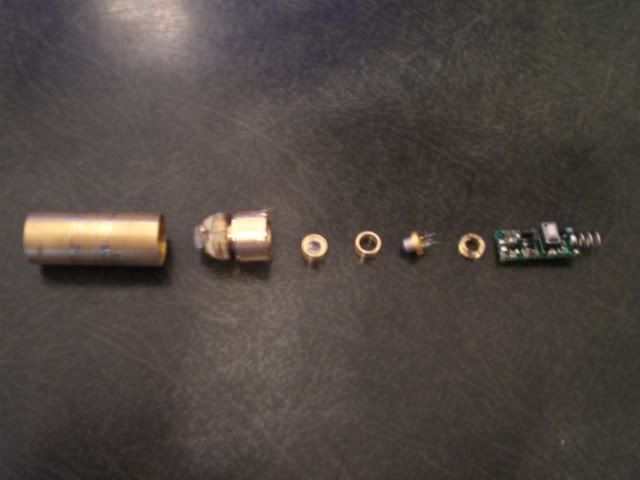
CIMG0657.jpg

CIMG0661.jpg

CIMG0664.jpg

CIMG0666.jpg

CIMG0678.jpg


Hmm you could fix that with a 200mW LD from stonetek .

-Adam
 
I'm no "expert" per se, but I can identify the parts...
From right to left:
Driver (obviously), retainer ring, Pump diode (obviously), spacer, collimator for pump diode (to increase efficiency of 808 conversion), heatsink with crystals inside (Nd:YVO4 & KTP), and the lens on that is an expander (part 1 of the collimation lens assembly) and the largest brass part is a heatsink with the final collimation lens.
:)

I "dissected" my broken Galileo module and it is basically assembled in the same way. The only real difference is the shape of the module and it has an IR filter and photodiode built in immediately after the crystal set.

The ring to set the diode makes diode replacement convenient; eventually I think I'll try to revive my Galileo module with a new diode.
 
Are you talking about one of his 808 nM diodes? I already have a couple of rckstrs drivers. What power setting would I use in mA's?
 
RA_pierce said:
I'm no "expert" per se, but I can identify the parts...
From right to left:
Driver (obviously), retainer ring, Pump diode (obviously), spacer, collimator for pump diode (to increase efficiency of 808 conversion), heatsink with crystals inside (Nd:YVO4 & KTP), and the lens on that is an expander (part 1 of the collimation lens assembly) and the largest brass part is a heatsink with the final collimation lens.
:)

I "dissected" my broken Galileo module and it is basically assembled in the same way. The only real difference is the shape of the module and it has an IR filter and photodiode built in immediately after the crystal set.

The ring to set the diode makes diode replacement convenient; eventually I think I'll try to revive my Galileo module with a new diode.
Thanks that is a great answer!
 
WackBag said:
Are you talking about one of his 808 nM diodes?  I already have a couple of rckstrs drivers.  What power setting would I use in mA's?

Those are the ones.
Probably 200mA or less.

I think it was Hemlock Mike that made a graph of mW/mA.

Too much power will cook the crystals so be careful.


Edit: You're welcome :)
 
RA_pierce said:
[quote author=WackBag link=1223848200/0#3 date=1223849667]Are you talking about one of his 808 nM diodes?  I already have a couple of rckstrs drivers.  What power setting would I use in mA's?

Those are the ones.
Probably 200mA or less.

I think it was Hemlock Mike that made a graph of mW/mA.

Too much power will cook the crystals so be careful.


Edit: You're welcome :)[/quote]
Cool, I think I will order one. They are cheap enough. I'll try to hunt down the graph.
 
protip, number two can be taken apart with force as it is a lens glued onto a piece that the crystal is held into which is glued on the bigger brass piece.
just don't do it if you plan to use it again because it takes a bit of work to align that lens on it (the crystal can be aligned by hand after the diode is in and on) yet again it might be worth the time because it might fix the problem it has of being off centered....

(pics of my 5mw "new wish" green from dx, looks just the same, except mine has a brass ring around the lens where yours doesn't...)
DSCN7777.jpg

said pieces next to an aixiz lens. they just come apart with force from plyers
DSCN7779.jpg


after i glued back on the crystal wtihout that front lens, it produced a nice clean dot of one inch across the room. unfortunately i can't find a lens that will make that into a beam....
 
I must be a tard or something: I had to go to the Internet to find out what "NSFW" means.
 
Just be careful and no matter what you do "don't go Full Retard"...nobody ever goes Full Retard ;D


P.S. That's from the movie "Tropic Thunder", very funny movie especially Simple Jack :D


Back
Top