- Joined
- Apr 23, 2011
- Messages
- 177
- Points
- 28
Firstly, let me apologize in advance if it looks like kiddy arts & crafts hour but I've been chugging away on the host and pretty much finished. Tomorrow I'll assemble the module.
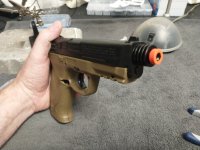
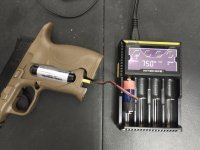
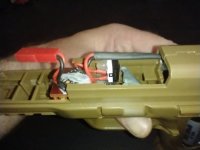
Oh yeah, so this is a BB gun I've converted into a laser, an 18650 fits into the handle nicely where the CO2 cannister went, and the battery is a protected job w/leads. I was going to use a regular 18650 but was getting to caught up on how to make battery contacts when I found this one on liionwholesale. As for charging the battery, I'll make a dummy battery pig tailed to the mating connector installed that can be popped into a charger.
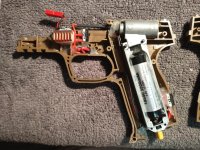
Along the backstrap is a switch that switches between charging & lasing, it has grips that slide back to change CO2, when closed it hits the micro switch. I probably didn't really need to install the backstrap switch, but figured what the heck, I have 30 of em.
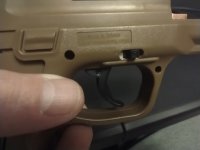
I was trying to use the original safety switch with the gun but couldn't get it to slide properly and reliably so I used one of the switches I'd picked up in its place.
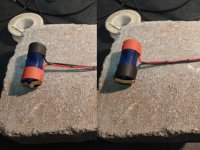
The heatsink is an M.2 SSD copper heatsink I picked up cheap and cut a piece to fit and used the thermal pad it came with for heat dissipation. Although at 400ma I don't think, hope anyway, there won't be much to dissipate.
I'm using a JST connector between diode & LD being the module will be attached in the "slide" so it makes field stripping a little easier.
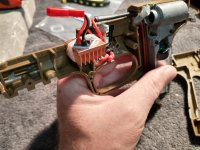
The original trigger assembly has an arm that hits a micro switch to fire the laser.
Yep, a lot of hot glue in it but holding together well, it's got a little heft to it. Once I'm done I'll weight it, but has a nice feel to it and haven't even held it all together yet.
Any who, it's been fun, I haven't done any soldering in years, and planning out where and how to mount stuff was fun too.
I'm really pleased with how it's coming out, honestly way better that I could have done when I started.
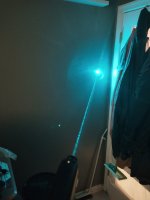
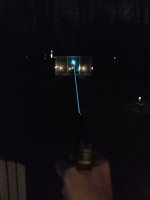
Here's a few pics thus far:


Last edited:


