Welcome to Laser Pointer Forums - discuss green laser pointers, blue laser pointers, and all types of lasers

LPF Donation via Stripe | LPF Donation - Other Methods

Links below open in new window

ArcticMyst Security by Avery

Messing with my RGBY Handheld Laser "Drawing" Setup

julianthedragon

Well-known member
Joined
Jun 3, 2020
Messages
368
Points
63
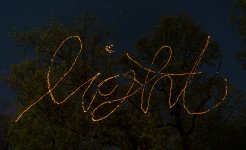
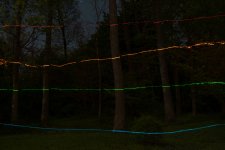
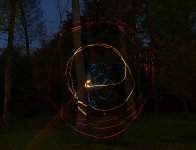
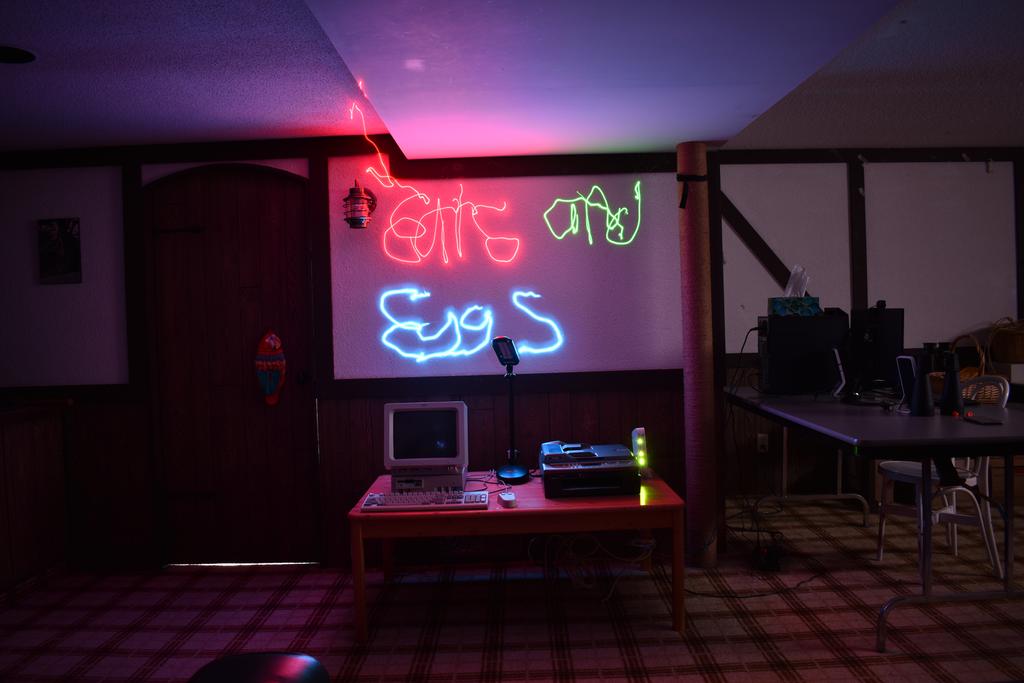
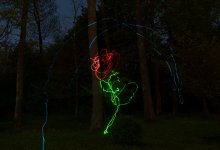
Now that I'm done with classes for the semester I finally had time to take some long exposure tripod shots with my lasers.

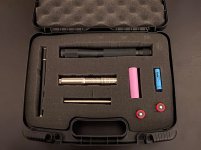
I acquired this custom foam case specifically for this purpose and made space for my four lasers that made the most sense:
485, 520, 589, and 635nm — all close to 50mw. At 50mw they are undeniably bright in the dark while still not being a paranoia-inducing fire/eye hazard.
IMG_6009.jpg

Hope to make more and become more skilled at the drawing part soon :)
DSC06858-2.jpgDSC06898-2.jpgDSC06878-2.jpgDSC06856-2.jpg


Ears and Eggs

0
Staff member
LPF Site Supporter
Joined
Oct 1, 2007
Messages
2,858
Points
113
Really cool. What camera setup are you using? I've tried my hand at this a few times but haven't made an animation with them yet, just a few random long exposures. I'm not that good at it yet but really enjoy this kind of laser art.


DSC-0118.jpg
 

julianthedragon

Well-known member
Joined
Jun 3, 2020
Messages
368
Points
63
Really cool. What camera setup are you using? I've tried my hand at this a few times but haven't made an animation with them yet, just a few random long exposures. I'm not that good at it yet but really enjoy this kind of laser art.
Ah neat! My camera setup was a Sony A7III mirrorless body with a 55mm F1.8 Sony lens on a fairly priced yet sturdy tripod I found on Amazon. For the settings it varied a little but I was shooting around 20 second exposures at F3.2 and 100 ISO. Besides lasers, photography is another major time and money drainer of mine :ROFLMAO: so I have this equipment around but you can 100% accomplish the same with cheaper alternatives if you want.

I like to make sure nothing is shaking my camera during the exposure by either adding a delay so the shutter goes off 2s after I push the button or using a remote shutter release. It's also important to set ISO low to avoid noise; you can make the photo as bright as you need with only aperture and exposure time. I like to expose mostly for the lasers and a little for the background--it's okay if the background is dim in the raw picture since it's easier to rescue deep shadows with digital than blown out highlights.
Definitely looking forward to seeing more stuff like this in the future.


Top