Welcome to Laser Pointer Forums - discuss green laser pointers, blue laser pointers, and all types of lasers

Buy Site Supporter Role (remove some ads) | LPF Donations

Links below open in new window

FrozenGate by Avery

laser driver problem

Joined
Apr 10, 2011
Messages
33
Points
0
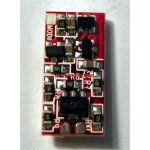
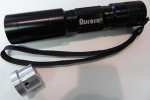
Recently I told my brother I would build him a 200 mw red laser. I ordered the parts online and got them about 3 days ago. I can not figure out how to attach the battry to the driver while keeping it in the host.

driver and host:
(sorry had to use online picks because my camera is not working)
 

Attachments

  • red-laser-ir-laser-diode-driver-80-500ma-ttl.jpg
    red-laser-ir-laser-diode-driver-80-500ma-ttl.jpg
    21.4 KB · Views: 415
  • Aurora C6.JPG
    Aurora C6.JPG
    27.6 KB · Views: 247


What you need to do is take the driver pill out of the flashlight and remove the PCB. Remove all the components (you can pry them off with a screwdriver or other probe) from it and, using a multimeter, find a point where the battery contact is continuous to the other side of the PCB.

If you don't have a multimeter, you can use an LED, which is what I did before I had a multimeter. Attach an alligator clip to the negative lead of the LED and the Negative terminal of the power supply. Then make sure the positive terminal of the battery makes contact with the battery solder blob on the PCB. Then probe the positive lead on the LED around points on the driver board until you find a solder point that completes the circuit. That's where you can utilize the positive voltage.

Do you think that driver fit inside the flashlight though? That'd be cool if it did!

Let us know how this works out :)

Feel free to PM me for any question
 
I understand the part about removing the pill and all that but where would I connect the negative battery end to the driver?

The driver in the picture does not fit in the flashlight but I found a smaller one that looks very similer to that in a local electronics store. I had to use that one because I could not find the one I have online.
 
Last edited:
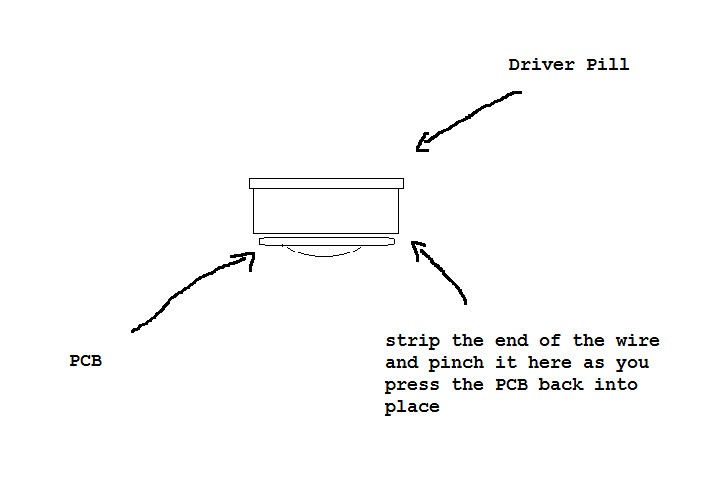
What I do is strip the end of the negative wire that is connected to the drivers ground input. Then I remove the PCB from the pill. What you do is pinch the negative wire between the PCB and the metal pill when you put the PCB back. This way the wire is making contact with the pill. The pill supplies the negative voltage since it is electrically connected via the case to the batteries negative terminal.
 
but then how would i remove the battery without snapping the wire?

The wire isn't going to be directly touching the battery. You're going to be pinching the exposed end of the wire that is used to supply negative voltage to the driver between the PCB in the pill of the host and the pill itself. I'll try to draw up a diagram when I get home from my track practice, if you still need help.
 
Just to clarify, the pill is the part that screw into the host. In my diagram it looks kind of like the heatsink, but it is not.

6576832469_ce008c60d6_b.jpg
 
ok thats what I thought you men't but wasn't 100% shure. thanks for the diagram
 
Oh and PS, just making sure, you are familiar with te terms "case negative" and/or "case connected", correct?
 
sort of...

What that means is that the flashlight is made of aluminum, so the electricity from the battery is carried through the flashlight and delivered to the pill. Aurora C6's have an anodized finish, so wherever there is black, no electricity can be drawn from making contact there since it is a non conductive coating, but it's only a surface coating so the electricity still flows beneath the anodization. However, there are points throughout the flashlight where there is no anodizing. One example is the pill. The threads are not anodized, so electricity is delivered to the pill without needing a wire to connect it. That's why pinching the wire between the pill and PCB secures a connection to the battery's negative terminal. Make sense?
 
Now that you explained it I feal sort of stupid that I didn't understand you earlier.
Rep+


Back
Top