- Joined
- Dec 30, 2011
- Messages
- 152
- Points
- 0
I bought the non working laser off of Ebay for $40.00.
To me to get the host a battery and Charger that charges two 18650 batteries was worth $40.00 shipped.
When I got it sure enough the diode was LEDed.
I ordered an m140 445nM 1.5W to 2W Diode from DTR and a 1W Aixiz Blue laser module and got the laser going again today...
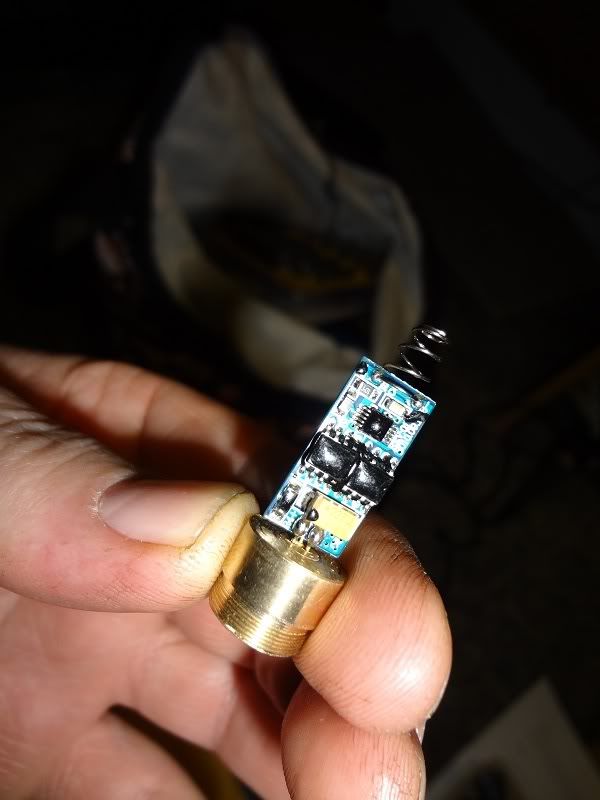
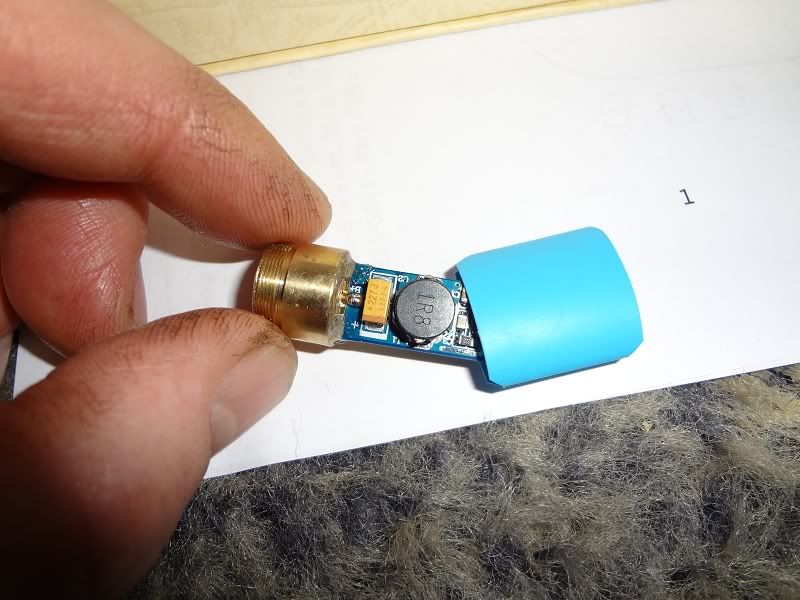
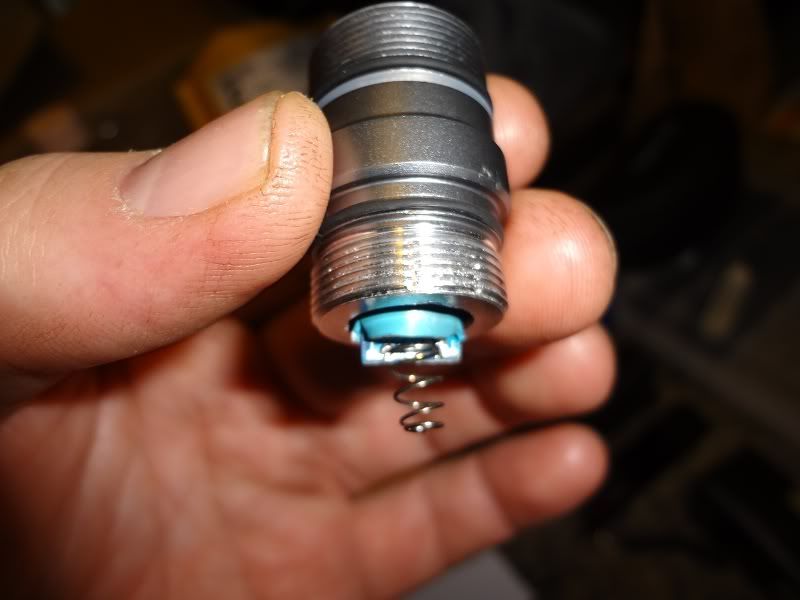
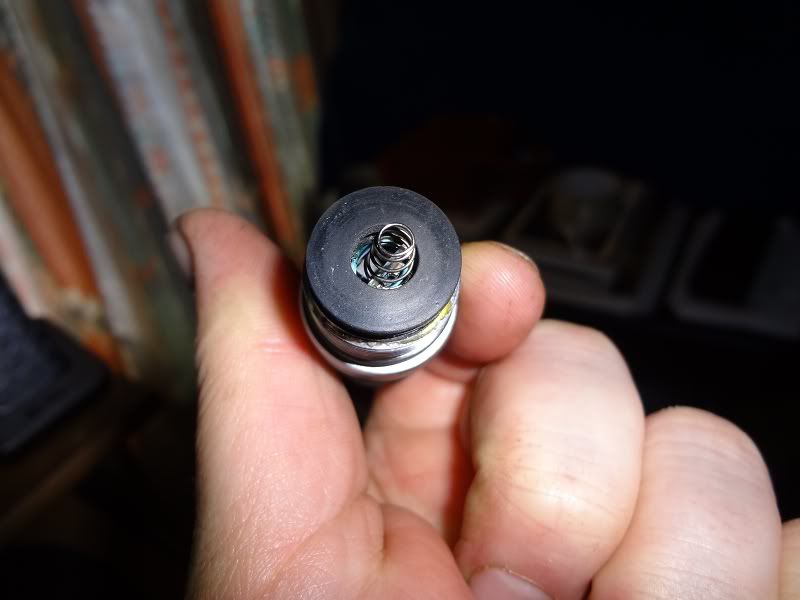
I took the Diode I received from DTR, and pressed it with a vice I bought at Home Depot. Then I soldered the Diode to the driver board, so that the spring is negative and the case is Positive like what is done for most all Green lasers, and you can see this in the pics below.
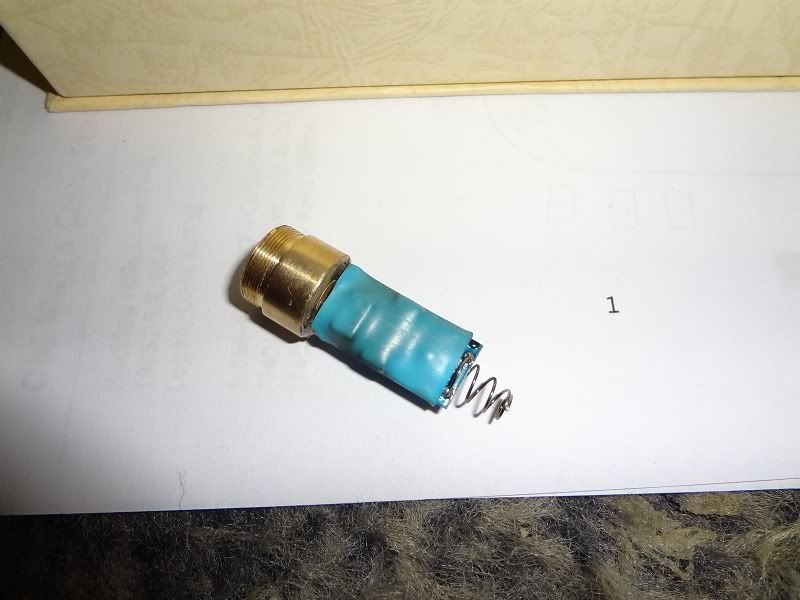
Then I used Heat shrink tubing to better protect the driver board and offer tension for the battery when installed.
Then I put a bit of Thermal Compound on between the heatsink and the mount the Diode was pressed into earlier, then pressed that piece into the larger mount that screws into the host and it fits nice.
Then I glued the end where the board starts to go into the compartment where the battery is and pressed that with a vice just holding it on for about 2 hours to secure the black pad as you can see in the pics.
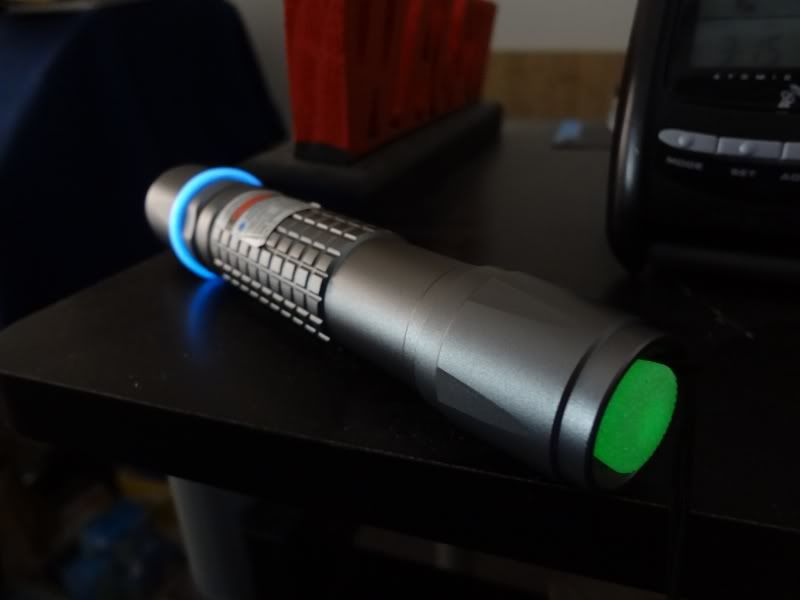
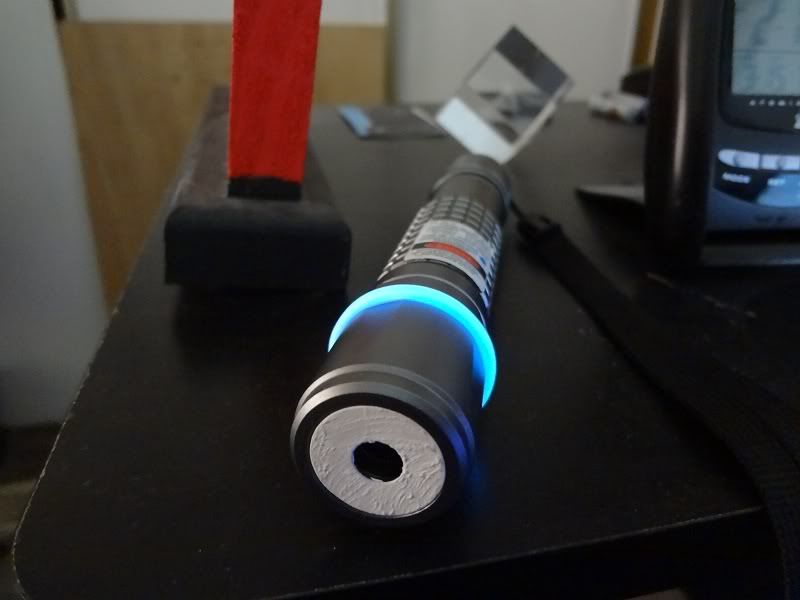
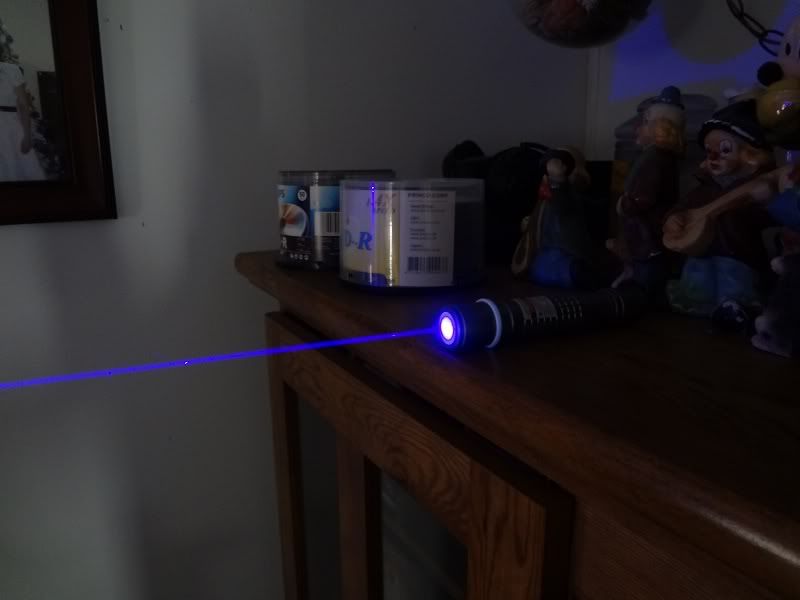
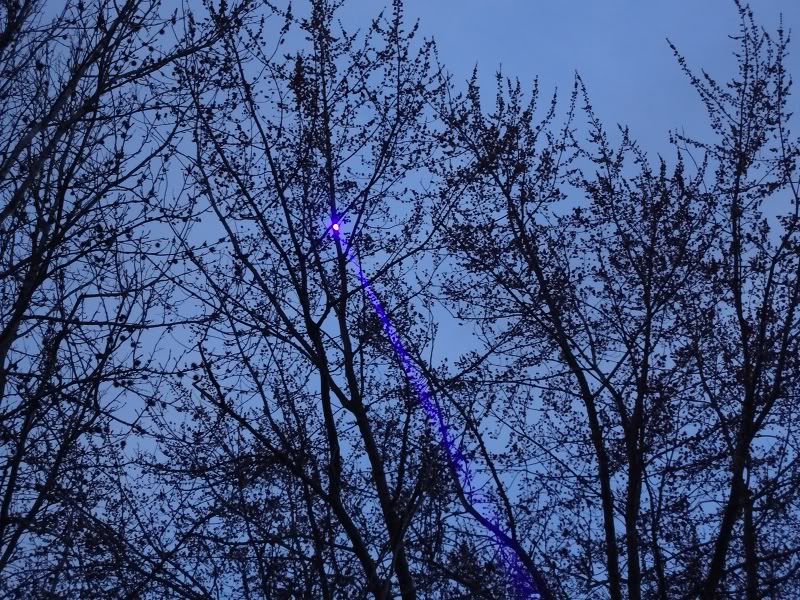
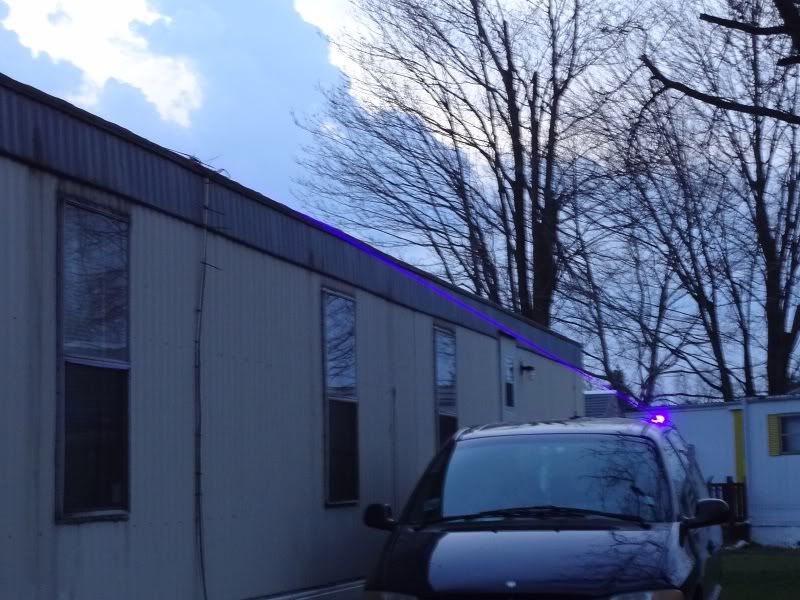
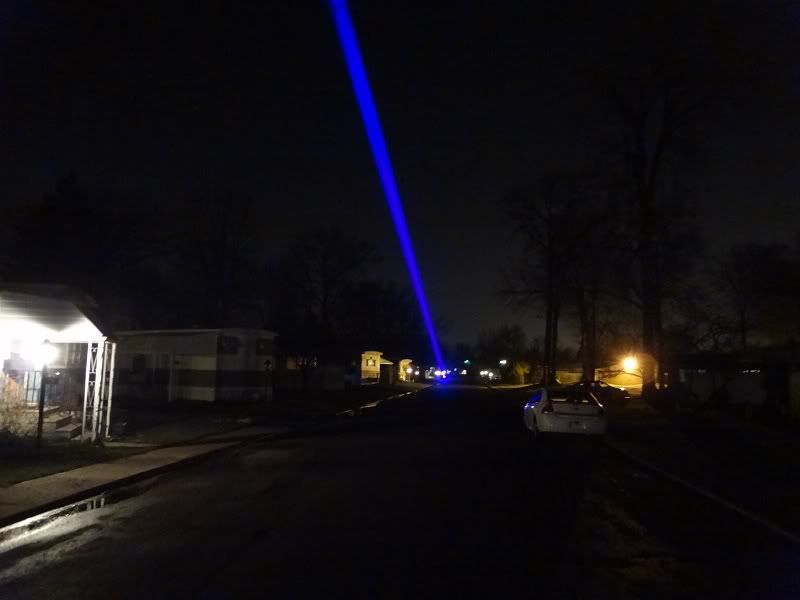
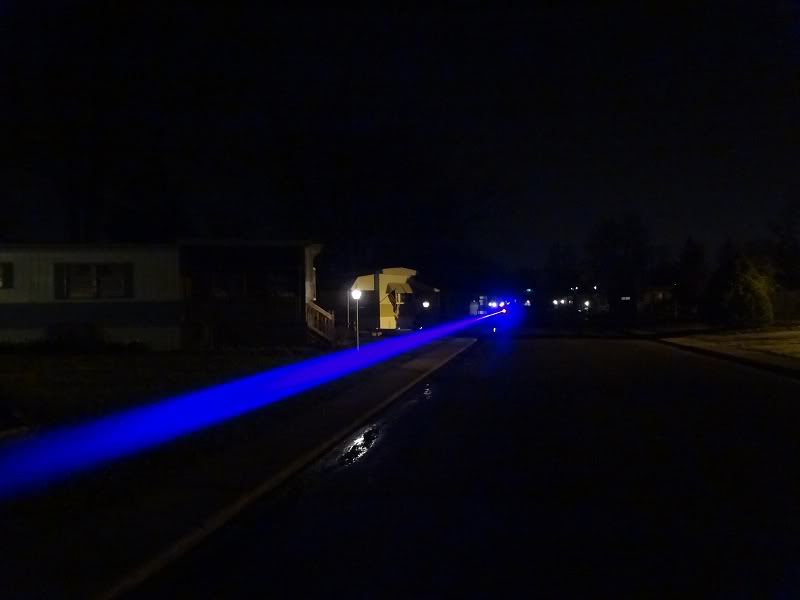
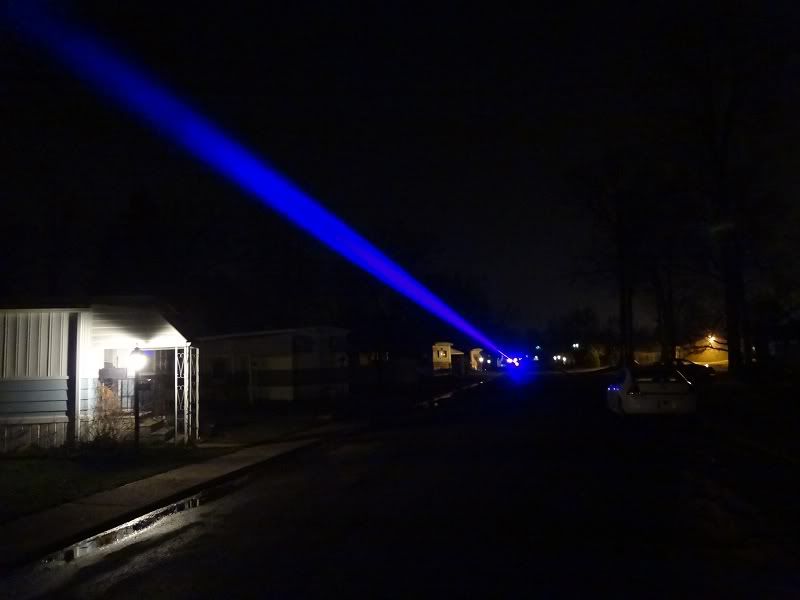
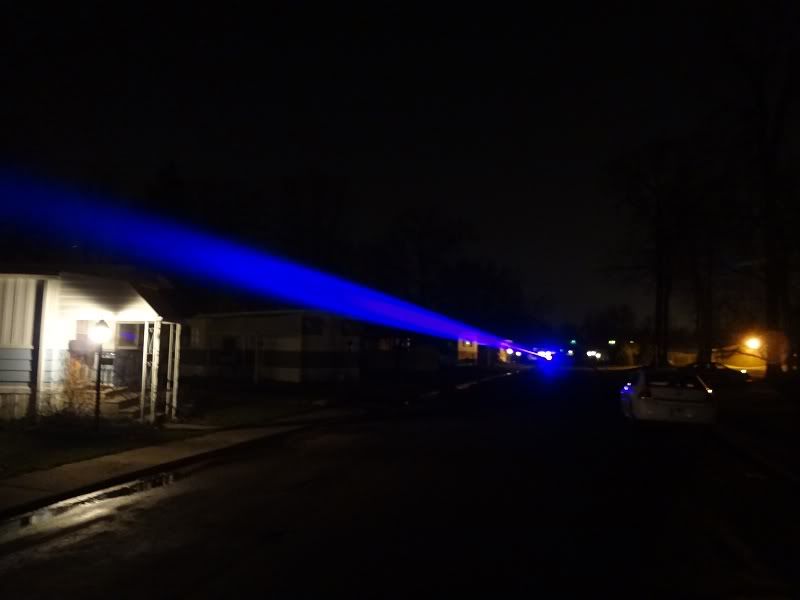
Then I installed a battery with negative facing the spring and positive facing the clicky, and she lased beautifully.
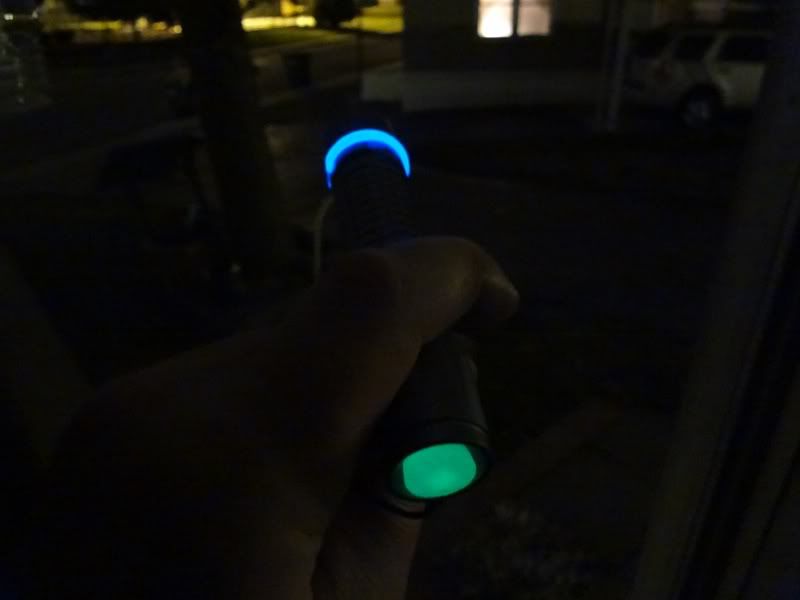
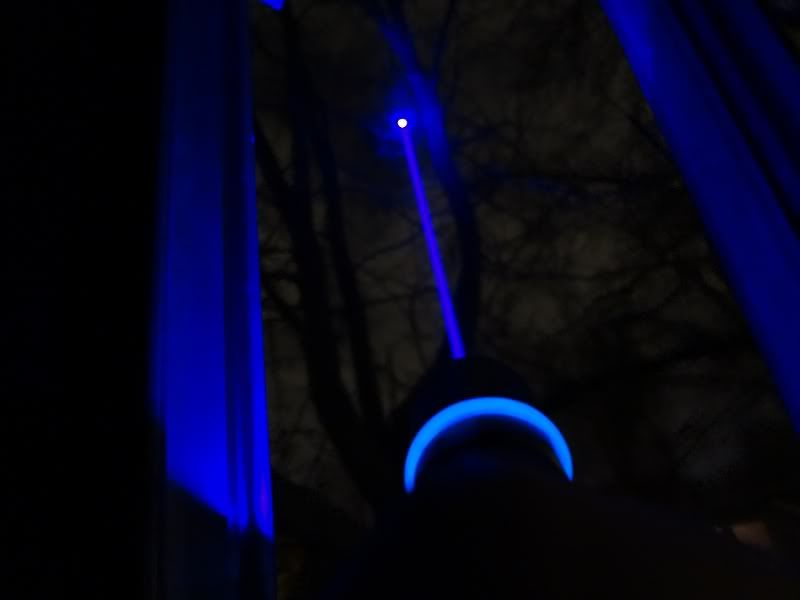
I added a custom Blue glow powder ring that I made to the laser...
This laser is Waterproof!!
I know because before I installed the Diode and driver board, I did an underwater test and not one drop of water got inside in 5 minutes.
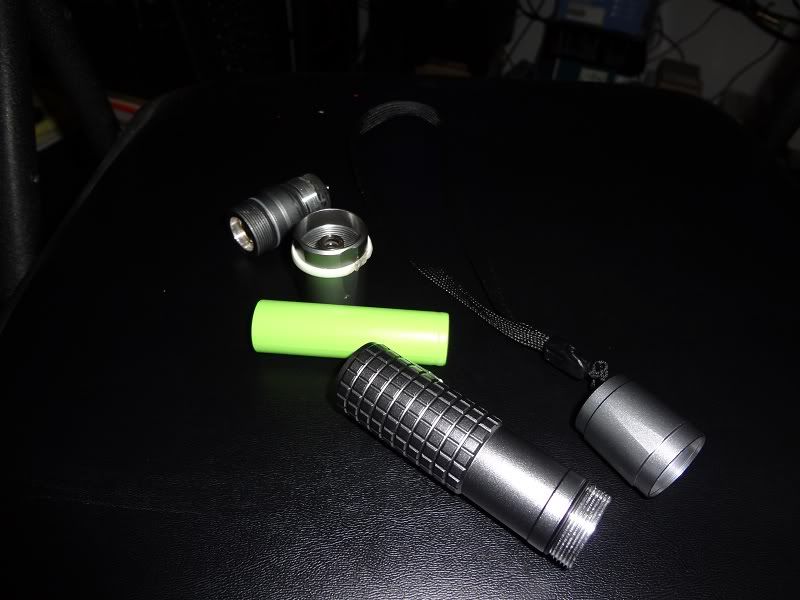
This is accomplished by the o-rings and a thin clear lens at the top of the Laser, which is sealed by screwing in the part that houses the lens, as seen in the first picture.
I took several pictures below along the process of my build.. :beer:


Last edited:


