Eidetical
Well-known member
- Joined
- May 14, 2022
- Messages
- 203
- Points
- 63
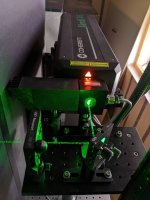
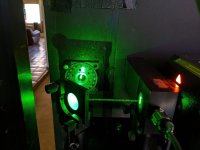
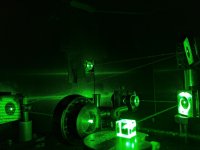
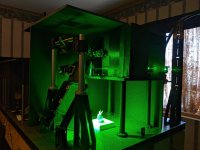
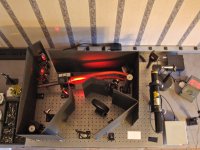
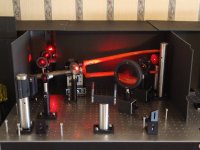
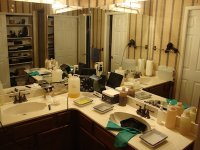
I have been making holograms at home for a very long time, and would encourage anyone interested in laser light to do the same. One system I set up over the years was the one shown below. It was built to see if there was an invisible crack in my '82 Bruce Gordon framed bicycle's fork, which is a long story told on bikeforums in 2013 (I'll send a link if anyone's interested).
Anyway, one can detect hidden micro-cracks in metal tubing with simple holographic interferometry. You make a hologram of the tube, look at both the tube and its holographic image through the hologram with both aligned well enough to see interference fringes, then gently stress the real tube. Defects in the tube are indicated by discontinuity in the otherwise smooth fringes. Transmission holograms are generally made for this purpose because it's usually easier to illuminate the test piece.
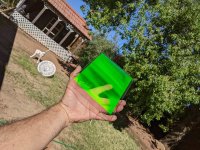
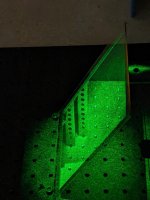
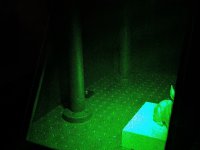
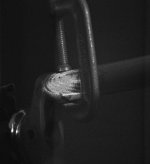
I used a small He-Ne, clamped the fork rigidly, used a PBS and two half wave plates to split the beam, processed the Geola PFG01 plate to get minimum shrinkage of the emulsion, and pinched the tube with a small c-clamp to stress it in the area of the suspected crack. Found nothing! Been riding that fork 9 years now.


