Welcome to Laser Pointer Forums - discuss green laser pointers, blue laser pointers, and all types of lasers

LPF Donation via Stripe | LPF Donation - Other Methods

Links below open in new window

ArcticMyst Security by Avery

Started MS-SSW I.V ? :) *pics*

IWIRE

0
Joined
Dec 18, 2013
Messages
630
Points
0
I guess it's a MS-SSW 1.5, it's a combination of MS-SSW & MS-SSW II. I'm hoping to finish it tomorrow. I call her Jackie Blue. She will be running the new 3.5w Nichia diode. Everything has been test fit, just doing final assembly. I'm keeping this one :)

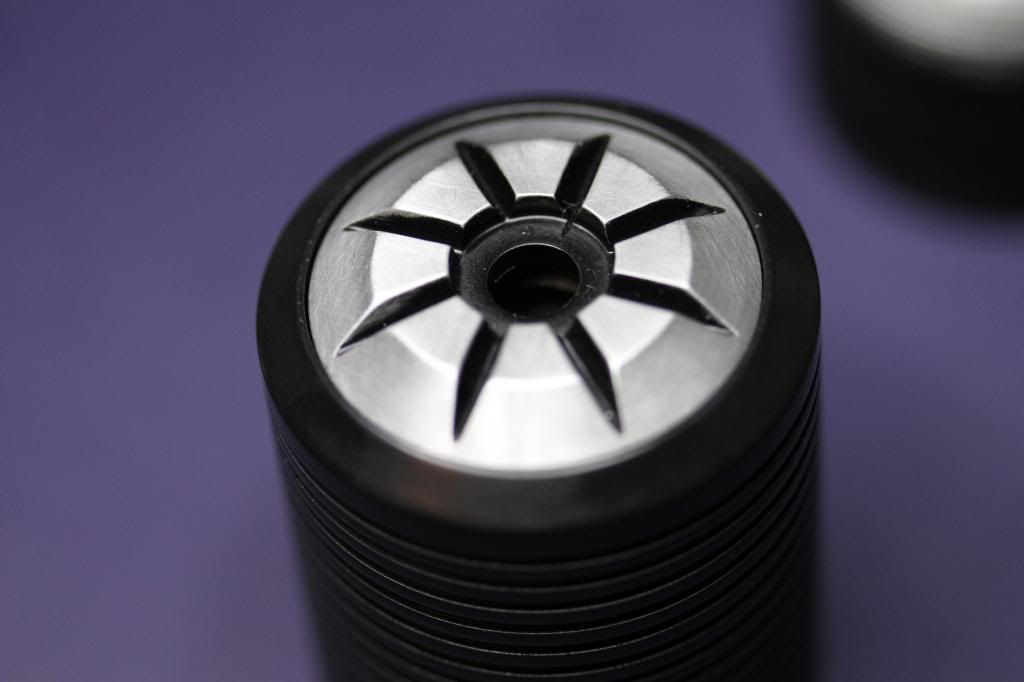
Here is using Flaminpyros stuck module extractor. So far I have used this tool for everything imaginable. Except removing a stuck module :crackup:

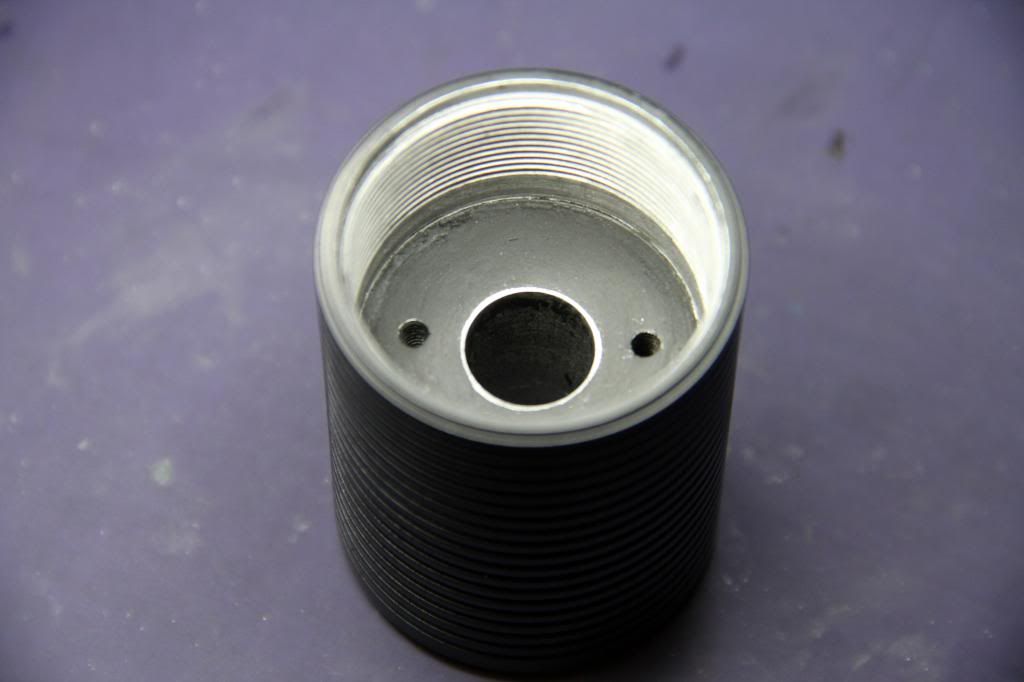
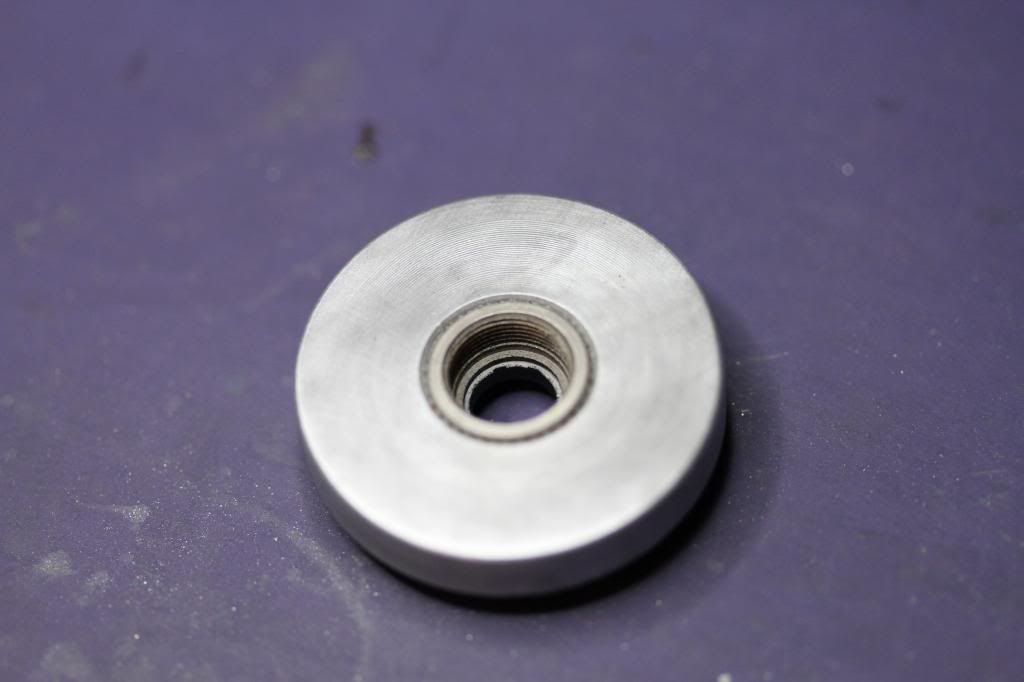
Drilled and tapped two holes for 4/40 bolts. No I don't have a drill press, just a Makita hand drill and some anti-sieze

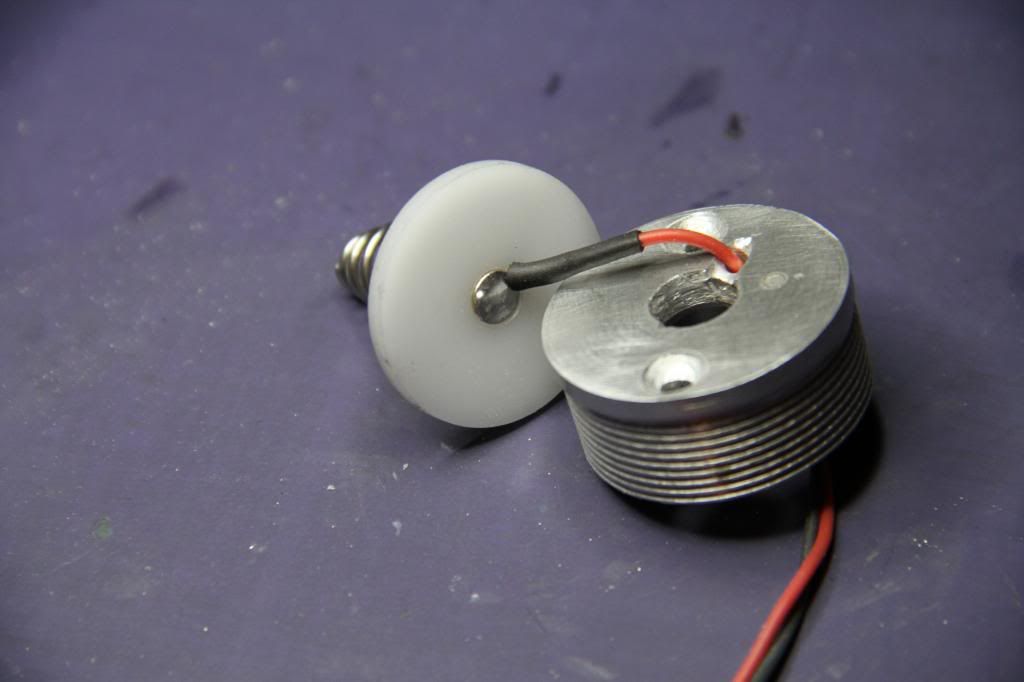
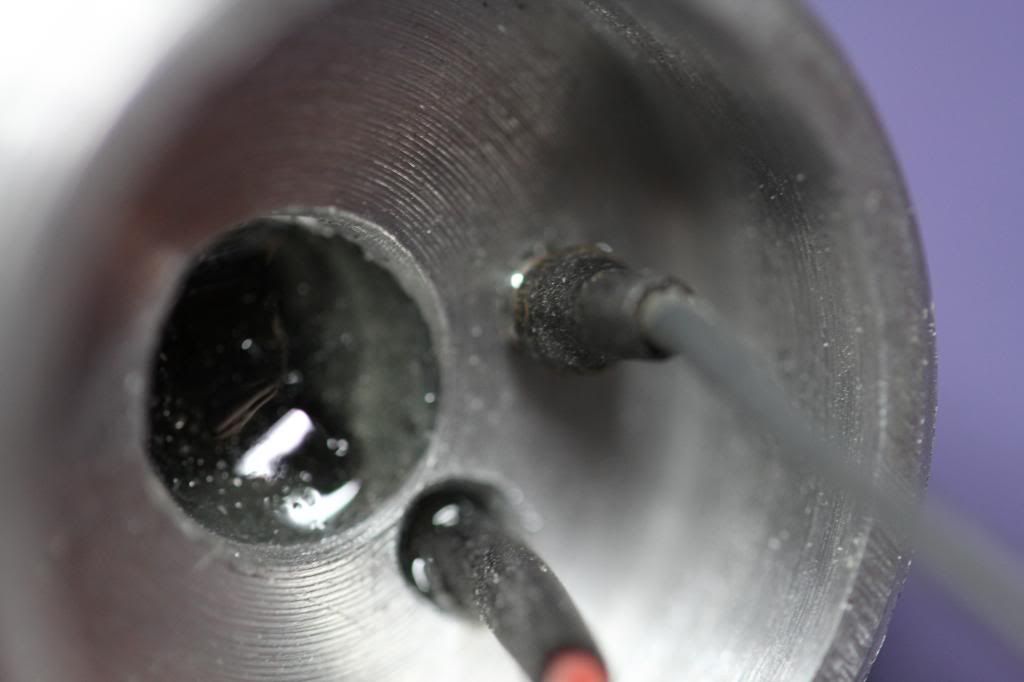
I flipped the pill 180 degrees and modified it to keep the wiring hidden. Took the stock holes for wiring and chamfered them so retaining bolts would sit flush. Chamfered hole in nylon battery contact spacer so bolt would sit flush and soldered wire to it. Drilled hole in center of pill for clearance to positive wire/contact. Drilled and tapped hole for 4/40 stud inside pill to solder negative wire for driver .


Put some liquid electrical tape over bolt head. For some reason it just helps give me a warm fuzzy feeling while I'm holding two 26650's in my hand. I swear it is impossible to apply this stuff and make it look good

Used clear epoxy to lock down the battery contact and seal everything in place

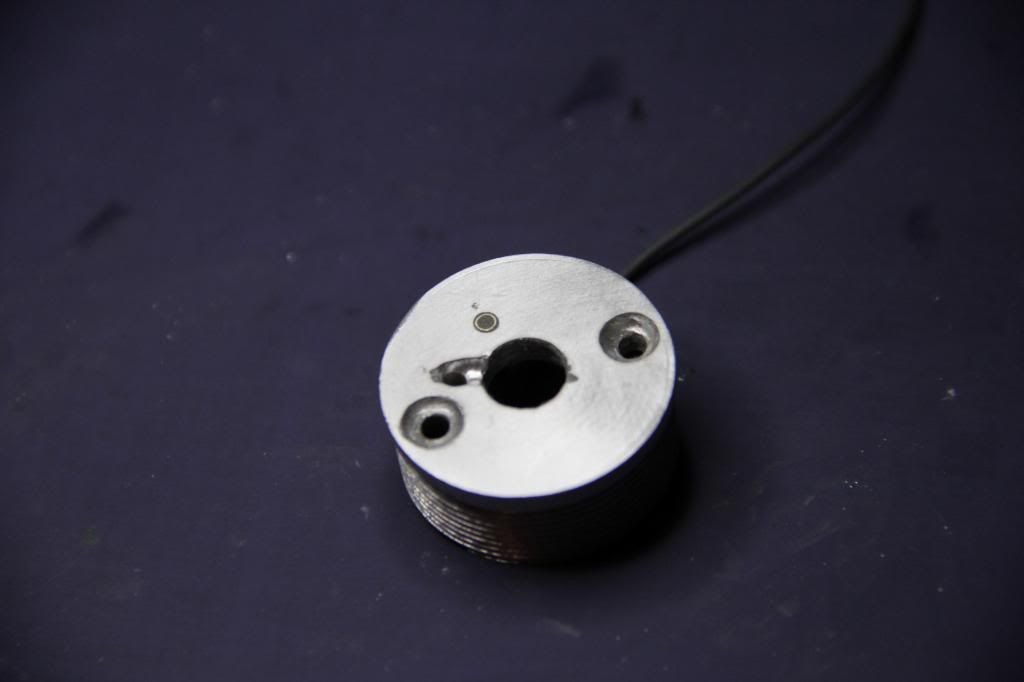
Modified nylon contact spacer for access to retaining bolts


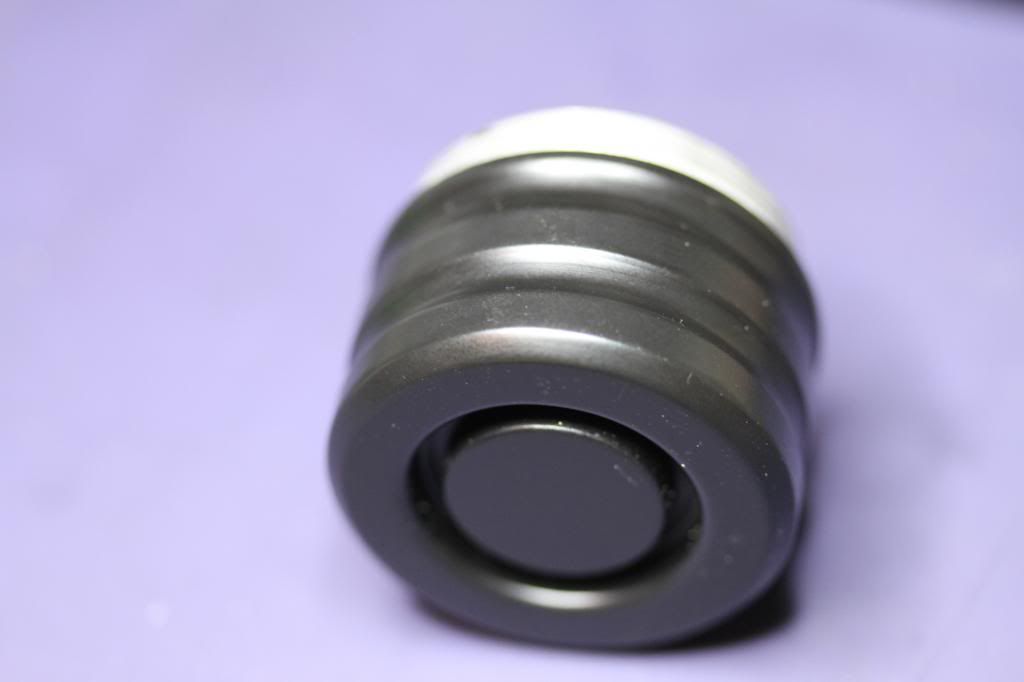
I like blue diodes/black hosts so I blasted the host with aluminum oxide and coated it with Brownells Gun Kote. I kind of actually liked the look after just blasting it so I left the focusing ring and just accented it.
Hopefully it will be blazing blue this time tomorrow. I'll post some more pics of the diode/module and driver installation. If not tomorrow sometime this week.
 
Last edited:


IWIRE

0
Joined
Dec 18, 2013
Messages
630
Points
0
Thanks The Qube ! It's been fun so far ! First time I've built one that you bake in the oven ! LOL ! "Bake at 300 degrees. Serve with Lithium Ion". It's raining here today, that means I get to work on it some more :)
Got the driver installed :) Hopefully it survived the installation process :crackup: I know it worked before I installed it ! Let the adhesive set while I go run an errand and I'll test it again .

 
Last edited:
Joined
Dec 17, 2012
Messages
2,081
Points
63
Very clean so far! I like that heats I know on the driver. Can't wait to see this when it's finished.
 

IWIRE

0
Joined
Dec 18, 2013
Messages
630
Points
0
Thanks Speedy78 ! I appreciate it ! This has been a fun build, time consuming but fun ! It's a hobby, it's suppose to consume time. :) This is my first "real" build in a nice host from sinner. So what do I do, I take a perfectly good host and destroy it :crackup: I should have taken a pic of it right after I blasted it. I almost cried it was so pitiful looking. Then I washed it with a scuff pad and dawn dish soap and it was beautiful. I almost left it like that. To me it looked really cool.

The driver lived ! It's putting out 3.36a and the pieces still fit together ! :) Plus you can see no wiring. :)


Now to figure out how to put a pressed in module into this contraption :crackup:
 
Joined
Mar 29, 2013
Messages
1,221
Points
63
I though the SXB only goes up to 3 amps? That is an SXB right? This isnt really a build to be boosting IMHO :p but its up to you.

Looks great so far! How much does the host cost?
-Matt
 

IWIRE

0
Joined
Dec 18, 2013
Messages
630
Points
0
I though the SXB only goes up to 3 amps? That is an SXB right? This isnt really a build to be boosting IMHO :p but its up to you.

Looks great so far! How much does the host cost?
-Matt

It's a drive lazeerer set up for this build. It's not an SXB. I can't remember what I paid for the host, I bought two on sale. They are nice hosts, it was too good of a deal to pass up. Sinner makes a nice host, till I get ahold of it :)
Thanks !

Blaze of Glory ! It lives !
LPF please meet Jackie Blue, Jackie Blue please meet LPF :)

She pegs my meter :) Guess I need a new LPM.


TimTom

0
Joined
Jan 20, 2014
Messages
136
Points
0
Holy crap, that's an awesome build!:3 MDo mooooaaar c:
 
Last edited:

sinner

0
Joined
Oct 27, 2011
Messages
2,565
Points
83
I love it, It looks simply amazing and definitely the diode worthy now. I think it is very unique and imho it looks much better with your personal touch ups, not really destroyed but its a destroyer for sure..
 

IWIRE

0
Joined
Dec 18, 2013
Messages
630
Points
0
Thanks TimTom ! Appreciate the kind words. I'm trying to learn ! :) I wish I knew what the output really is. When I was figuring out what I wanted to run the diode at I used a filter to shoot the beam through. It wasn't accurate but it let me watch the output/amp draw relationship close enough apparently. I'm wondering if I take a laser of a known output, find a filter that will reduce the output by 50%. If I could measure this thing with what I have and get close. Something tells me it doesn't work that way. *Dave goes to search for a new lpm* :)

Thanks sinner ! I appreciate it Sir, I really am glad you approve. I was actually worried about that, you are a craftsman and make a really great host. I just had to give it my personal touch and make it mine. Looking forward to getting my two copper hosts. Who knows what I'll do with those :) :beer:
 
Last edited:
Joined
May 9, 2008
Messages
321
Points
18
Holy crap !!!!! That laser is a piece of "techo art", very awesome sight.
Just shy of 4 WATTS amazing just amazing.

Nice to meet you Jackie Blue :>)

PS: Love your taste in music.
 
Last edited:

IWIRE

0
Joined
Dec 18, 2013
Messages
630
Points
0
Thanks COMMANDR ! I appreciate the kind words ! I'm pretty sure it's over 4w. It was still climbing very rapidly when it hit the limit. I'm trying to decide on a new meter so I can find out what this thing is really putting out. It's pretty spooky I know that. Lol ! :beer:
 

BowtieGuy

0
LPF Site Supporter
Joined
Oct 14, 2012
Messages
6,090
Points
113
Awesome build IWIRE! :beer:
Great way to personalize your MS-SSW host; that black finish is sweet!
Be sure to keep us updated when you find out the true power of that monster! :D
:gj:
 
Last edited:

IWIRE

0
Joined
Dec 18, 2013
Messages
630
Points
0
Thanks BowtieGuy ! Appreciate the kind words ! Makes me want to keep building :)
I like the coating, easy to apply and it seems durable. Once it's baked on it takes some serious sanding down to fix a mistake. I know someone who uses it on, uh, it doesn't really matter what he uses it on :) he likes the stuff though :) I sent a pm to Arg, see if they have any meters I can afford. I saw a 7w one on Ebay. I'll update when I get an accurate reading.

Thanks i73770k, I think. "Suck" is good when it comes to my girlfriend, never really thought about it, but it could be good when applied during builds. :beer:

I forgot to mention the most important part ! When doing a build with a press fit module, this was my first build with a press fit module. Size the module to fit the bore before installing your diode in the module.
I had bought some copper modules from Rick Trent I was going to use but they were too long and would stick out the back of the heat sink. I didn't really want to cut them. I had got three of DTR's long solid back modules and they were the perfect length. good thing I got three because I destroyed the first one.
Then I took a 8-32 bolt and nut, ran the bolt through the center of the module, locked it in place with the nut. Basically made a poor mans collet. Chucked it up in my drill and used a file to get it close and emery to get it closer. It just took a lot of patience and a lot of measuring with a caliper.
The back of the module has a chamfer on it but I took some emery and made it more rounded so there was no edge to cause drag.
I installed the module first with no diode. Removed it, lubed it up with arctic silver paste. Pressed it into the heatsink until the aluminum part of the module was flush with the heatsink. I unscrewed the copper part, installed my diode, soldered the wires to the diode, left the bolts out of my driver pill and screwed the copper diode holder in. Then I finished pressing it in and bolted up my driver. I have maybe 1/2" of excess wire and no unnecessary connections :) That's why they call me "IWIRE" :)
I need to post a pic of the module I destroyed. That's why they call me "Crazy Dave" :)
 
Last edited:


Top