

- Joined
- May 12, 2013
- Messages
- 751
- Points
- 43
First build :eg:
445nm 3w 9mm MS-SSW
Fellow members of the community, I present to you today an account of my first build, born on the 6/2 2014.
If you wish to skip the introductory treatment just scroll down to the pics
")
With that out of the way lets start at the beginning.
This journey started back in September 2012 when I first discovered styropyro. I was fascinated with the thermal properties of high powered lasers and for more than a year I dreamt that one day I would be able to experience this first hand.
Fast forward to May 2013 when I first discovered LPF :tinfoil: I was overwhelmed with the world of lasers that seemed so much bigger and diverse than the typical 1watt blue laser on styropyro's channel.
At this point I was dead set on building my own multi watt blue burner. Originally I had a budget of $120 for everything. This was when I was planning to build a 1 watt 445nm into a c6 host. The thread below was the first thread I ever created which inquired about the choice of driver for a c6 445nm build.
DealExtreme 1.25A driver?
Over time the desire for more power and bigger hosts of abnormal proportions overcame my originally slim budget. It was during July 2013 that I came across the famous MS-SSW by sinner. I knew when I saw it that my budget had dramatically increased :eg:
Round #2 MS-SSW "Sinner's secret weapon"
It was during the months that followed that I ordered everything I needed to build this monster.
I ended up spending just shy of $410 on everything, including goggles, batteries and charger.
Below is a list of all the parts that I ordered and thus from the prospective member/company with which that item was purchased:
MS-SSW 'Sinners secret weapon' host - Sinner
9mm diode in copper module w/brass lens holder - DTR/Jordan
2.2amp X-drive v6 - Lazeerer/Angelos
Silicon 26awg wire and heatshrink kit - Flaminpyro/Geff
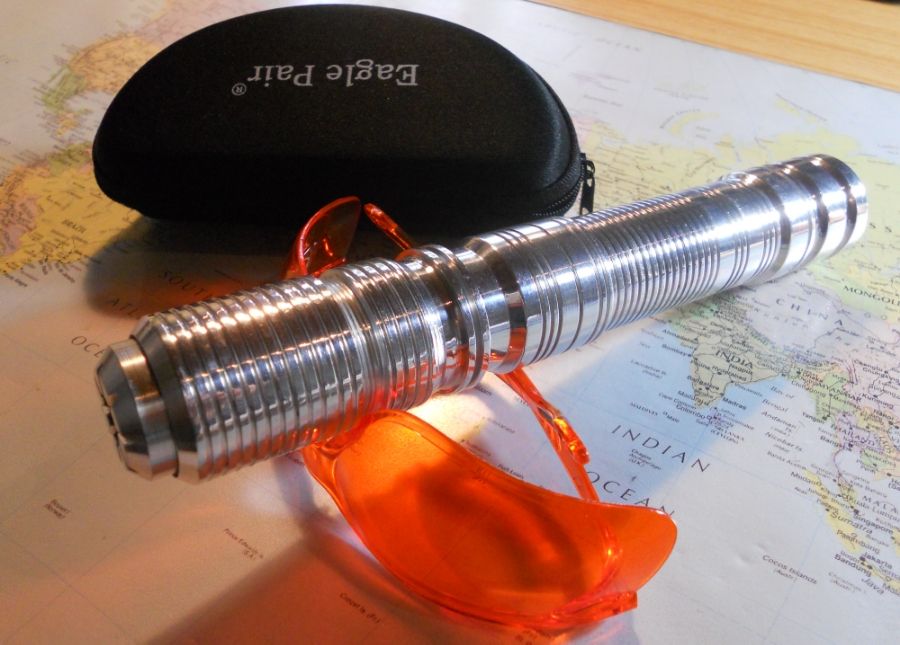
Eagle pair safety goggles - Survival lasers/Garoq/Gary
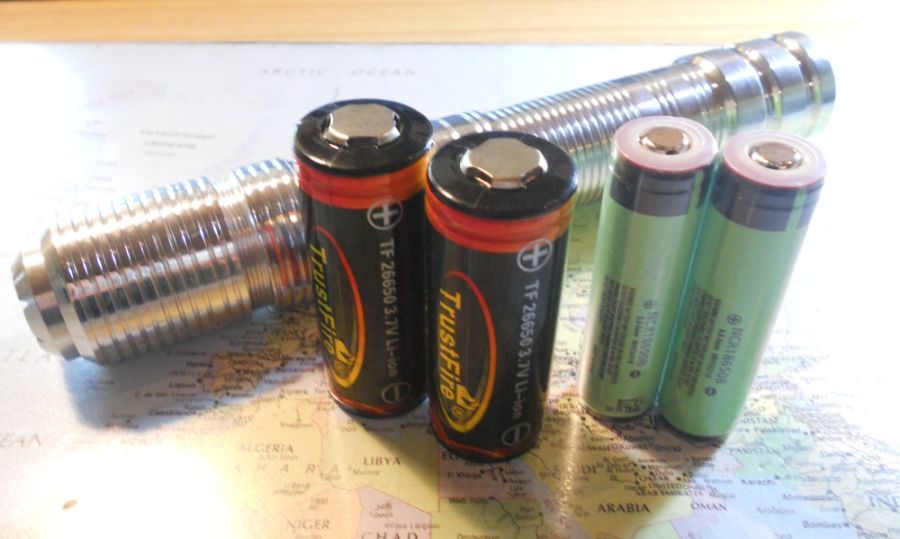
26650 Trustfire batteries - Fasttech
Arctic silver 5 - Arctic Silver
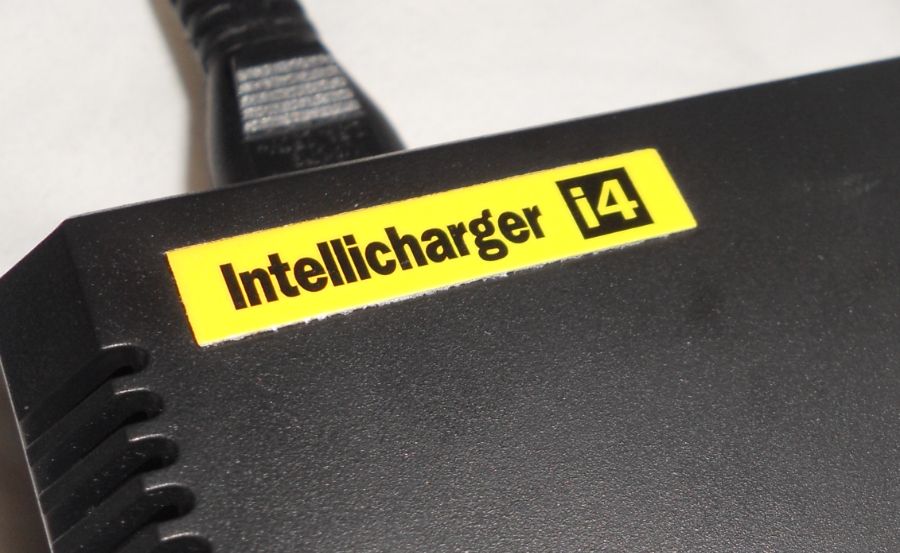
Nitecore i4 charger - Fasttech
It was during the month of October that all the components necessary arrived. But High school education and a lack of sound electronics knowledge prevented me from finishing this build, until now :evil:
During the past weeks I finally mustered up the courage to learn how to solder so I could finally finish this build.
Enough of the history lets get onto the build pics
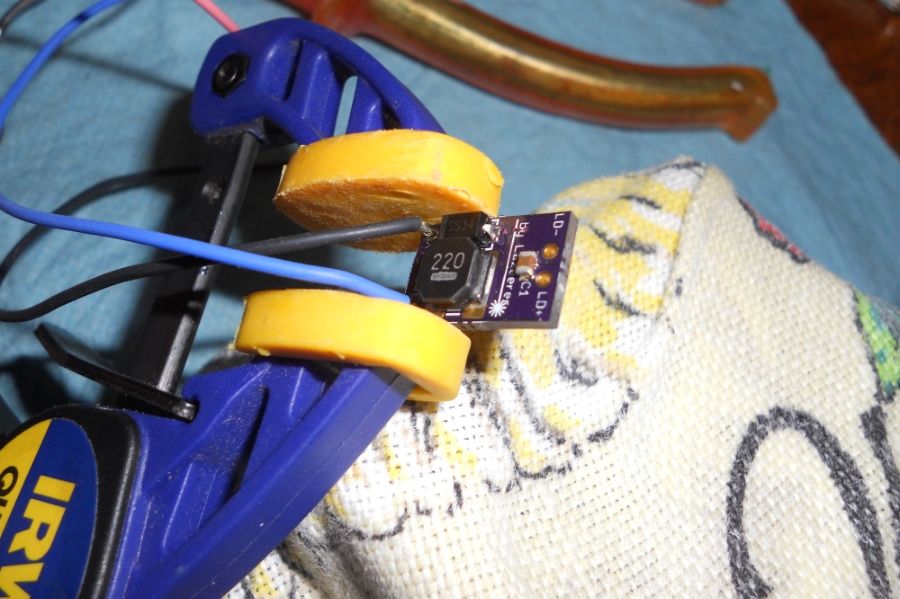
The first thing to do was to solder the wires to the v6 x-driver. This was the most nerve racking process. I watched plenty of youtube vids explaining how to tin your wires and how to make a good connection. But before I could learn how to solder I needed a soldering iron. My school had plenty of soldering irons to spare and my teacher was kind enough to let me borrow one. It's a Duratech 48W iron, nothing special.

My setup for soldering the wires to the x-drive.
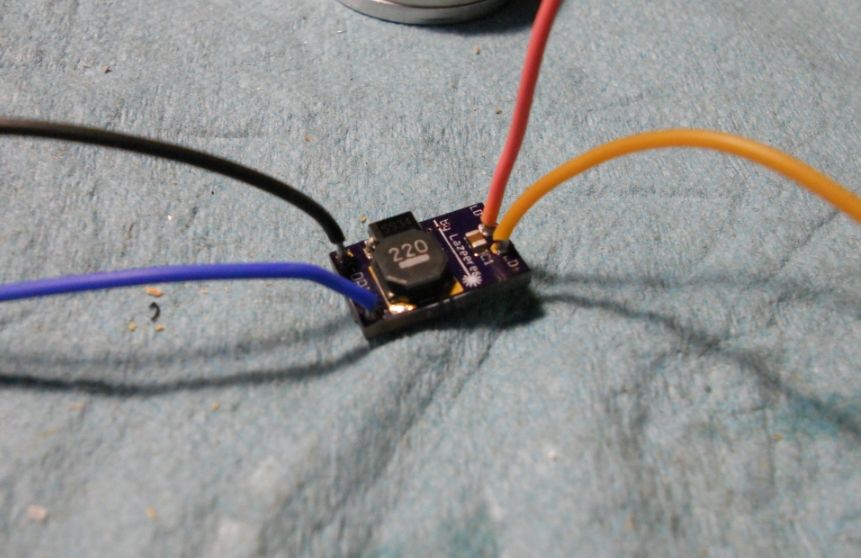
X-drive with wires soldered on.
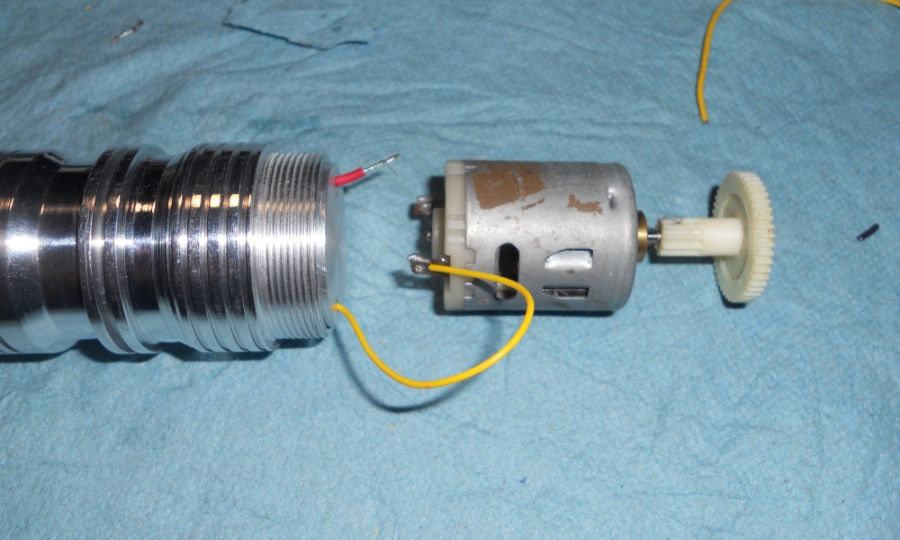
Before I set the driver in the pill I checked for electrical continuity from the tailcap to the pill by attaching a DC motor to the wires
Of course not the most elegant solution but it got the job done.
Next was to set the driver into the pill.
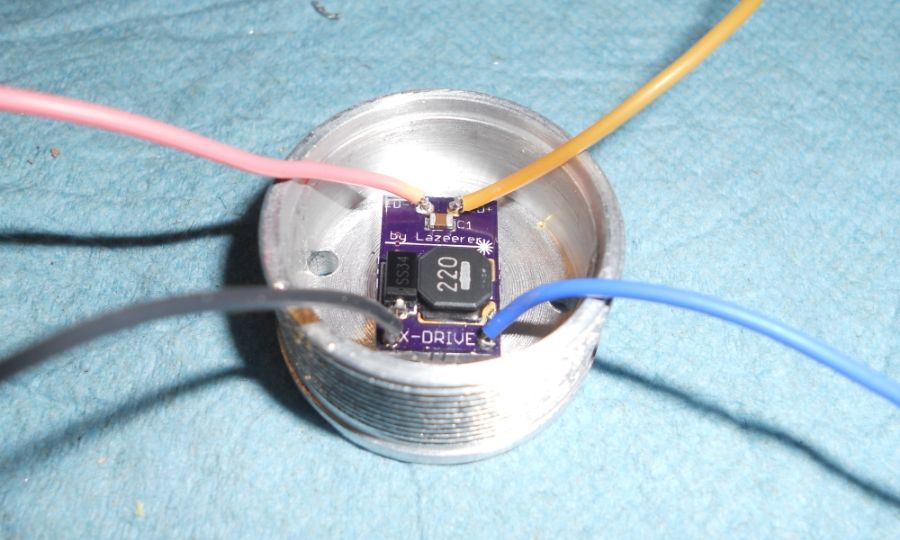
Once the driver was set in the pill I soldered the contact board to the positive input of the driver and sandwiched the negative input in between the pill.
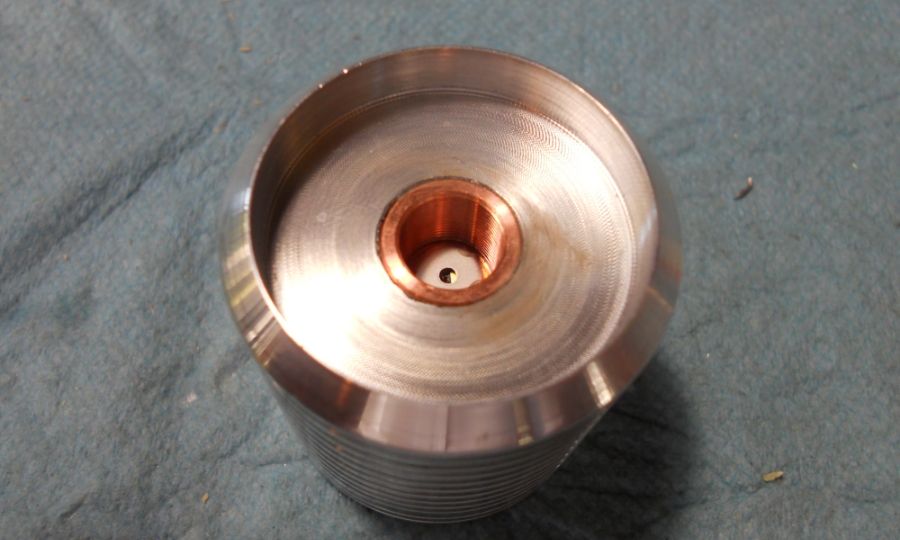
The pill is screwed on and next is to press the module into the head.
9mm diode in copper module from DTR.

The press-fit design is perfectly executed in this host. The module presses in easily whilst being a tight fit without being to tight. Arctic silver 5 is used between the 9mm module and head for better heat transfer.
The 9mm diode wires are soldered to the driver wires. This part of the soldering went much smoother than the previous attempt
Soldering wires together is so much easier than soldering wires to a driver board 
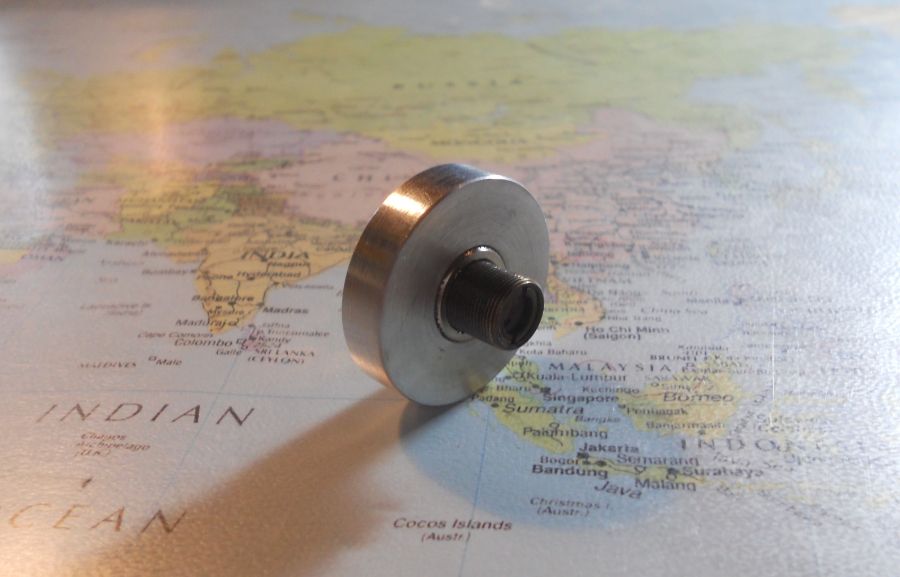
The focusing adapter requires a focusing ring pressed in, unlike the pressfit head this was quite hard, I had to significantly sand the focusing ring down in order for it to press in.
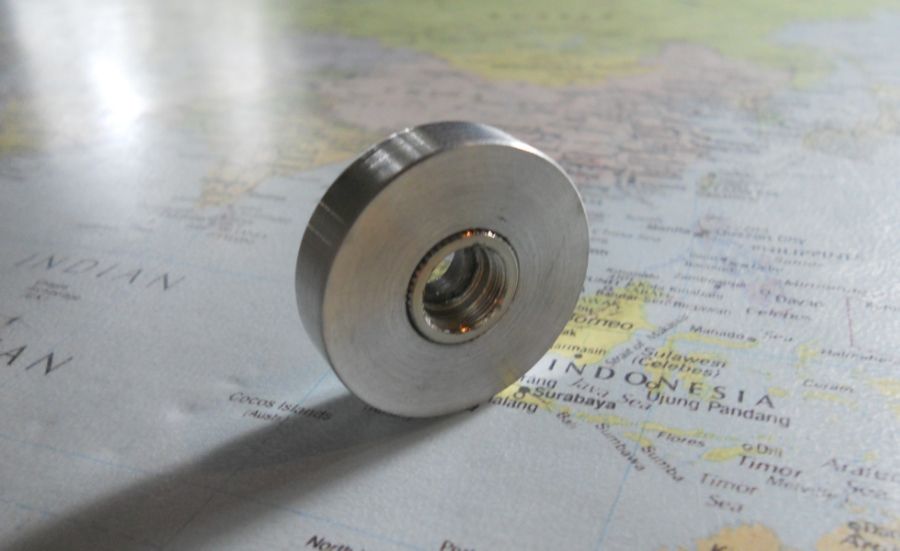
For lenses I have a three element lens for a tight beam and a 9mm lens in a brass lens holder for power. Even with the 9mm lens, at 2.2 amps I doubt the power is 3w but it is possible.
Charging the 26650's
Power sources used
Posing with the Eagle Pair Goggles.
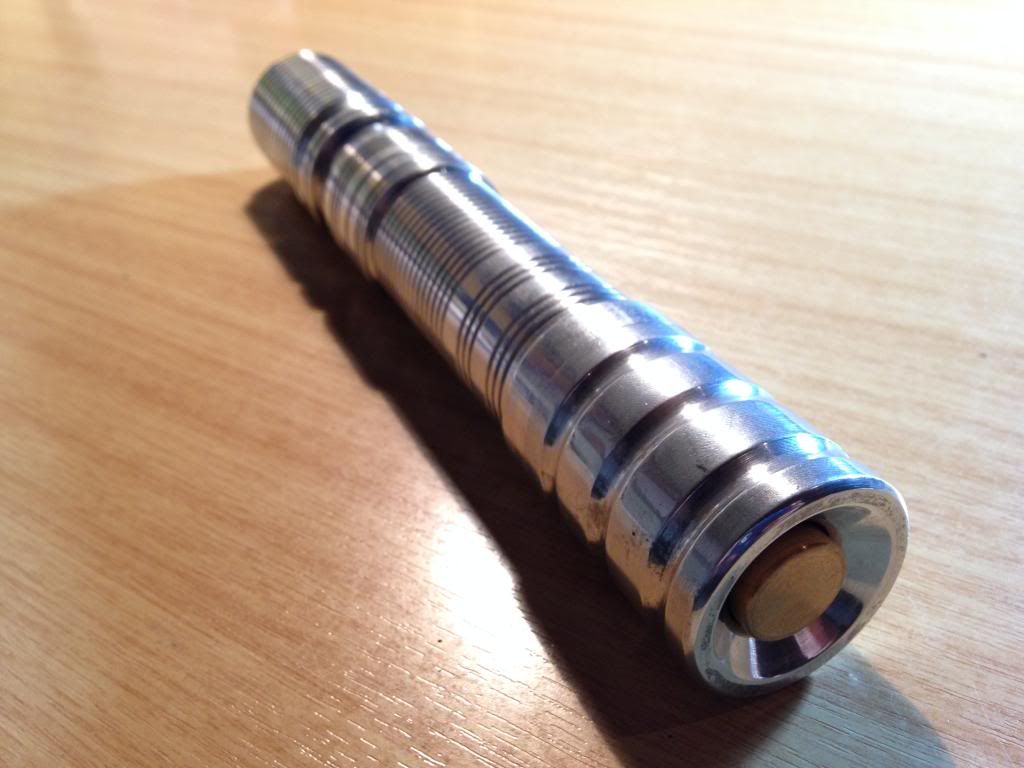
I ran into a few issues with the length of the battery compartment. Neither the 26650's would fit nor the 18650's since the combined length did not fit into the battery compartment. I ended up having to modify the tailcap so as to fit the batteries in.
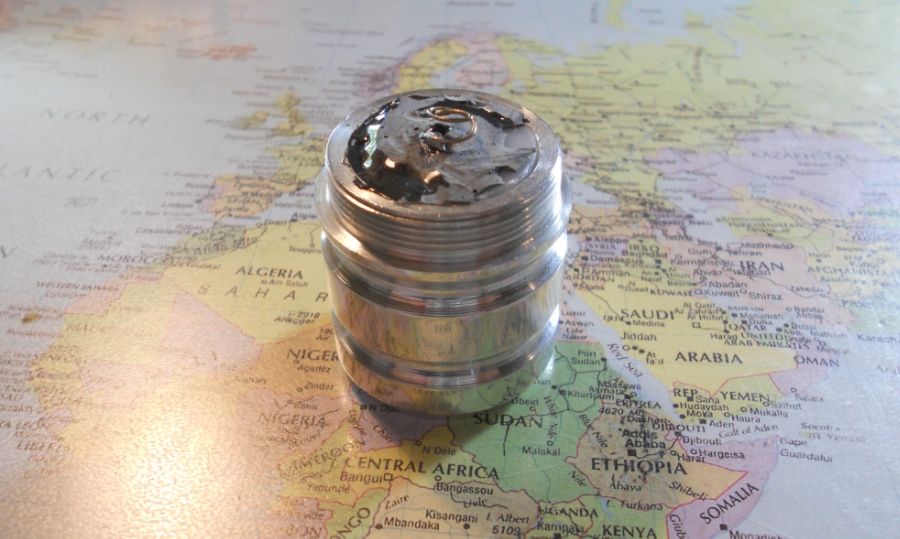
But even after the tail-cap modification the batteries will only fit if the pill/tail-cap/head is partially unscrewed. Which is a real bummer because it mainly ruins the aesthetic appearance of it and the overall integrity suffers.
But no matter, when I saw Smeerworst ordered a custom tail-cap I PM'ed Sinner inquiring into one as well, and the process is underway :beer:
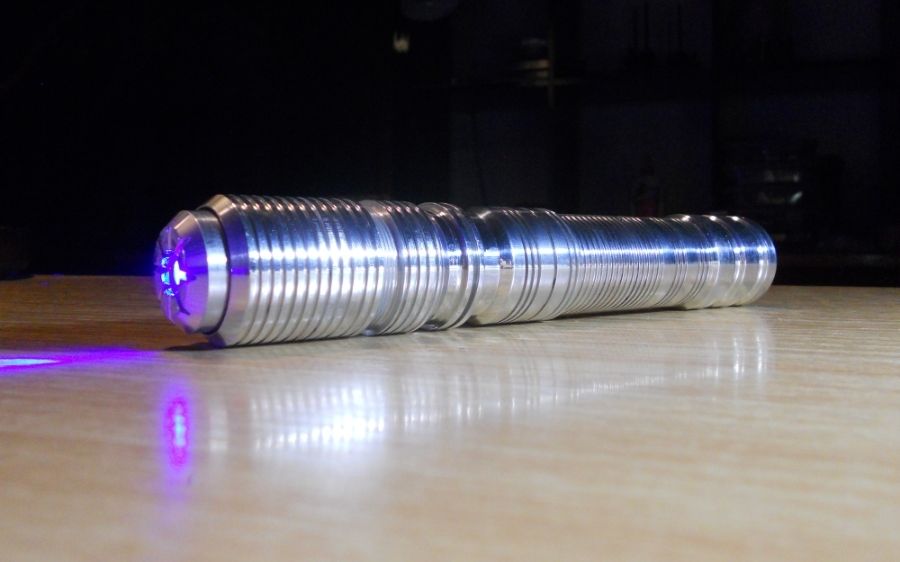
And now...
The moment of truth. Does it turn on? This was the most nerve-racking part of the whole process. Knowing that if this didn't work that I would've wasted hundreds of dollars in the process. I cannot tell you how extremely euphemistically ecstatic I was when I first saw that lovely beam shoot out
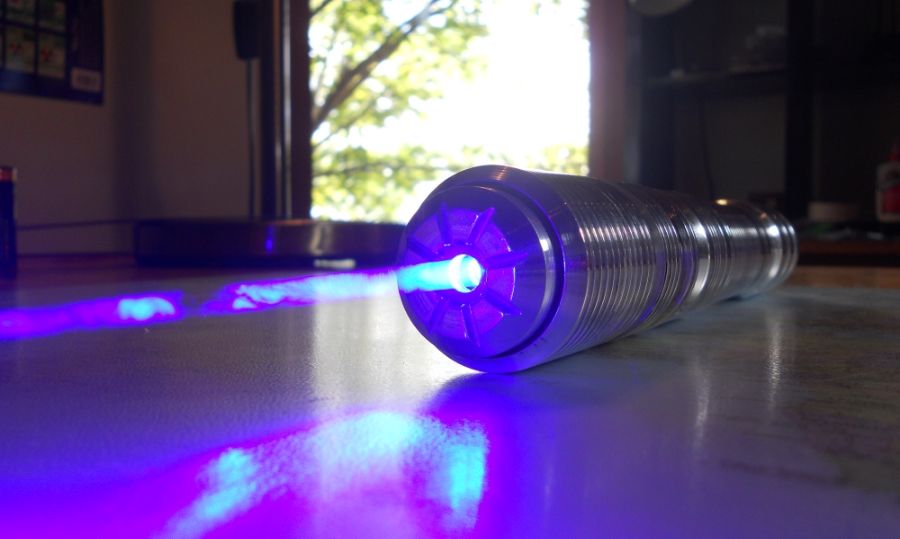
The thing that immediately came to mind was, does it burn? Duhh... Now that I had a monster burning beast the novelty of setting paper on fire quickly diminished. What I am now more interested in is the pleasure of viewing and photographing the beam :drool:
The pictures that follow are my best attempt at photographing this amazing 445nm beam. Keep in mind that I've only got a Nikon coolpix s3000 to take these shots as well as the shots above. I hope to expand my photography arsenal beyond my current compact camera in the future.
Enter the mouth of the beast
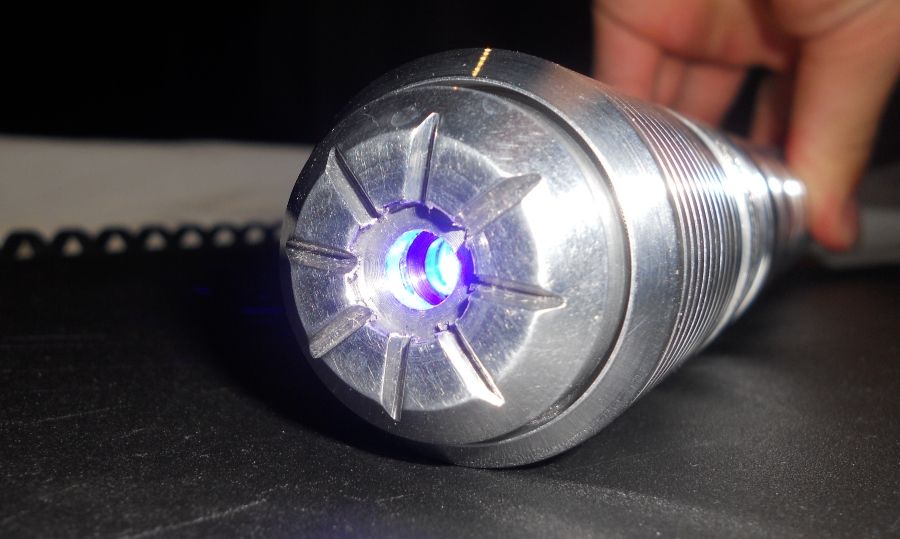
Deeper
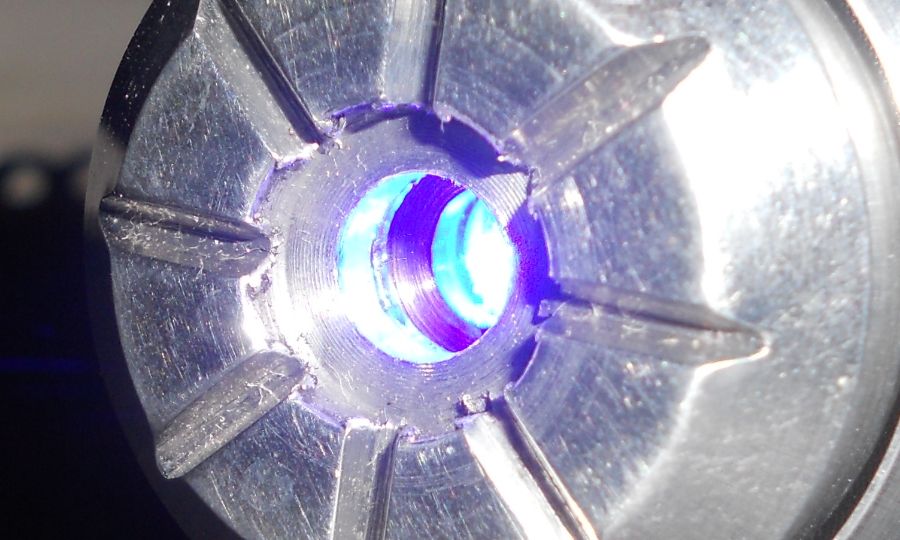
The origin of coherent light
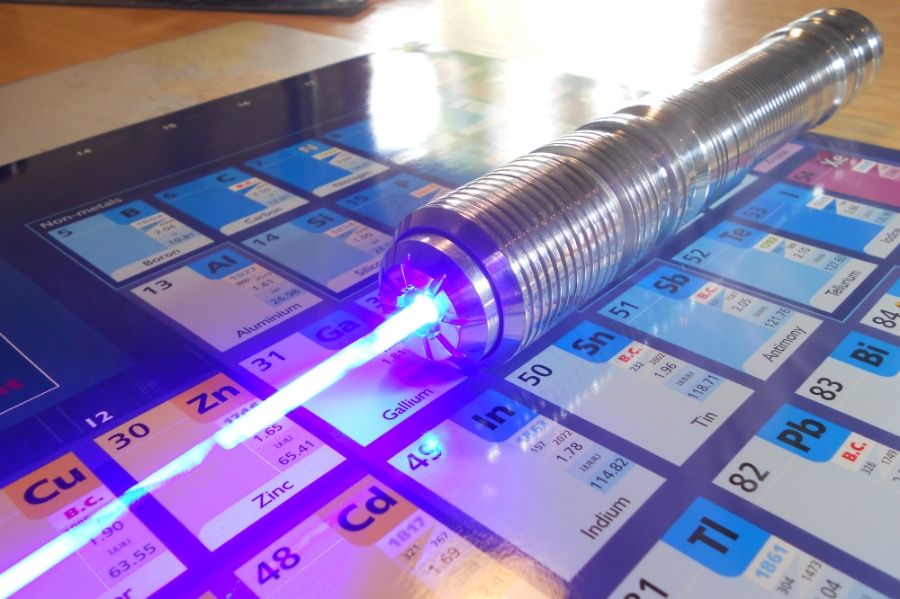
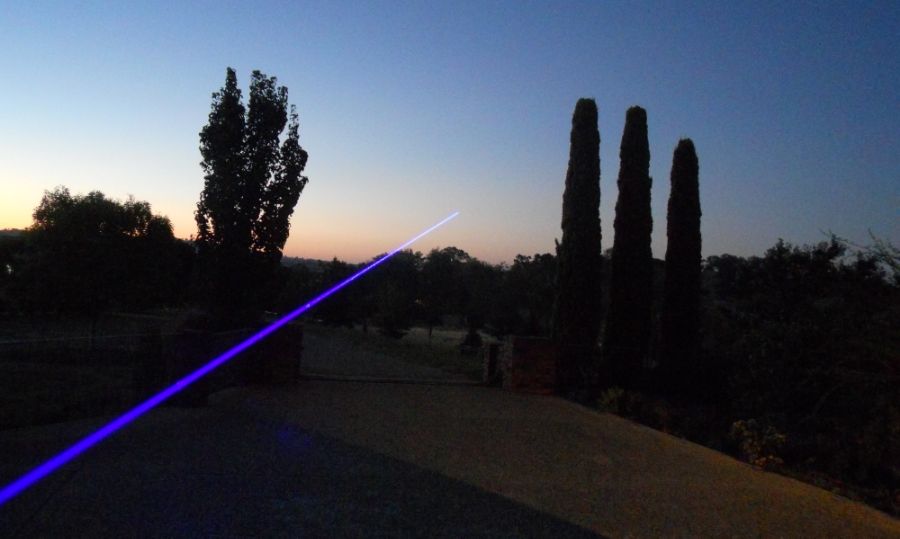
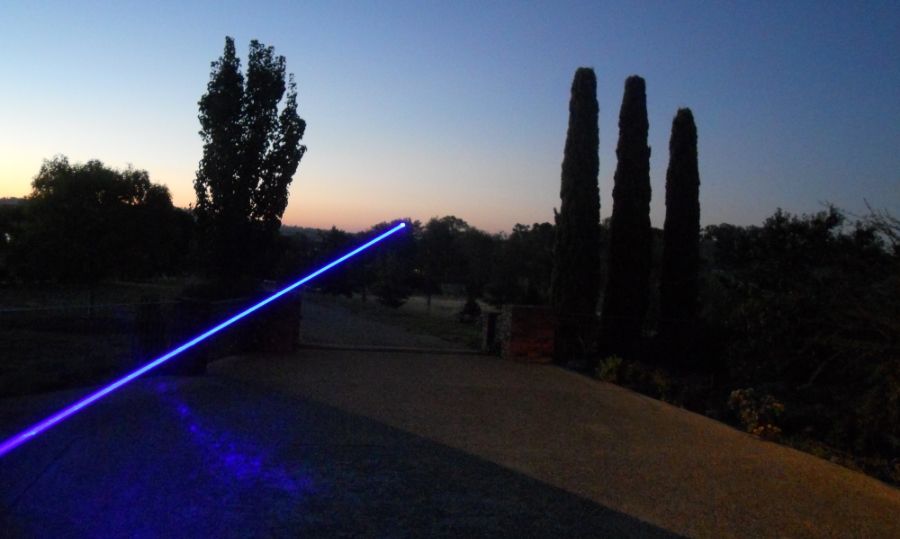
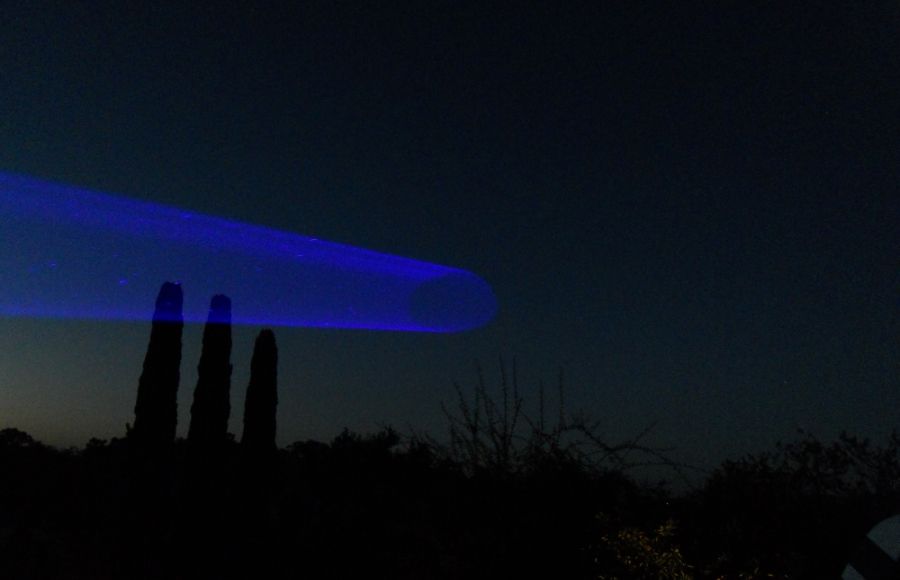
Dusk
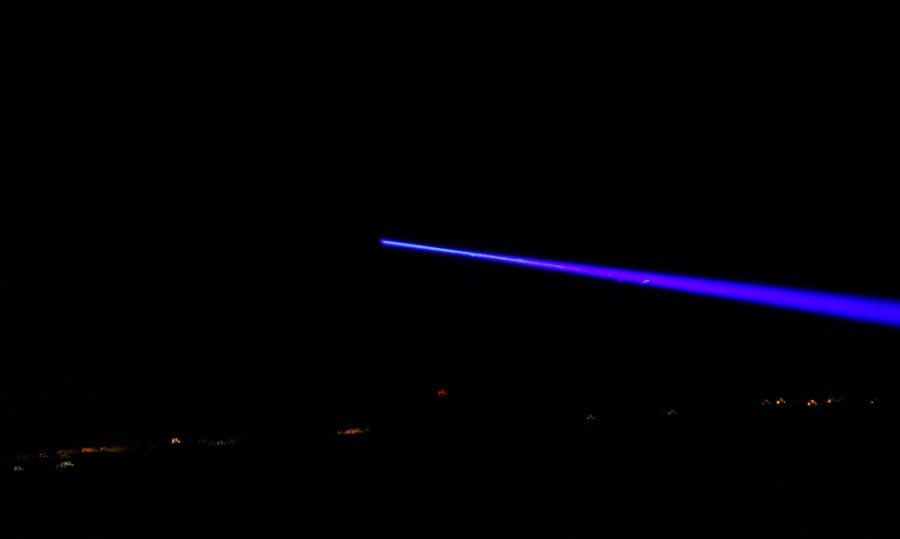
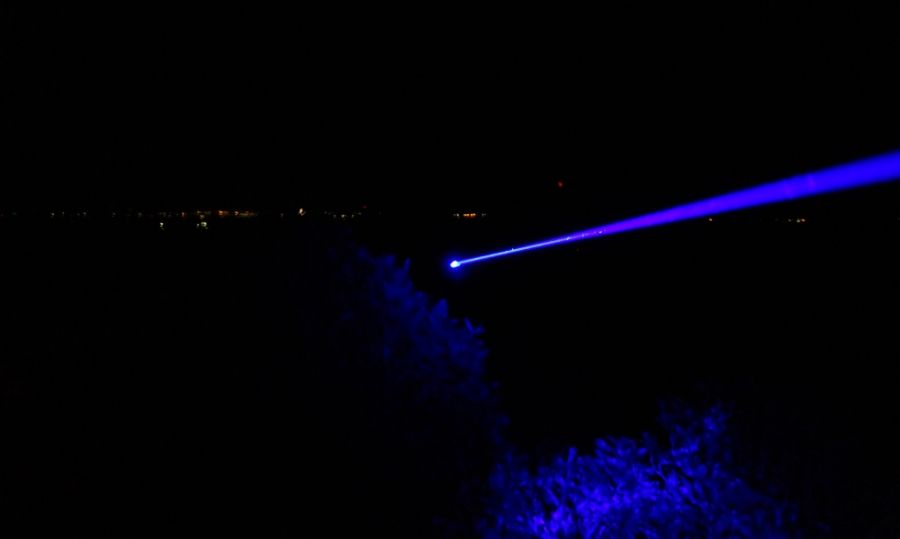
Night shots
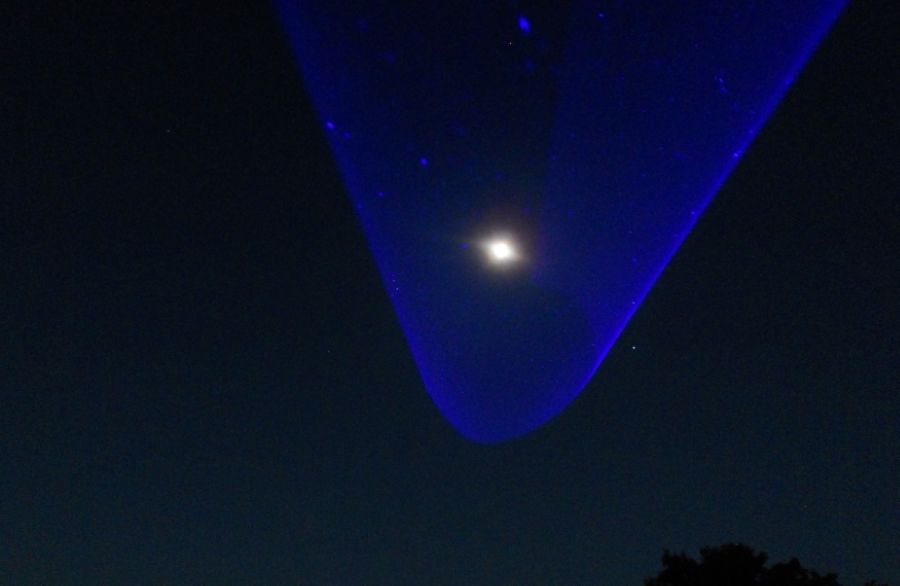
The moon gets over-exposed in this shot and the effect isn't very desirable
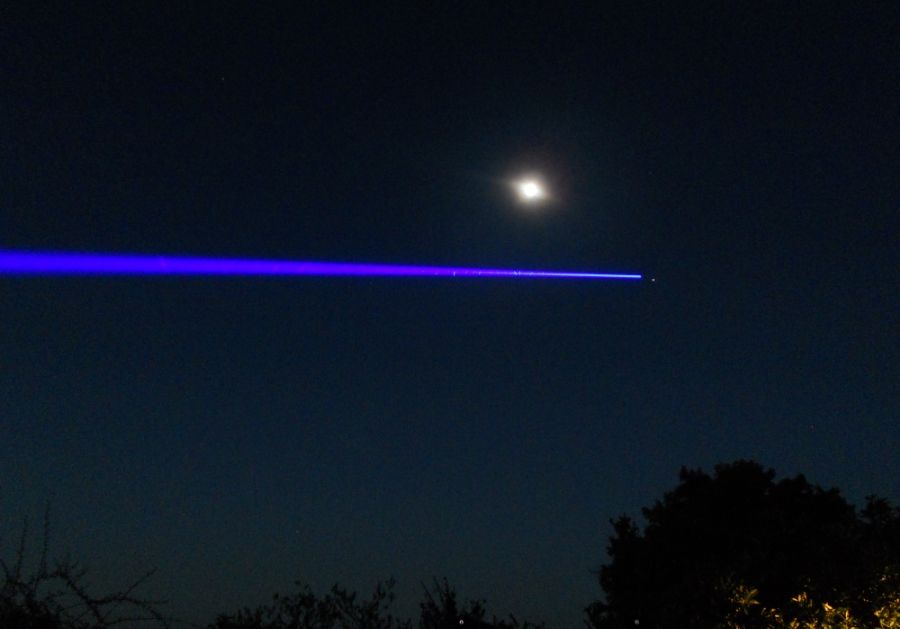
This shot burnt a mark in the tree
gotta remember to de-focus the laser before taking the photo 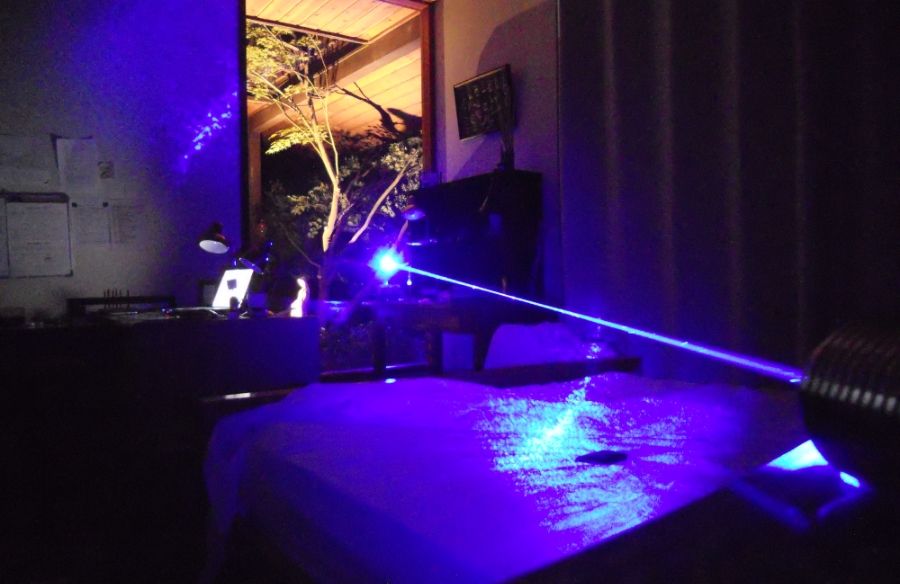
Finally I would like to thank everyone in this amazing community for their support and inspiration to complete this build :beer: I would also especially like to thank Jordan/DTR for providing me with the 9mm diode and his invaluable advice, to Angelos/Lazeerer for patiently answering my endless questions and providing me with the famous x-drive :beer: To Geff/Flaminpyro for providing me with the awesome wire kit and to Sinner for being the creator and provider for the amazing MS-SSW
As this is my first build thread I welcome any and all suggestions to improve upon the content and layout. I have tried to emulate other members talents in the art of photography and presentation as best as I could, but one can always improve
:thanks: to all for reading and hope you enjoyed.
Update 31/5/14
A few days ago I received a package from Sinner
Amongst the myriad of bubble wrap contained a custom made tailcap for the MS-SSW to accommodate longer protected cells
Thank you so much Sinner
The brass tailcap clicky is so ***y pics! :drool:
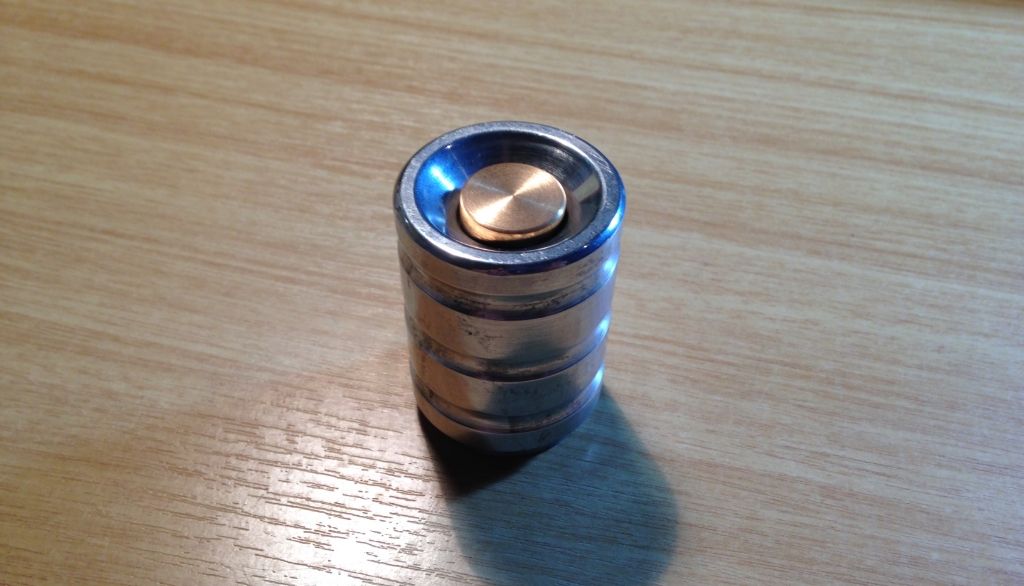
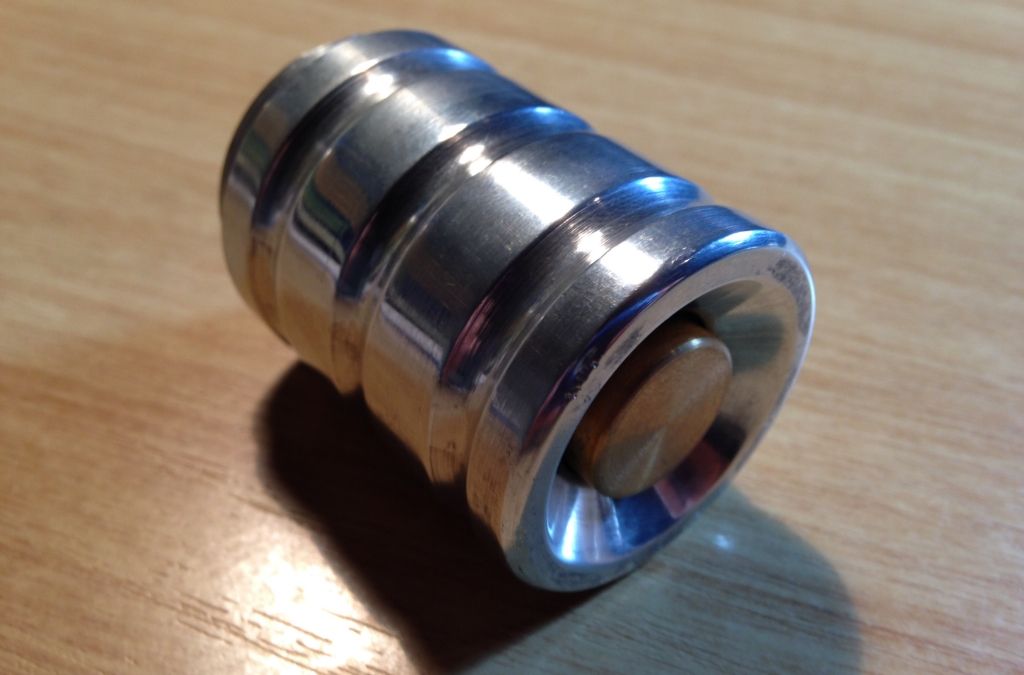
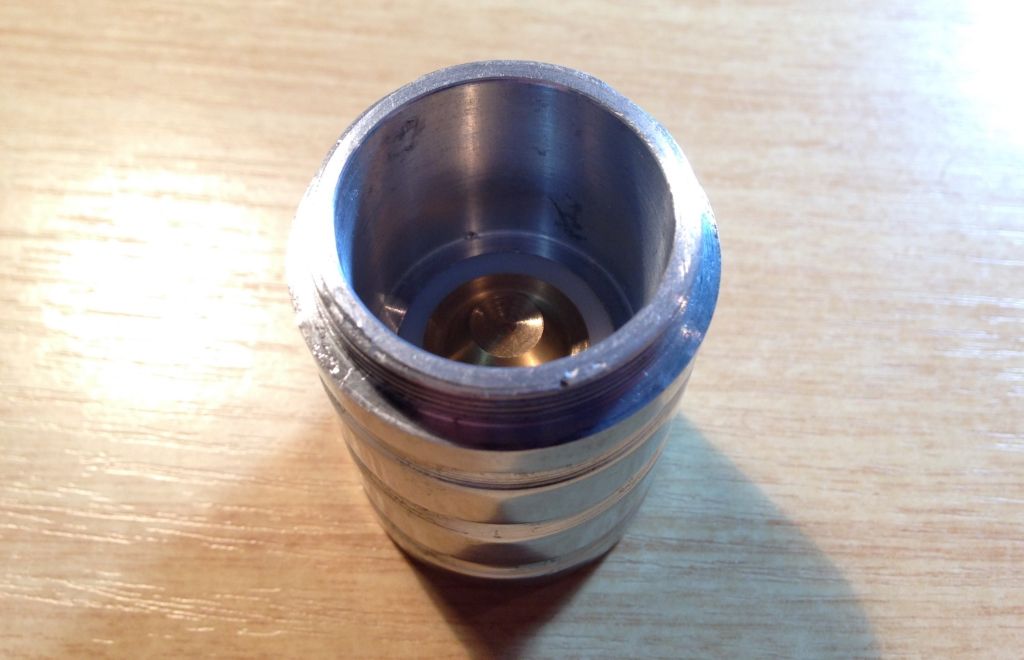
The only thing I could complain about is that the clicky wobbles a bit and the finish has machining residue in various places. Not sure what else to call it but I'm sure it'll come off with a bit of mothers mag and aluminium polish :eg:
Again, Thank you so much Sinner. You have outdone yourself once again :beer:
Last edited:


