Hey guys,
after stumbling across Gryphons new 577nm build, I decided to finally post my 607nm build.
Disclaimer: the pictures are altered to better reflect the real beam color.
Lets start with a nice beamshot picture.
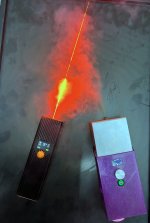
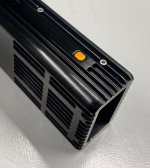
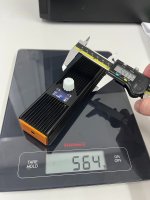
It's a Class 4 607nm handheld laser.
This project was the most advanced I ever pulled off, it includes optics design, thermal design, electronic design, milling, soldering, anodizing and programming.
The project started as a group project with Alaskan, CurtisOliver and me, sadly both of them pulled out of the project for personal reasons.
So far only one of these handhelds exist and I really dont plan to make another one. The material cost and time invested is astronomical which means the price I would charge would be close to the price of a new 607nm 1,25W Coherent taipan (so close to 20k..).
With the background out of the way, lets dive a little deeper and look at the specs.
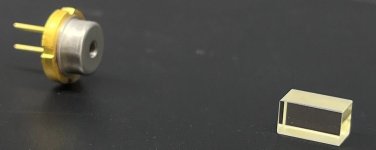
It uses a Pr:YLF crystal thats pumped with a 5W NUBM44 diode.
The crystal and the diode are thermally stabilized with a TEC each.
The driver is custom made and features heating and cooling for both tecs.
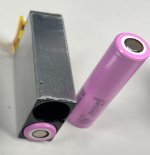
Two 18650 cells power that beast of a handheld.
Whats the output you might ask? Just barely class 4? No we got a full 1500mW out of the crystal!
Lets do a beamshot picture first:
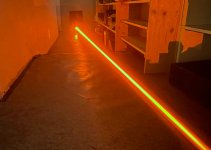
The color is really unique, 607nm is just a very nice orange. Most cameras show it as drifting towards red, however to my eye its just perfect pumpkin orange.
The beam specs I archived are very nice.
The beam diameter out of the front is 1,1mm .
The small diameter makes that handheld an awesome burner, even unfocused!
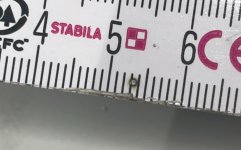
1/2 a second, 10cm on a wooden ruler.
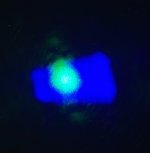
Far field is also impressive:
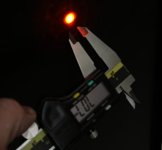
Almost perfectly round with an M² of around 1,1. This gets me a beam of roughly 7mm at 6m distance.
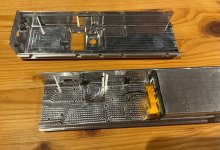
Lets take a look onto the internals, the driver first:
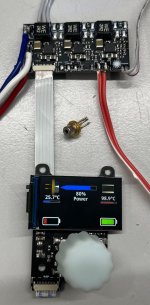
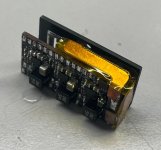
It's very small, just 39x20mm, thats close to the size of two 18650 cells next to each other.
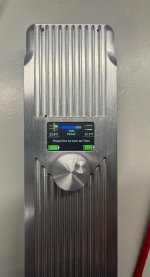
A 5,6mm diode for comparison. You can also see a glimpse of the user interface.
The Home screen shows all the temperatures, battery states, set pump power level and how much power the tecs are consuming.
The color of the bar below the temperature shows if the tecs are heating (red) or cooling (blue) with the fill percentage showing the amount of power.
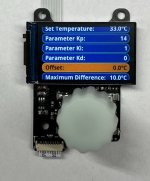
Another picture of the Userinterface. It shows the menu system thats used to select and adjust values. The shown menu is just for one tec, there are multiple menus.
But back to the internals:
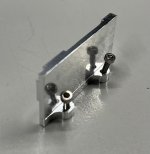
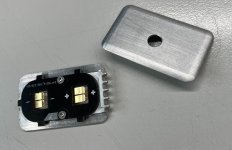
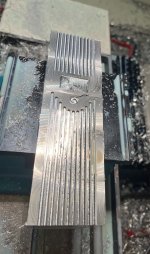
The driver is mounted on a small bracket that holds it mechanically and dissipates the heat onto the housing.
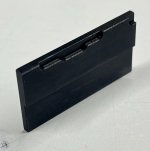
I anodized it to prevent shorts and to make it look nice even tough nobody will ever see it
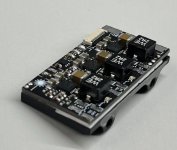
With the driver being adhered to the bracket. A special thermal adhesive is used.
Not everybody likes electronics as much as I am, so back to a different part, the pump diode holder.
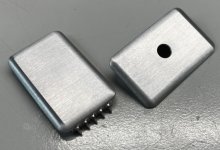
It's just a simple holder for the 9mm diode. Its made out of copper to facilitate heat transfer.
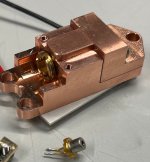
Again a 5,6mm diode for size comparison. The tec thats used to keep the diode at temperature is also pictured.
(next post because of picture limit)
after stumbling across Gryphons new 577nm build, I decided to finally post my 607nm build.
Disclaimer: the pictures are altered to better reflect the real beam color.
Lets start with a nice beamshot picture.

It's a Class 4 607nm handheld laser.
This project was the most advanced I ever pulled off, it includes optics design, thermal design, electronic design, milling, soldering, anodizing and programming.
The project started as a group project with Alaskan, CurtisOliver and me, sadly both of them pulled out of the project for personal reasons.
So far only one of these handhelds exist and I really dont plan to make another one. The material cost and time invested is astronomical which means the price I would charge would be close to the price of a new 607nm 1,25W Coherent taipan (so close to 20k..).
With the background out of the way, lets dive a little deeper and look at the specs.
It uses a Pr:YLF crystal thats pumped with a 5W NUBM44 diode.
The crystal and the diode are thermally stabilized with a TEC each.
The driver is custom made and features heating and cooling for both tecs.
Two 18650 cells power that beast of a handheld.
Whats the output you might ask? Just barely class 4? No we got a full 1500mW out of the crystal!
Lets do a beamshot picture first:

The color is really unique, 607nm is just a very nice orange. Most cameras show it as drifting towards red, however to my eye its just perfect pumpkin orange.
The beam specs I archived are very nice.
The beam diameter out of the front is 1,1mm .
The small diameter makes that handheld an awesome burner, even unfocused!

1/2 a second, 10cm on a wooden ruler.
Far field is also impressive:

Almost perfectly round with an M² of around 1,1. This gets me a beam of roughly 7mm at 6m distance.
Lets take a look onto the internals, the driver first:

It's very small, just 39x20mm, thats close to the size of two 18650 cells next to each other.
A 5,6mm diode for comparison. You can also see a glimpse of the user interface.
The Home screen shows all the temperatures, battery states, set pump power level and how much power the tecs are consuming.
The color of the bar below the temperature shows if the tecs are heating (red) or cooling (blue) with the fill percentage showing the amount of power.

Another picture of the Userinterface. It shows the menu system thats used to select and adjust values. The shown menu is just for one tec, there are multiple menus.
But back to the internals:

The driver is mounted on a small bracket that holds it mechanically and dissipates the heat onto the housing.

I anodized it to prevent shorts and to make it look nice even tough nobody will ever see it

With the driver being adhered to the bracket. A special thermal adhesive is used.
Not everybody likes electronics as much as I am, so back to a different part, the pump diode holder.
It's just a simple holder for the 9mm diode. Its made out of copper to facilitate heat transfer.

Again a 5,6mm diode for size comparison. The tec thats used to keep the diode at temperature is also pictured.
(next post because of picture limit)
Last edited:


