

danefex
0
- Joined
- Aug 30, 2010
- Messages
- 1,595
- Points
- 63
Greetings Folks!
A few days ago I was happy to experience breaking the 2W barrier with this laser I'd just built & thought to aim for something groundbreaking (to me anyways) again! While I wasn't sure that I'd come close to where I was hoping to land, I am happy to share the results of my latest build with you!! A 1 Watt 12X 405nm purple scorcher that resembles a mini handheld lightsaber. Have a look at how it all came together...
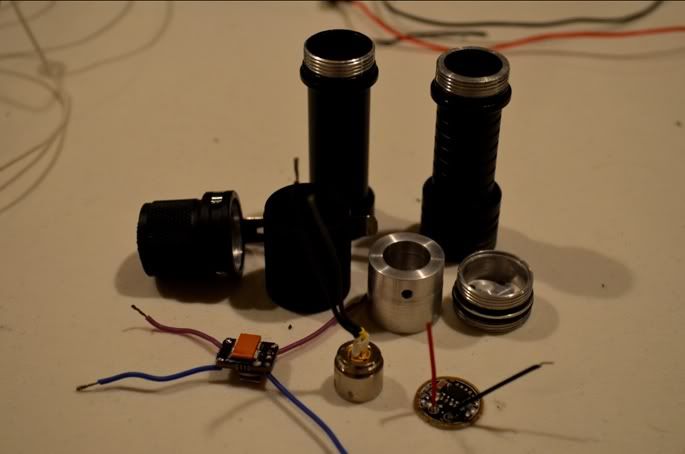
The host - Lighthound 2xAA Tactical Flashlight

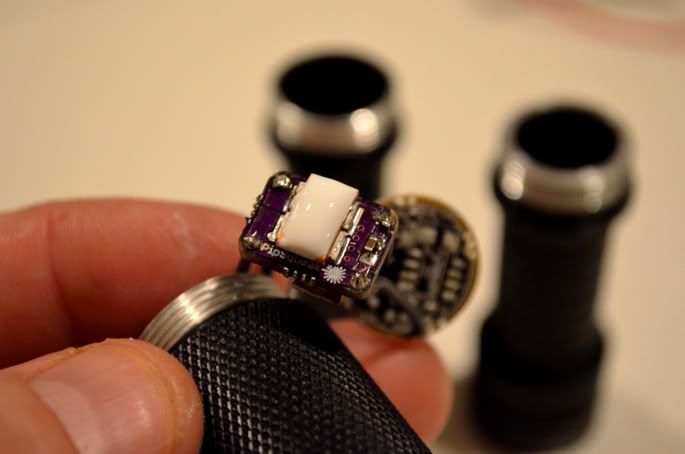
Parts - Lighthound host, 12X BDR-S06J, ~680mA pipsqk, jayrob custom heatsink,
battery contact, 2x14500 Batteries (not pictured)
I've already soldered the leads on the diode because I was going to use this 12X in
a different host for another laser, but just before finishing that build I discovered
the host didn't conduct current. Build fail, I know The driver here I'm going to
re-use is from an older project that I've since dissembled. There's some used parts
going into this new laser")
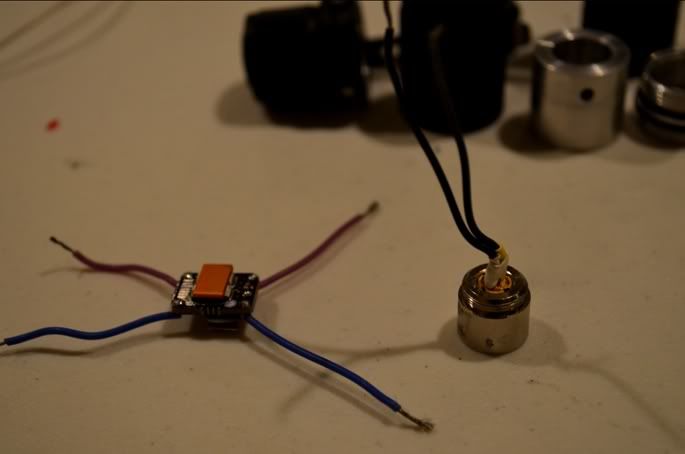
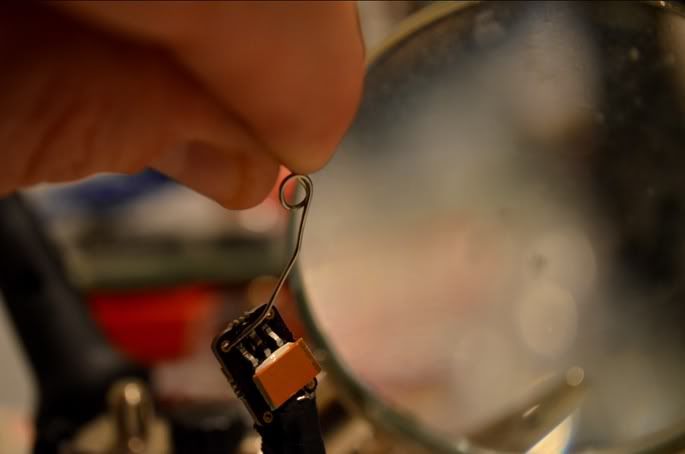
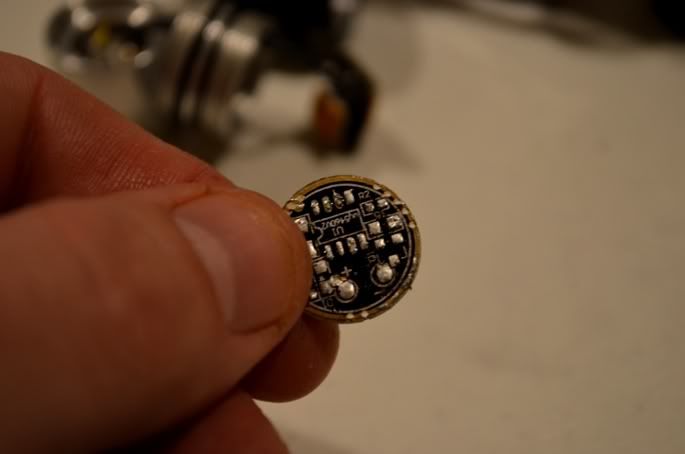
First thing I need to do is get these wires out of this driver
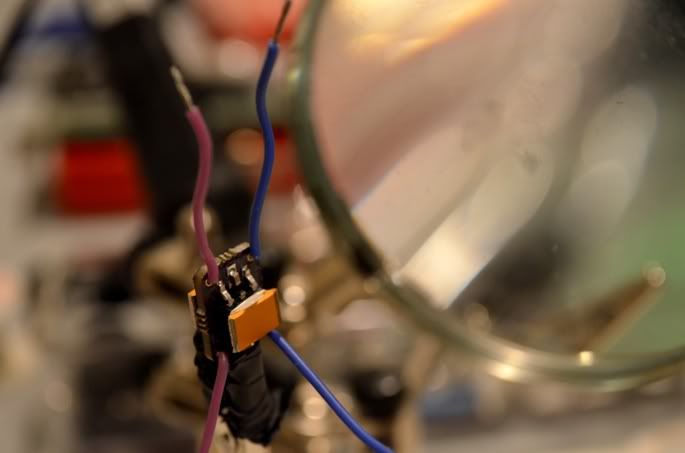
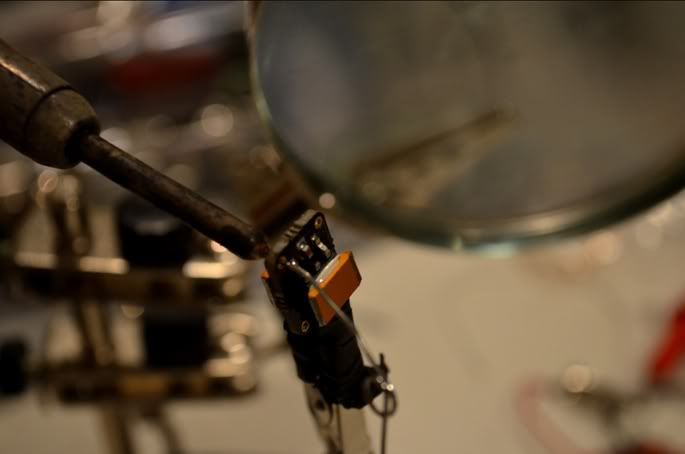
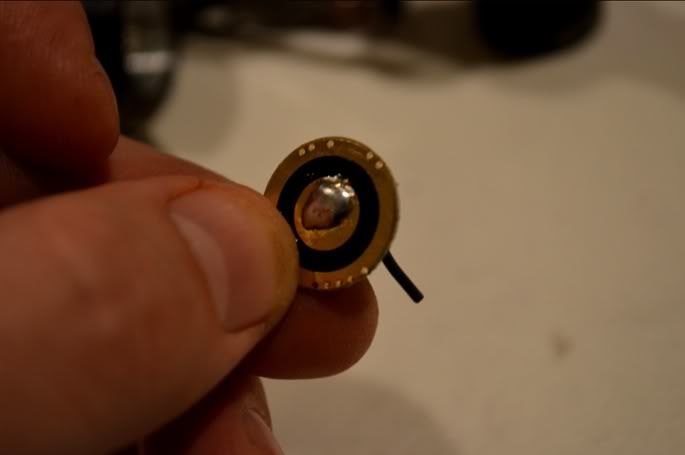
Soldered out
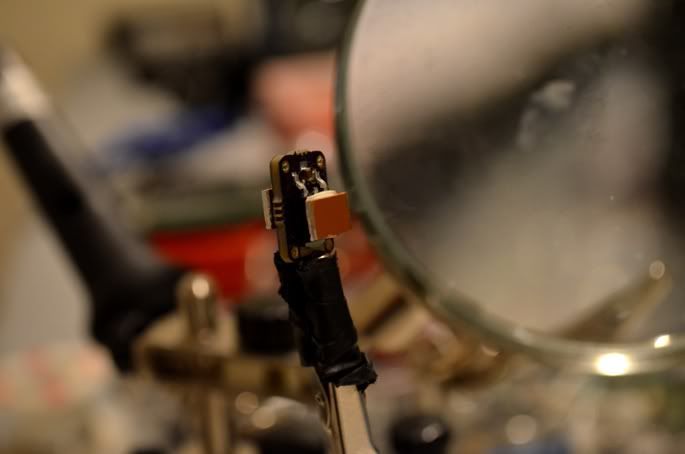
If you ever need to do this you'll find that solder fills the holes in the driver after
you've gotten the wire out. Reopening those holes can be a pain but I've found a
pretty easy method of clearing the solder up. Take a safety pin & press it down onto
the blocked hole
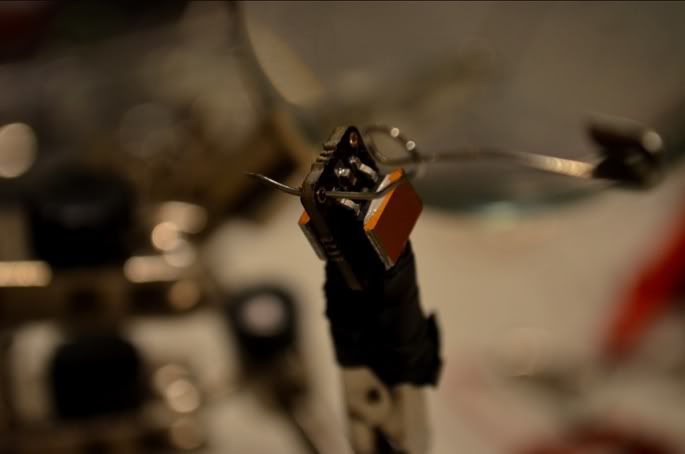
Press your soldering iron on the opposite side of the driver & push the pin against
the tip of the iron through the driver. You should be able to do this in 1/2 a second
Once this pin is through, rotate it as you remove it from the hole gently enough not
to damage the driver but also to remove any broken solder that has reattached
itself to the pin
Repeat this process with all 4 holes & you'll be ready for some new leads

Now to putting the inside together
405 diode mounted into module, module mounted into heatsink
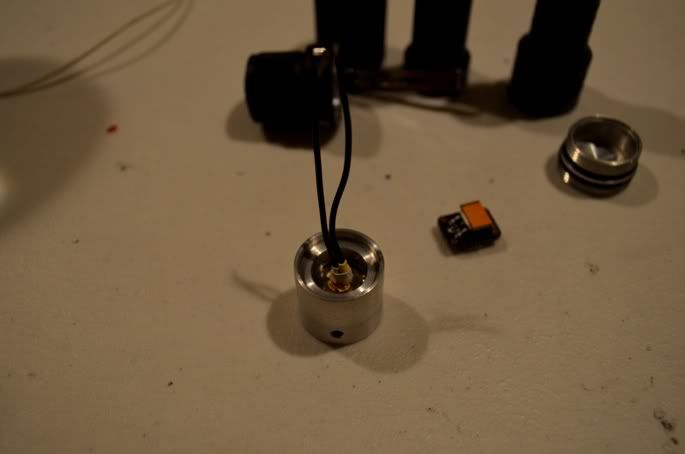
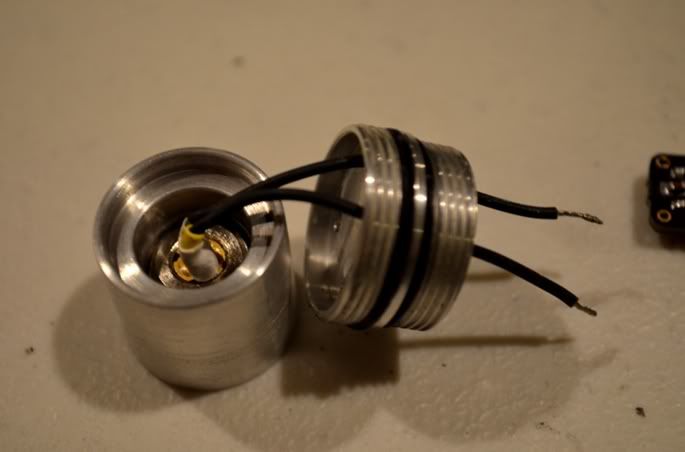
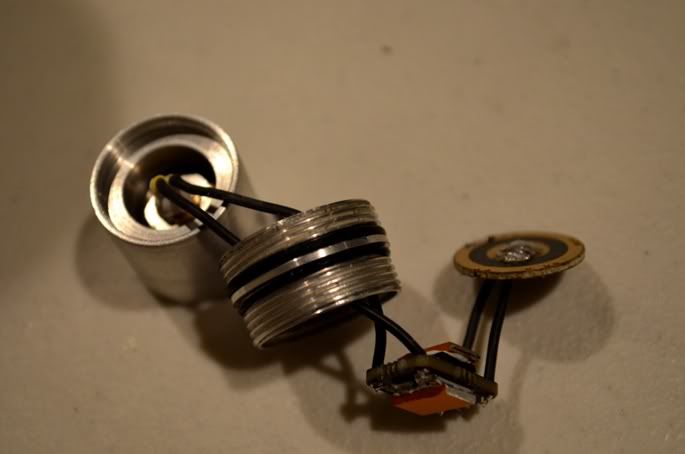
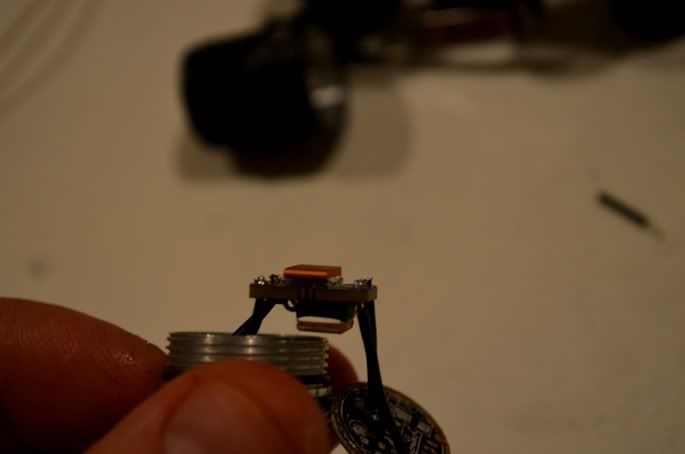
Running the diode leads through the pill
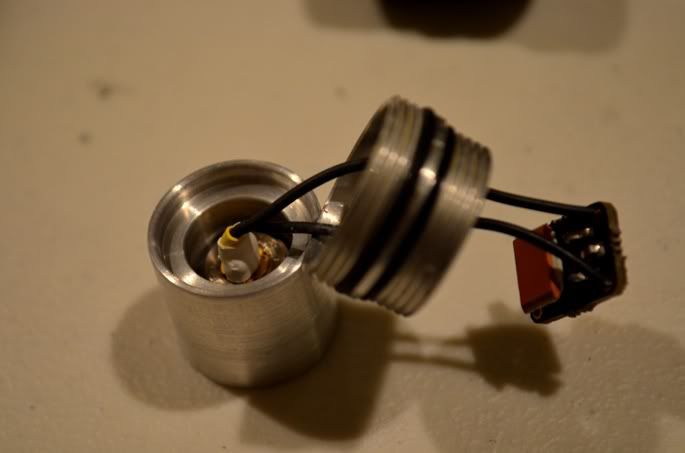
Soldered the leads to the bottom of the driver
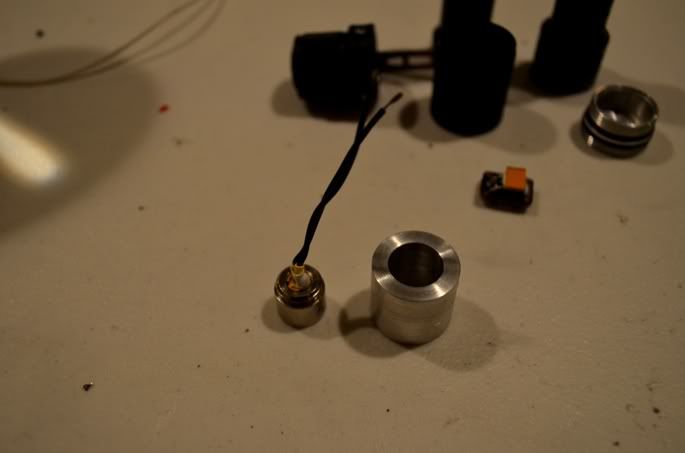
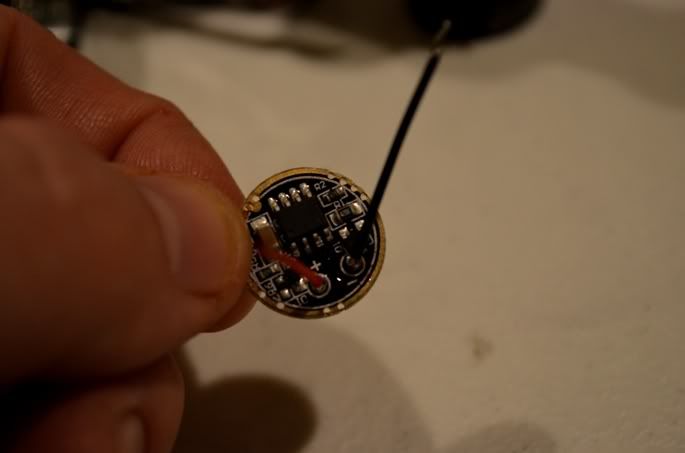
Cheapy chinese driver I'm going to use for a battery contact after I remove all of
its components
Components removed
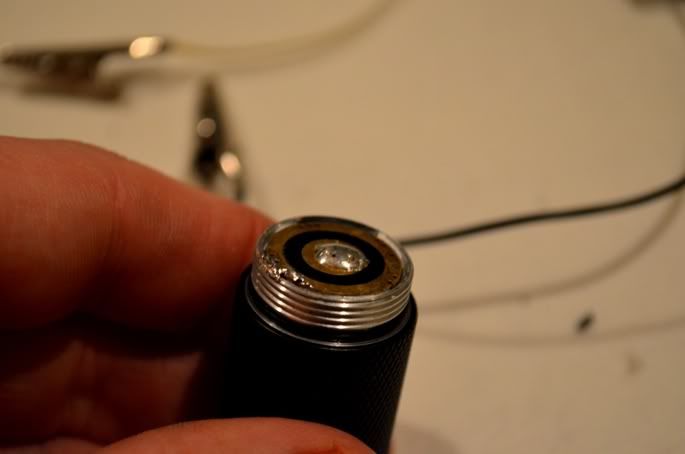
Positive lead soldered
Negative lead soldered
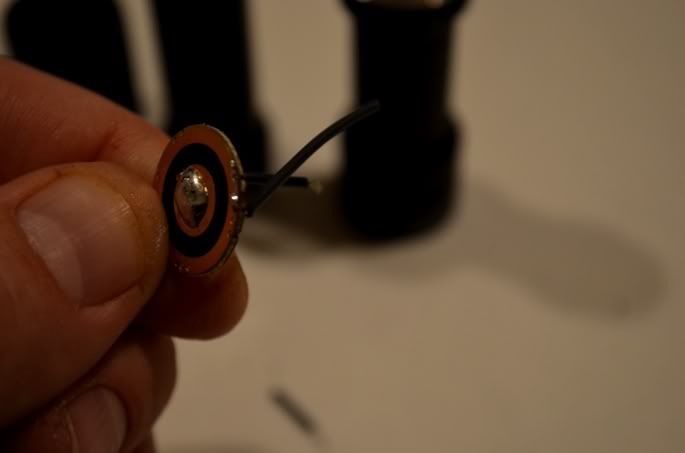
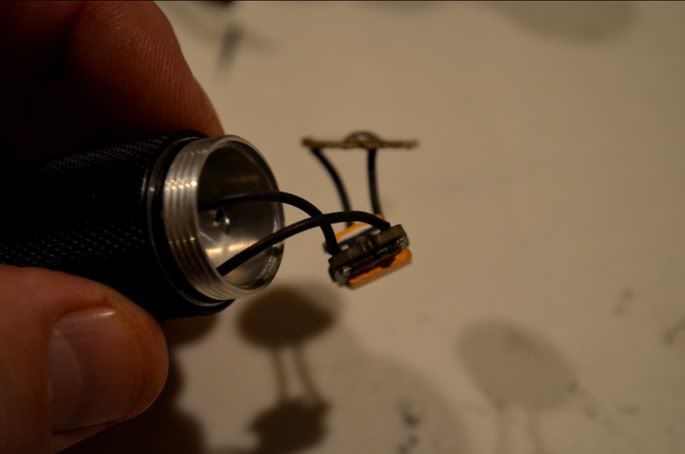
Battery leads soldered to driver
There's already heatsinks on both sides of this driver & it looks like there's enough
gap between the soldering points & its mounting surface (side view)
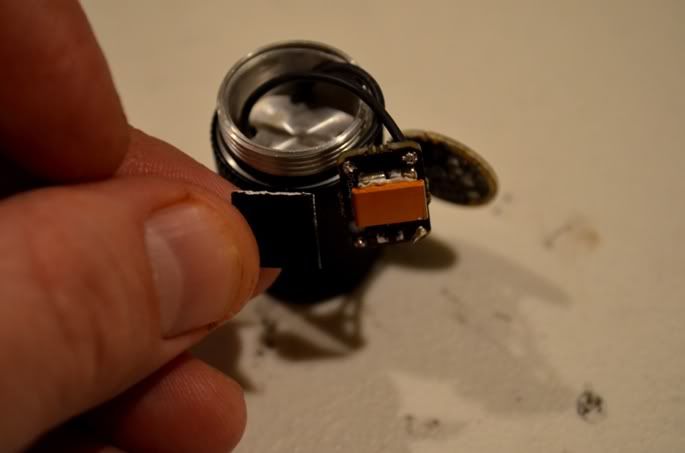
Front view
I'm going to add an additional layer just to play it safe on how it's going to be
mounted in the pill
Mixing up some thermal adhesive compound will do the trick
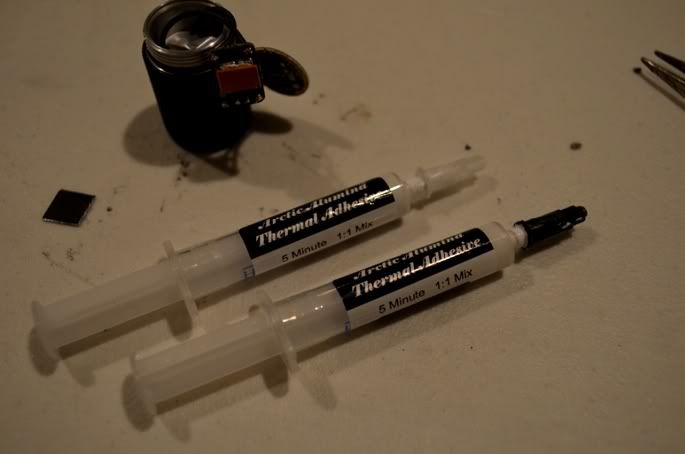
A nice thick layer of compound is used for maximum bonding & heat transfer
Stuffed it in the pill, 1/2 hr to completely dry
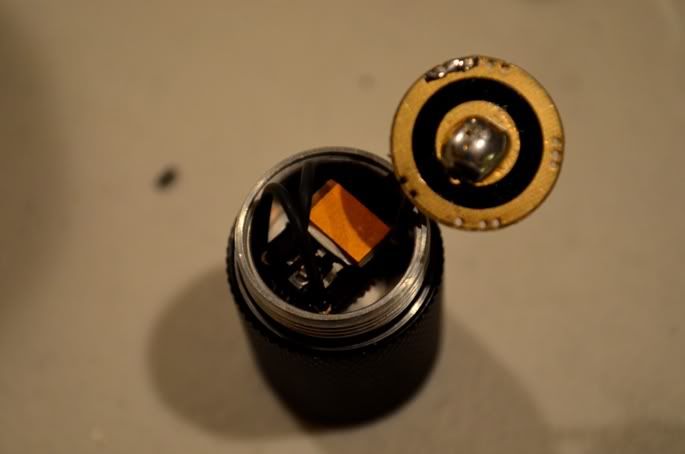
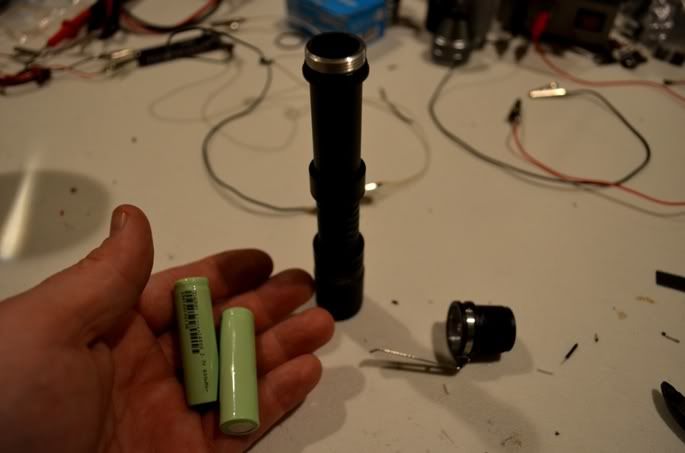
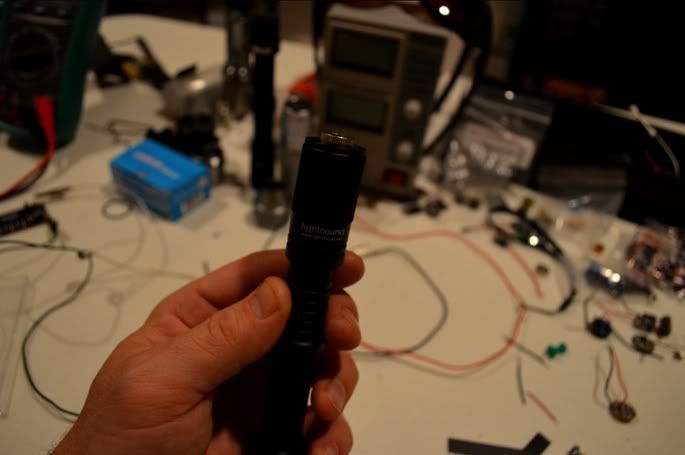
Closed up the pill, now to put the host back together

2 14500s charged & ready
It's together, now I just need to add the 405-G-1 lens
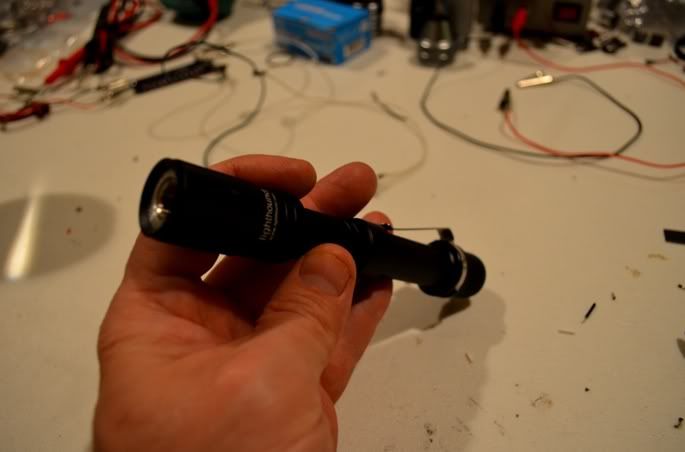
...and it's done!!
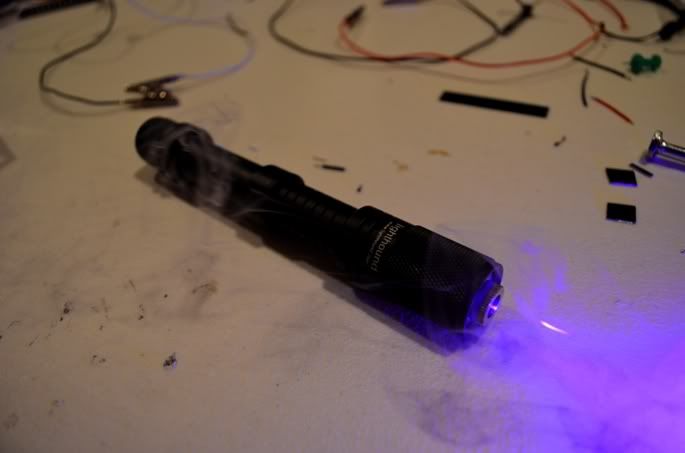
I set the laser down & turned it on to get a completed build picture, it immediately
started burning the rubber grips on one of my wrenches!!
Now for an LPM reading......
Well I wasn't sure if it'd happen or not, but I'm happy to announce that I've broken the 1W of 405 barrier!!! Thanks for checking this project out, let me know what you think :beer:
A few days ago I was happy to experience breaking the 2W barrier with this laser I'd just built & thought to aim for something groundbreaking (to me anyways) again! While I wasn't sure that I'd come close to where I was hoping to land, I am happy to share the results of my latest build with you!! A 1 Watt 12X 405nm purple scorcher that resembles a mini handheld lightsaber. Have a look at how it all came together...
The host - Lighthound 2xAA Tactical Flashlight
Parts - Lighthound host, 12X BDR-S06J, ~680mA pipsqk, jayrob custom heatsink,
battery contact, 2x14500 Batteries (not pictured)
I've already soldered the leads on the diode because I was going to use this 12X in
a different host for another laser, but just before finishing that build I discovered
the host didn't conduct current. Build fail, I know
The driver here I'm going to re-use is from an older project that I've since dissembled. There's some used parts
going into this new laser
First thing I need to do is get these wires out of this driver
Soldered out
If you ever need to do this you'll find that solder fills the holes in the driver after
you've gotten the wire out. Reopening those holes can be a pain but I've found a
pretty easy method of clearing the solder up. Take a safety pin & press it down onto
the blocked hole
Press your soldering iron on the opposite side of the driver & push the pin against
the tip of the iron through the driver. You should be able to do this in 1/2 a second
Once this pin is through, rotate it as you remove it from the hole gently enough not
to damage the driver but also to remove any broken solder that has reattached
itself to the pin
Repeat this process with all 4 holes & you'll be ready for some new leads
Now to putting the inside together
405 diode mounted into module, module mounted into heatsink
Running the diode leads through the pill
Soldered the leads to the bottom of the driver
Cheapy chinese driver I'm going to use for a battery contact after I remove all of
its components
Components removed
Positive lead soldered
Negative lead soldered
Battery leads soldered to driver
There's already heatsinks on both sides of this driver & it looks like there's enough
gap between the soldering points & its mounting surface (side view)
Front view
I'm going to add an additional layer just to play it safe on how it's going to be
mounted in the pill
Mixing up some thermal adhesive compound will do the trick
A nice thick layer of compound is used for maximum bonding & heat transfer
Stuffed it in the pill, 1/2 hr to completely dry
Closed up the pill, now to put the host back together
2 14500s charged & ready
It's together, now I just need to add the 405-G-1 lens
...and it's done!!
I set the laser down & turned it on to get a completed build picture, it immediately
started burning the rubber grips on one of my wrenches!!
Now for an LPM reading......
Well I wasn't sure if it'd happen or not, but I'm happy to announce that I've broken the 1W of 405 barrier!!! Thanks for checking this project out, let me know what you think
:beer:
Last edited:

