

danefex
0
- Joined
- Aug 30, 2010
- Messages
- 1,595
- Points
- 63
Greetings Folks!
While I know many of you have already accomplished this, I'm proud to say that I've now broken the 2W barrier. 1.9W was my most power laser until last night, but after completing this it was goodbye 1999 all over again! With this project I wanted to use a larger host for heat dissipation & since I'm very picky about lasers not looking like flashlights, I recently came across a few larger ones that seemed cool enough for making lasers from them. Of course I documented the process to share with you, have a look!
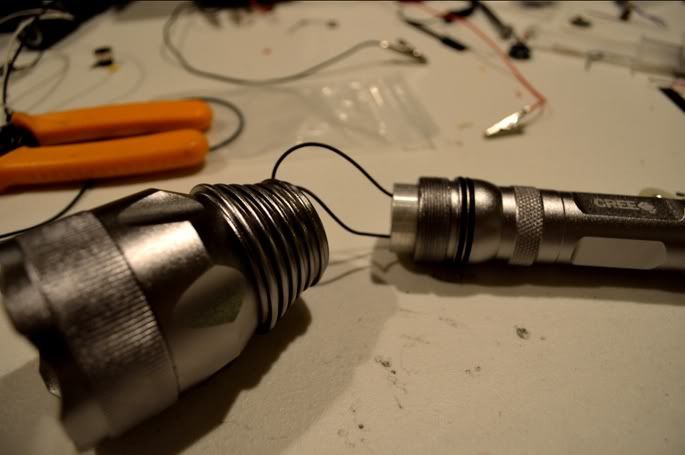
The host - Cree SacredFire NF-582

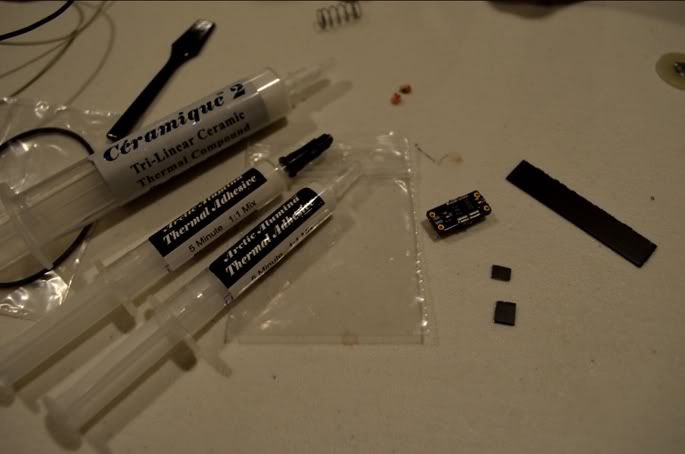
Parts - NF-582, Jayrob custom polished heatsink, 1.8A Mohgasm, H1600 445nm,
405-G-1 lens, 2x18650 Batteries (not pictured)
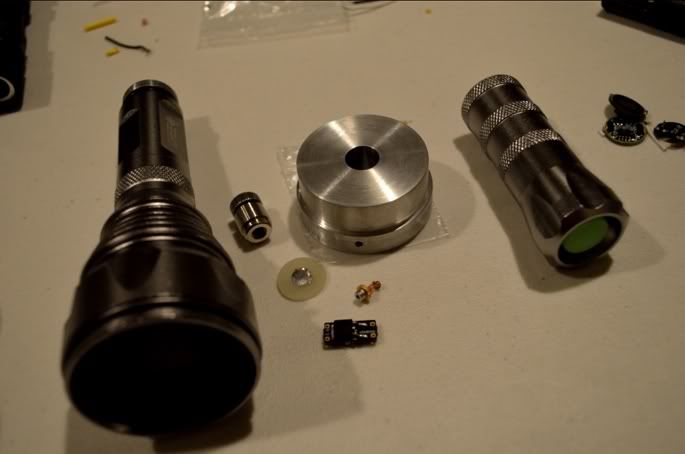
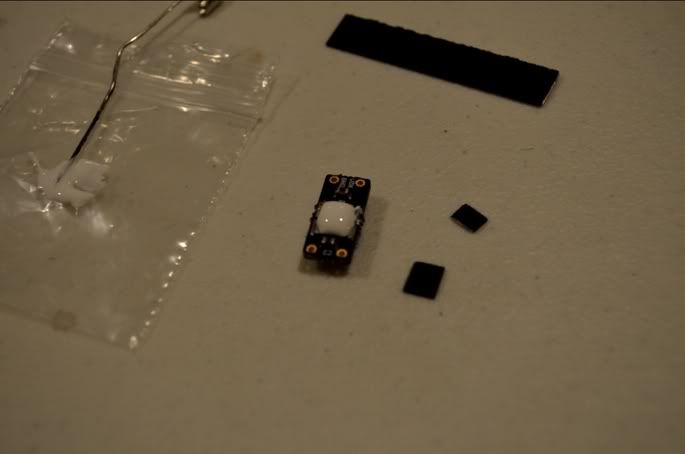
Mohgasm driver, H1600 diode
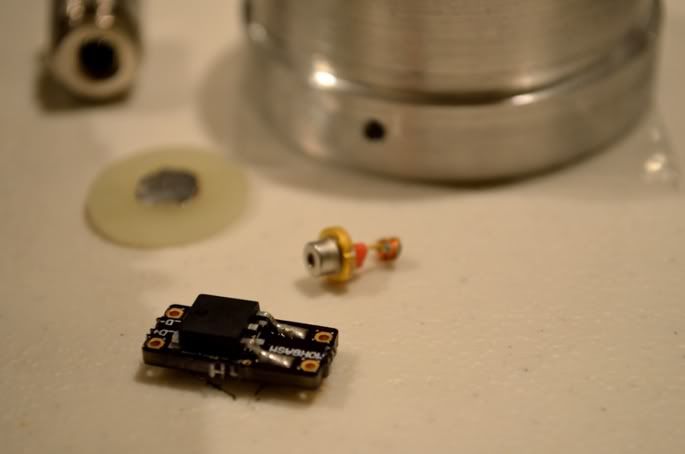
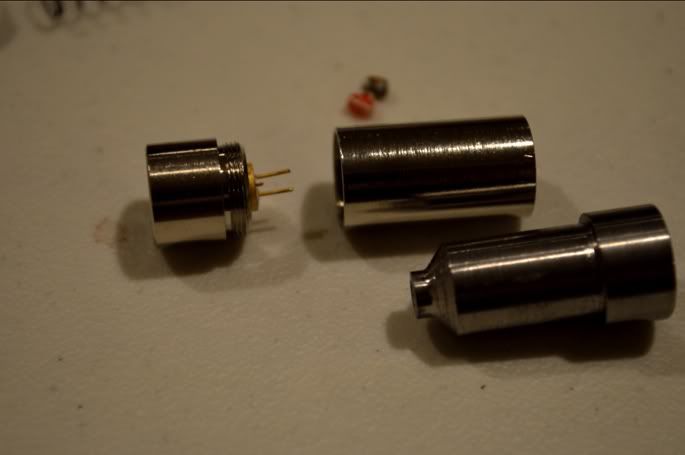
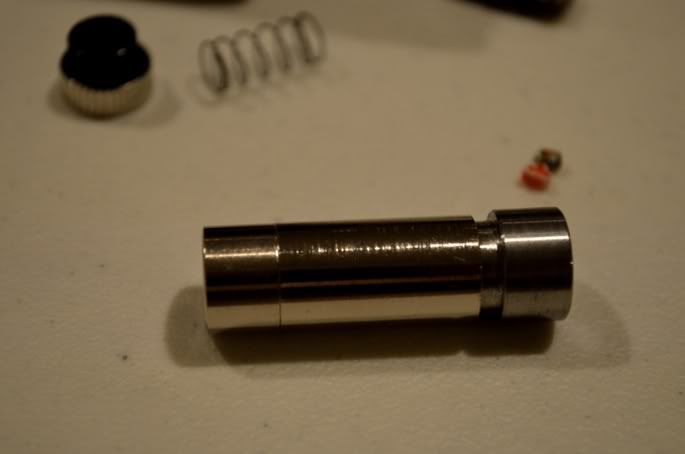
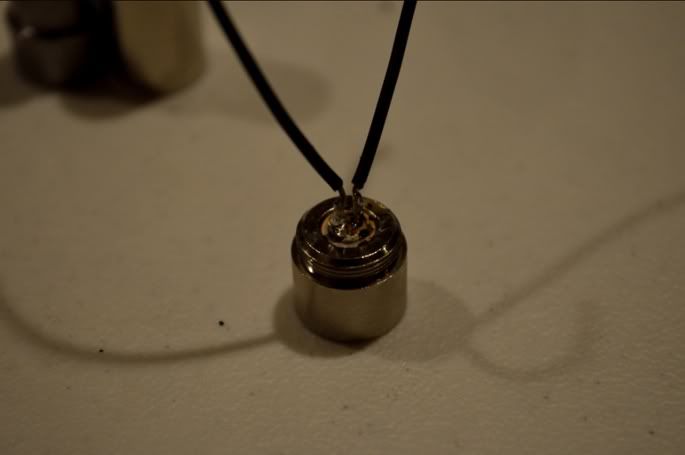
Aixiz module
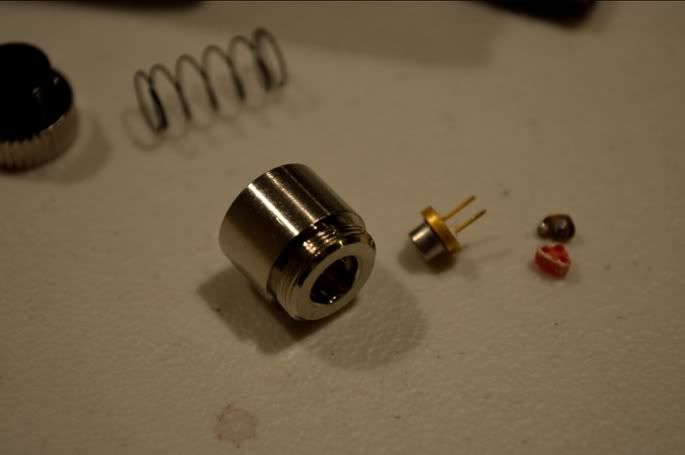
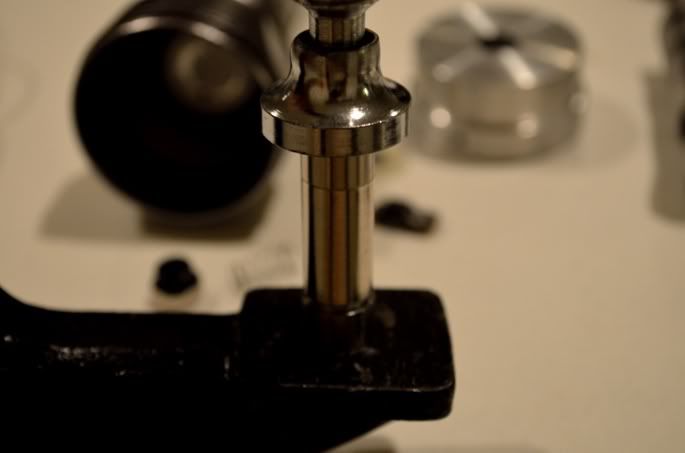
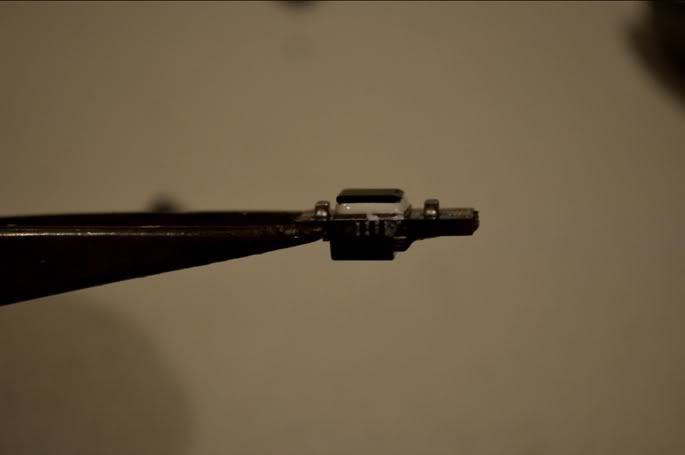
I use flaminpyro's diode press for its incredible accuracy. Pressing the diode
absolutely level is important to me, otherwise the slightest angle or offset will
result with a crooked beam
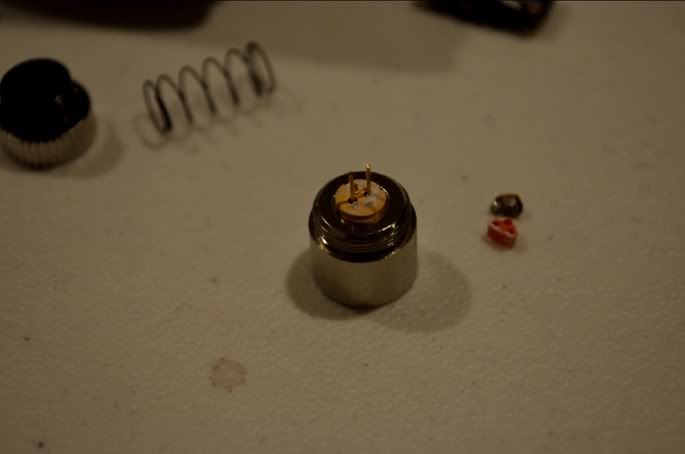
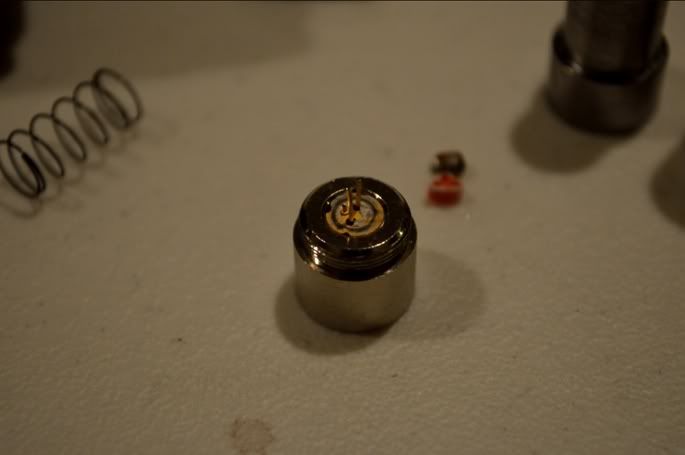
Slightly flush, completely level
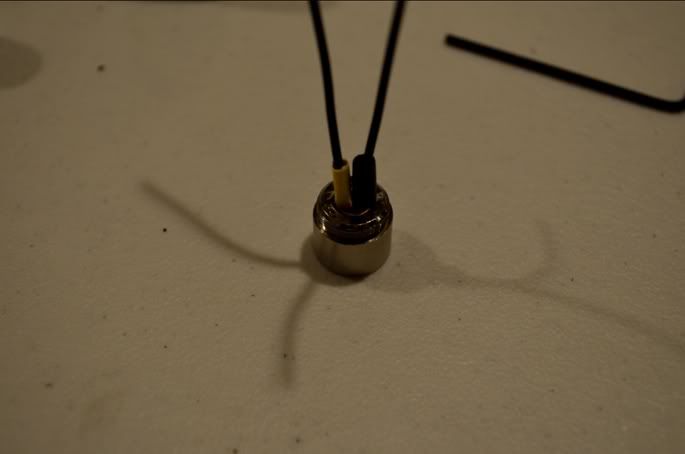
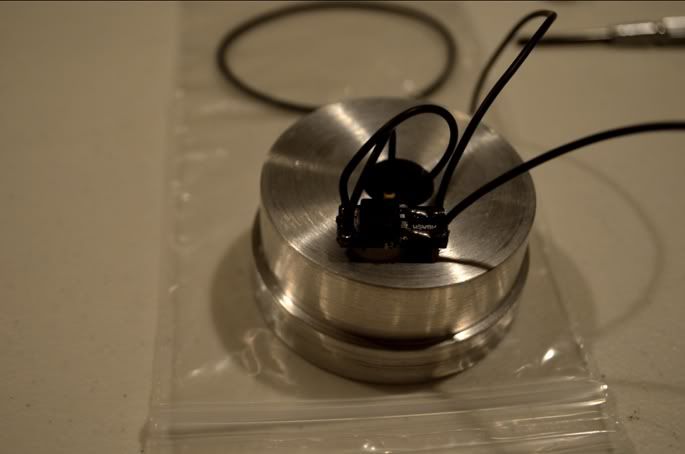
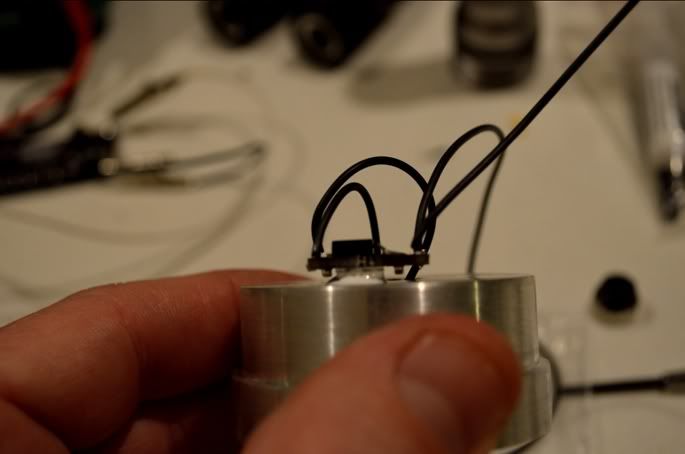
Soldered leads
Heatshrinking the leads for stability & protection
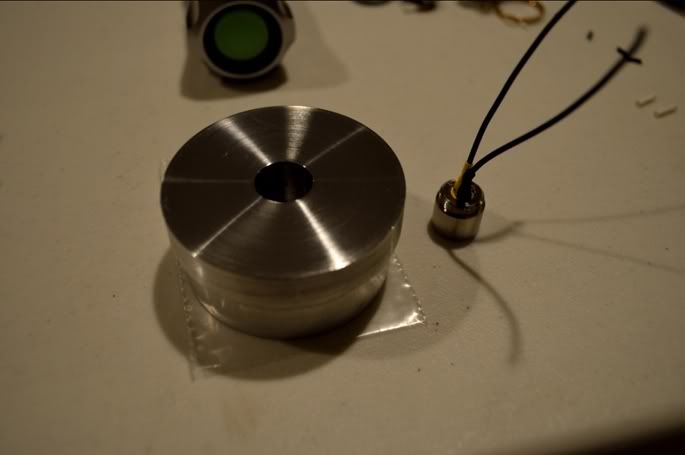
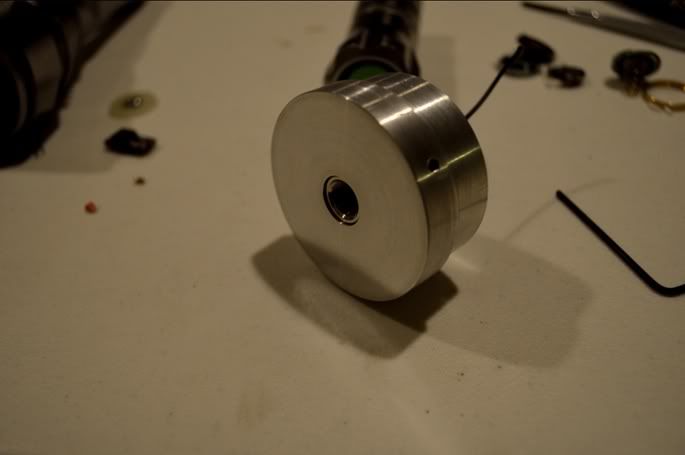
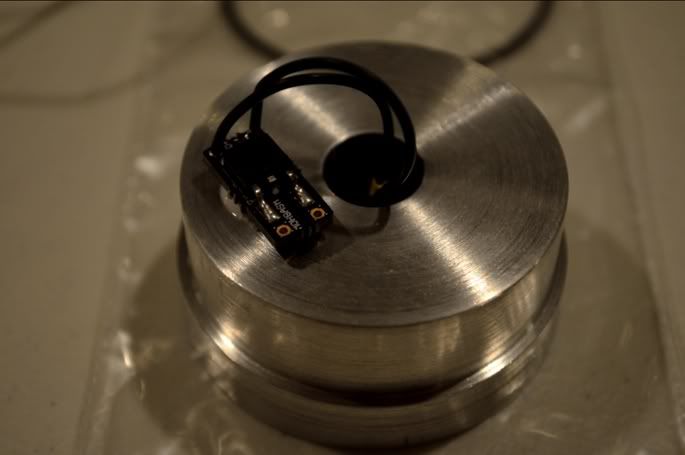
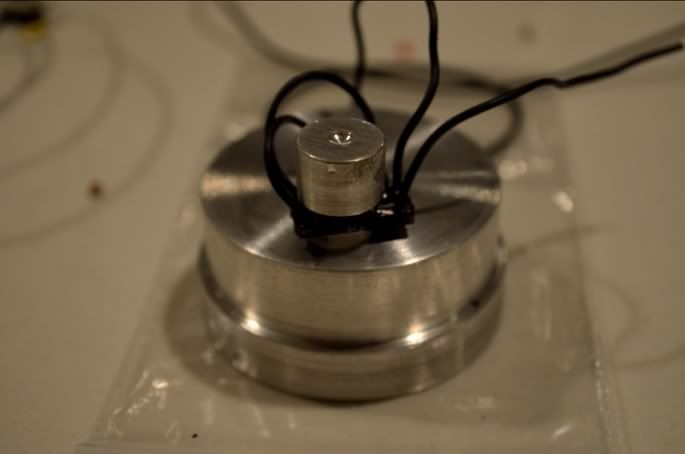
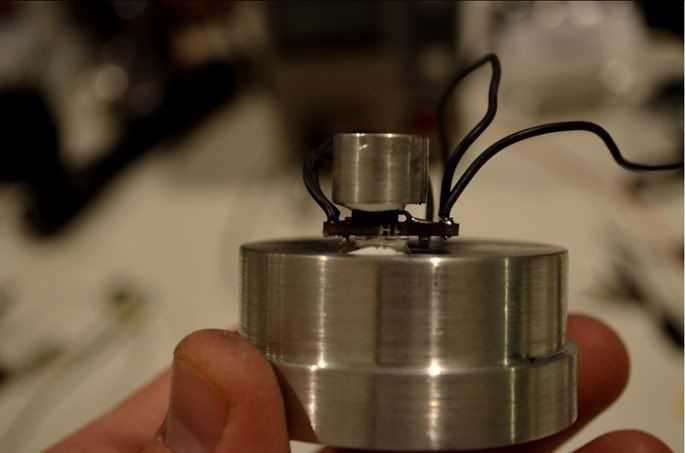
Massive aluminum heatsink
Heatsinking a 1.8A driver is absolutely necessary unless you want short runtimes
or to burn out the driver. I plan on sinking this driver to the back of the larger
heatsink that holds the aixiz module. To do this, I'm cutting small pieces from a
strip of black aluminum that came from a computer graphics card heatsink I took
apart. I have a dozen of these aluminum strips & they work outstanding to use for
heatsinking hot drivers
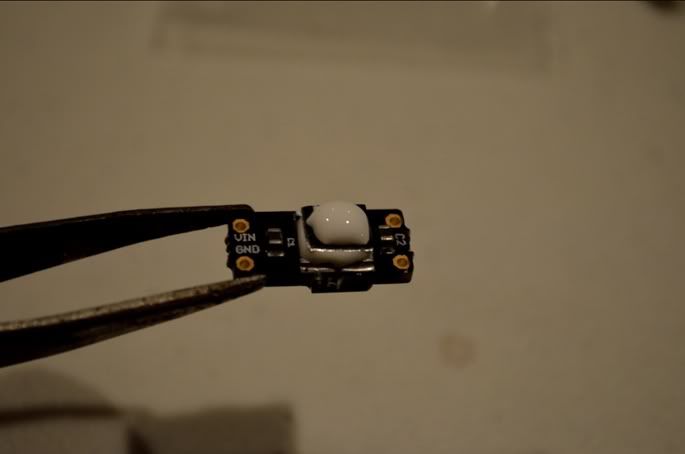
I'm using a generous amount of thermal compound so the heatsink doesn't short
any components on the driver
30 minutes to completely dry
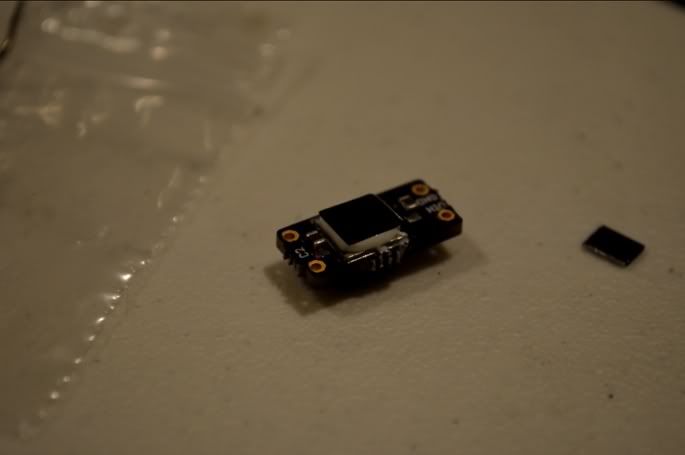
The heatsink is sitting on enough compound to prevent the driver from shorting out
on the larger heatsink it will be mounted onto
Another heavy layer of compound for mounting onto the larger heatsink. I use a
thick layer here for efficient heat transfer and to leave enough room to keep the
driver from touching anything
Mounted on the large heatsink
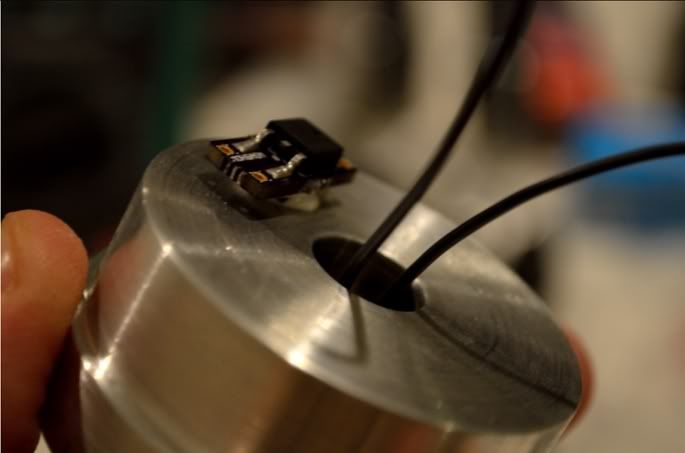
You can see nothing is touching or shorting anywhere when bonding these parts
together
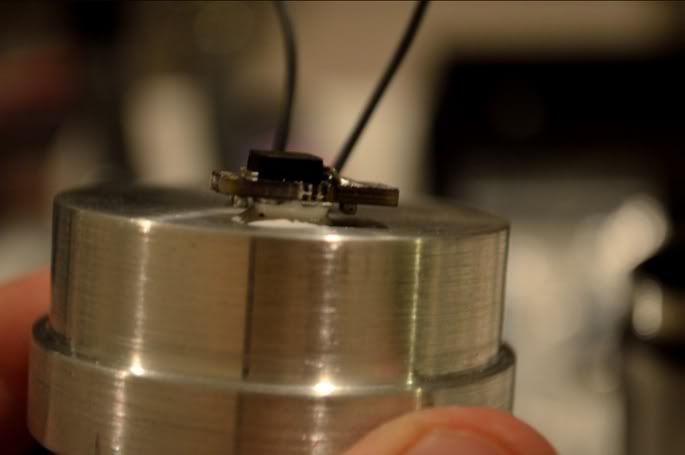
Soldered the diode leads
Soldered the battery leads
Making sure the solder joints don't touch the massive heatsink
An additional heatsink on the top of the driver was added for extra heat dissipation
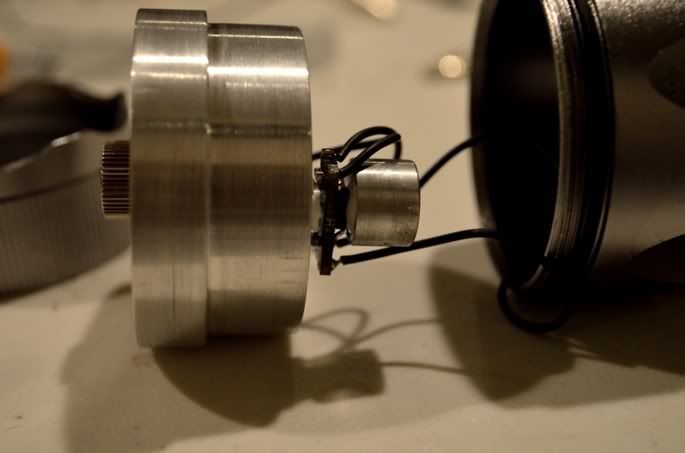
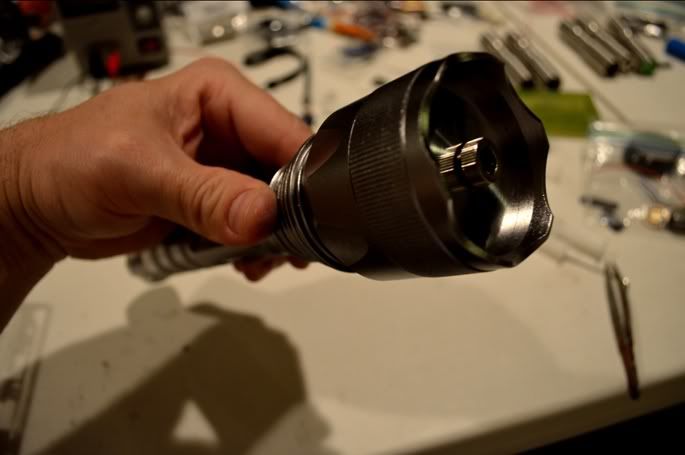
After everything dried I mounted the heatsink into the host & screwed on the crown.
Here's what it looks like inside
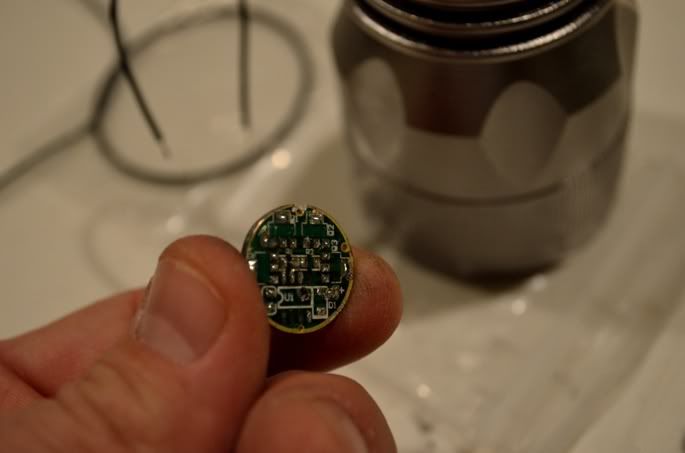
I stripped everything off a cheapy 17mm chinese driver to use for a contact board
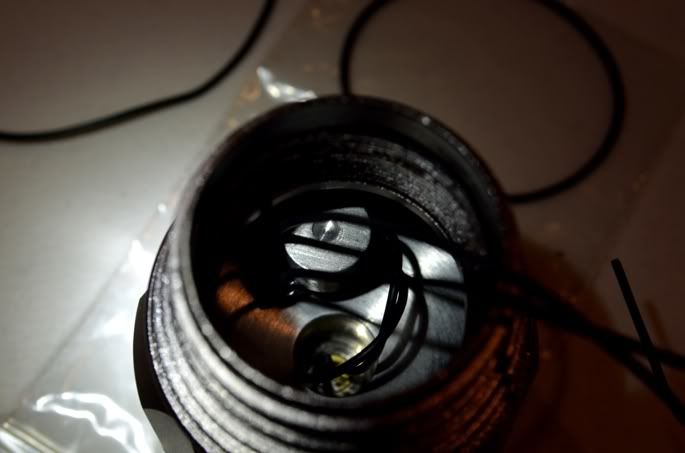
I inserted the leads through the pill
Soldered the positive lead & left the negative to mount inside the pill
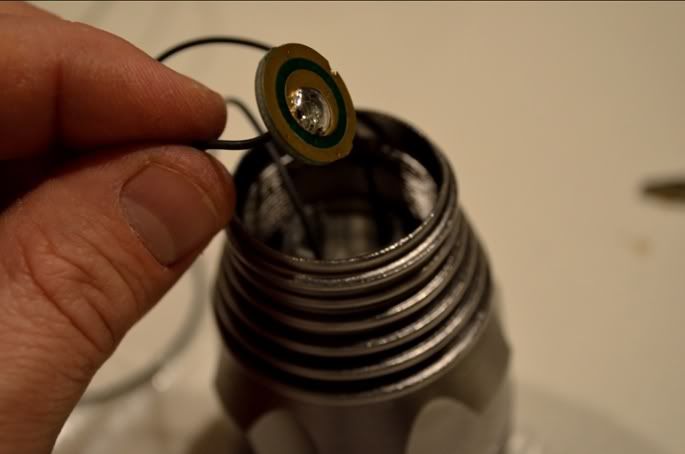
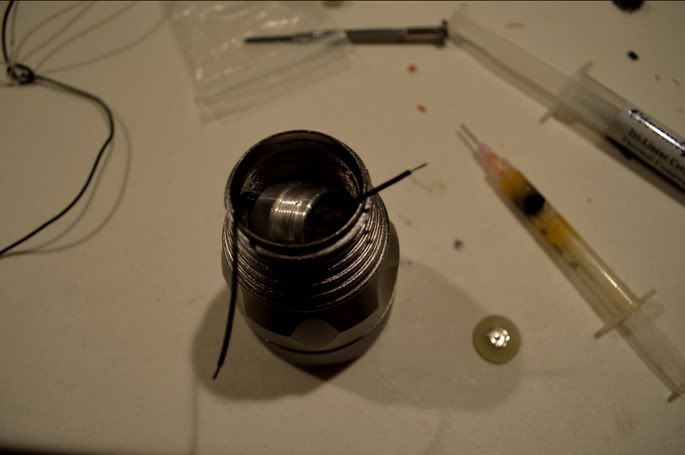
Attached the contact board to the pill
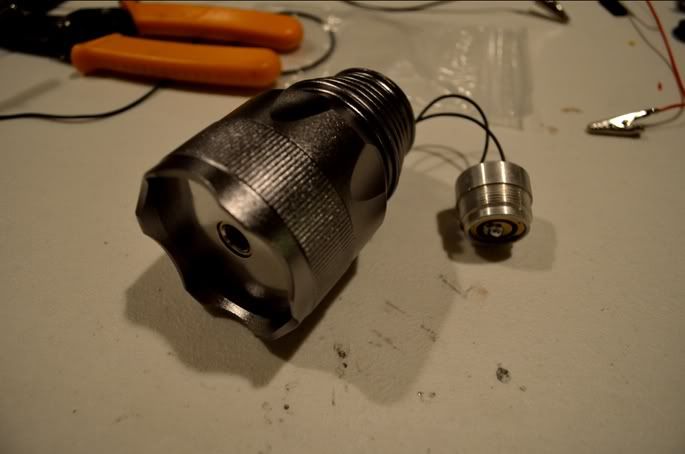

Screwed in the pill
Added the 405-G-1 lens and it's done!
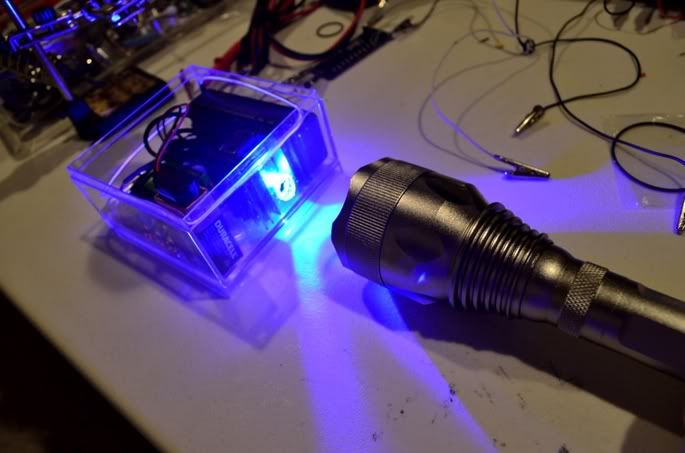
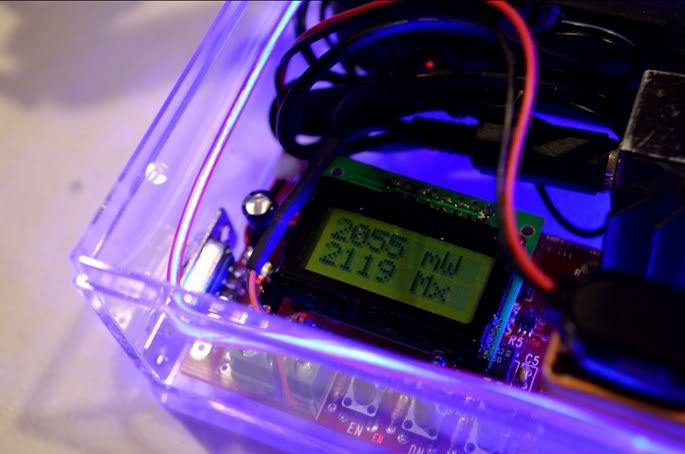
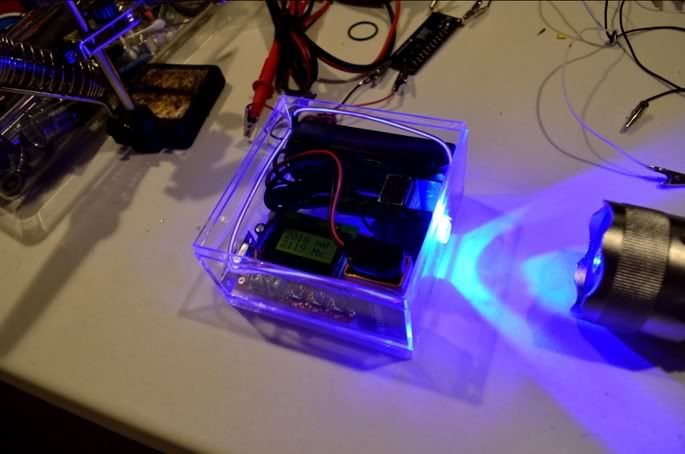
Immediately I needed to test this on my LPM to see how much it had
2.1W I was very happy
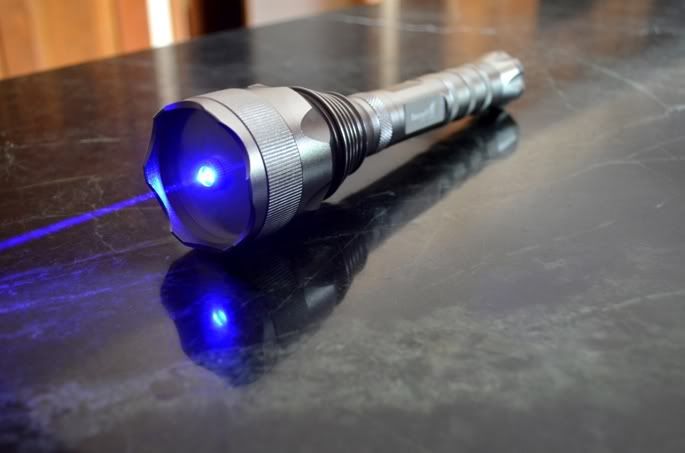
My first 2W laser, a success! Now the obligatory first 2W beamshot of course...
I've ran it so far for about 3 minutes before the host starts getting noticeably
warm. Overall I am very happy with this build.
Thanks for reading and checking this out folks, let me know what you think! :beer:
While I know many of you have already accomplished this, I'm proud to say that I've now broken the 2W barrier. 1.9W was my most power laser until last night, but after completing this it was goodbye 1999 all over again! With this project I wanted to use a larger host for heat dissipation & since I'm very picky about lasers not looking like flashlights, I recently came across a few larger ones that seemed cool enough for making lasers from them. Of course I documented the process to share with you, have a look!
The host - Cree SacredFire NF-582
Parts - NF-582, Jayrob custom polished heatsink, 1.8A Mohgasm, H1600 445nm,
405-G-1 lens, 2x18650 Batteries (not pictured)
Mohgasm driver, H1600 diode
Aixiz module
I use flaminpyro's diode press for its incredible accuracy. Pressing the diode
absolutely level is important to me, otherwise the slightest angle or offset will
result with a crooked beam
Slightly flush, completely level
Soldered leads
Heatshrinking the leads for stability & protection
Massive aluminum heatsink
Heatsinking a 1.8A driver is absolutely necessary unless you want short runtimes
or to burn out the driver. I plan on sinking this driver to the back of the larger
heatsink that holds the aixiz module. To do this, I'm cutting small pieces from a
strip of black aluminum that came from a computer graphics card heatsink I took
apart. I have a dozen of these aluminum strips & they work outstanding to use for
heatsinking hot drivers
I'm using a generous amount of thermal compound so the heatsink doesn't short
any components on the driver
30 minutes to completely dry
The heatsink is sitting on enough compound to prevent the driver from shorting out
on the larger heatsink it will be mounted onto
Another heavy layer of compound for mounting onto the larger heatsink. I use a
thick layer here for efficient heat transfer and to leave enough room to keep the
driver from touching anything
Mounted on the large heatsink
You can see nothing is touching or shorting anywhere when bonding these parts
together
Soldered the diode leads
Soldered the battery leads
Making sure the solder joints don't touch the massive heatsink
An additional heatsink on the top of the driver was added for extra heat dissipation
After everything dried I mounted the heatsink into the host & screwed on the crown.
Here's what it looks like inside
I stripped everything off a cheapy 17mm chinese driver to use for a contact board
I inserted the leads through the pill
Soldered the positive lead & left the negative to mount inside the pill
Attached the contact board to the pill
Screwed in the pill
Added the 405-G-1 lens and it's done!
Immediately I needed to test this on my LPM to see how much it had
2.1W
I was very happy
My first 2W laser, a success! Now the obligatory first 2W beamshot of course...
I've ran it so far for about 3 minutes before the host starts getting noticeably
warm. Overall I am very happy with this build.
Thanks for reading and checking this out folks, let me know what you think! :beer:
Last edited:

