

- Joined
- Oct 19, 2012
- Messages
- 955
- Points
- 43
I want to thank Moh for all these GB's lately.... even though he drained every last penny out of me the deals he got us were amazing :beer:
Mohgasm.com
Now here is a review/ build guide of Moh's C6 JAD kits that I assume will be available on his site in the near future.
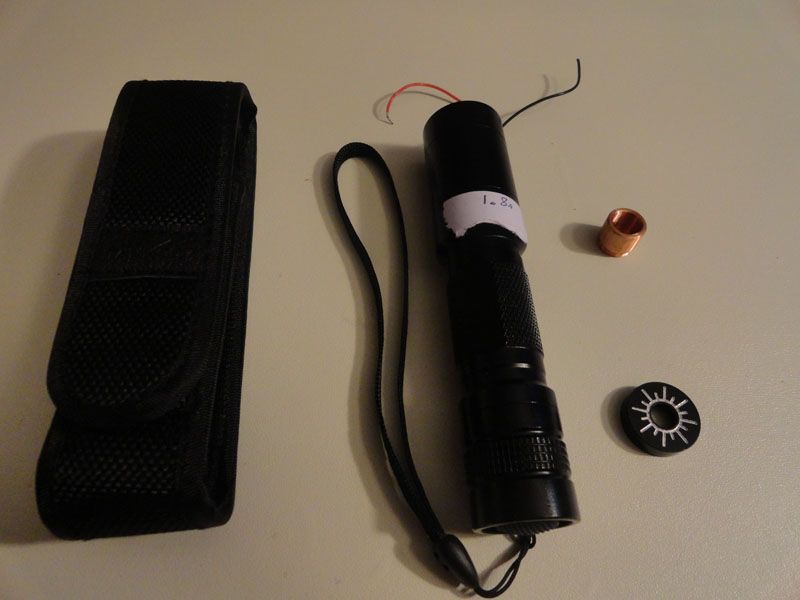
What I received
1 Black C6 w/ 1.8a driver already installed
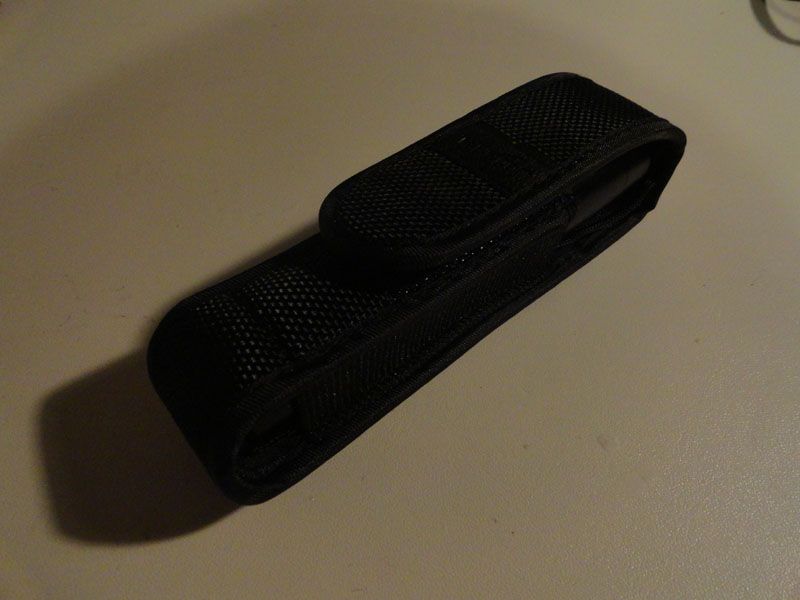
1 C6 Holder
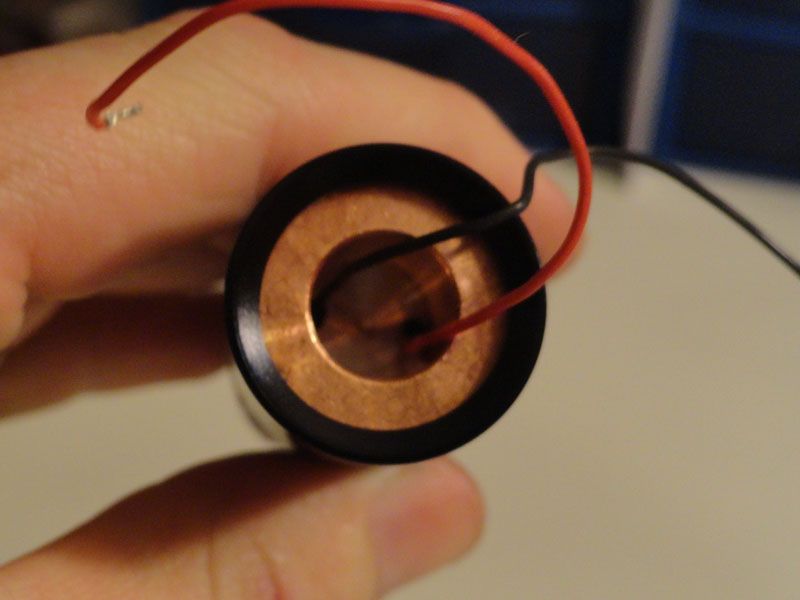
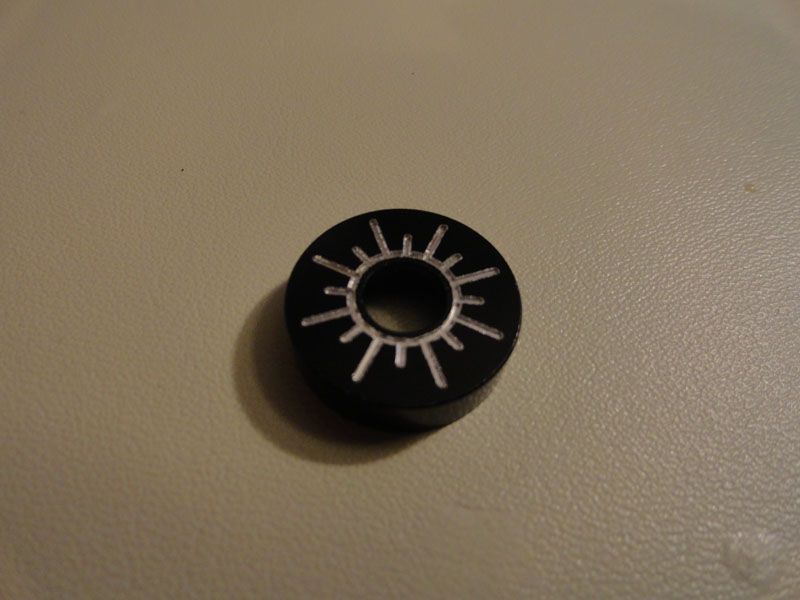
1 Black Focus Knob
1 5.6mm copper module
1 Copper C6 Heatsink w/ set screw
What else I used
1 m140 diode ( I got mine from a projector I harvested but I highly recommend DTR for your diode DTR's Site)
1 405nm Aixiz 3-element Lens (DTR again)
1 5.6mm Diode Press (I use Flaminpyro's Press set Flaminpyros Stuff)
Glow Kit (Addonex, 405nm.com, Lasers, Glow in the Dark, Fluorescence, and Kits)
Holographic Warning Labels (NickD070, Innovative Lasers)
Arctic Silver thermal compound
Clear Gorilla Epoxy
91% Isopropyl Alcohol
Anti-Static Mat
Anti-Static Wristband
All your usual soldering equipment, etc.
Now on to the build
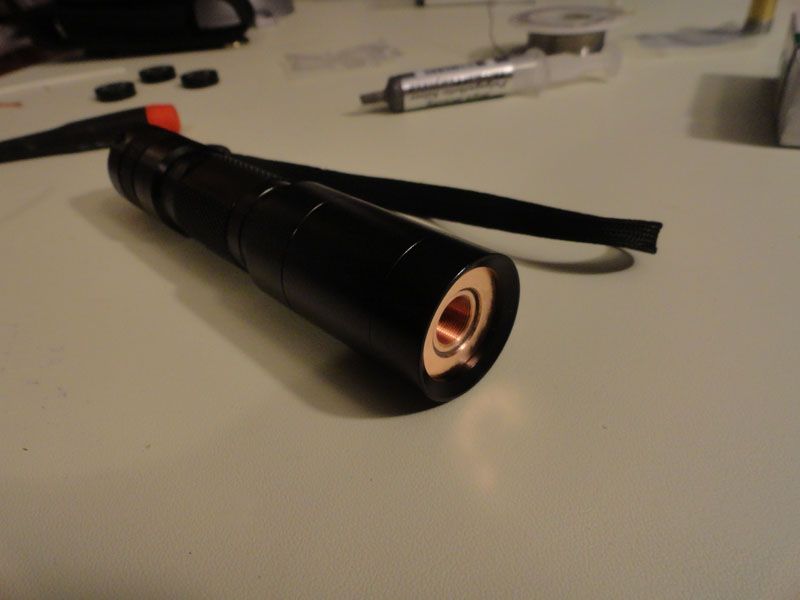
This is what I received from Moh")

Here is the M140 diode!
5.6mm press from Flaminpyro
After I pressed the diode into the copper module I soldered the leads Moh has already installed in the C6 to the diode. I used heatshrink on the pins that you can get from Flaminpyro.
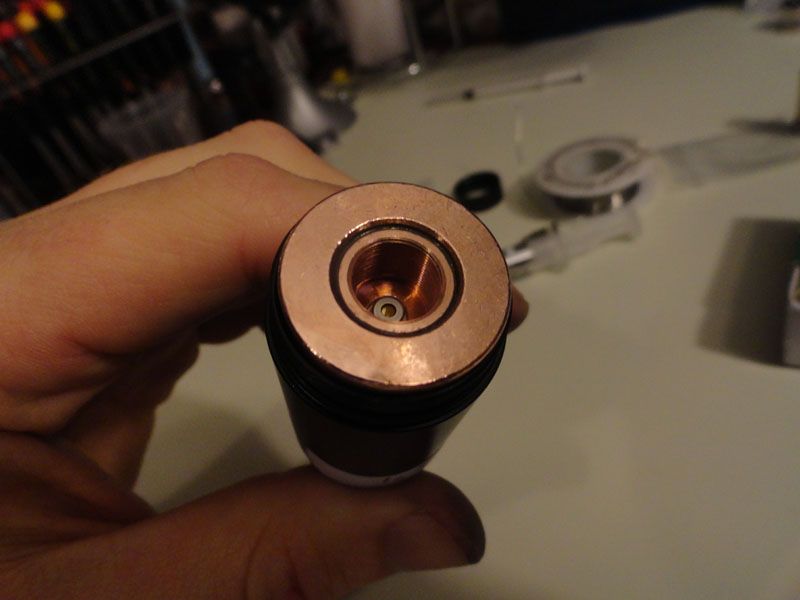
Next I coated the copper module in Arctic Silver and inserted it into the copper heatsink securing it with the set screw. Then used the Isopropyl Alcohol to clean off any unnecessary arctic silver, it seems to get everywhere. While you are cleaning it be sure not to touch the diode with anything
Now it is GITD time!!!! Since you can skin a cat in multiple ways I will list different methods from people in here along with my own.
Here is Moh's process
This is how i did it....
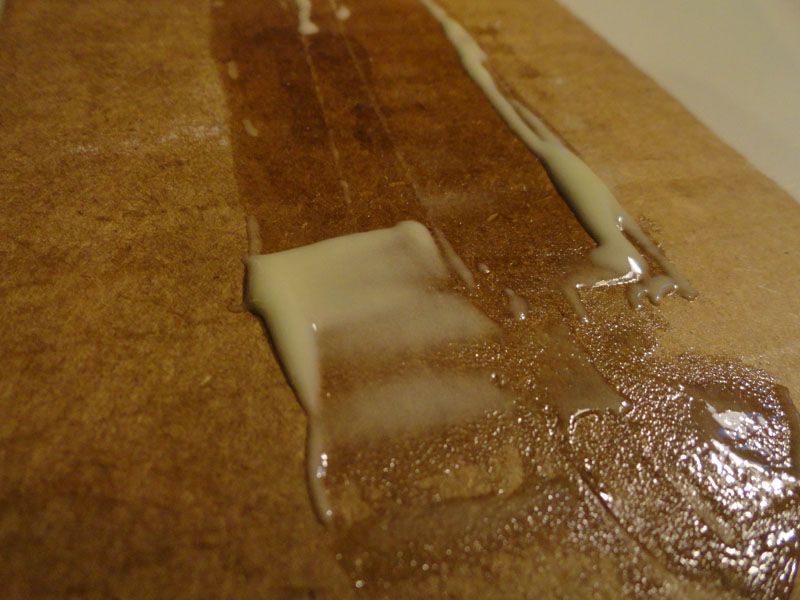
You will need glow powder, clear epoxy, and a squeegee or some time of applicator, and I mix everything on cardboard.
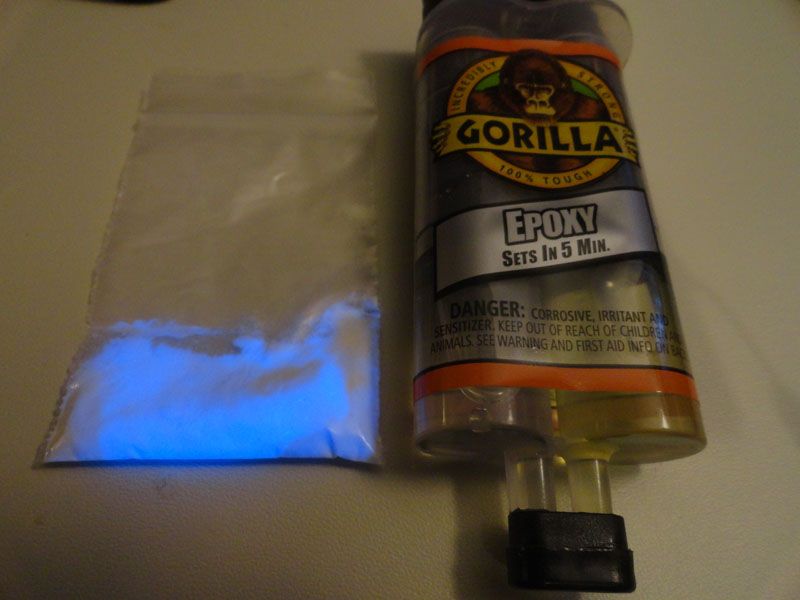
Mix together your glow powder and epoxy. use a decent amount of glow powder in the mixture. Also if you are only doing one knob then you only need a small amount of this mixture.
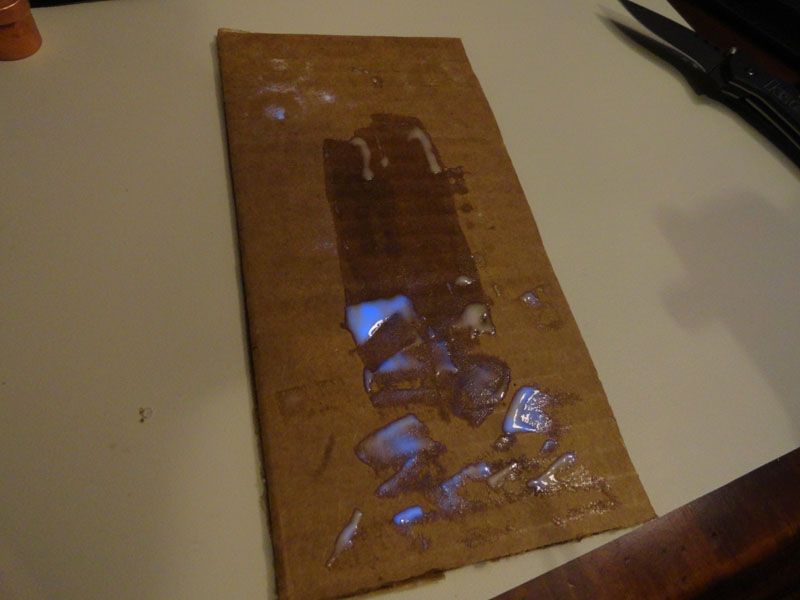
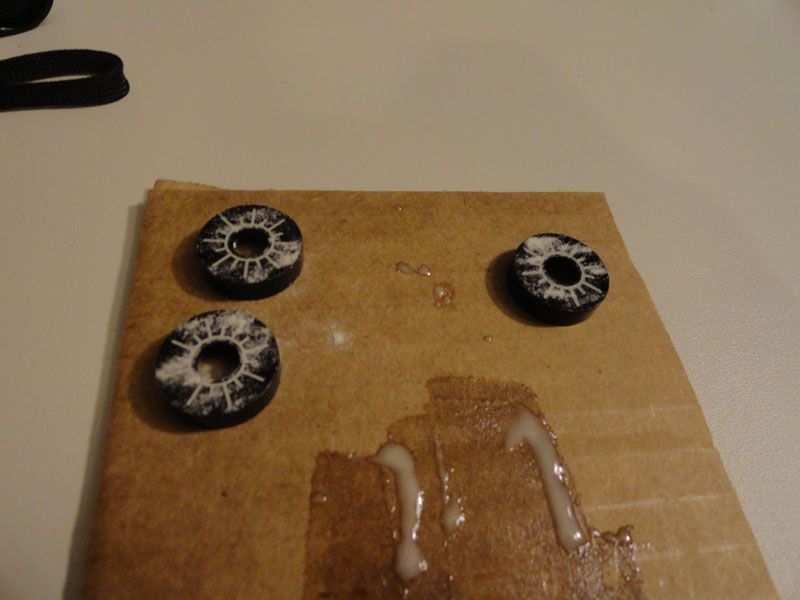
Before you spread the epoxy on the knob it is good to wipe it down with alcohol to remove an oils. Then you spread a thin layer on the top surface of the knob, just enough to fill the grooves. Once you have the grooves filled and the excess scrapped off, soak a papertowel in alcohol and lightly wipe the surface of the knob. Keep applying more alcohol to the towel if needed and continue to gently rub the surface until it is clean. Don't press too hard or you can remove the epoxy from the grooves. Now something I do for better results is, after I clean the surface I take a pinch of the powder in sprinkle it over the still wet epoxy and spread the powder around. Then I repeat the alcohol wiping process again until the surface is clean. This will help ensure you have a sufficient amount of GITD powder. After that you then just let it sit for however long your epoxy takes to cure.
Here is a picture of the powder sprinkled over the knobs
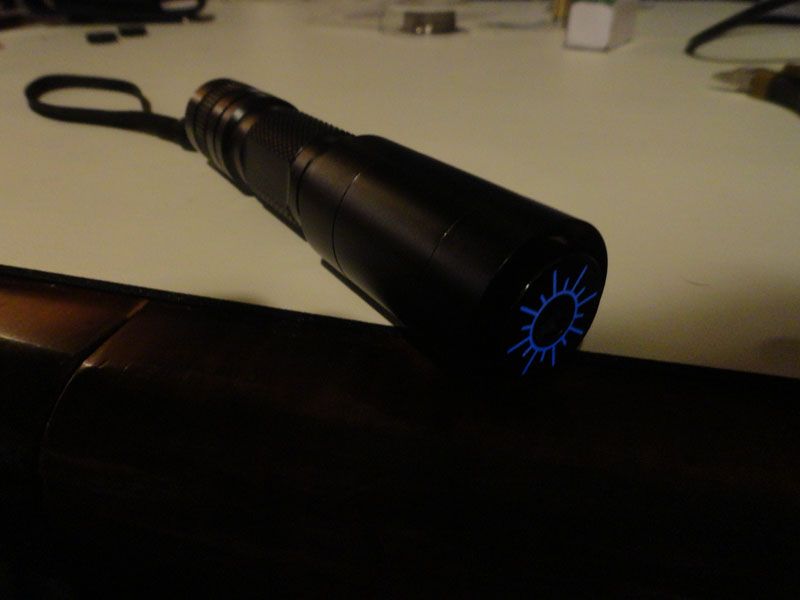
This is what the finish product looks like!
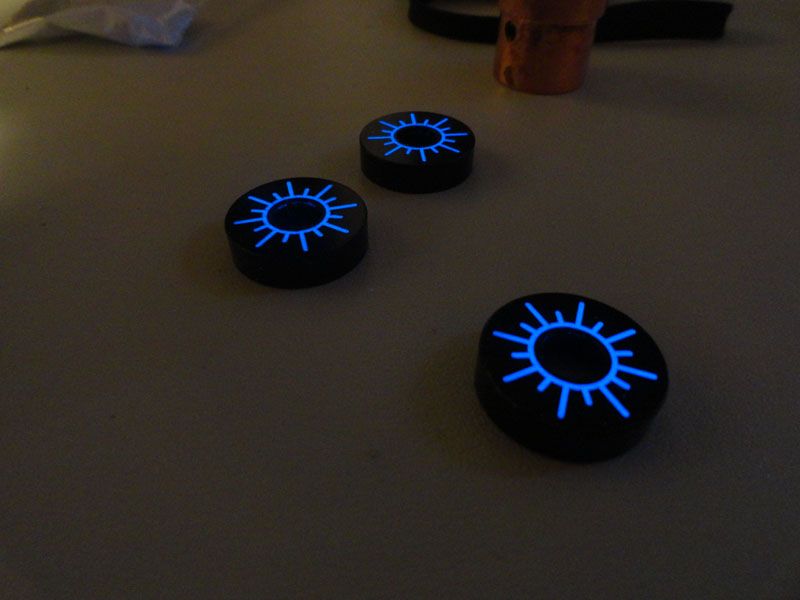
After it dries you throw the lens of your choice in it and screw it in to your module :beer:
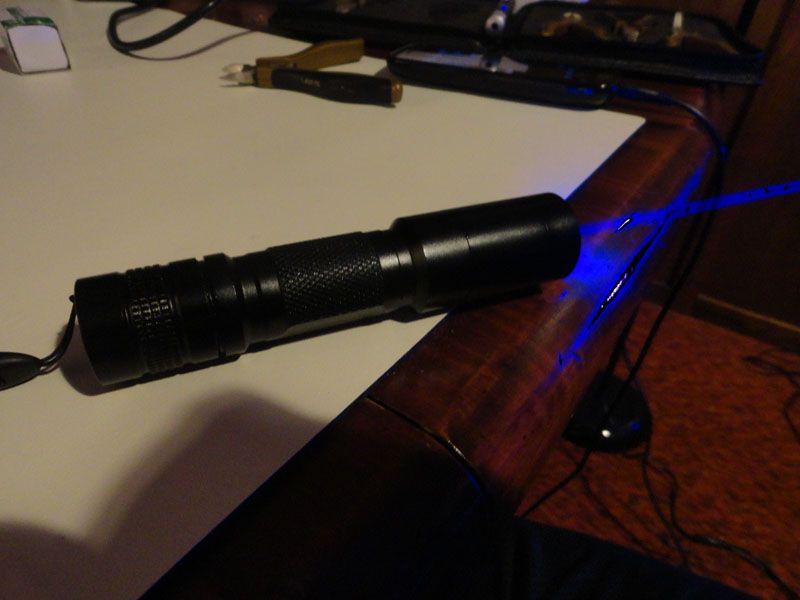
Here are some final pictures of the laser


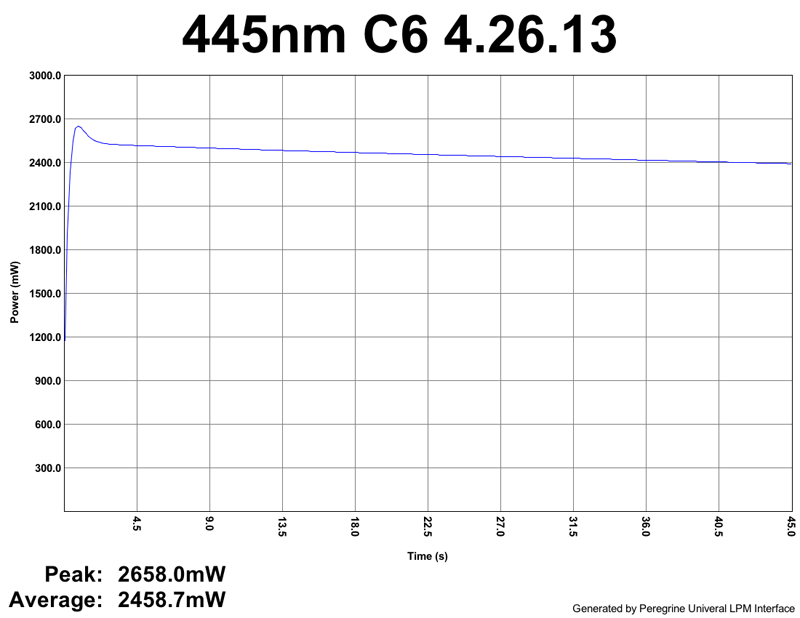
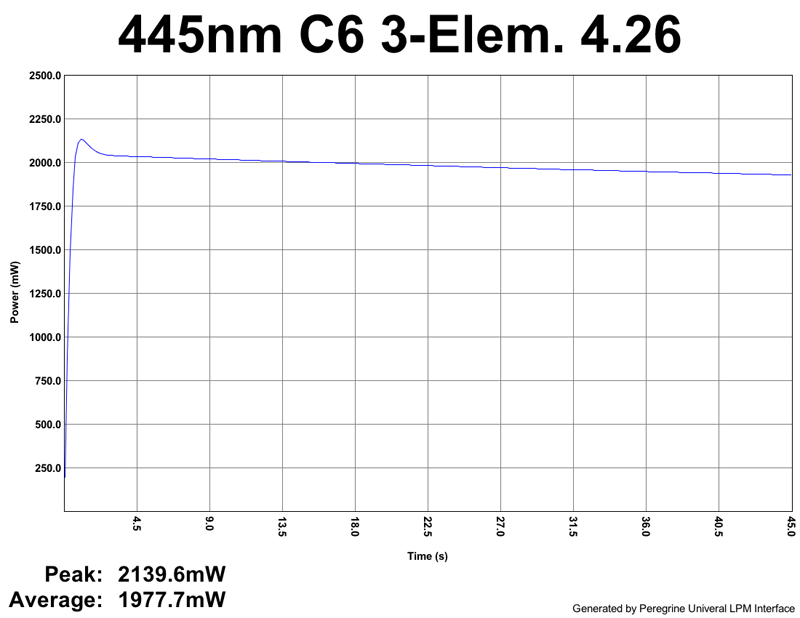
Here are two 45 seconds LPM data graphs for the laser which show how nicely the copper heatsink works :beer:
The first one I use a Lightpath A390 lens. It has the same 95% transmission and give the same results as the G2 but it is a 6mm lens so it doesn't align perfectly in the normal lens holders causing the beam not seem straight compared to the laser.
The second test is with an Aixiz 3-element 405nm lens.
The final verdict... I am extremely happy with another purchase from Moh. His JAD Kits really make it easy for anyone to throw a laser together. He manages to do this at very cheap prices without sacrificing quality. I would recommend one of his kits to anyone rookie or pro :beer:
I hope you guys have enjoyed the review!
I have also decided I want to trade/sell this laser since whoever gets it can see the complete build process let me know if you might be interested I will start a thread in BST :beer:
UPDATE 04/30/13
Hak brought up a great question about it's runtime. I have always tried to stay on the safe side with 1 min runtimes on C6's but this features Moh's new copper heatsink. Since I have 4 more identical builds to this just sitting around I decided to do a 2 minute test on one of the other ones since I plan to sell this one. Well the results from the first test were so pleasing that I decided it was safe to run a 2 minute test on the one from the review too.
Let me know what you guys think!
Here is the other build I tested 1st (not the one from the review)

Here is the one from the review

Both of them were warm after two minutes but it was nothing alarming.....
it definitely could go longer :eg:
Mohgasm.com
Now here is a review/ build guide of Moh's C6 JAD kits that I assume will be available on his site in the near future.
What I received
1 Black C6 w/ 1.8a driver already installed
1 C6 Holder
1 Black Focus Knob
1 5.6mm copper module
1 Copper C6 Heatsink w/ set screw
What else I used
1 m140 diode ( I got mine from a projector I harvested but I highly recommend DTR for your diode DTR's Site)
1 405nm Aixiz 3-element Lens (DTR again)
1 5.6mm Diode Press (I use Flaminpyro's Press set Flaminpyros Stuff)
Glow Kit (Addonex, 405nm.com, Lasers, Glow in the Dark, Fluorescence, and Kits)
Holographic Warning Labels (NickD070, Innovative Lasers)
Arctic Silver thermal compound
Clear Gorilla Epoxy
91% Isopropyl Alcohol
Anti-Static Mat
Anti-Static Wristband
All your usual soldering equipment, etc.
Now on to the build
This is what I received from Moh
Here is the M140 diode!
5.6mm press from Flaminpyro
After I pressed the diode into the copper module I soldered the leads Moh has already installed in the C6 to the diode. I used heatshrink on the pins that you can get from Flaminpyro.
Next I coated the copper module in Arctic Silver and inserted it into the copper heatsink securing it with the set screw. Then used the Isopropyl Alcohol to clean off any unnecessary arctic silver, it seems to get everywhere. While you are cleaning it be sure not to touch the diode with anything
Now it is GITD time!!!! Since you can skin a cat in multiple ways I will list different methods from people in here along with my own.
Here is Moh's process
I used powder mixed with epoxy as well. I smeared it into the grooves, and let the epoxy harden, and then soak it in acetone for a couple of minutes. It makes the excess stuff on top gel up, you can wipe it right off and it leaves all the epoxy in the groove
This is how i did it....
You will need glow powder, clear epoxy, and a squeegee or some time of applicator, and I mix everything on cardboard.
Mix together your glow powder and epoxy. use a decent amount of glow powder in the mixture. Also if you are only doing one knob then you only need a small amount of this mixture.
Before you spread the epoxy on the knob it is good to wipe it down with alcohol to remove an oils. Then you spread a thin layer on the top surface of the knob, just enough to fill the grooves. Once you have the grooves filled and the excess scrapped off, soak a papertowel in alcohol and lightly wipe the surface of the knob. Keep applying more alcohol to the towel if needed and continue to gently rub the surface until it is clean. Don't press too hard or you can remove the epoxy from the grooves. Now something I do for better results is, after I clean the surface I take a pinch of the powder in sprinkle it over the still wet epoxy and spread the powder around. Then I repeat the alcohol wiping process again until the surface is clean. This will help ensure you have a sufficient amount of GITD powder. After that you then just let it sit for however long your epoxy takes to cure.
Here is a picture of the powder sprinkled over the knobs
This is what the finish product looks like!
After it dries you throw the lens of your choice in it and screw it in to your module :beer:
Here are some final pictures of the laser
Here are two 45 seconds LPM data graphs for the laser which show how nicely the copper heatsink works :beer:
The first one I use a Lightpath A390 lens. It has the same 95% transmission and give the same results as the G2 but it is a 6mm lens so it doesn't align perfectly in the normal lens holders causing the beam not seem straight compared to the laser.
The second test is with an Aixiz 3-element 405nm lens.
The final verdict... I am extremely happy with another purchase from Moh. His JAD Kits really make it easy for anyone to throw a laser together. He manages to do this at very cheap prices without sacrificing quality. I would recommend one of his kits to anyone rookie or pro :beer:
I hope you guys have enjoyed the review!
I have also decided I want to trade/sell this laser since whoever gets it can see the complete build process
let me know if you might be interested I will start a thread in BST :beer:UPDATE 04/30/13
Hak brought up a great question about it's runtime. I have always tried to stay on the safe side with 1 min runtimes on C6's but this features Moh's new copper heatsink. Since I have 4 more identical builds to this just sitting around
I decided to do a 2 minute test on one of the other ones since I plan to sell this one. Well the results from the first test were so pleasing that I decided it was safe to run a 2 minute test on the one from the review too. Let me know what you guys think!
Here is the other build I tested 1st (not the one from the review)
Here is the one from the review
Both of them were warm after two minutes but it was nothing alarming.....
it definitely could go longer :eg:
Last edited:


