- Joined
- Jun 24, 2010
- Messages
- 5,705
- Points
- 113
1.9W Jayrob 2D Mag Host
Here is a kit that Jayrob is offering that has the capabilities of the RL-2088 flashlight(the host for my Frankenstein unit). It is a high quality Mag Light with a really heavy duty side button switch that is also a forward clicky for momentary style use. It will run this unit for over 10 minutes straight without any heating issues.
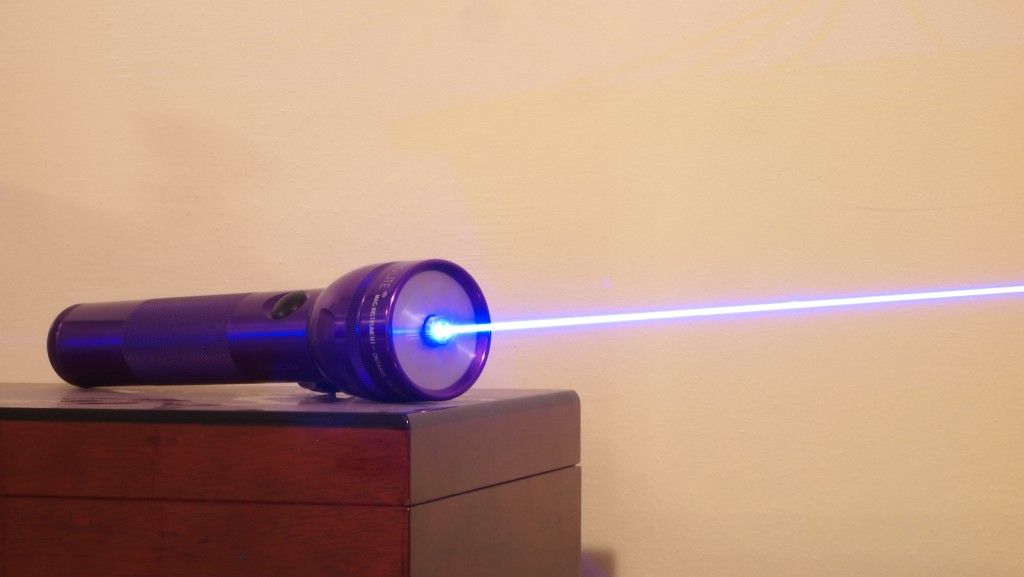
I found this project pretty easy to work on. The hardest part is setting up the P3 but if you get the hot kit from Jay he will have it set up for you.
Here is Jay's thread on this kit with pricing and options.http://laserpointerforums.com/f64/f...exmodp3-side-button-forward-clicky-57278.html
Here are some of the shots of the host. I went with Violet but he also has silver, black and blue.
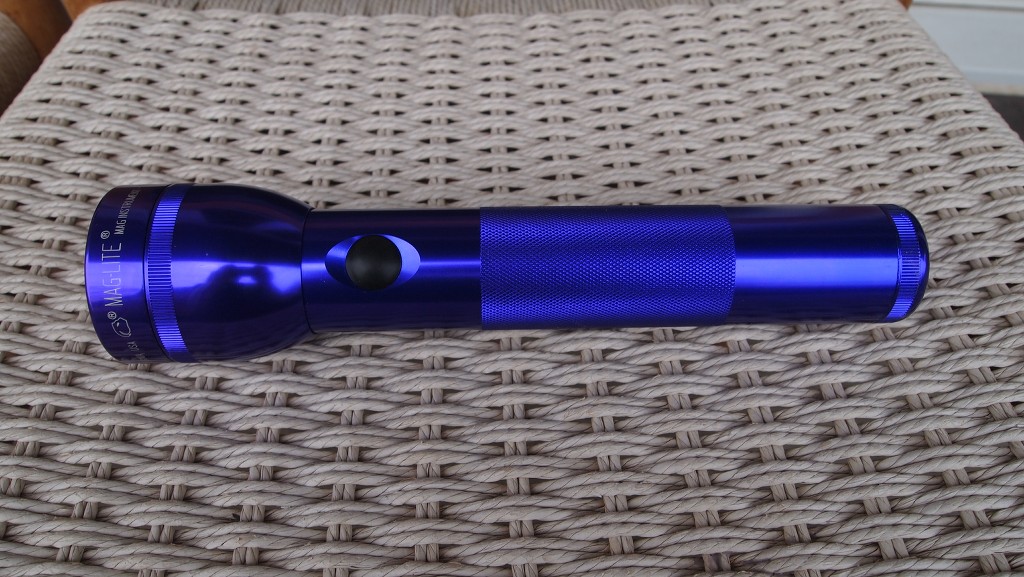
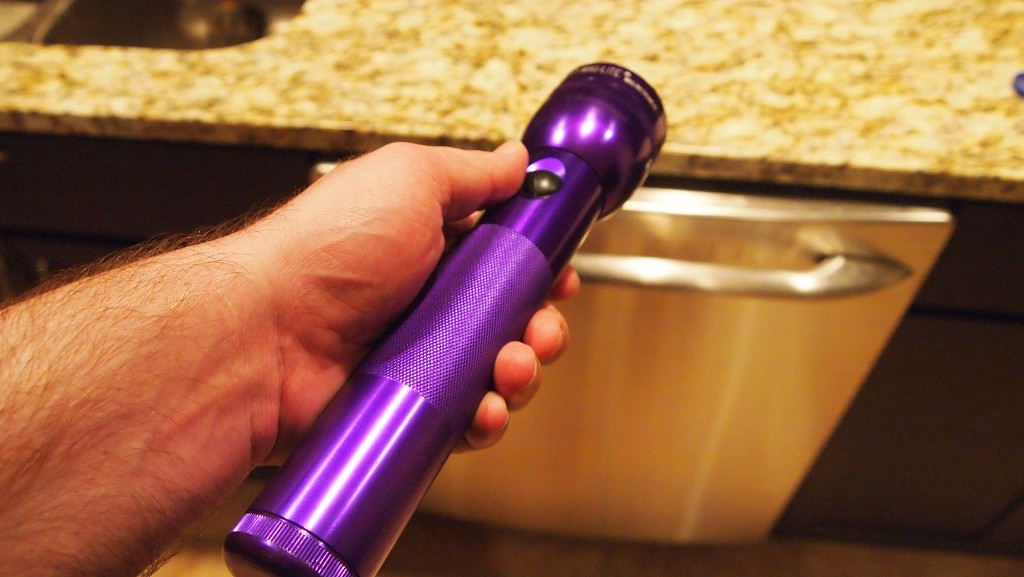
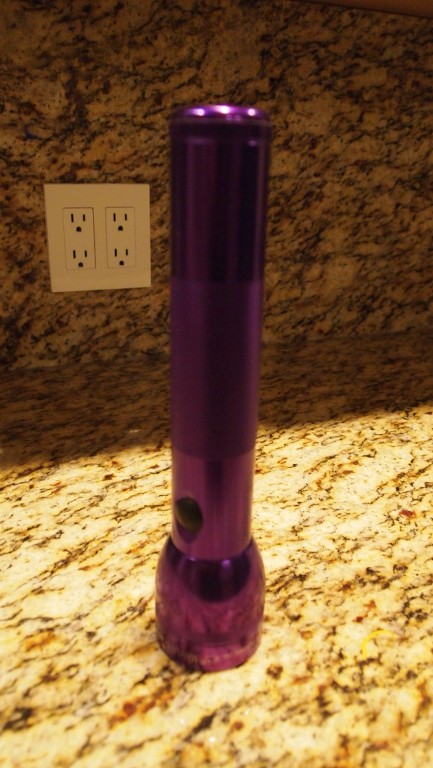
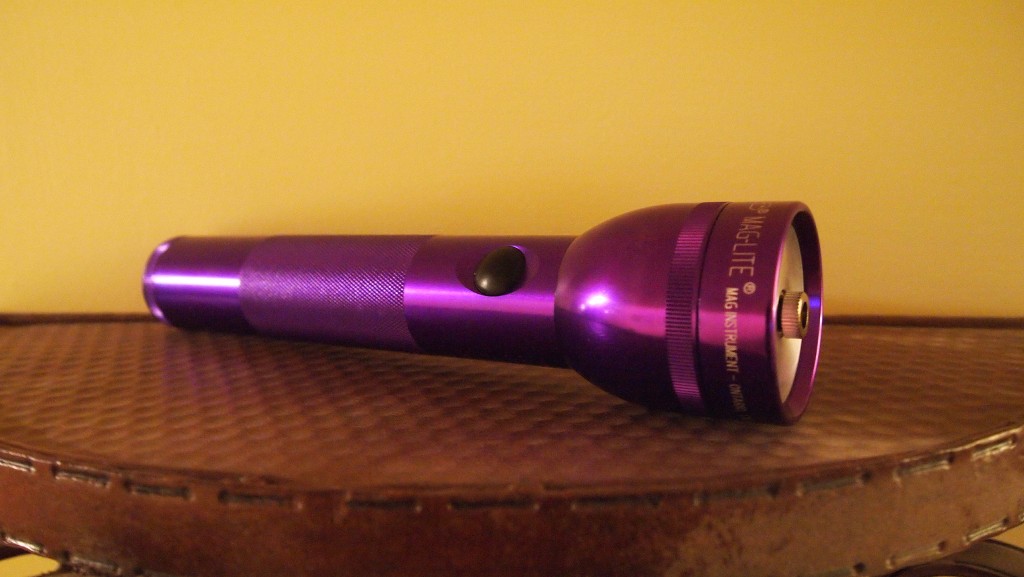
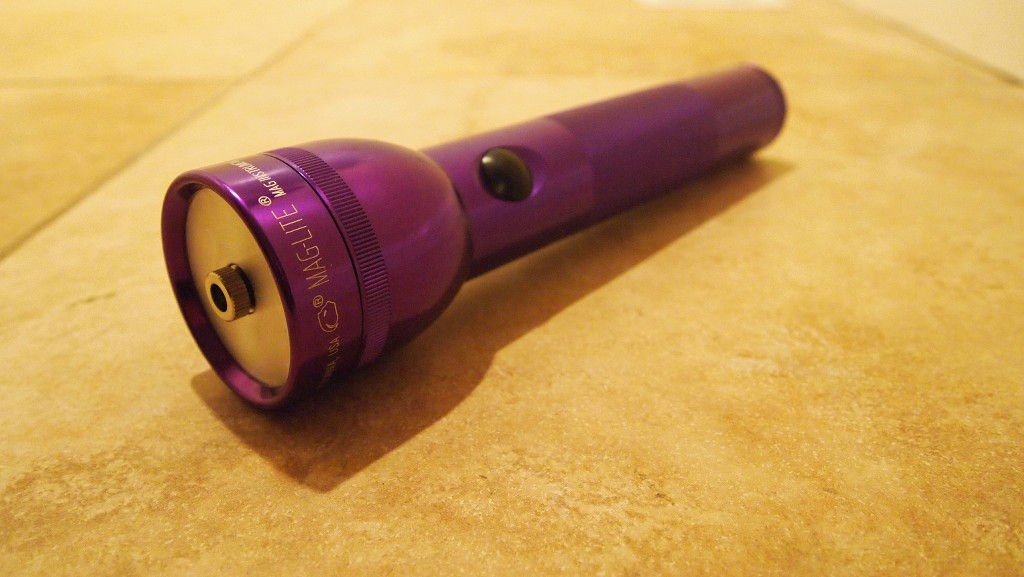
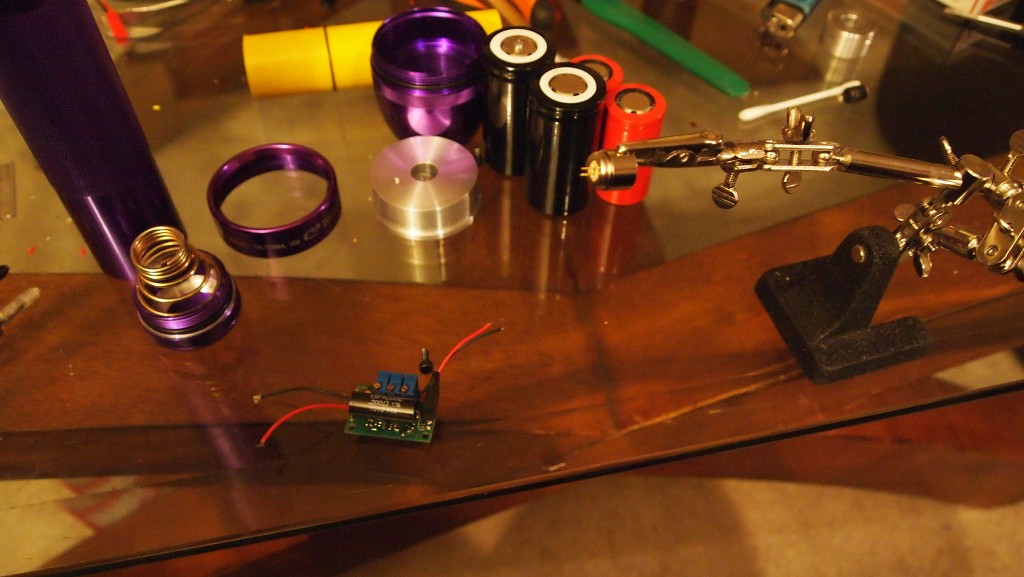
Here are the all the components for needed for this unit. It consists of the retaining ring, head, heatsink, host body W/side clicky, Flexmod P3 and tailcap. Also I have both the 32600's and 26650's W/custom battery sleeve. You will also need some thermal paste, a diode and an Aixiz module.
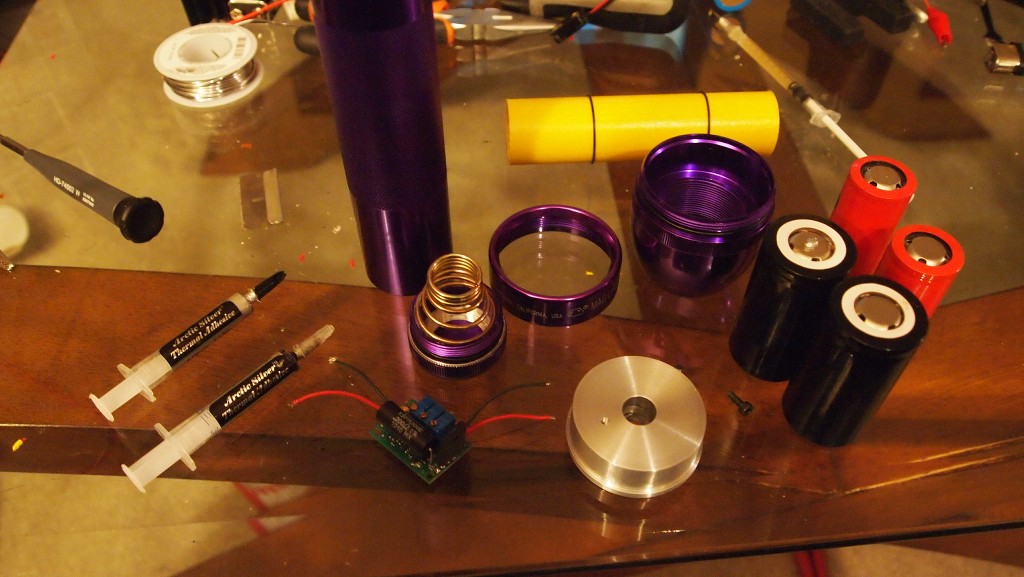
Now depending on what battery setup the tailcap will come set up one of two ways. The way shown is for the 32600's. If you are using the 26650's then the spring will be set lower in the tailcap and you will the yellow custom battery sleeve pictured above from jayrob to give a tight fit with the slightly smaller batteries.

Jay has added a massive 84 gram heatsink to this unit for ultimate heat dissipation. If you thought a Mag Light made a good club try adding 84 grams to the head.:evil:
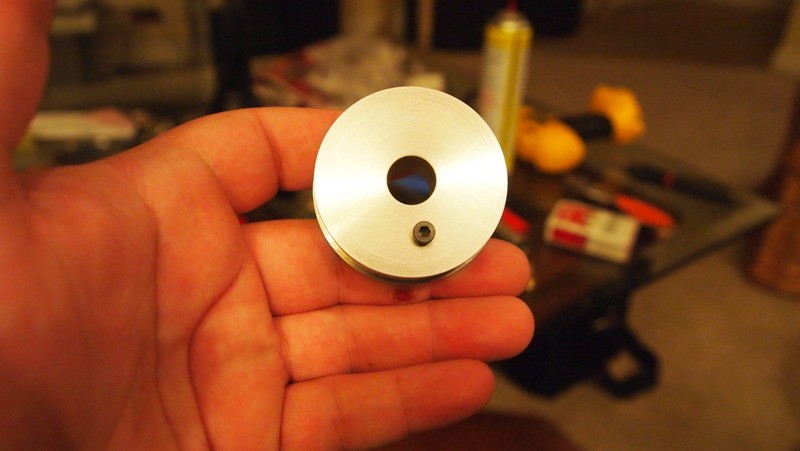
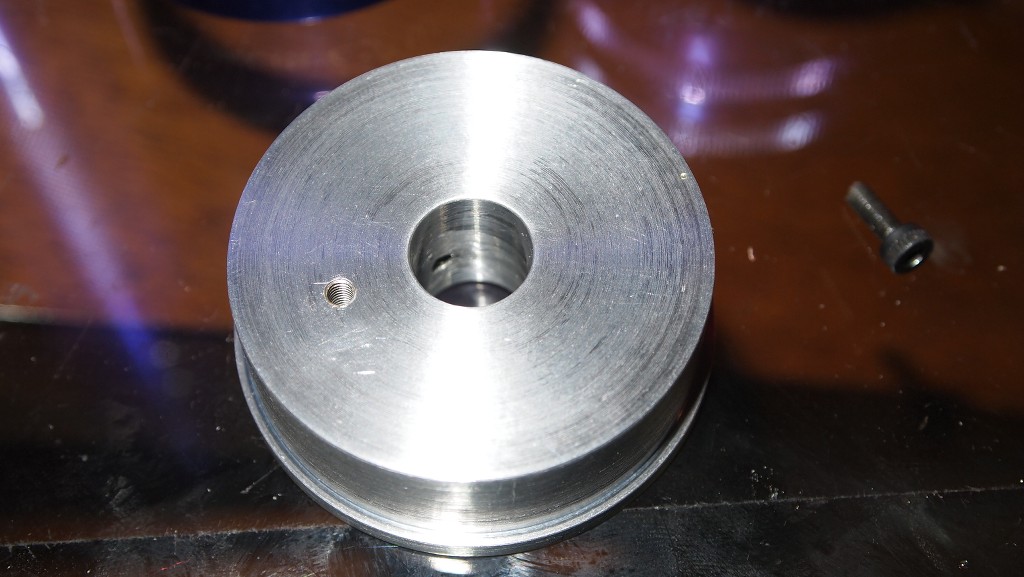
He has also added a threaded hole that the bolt that comes with the driver can attach the "MOSFET" on the P3 to the heatsink which is where the heat is generated from the driver.
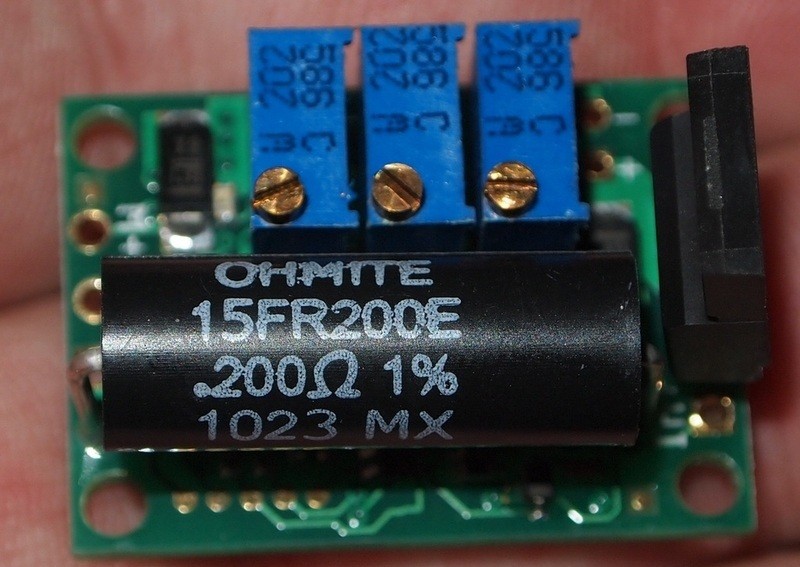
First you will need to configure your Flexmod P3 and set it to the desired current. I set this driver to 1.8A. You can refer to my thread I made after I did the Frankenstein review for a tutorial on how to set it up.
How to set up the Flexmod P3 for a handheld laser
Once you have the driver set up you will need to press a diode into an Aixiz module and you are ready to solder the leads from the driver.

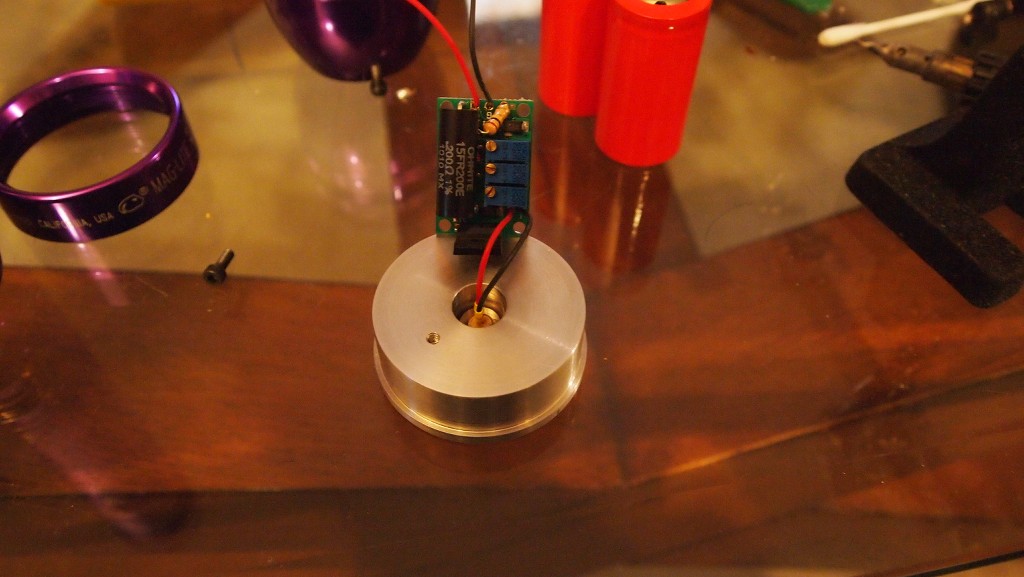
Now that your diode is connected to your driver you can put it in the heatsink and prepare to attach the driver to it.
Get your thermal paste out. Adhesive is not needed since we have the bolt to hold the driver tight on the heatsink.

Spread a little of the paste around the little threaded hole.
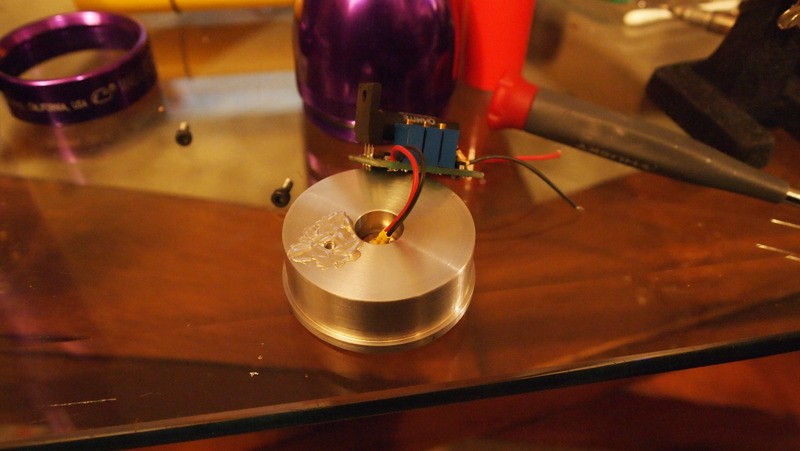
Next just attach the driver and tighten down the bolt holding it in place. Try to center it so that the heatsink slides nicely into the head of the Mag.
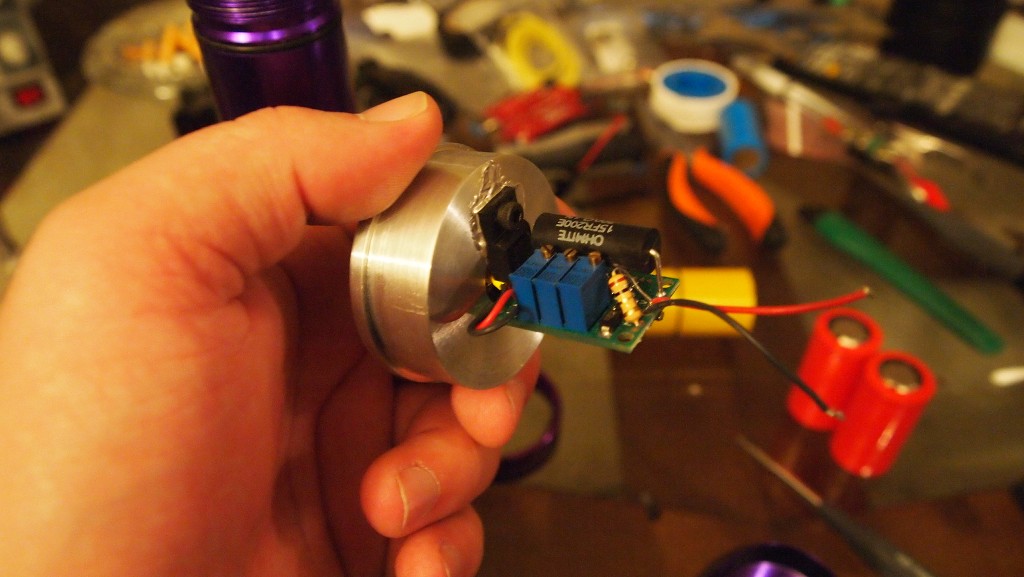
Now you are ready to attache the driver to the leads that are coming from the host body.

Put some shrink tubing on wires and solder them together.
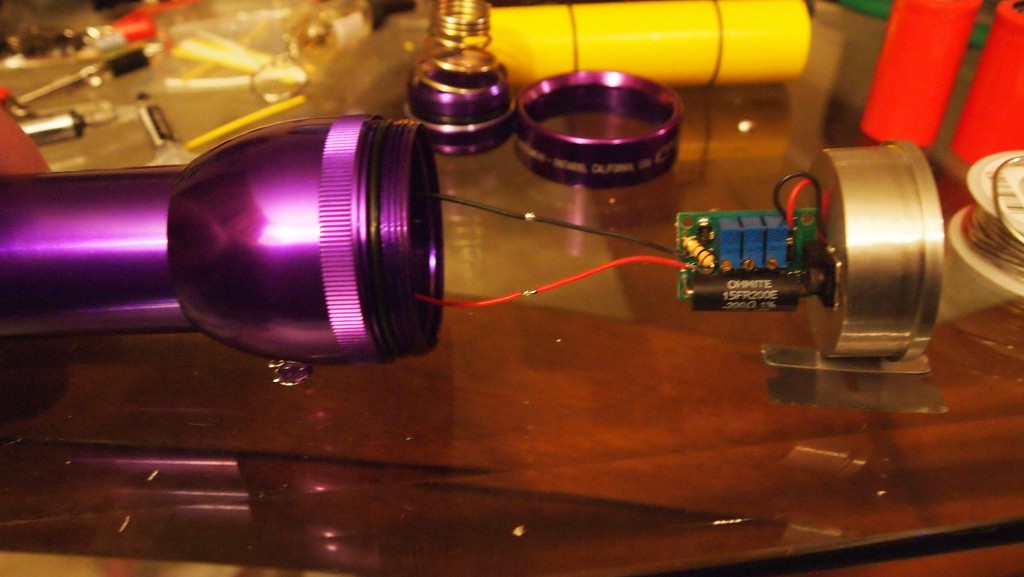
Heat up you shrink tube and you are pretty much done with the build.
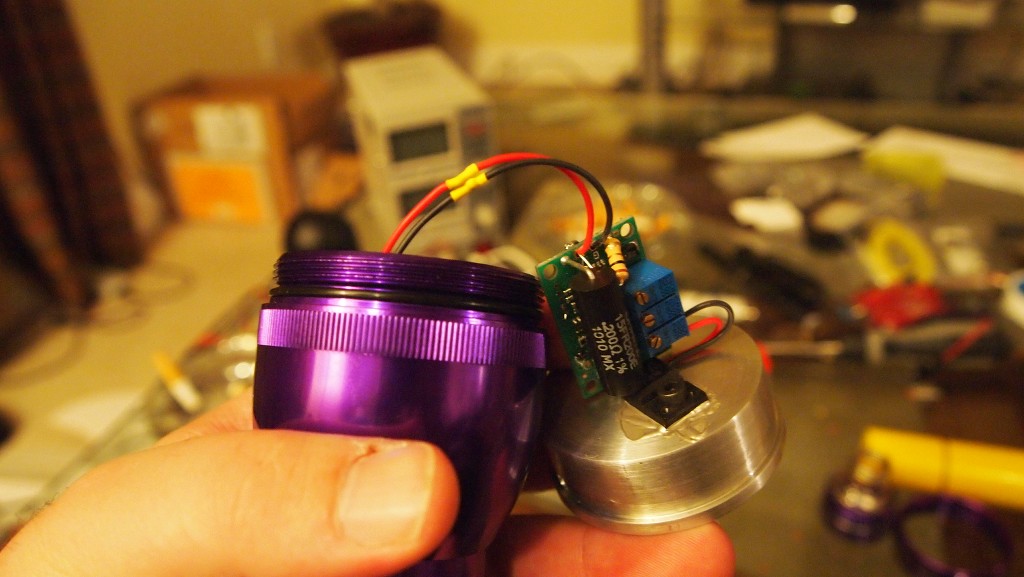
Just slide the heatsink into the head.
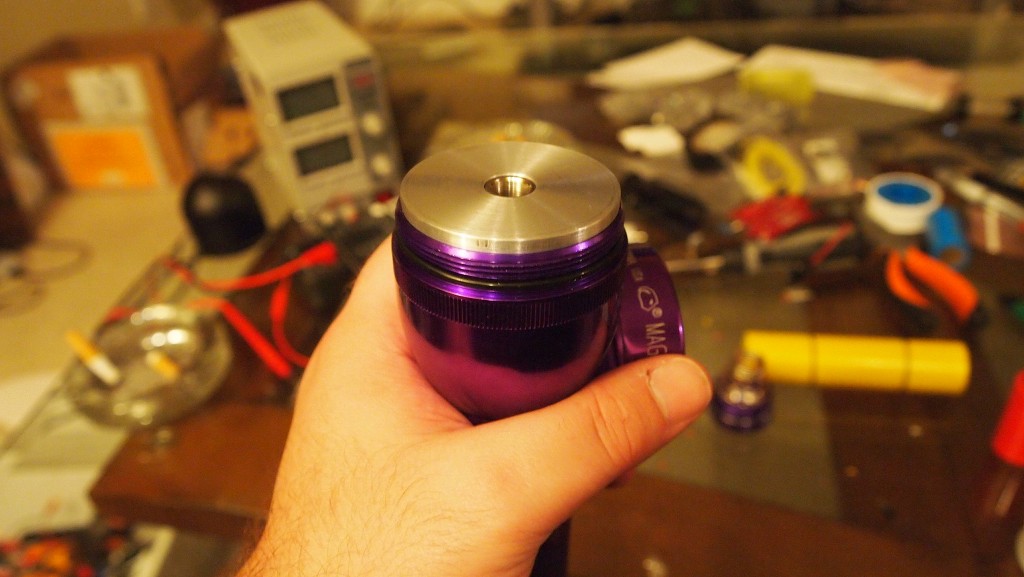
Screw the retainer ring on.
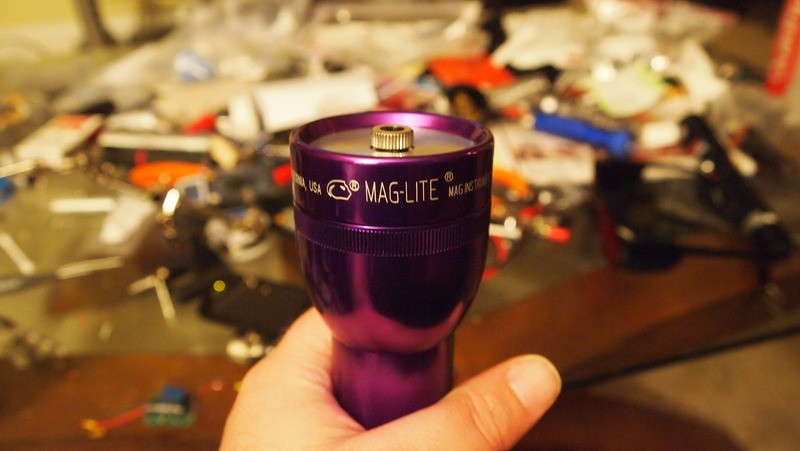
Charge up your massive batteries. These are the D size 32600's 3.7V 5000mAh Li-Ion's from Bestofferbuy and should provide over 2 hours runtimes between charging. I am however not endorsing that company. They were the only ones that had success getting these batteries from. But I have had many bad experiences with them and think they have some very deceptive business practices. The charger is a WF-188 and is the most flexable chargers that I have ever used. It can charge any battery from an RCR2's to 32600's and it charges Lifepo4 3.2V cells as well as 3.7V Li-Ions via a selector switch.
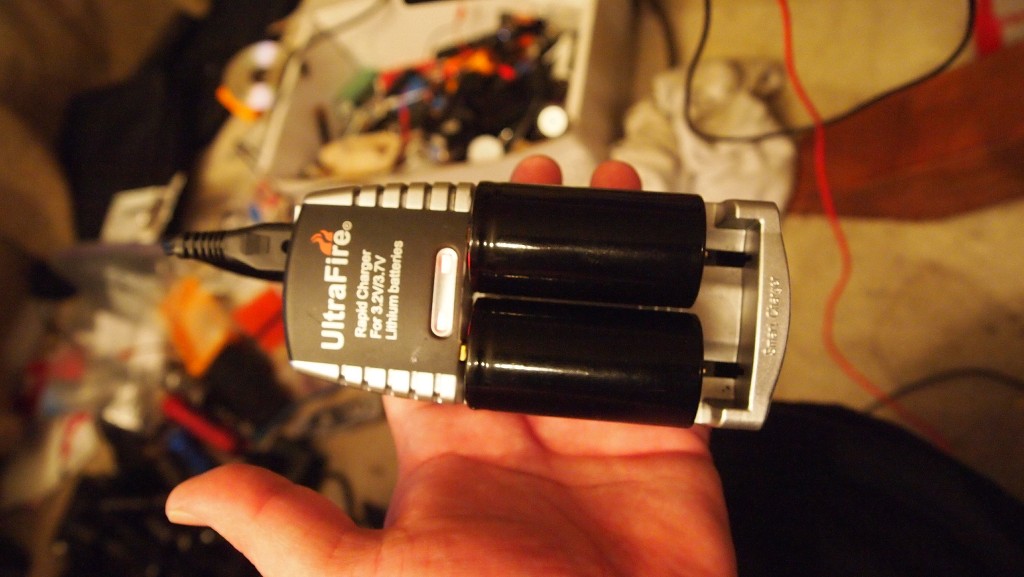
Throw you batteries in and you are ready lase.
Now for the beamshots.:eg:
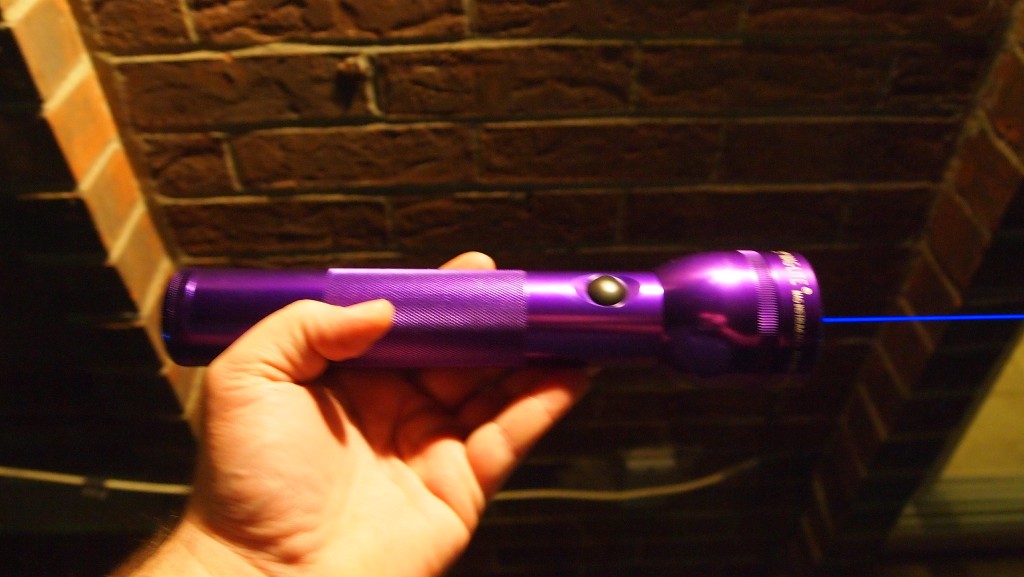

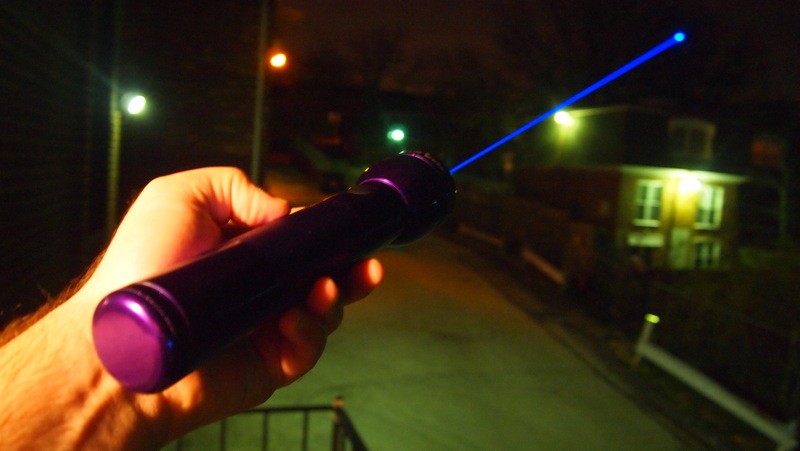
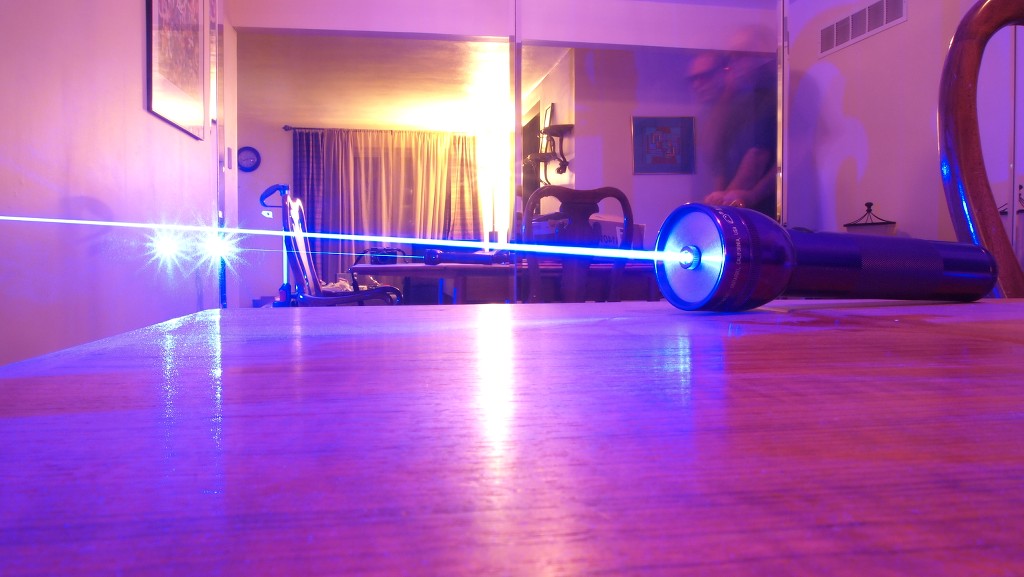
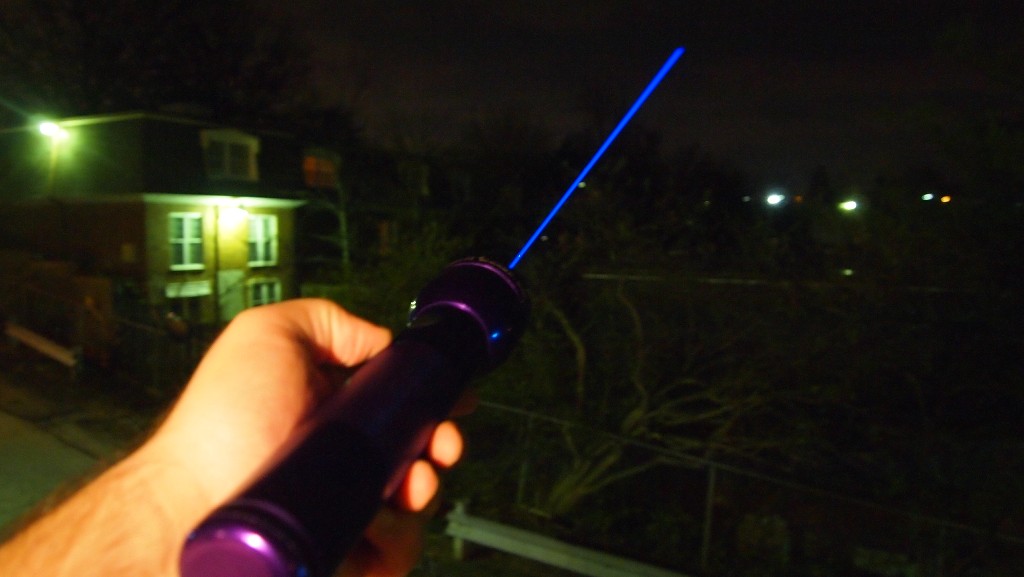
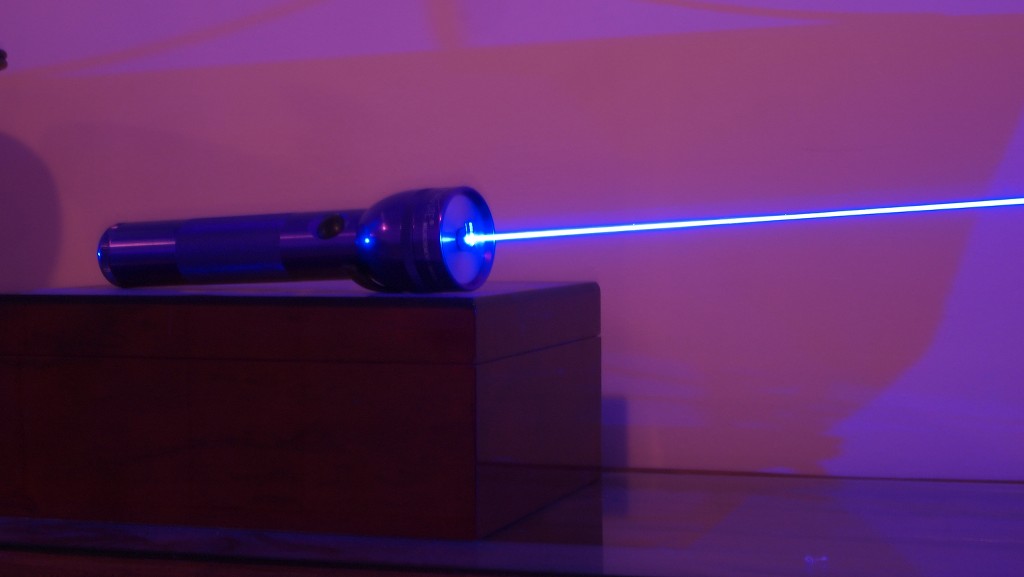
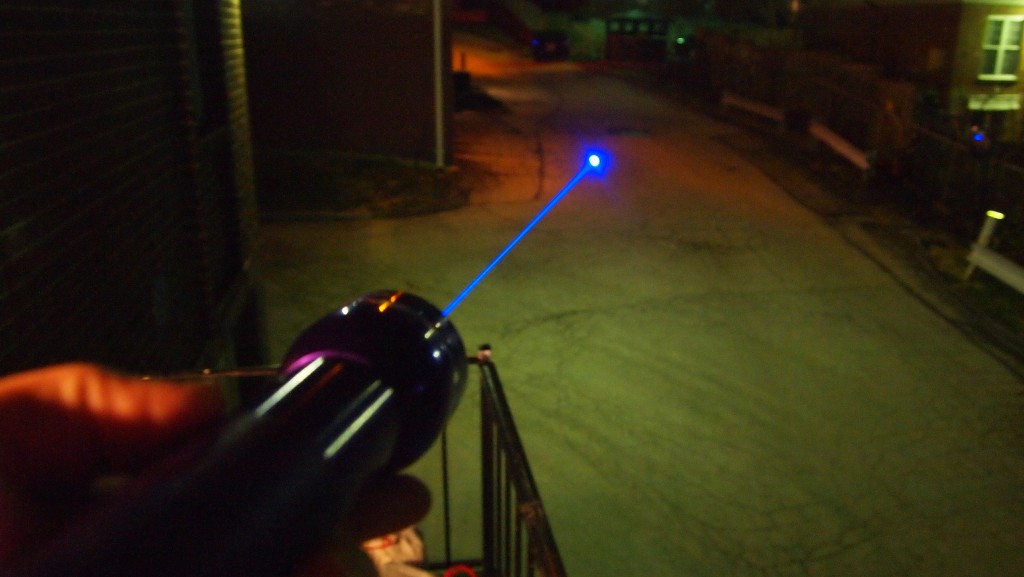

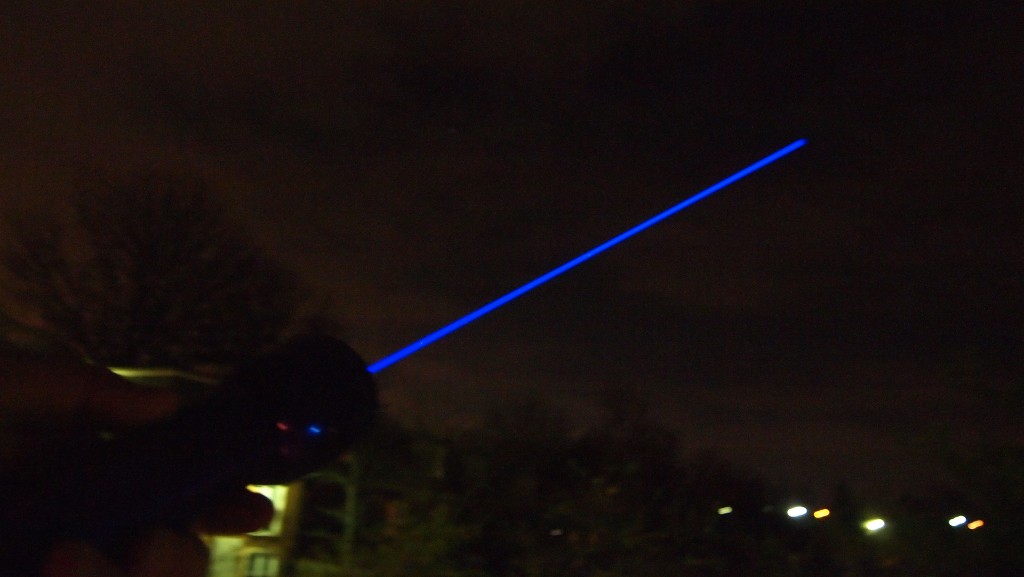
LPM Test
1983mW W/G-1 lens.:eg:

In conclusion It is a great high quality host that will last longer between charging than my Frankenstein, has the same heatsinking abilities and the price is much more attractive.
Hope you enjoyed and if you would like to see more of my reviews and tutorials check out my compilation thread linked in my sig.:beer:
Last edited:


