- Joined
- Jan 11, 2008
- Messages
- 671
- Points
- 0
I've had an old Spyder II host sitting around, collecting dust so I decided to turn it into a nice 445nm laser.
*click each image to see the full-size version*
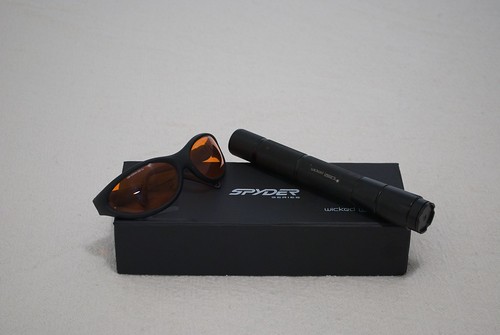
Safety was my main concern while building the laser. As you can see I bought a pair of certified OD 7+ 190-532nm safety goggles from Nova Lasers (link). I also wanted to make sure everyone else knew that this was NOT a toy, so I made some custom warning labels using a method similar to the one described here (link).
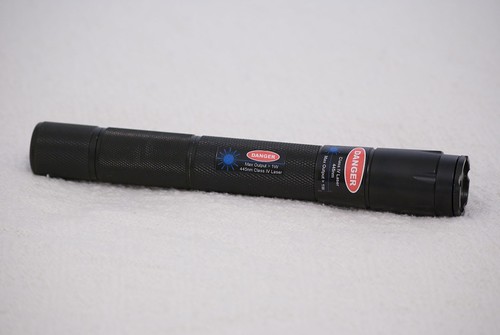
However, because I was going to be wearing OD 7+ safety goggles when using the laser, I added a red status LED (red so that it can be seen through the safety goggles).

If a picture is worth one thousand words than a video must be worth a million. The video shows the laser burning matches (the easy way and the hard way), cutting match sticks in half, lighting white paper on fire, burning through thick and thin CD cases, cutting electrical tape, popping balloons, and igniting fuse.
The power peaks at 1.35W in ideal temperatures, but is usually 1.2W on hot summer days like today. For the power reading, I used Nospin's excellent meter (link) which uses an Ophir 20C-A thermopile.
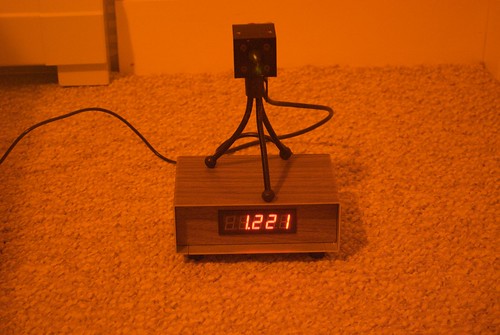
Here's a video of the output over 3 minutes:
Now on to the details. I bought 3 445nm diodes. 1 A130 from daguin, 1 A140 from daguin, and 1 A140 from HIMNL9. I tested each of these diodes at the same current (1A) to see which one outputted the most power. The A130 output about 1W at 1A, the A140 from daguin output about 1.1W at 1A, and the A140 from HIMNL9 output 1.2W at 1A. For this build I chose the A140 diode from HIMNL9. My experiences with the Casio 445nm diodes has been great. I highly suggest everyone buy at least one to play around with.
For the heatsink I had jayrob machine a custom one just for me. Thanks jayrob! He did an excellent job.

The AixiZ module was held in the heatsink by some thermal grease and a set screw. The heatsink was held in the host by a plastic retaining nut.
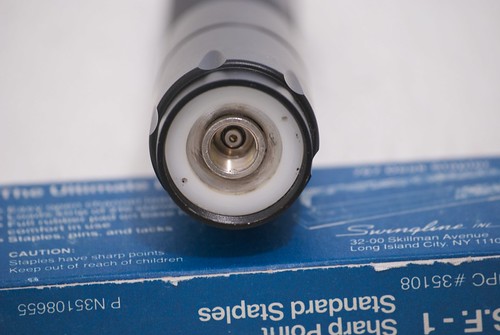
For the lens I chose jayrob's 405-G-1 (link). I filed down the threads of the aperture, and glued to lens in the aperture hole to create a focus adapter so I didn't burn my fingers.

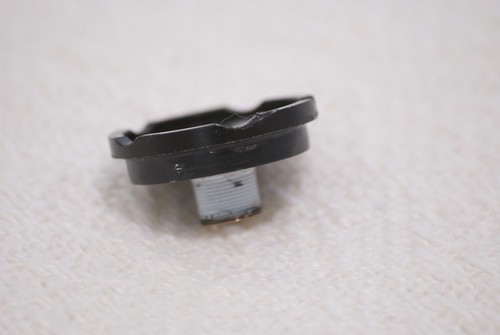
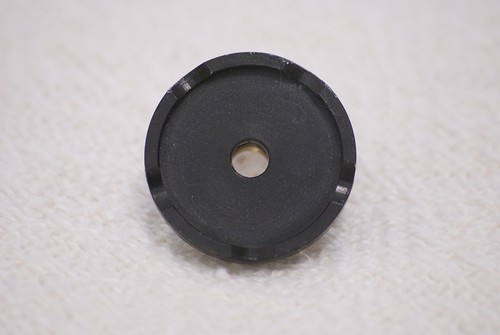
When screwed into the AixiZ module, this is what it looks like when focused to infinity.

And when focused for burning.
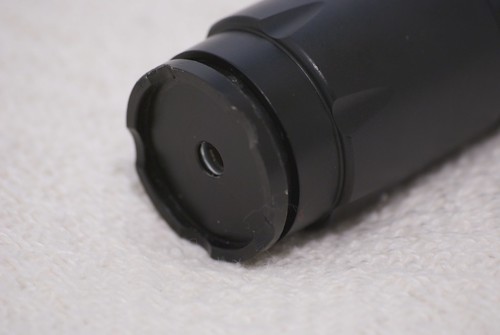
For the driver I chose drlava's flexdrive set at 1.1A (link). It was extremely easy to heatsink to the hosts existing internal heatsink using some arctic silver thermal grease.
For the positive battery contact I tore apart an old clicky tail switch from an MXDL host, and used its springs and plastic nut which happened to be perfect for an 18650 sized host, such as the Spyder II. A small driver, such as drlava's flexdrive can be glued inside the plastic nut. For the status LED I cut a small hole in the plastic nut, and soldered a 100 ohm resistor to the spring and LED.
Here's an exploded view of an MXDL's clickly tailswitch (I used the 3rd and last object).
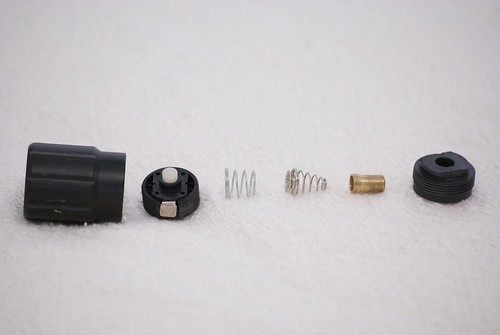
Here's what it looks like when it's all put together (The driver is inside the hollow plastic nut and the LED is facing the other way. It's very compact!).

The spring, nut, driver, led combination fits perfectly into the host. It's held in with a couple dabs of hot glue.
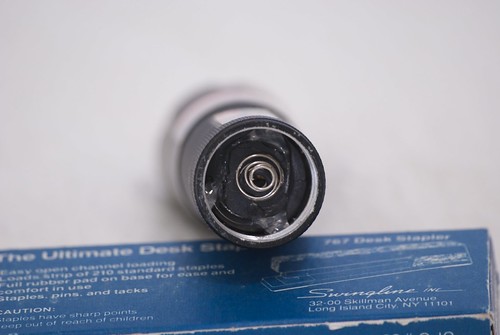
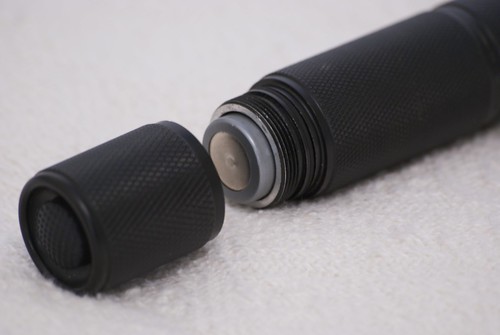
The Spyder II host takes one 18650 battery and uses a clicky switch in the back.
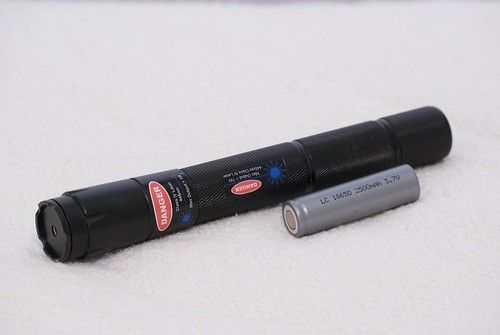
Here's an 18650 battery next to the host for a size comparison.
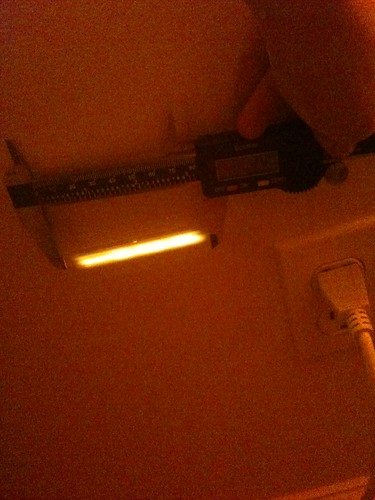
Here's a photo of what the 'dot' looks like at 62 feet. It is 80mm in length and 2-5mm tall.
Last but not least, here are some beam shots. Remember that it's very hard to capture the true color of the laser on camera. Also, the beam color in real life looks very different depending on the person; it looks purple to me, but blue to others).
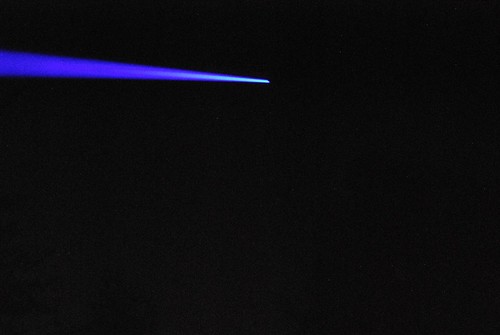
A couple long exposure shots.
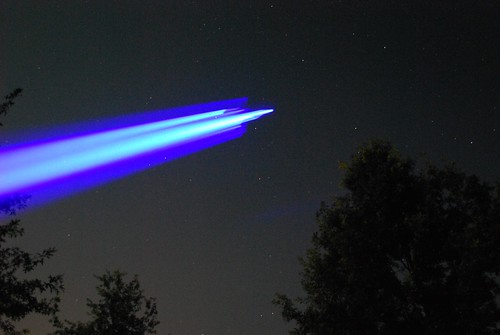
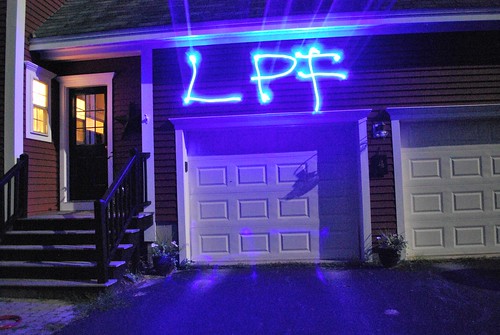
*click each image to see the full-size version*

Safety was my main concern while building the laser. As you can see I bought a pair of certified OD 7+ 190-532nm safety goggles from Nova Lasers (link). I also wanted to make sure everyone else knew that this was NOT a toy, so I made some custom warning labels using a method similar to the one described here (link).

However, because I was going to be wearing OD 7+ safety goggles when using the laser, I added a red status LED (red so that it can be seen through the safety goggles).

If a picture is worth one thousand words than a video must be worth a million. The video shows the laser burning matches (the easy way and the hard way), cutting match sticks in half, lighting white paper on fire, burning through thick and thin CD cases, cutting electrical tape, popping balloons, and igniting fuse.
The power peaks at 1.35W in ideal temperatures, but is usually 1.2W on hot summer days like today. For the power reading, I used Nospin's excellent meter (link) which uses an Ophir 20C-A thermopile.

Here's a video of the output over 3 minutes:
Now on to the details. I bought 3 445nm diodes. 1 A130 from daguin, 1 A140 from daguin, and 1 A140 from HIMNL9. I tested each of these diodes at the same current (1A) to see which one outputted the most power. The A130 output about 1W at 1A, the A140 from daguin output about 1.1W at 1A, and the A140 from HIMNL9 output 1.2W at 1A. For this build I chose the A140 diode from HIMNL9. My experiences with the Casio 445nm diodes has been great. I highly suggest everyone buy at least one to play around with.
For the heatsink I had jayrob machine a custom one just for me. Thanks jayrob!

The AixiZ module was held in the heatsink by some thermal grease and a set screw. The heatsink was held in the host by a plastic retaining nut.

For the lens I chose jayrob's 405-G-1 (link). I filed down the threads of the aperture, and glued to lens in the aperture hole to create a focus adapter so I didn't burn my fingers.


When screwed into the AixiZ module, this is what it looks like when focused to infinity.

And when focused for burning.

For the driver I chose drlava's flexdrive set at 1.1A (link). It was extremely easy to heatsink to the hosts existing internal heatsink using some arctic silver thermal grease.
For the positive battery contact I tore apart an old clicky tail switch from an MXDL host, and used its springs and plastic nut which happened to be perfect for an 18650 sized host, such as the Spyder II. A small driver, such as drlava's flexdrive can be glued inside the plastic nut. For the status LED I cut a small hole in the plastic nut, and soldered a 100 ohm resistor to the spring and LED.
Here's an exploded view of an MXDL's clickly tailswitch (I used the 3rd and last object).

Here's what it looks like when it's all put together (The driver is inside the hollow plastic nut and the LED is facing the other way. It's very compact!).

The spring, nut, driver, led combination fits perfectly into the host. It's held in with a couple dabs of hot glue.

The Spyder II host takes one 18650 battery and uses a clicky switch in the back.

Here's an 18650 battery next to the host for a size comparison.

Here's a photo of what the 'dot' looks like at 62 feet. It is 80mm in length and 2-5mm tall.

Last but not least, here are some beam shots. Remember that it's very hard to capture the true color of the laser on camera. Also, the beam color in real life looks very different depending on the person; it looks purple to me, but blue to others).

A couple long exposure shots.


Last edited:


