- Joined
- Jun 24, 2010
- Messages
- 5,705
- Points
- 113
1.4W 520nm - The Hulk - MS-SSW-II Custom Direct Green

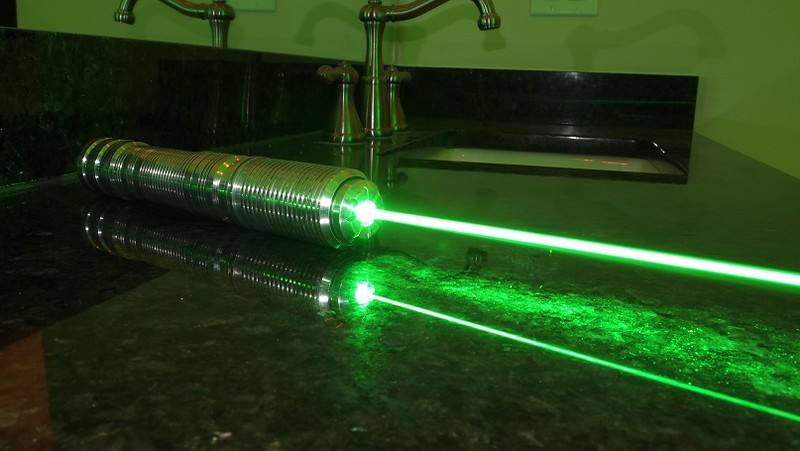
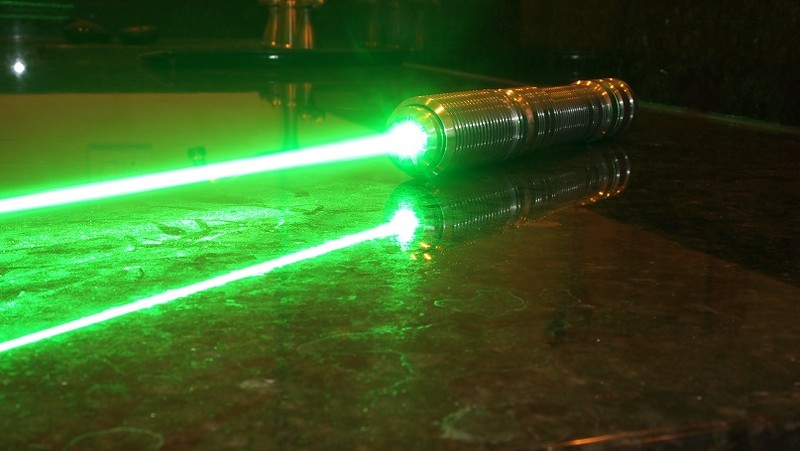
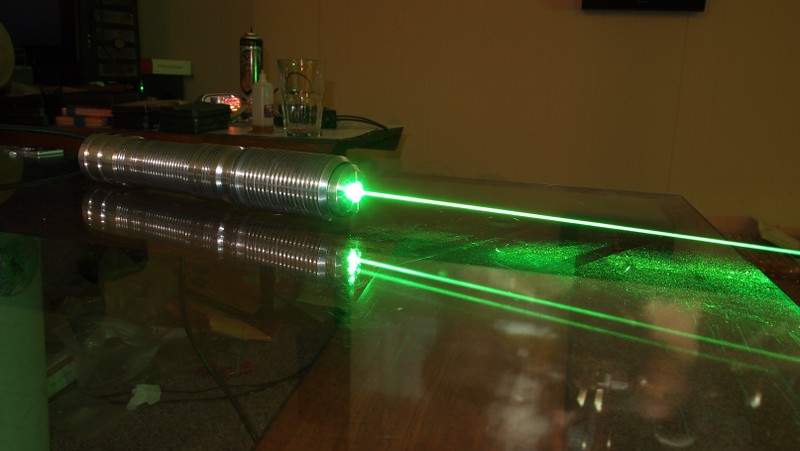
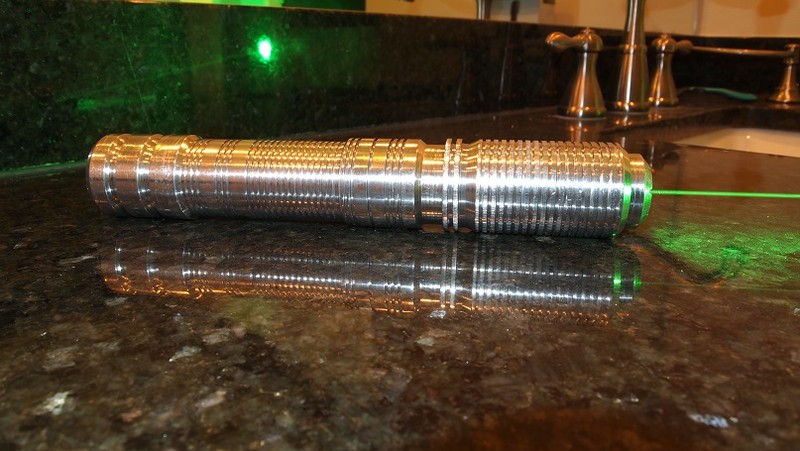
Here it is folks. The first build posted with the new 1W green diodes. This thing is a beast which I have aptly named The Hulk. It really is an angry green monster.
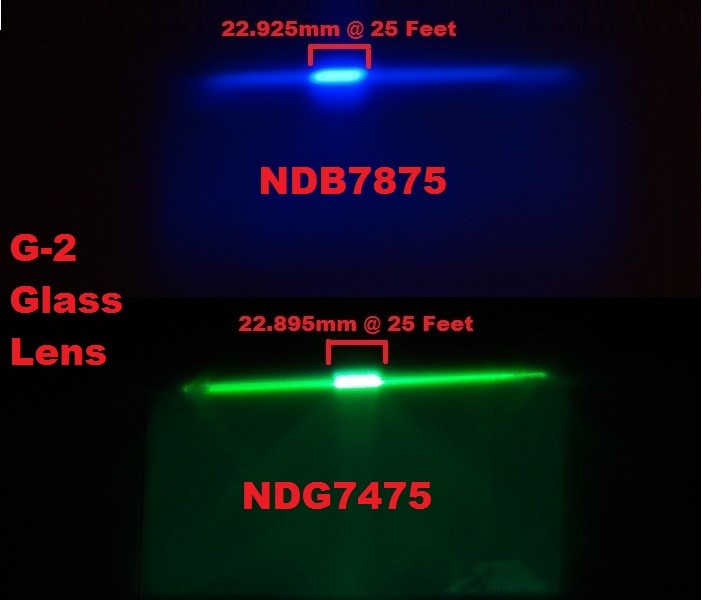
For more info on the new 1W green diode see this thread.
Nichia NDG7475 1W 520nm Laser Diode
Host
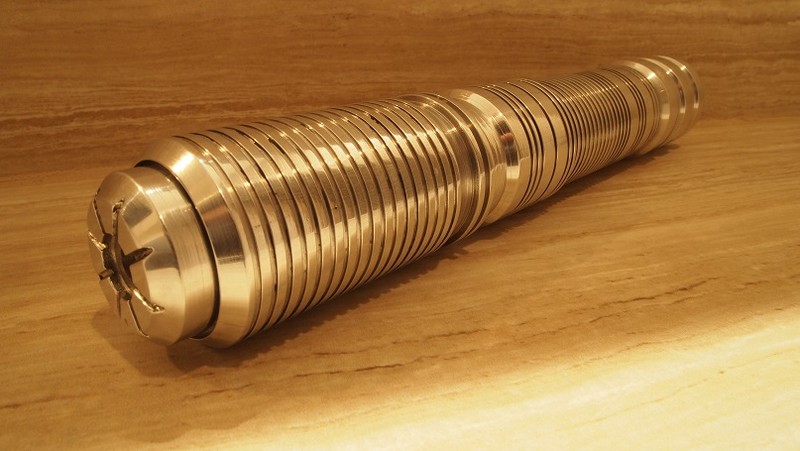
So here we go. A sweet custom 2X26500 MS-SSW-II aluminum host from Sinner with a head that works with a 12mm module pressed in instead of a set screw for exceptional thermal transfer.

Build Tutorial
We start with the diode, module, thermal back half and the head of the host.

First step is to get the diode pressed into the module which I have already pressed though the host head once to make sure the threads did not warp as to keep the lens from screwing in as that would be bad to have a $700+ diode in a module that can't thread a lens in. Will show the pressing of the module a few steps down.
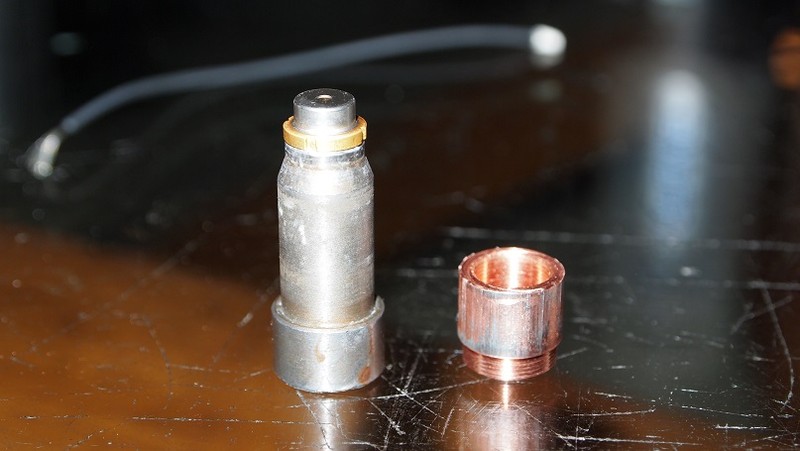
Once the diode is pressed we add leads to it.

Then put some shrink tubing on over the exposed joints.

Next we put on the thermal back half. This part extracts heat from the base of the diode as well as the sides and top lip.
Now we have the module all prepared it is time to press it into the head. I found my diode press also works perfectly for this task. Turned backwards the base was the perfect size to push the module in flush.
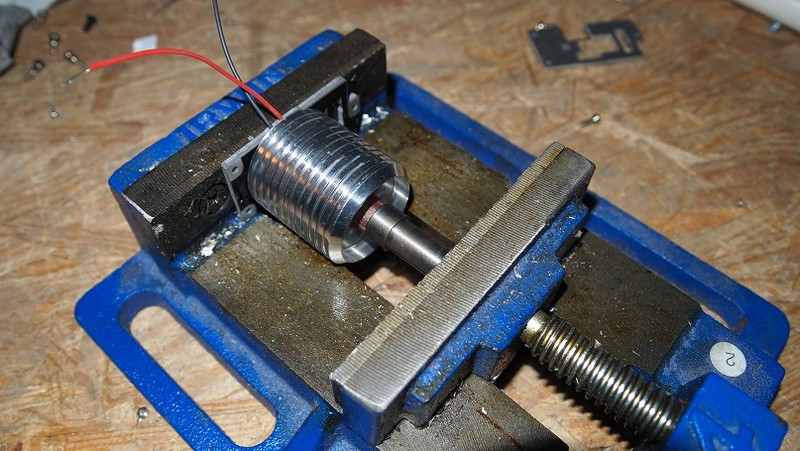
Now it is pressed in here it is nice and flush and a permanent resident.
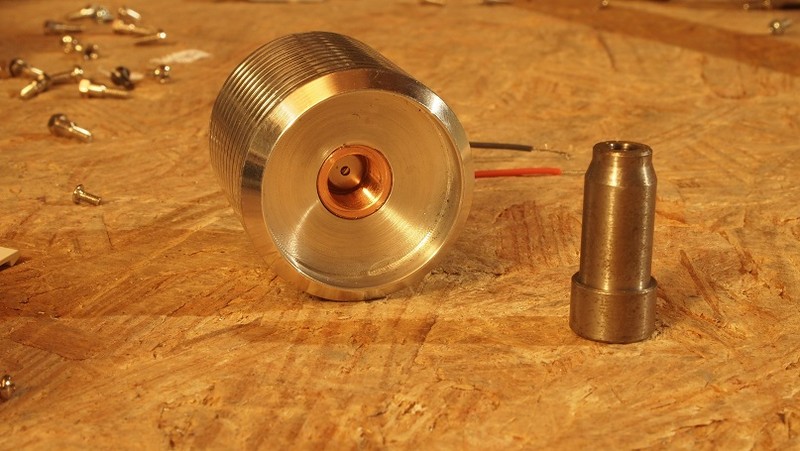
Next while we have the vice out the focus adapter which I would have preferred it just be threaded M9x0.5mm like others but this one requires a focus ring to be pressed in to hold the lens.
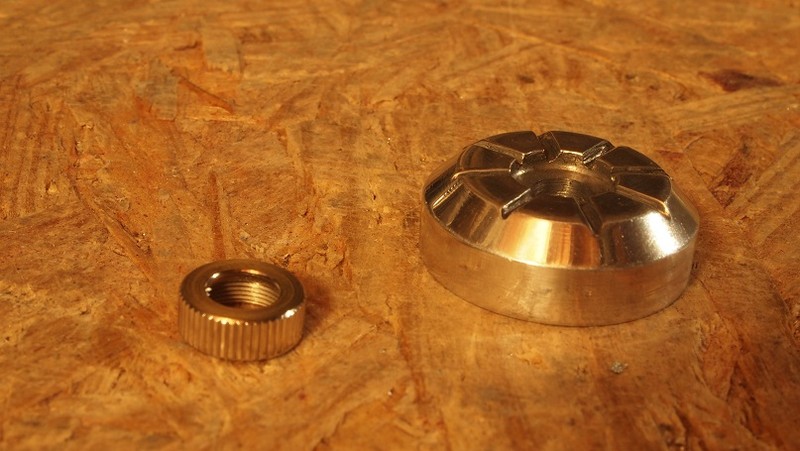
So I got it pressed in.
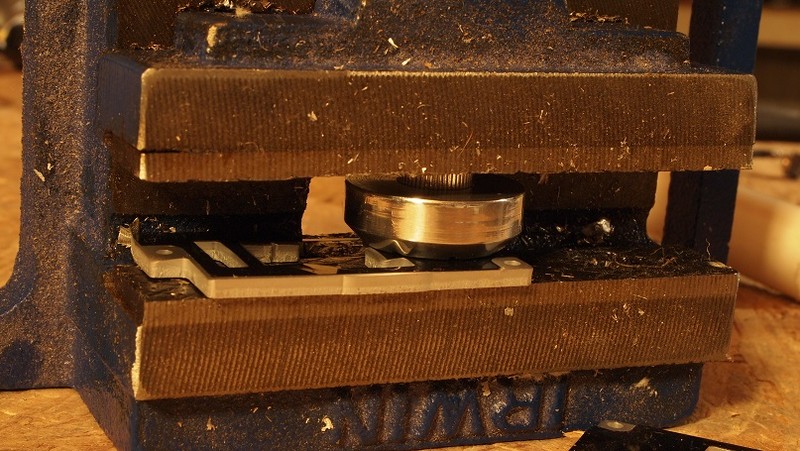
Now that the head of the unit is ready time to move on to the pill. I got a 2.4A X-drive ready, some wire and some thermal adhesive.
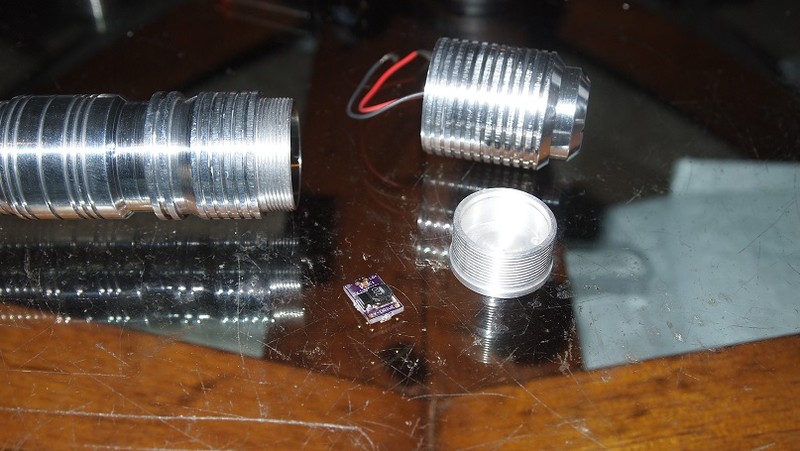
I started by wiring up the X-drive.

Next I mixed up some two part Arctic Alumina thermal adhesive.
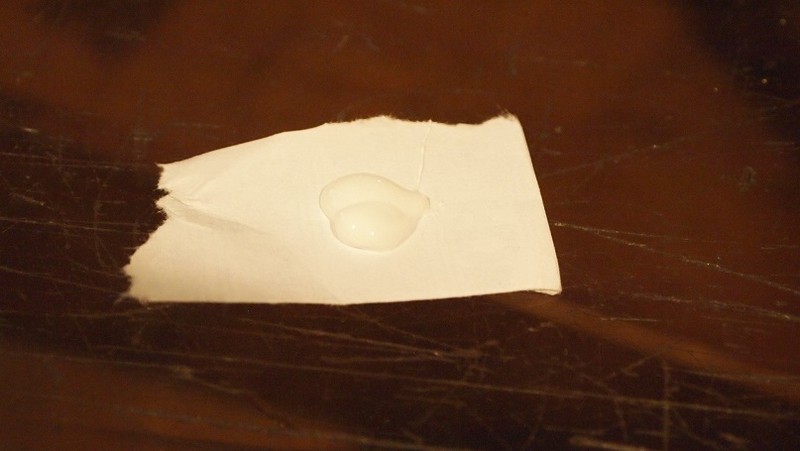
I put a thin layer on the inside of the pill were the driver will be mounted.
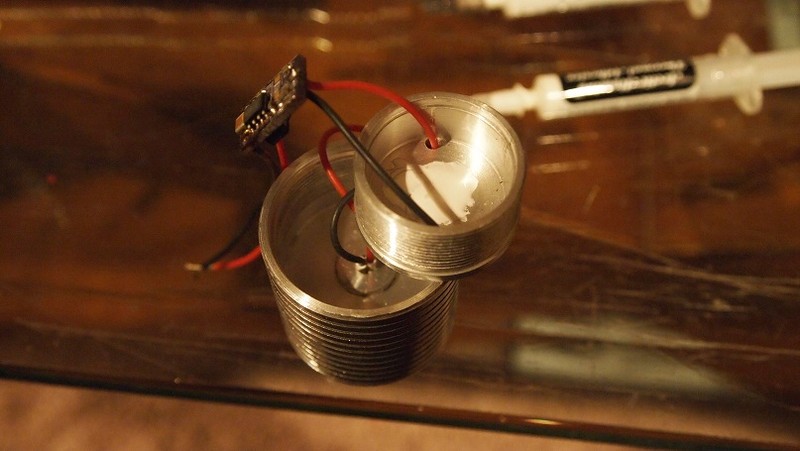
At this point I set the driver in place and let the adhesive harden.
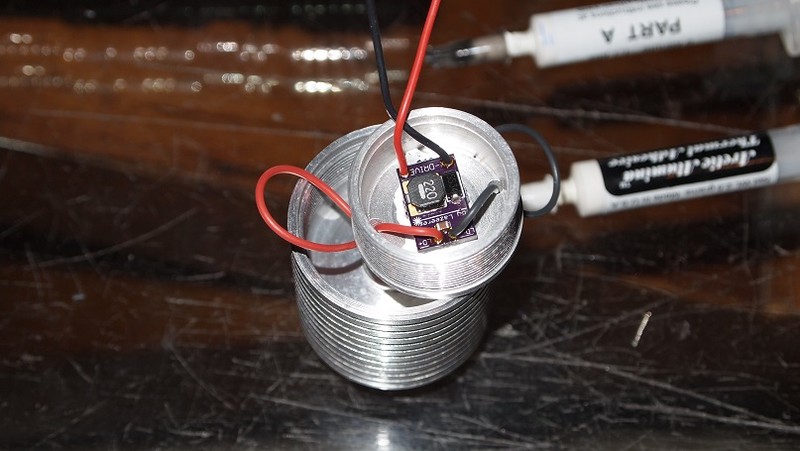
Now the driver was set I needed to address the ground contact for the driver negative input. Since these diodes don't have a case pin and this host does not provide a good place to connect a solid ground so I started by drilling a hole in the pill.
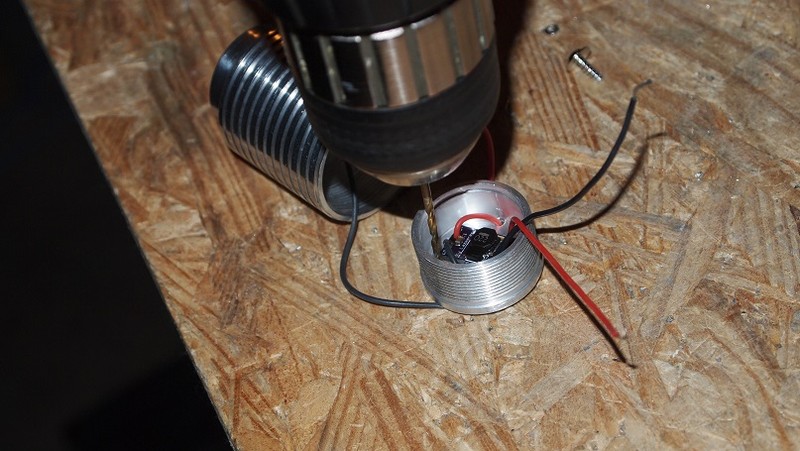
Next I got a screw that will provide a good place to solder a ground lead to.
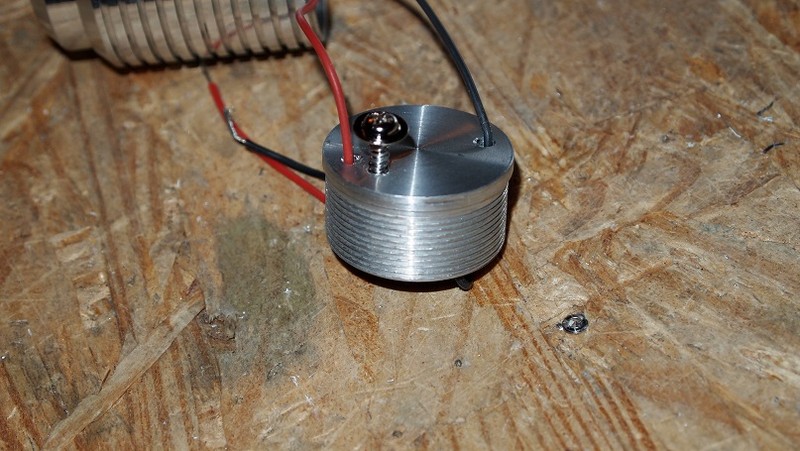
Screwed it all the way in.
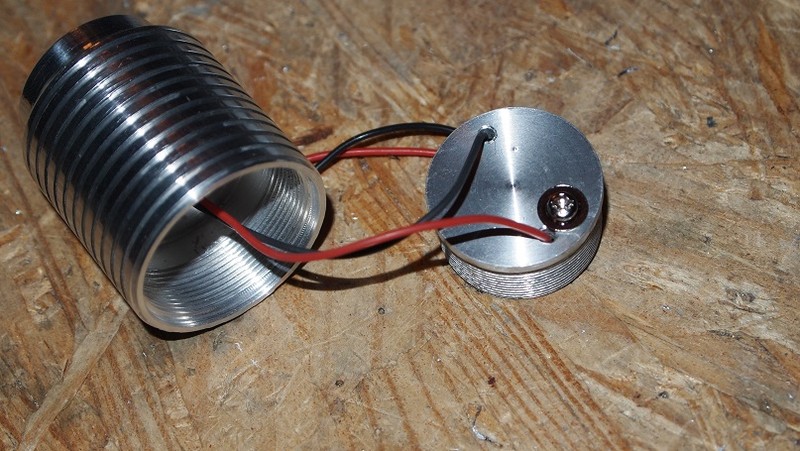
The threads on the screw provide a good bonding point for the solder.
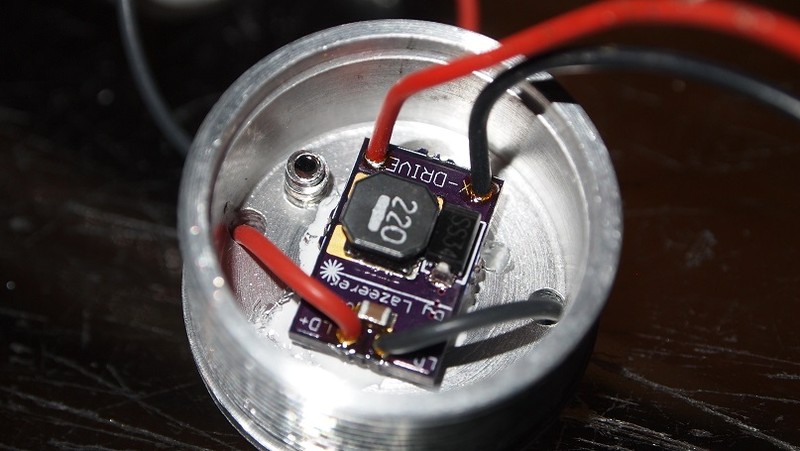
Soldered the lead to the threads.
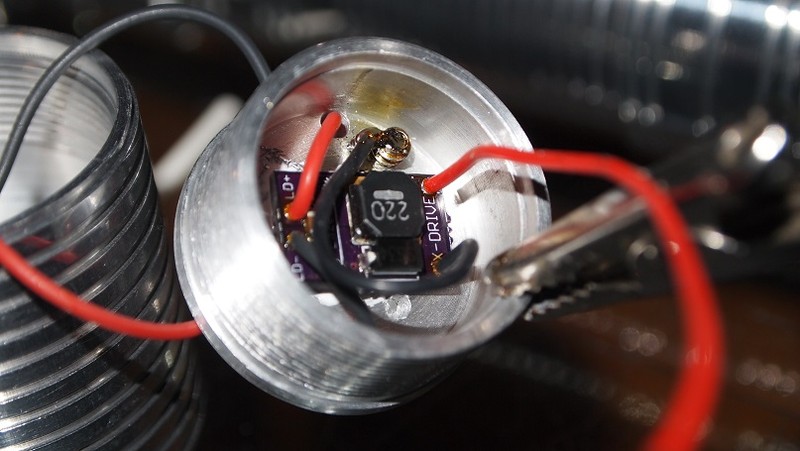
With that done it was time to work on the positive battery contact. I got the contact board out and ran the wire though it.
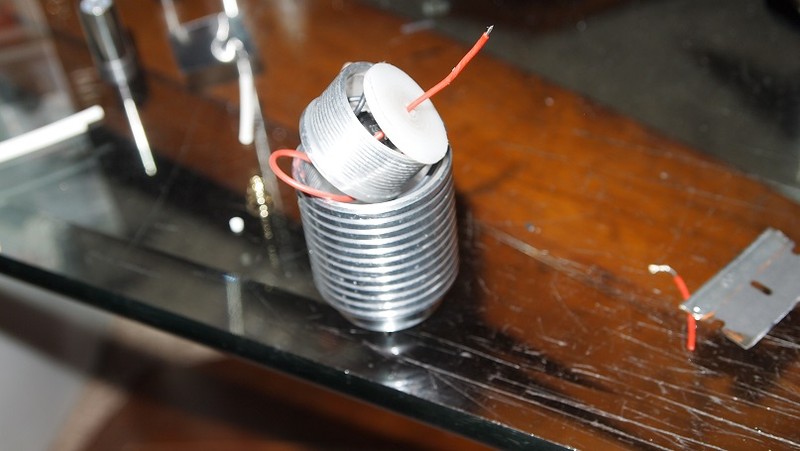
I then soldered a spring to the end of the lead.
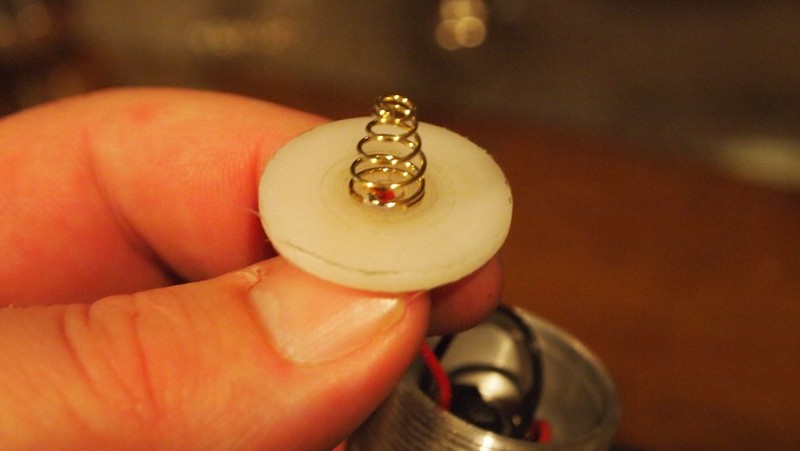
Then just whipped up a little more thermal adhesive and set the spring in place.

Then I pressed the contact board in pace and screwed the pill in the host.

Then just screwed the head on the host and that is it.
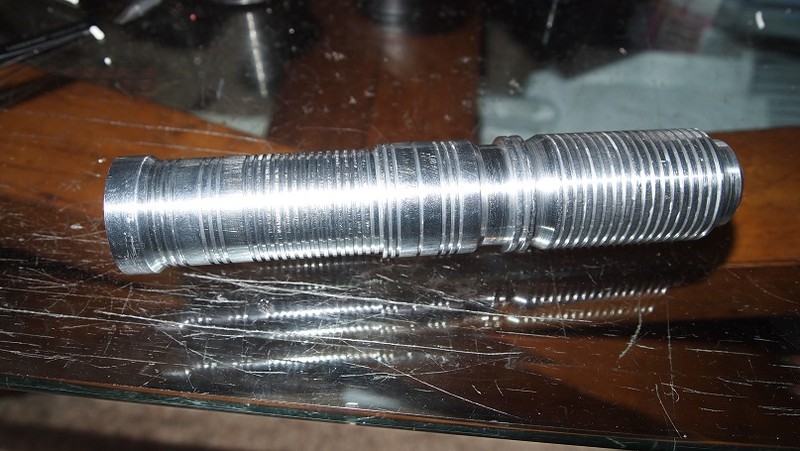
Now that the build is complete I pulled out my 25500 cells as I need to get some 26550's but these work fine for now.
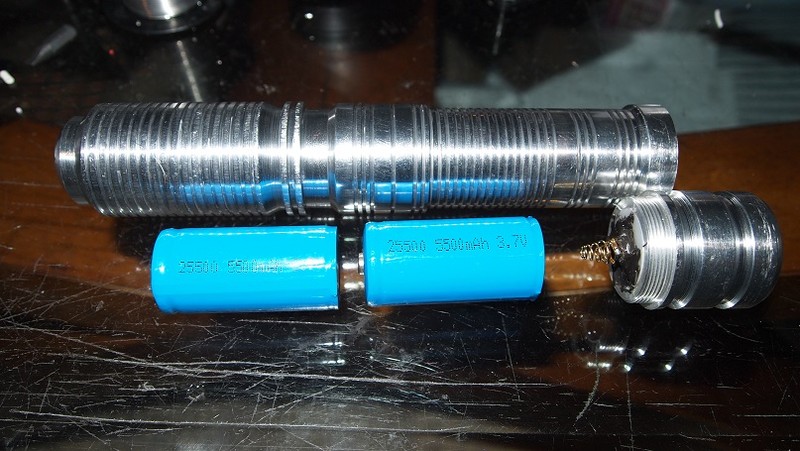
Let there be light.:eg:
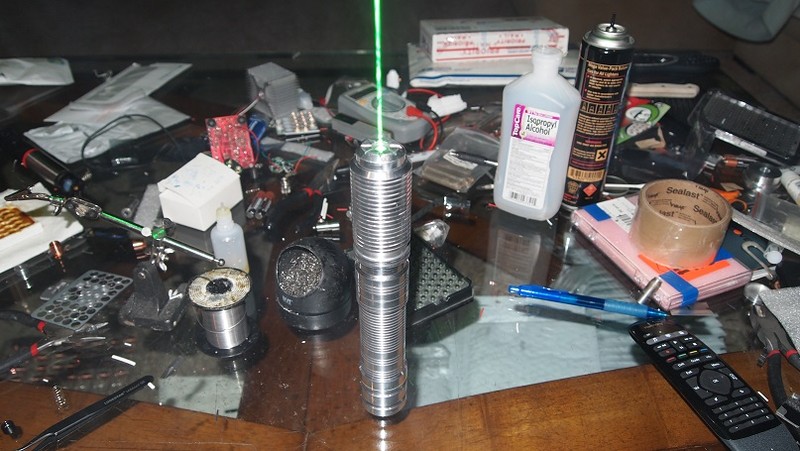
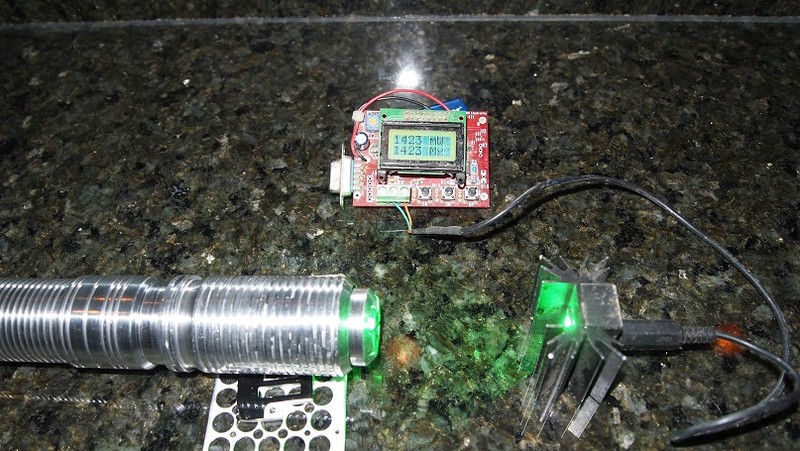
Power Test
Test done with my Laserbee to get a more stabilized reading than the high peak on my Ophir since the Laserbee takes a few seconds to ramp up. Peaks 1420mW.:eg:
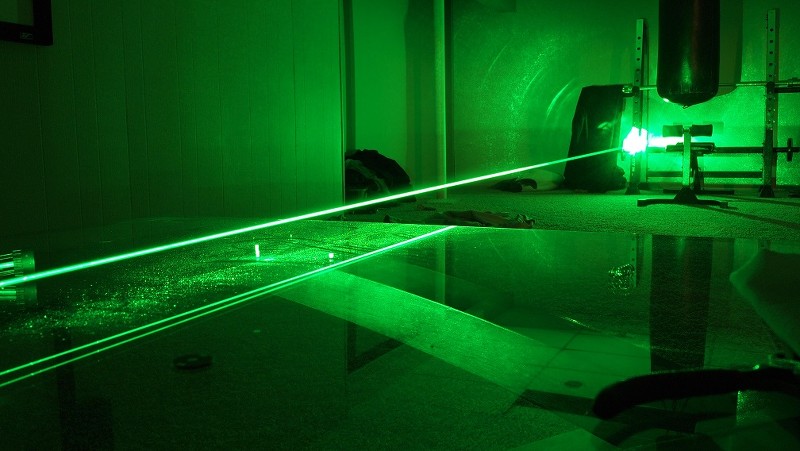
Beam Shots


Conclusion
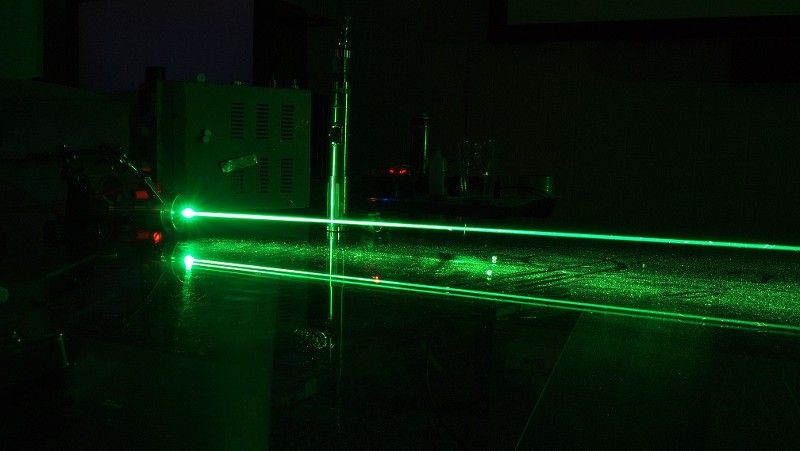
I have been sitting on this host for a while waiting for a build just like this. This Hulk is the brightest beam I have had the pleasure of and there is no doubt, this is a many times brighter than the highest power 445's I have seen. Extreme caution is certainly advised. In a dark room it is like going to daytime when you turn it on.
I do want to thank Sinner for this amazing host and I hope to see others make equally interesting builds with these new diodes. Thanks for reading my review and hope you enjoyed it.:beer:
.


Here it is folks. The first build posted with the new 1W green diodes. This thing is a beast which I have aptly named The Hulk. It really is an angry green monster.
For more info on the new 1W green diode see this thread.
Nichia NDG7475 1W 520nm Laser Diode
Host
So here we go. A sweet custom 2X26500 MS-SSW-II aluminum host from Sinner with a head that works with a 12mm module pressed in instead of a set screw for exceptional thermal transfer.


Build Tutorial
We start with the diode, module, thermal back half and the head of the host.

First step is to get the diode pressed into the module which I have already pressed though the host head once to make sure the threads did not warp as to keep the lens from screwing in as that would be bad to have a $700+ diode in a module that can't thread a lens in. Will show the pressing of the module a few steps down.

Once the diode is pressed we add leads to it.

Then put some shrink tubing on over the exposed joints.

Next we put on the thermal back half. This part extracts heat from the base of the diode as well as the sides and top lip.
Now we have the module all prepared it is time to press it into the head. I found my diode press also works perfectly for this task. Turned backwards the base was the perfect size to push the module in flush.

Now it is pressed in here it is nice and flush and a permanent resident.

Next while we have the vice out the focus adapter which I would have preferred it just be threaded M9x0.5mm like others but this one requires a focus ring to be pressed in to hold the lens.

So I got it pressed in.

Now that the head of the unit is ready time to move on to the pill. I got a 2.4A X-drive ready, some wire and some thermal adhesive.

I started by wiring up the X-drive.

Next I mixed up some two part Arctic Alumina thermal adhesive.

I put a thin layer on the inside of the pill were the driver will be mounted.

At this point I set the driver in place and let the adhesive harden.

Now the driver was set I needed to address the ground contact for the driver negative input. Since these diodes don't have a case pin and this host does not provide a good place to connect a solid ground so I started by drilling a hole in the pill.

Next I got a screw that will provide a good place to solder a ground lead to.

Screwed it all the way in.

The threads on the screw provide a good bonding point for the solder.

Soldered the lead to the threads.

With that done it was time to work on the positive battery contact. I got the contact board out and ran the wire though it.

I then soldered a spring to the end of the lead.

Then just whipped up a little more thermal adhesive and set the spring in place.

Then I pressed the contact board in pace and screwed the pill in the host.

Then just screwed the head on the host and that is it.

Now that the build is complete I pulled out my 25500 cells as I need to get some 26550's but these work fine for now.

Let there be light.:eg:

Power Test
Test done with my Laserbee to get a more stabilized reading than the high peak on my Ophir since the Laserbee takes a few seconds to ramp up. Peaks 1420mW.:eg:

Beam Shots


Conclusion
I have been sitting on this host for a while waiting for a build just like this. This Hulk is the brightest beam I have had the pleasure of and there is no doubt, this is a many times brighter than the highest power 445's I have seen. Extreme caution is certainly advised. In a dark room it is like going to daytime when you turn it on.
I do want to thank Sinner for this amazing host and I hope to see others make equally interesting builds with these new diodes. Thanks for reading my review and hope you enjoyed it.:beer:
.
Last edited:


