hakzaw1
0
- Joined
- Apr 2, 2009
- Messages
- 10,661
- Points
- 113
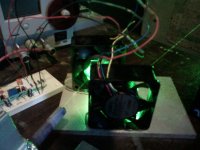
I bet more here started with this simple build.
The parts are very cheap and it can be simple or somewhat more complex.
here is the uber cool kit:
kinda 'spendy' but but great if you can afford.
My 2nd one was better- it used RG$V $3 pointers- (knife edged) and switches (very hard to find ones made in USA (PM me)) that are center off and two way directional --which adds more options.
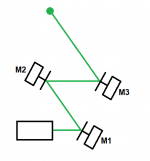
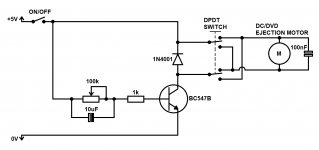
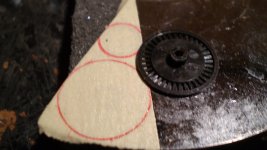
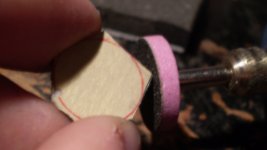
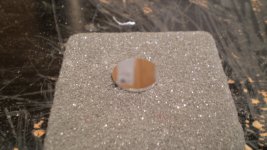
I rarely buy ac motors but have a few dozen- they do not really HAVE to match.. I got a bunch from 50 cent to 1$ One -Step Polaroid cameras-- film is harder to find now -- so they have little value. PLUS in most/all there is a 'tombstone' shaped Front Surface Mirror that is easy to cut (thin--almost too easy) and while round mirrors look better --any shape will do as long as the laser does not go 'off mirror'=places like hobby lobby have round mirrors cheap and you can remove the backing with paint remover to avoid the double refection of back sided (only) mirrors. place your mirrors with smallest first--biggest last.
Plastic gear with hole in center that closely matched the shaft of your motor-- you may be able to mount w/o glue.
The 'circle' size is bigger with a mirror 'less' flat-- I have found it very hard to glue one perfectly flat.. 1st one can be very small as you will only be aiming a dot..last one needs to be bigger. trail and error.
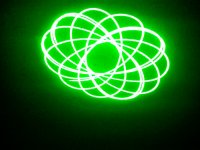
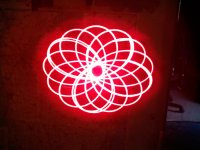
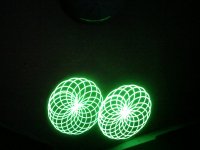
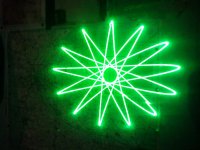
SO help your kids make a spyro PJ--OR if you have deep pockets get this kit...
Next project a laser 'bouncer' that moves with the music I made one with two mirrors & two speakers from old large headphones at 90 degrees (already wired!!).. kewler
just be sure to rest pointers-- especially your 532. OR use small 'labbies'.
added 'joy'?? post some pics or vids of your kiddos PJ.
Happy Happy Joy Joy
Ren and Stimpy you 'Iddiot'--lol
Are they alive??
''We are just cartoons--you iddiot''
IMHO these are an excellent project to get young people interested in lasers.


