- Joined
- Feb 5, 2008
- Messages
- 6,252
- Points
- 83
Okay so as I am selling mine [practically sold it already] 445nm, I am going for new one, and I thought, why the hell not - get the most unique looking build , that is.
I will most likely pay Bill to machine me this. Well, one variant of this as it's not yet finished.
Now, to cut the chit-chatting.
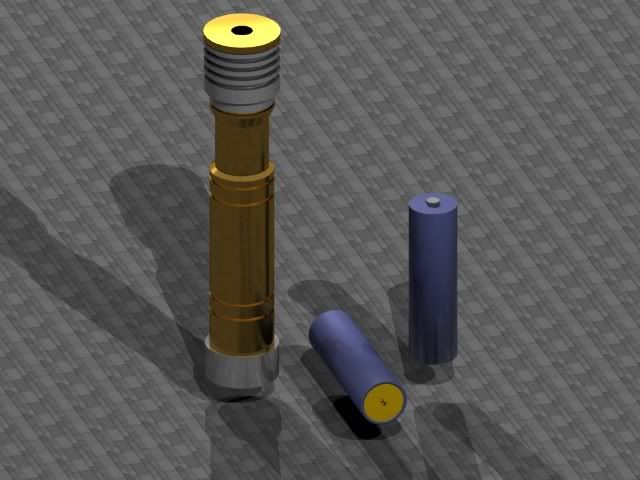
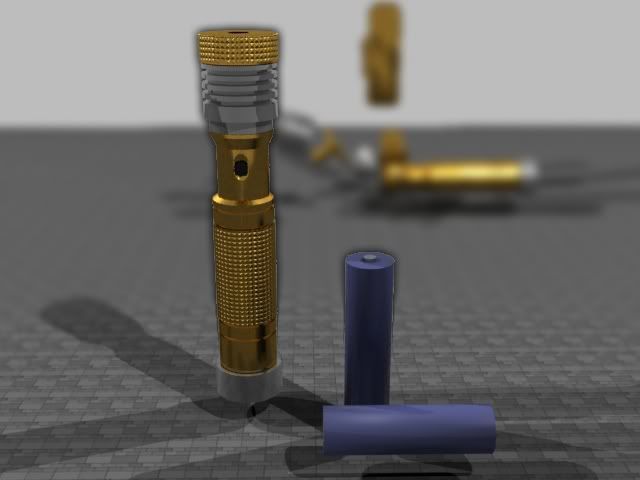
Too much Star Wars?
OK now, this host composes of 5 primary parts.
First two, are heatsink and focus adapter:
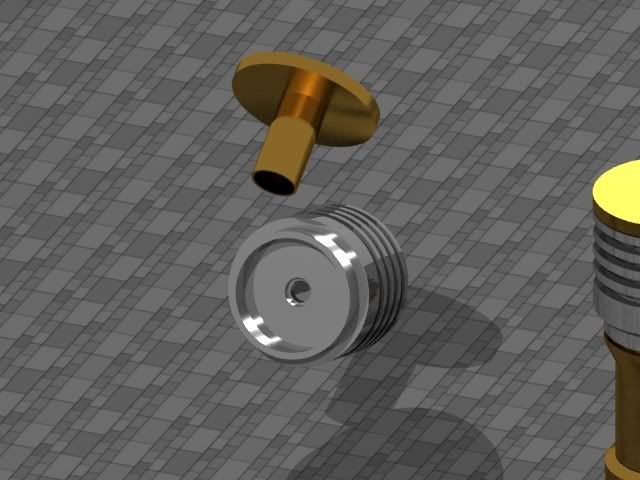
As you can see, it's direct pressfit heatsink, and I have this very long focus adapter in which standard 9mm lens will be glued, and on outside it's threaded to make it thread into the heatsink head. I have not yet applied thread map, and knurling map to the outside where you touch it with tips of fingers.
It's long so that more heatsink mass can be achieved.
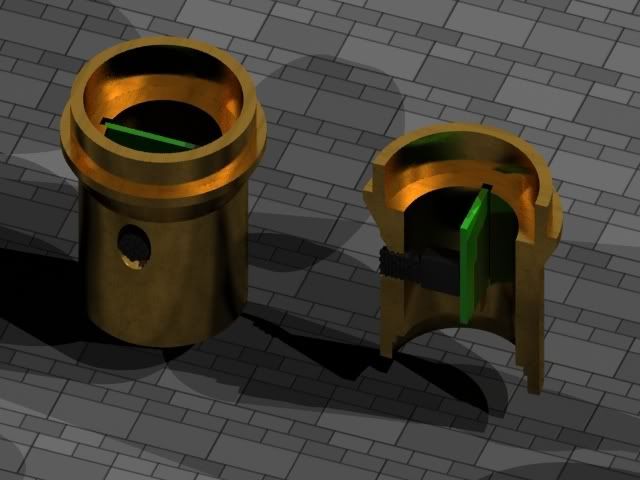
Now, this gets set-screw fitted at the little extruded rim of heatsink:
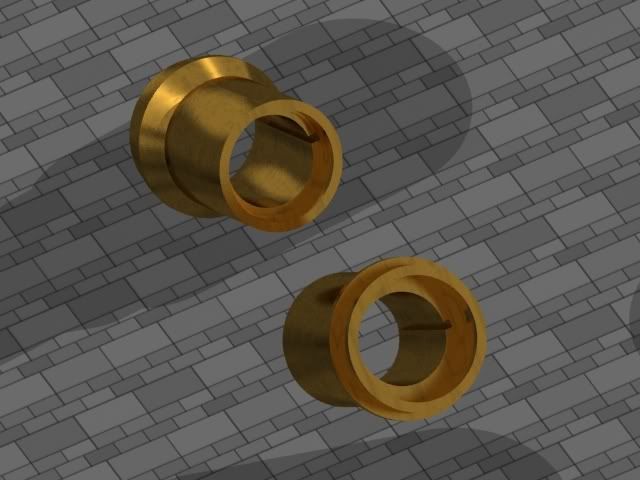
These are same part, just duplicated and turned around so you can see. So, you can see there is a small uhh, how would you call it? Incision?
Two cuts where you can fit your driver board, then glue it in place. I will also make the hole for side-switch and driver board later.
On the other side you can see how there is a narrowing two times.
First one is to fit the battery barrel. Second is to fit a standard 16mm contact board if it's needed. Explained later.
This is finally the battery barrel and the tailswitch with black rubber cap:
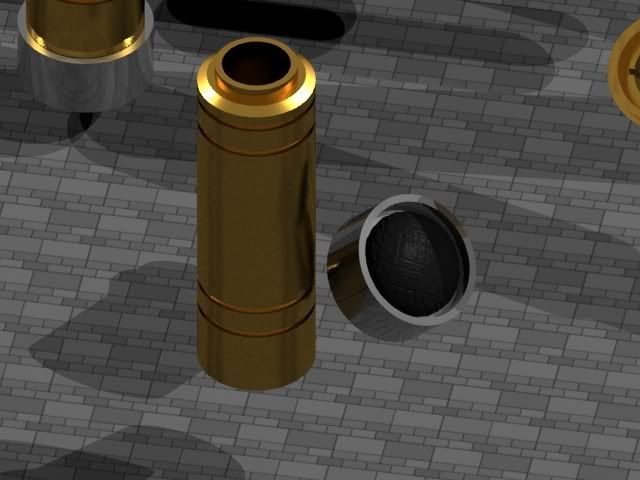
Now, this is how the battery barrel and driver barrel go together.
The driver barrel is halfed so you can see into inside :
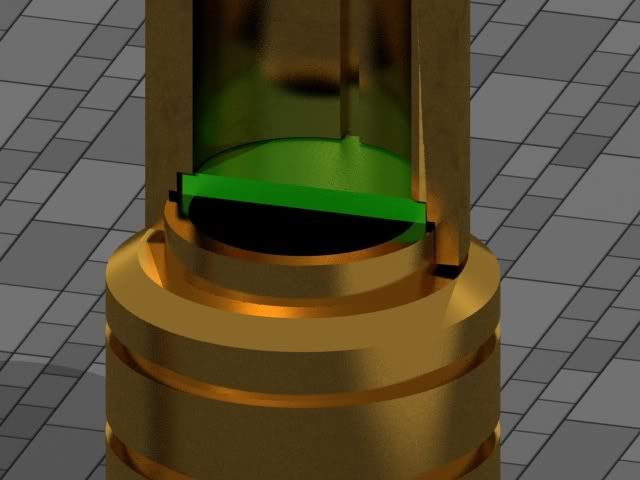
As you can see, the driver board is sandwitched between two metal barrels, and does not require a small brass ring for pressfiting and keeping contact.
I will have exact dimensions later, but I can tell you that driver barrel has 20 mm of space between board and diode, host is made for 1x 18650 cell (you can see two of them compared to host in first picture), will use both tailcap switch and side switch, and will most likely be made of metals used for renders.
That is, aluminum head, brass focus adapter and barrels, aluminum tailcap.
I will get it a few finishing touches tomorrow, and animate it to show you how it's assembled.
I will most likely use a set screw for fitting the battery tube to driver tube, and driver tube to diode tube. No point in having it threaded because securing the driver into the cuts and then threading it will break something.
Also, I will use knurling on the outside of focus adapter, and outside of battery barrel for aesthetics (well, and firmer grip and better feeling when holding this thing), and on the tailcap.
The tailcap should house either a standard 14mm clicky with spring, or it can contain a keylock switch, depends on what will be needed. Personally I'd like 14mm switch as it can be a "primer" to the side clicky , or side momentary, on the driver barrel.
I will consult more with Bill to see if he can make me one of these. Syked about it, too.
Let me know what do you all think of it so far, what changes would you do and what would you make it.
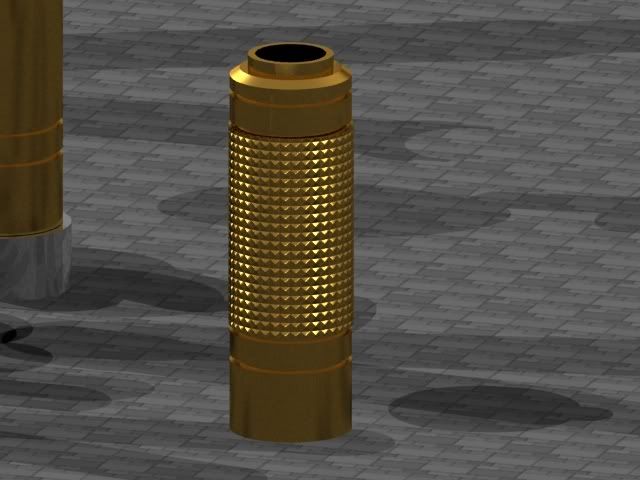
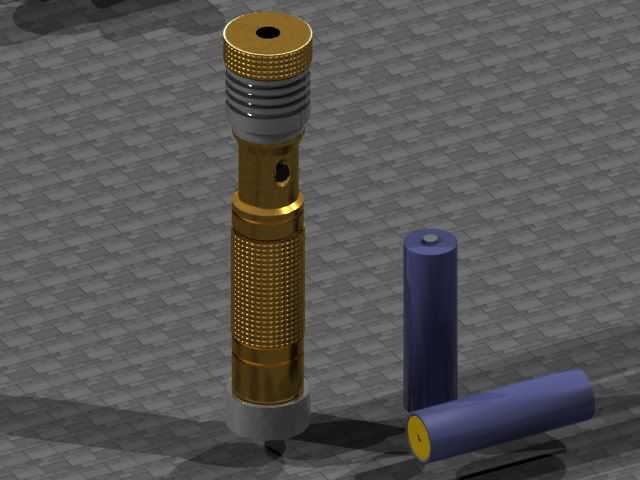
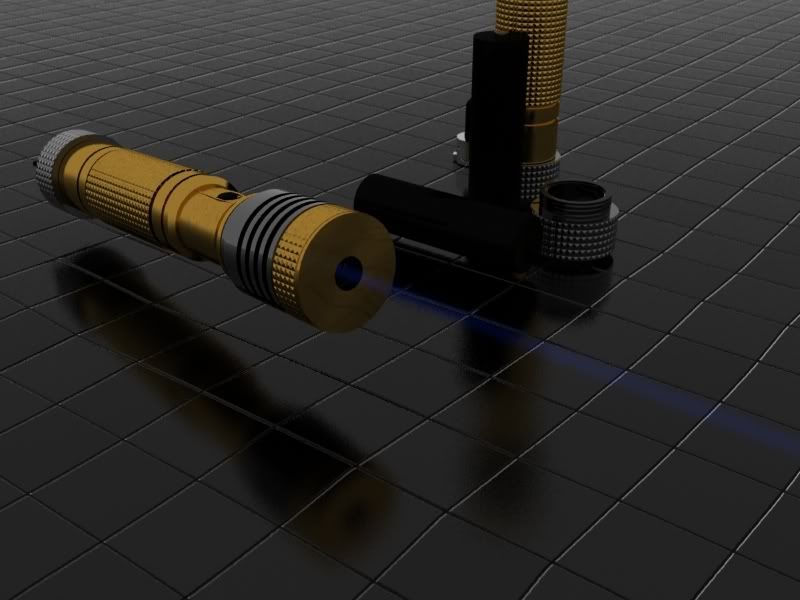
EDIT - Changes to exterior, final design... I think.
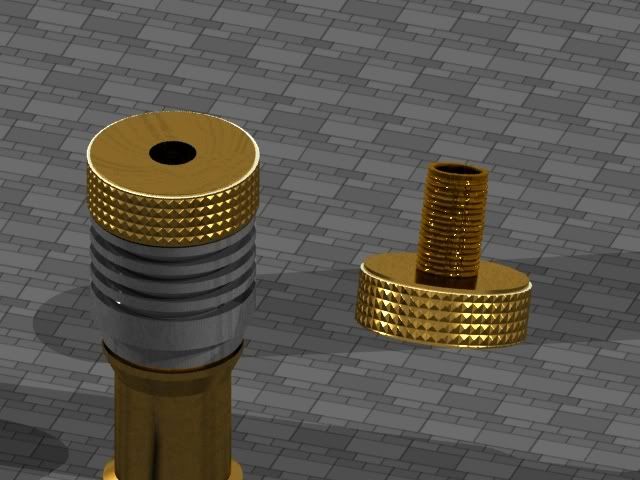
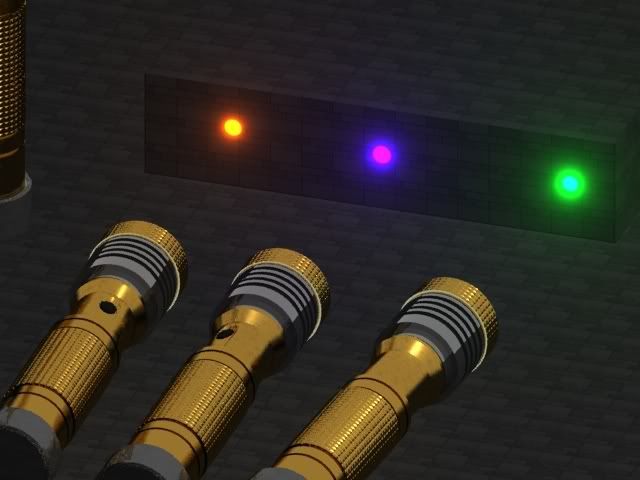
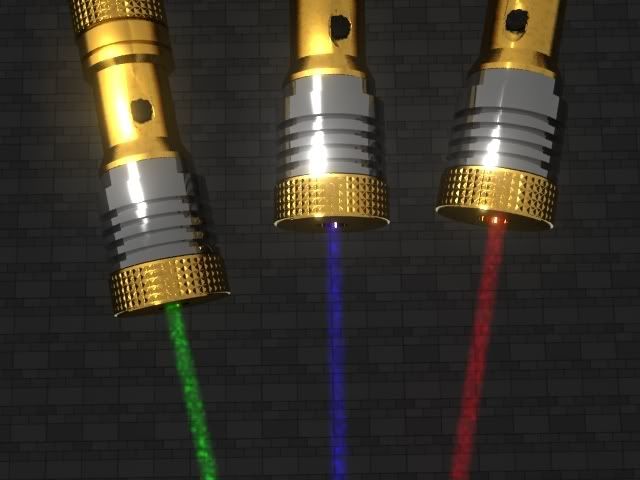
And some lasing:
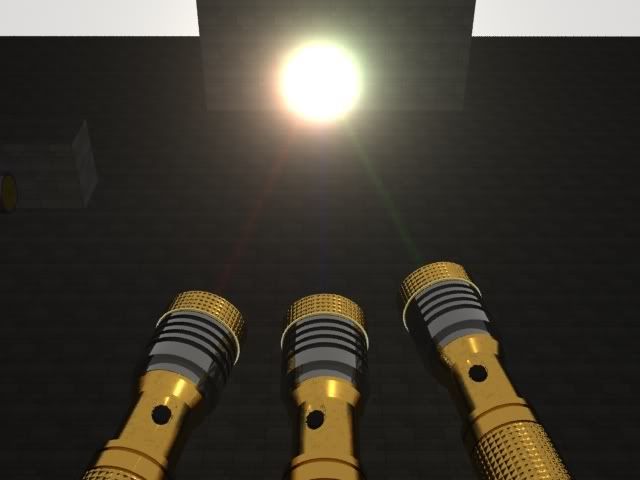
More to come, and I mean, actual animation of entire machining and assembly. And lasing. And stuff.
Moar updates:
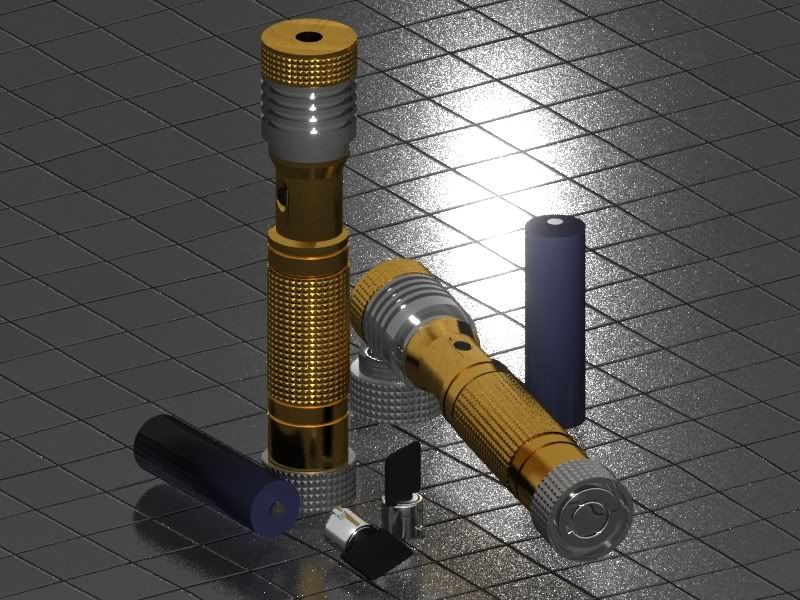
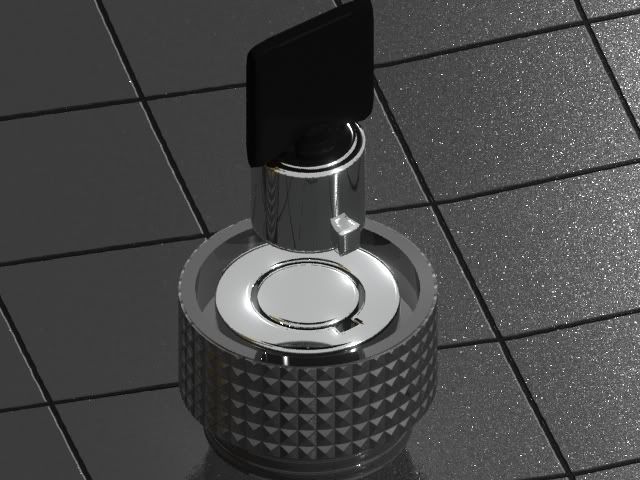
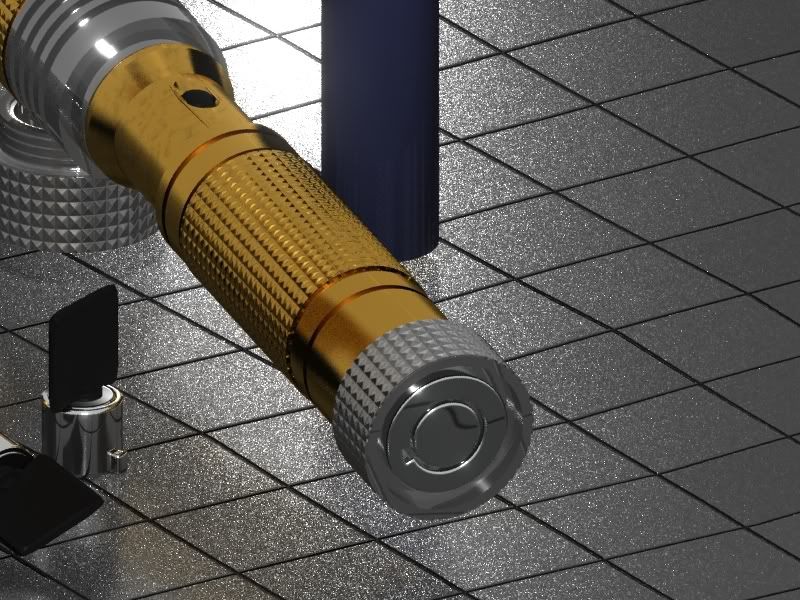
I will most likely pay Bill to machine me this. Well, one variant of this as it's not yet finished.
Now, to cut the chit-chatting.

Too much Star Wars?
OK now, this host composes of 5 primary parts.
First two, are heatsink and focus adapter:

As you can see, it's direct pressfit heatsink, and I have this very long focus adapter in which standard 9mm lens will be glued, and on outside it's threaded to make it thread into the heatsink head. I have not yet applied thread map, and knurling map to the outside where you touch it with tips of fingers.
It's long so that more heatsink mass can be achieved.
Now, this gets set-screw fitted at the little extruded rim of heatsink:

These are same part, just duplicated and turned around so you can see. So, you can see there is a small uhh, how would you call it? Incision?
Two cuts where you can fit your driver board, then glue it in place. I will also make the hole for side-switch and driver board later.
On the other side you can see how there is a narrowing two times.
First one is to fit the battery barrel. Second is to fit a standard 16mm contact board if it's needed. Explained later.
This is finally the battery barrel and the tailswitch with black rubber cap:

Now, this is how the battery barrel and driver barrel go together.
The driver barrel is halfed so you can see into inside :

As you can see, the driver board is sandwitched between two metal barrels, and does not require a small brass ring for pressfiting and keeping contact.
I will have exact dimensions later, but I can tell you that driver barrel has 20 mm of space between board and diode, host is made for 1x 18650 cell (you can see two of them compared to host in first picture), will use both tailcap switch and side switch, and will most likely be made of metals used for renders.
That is, aluminum head, brass focus adapter and barrels, aluminum tailcap.
I will get it a few finishing touches tomorrow, and animate it to show you how it's assembled.
I will most likely use a set screw for fitting the battery tube to driver tube, and driver tube to diode tube. No point in having it threaded because securing the driver into the cuts and then threading it will break something.
Also, I will use knurling on the outside of focus adapter, and outside of battery barrel for aesthetics (well, and firmer grip and better feeling when holding this thing), and on the tailcap.
The tailcap should house either a standard 14mm clicky with spring, or it can contain a keylock switch, depends on what will be needed. Personally I'd like 14mm switch as it can be a "primer" to the side clicky , or side momentary, on the driver barrel.
I will consult more with Bill to see if he can make me one of these. Syked about it, too.
Let me know what do you all think of it so far, what changes would you do and what would you make it.
EDIT - Changes to exterior, final design... I think.


And some lasing:


More to come, and I mean, actual animation of entire machining and assembly. And lasing. And stuff.
Moar updates:


Last edited:


