

- Joined
- Sep 16, 2007
- Messages
- 3,658
- Points
- 113
I recently put together a 12X laser in a chrome Leadlight pen. I am powering it with a pair of Sanyo 1000mAh NiMH AAA batteries.
Components:
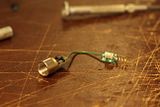
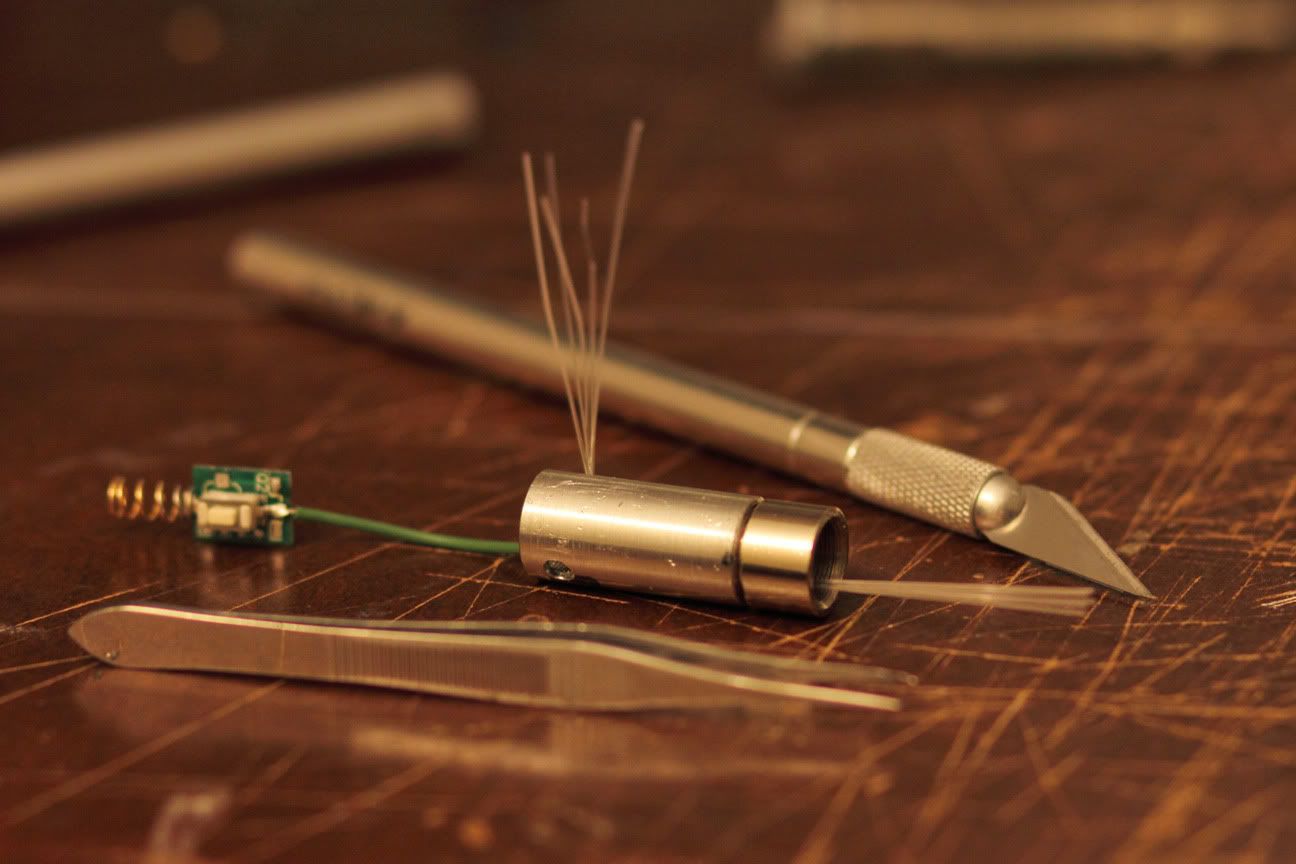
To start off the construction, I drilled out a hole through the Aixiz module for the fibers, pressed in the diode, set the driver, soldered it directly to the diode, and attached the switch to the driver input.
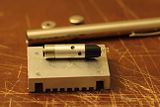
Next, I prepared an aluminum heat-sink. The back of the Aixiz module does provide some improvement for heat transfer from module to host, but I chose aluminum since this was planned to be a high output laser and about 1.4W of heat will need to be moved as quickly as possible. The threads on the Aixiz module were removed so that it could be pressed into the aluminum heat-sink. The heat-sink has an inner diameter of ~9.5mm so the FlexDrive can fit easily.
After the heat-sink was ready, I started stuffing the fibers into the module.

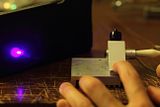
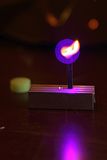
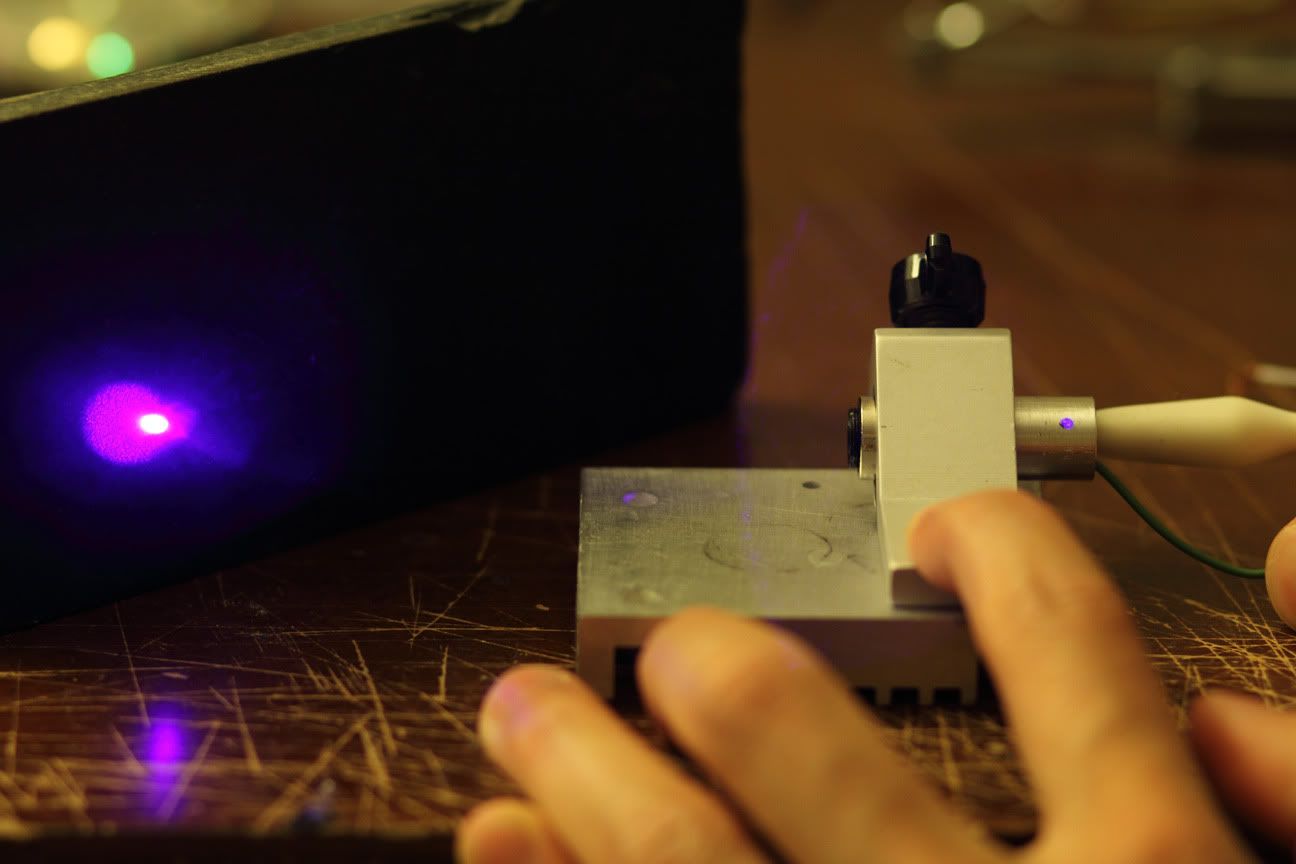
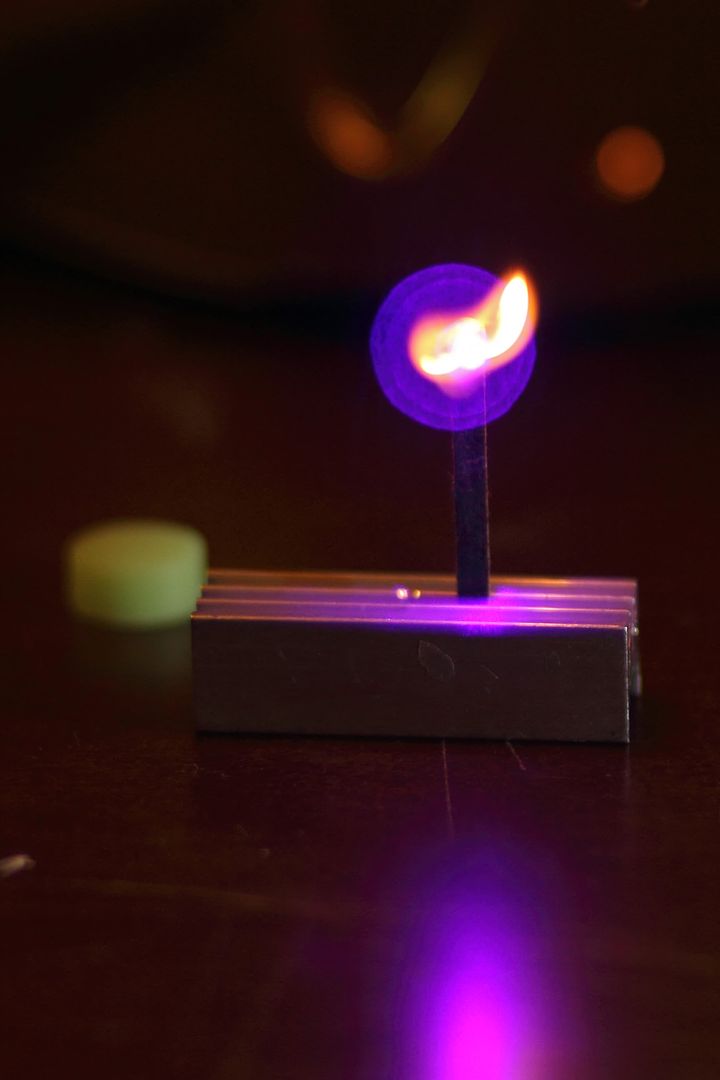
I don't like to leave the hole for the LED indicator unused so I use the laser's own output to make the "LED indicator" with fiber optics. With the 405nm laser, it is possible to put a little dab of fluorescent fabric paint over the end of the fibers in the indicator so that it glows (and is visible through safety goggles) but I like the violet light better. Here it is powered up for the first time.
After the fibers were installed and everything was pressed together nicely, I set up the switch on a PCB stripped of its components and epoxied it to the back of the module to keep it fixed.
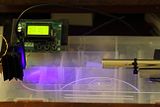
With the module completely assembled, it was time to begin testing it out.
The Aluminum heat-sink was carefully prepared with some holes drilled through it in order to make it possible to thread the fibers through and to adjust the driver after the module was pressed together.
Tip: When assembling compact lasers with minimal heat-sinking mass, I find that it is best to set the current to the desired range and then test the module observing how much heat it is producing and at what rate. If it gets hot too quickly, reduce current slightly until you can operate the module with a reasonable duty cycle. If you feel the module isn't hot enough, increase the current slightly. This ensures that you are getting the most power possible without exceeding the heat-sinking capacity of your host allowing you to get a duty cycle that agrees with the intended use of your laser.
Next, I pressed the module into the pen host and was ready to lase.
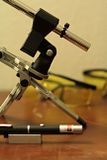

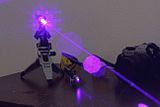
The last photo includes a 50mW 405nm for comparison.
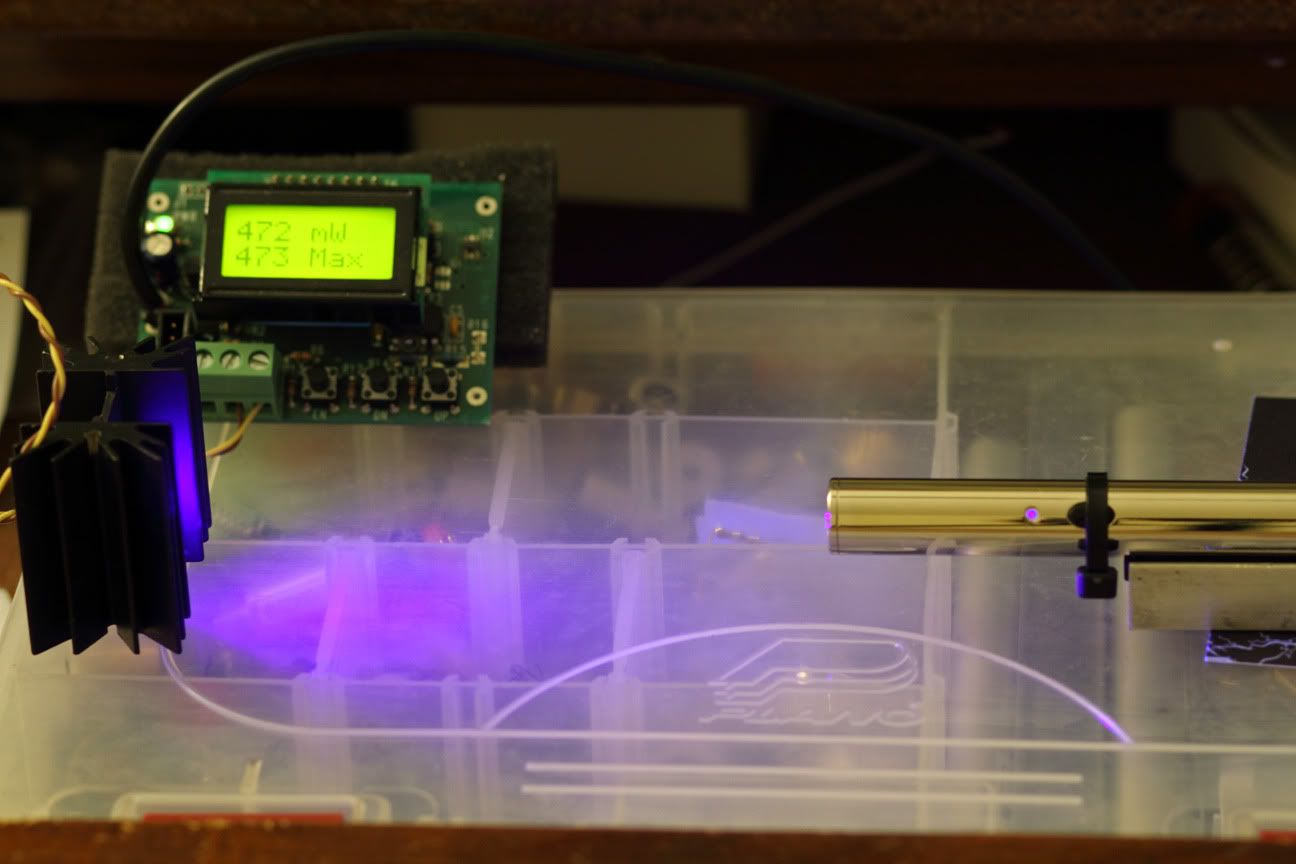
After carefully adjusting the current, I ended up with a nice, stable output of 475mW +/-5. For 405nm laser diodes, the 405-G-1 is the absolute best lens to use! It is simply a must!
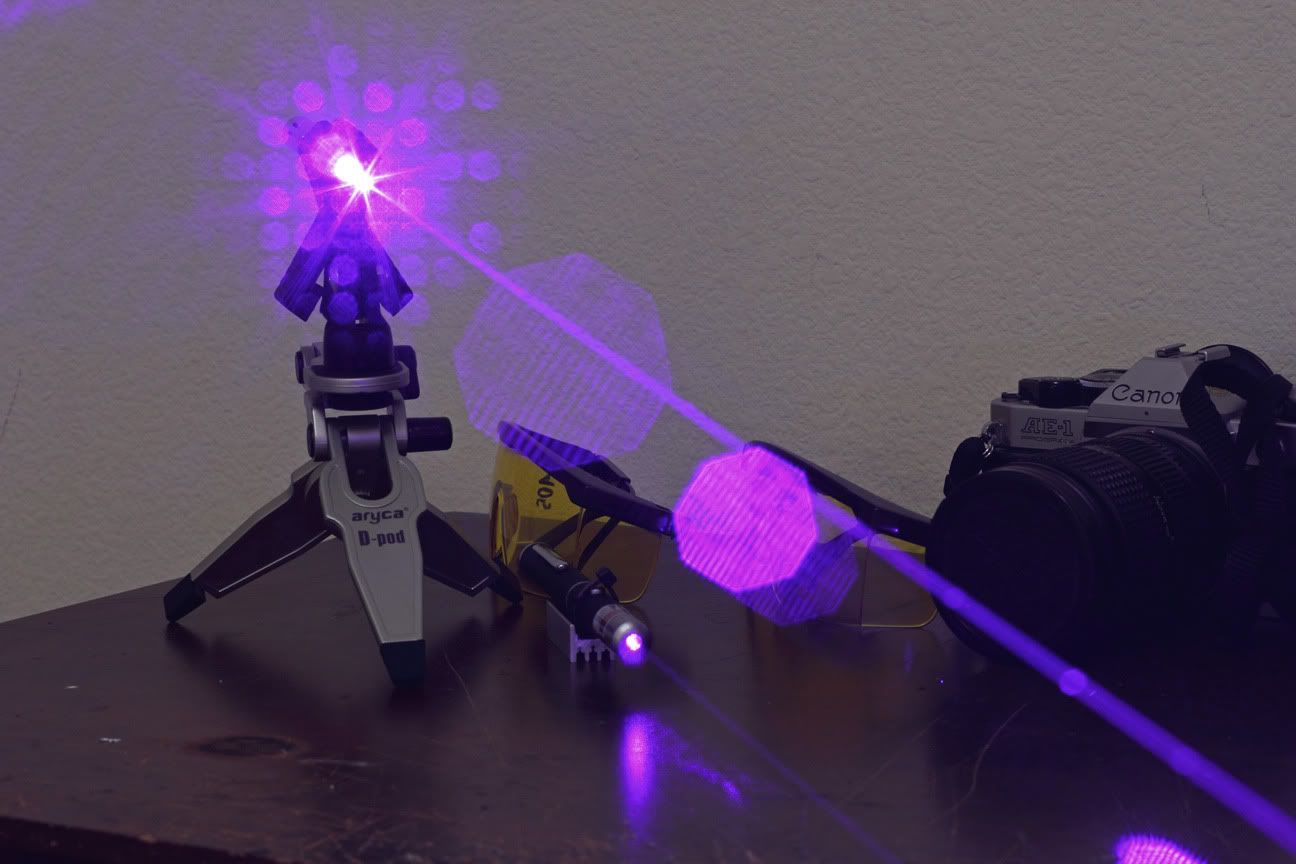
I spent the past couple days trying to get some nice photos to show off this laser.
I hope you like 'em. If you would like to know the Exif Info. I would be glad to provide it.
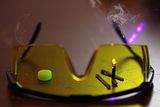
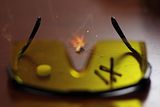
In the above photos I was shooting at 1/500sec. to capture the ignition of some flash paper and matches.

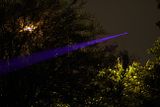
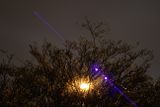
I was hoping to get some shots with some stars but the past few nights have been too humid and hazy. I improvised and got a few good shots of the beam terminating on the cloud cover.
Here is the extended power test video:
Any questions or comments are welcome.
Components:
- Leadlight chrome pen
- 12X diode (SF-BW512?)
- Micro FlexDrive V5
- 405-G-1 lens
- Aixiz/Aluminum module
- Optical fiber
To start off the construction, I drilled out a hole through the Aixiz module for the fibers, pressed in the diode, set the driver, soldered it directly to the diode, and attached the switch to the driver input.

Next, I prepared an aluminum heat-sink. The back of the Aixiz module does provide some improvement for heat transfer from module to host, but I chose aluminum since this was planned to be a high output laser and about 1.4W of heat will need to be moved as quickly as possible. The threads on the Aixiz module were removed so that it could be pressed into the aluminum heat-sink. The heat-sink has an inner diameter of ~9.5mm so the FlexDrive can fit easily.
After the heat-sink was ready, I started stuffing the fibers into the module.
I don't like to leave the hole for the LED indicator unused so I use the laser's own output to make the "LED indicator" with fiber optics. With the 405nm laser, it is possible to put a little dab of fluorescent fabric paint over the end of the fibers in the indicator so that it glows (and is visible through safety goggles) but I like the violet light better. Here it is powered up for the first time.
After the fibers were installed and everything was pressed together nicely, I set up the switch on a PCB stripped of its components and epoxied it to the back of the module to keep it fixed.
With the module completely assembled, it was time to begin testing it out.
The Aluminum heat-sink was carefully prepared with some holes drilled through it in order to make it possible to thread the fibers through and to adjust the driver after the module was pressed together.

Tip: When assembling compact lasers with minimal heat-sinking mass, I find that it is best to set the current to the desired range and then test the module observing how much heat it is producing and at what rate. If it gets hot too quickly, reduce current slightly until you can operate the module with a reasonable duty cycle. If you feel the module isn't hot enough, increase the current slightly. This ensures that you are getting the most power possible without exceeding the heat-sinking capacity of your host allowing you to get a duty cycle that agrees with the intended use of your laser.
Next, I pressed the module into the pen host and was ready to lase.

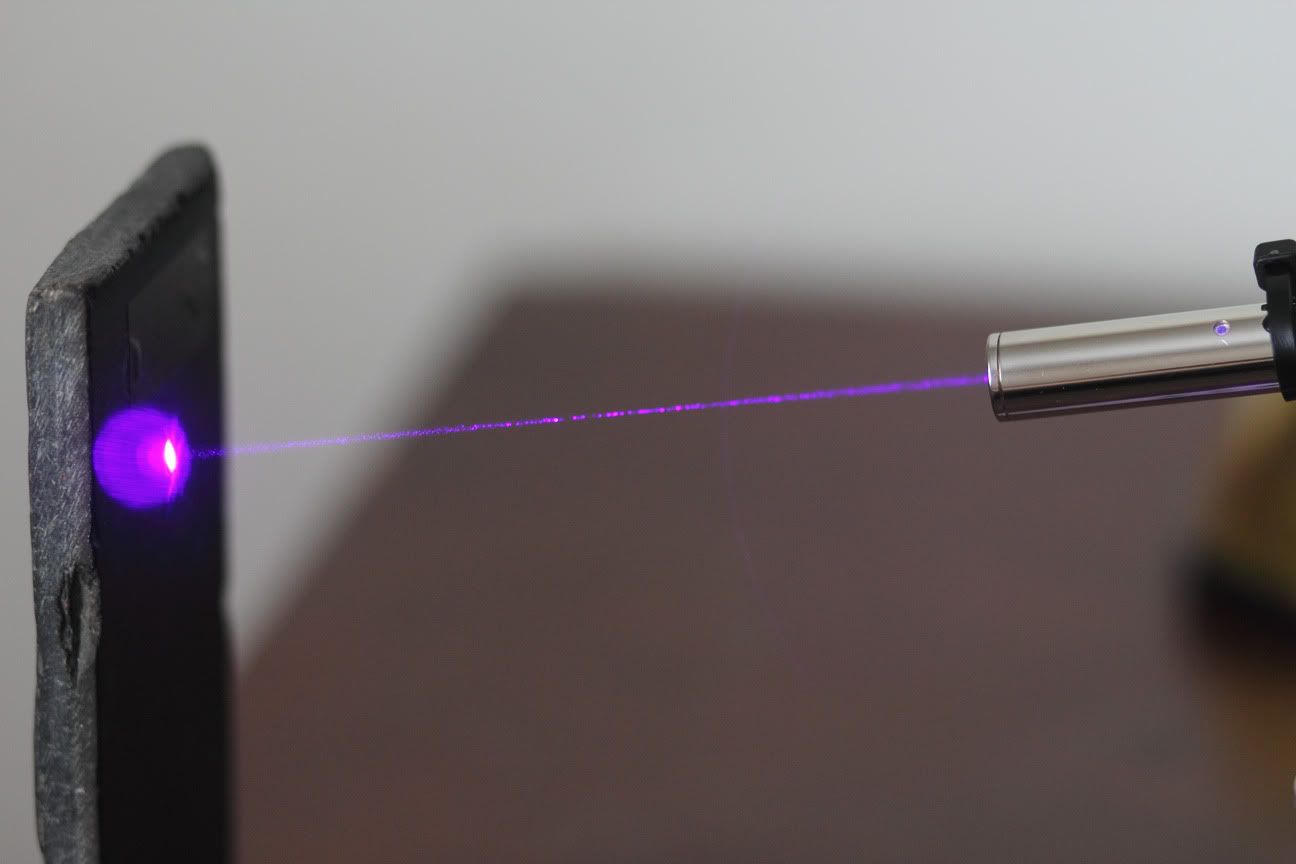
The last photo includes a 50mW 405nm for comparison.
After carefully adjusting the current, I ended up with a nice, stable output of 475mW +/-5. For 405nm laser diodes, the 405-G-1 is the absolute best lens to use! It is simply a must!
I spent the past couple days trying to get some nice photos to show off this laser.
I hope you like 'em. If you would like to know the Exif Info. I would be glad to provide it.

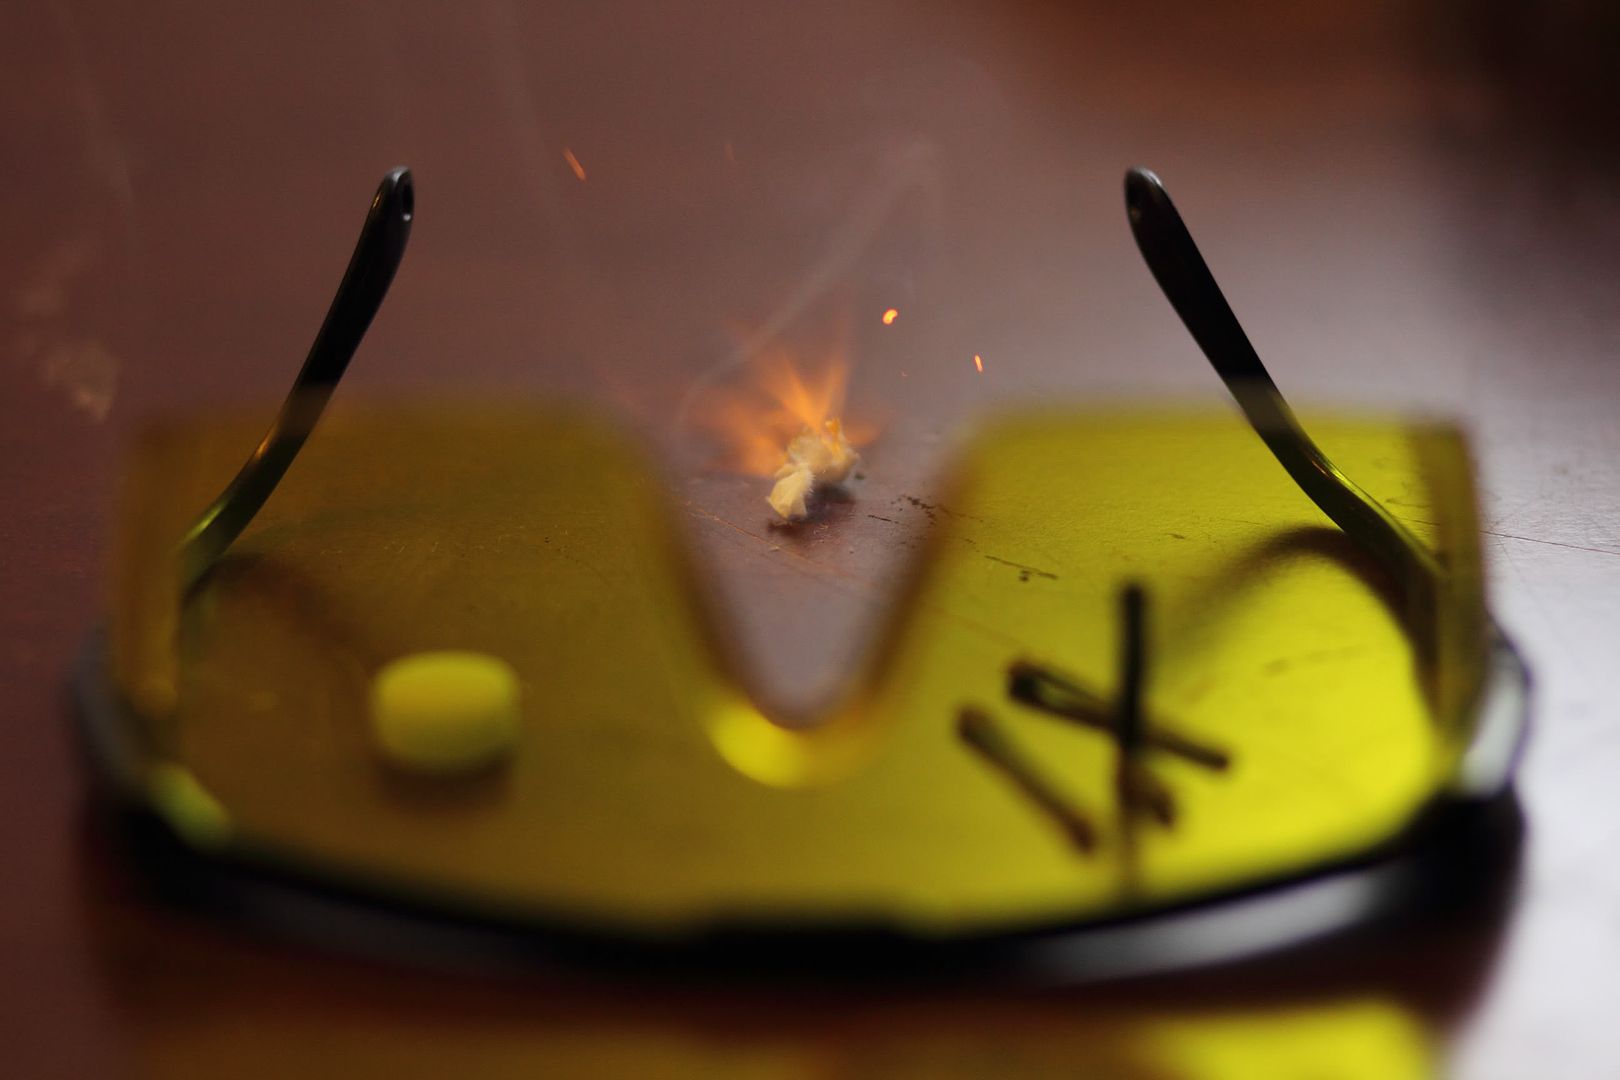
In the above photos I was shooting at 1/500sec. to capture the ignition of some flash paper and matches.
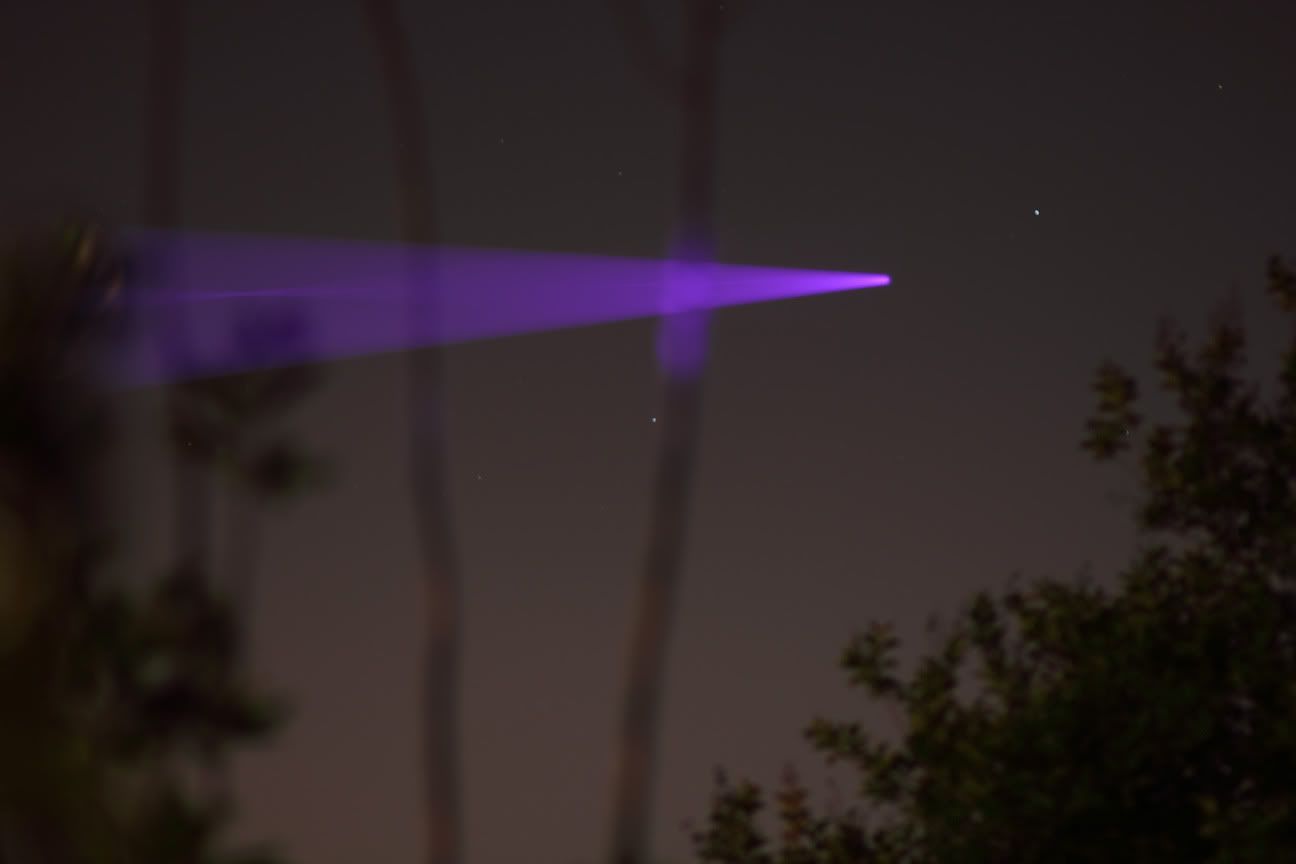
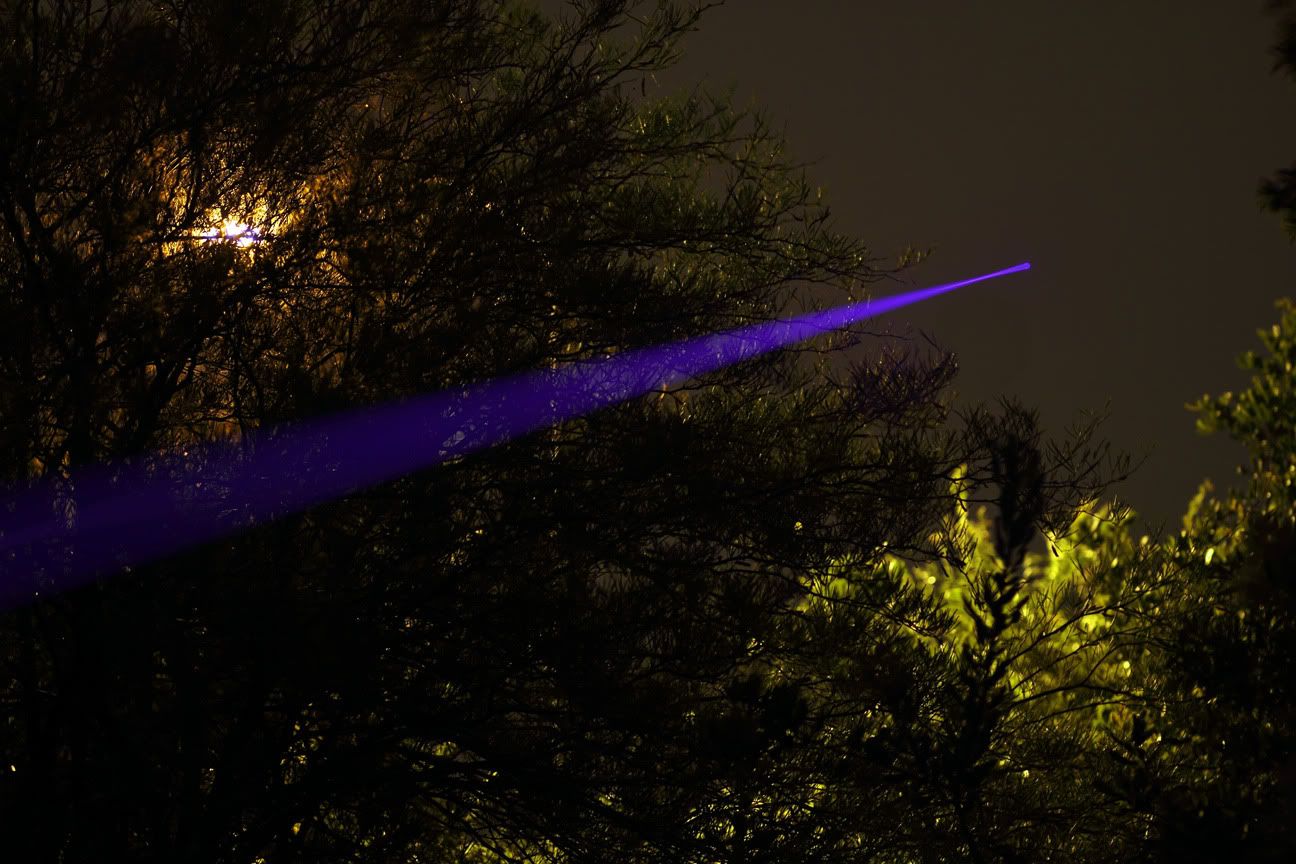
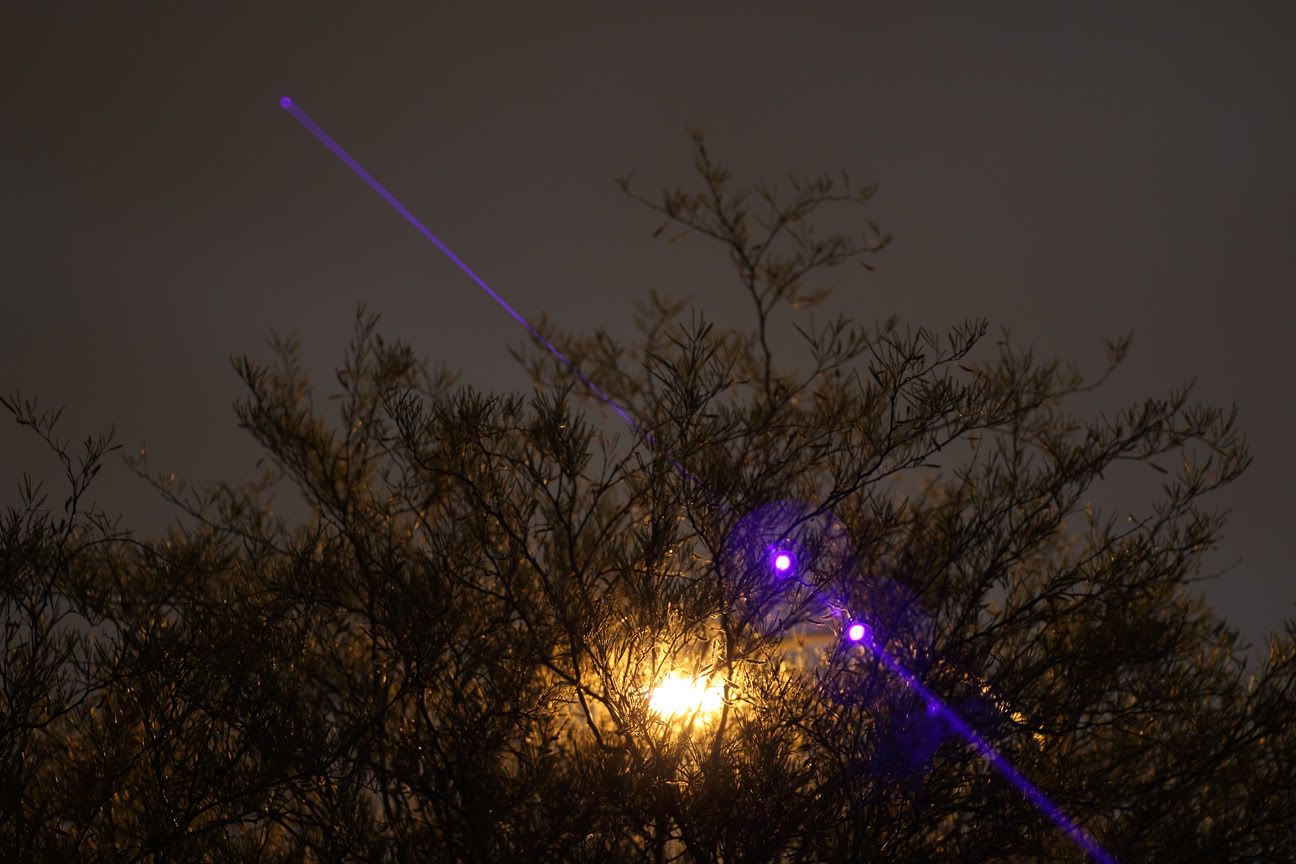
I was hoping to get some shots with some stars but the past few nights have been too humid and hazy. I improvised and got a few good shots of the beam terminating on the cloud cover.
Here is the extended power test video:
Any questions or comments are welcome.
Last edited:


")

