- Joined
- Aug 25, 2010
- Messages
- 533
- Points
- 63
Hello forum.
Here is the third chapter of my tutorials: how to realize perfect 5 inches shells.
This tutorial is the continuation of my previous tutorials
https://laserpointerforums.com/threads/how-to-make-hot-granulated-r-candy-mix.103345/
and
https://laserpointerforums.com/thre...-candy-rockets-with-my-granulated-mix.103868/
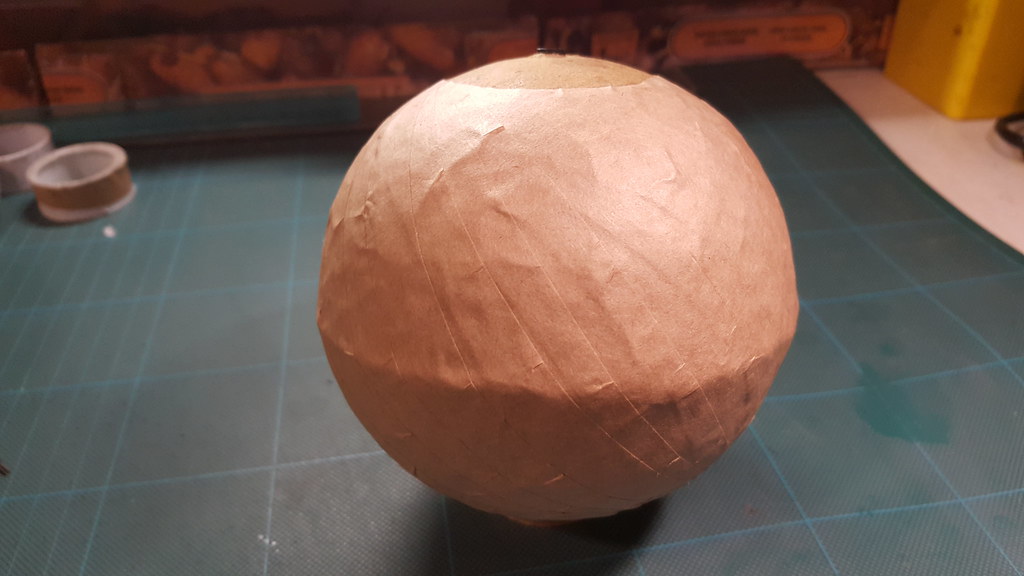
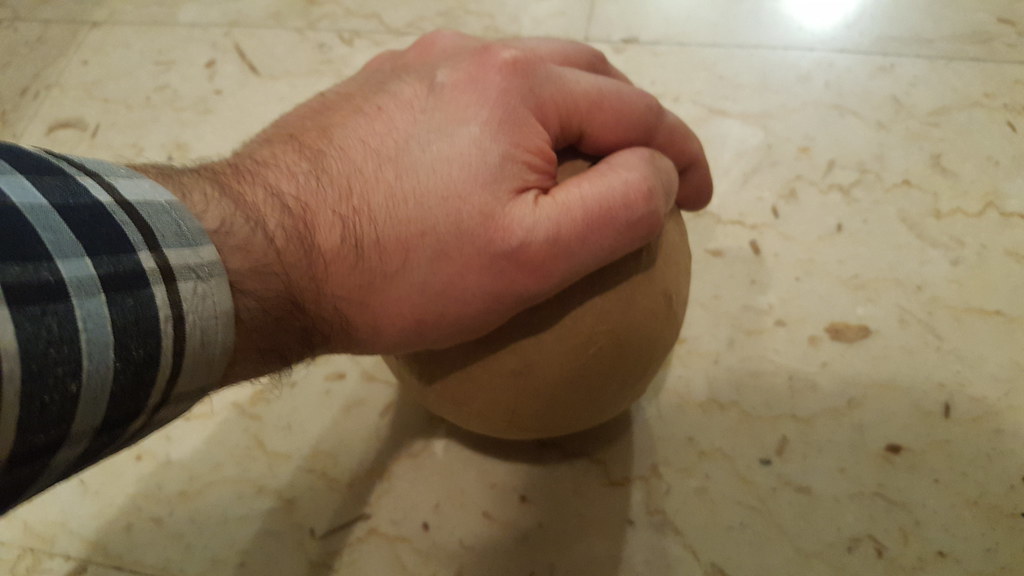
First of all we needs two 5" hemis. Often the cheap chinese hemis are not perfectly rounded, so it is necessary to arrange the shape
pressing them between our hands in the right places to make the shape as round as possible:
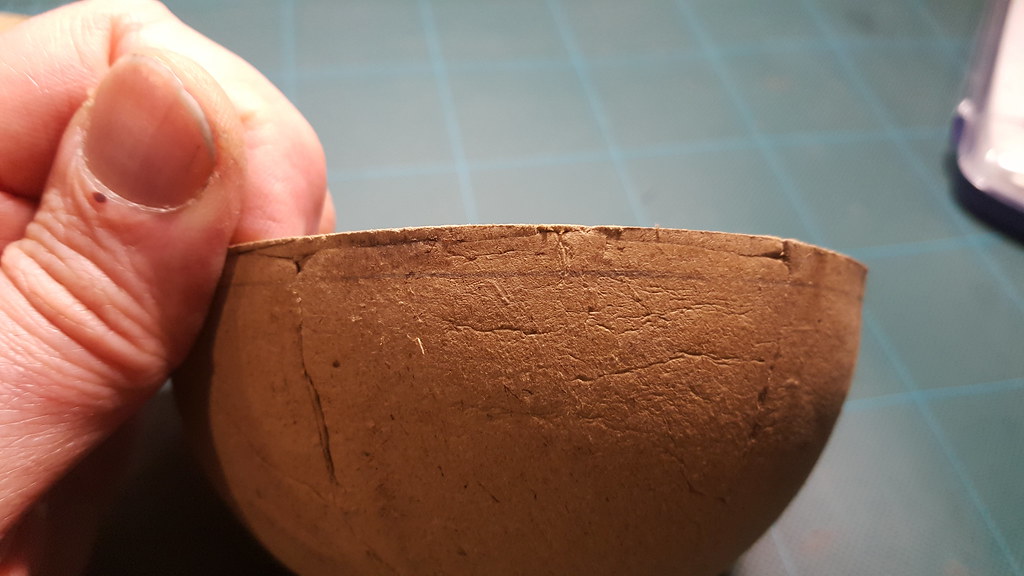
With the help of a coarse sandpaper sheet smooth the edges making them flat and uniform, without smudges or bosses:

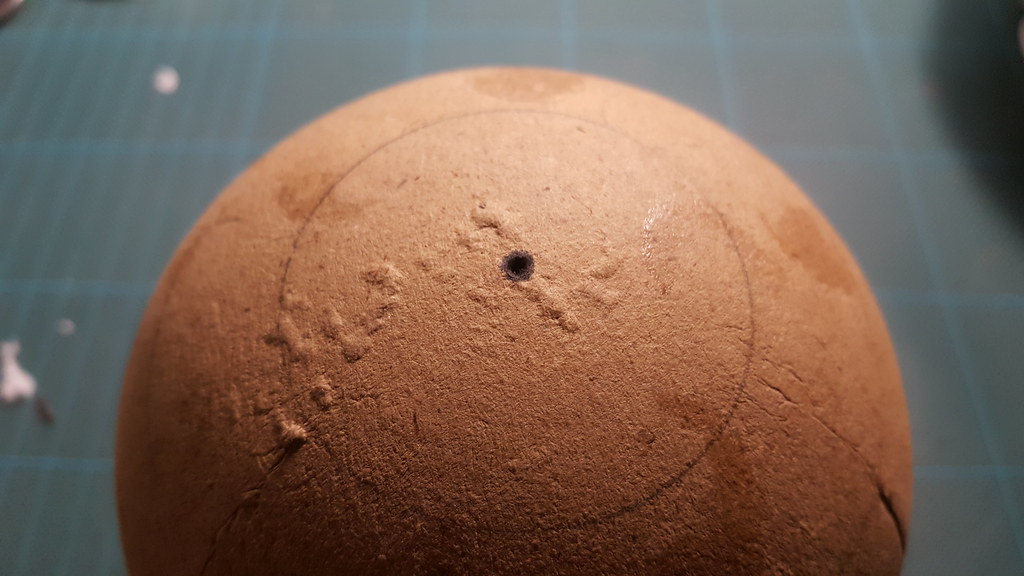
With the help of a drawing pin create a tiny spot at the center of the hemis:
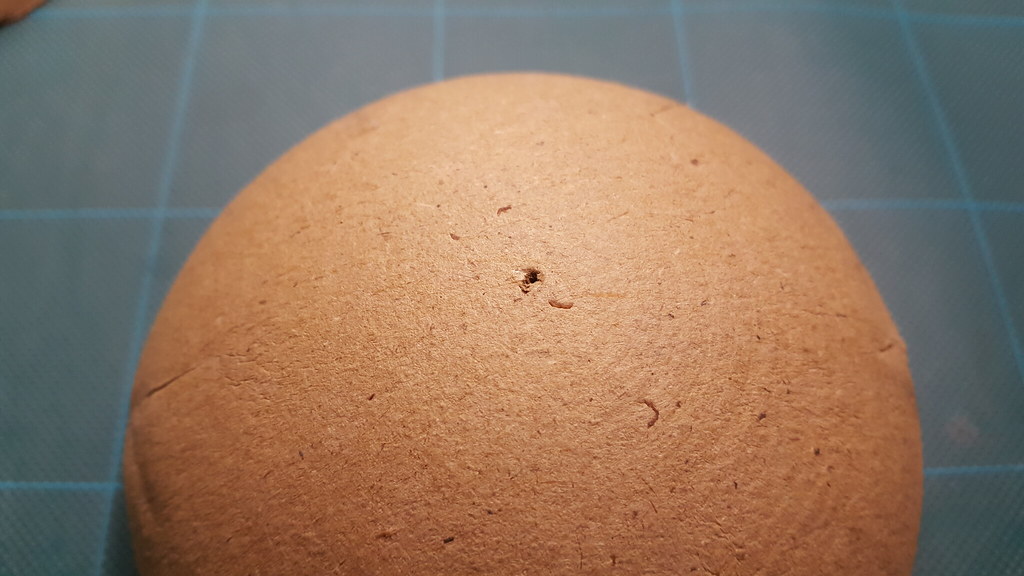
Hint: probably it will not be the definitive hole, so do not make it too deep.
To be sure that we have made a centered hole, trace a circle near the edge of the hemis with the help of a compass.
If the traced line is not parallel to the edge, You must vary the spot position:
To paste a near perfect circular shell, we must trace three circles:
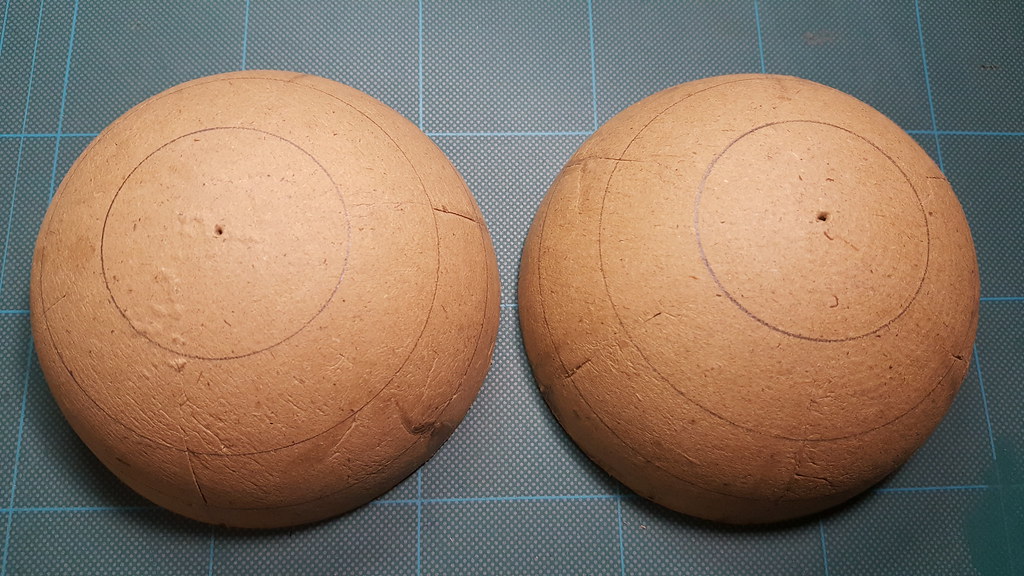
As NeighborJ suggest me, the compass aperture must be: 25mm for the first circle, 46mm for the second and 65mm for the third.
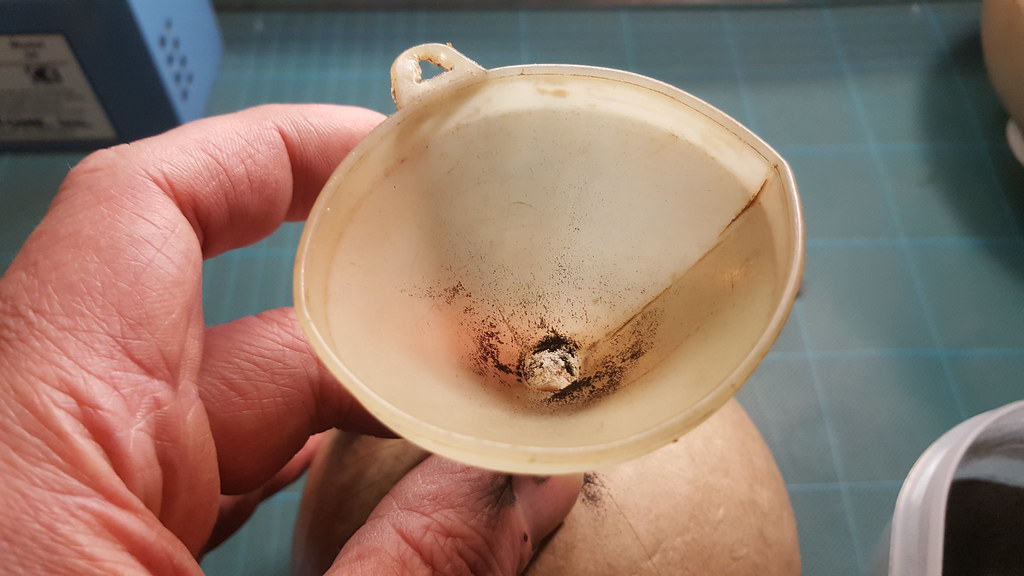
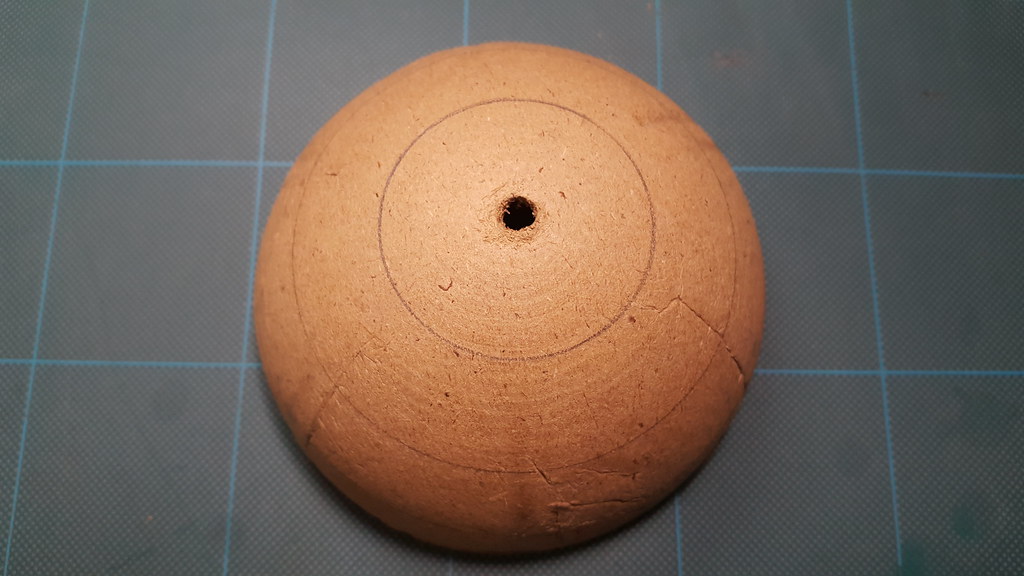
Making an hole for the straw:
Inserting a straw:

Gluing the straw with a good mastic:
Hint: after applied the mastic, push the straw with Your finger just enough to make it protrude 2-3mm from the opposite side,
and then reposition it: in that way some extra mastic will adhere to the straw and make the junction more solid.
You can see the result in the above shot.
Placing the stars inside the hemispheres:

Hint: keeps the smaller stars last, so You can place them easily to fill perfectly both the hemis.
Spread some coated rice hulls over a tissue paper foil:

For every 100 grams of rice hulls I use 500 grams of fast BP meal and 200 grams of KP meal as booster, applied as last layer.
Hint: You can easily obtain tissue paper foils manually separating the paper layers from a paper towel
Placing the bag inside the shell:
Arrange the tissue paper:

Adding some extra CRH:
Hint: if You put too few CRH, the stars will shake inside the pasted shell and there is a concrete risk that the stars move from their original position
creating a not simmetrical aperture. If You put too much CRH, You must not be able to close perfectly the two hemis. You must found the sweet spot.
Usually a small hill of CRH should be ok.
Cutting the unneeded tissue paper around the equator with the help of a pair of scissors:
Taking another tissue paper foil and making a little hole at the center (the same diameter of the straw or better slightly smaller):
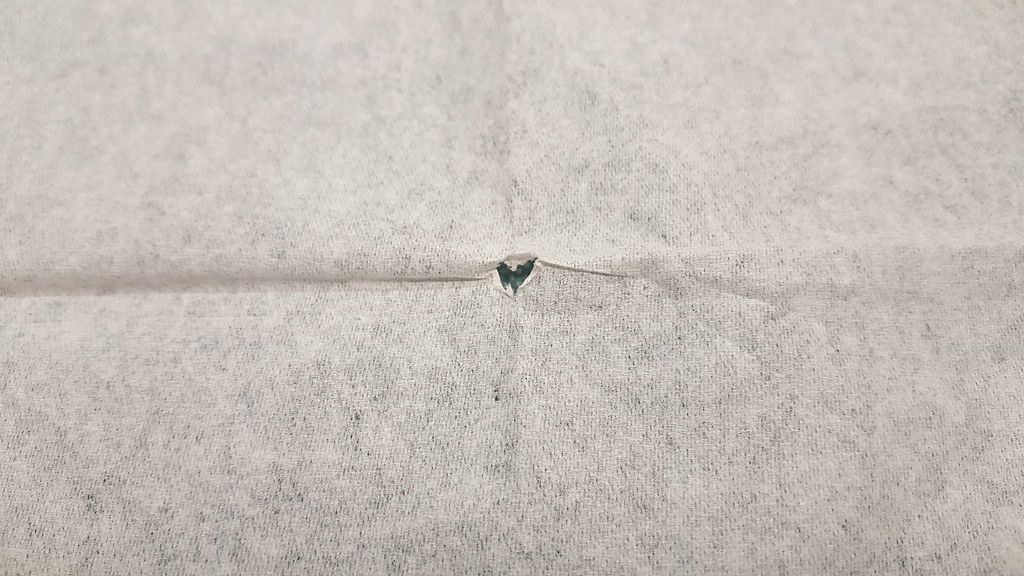
Inserting the straw inside the hole:
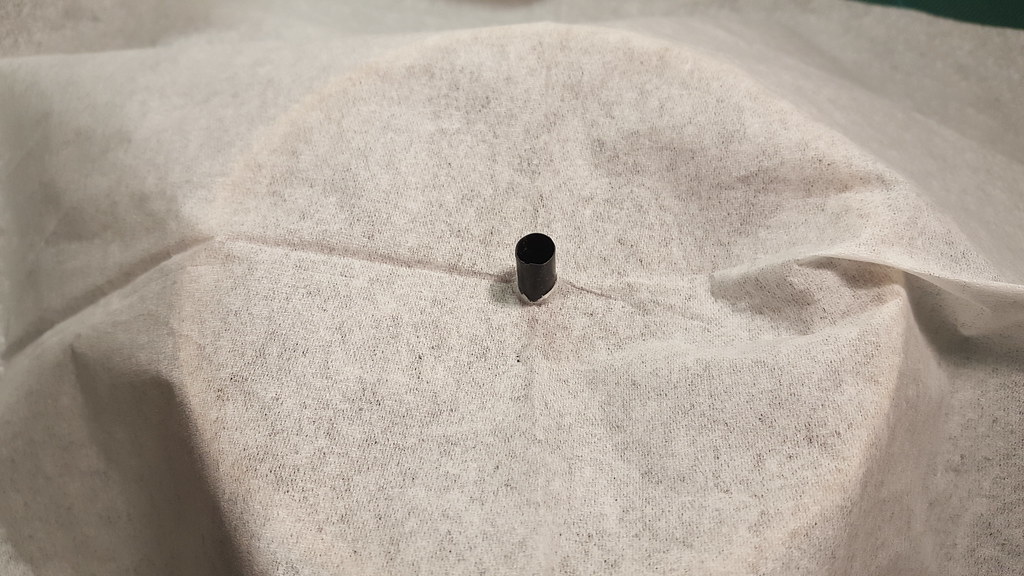
Hint: let the straw out as shown in the picture. Do not press the sheet further or the outermost stars will roll down!
Spreading some CRH over the tissue paper foil:
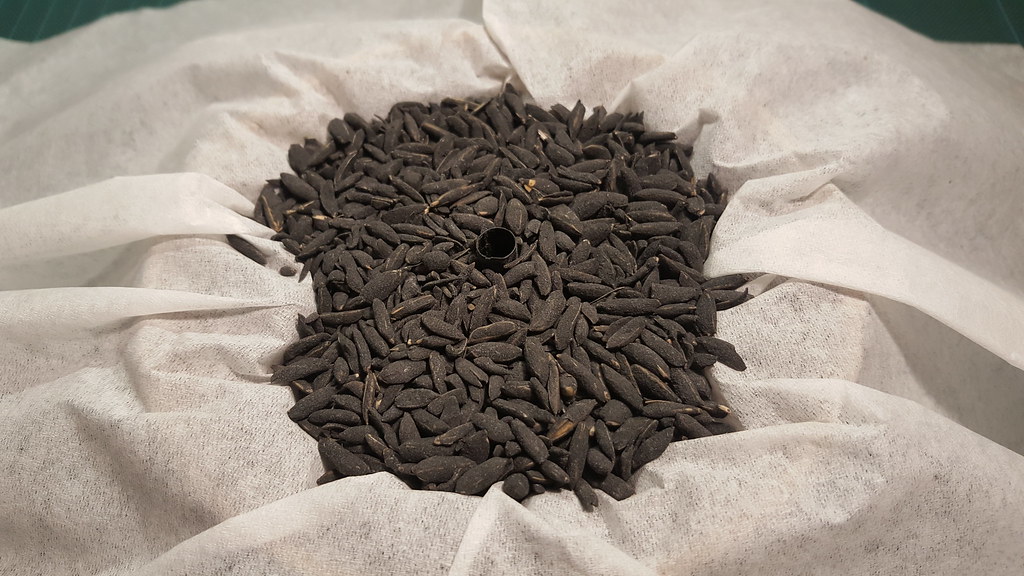
Hint: make little increments with the help of a small tea spoon.
Lift the edge of the tissue paper foil and check if some stars came out of their original position.
If so, please reposition them correctly with the help of a stamp tweezers:

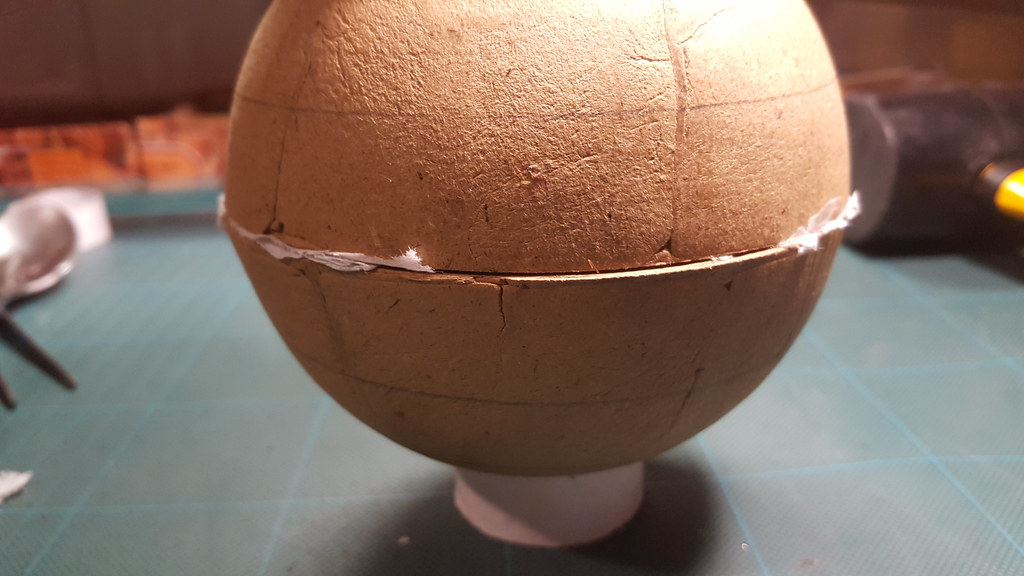
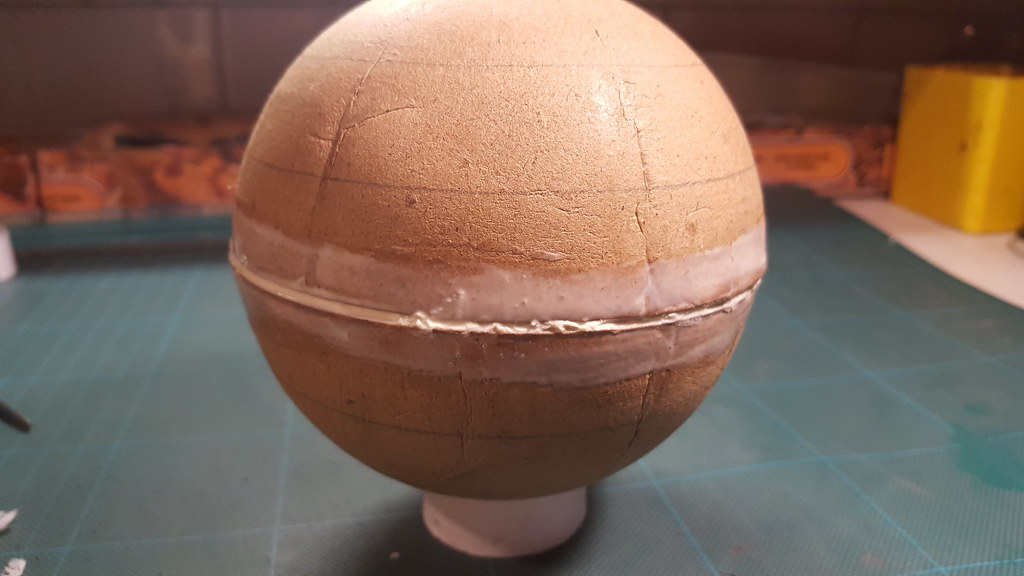
Two hemis ready to be joined:
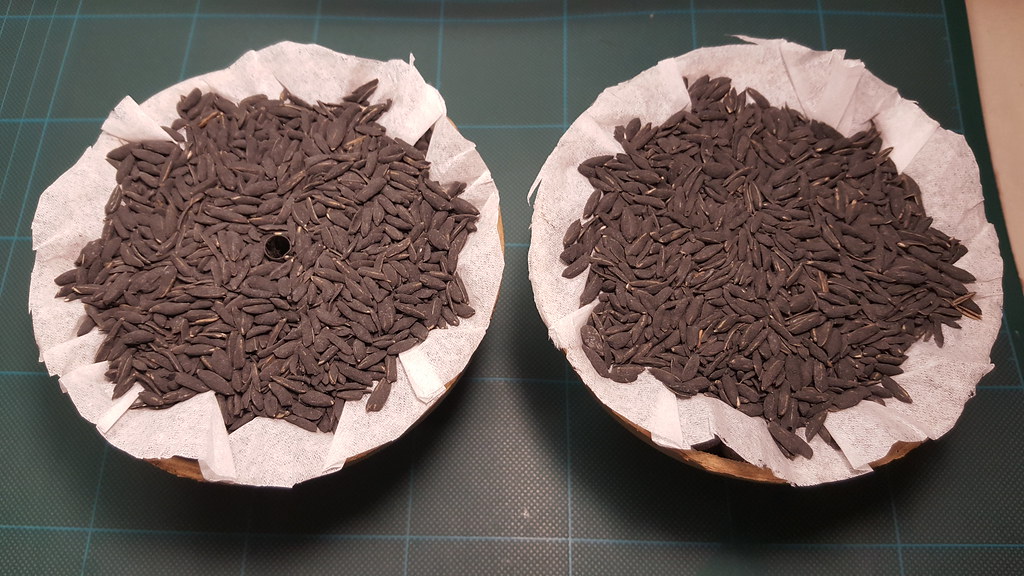
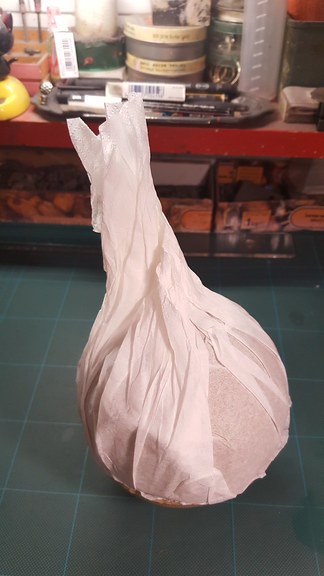
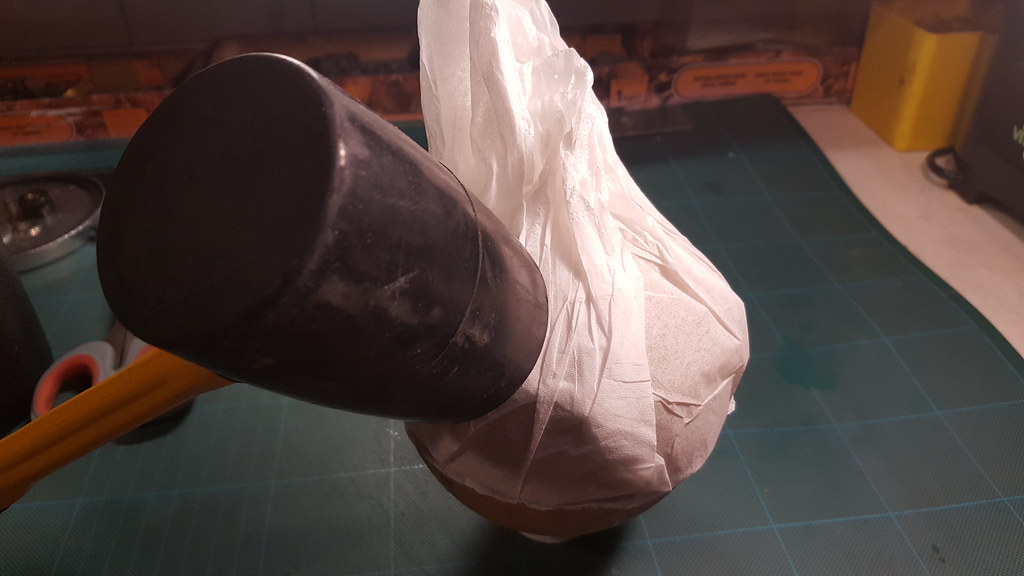
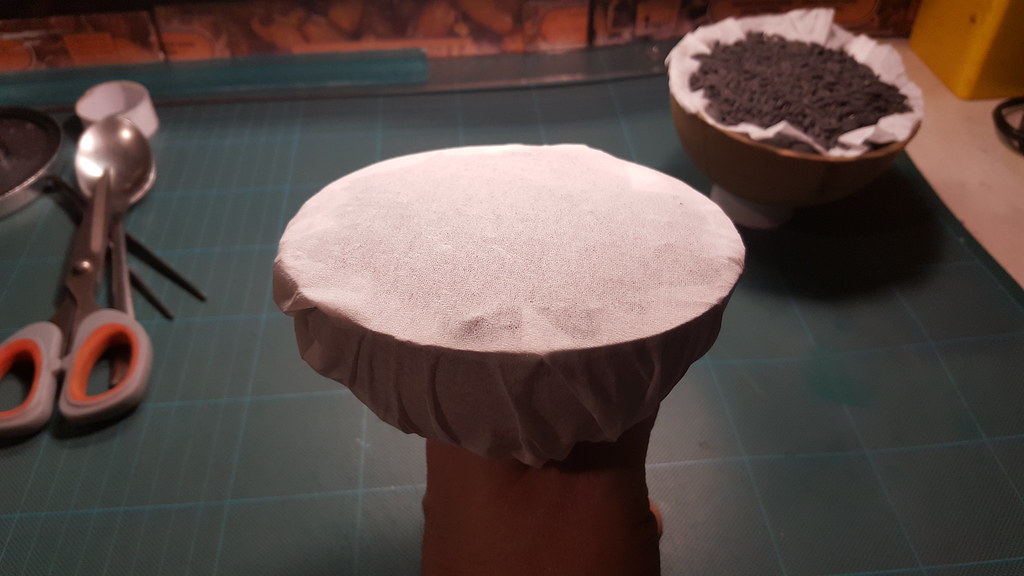
Wrap one of the two hemis with a sheet of tissue paper and tighten it firmly with one hand:
Here is the third chapter of my tutorials: how to realize perfect 5 inches shells.
This tutorial is the continuation of my previous tutorials
https://laserpointerforums.com/threads/how-to-make-hot-granulated-r-candy-mix.103345/
and
https://laserpointerforums.com/thre...-candy-rockets-with-my-granulated-mix.103868/
First of all we needs two 5" hemis. Often the cheap chinese hemis are not perfectly rounded, so it is necessary to arrange the shape
pressing them between our hands in the right places to make the shape as round as possible:
With the help of a coarse sandpaper sheet smooth the edges making them flat and uniform, without smudges or bosses:
With the help of a drawing pin create a tiny spot at the center of the hemis:
Hint: probably it will not be the definitive hole, so do not make it too deep.
To be sure that we have made a centered hole, trace a circle near the edge of the hemis with the help of a compass.
If the traced line is not parallel to the edge, You must vary the spot position:
To paste a near perfect circular shell, we must trace three circles:
As NeighborJ suggest me, the compass aperture must be: 25mm for the first circle, 46mm for the second and 65mm for the third.
Making an hole for the straw:
Inserting a straw:
Gluing the straw with a good mastic:
Hint: after applied the mastic, push the straw with Your finger just enough to make it protrude 2-3mm from the opposite side,
and then reposition it: in that way some extra mastic will adhere to the straw and make the junction more solid.
You can see the result in the above shot.
Placing the stars inside the hemispheres:
Hint: keeps the smaller stars last, so You can place them easily to fill perfectly both the hemis.
Spread some coated rice hulls over a tissue paper foil:
For every 100 grams of rice hulls I use 500 grams of fast BP meal and 200 grams of KP meal as booster, applied as last layer.
Hint: You can easily obtain tissue paper foils manually separating the paper layers from a paper towel
Placing the bag inside the shell:
Arrange the tissue paper:
Adding some extra CRH:
Hint: if You put too few CRH, the stars will shake inside the pasted shell and there is a concrete risk that the stars move from their original position
creating a not simmetrical aperture. If You put too much CRH, You must not be able to close perfectly the two hemis. You must found the sweet spot.
Usually a small hill of CRH should be ok.
Cutting the unneeded tissue paper around the equator with the help of a pair of scissors:
Taking another tissue paper foil and making a little hole at the center (the same diameter of the straw or better slightly smaller):
Inserting the straw inside the hole:
Hint: let the straw out as shown in the picture. Do not press the sheet further or the outermost stars will roll down!
Spreading some CRH over the tissue paper foil:
Hint: make little increments with the help of a small tea spoon.
Lift the edge of the tissue paper foil and check if some stars came out of their original position.
If so, please reposition them correctly with the help of a stamp tweezers:
Two hemis ready to be joined:
Wrap one of the two hemis with a sheet of tissue paper and tighten it firmly with one hand:
Last edited: