

Jufran88
0
- Joined
- Feb 9, 2011
- Messages
- 578
- Points
- 0
I'm pretty new here and I just wanted to share with you guys my first ever laser build. ")
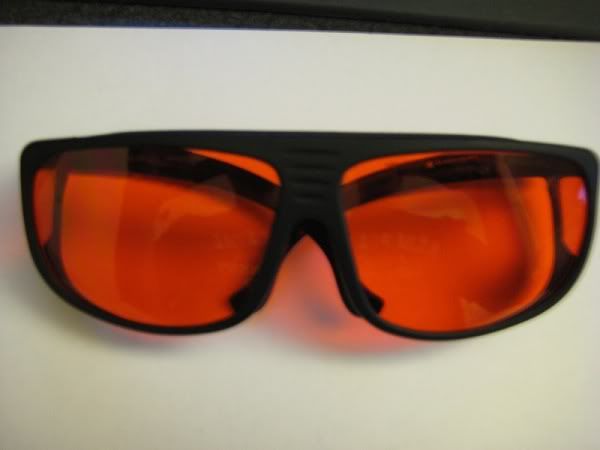
First and foremost is SAFETY
GOGGLES: Laserglow LSG-532-NF-7
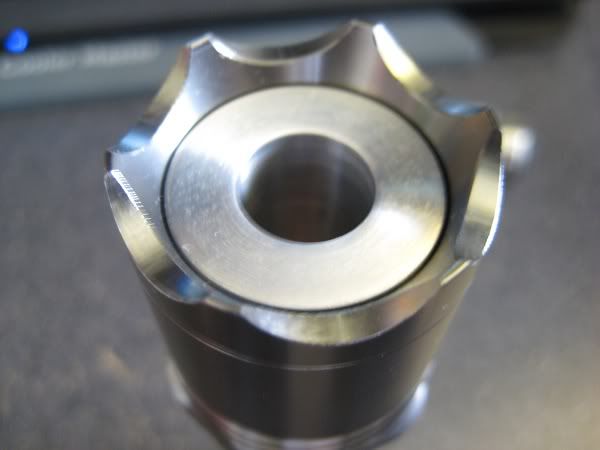
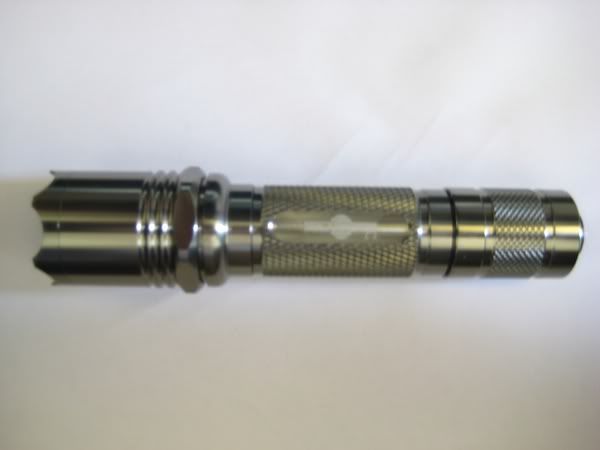
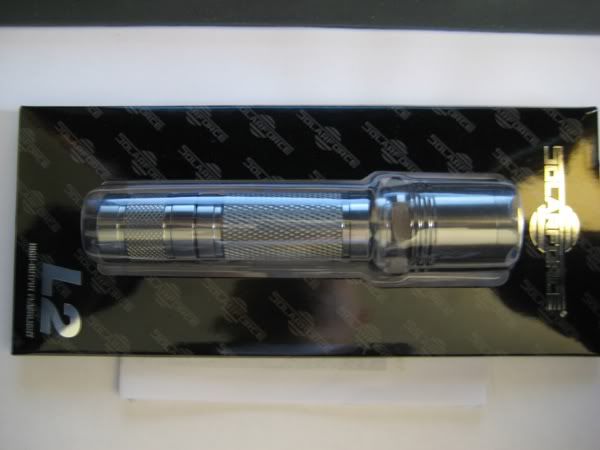
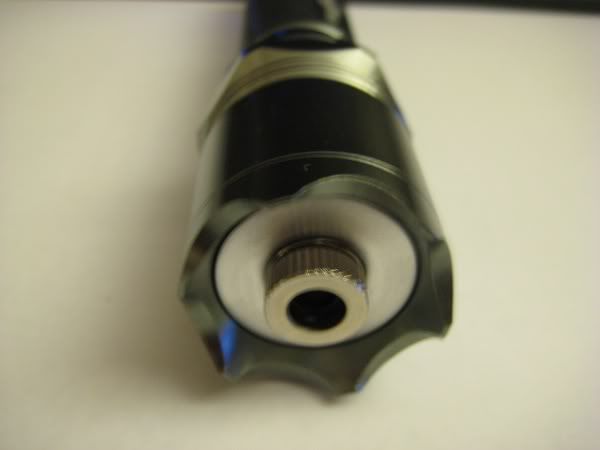
HOST: Jayrob DIY solarforce gunmetal L2 kit
- It's an awesome host. Very high quality and solid/study.
- Goodies included: host heatsink and contact board, copper driver heatsink, new aixiz 405/455 glass lens.
- Jayrob told me it was the new 405/455 lens from aixiz
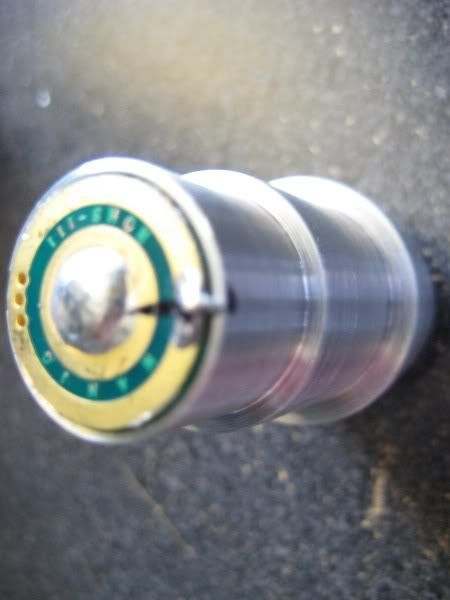


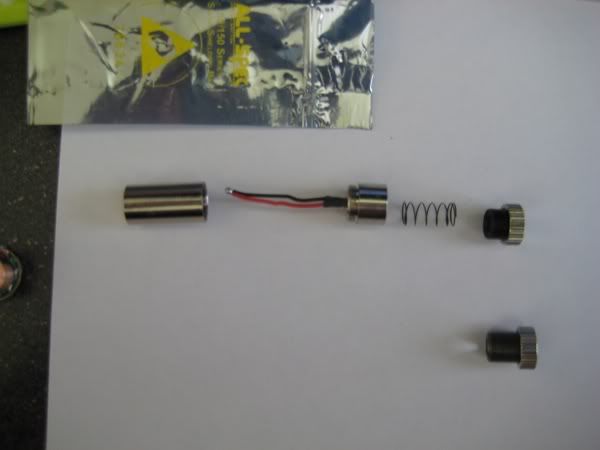
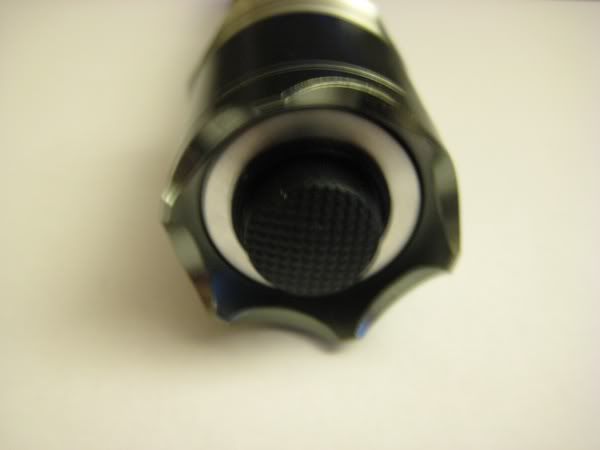
DIODE: A140
- Purchased from daguin
- in module with leads soldered
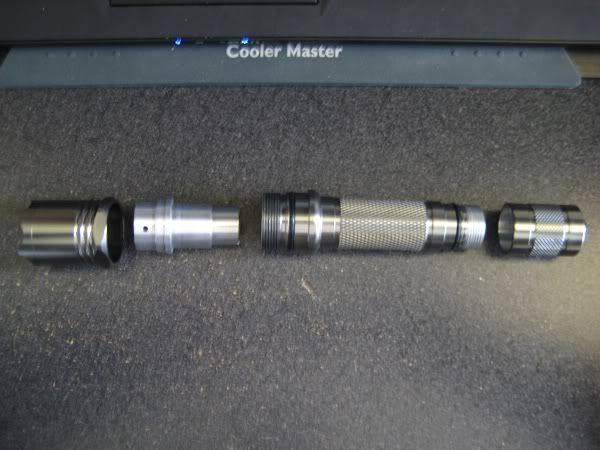
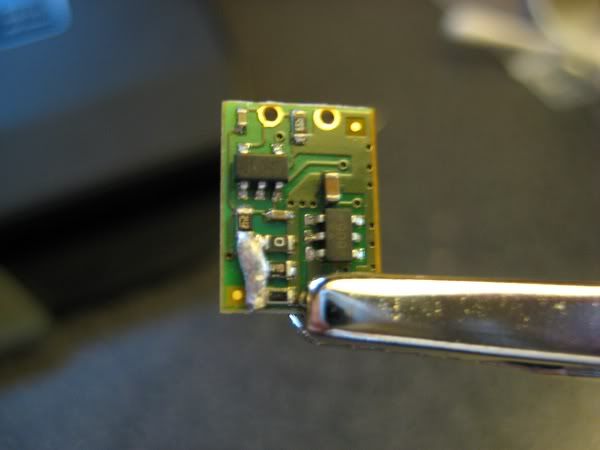
DRIVER: Micro FlexDrive v5
- Set to 1.5A
- I know very sloppy solder job but it works!
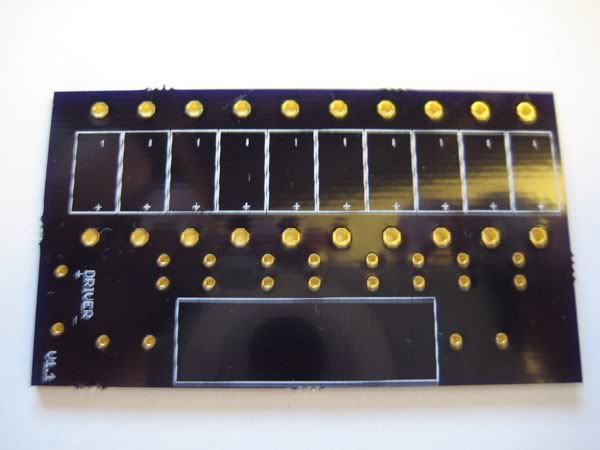
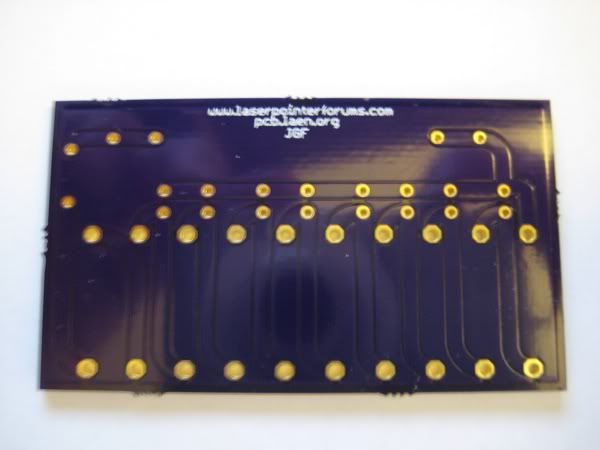
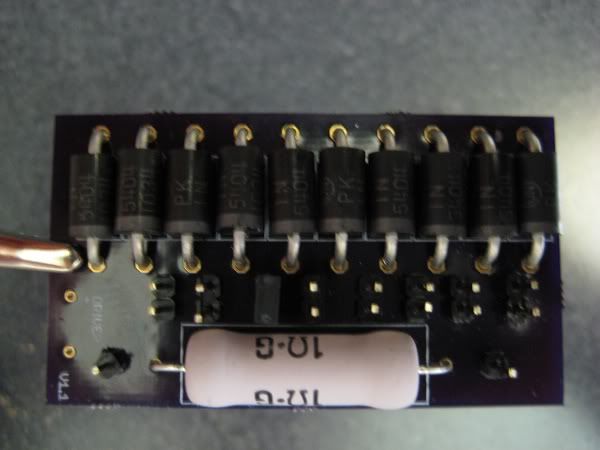
TEST LOAD: Custom
- I decided to go for a more professional look even though it was unnecessary.
- Credit goes to HIMNL9 for the design
- Kind of overkill I know
- Fabricated by pcb.laen.org
- Designed in Eagle
- I would recommend him if any one wants to get prototyped PCB. He charges $5/sq ft.
- 1 ohm metal oxide resistor 2% tolerance 5 watts
- 1N5404 3A diodes
- breakaway headers and jumper pins
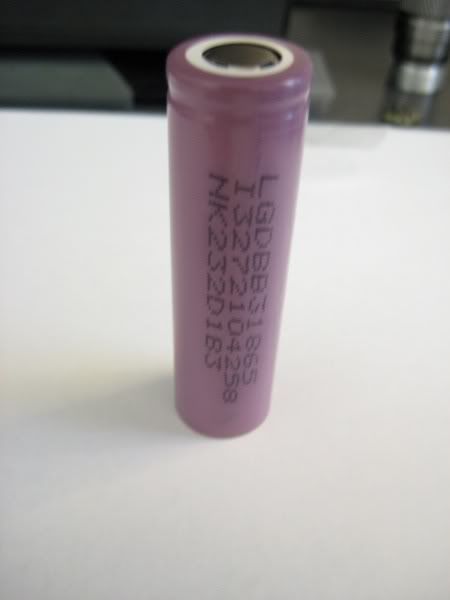
BATTERY: LG 18650 unprotected
- Manufactured by LG Chem
- 2600 mAh
- Data sheet: Click here
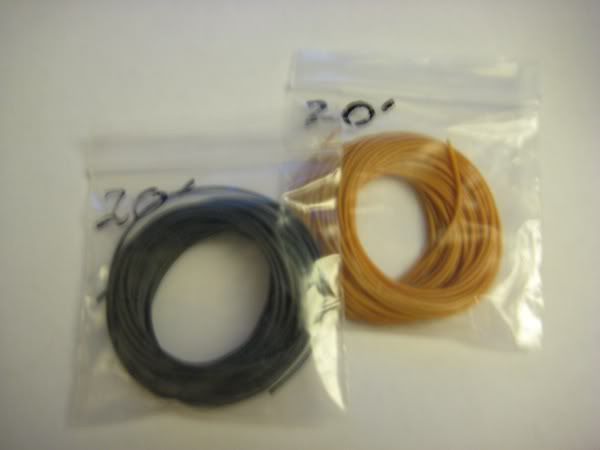
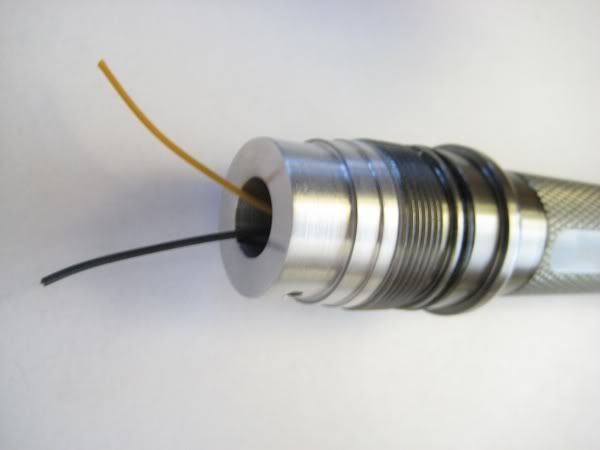
WIRES: Silicone rubber insulated wires
- Purchased from Flaminpyro
- Awesome wires, very flexible, easily stripped by nails, it's wrapped in silicone
So that's pretty much all the components time for the actual build :evil:
BUILD:
First thing I did was attach the leads for the flexdrive then applied thermal adhesive on the copper heatsink, attached the flexdrive and let it set and cure. I set it back in the host.
With my tesload I set the current to 1.5A on the FlexDrive. It was difficult, but I eventually got it. Would have been easier with a bench PSU, maybe sometime in the future I'll get one.
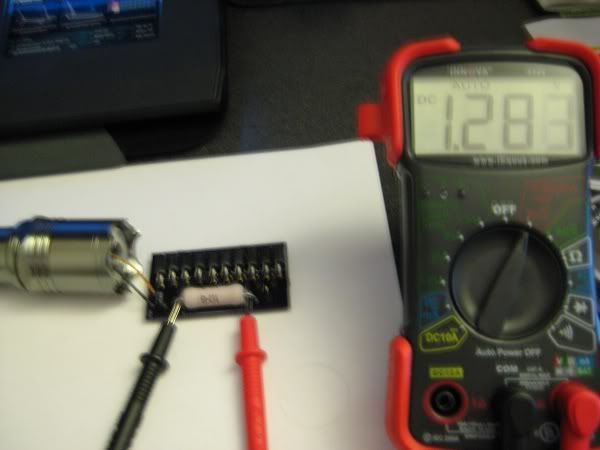
In the picture it say 1.283V (1.283A) which was before I noticed the battery wasn't fully charged :shhh:. It was the only picture I took because I got excited to finish my build. And also testing using a battery doesn't yield stable readings. It goes down fast when I connect it
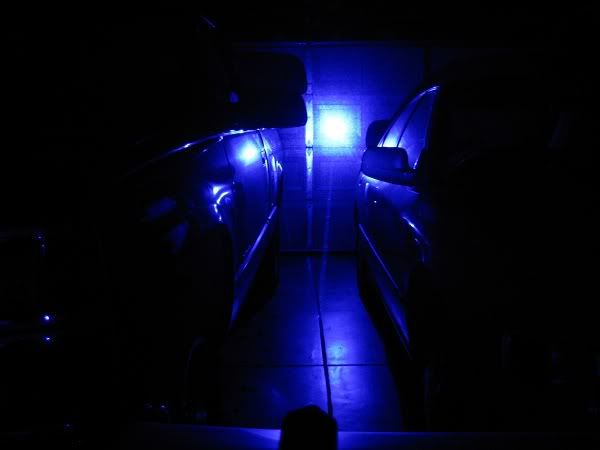
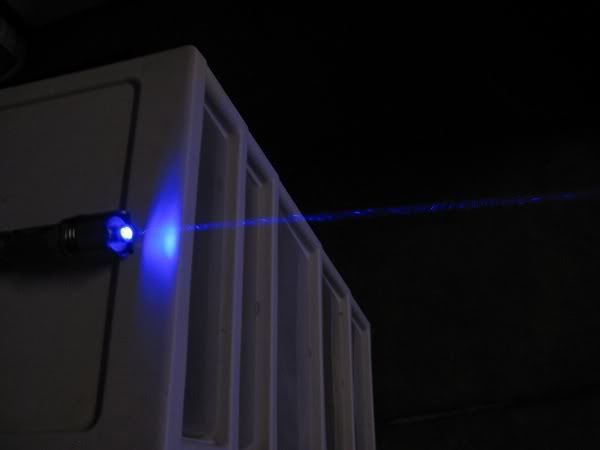
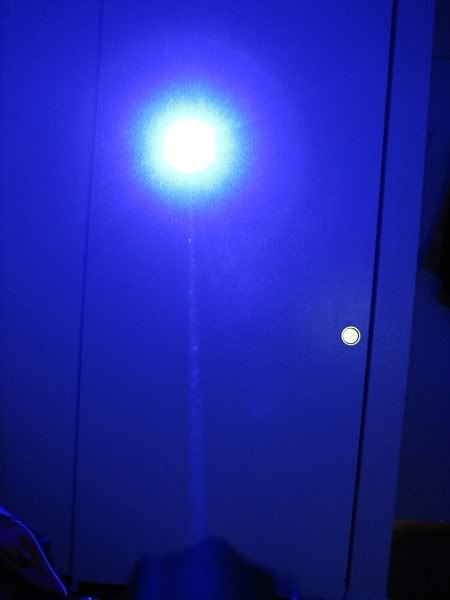
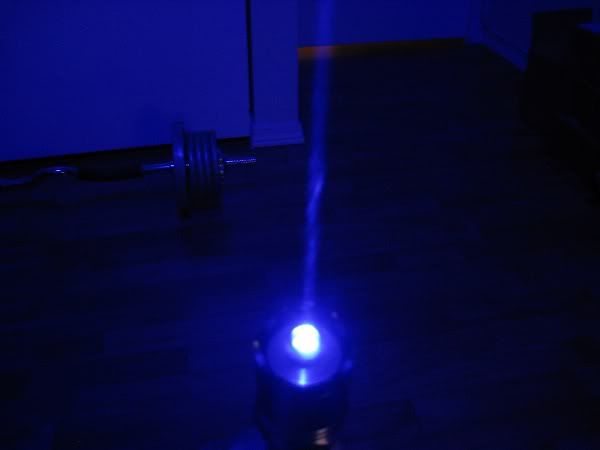
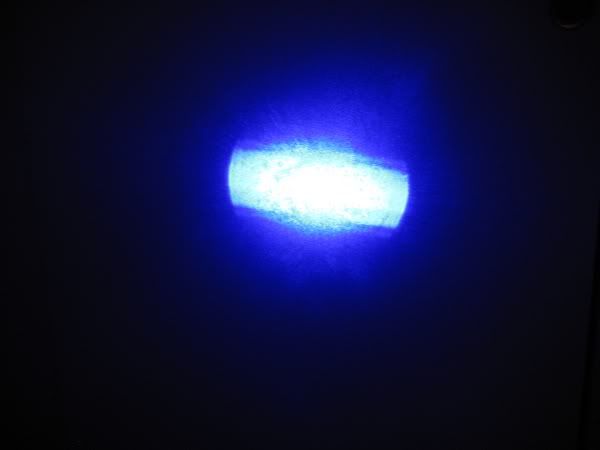
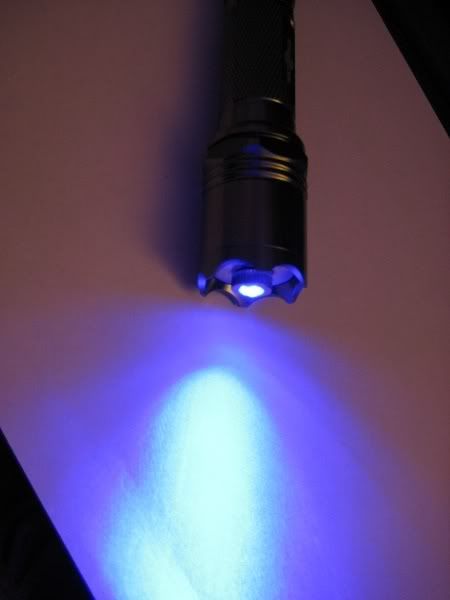
After all that I soldered the remaining connections, made sure everyting was ok, put my goggles on and started lasing! :wave::wave::wave:

Sorry for the crappy pictures. I'll post new ones when I get the chance. Also, I don't have an LPM yet, but I plan on making one soon so I can get output values.
Thank you to jayrob, daguin, flaminpyro, mohrenberg, DIMNL9 and everyone else for the parts and information. I have learned many things from this forum and I'll be continuing on building more lasers, etc.
:thanks:
First and foremost is SAFETY
GOGGLES: Laserglow LSG-532-NF-7
HOST: Jayrob DIY solarforce gunmetal L2 kit
- It's an awesome host. Very high quality and solid/study.
- Goodies included: host heatsink and contact board, copper driver heatsink, new aixiz 405/455 glass lens.
- Jayrob told me it was the new 405/455 lens from aixiz
DIODE: A140
- Purchased from daguin
- in module with leads soldered
DRIVER: Micro FlexDrive v5
- Set to 1.5A
- I know very sloppy solder job but it works!
TEST LOAD: Custom
- I decided to go for a more professional look even though it was unnecessary.
- Credit goes to HIMNL9 for the design
- Kind of overkill I know
- Fabricated by pcb.laen.org
- Designed in Eagle
- I would recommend him if any one wants to get prototyped PCB. He charges $5/sq ft.
- 1 ohm metal oxide resistor 2% tolerance 5 watts
- 1N5404 3A diodes
- breakaway headers and jumper pins
BATTERY: LG 18650 unprotected
- Manufactured by LG Chem
- 2600 mAh
- Data sheet: Click here
WIRES: Silicone rubber insulated wires
- Purchased from Flaminpyro
- Awesome wires, very flexible, easily stripped by nails, it's wrapped in silicone
So that's pretty much all the components time for the actual build :evil:
BUILD:
First thing I did was attach the leads for the flexdrive then applied thermal adhesive on the copper heatsink, attached the flexdrive and let it set and cure. I set it back in the host.
With my tesload I set the current to 1.5A on the FlexDrive. It was difficult
, but I eventually got it. Would have been easier with a bench PSU, maybe sometime in the future I'll get one.
In the picture it say 1.283V (1.283A) which was before I noticed the battery wasn't fully charged :shhh:. It was the only picture I took because I got excited to finish my build. And also testing using a battery doesn't yield stable readings. It goes down fast when I connect it
After all that I soldered the remaining connections, made sure everyting was ok, put my goggles on and started lasing! :wave::wave::wave:
Sorry for the crappy pictures. I'll post new ones when I get the chance. Also, I don't have an LPM yet, but I plan on making one soon so I can get output values.
Thank you to jayrob, daguin, flaminpyro, mohrenberg, DIMNL9 and everyone else for the parts and information. I have learned many things from this forum and I'll be continuing on building more lasers, etc.
:thanks:
Last edited:


