

DTR
0
- Joined
- Jun 24, 2010
- Messages
- 5,684
- Points
- 113
With the the availibility of these sleds I thought I would update my 12X Lite On Harvesting Tutorial with a lot more detail.
Also if you would like to see more of my reviews and tutorials please visit my compilation page.
http://laserpointerforums.com/f51/d...ting-compilation-thread-56450.html#post797151
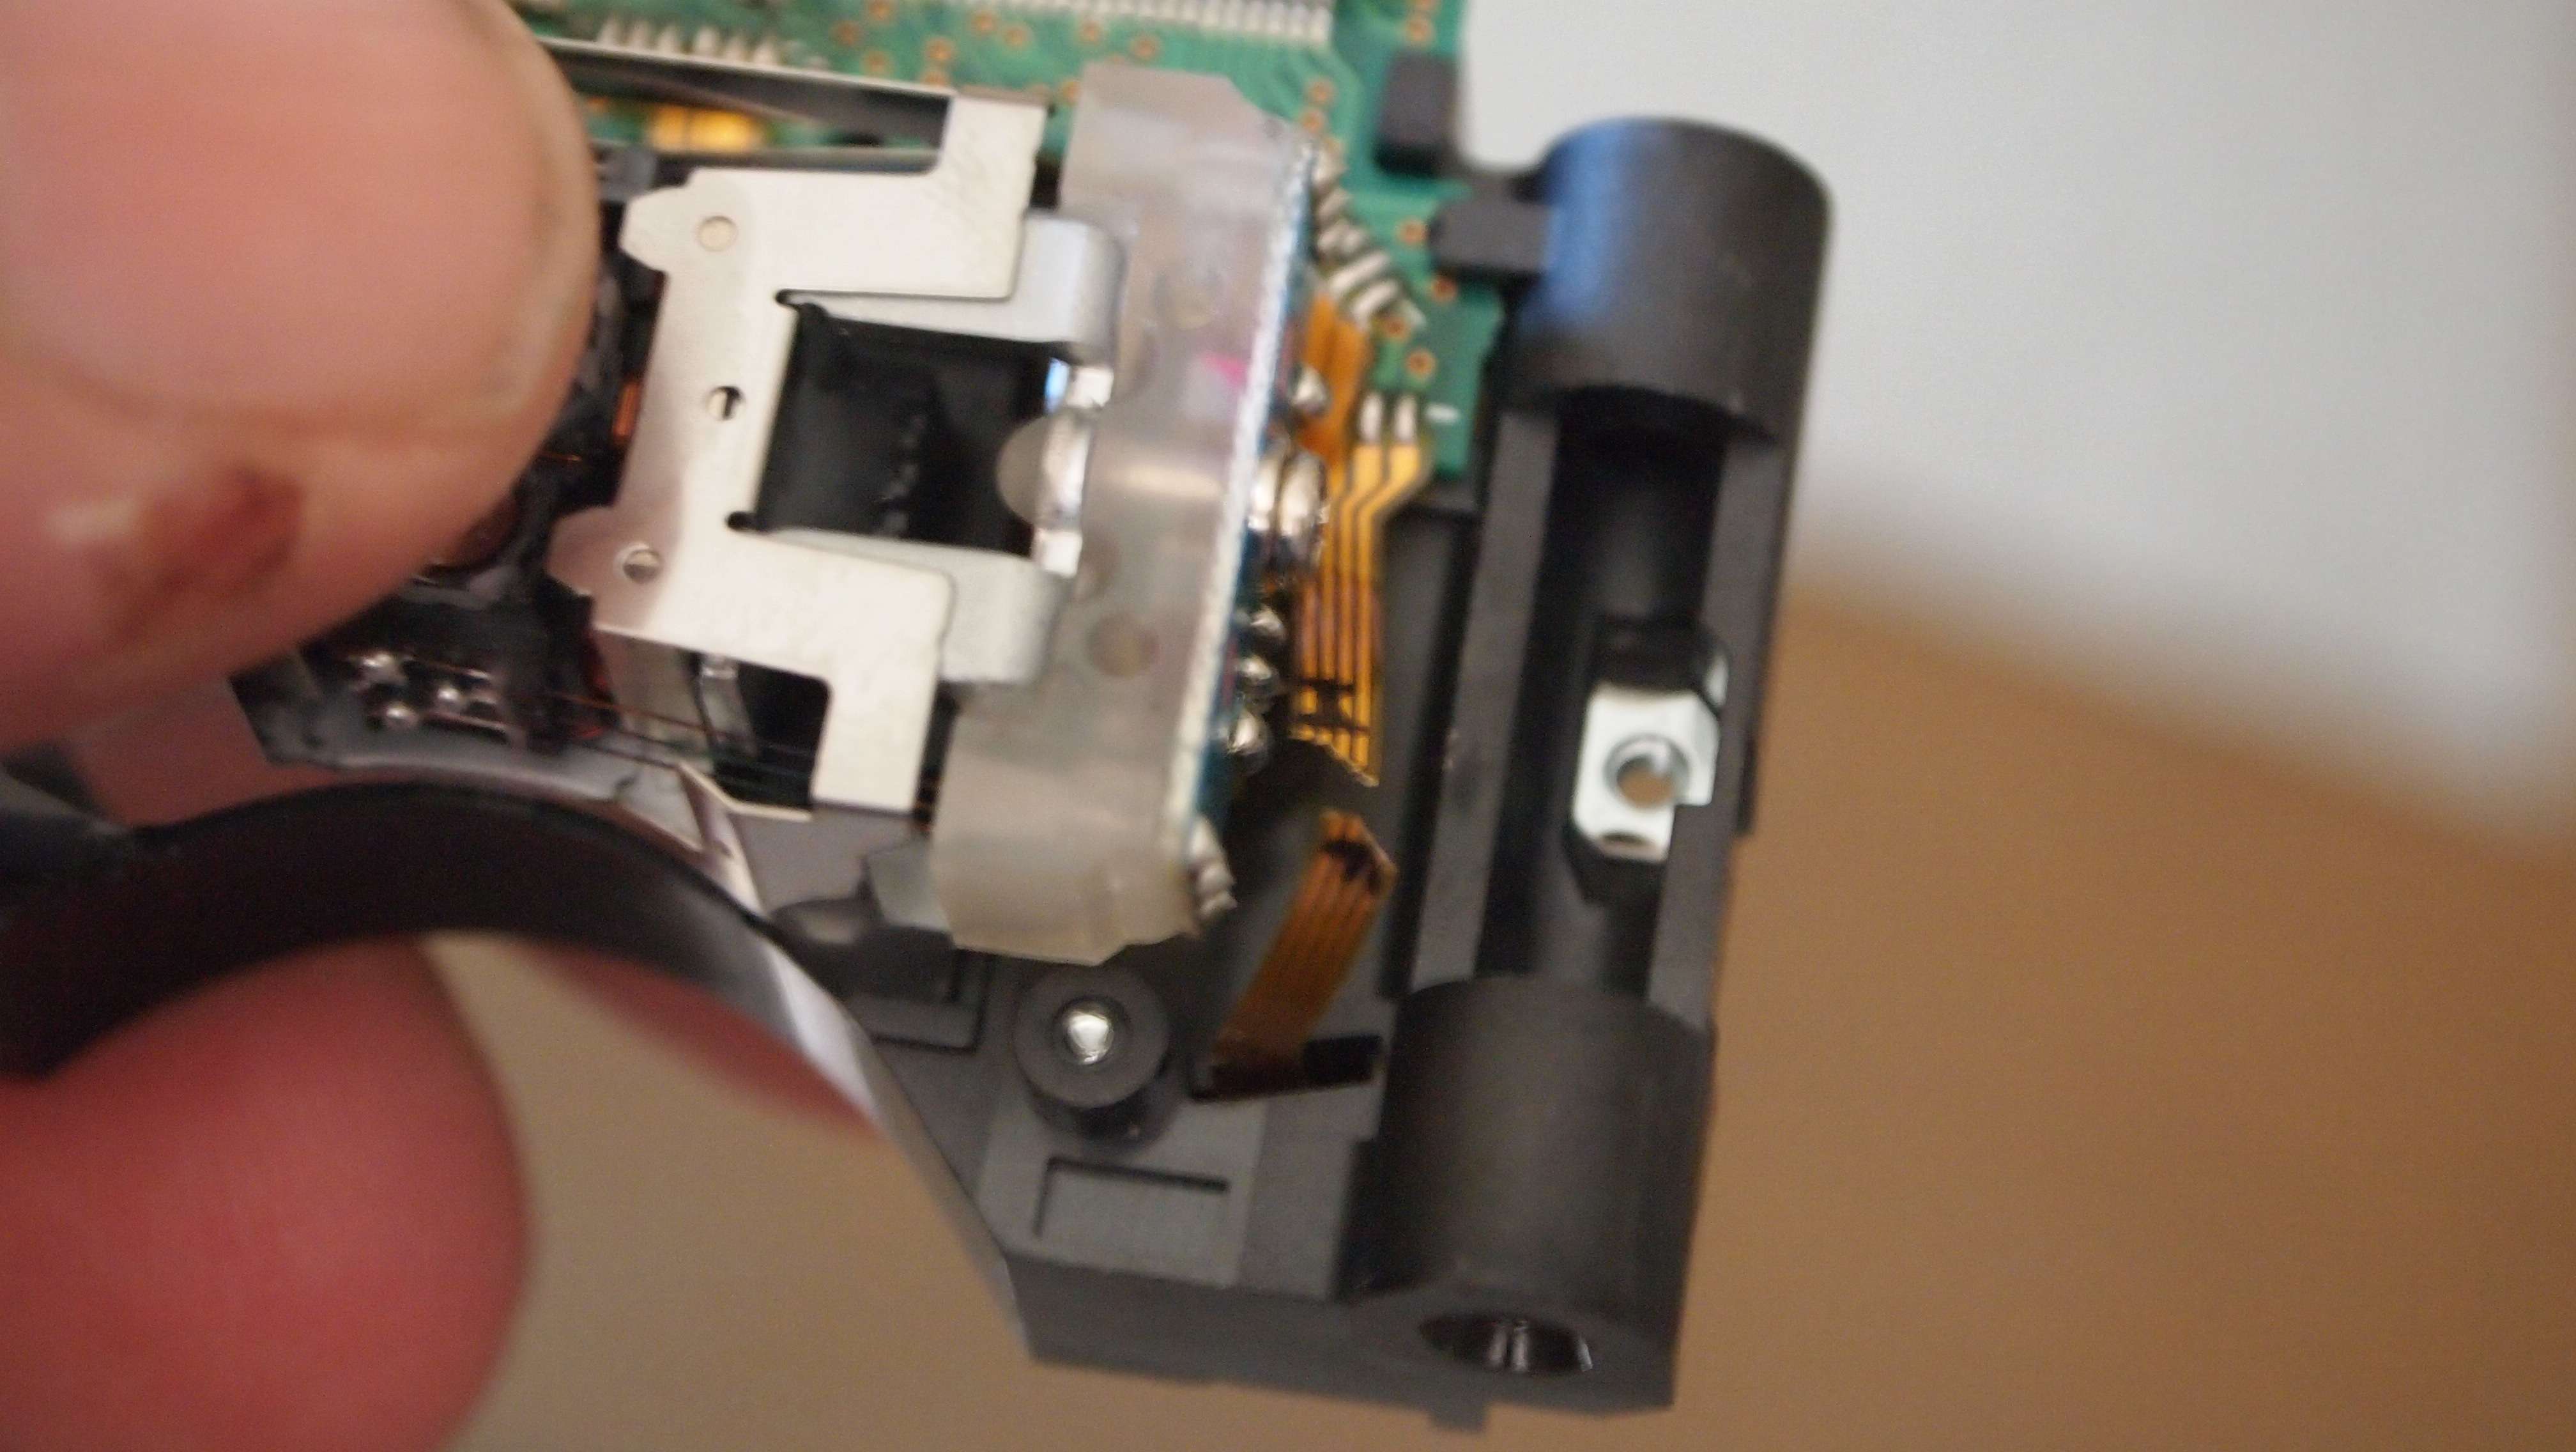
First get a Lite On 12X Sled.
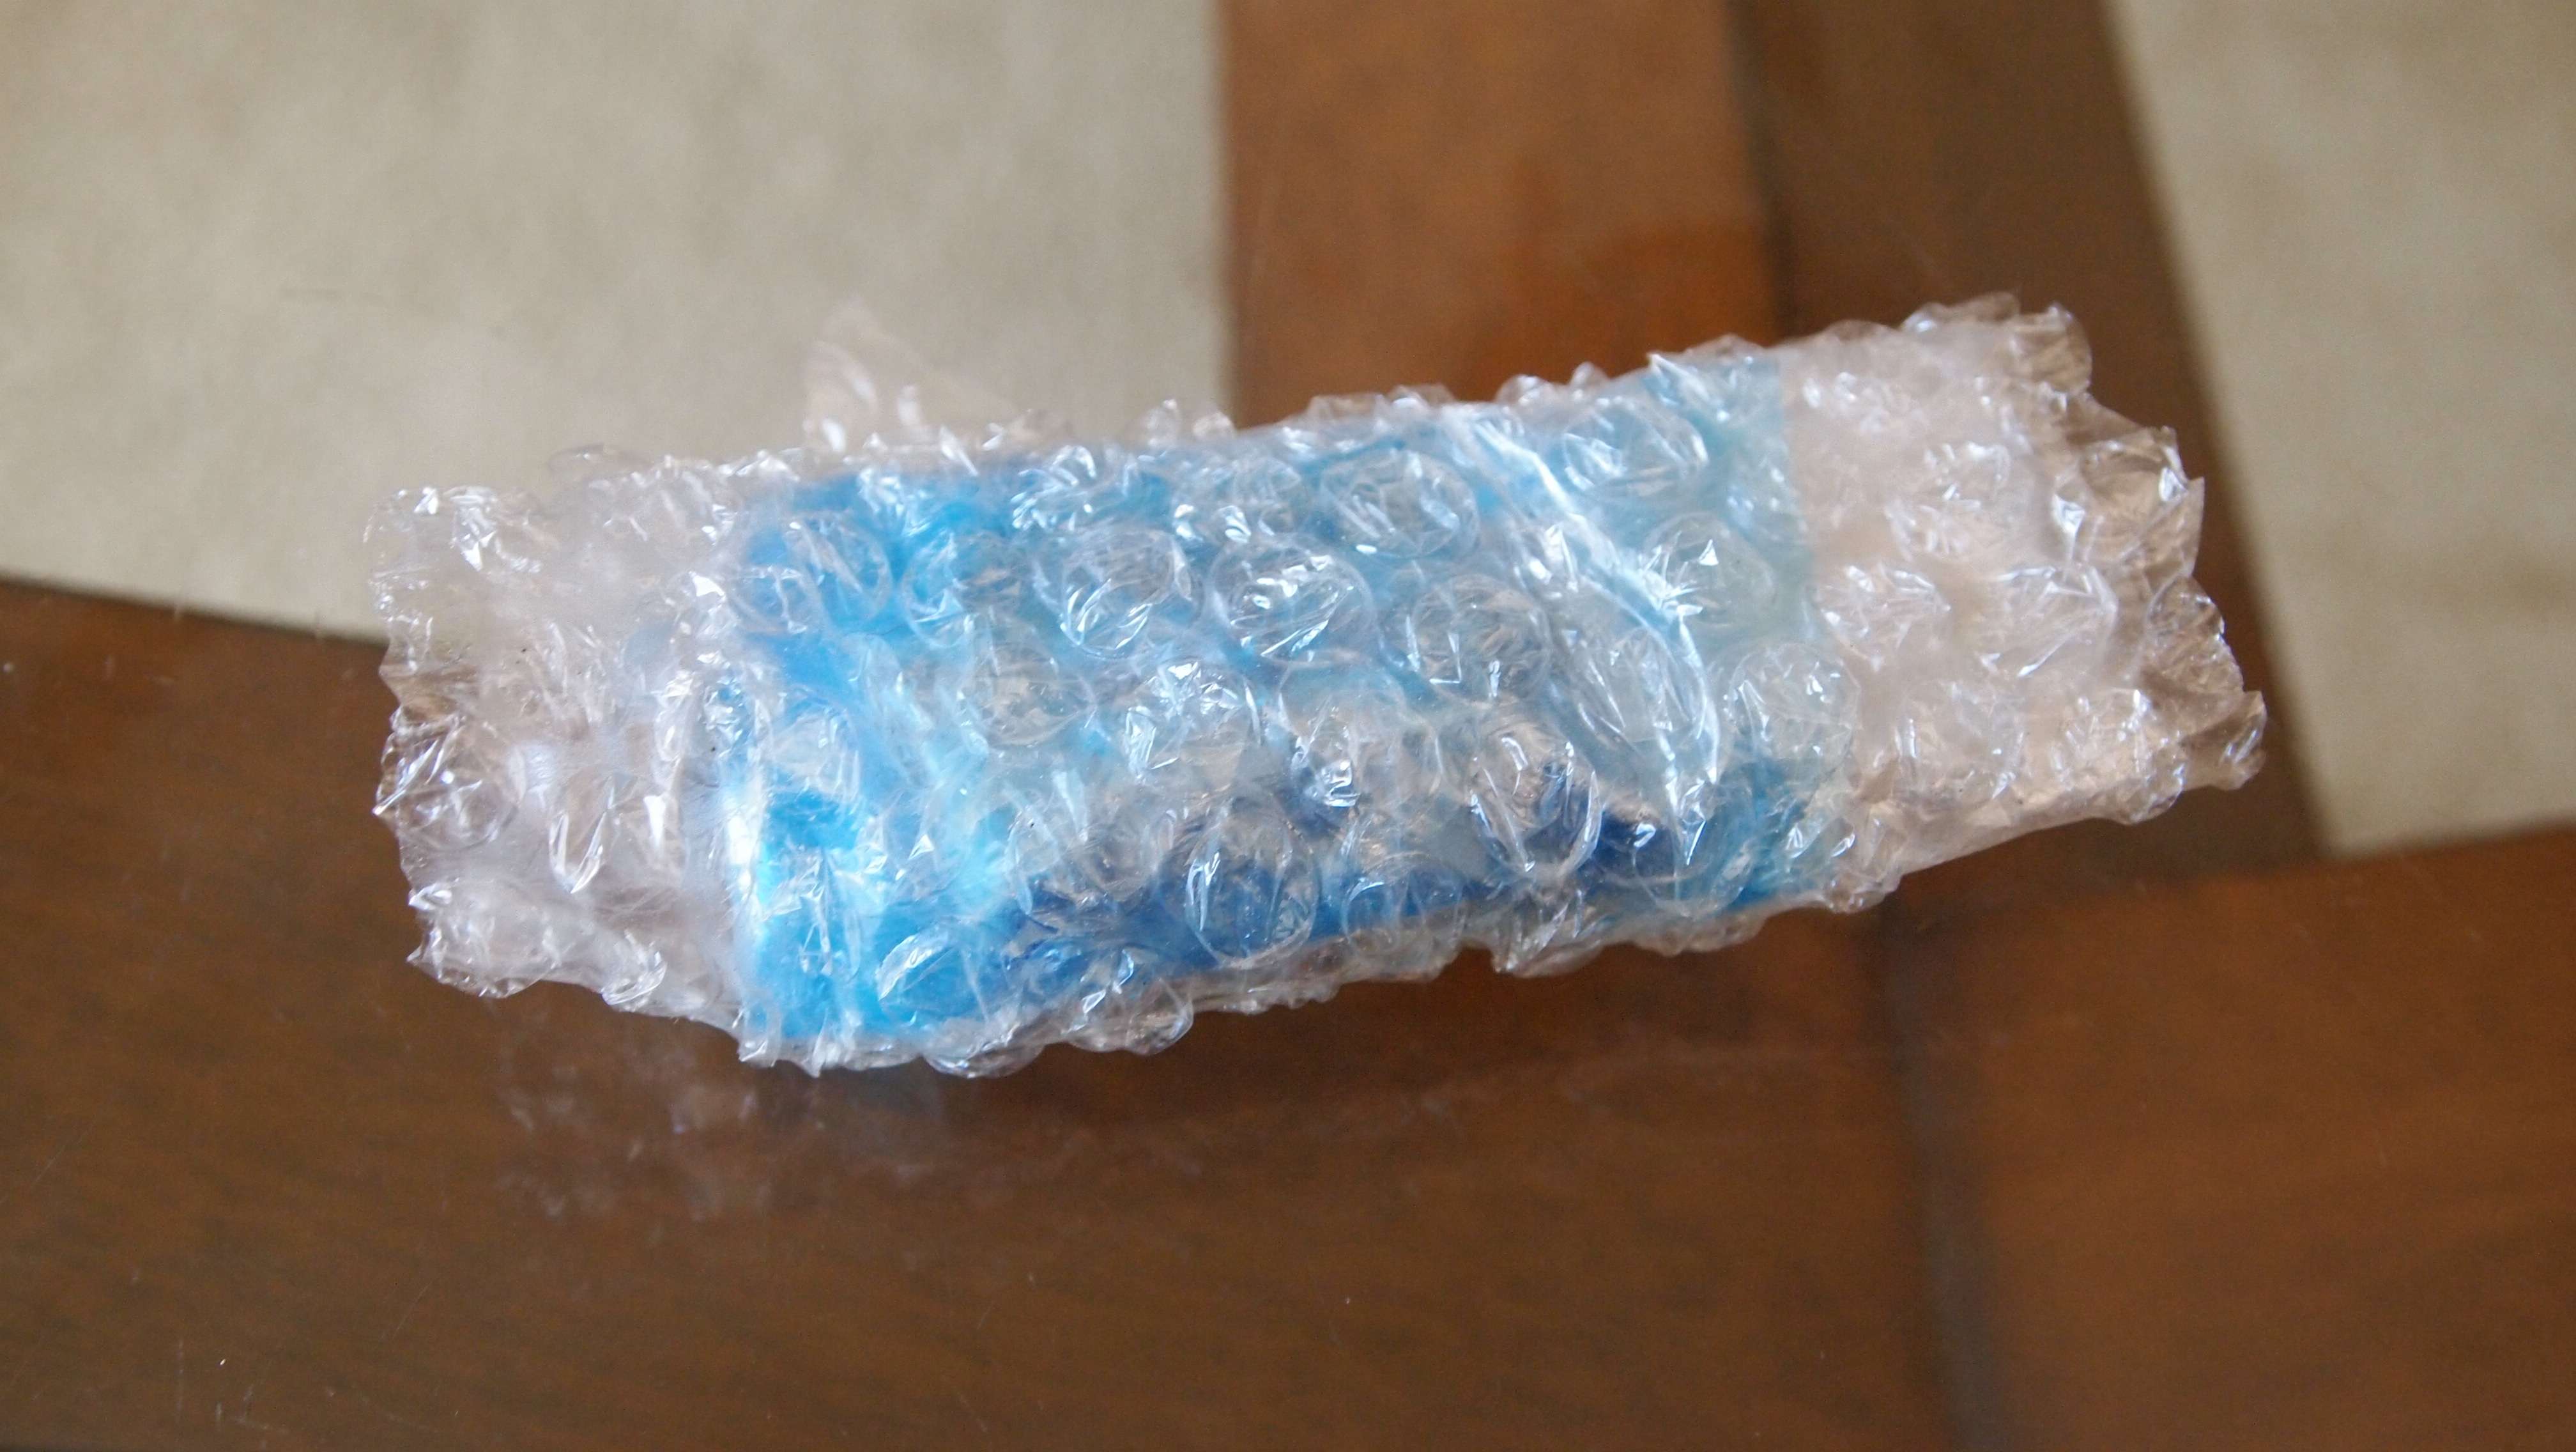
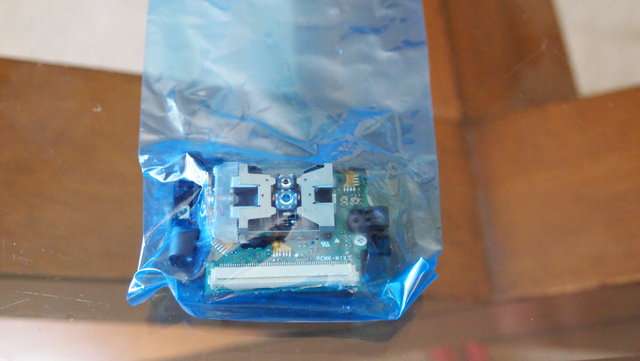
Here are some shots of what the sled looks like.

Remember to use good ESD precautions. You can get an ESD wristband or there is a spay in a can that will take any static charge out of you workspace. Don't risk your new shinny diode to the evil static monster because you did not want to take the right precautions.:banghead:
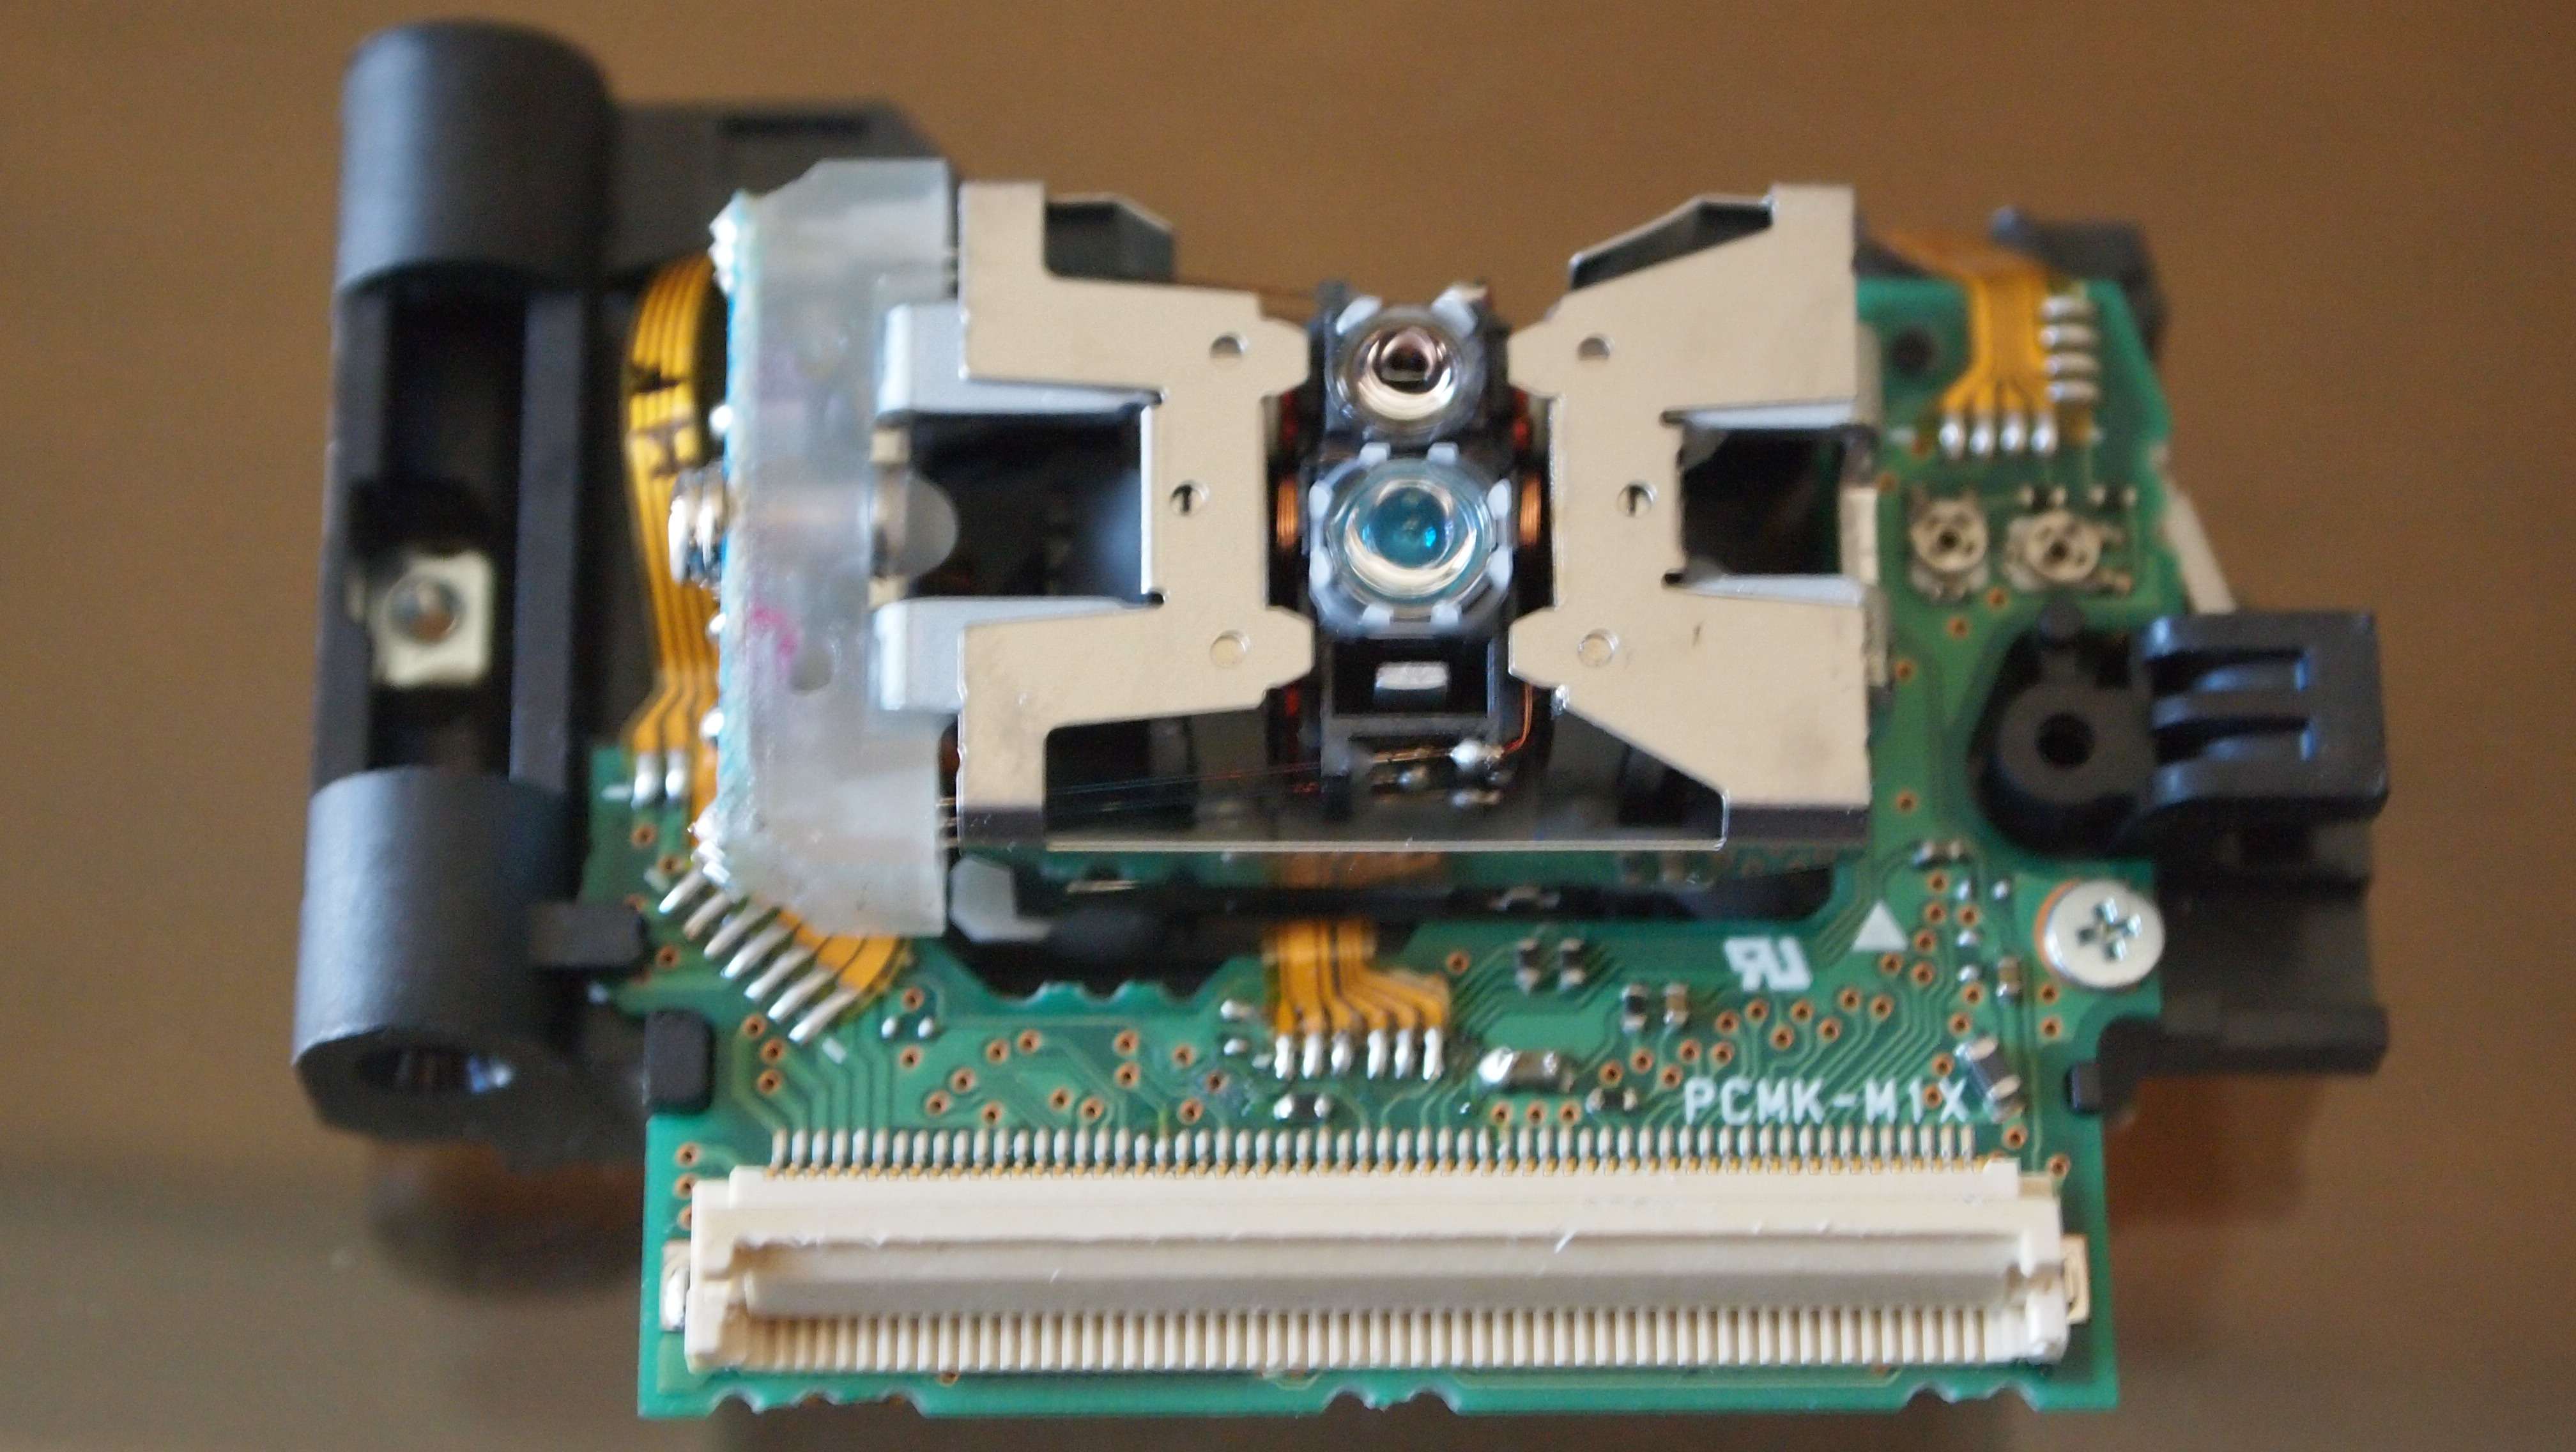
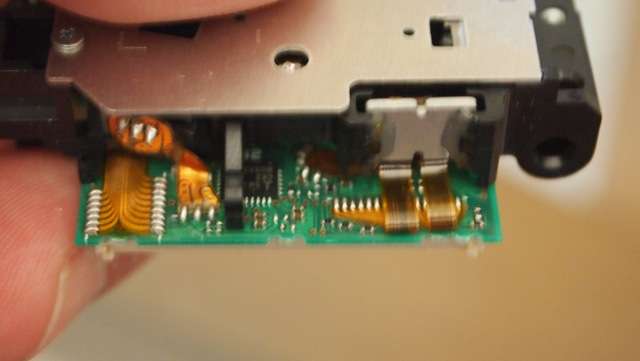
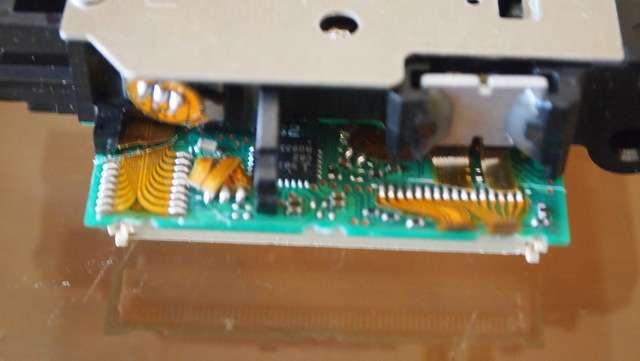
I start with cutting all the ribbons on the top of the sled.
Then flip it over and cut all the ribbons on the bottom side.
Remove all the screws on the back.
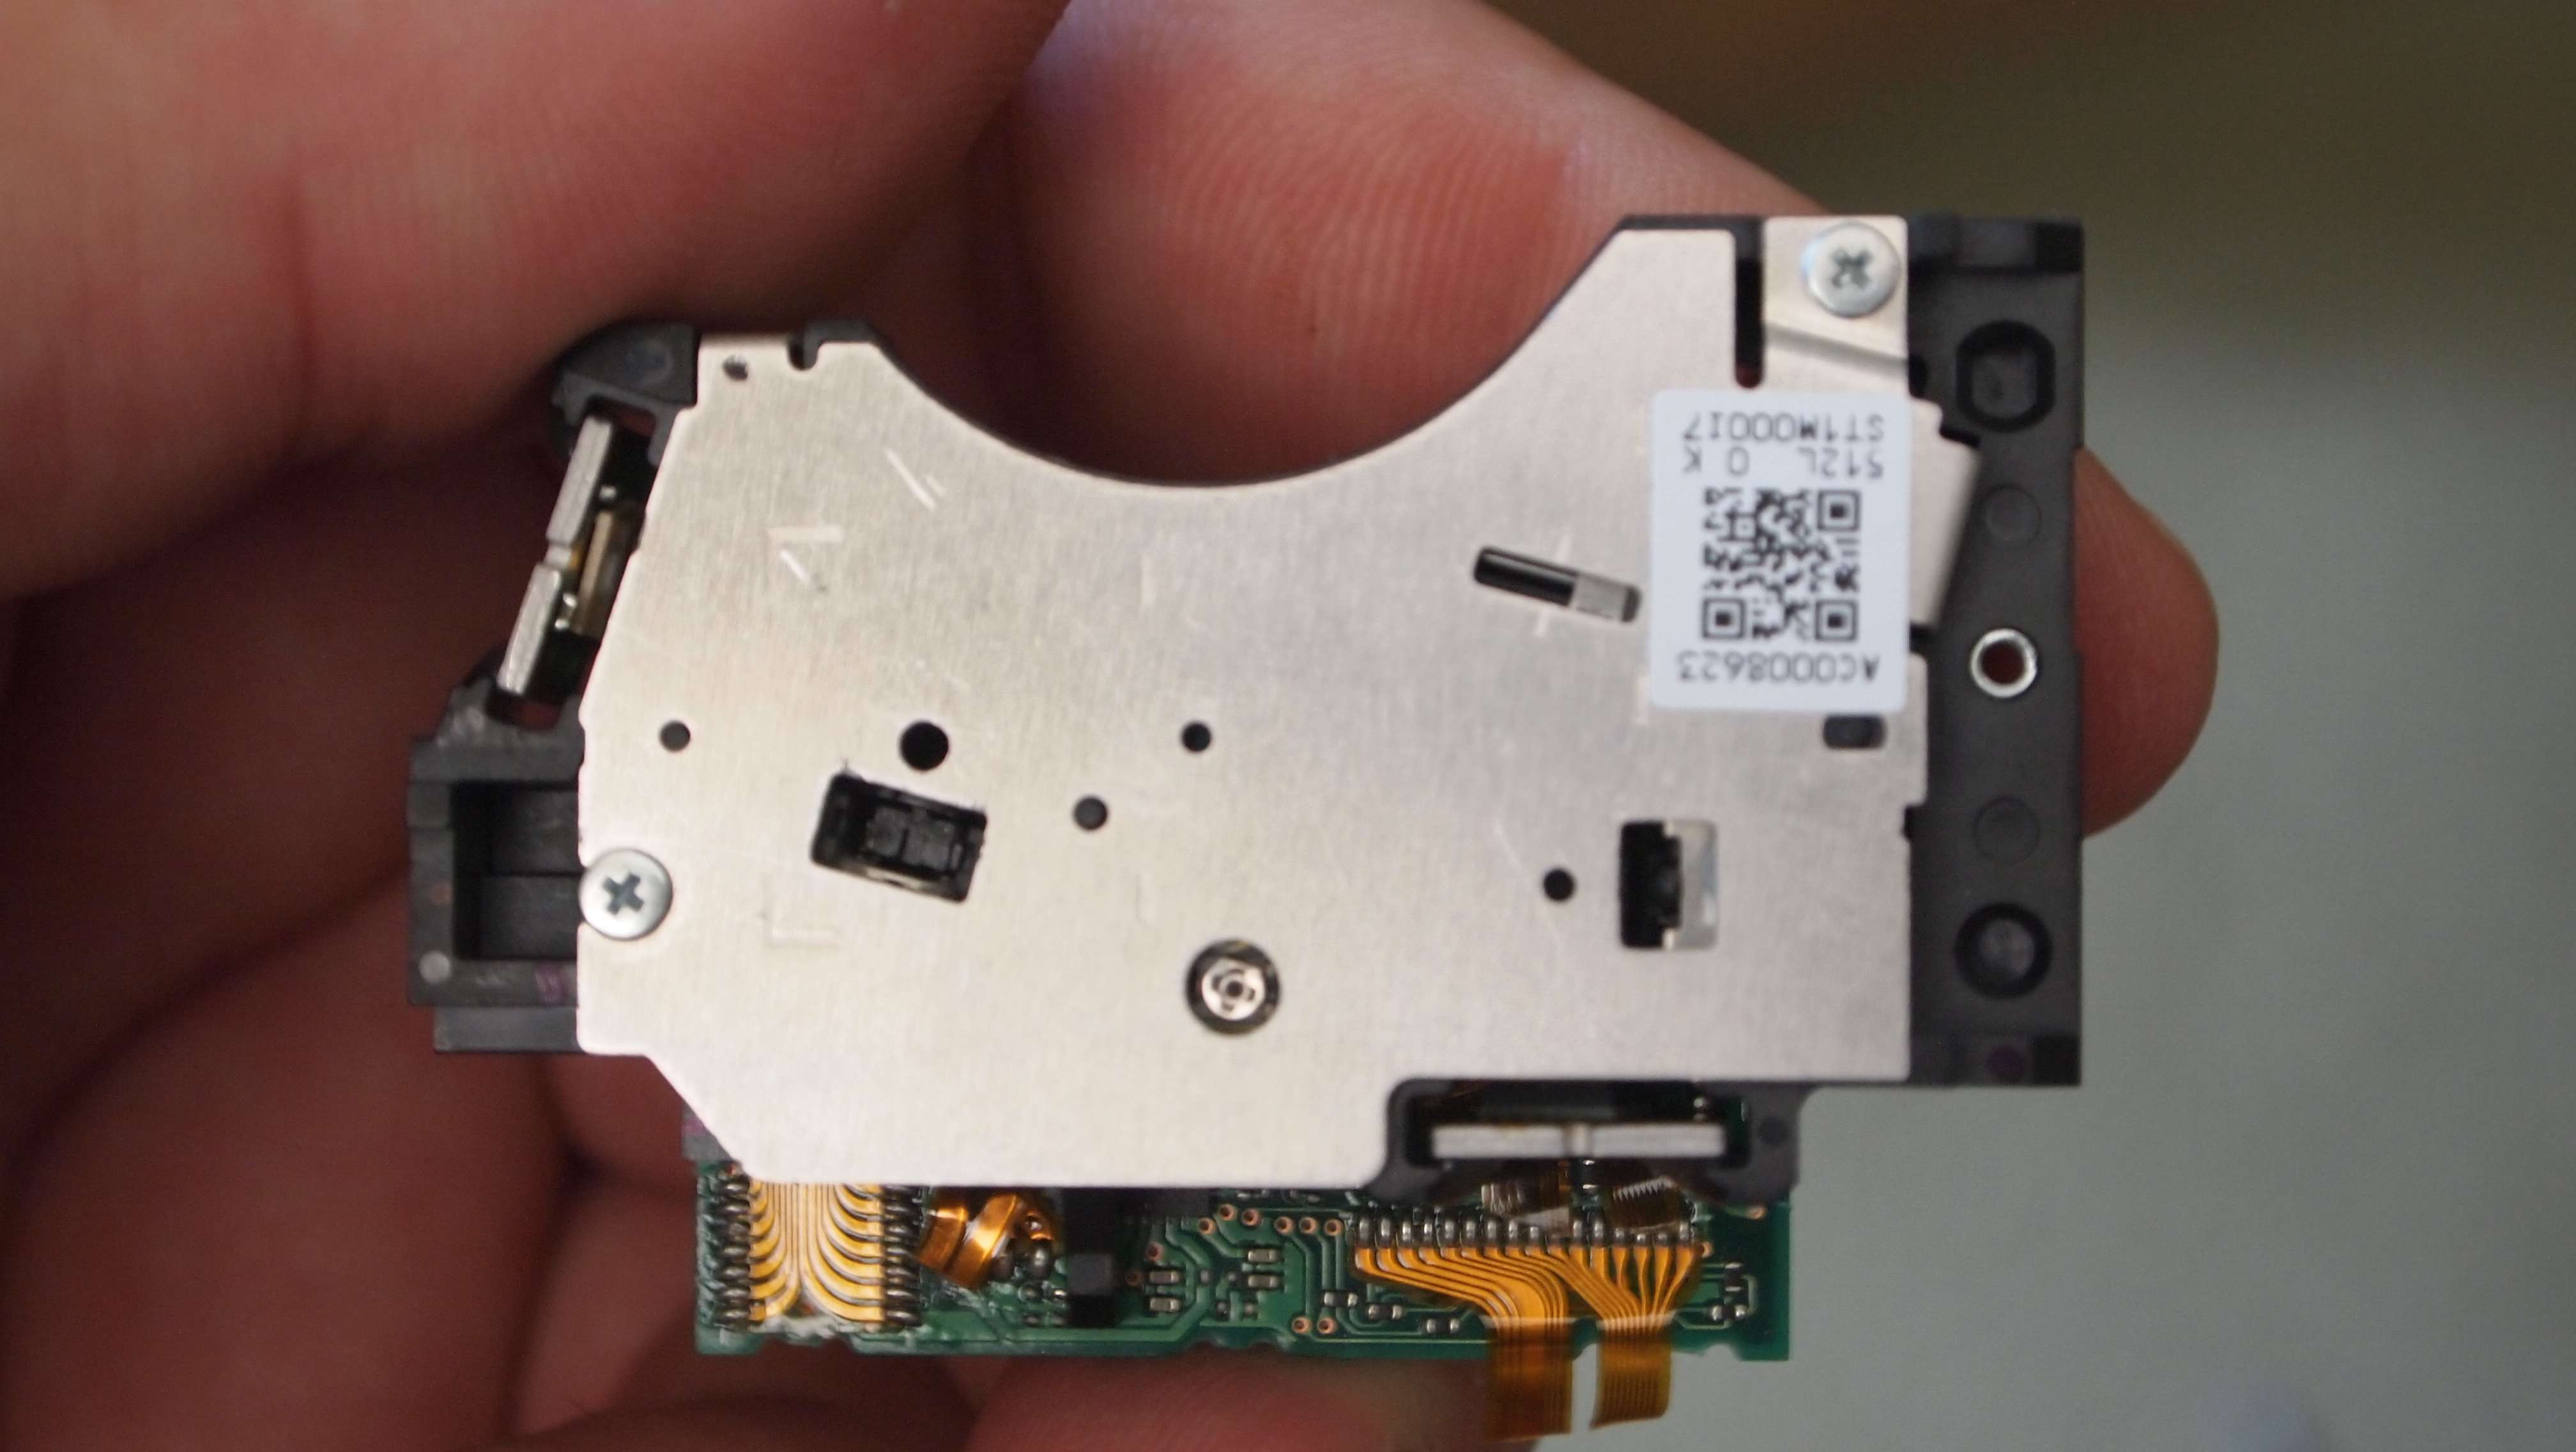
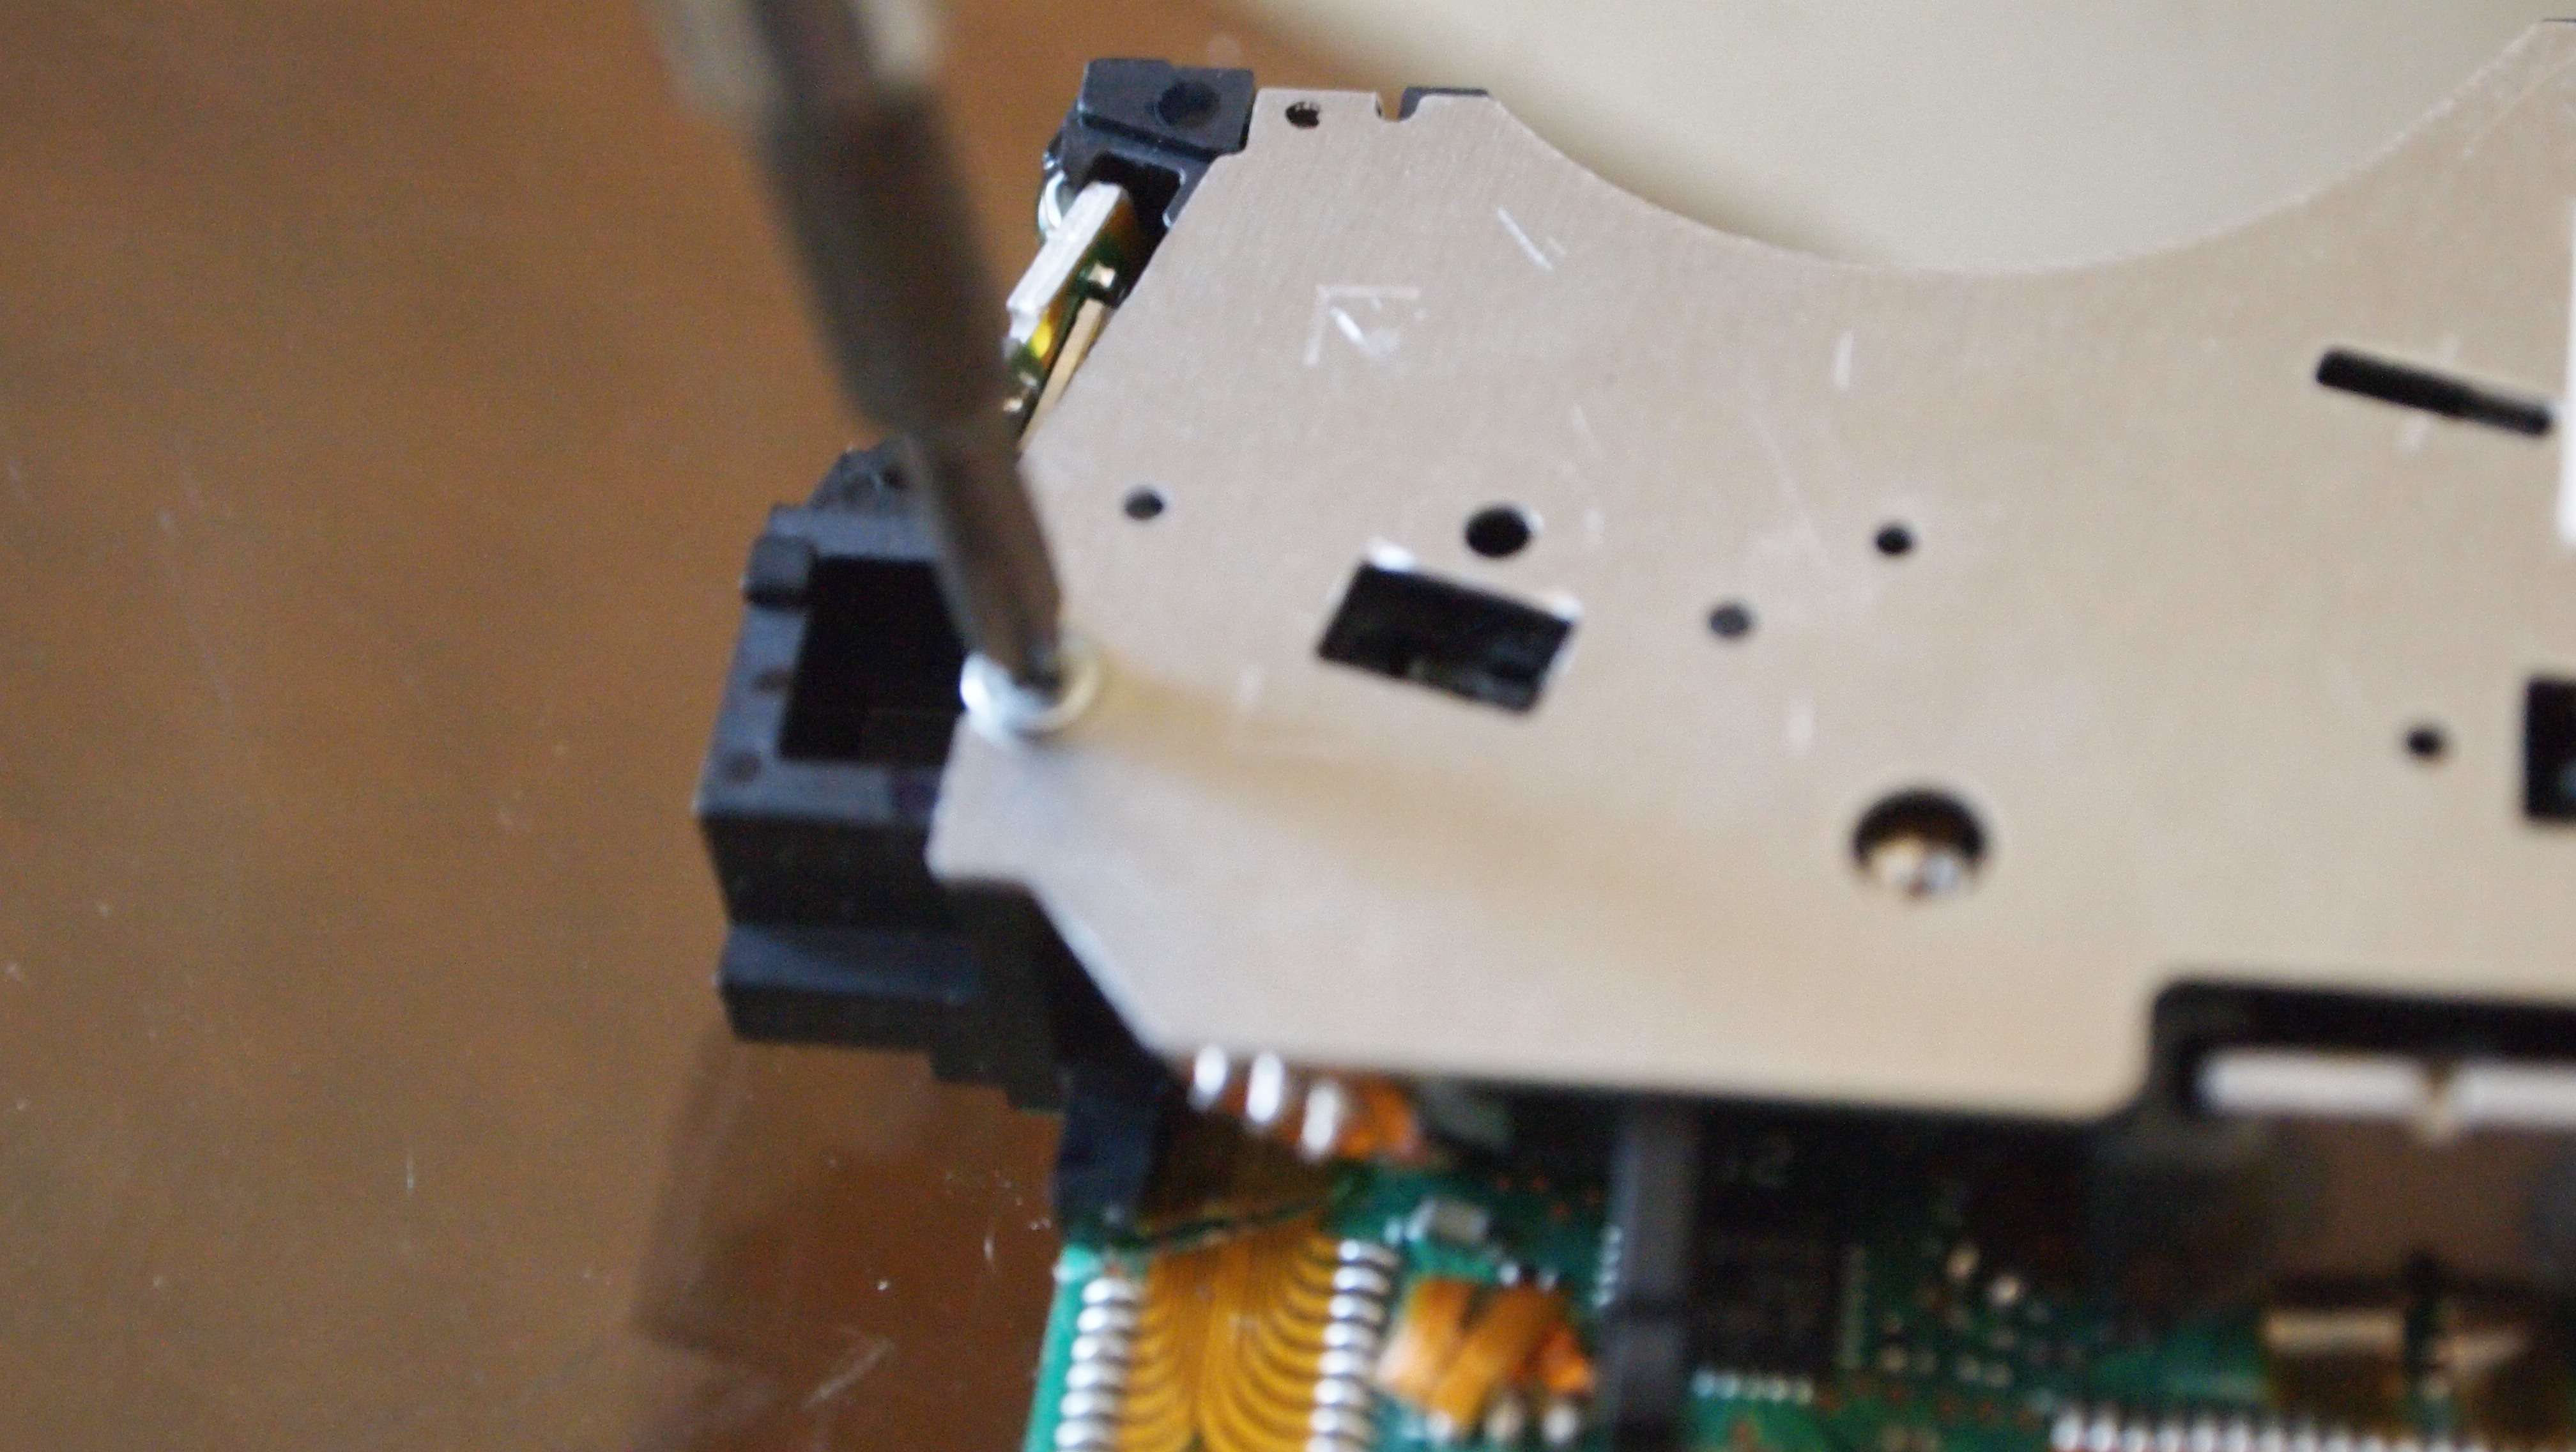
Then just pry it off with your screwdriver.
When you get it off you can now see the diodes.
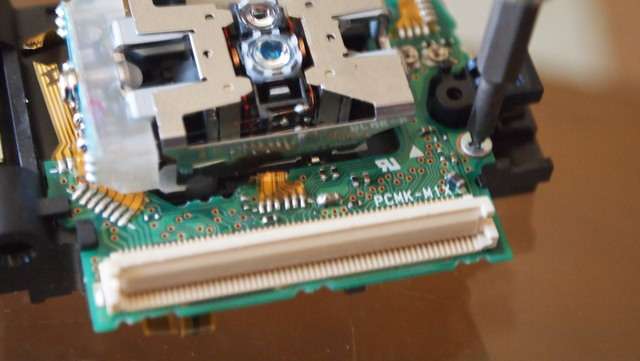
Now flip it over and take out the screw holding the board in.
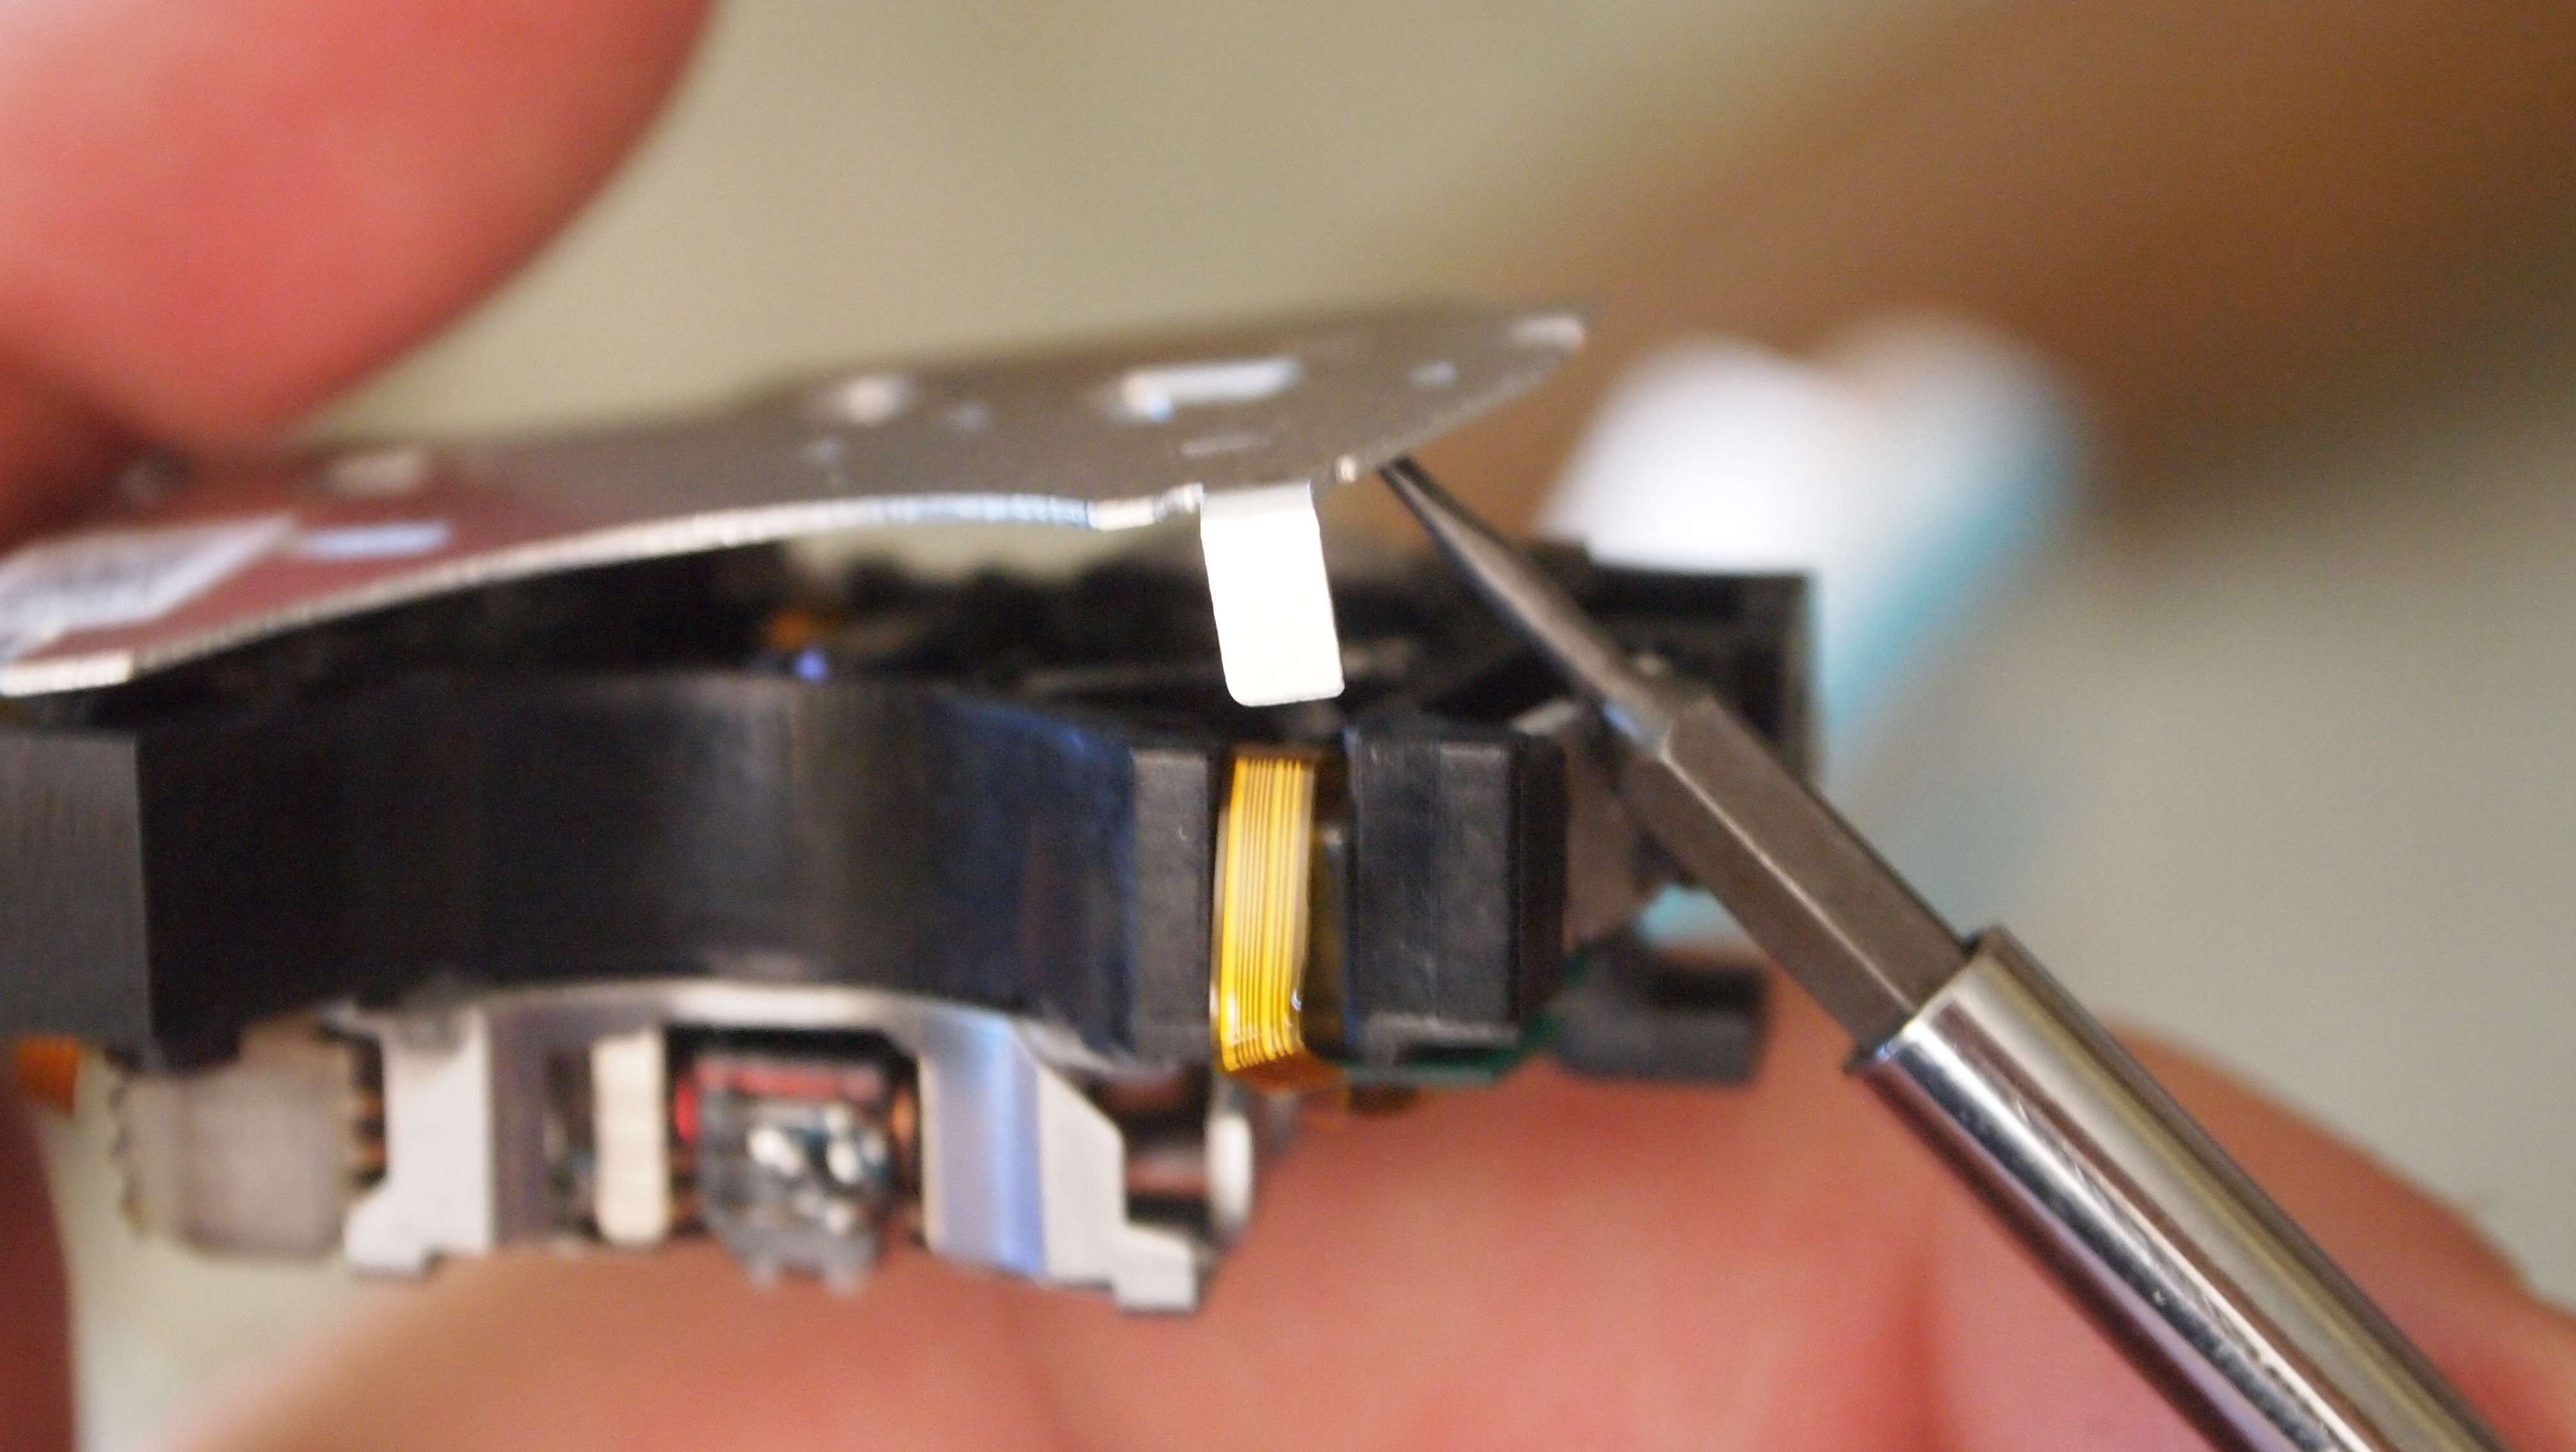
There are two tabs that hold the board in place.
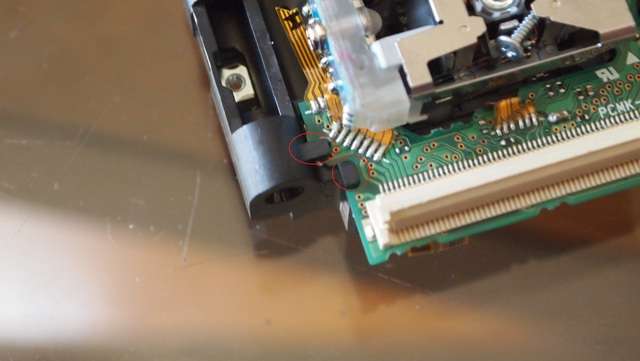
Just break them off with a flat screwdriver or with a pair of needle nose pliers.
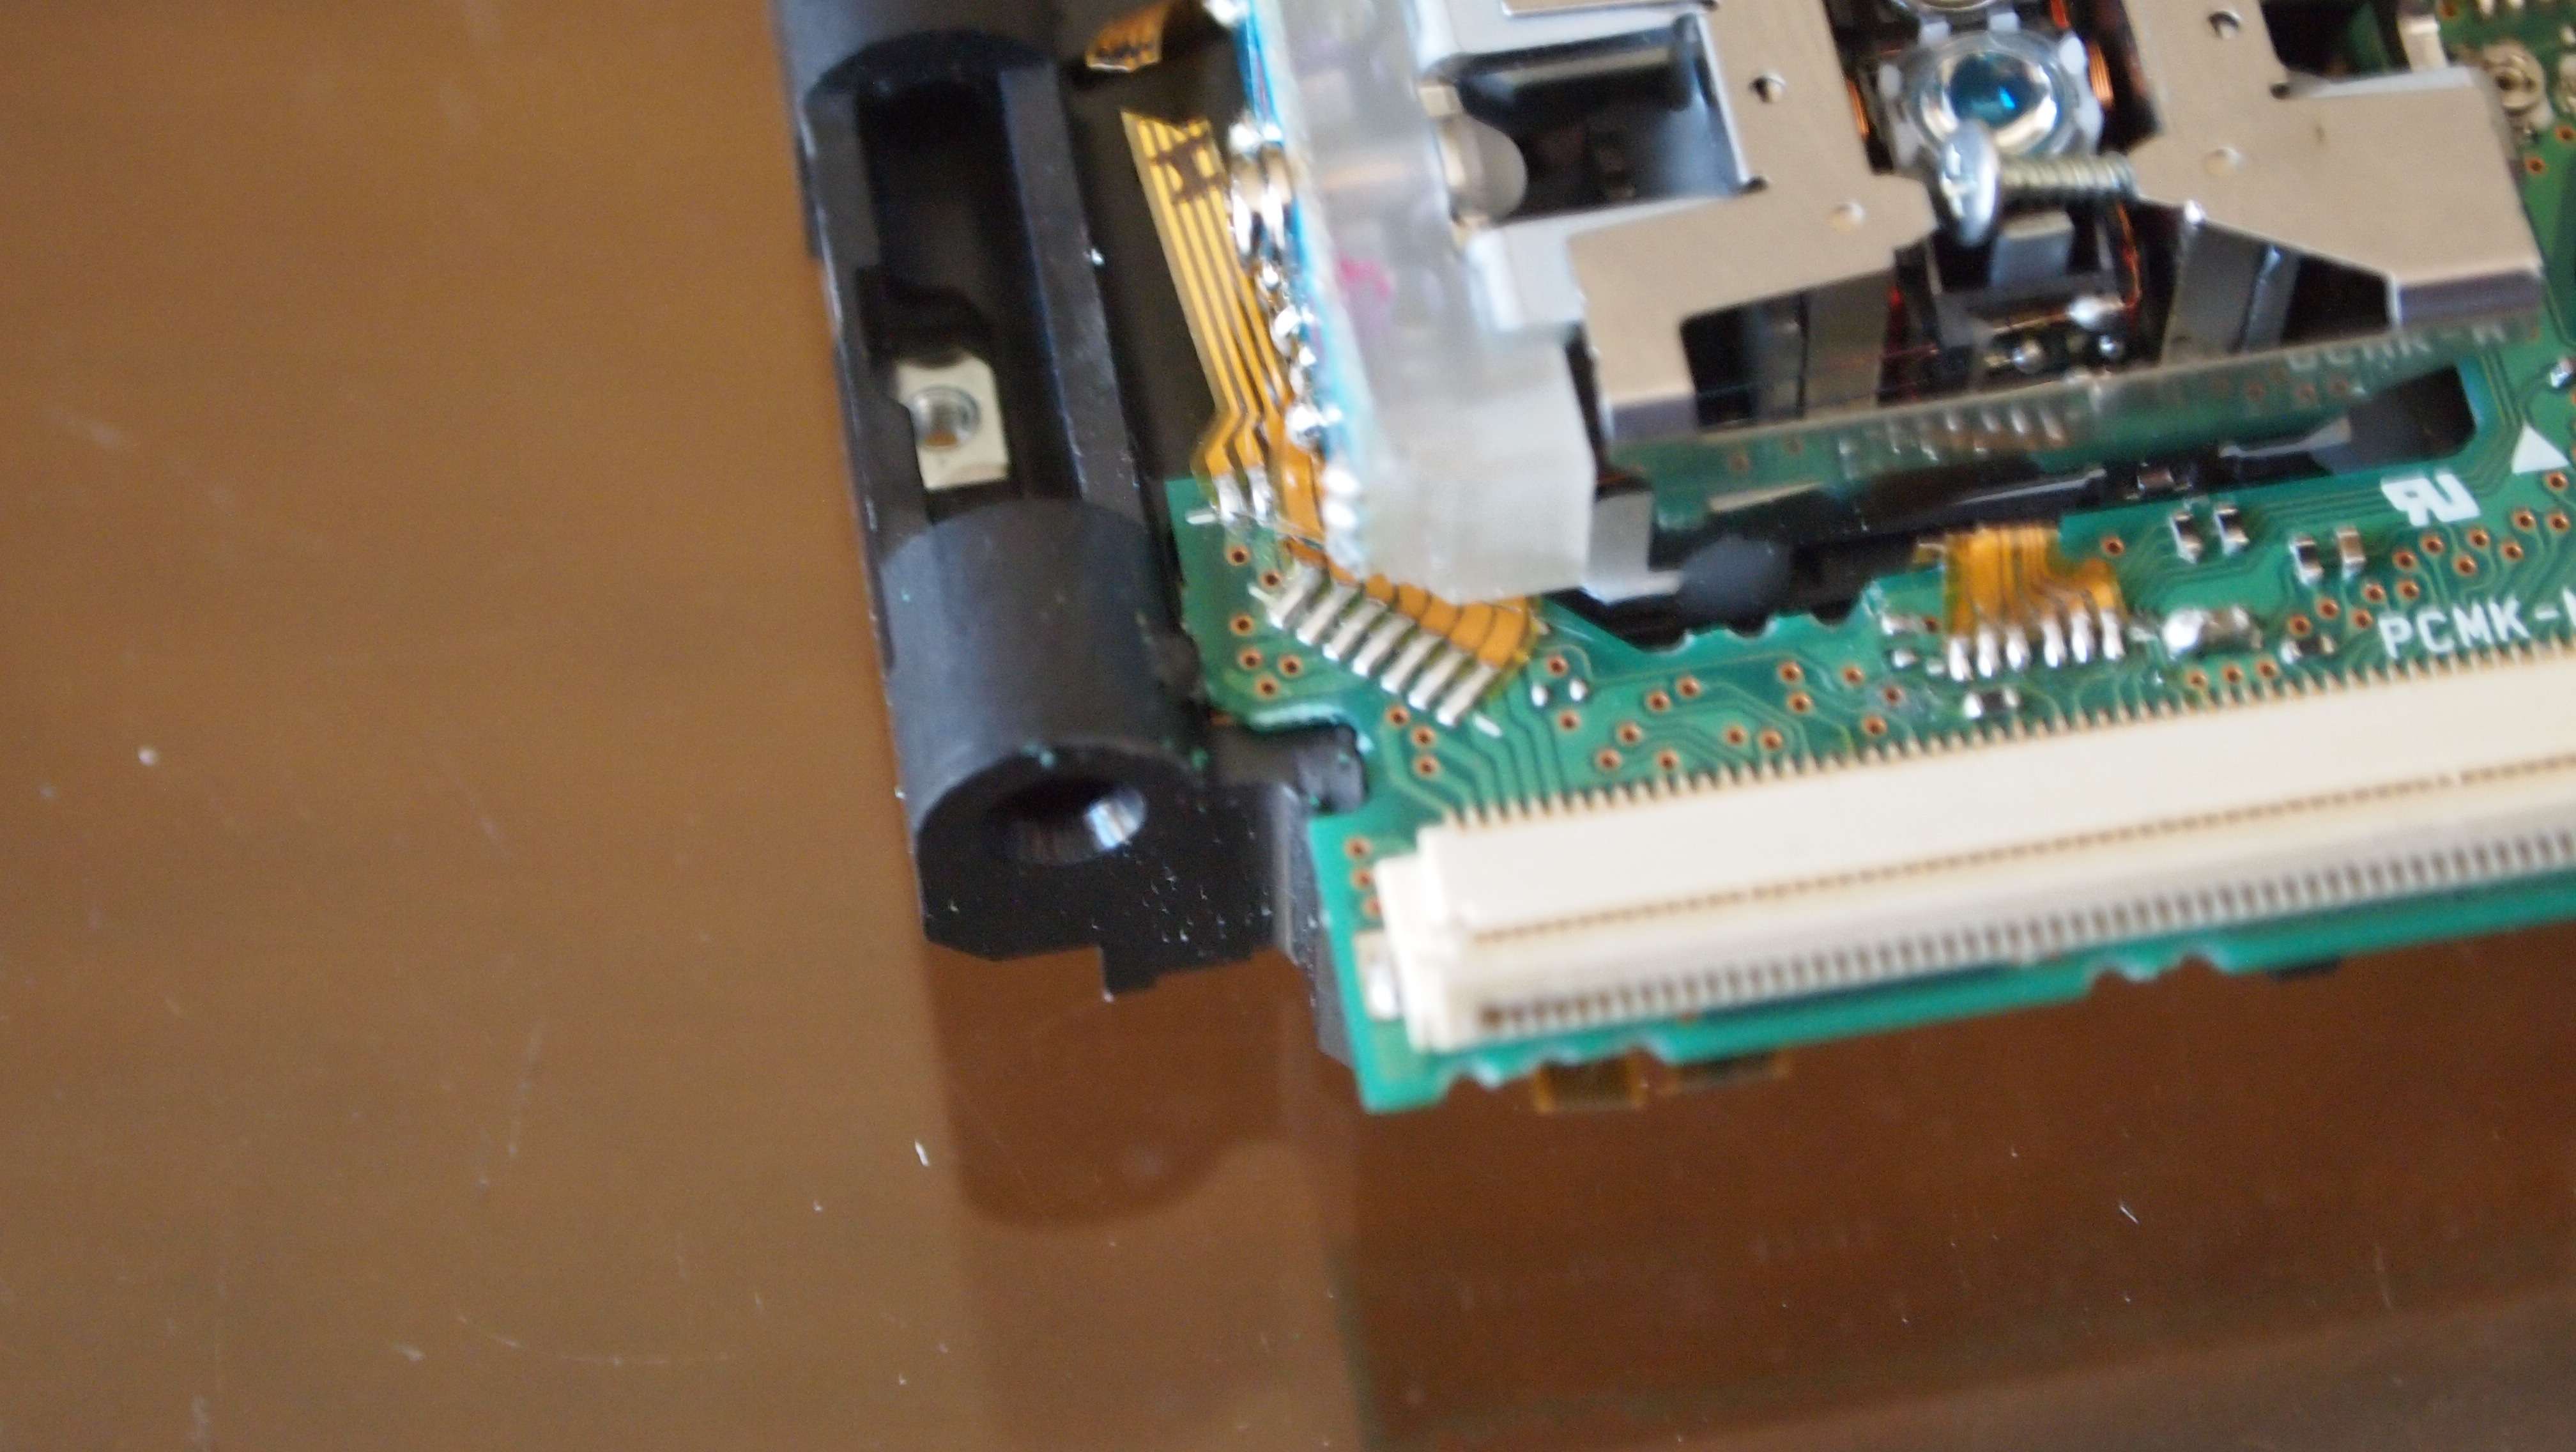
Now the board is free and you can make sure that you have all the ribbons cut.

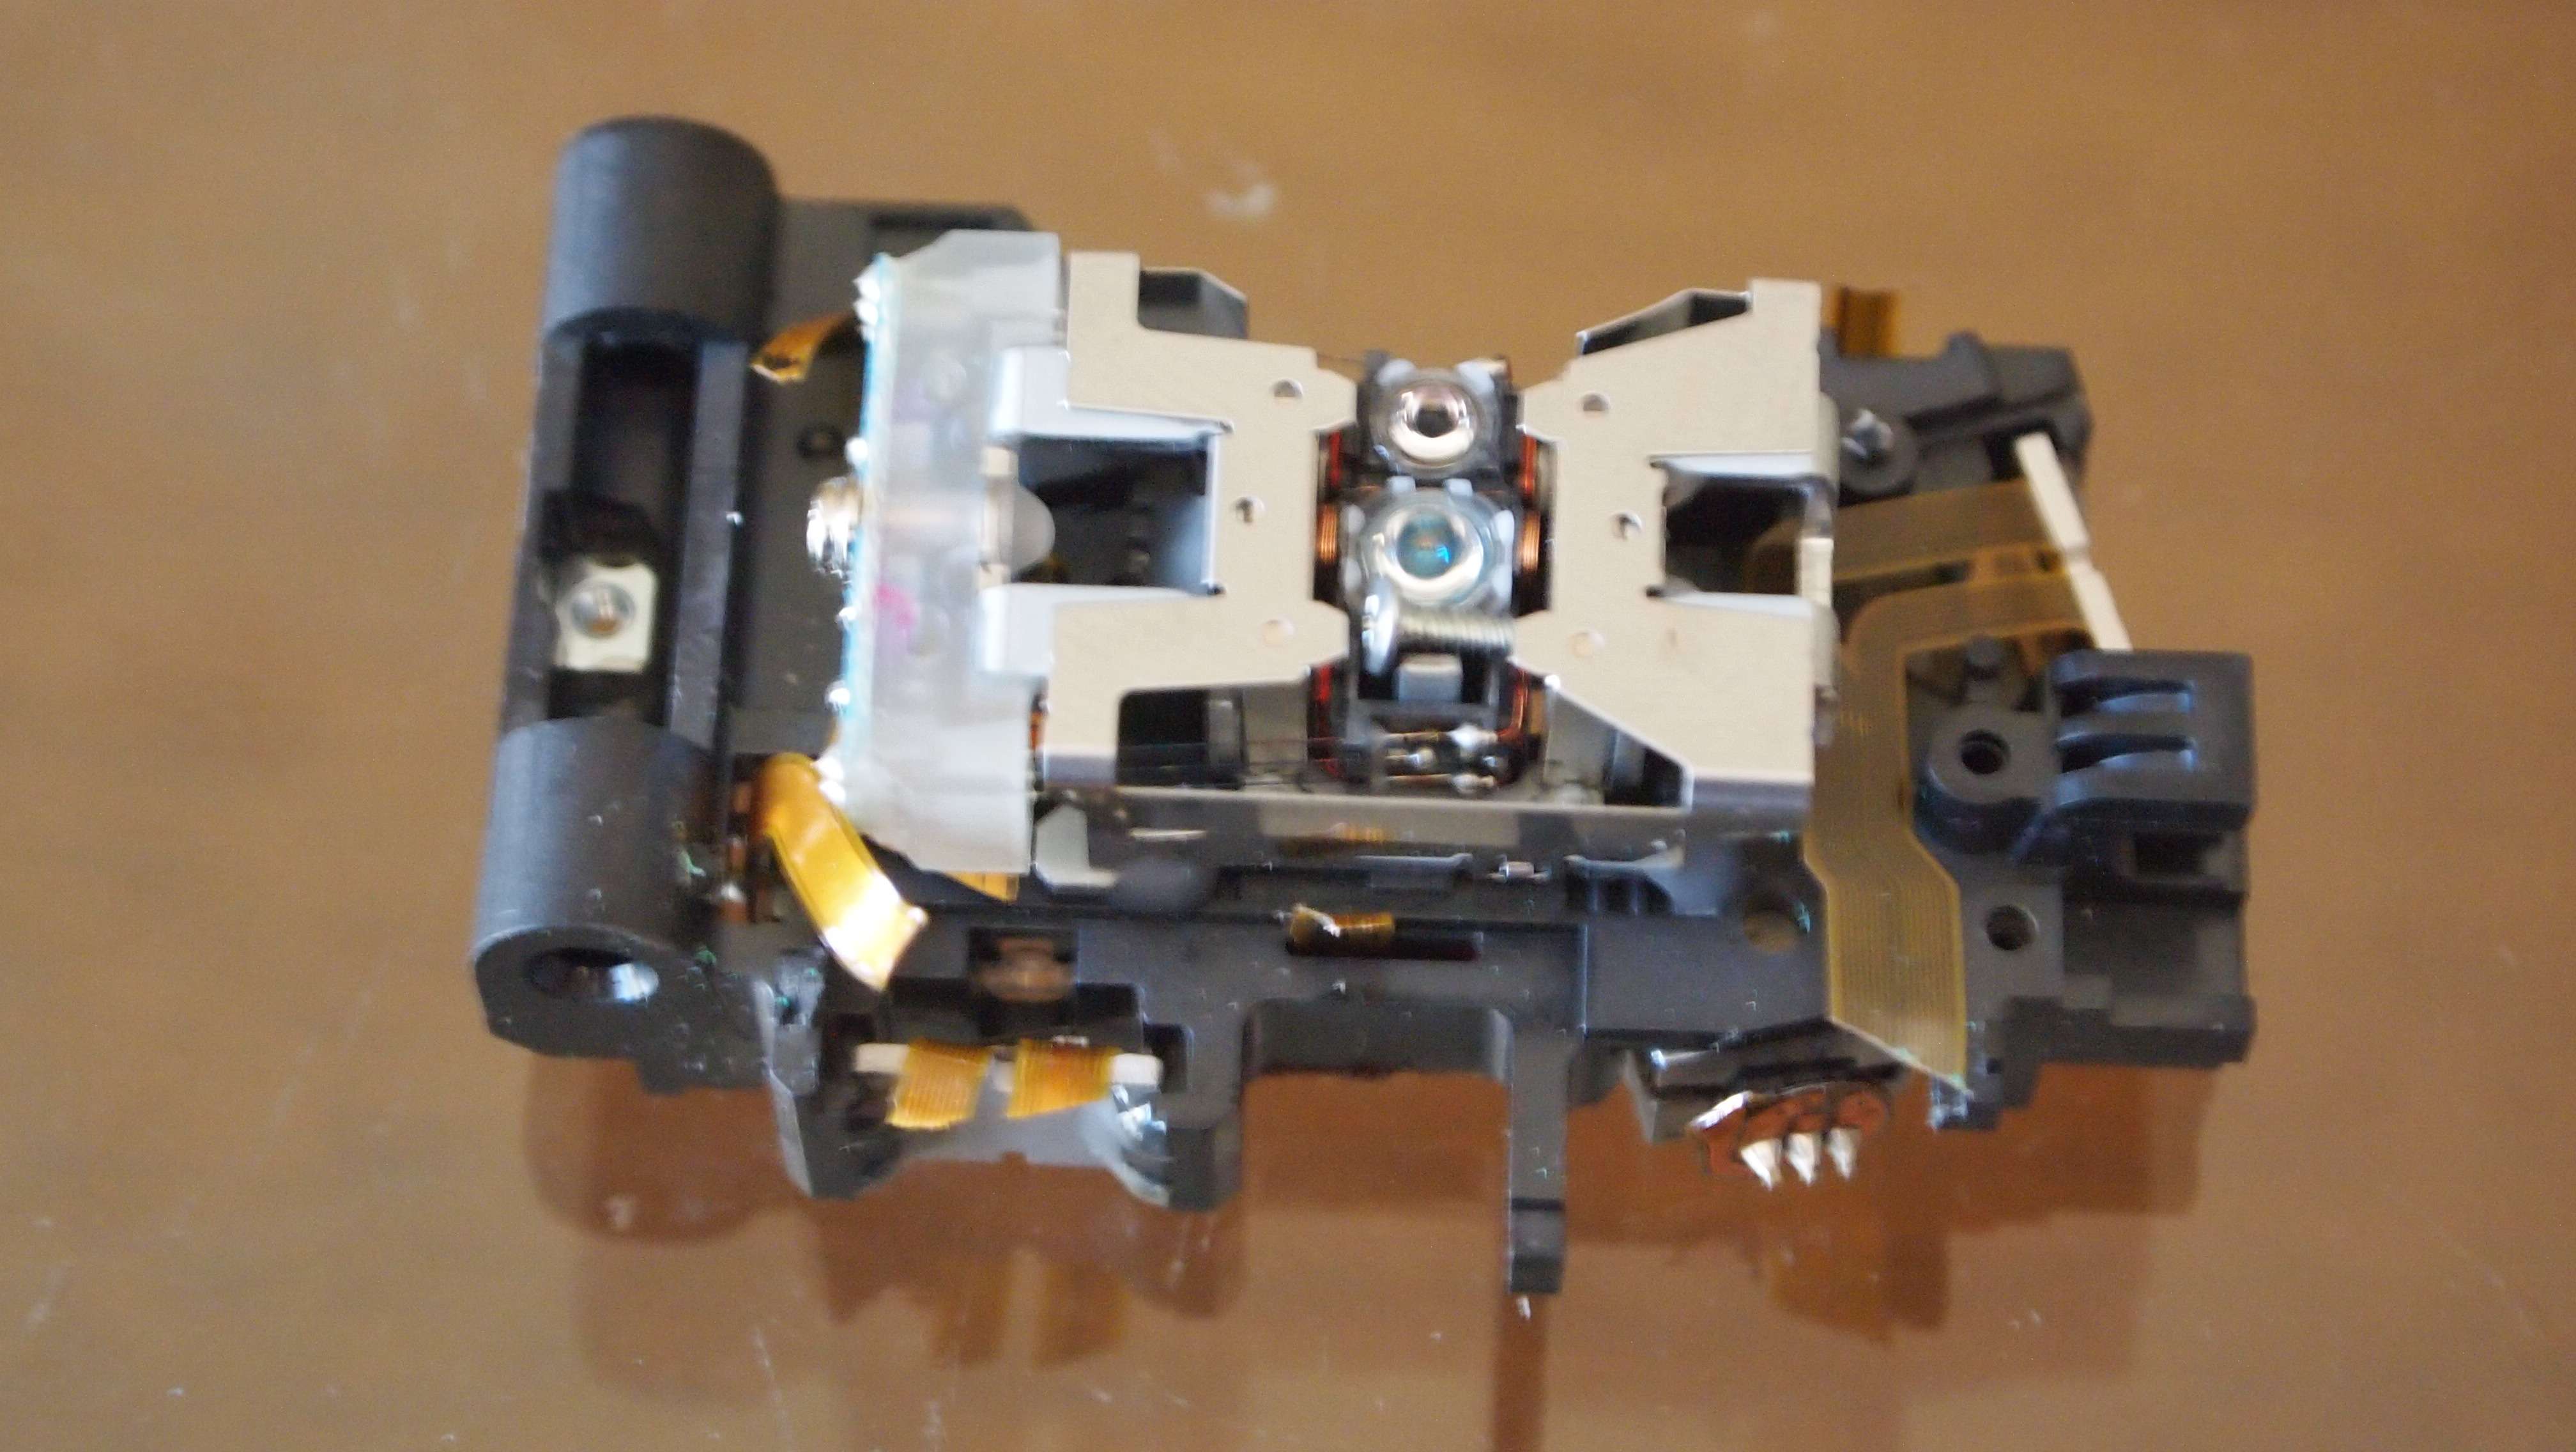
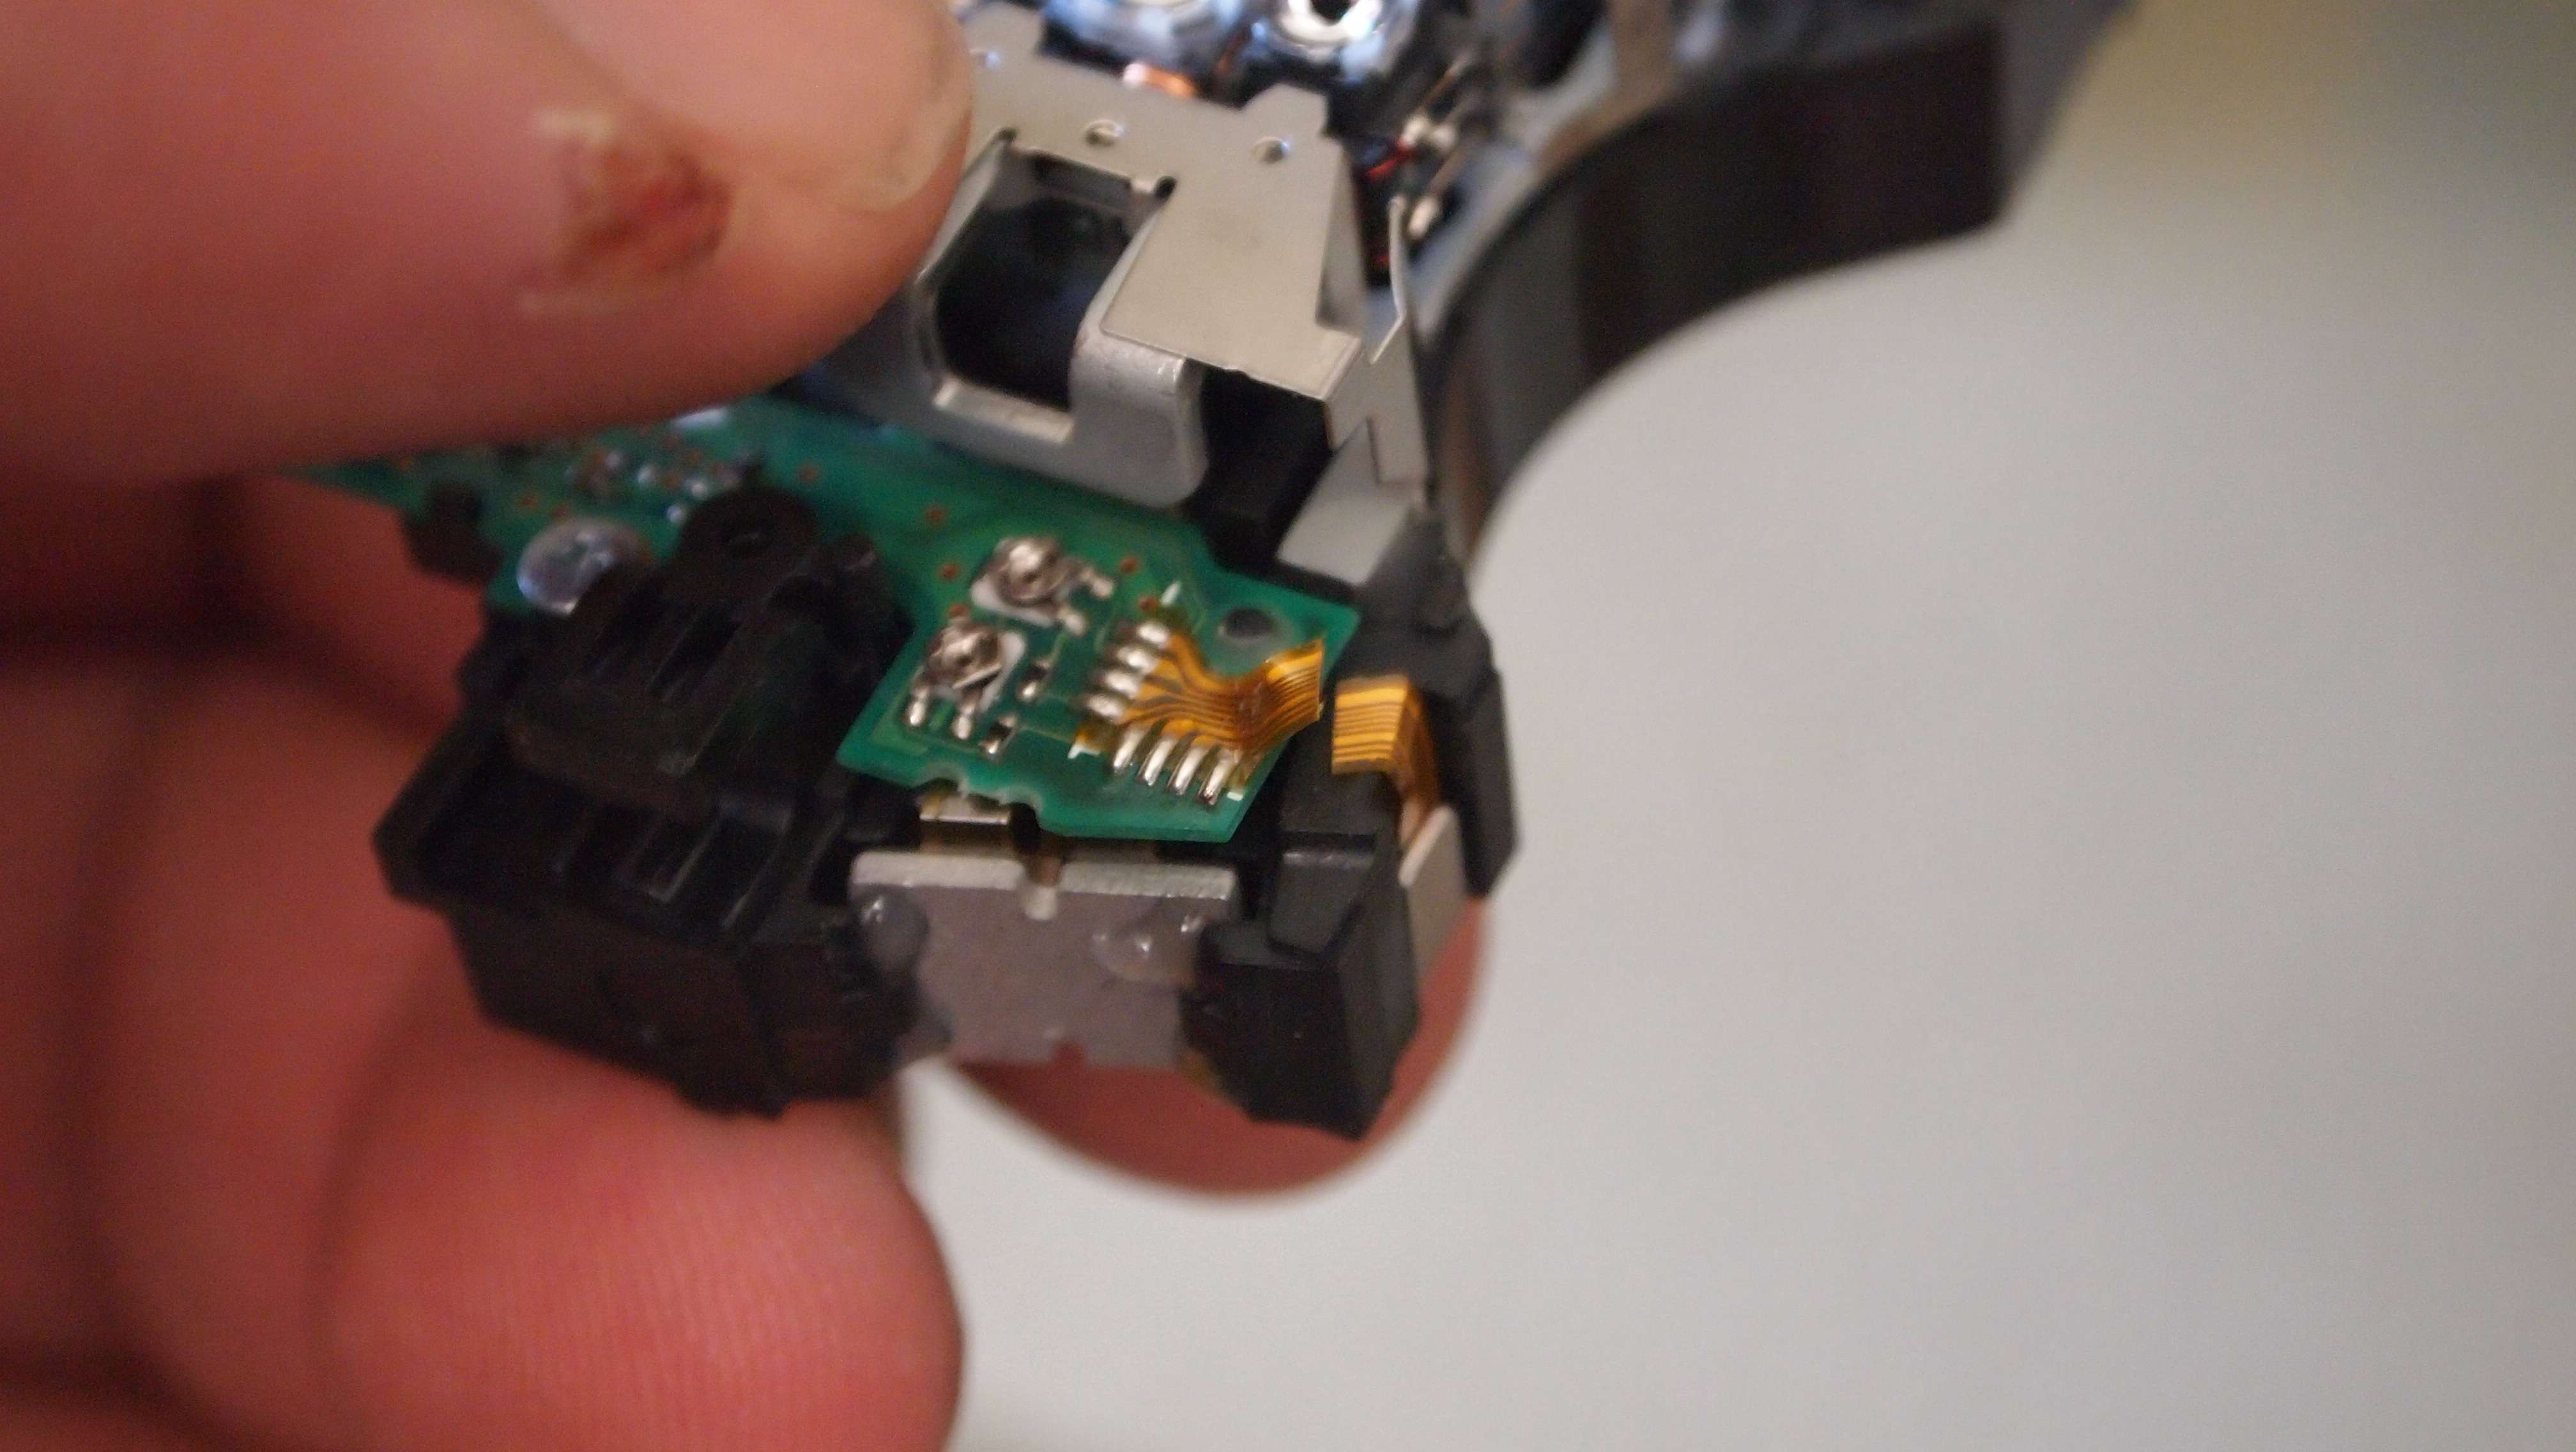
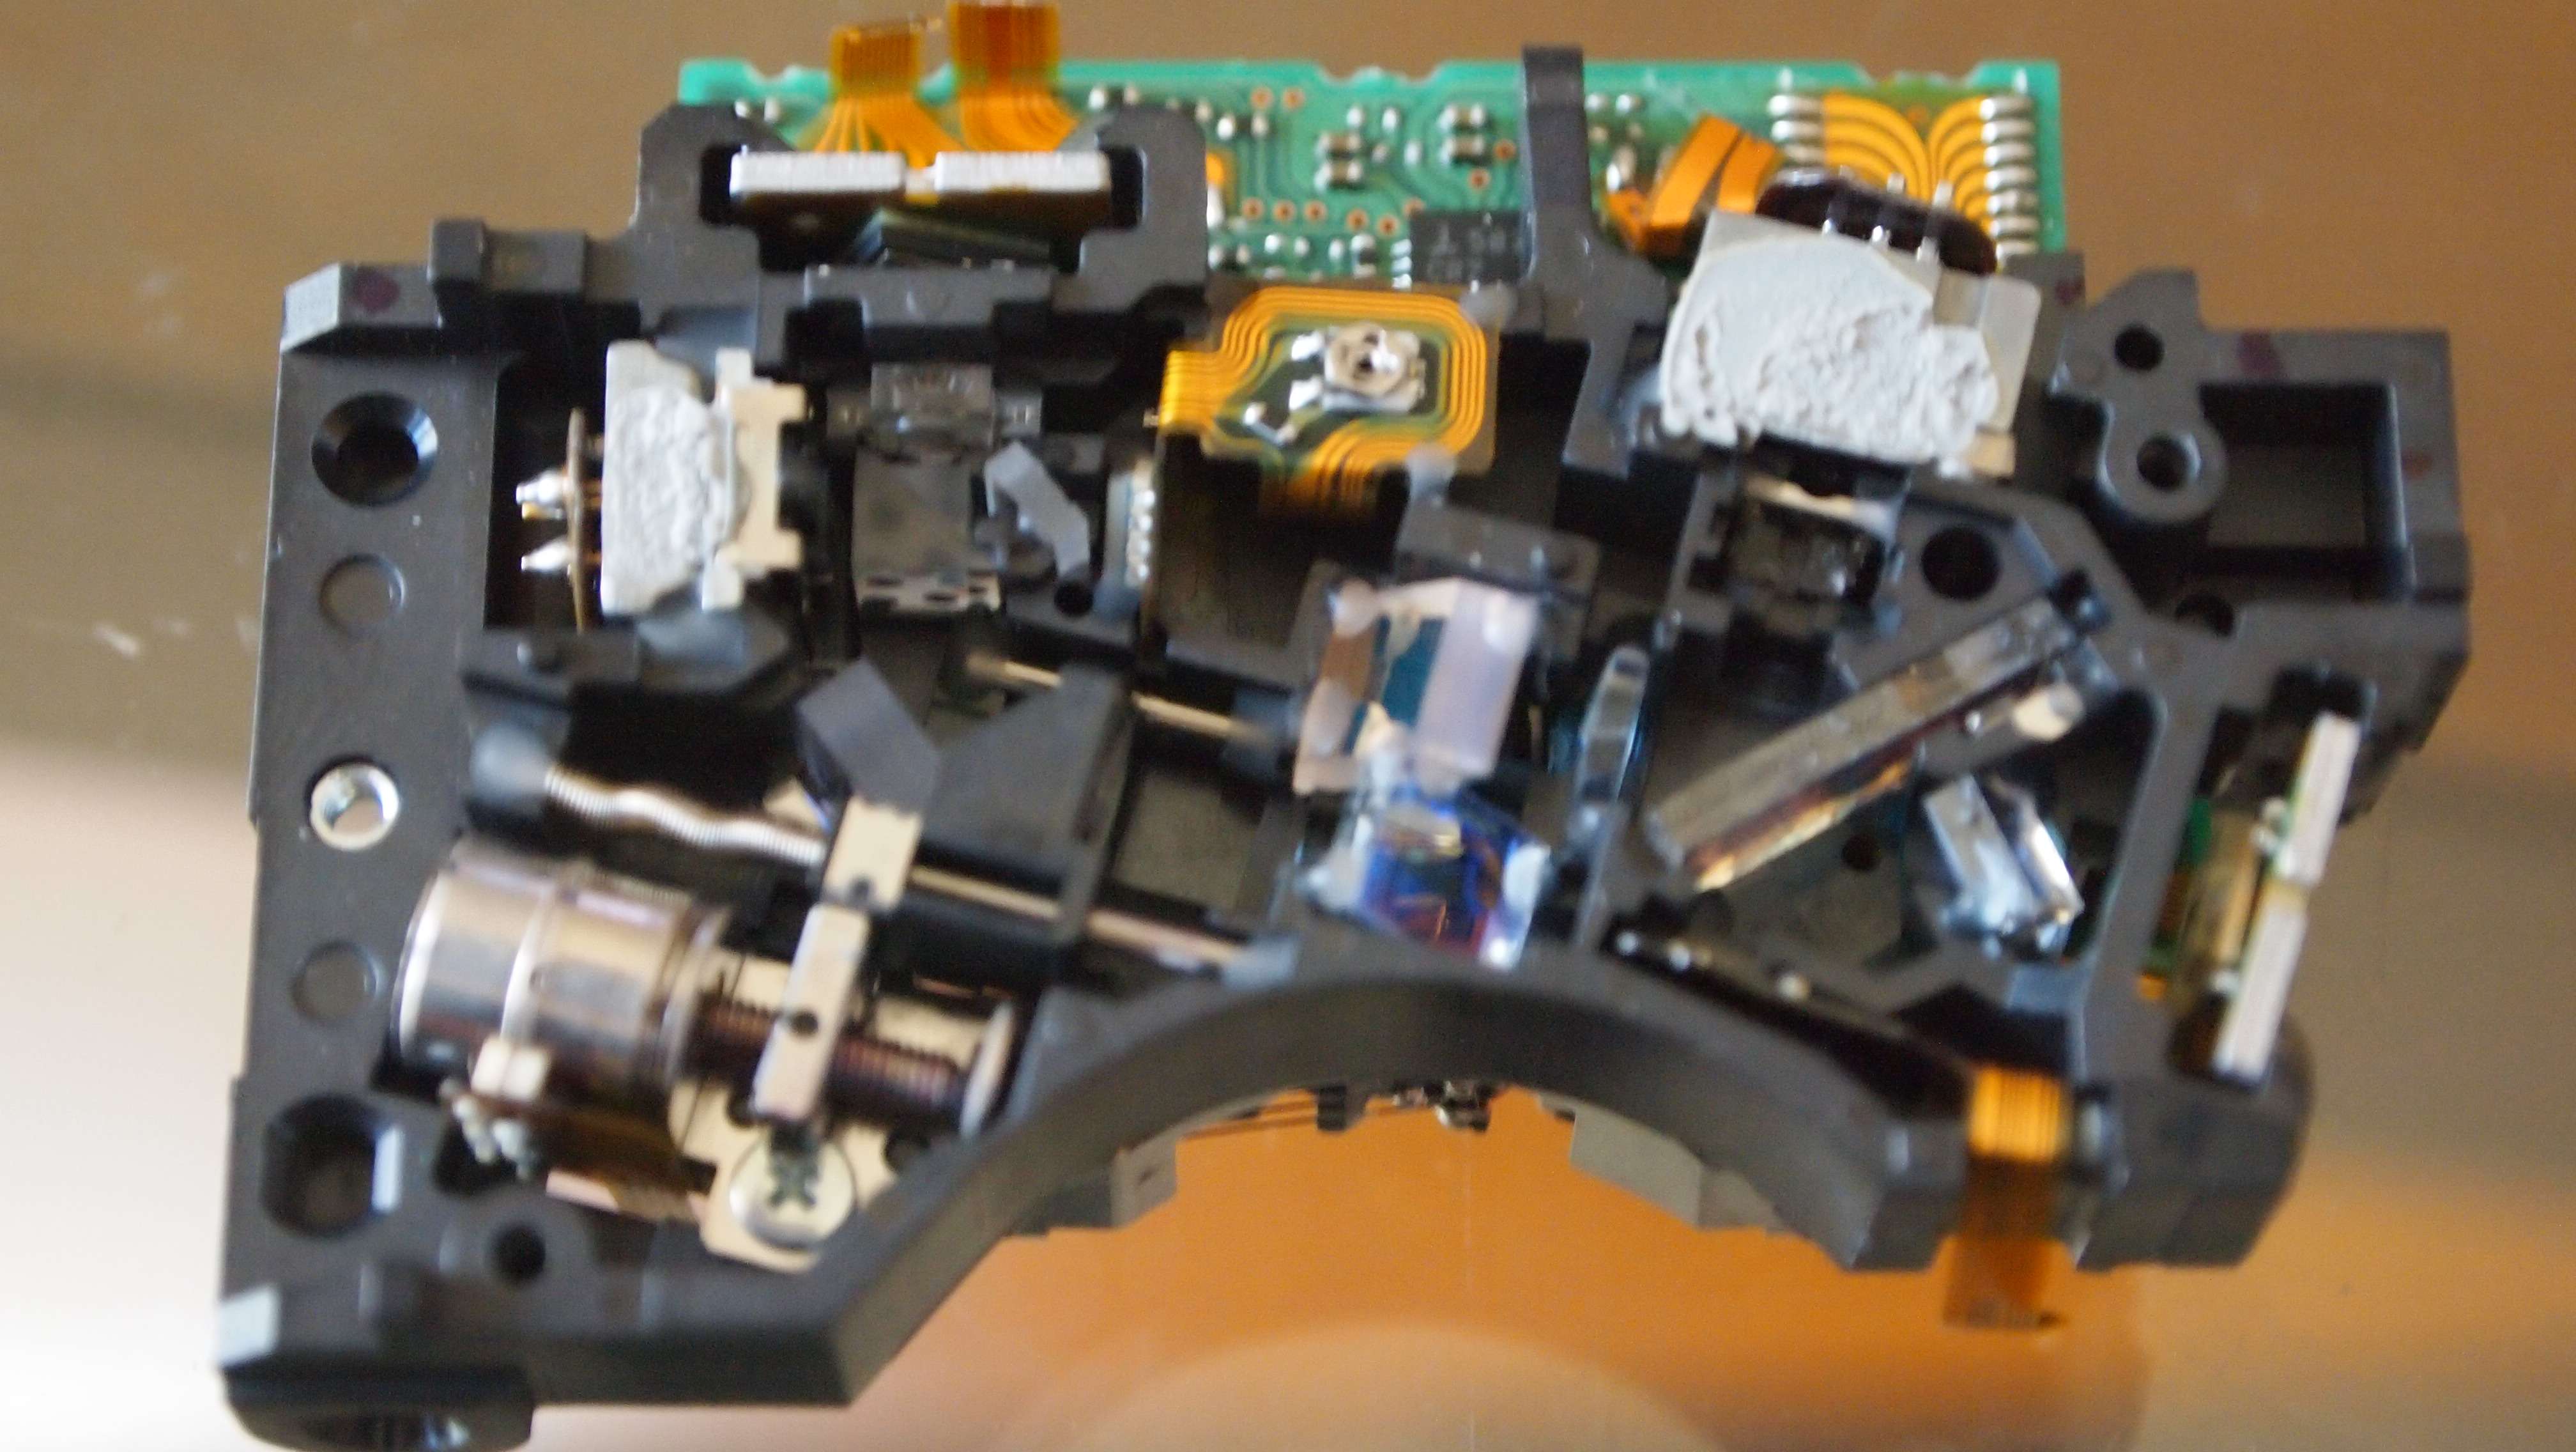
Next flip it back over and use a small flat head screwdriver to work the diode out.
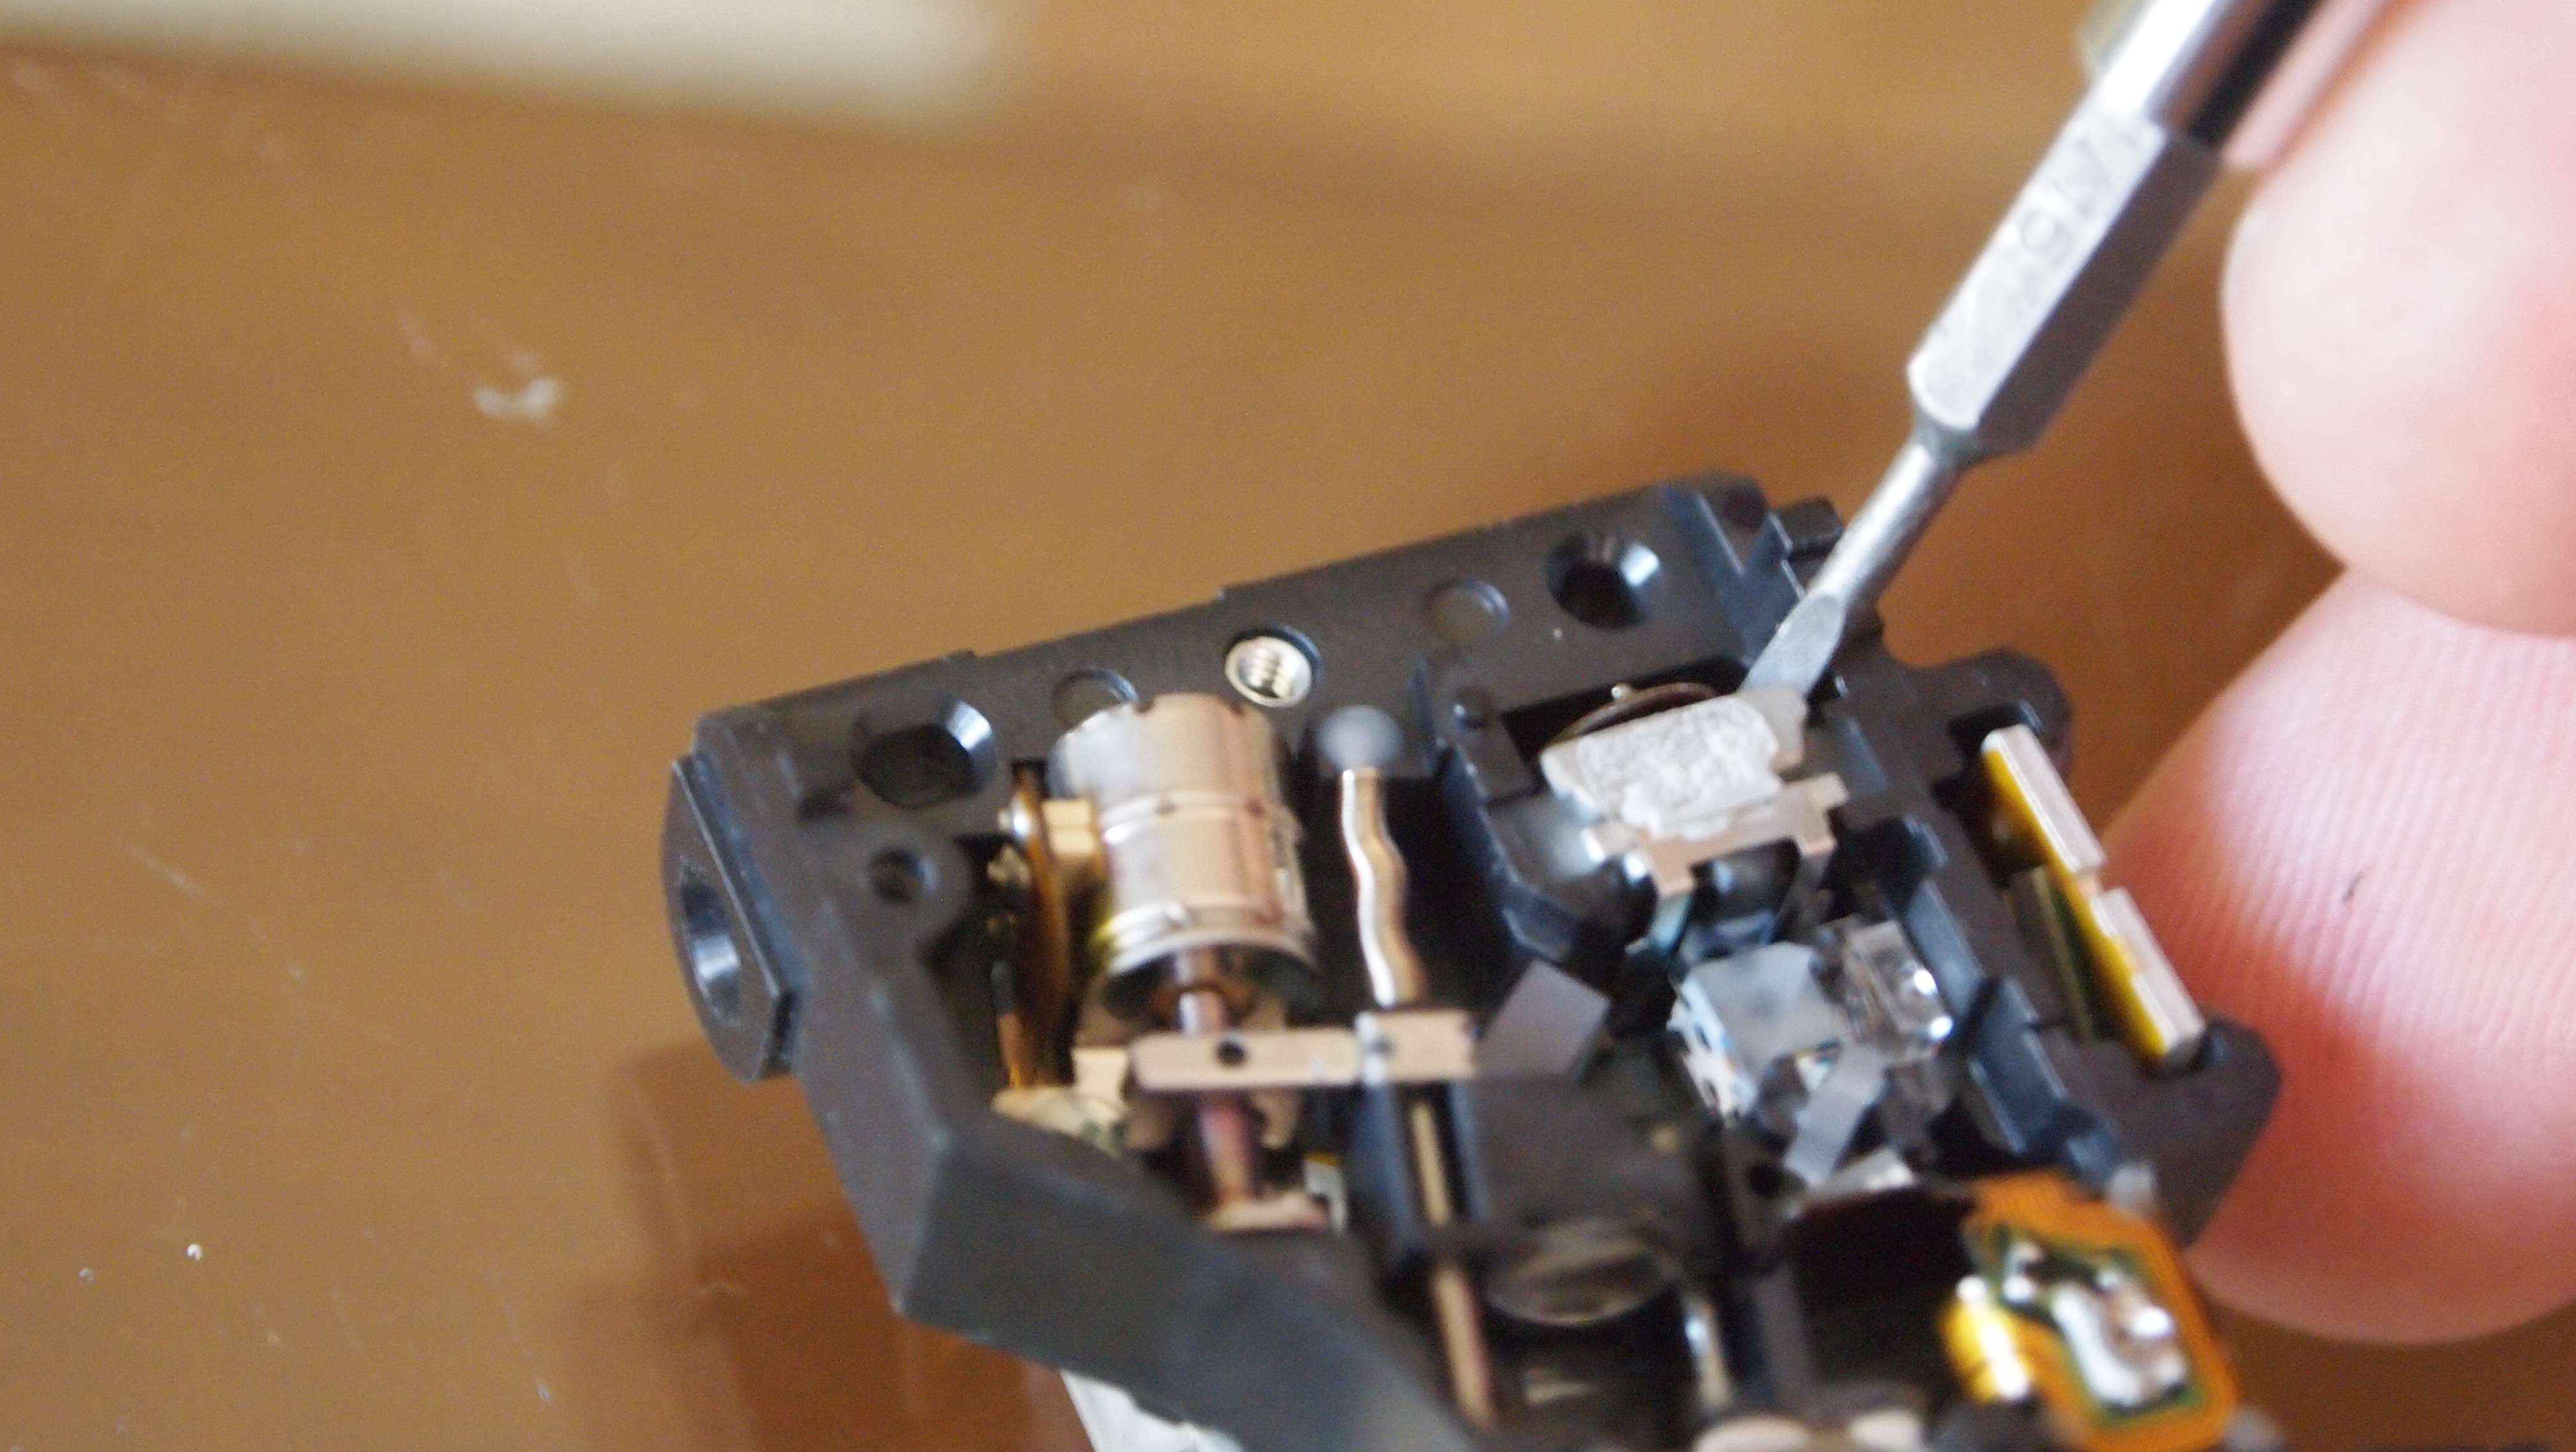
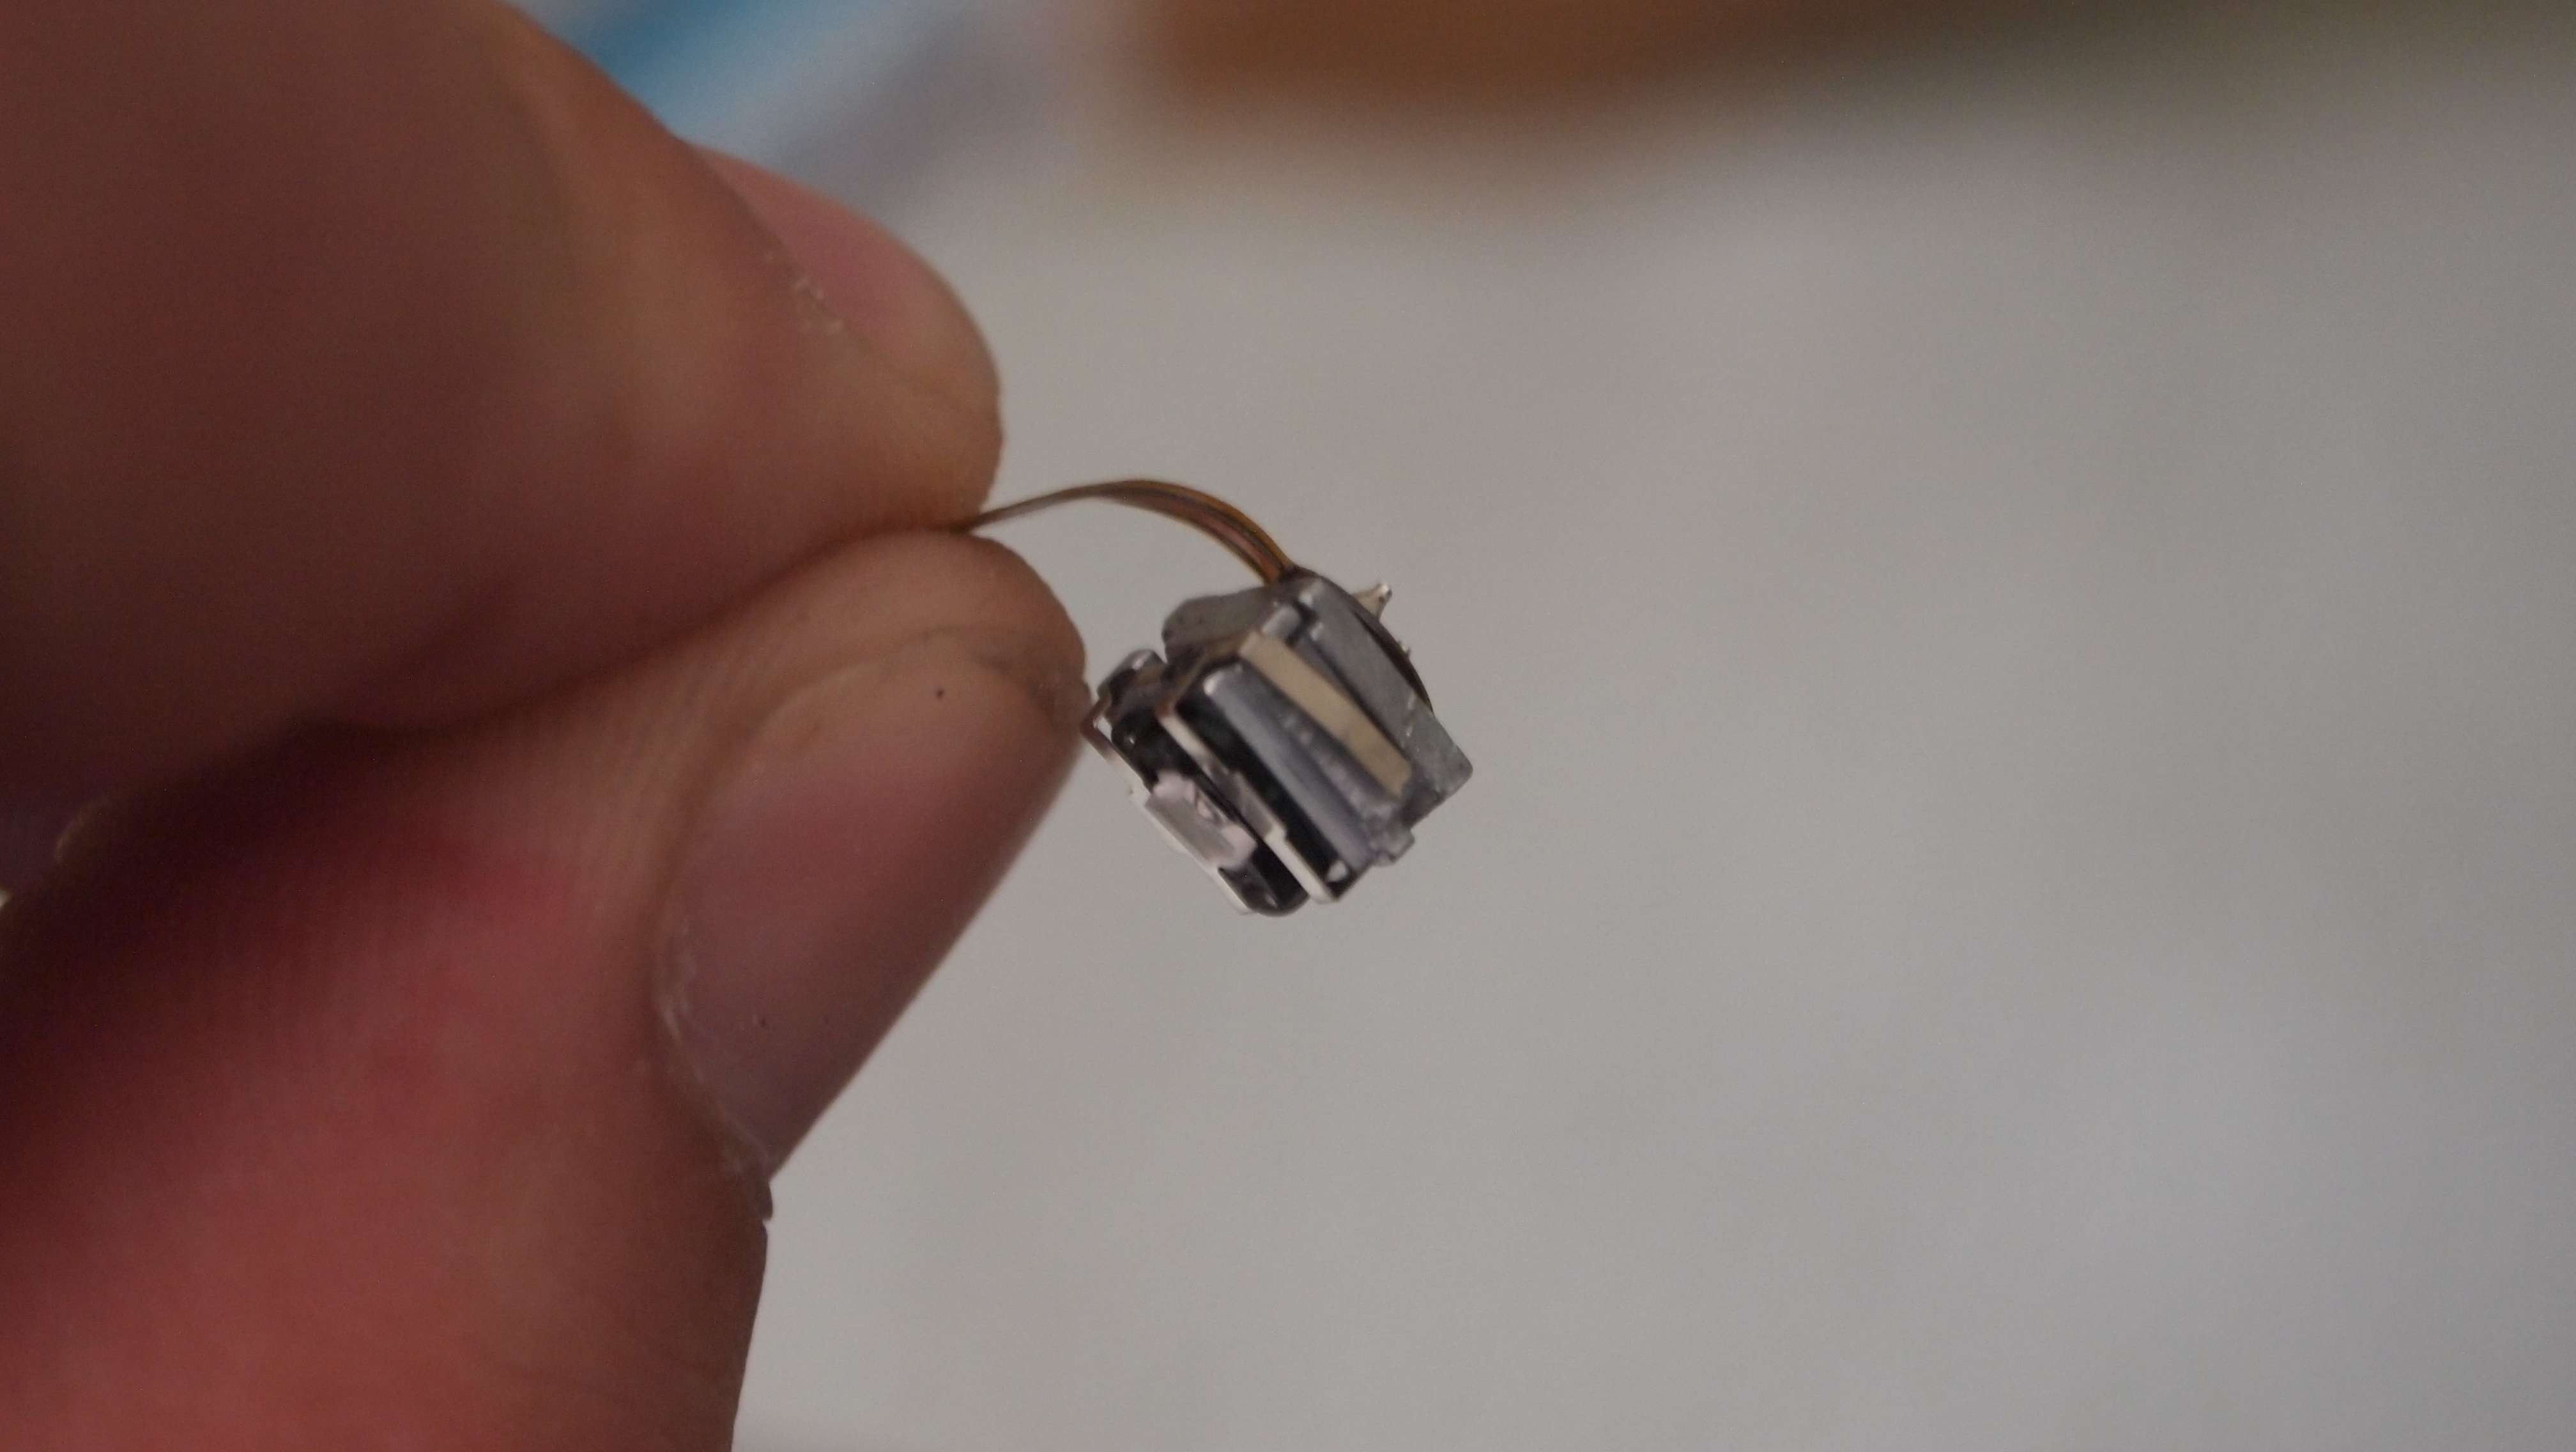
When you get it out you have the diode in a heatsink and an optical assembly attached to the front.
Get you small screwdriver and pry it off.
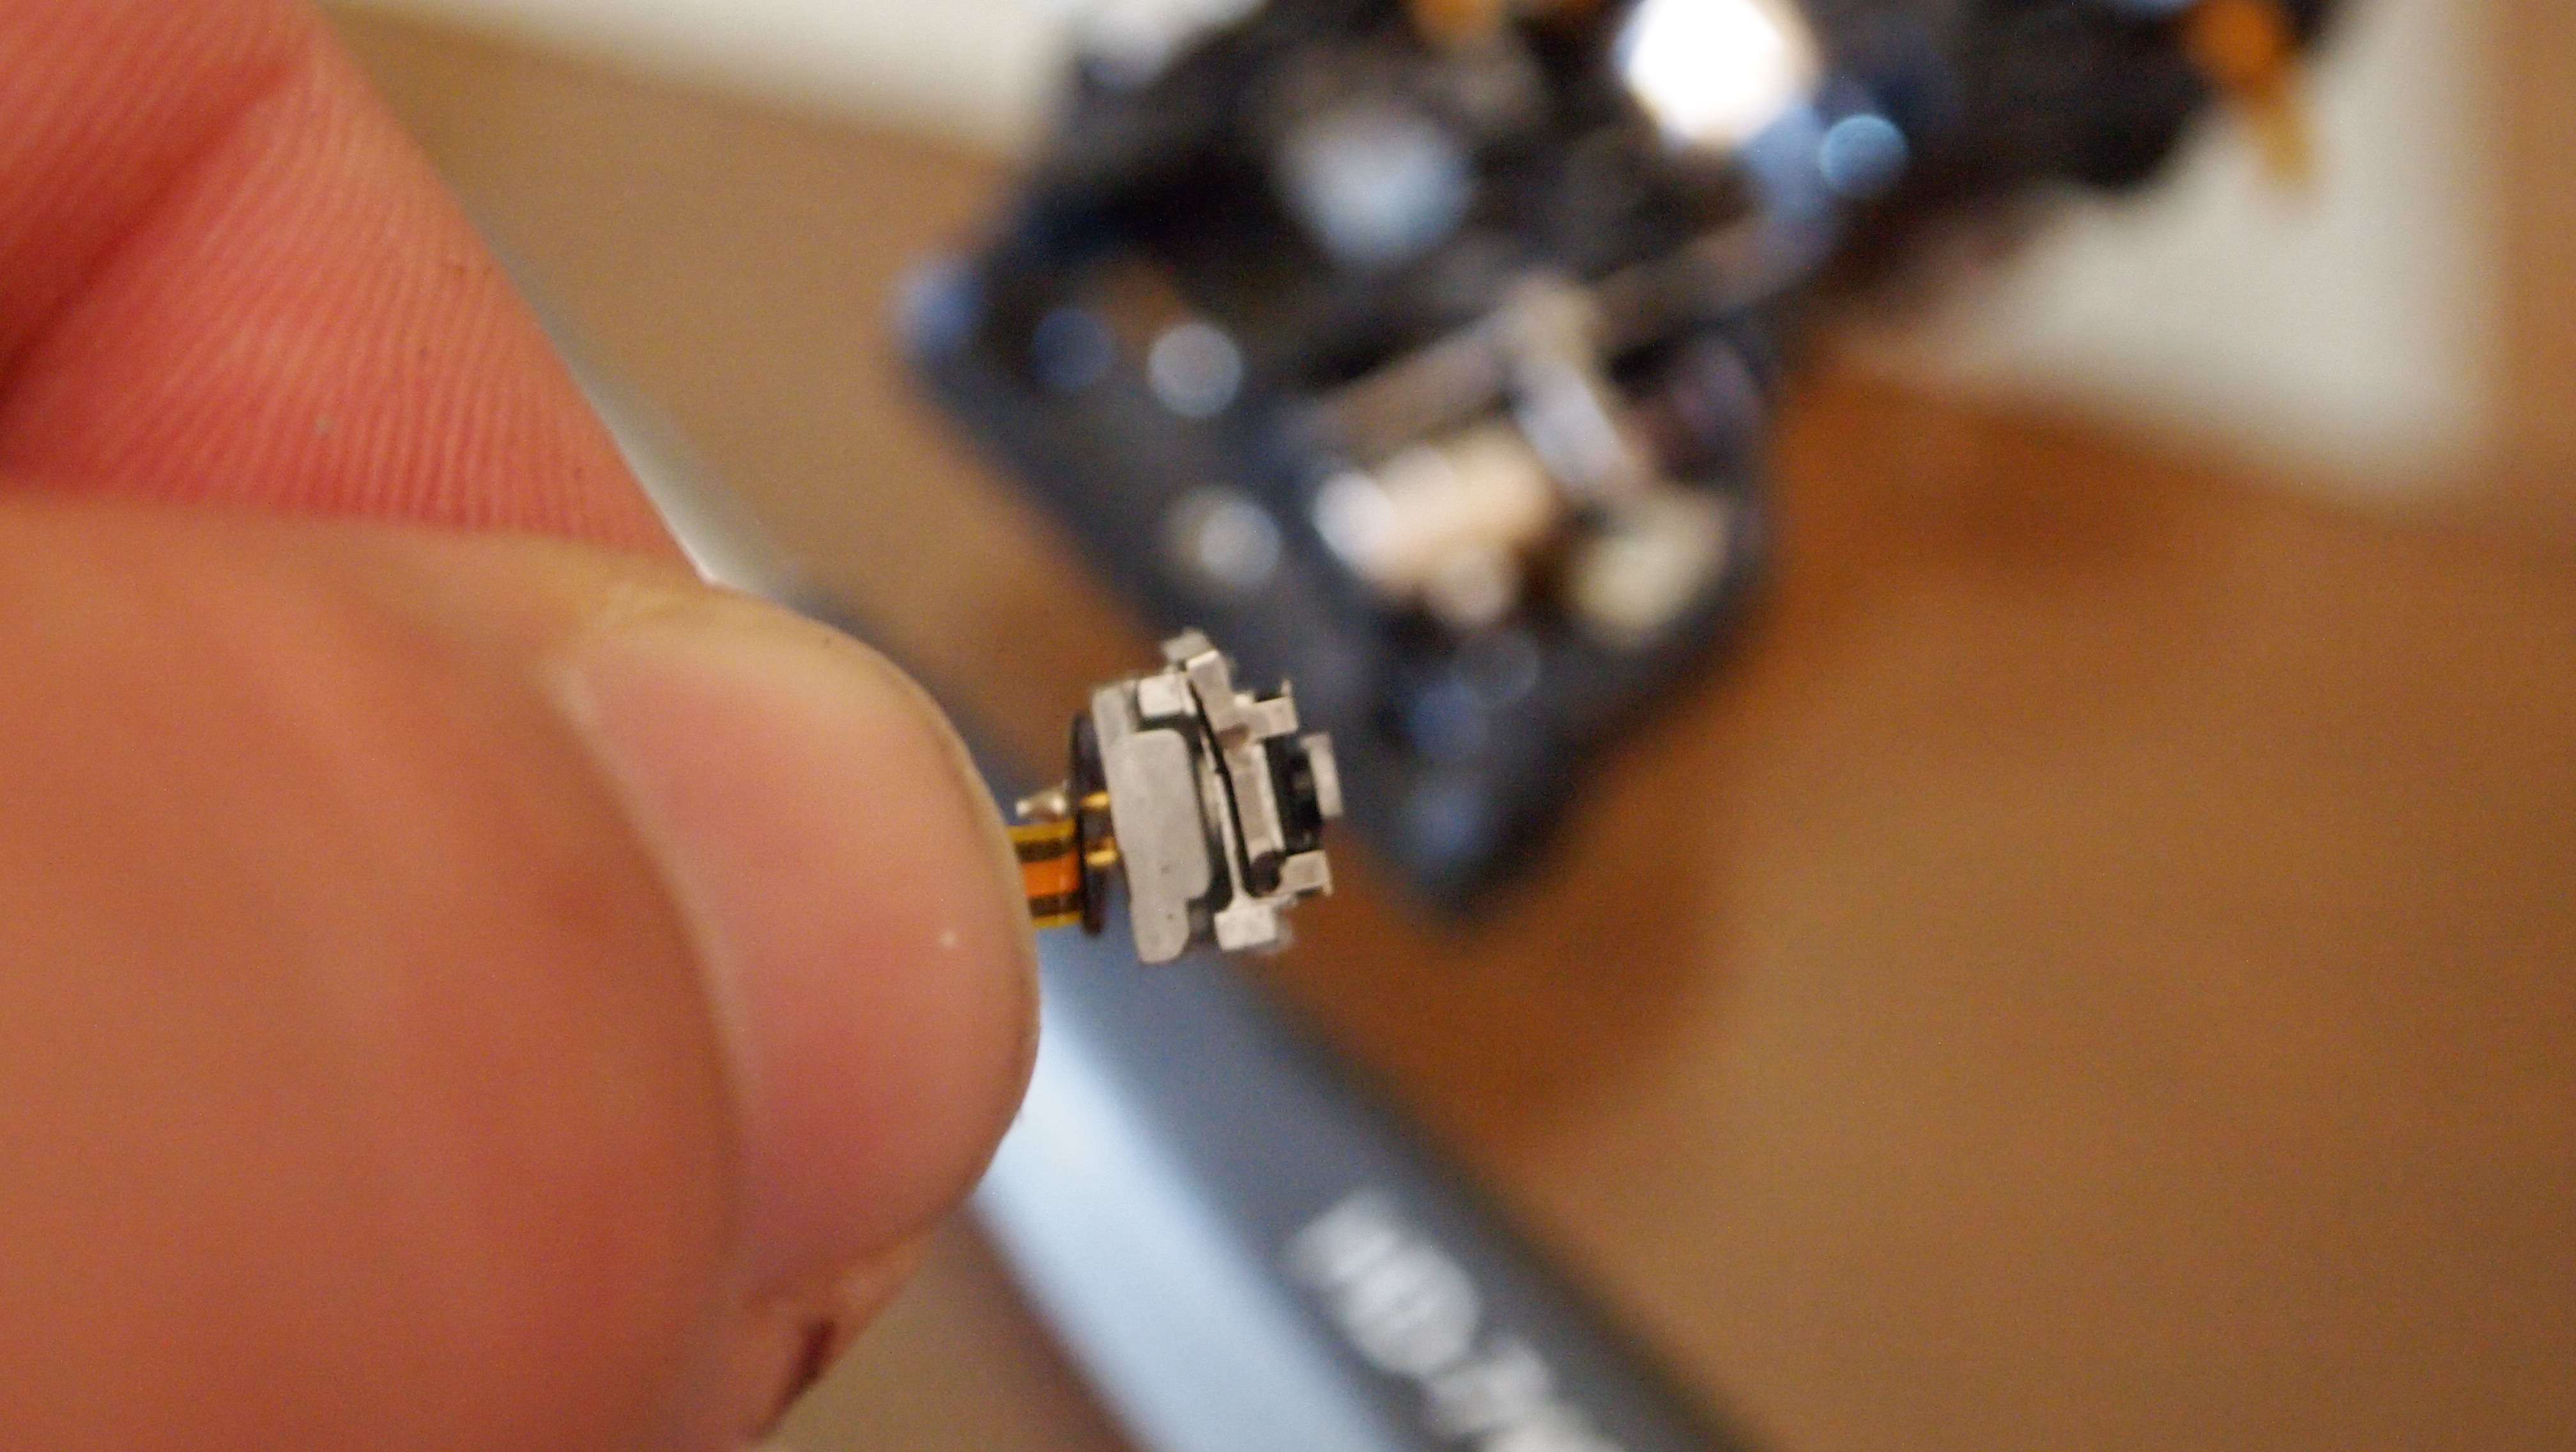
When you are done you are left with the diode and heatsink.
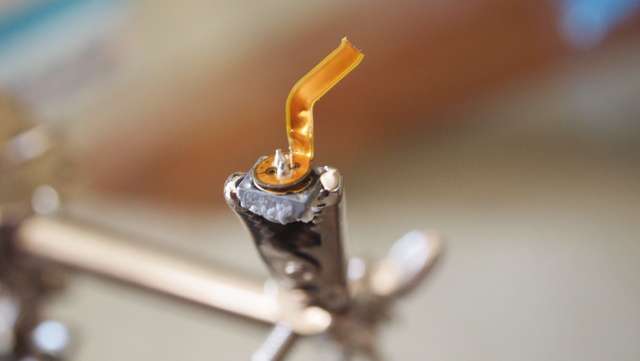
I like to put it in my helping hands while I remove the ribbon.
The rest of the process I did with video.
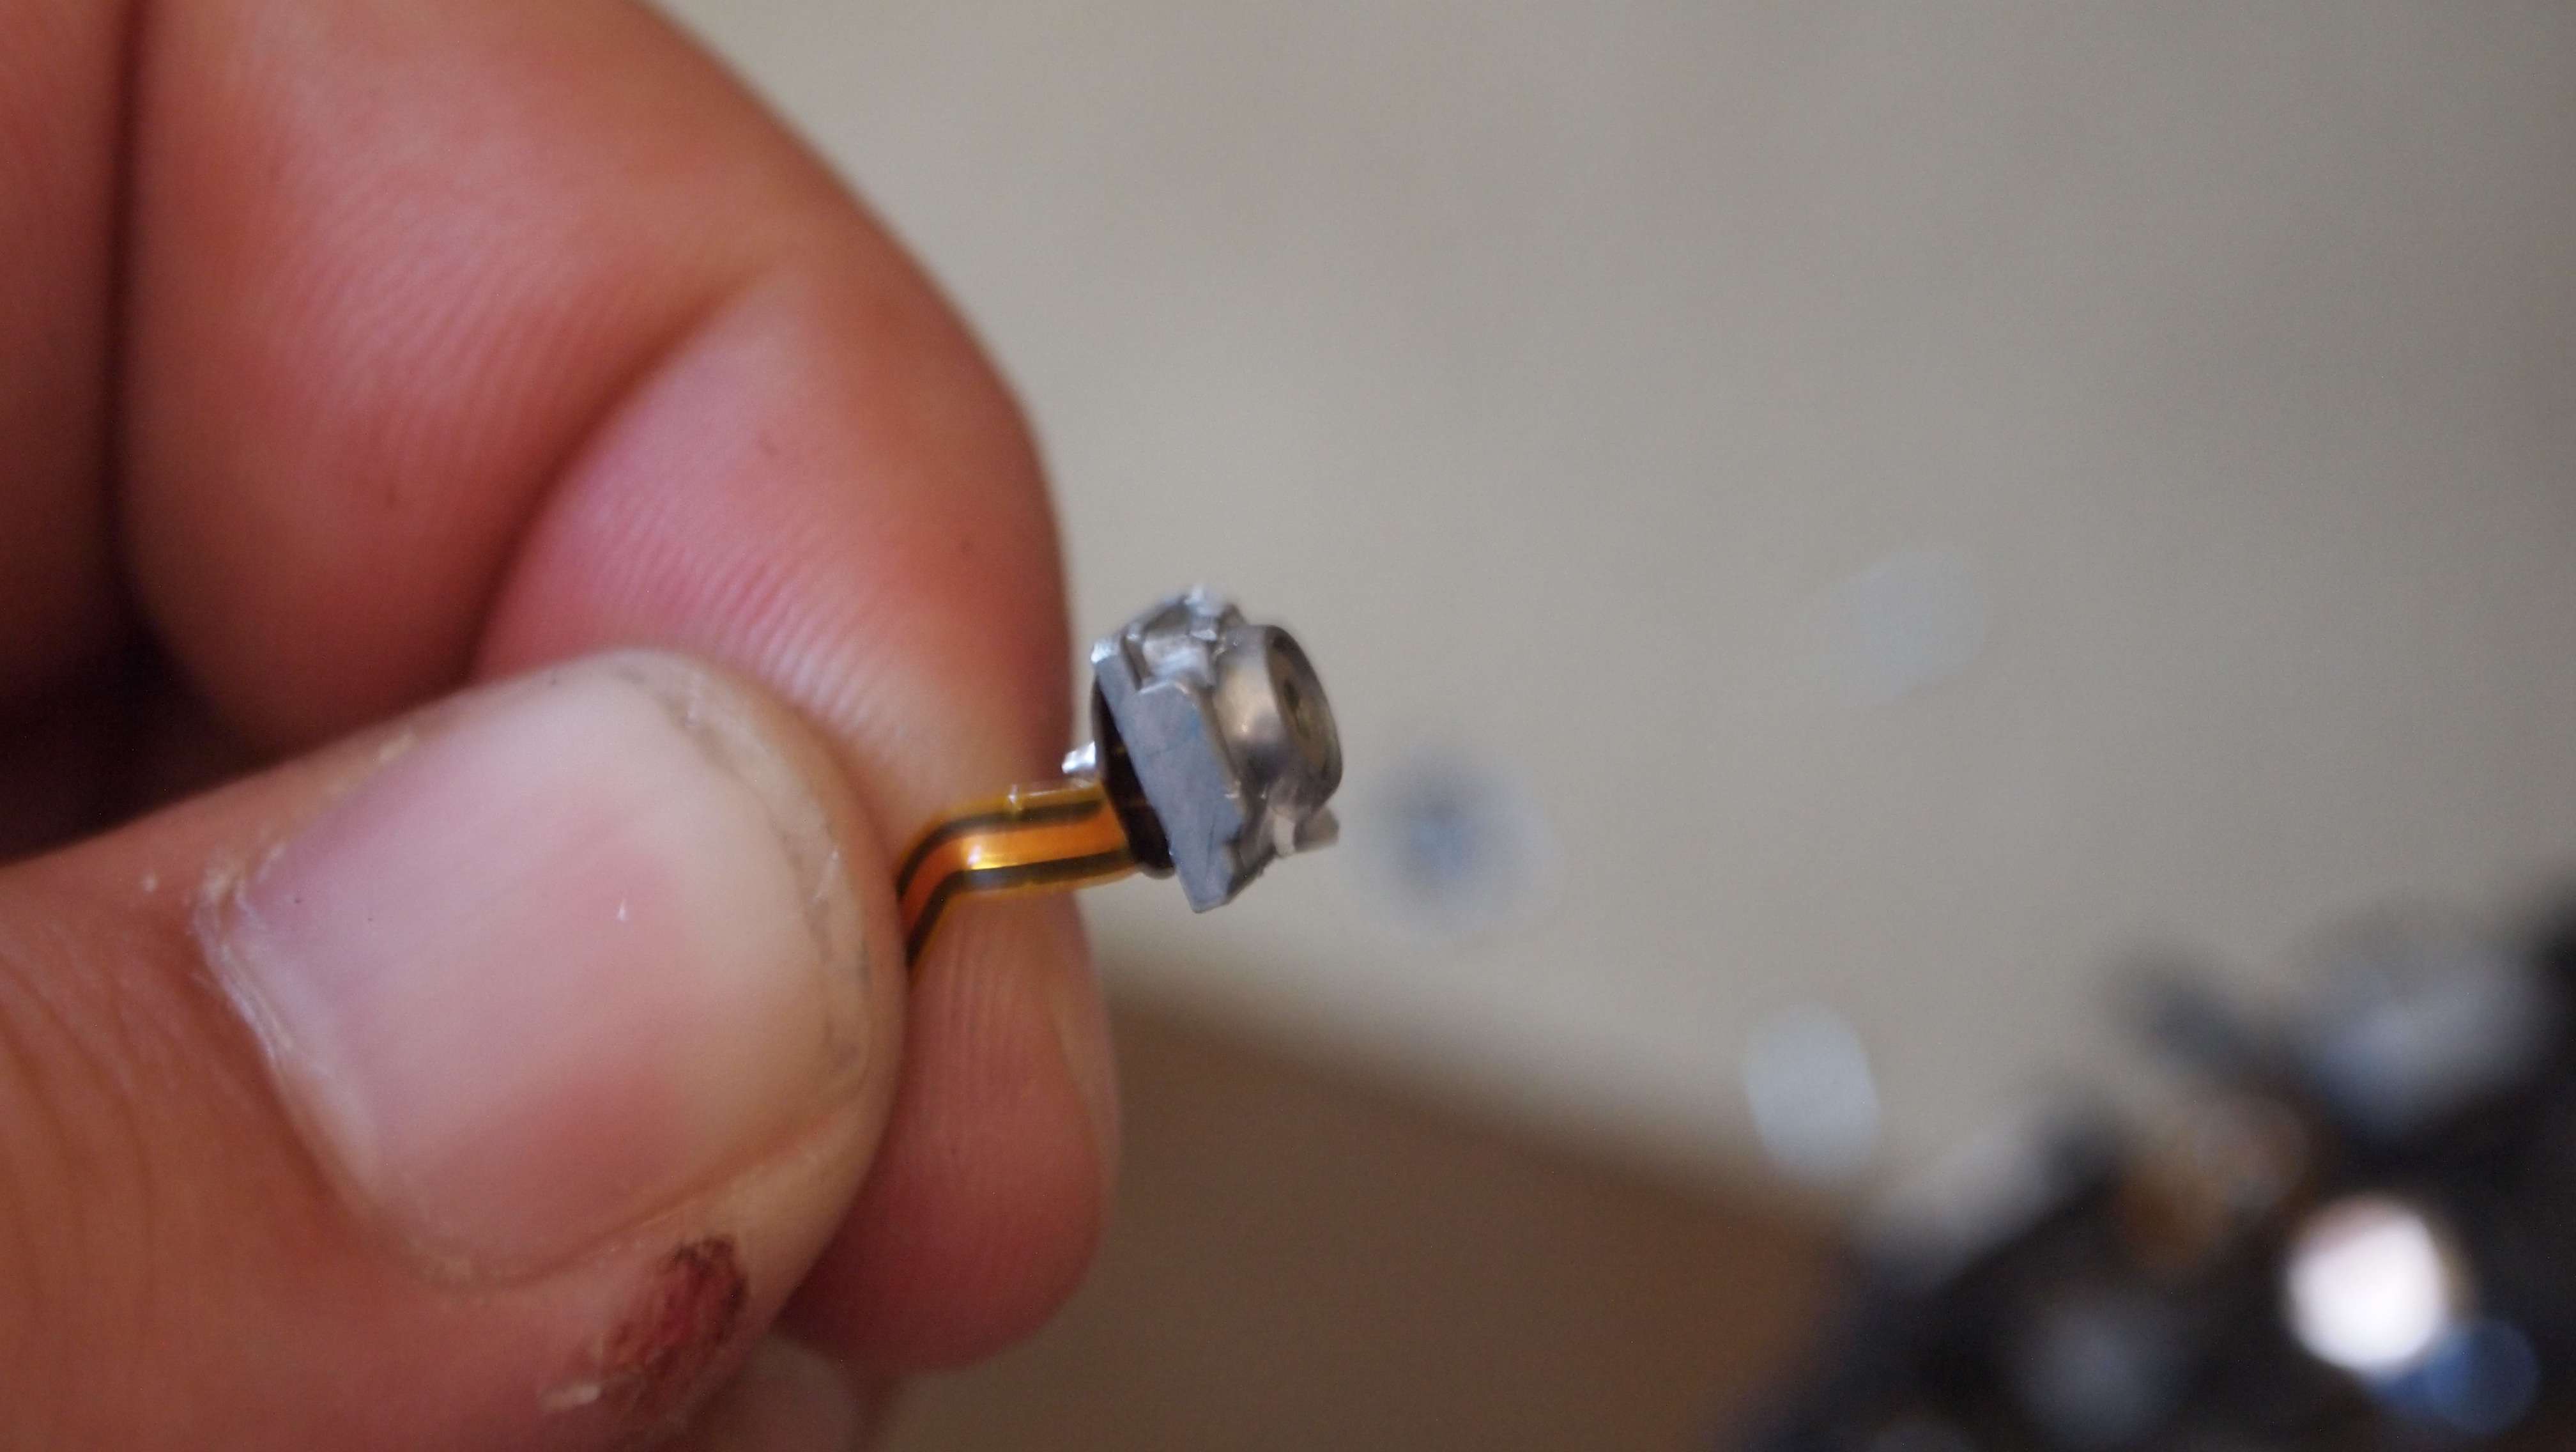
First to get the ribbon off the diode I preload some solder on my iron and dab it on the pins while pulling on the ribbon.
Once the ribbon is removed I like to take two pair of pliers and contort the heatsink back and fourth. This loosens the diode inside the heatsink.
The final step is to remove the diode from it's heatsink. I have been told on my previous tutorial that this step should be described in better detail. I use a small flat topped screw that is the same diameter as the diode head. Please be very careful to make sure that the diode is now loose from when you contorted the heatsink in the previous step. If the diode was not loosened in the previous step you can damage your diode window.
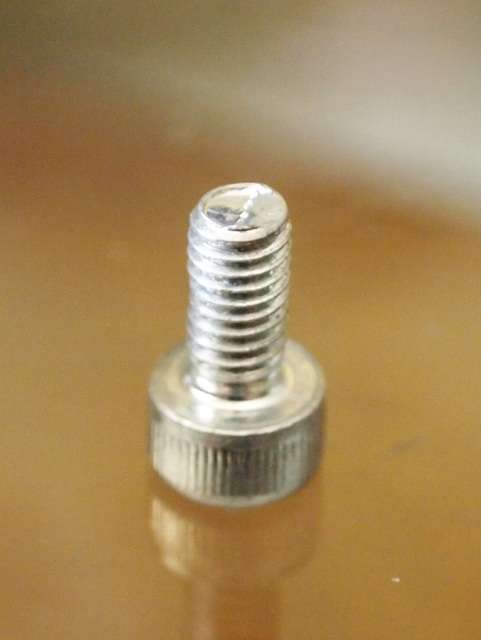
I screw it into the head of the heatsink and it pushes out the diode very nicely.
And your done. You can now mount your diode in an module.:beer:
For more info on pressing your diode and soldering the wires see my hot kit assembly tutorial. It was done with a 445 diode but the pinout is the same as the 405.
http://laserpointerforums.com/f51/tutorial-3405-build-tips-50930-2.html#post754769

.
.
.
Also if you would like to see more of my reviews and tutorials please visit my compilation page.
http://laserpointerforums.com/f51/d...ting-compilation-thread-56450.html#post797151
First get a Lite On 12X Sled.
Here are some shots of what the sled looks like.
Remember to use good ESD precautions. You can get an ESD wristband or there is a spay in a can that will take any static charge out of you workspace. Don't risk your new shinny diode to the evil static monster because you did not want to take the right precautions.:banghead:
I start with cutting all the ribbons on the top of the sled.
Then flip it over and cut all the ribbons on the bottom side.
Remove all the screws on the back.
Then just pry it off with your screwdriver.
When you get it off you can now see the diodes.
Now flip it over and take out the screw holding the board in.
There are two tabs that hold the board in place.
Just break them off with a flat screwdriver or with a pair of needle nose pliers.
Now the board is free and you can make sure that you have all the ribbons cut.
Next flip it back over and use a small flat head screwdriver to work the diode out.
When you get it out you have the diode in a heatsink and an optical assembly attached to the front.
Get you small screwdriver and pry it off.
When you are done you are left with the diode and heatsink.
I like to put it in my helping hands while I remove the ribbon.
The rest of the process I did with video.
First to get the ribbon off the diode I preload some solder on my iron and dab it on the pins while pulling on the ribbon.
Once the ribbon is removed I like to take two pair of pliers and contort the heatsink back and fourth. This loosens the diode inside the heatsink.
The final step is to remove the diode from it's heatsink. I have been told on my previous tutorial that this step should be described in better detail. I use a small flat topped screw that is the same diameter as the diode head. Please be very careful to make sure that the diode is now loose from when you contorted the heatsink in the previous step. If the diode was not loosened in the previous step you can damage your diode window.
I screw it into the head of the heatsink and it pushes out the diode very nicely.
And your done. You can now mount your diode in an module.:beer:
For more info on pressing your diode and soldering the wires see my hot kit assembly tutorial. It was done with a 445 diode but the pinout is the same as the 405.
http://laserpointerforums.com/f51/tutorial-3405-build-tips-50930-2.html#post754769
.
.
.
Last edited:


") !
!