Pman
0
- Joined
- Nov 28, 2012
- Messages
- 4,447
- Points
- 113
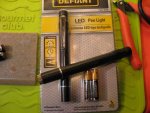
So, I had one more LPC-826 left today and no appropriate driver to run it where I wanted to with a single 10440. Started looking through my stuff and happened across a few Fasttech 532nm drivers that come on their 532nm modules that I had saved when I screwed something up or blew the diode.
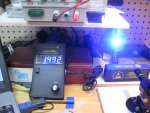
Testing showed that with 4.2V it was outputting 3.6V and I could set it anywhere I wanted for this diode so I was one happy Pman. Ended up setting to about 620mA which should give me between 350 and 400mW.
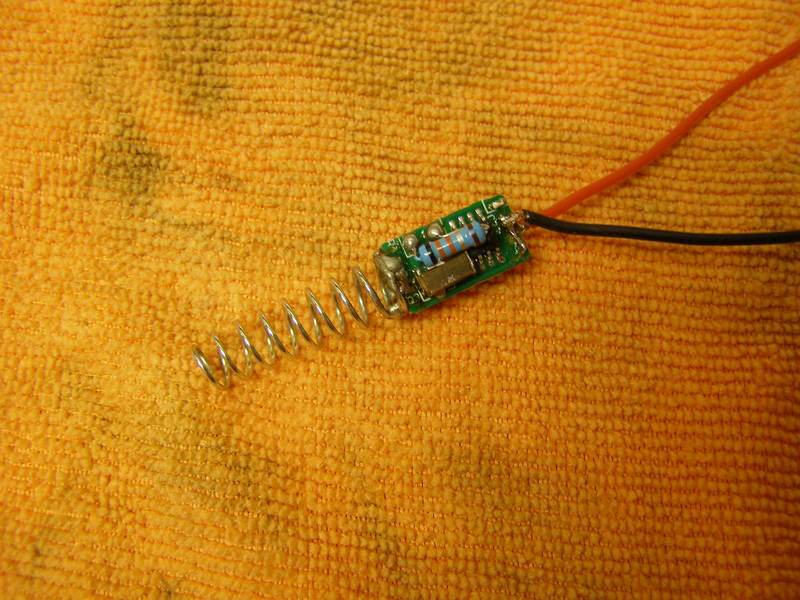
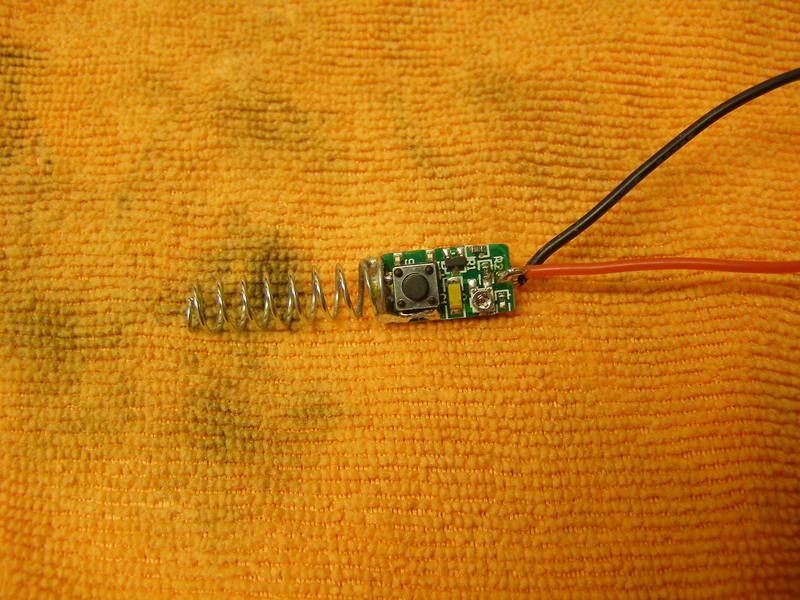
Remember that the LPC-826 is case negative so I had to find a way to isolate it during the build. Here's the driver after I got it set up for the length of spring I needed and so the switch would be jumped for always on:
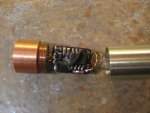
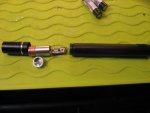
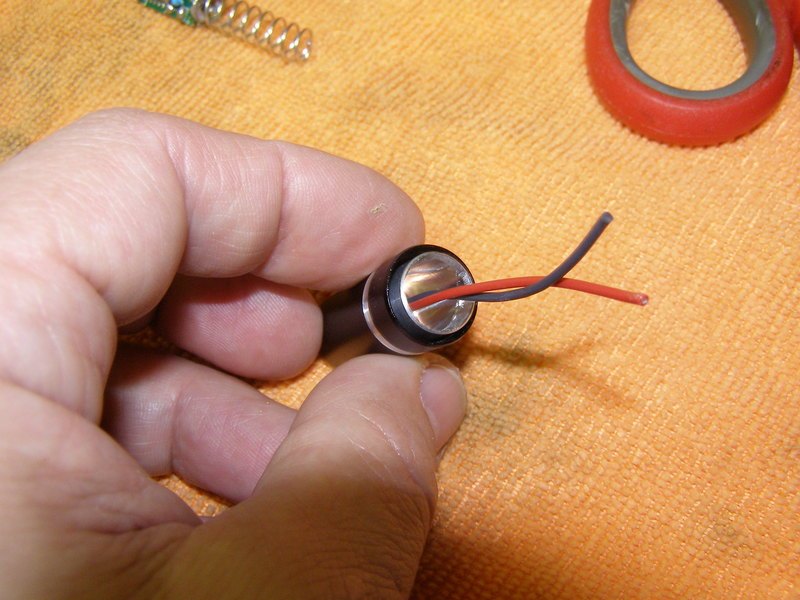
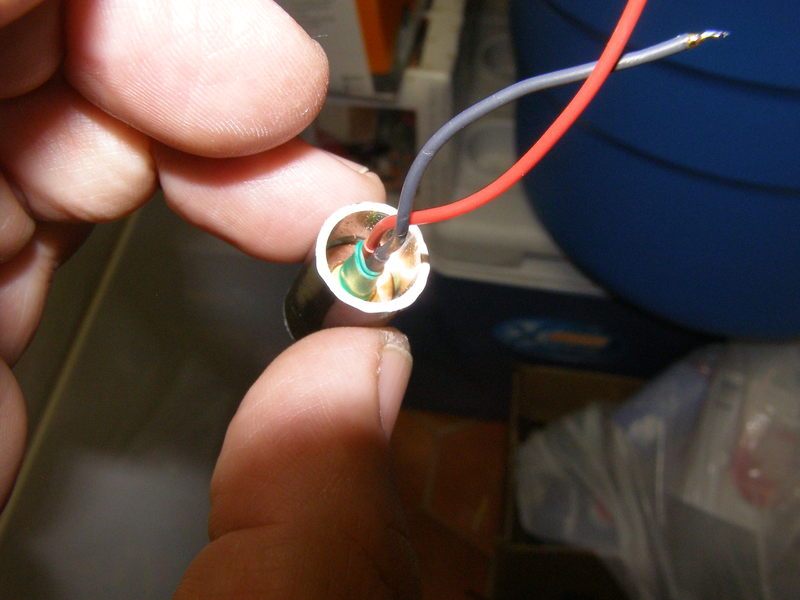
Diode pressed in, soldered and heat-shrinked:
Actually triple heat-shrinked")

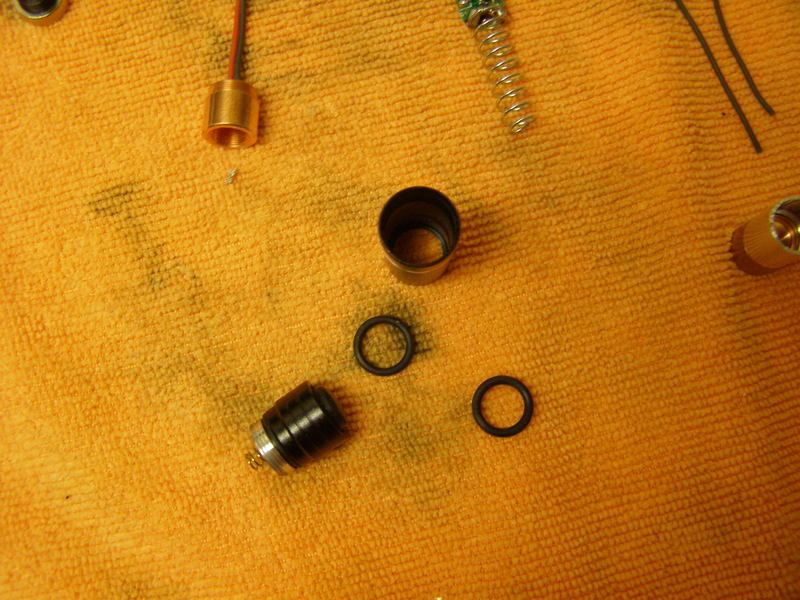
Problem with the back piece of the module is that it sticks out too far for the rest of the host to screw on:
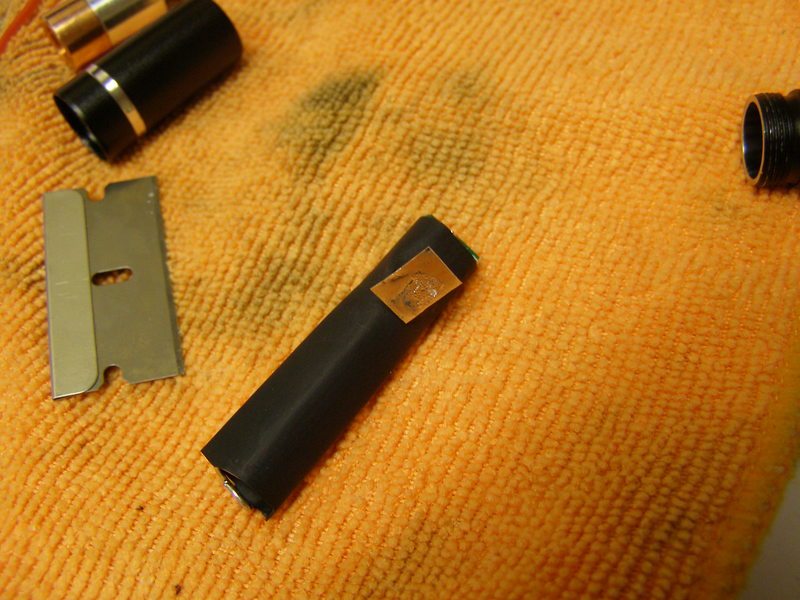
So, cut down the length:

To prevent any continuity between the host cap and the module we need a couple of o-rings:
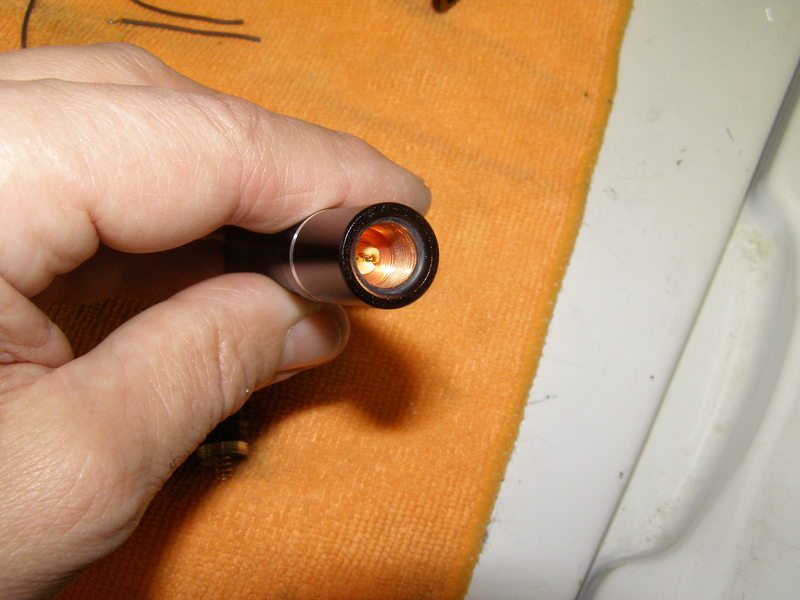
You can see the front o-ring with the module in place:
wrapped the module with thin cellophane tape:
Also for a bit of added protection added a bit of Artic Alumina to both the front and back of the module:

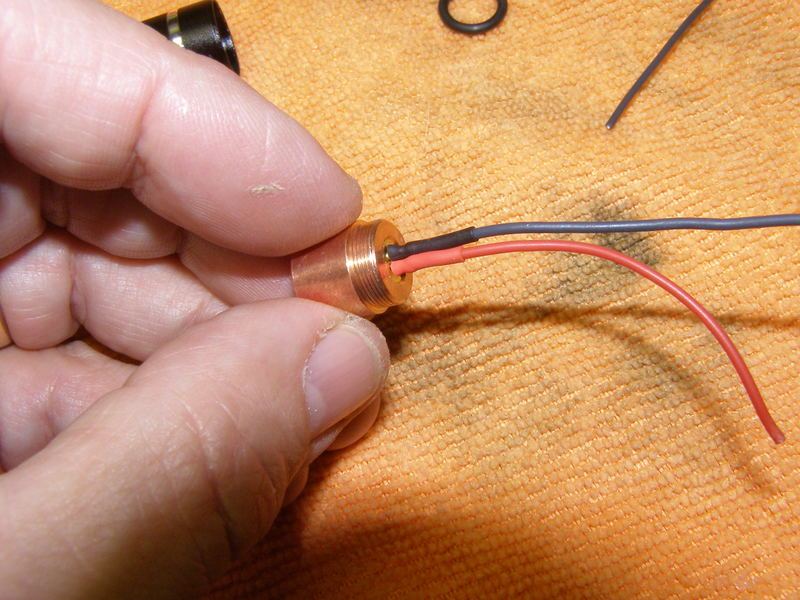
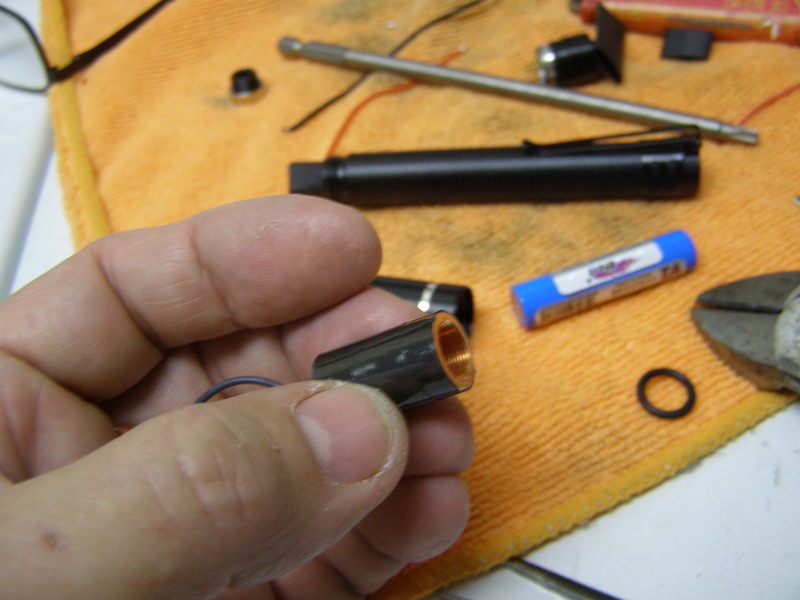
Took a piece of heat-shrink tubing and made a hole in it and put the positive wire through as this is going to be wired case positive:
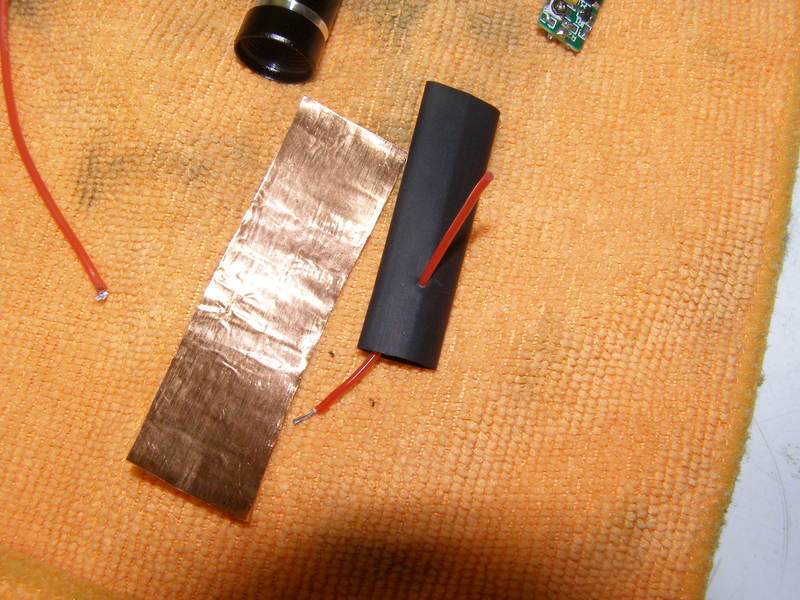
soldered the wire to the driver positive and also soldered a piece of solder tinned thin copper sheeting to the other end:

Used my dremel steel brush to clean out the inside of the host so that when I pressed in the driver assembly the copper would touch conductive metal to grab the positive:

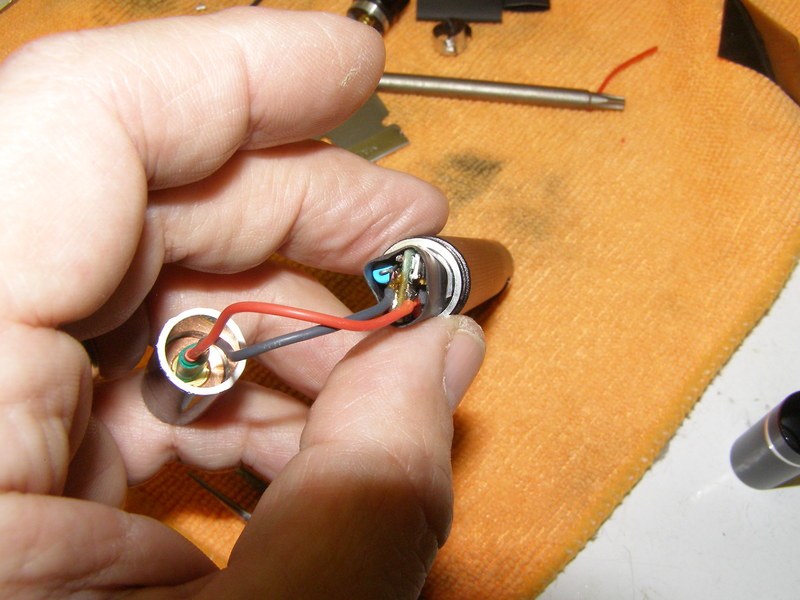
Soldered the diode connection to the driver and pressed in the driver section:
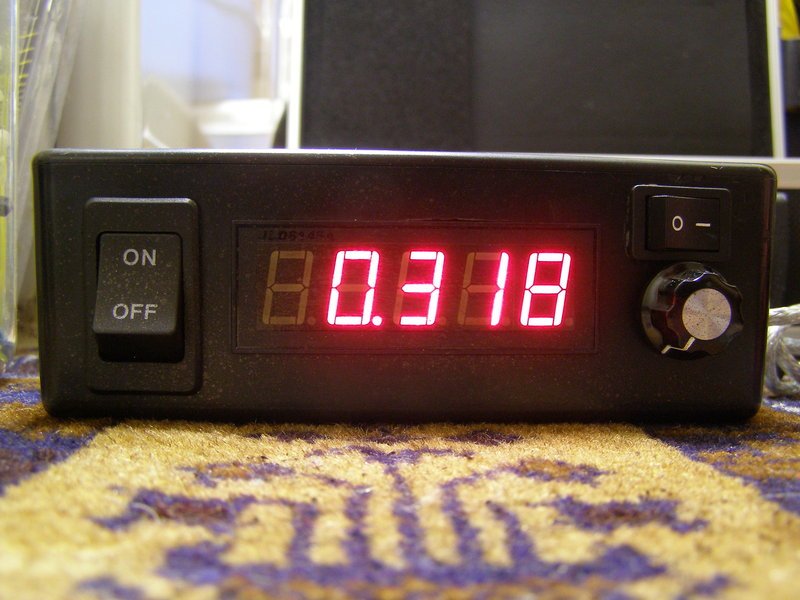
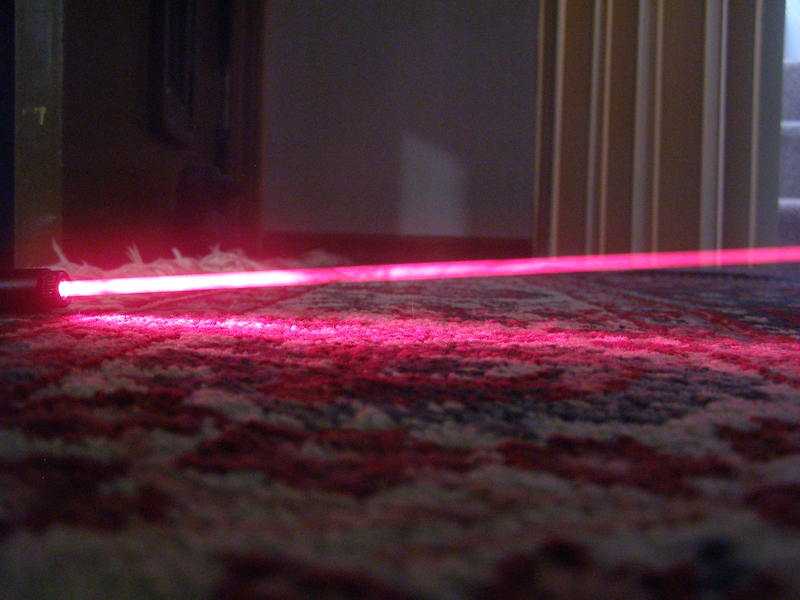
This was taken after some testing so the battery was a bit lower as the original reading with a 3-element was over 335mW and with a G hit 380mW:
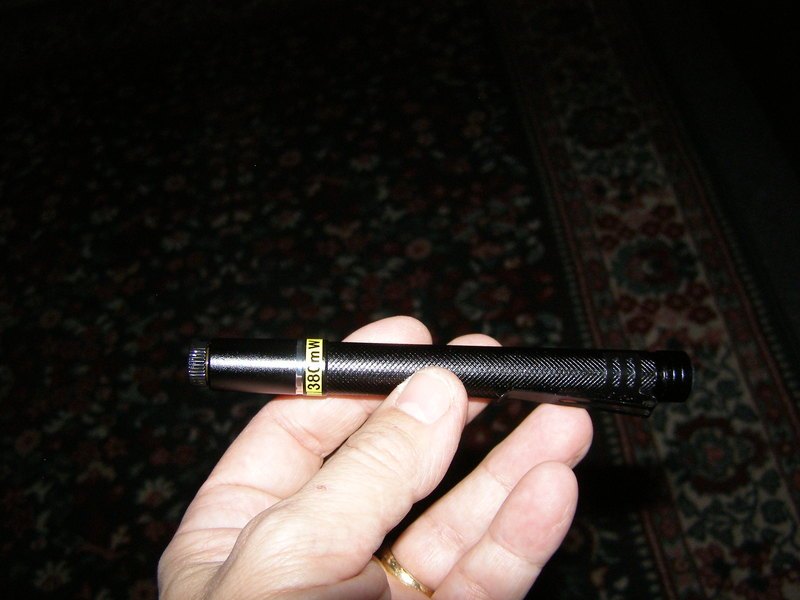
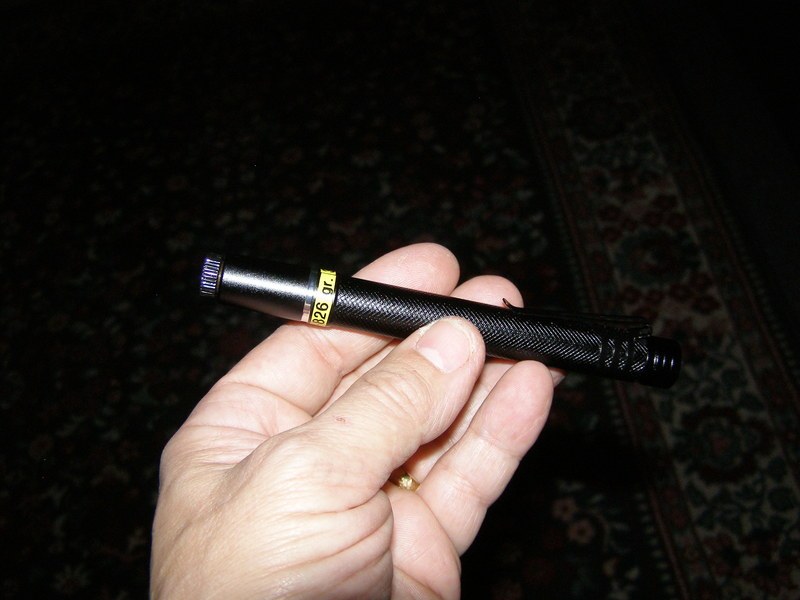
It looks weird in this pic but the label is not crooked:
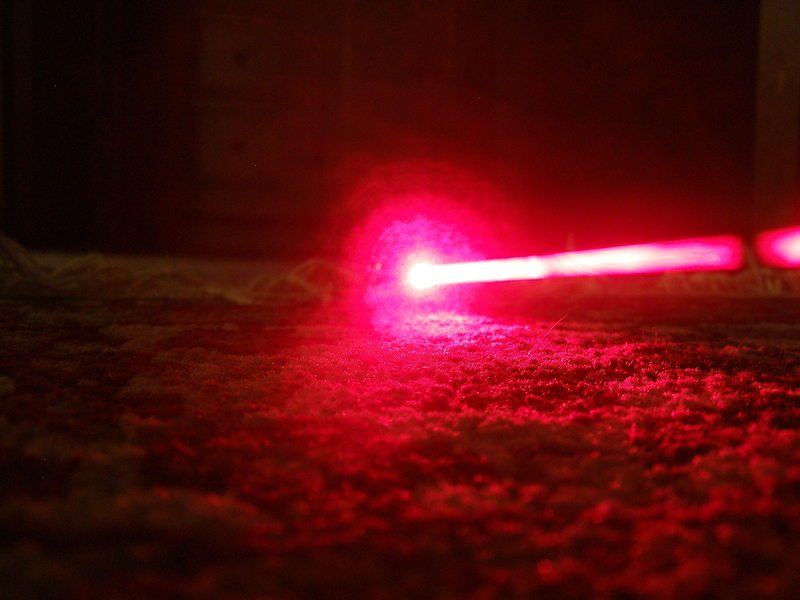
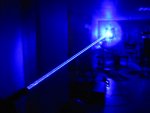
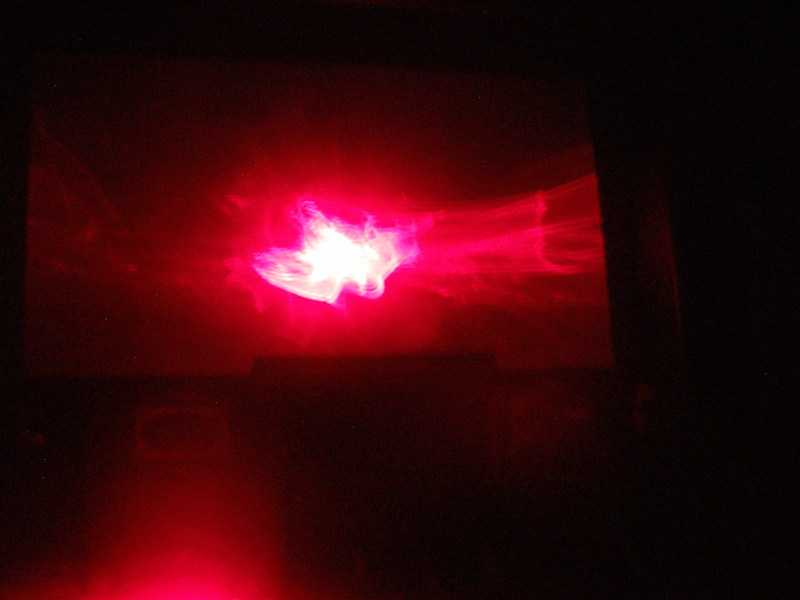
Last 2 taken through a bulb and onto my home theater screen:
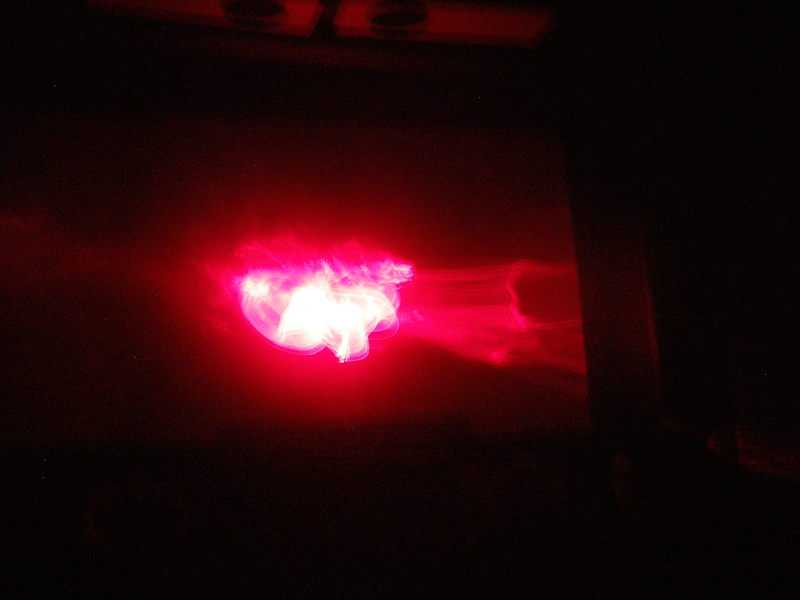
Looks like a diving fiery bird to me:
Testing showed that with 4.2V it was outputting 3.6V and I could set it anywhere I wanted for this diode so I was one happy Pman. Ended up setting to about 620mA which should give me between 350 and 400mW.
Remember that the LPC-826 is case negative so I had to find a way to isolate it during the build. Here's the driver after I got it set up for the length of spring I needed and so the switch would be jumped for always on:
Diode pressed in, soldered and heat-shrinked:
Actually triple heat-shrinked
Problem with the back piece of the module is that it sticks out too far for the rest of the host to screw on:
So, cut down the length:
To prevent any continuity between the host cap and the module we need a couple of o-rings:
You can see the front o-ring with the module in place:
wrapped the module with thin cellophane tape:
Also for a bit of added protection added a bit of Artic Alumina to both the front and back of the module:
Took a piece of heat-shrink tubing and made a hole in it and put the positive wire through as this is going to be wired case positive:
soldered the wire to the driver positive and also soldered a piece of solder tinned thin copper sheeting to the other end:
Used my dremel steel brush to clean out the inside of the host so that when I pressed in the driver assembly the copper would touch conductive metal to grab the positive:
Soldered the diode connection to the driver and pressed in the driver section:
This was taken after some testing so the battery was a bit lower as the original reading with a 3-element was over 335mW and with a G hit 380mW:
It looks weird in this pic but the label is not crooked:
Last 2 taken through a bulb and onto my home theater screen:
Looks like a diving fiery bird to me: