- Joined
- Aug 25, 2010
- Messages
- 533
- Points
- 63
Here I'm again with another expensive project.
This time is my pleasure to introduce You my last effort: the stunning 1W @1.5W 520 nm diode mounted in a custom evegreen Zaser host.
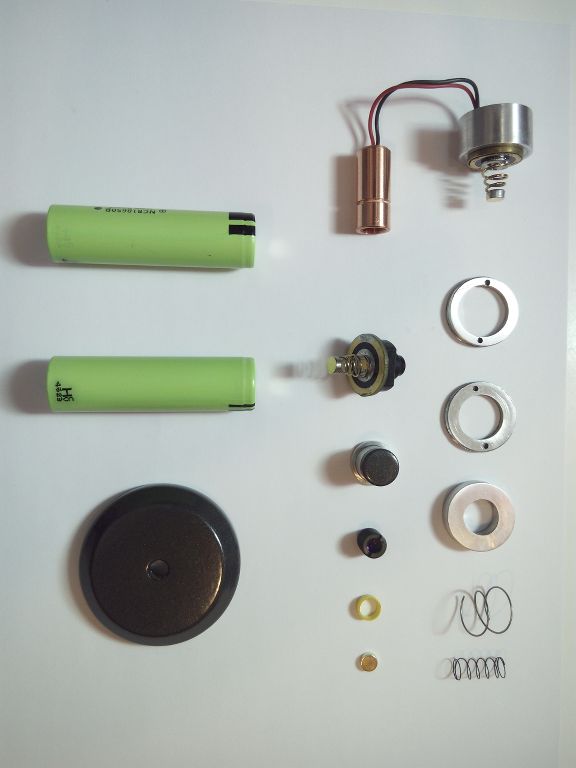
Those are the parts:
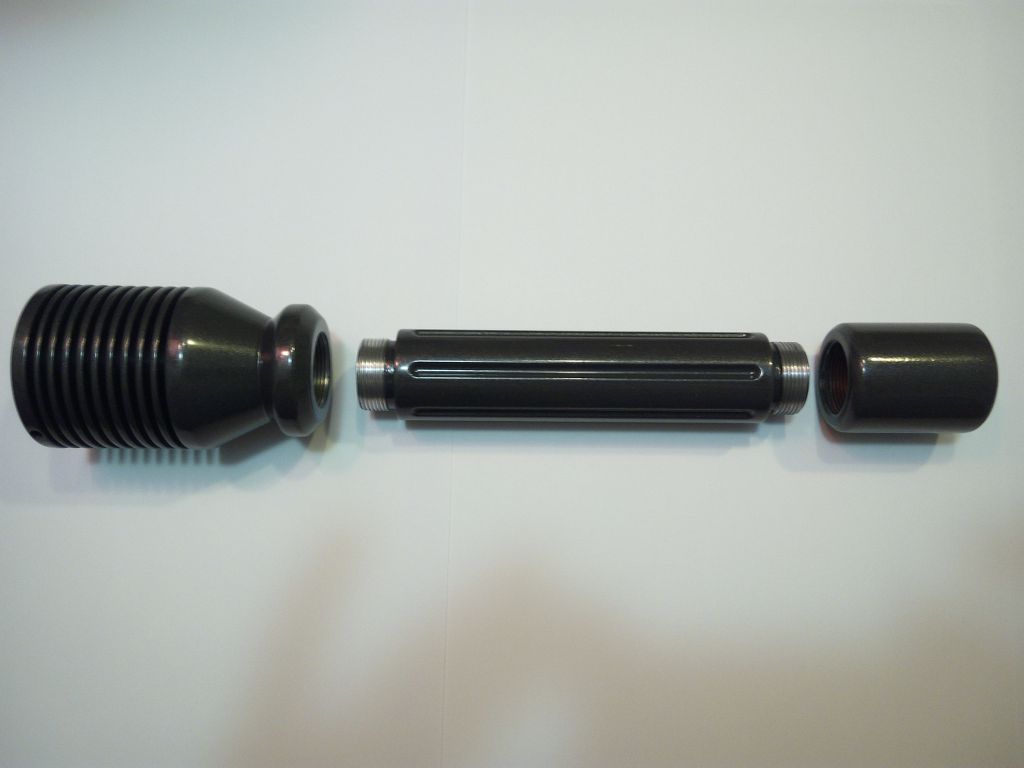
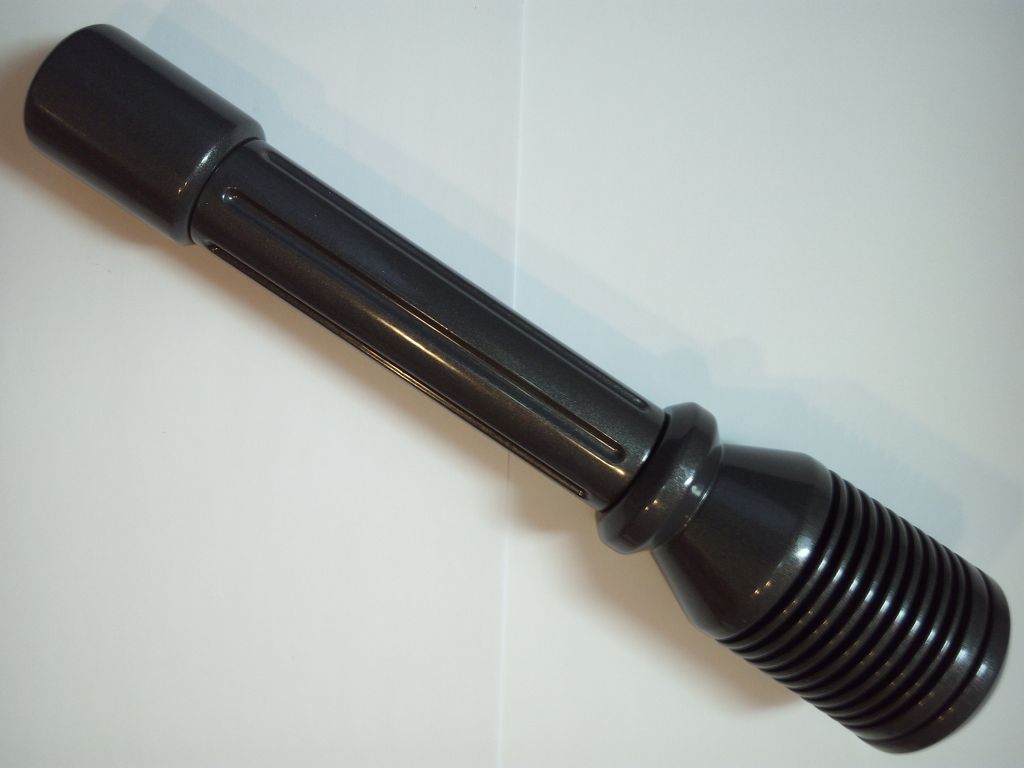
The head is slightly bigger than normal because I'm planning to put on a LG beam expander in the near future.
It were added also two more fins to compensate the original proportions of the head diameter vs lenght.
Some other cosmetic changes were made to meet my personal taste.
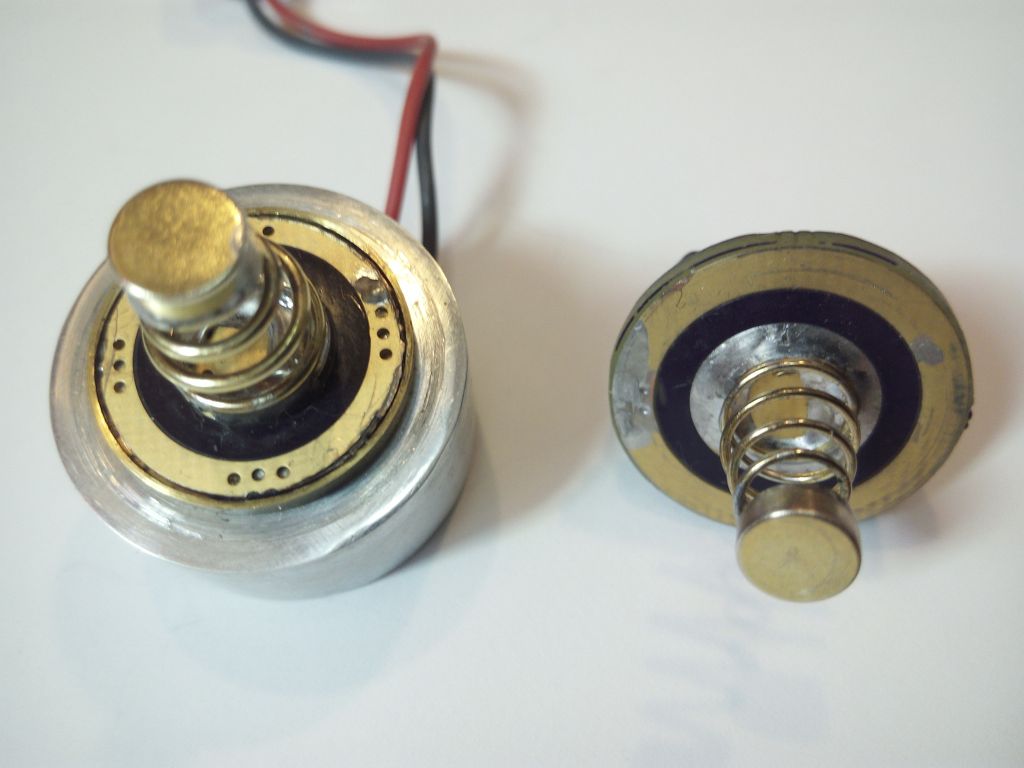
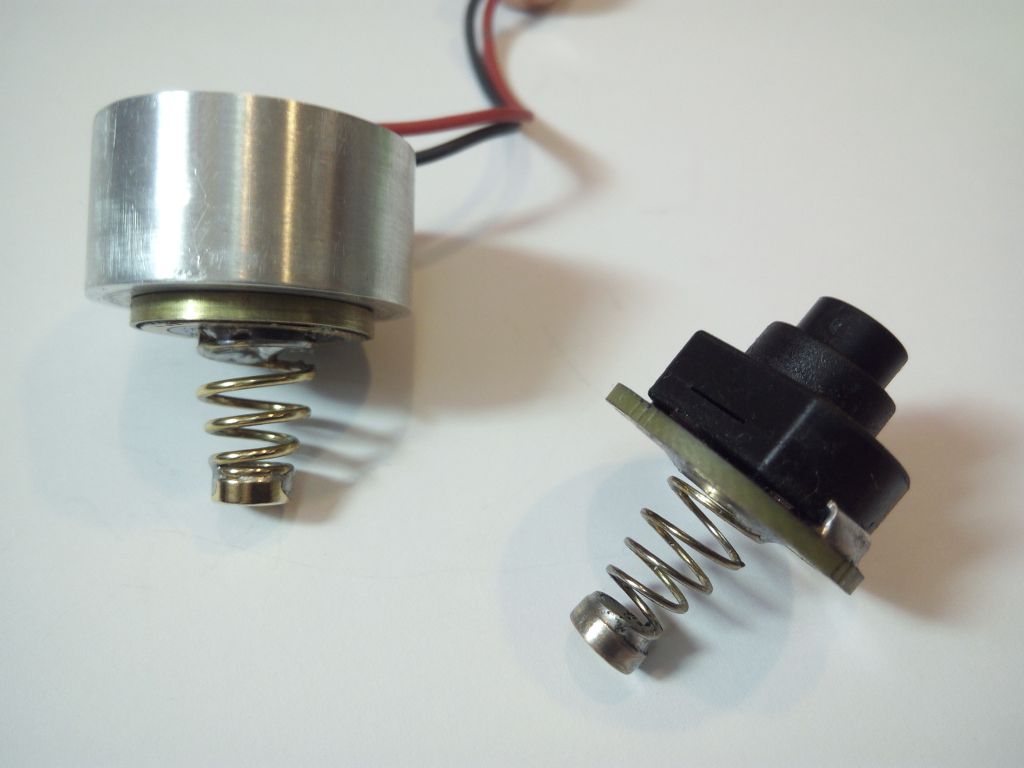
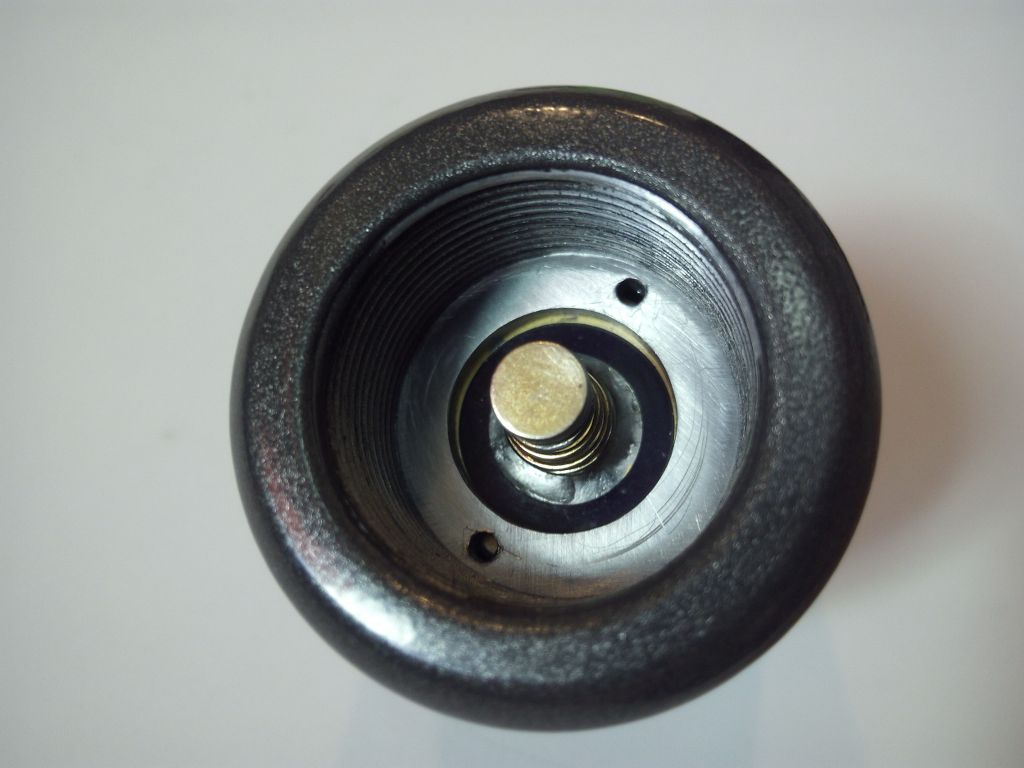
I soldered a neodimium gold plated magnet on the top of every spring to improve electrical path and spring pressure:
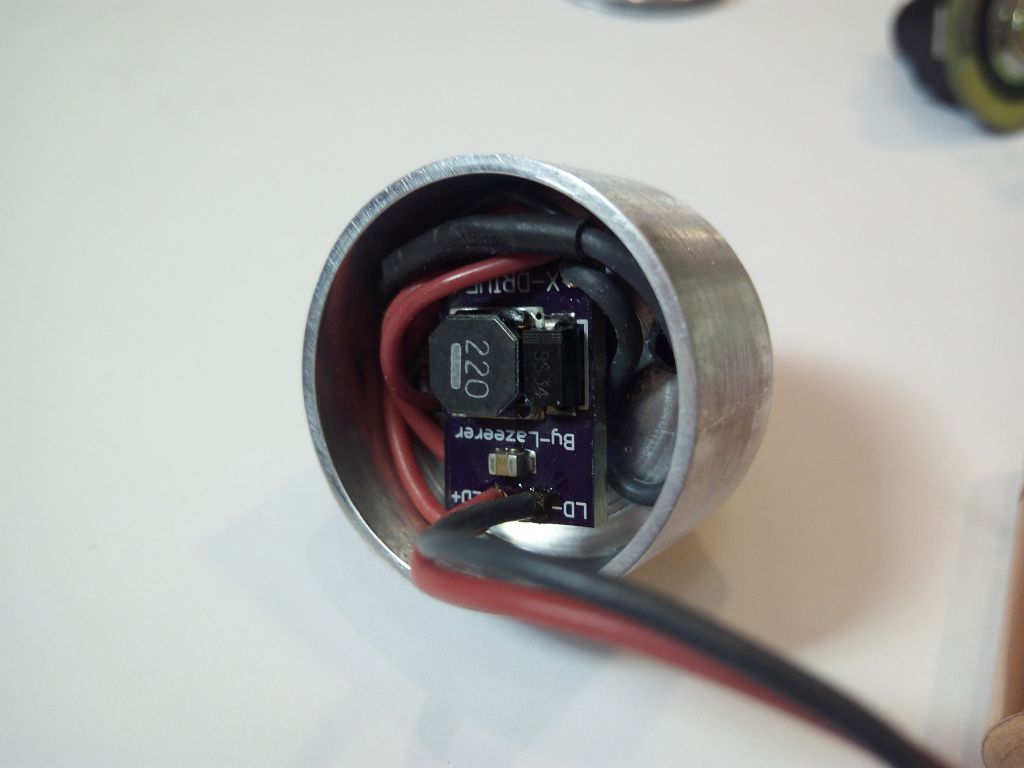
The X-drive @2.4A locked inside the heatsink with aluminum thermal glue. All the wires soldered and insulated with thermal tubing:
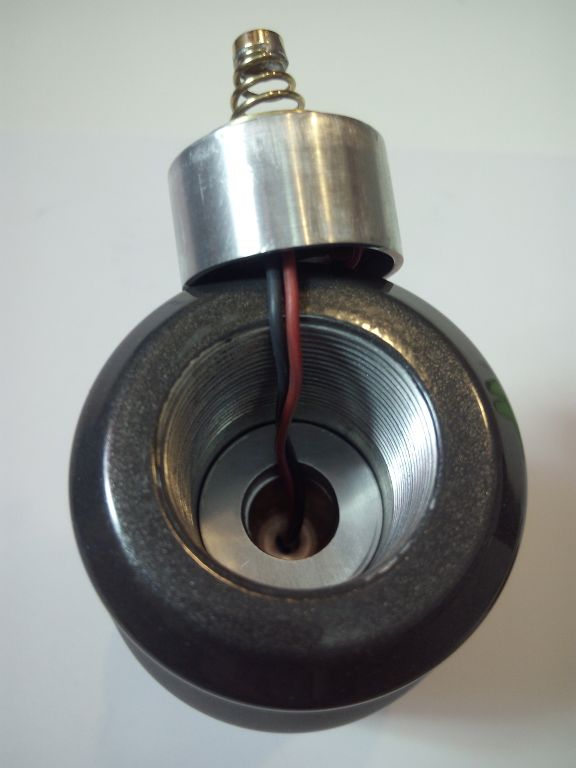
A special custom thick washer was placed between the head and the driver barrel to reach the perfect gap between the two springs to obtain the right pressure:
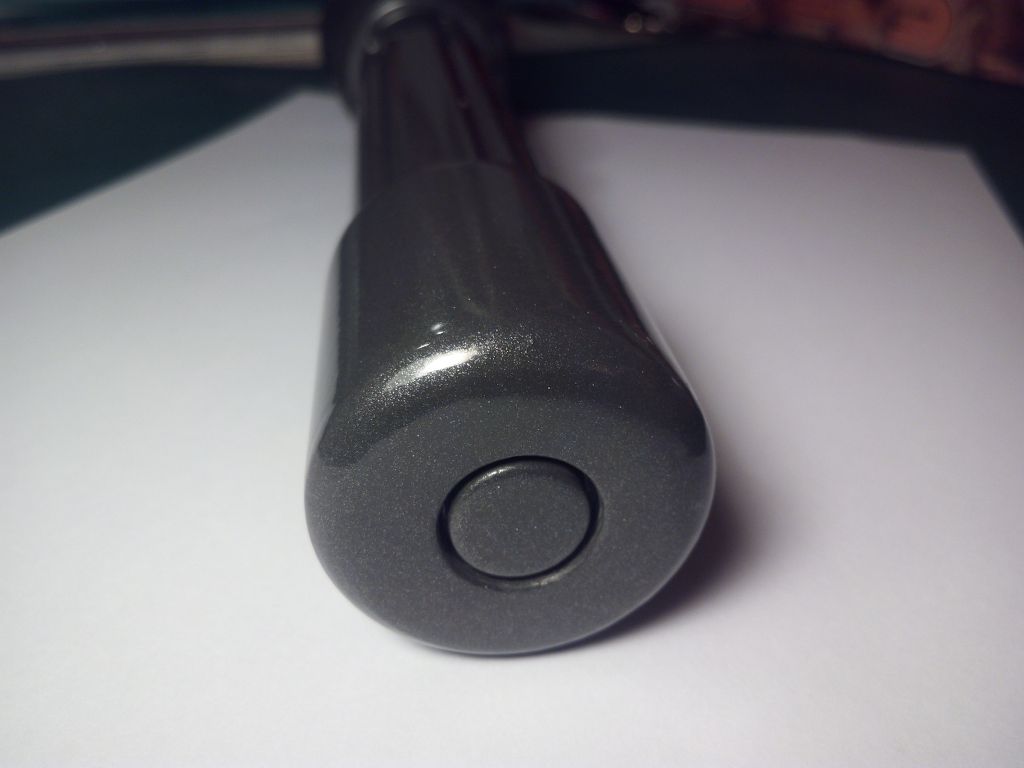
Driver barrel and all the switch parts locked in place:
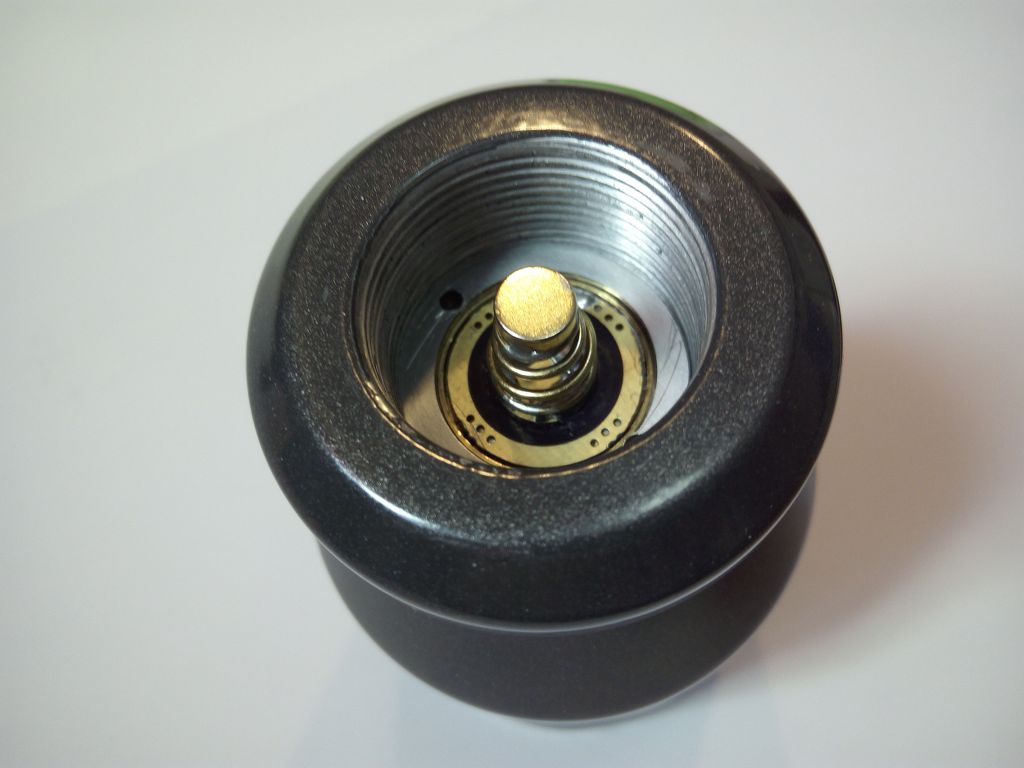
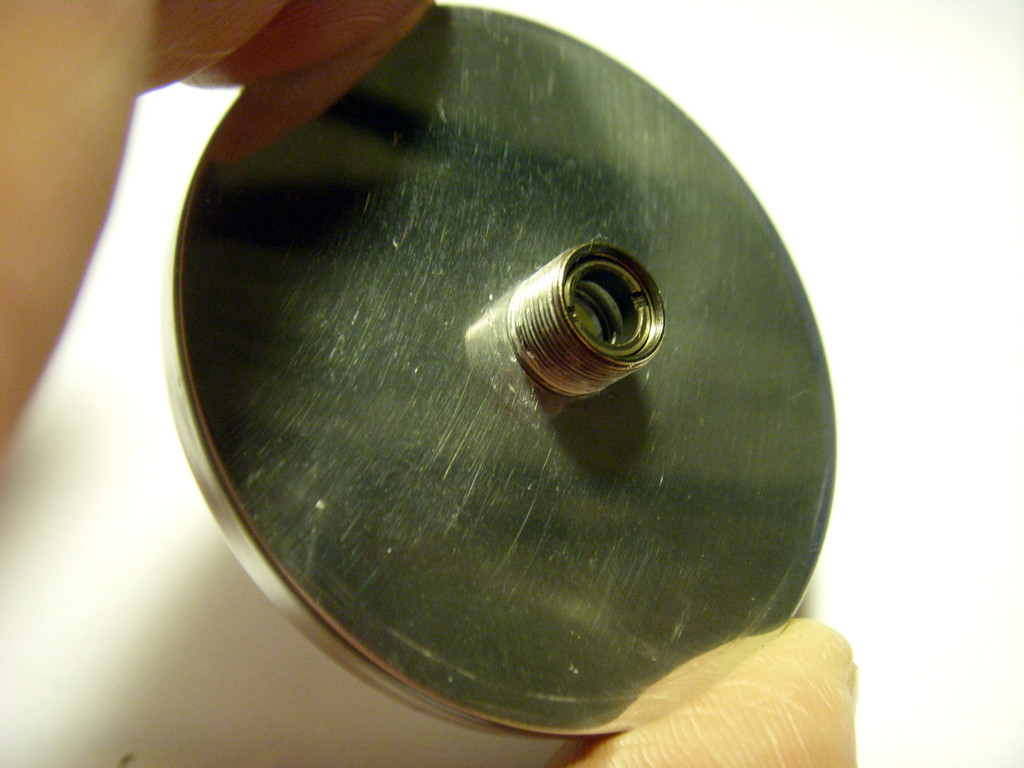
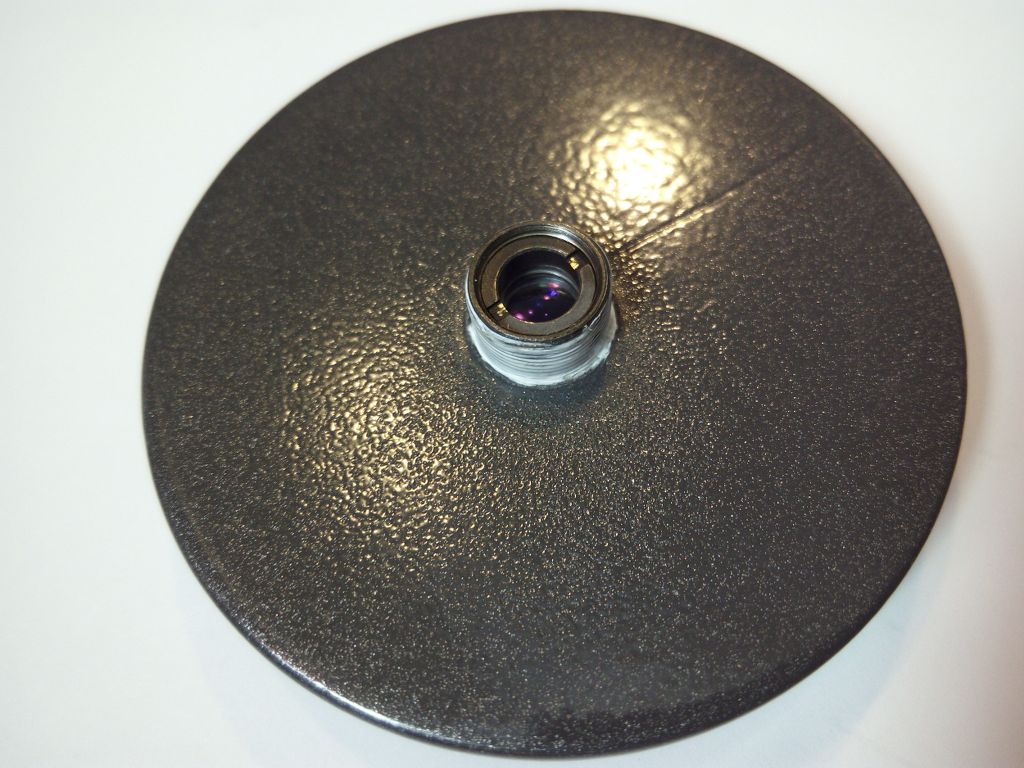
The diode mounted and locked thru the side screw inside the head hole:
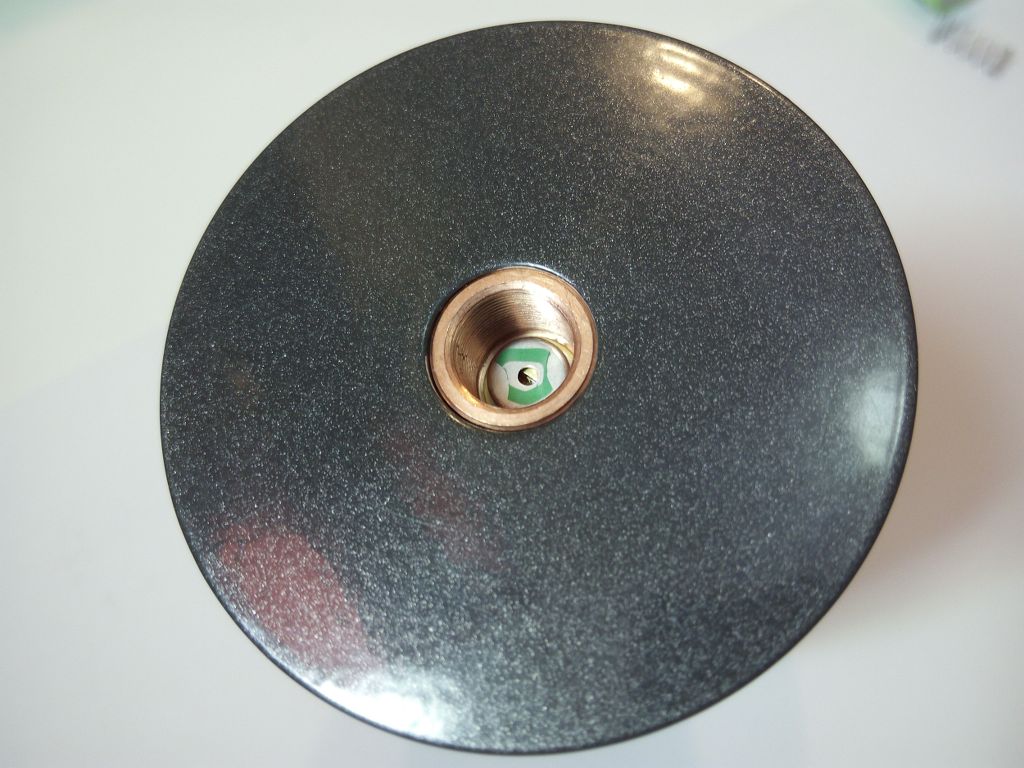
The tolerance is impressive: the diode fit inside the hole like a piston inside a cylinder!
A precise plastic thick washer was placed at the end of the threaded lens hole to obtain a perfect gap from the min to the max focus adjustment:
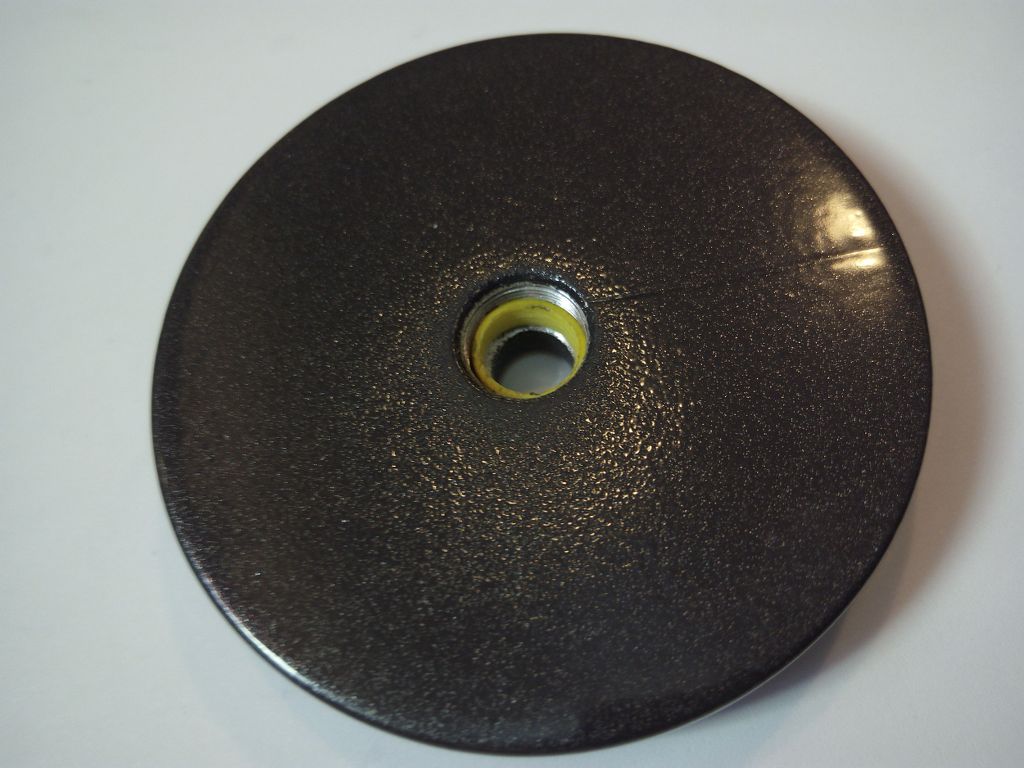
So I have the focus to the infinity when I reach the middleway of the entire lens excursion.
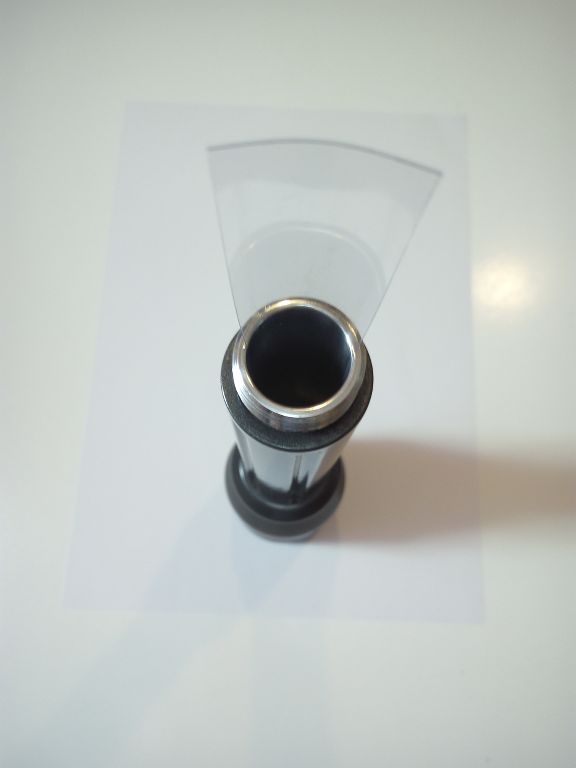
Three elements glass lenses with a lot of teflon tape wrapped around the threaded barrel screwed into the focusing disk:
I used both teflon aroud the lens barrel thread and spring between the parts to obtain a nice friction and a precision rotating movement.
A small piece of acetate foil to avoid battery shakes and rattle:
The laser fully assembled:
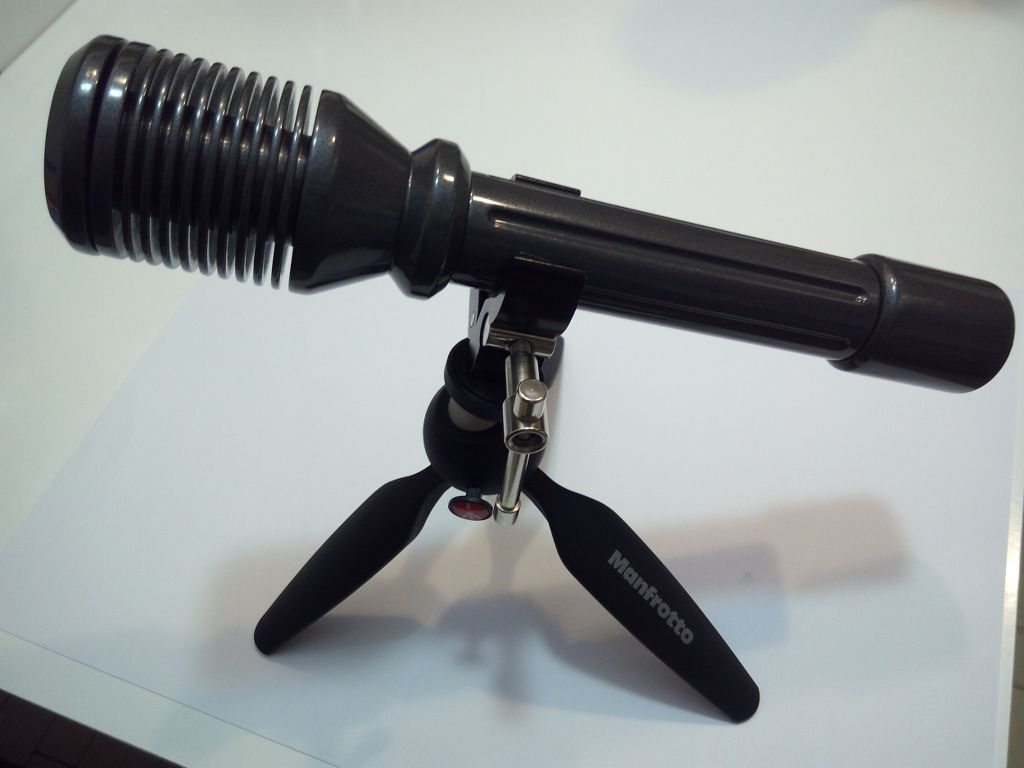
The laser mounted on a Manfrotto tripod+clamp:
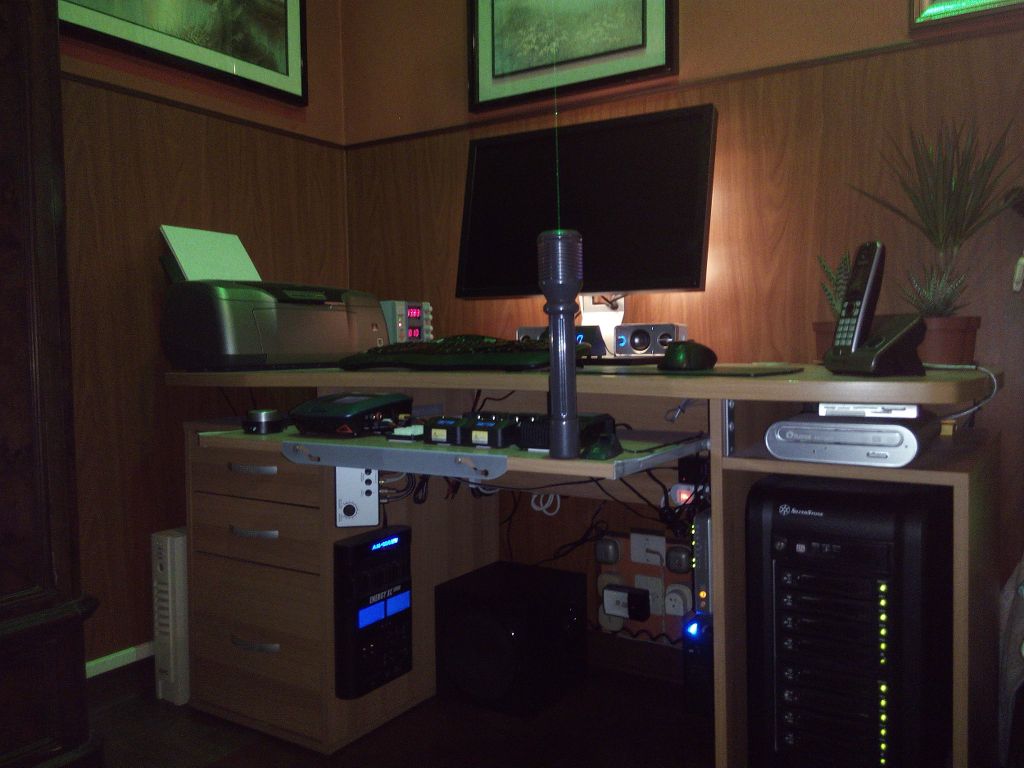
The laser on the desk of my button room:
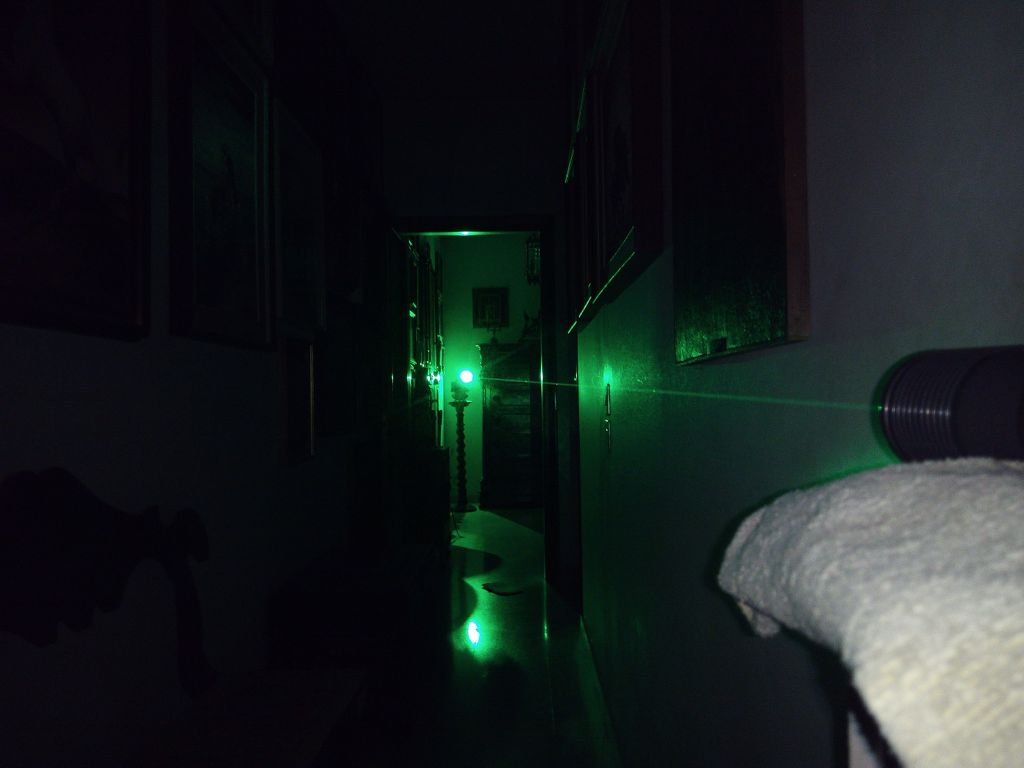
The indoor beamshot:
The outdoor beamshots during an icy clear night:


An outdoor beamshot during an warm foggy night:
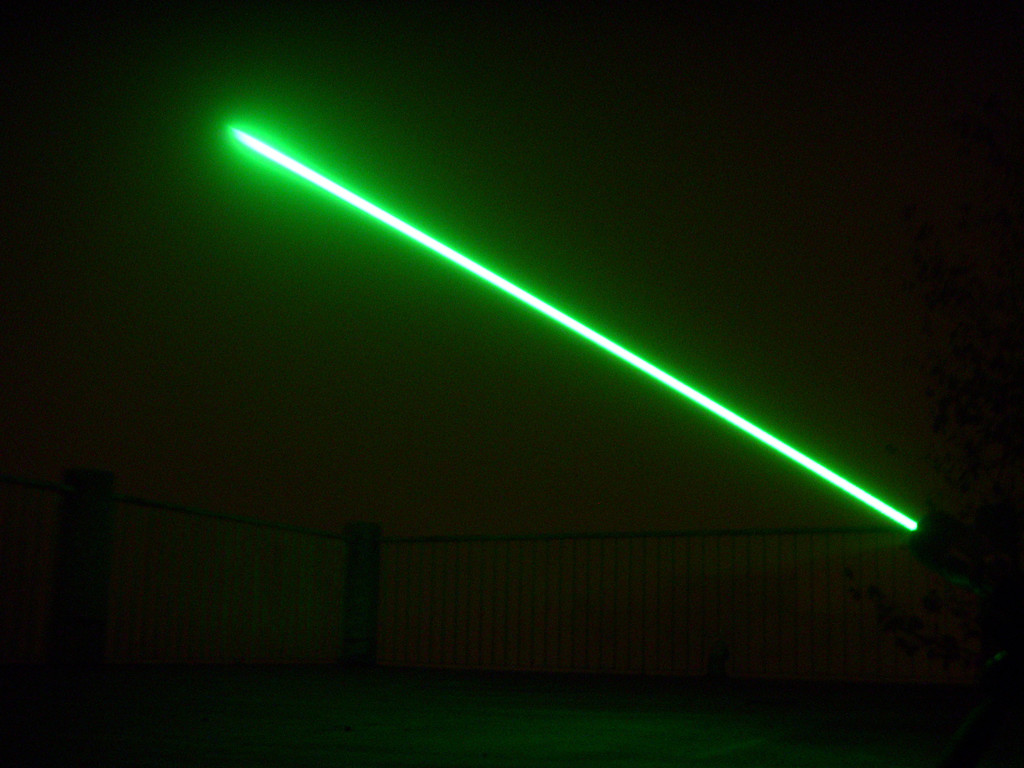
Those shots were made without any long exposure mode: what You see in the photo now is what I really see when I grab the beam.
It is astonishing how brilliant is this laser !!
In the outdoor night shot there was a lot of fog, so the beam seems really fat.
And those are my best friends:
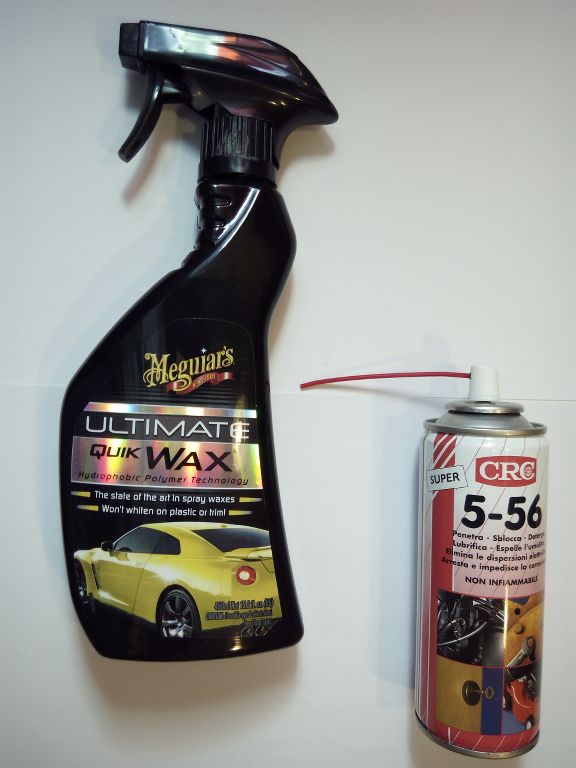
A phenomenal polymeric wax to protect and shine my lasers, and the best spray compound in the world to maintain every surface contact, mechanical or electrical, at peak performance! :beer:
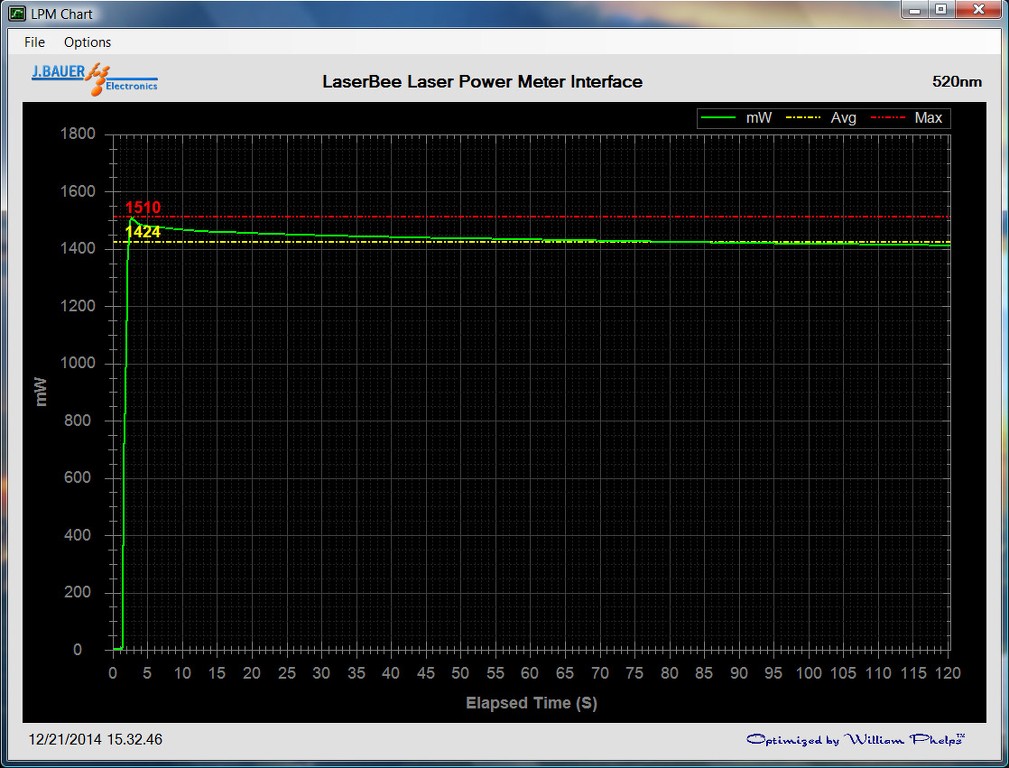
The performance graph with 405-G2 lenses:
The performance graph with three elements glass lenses:
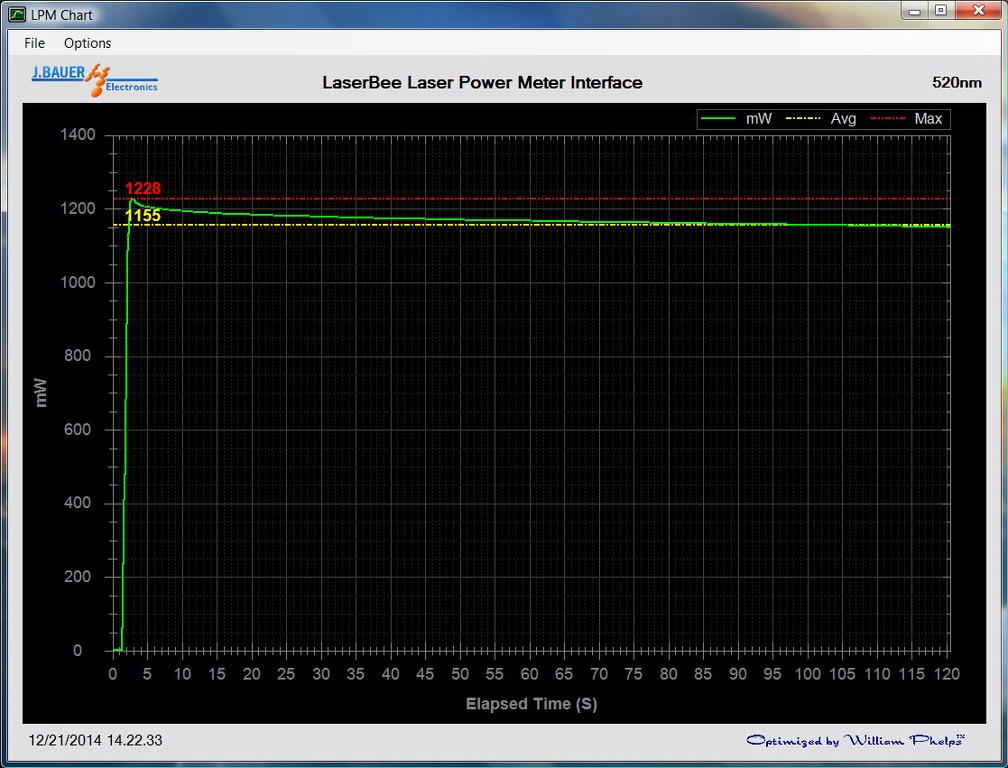
I prefer to sacrifice about 300 mW of output power and use three elements glass lenses because I like to see a thinner beam without the classical reflections/aberrations of the multimode diodes.
The video:
The laser was placed at about 4 meters from the black plastic panel.
Conclusions:
this is the brightest laser that I have seen until now!
The colour is slightly different from the traditional 532 nm DPSS lasers: it looks like a green emerald, while the DPSS looks like a green pea.
The beam shape is the classical line of the multimode diodes, shortened and corrected with the use of three elements glass lenses.
I wish to thanks one more time DTR and MrCrouse for the professionality and patience, my italian friend Fabrizio for some extra machined aluminum parts used inside this host (special washers and spacers), and the Red Color italian company for their courtesy, great competence, short realization time, low prices and attention to details.
This time is my pleasure to introduce You my last effort: the stunning 1W @1.5W 520 nm diode mounted in a custom evegreen Zaser host.
Those are the parts:
The head is slightly bigger than normal because I'm planning to put on a LG beam expander in the near future.
It were added also two more fins to compensate the original proportions of the head diameter vs lenght.
Some other cosmetic changes were made to meet my personal taste.
I soldered a neodimium gold plated magnet on the top of every spring to improve electrical path and spring pressure:
The X-drive @2.4A locked inside the heatsink with aluminum thermal glue. All the wires soldered and insulated with thermal tubing:
A special custom thick washer was placed between the head and the driver barrel to reach the perfect gap between the two springs to obtain the right pressure:
Driver barrel and all the switch parts locked in place:
The diode mounted and locked thru the side screw inside the head hole:
The tolerance is impressive: the diode fit inside the hole like a piston inside a cylinder!
A precise plastic thick washer was placed at the end of the threaded lens hole to obtain a perfect gap from the min to the max focus adjustment:
So I have the focus to the infinity when I reach the middleway of the entire lens excursion.
Three elements glass lenses with a lot of teflon tape wrapped around the threaded barrel screwed into the focusing disk:
I used both teflon aroud the lens barrel thread and spring between the parts to obtain a nice friction and a precision rotating movement.
A small piece of acetate foil to avoid battery shakes and rattle:
The laser fully assembled:
The laser mounted on a Manfrotto tripod+clamp:
The laser on the desk of my button room:
The indoor beamshot:
The outdoor beamshots during an icy clear night:
An outdoor beamshot during an warm foggy night:
Those shots were made without any long exposure mode: what You see in the photo now is what I really see when I grab the beam.
It is astonishing how brilliant is this laser !!
In the outdoor night shot there was a lot of fog, so the beam seems really fat.
And those are my best friends:
A phenomenal polymeric wax to protect and shine my lasers, and the best spray compound in the world to maintain every surface contact, mechanical or electrical, at peak performance! :beer:
The performance graph with 405-G2 lenses:
The performance graph with three elements glass lenses:
I prefer to sacrifice about 300 mW of output power and use three elements glass lenses because I like to see a thinner beam without the classical reflections/aberrations of the multimode diodes.
The video:
The laser was placed at about 4 meters from the black plastic panel.
Conclusions:
this is the brightest laser that I have seen until now!
The colour is slightly different from the traditional 532 nm DPSS lasers: it looks like a green emerald, while the DPSS looks like a green pea.
The beam shape is the classical line of the multimode diodes, shortened and corrected with the use of three elements glass lenses.
I wish to thanks one more time DTR and MrCrouse for the professionality and patience, my italian friend Fabrizio for some extra machined aluminum parts used inside this host (special washers and spacers), and the Red Color italian company for their courtesy, great competence, short realization time, low prices and attention to details.
Last edited:


") - Wonderful toy. Have you put a beam expander on it yet?
- Wonderful toy. Have you put a beam expander on it yet?