- Joined
- Mar 5, 2015
- Messages
- 1,336
- Points
- 113
Hi guys
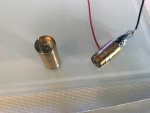
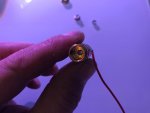
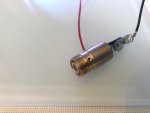
I'm pretty sure not many have seen the insides of a Rigel pen so I decided to operate and extract the delicate module, The idea is to build a custom host for this module a one of a kind.
CNI has definitely built these pens very well, not only is there glue all over the threads but after they slide the main module in they glue the driver support so the driver and button won't come loose and then insert a smaller brass tube through the rear to stop batteries rattling also with glue,
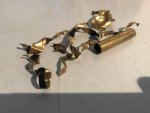
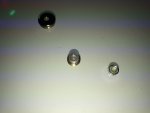
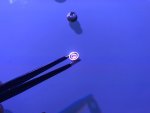
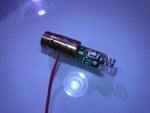
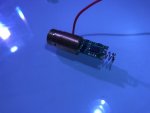
The crystal containing the neodymium is mounted Obove the Cmount 808 and isn't removable, it's either glued on top or it's one piece and it's under the module so the driver would need to be desoldered, then there's the adjustable NdYV04 through 3 tiny little holes to push it in perfect alignment from the outside, this alignment needs to be so spot on that if not there is nothing but IR or a little green, Very nicely constructed! Then there's the KTP crystal witch just screws in straight from the end and the glass collimating lens is adjustable on the end and don't forget the IR filter witch is glued on the inside of the end cap,
I'm afraid there is no other way to extract this module but to sacrifice the brass pen and peal it like a sardine can!
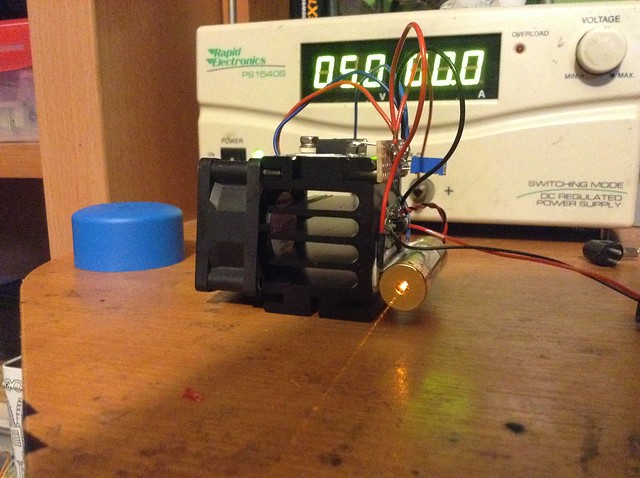
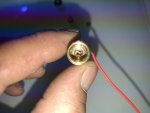
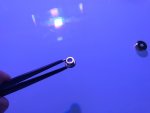
The pump diode looks to be a small copper Cmount, I'm not sure how powerful it is probably 1w, I've only had it on for 5 seconds at a time and it don't get that warm,
I've turned up the current just a tad on the driver pot to get a little more output, it seems perfect were I have it know, a little more and very unstable mode hopping.
A custom alloy-brass 593-594 host coming soon thanks!
https://youtu.be/n56UWj50SbY
I'm pretty sure not many have seen the insides of a Rigel pen so I decided to operate and extract the delicate module, The idea is to build a custom host for this module a one of a kind.
CNI has definitely built these pens very well, not only is there glue all over the threads but after they slide the main module in they glue the driver support so the driver and button won't come loose and then insert a smaller brass tube through the rear to stop batteries rattling also with glue,
The crystal containing the neodymium is mounted Obove the Cmount 808 and isn't removable, it's either glued on top or it's one piece and it's under the module so the driver would need to be desoldered, then there's the adjustable NdYV04 through 3 tiny little holes to push it in perfect alignment from the outside, this alignment needs to be so spot on that if not there is nothing but IR or a little green, Very nicely constructed! Then there's the KTP crystal witch just screws in straight from the end and the glass collimating lens is adjustable on the end and don't forget the IR filter witch is glued on the inside of the end cap,
I'm afraid there is no other way to extract this module but to sacrifice the brass pen and peal it like a sardine can!
The pump diode looks to be a small copper Cmount, I'm not sure how powerful it is probably 1w, I've only had it on for 5 seconds at a time and it don't get that warm,
I've turned up the current just a tad on the driver pot to get a little more output, it seems perfect were I have it know, a little more and very unstable mode hopping.
A custom alloy-brass 593-594 host coming soon thanks!
https://youtu.be/n56UWj50SbY
Attachments
Last edited: