

- Joined
- Dec 16, 2013
- Messages
- 21
- Points
- 0
Rating: ★★★★★
Summary:
Battery: 4 x 18650
Switch: Electronic side switch, Reverse clicky
Modes: 3: High, Low + hidden strobe
LED Type: 3 x XM-L T6 (Cool White)
Lens: Glass
Tailstands: Yes
Price: $41.09 Shipped (US Warehouse)
Provided By: Tmart - Sky Ray 3XT6 18650 x 4
Pros:
Compact
Versatility in Battery options (1 - 4)
Extremely Bright (My brightest light as of 12-15-2013)
Great Run-time with 4x 18650 in parallel.Electronic side switch with hidden strobe.
Build quality is outstanding; great threads, machining is excellent, proper O-rings used.
Nice and comfortable in small and large hands even with extended use.
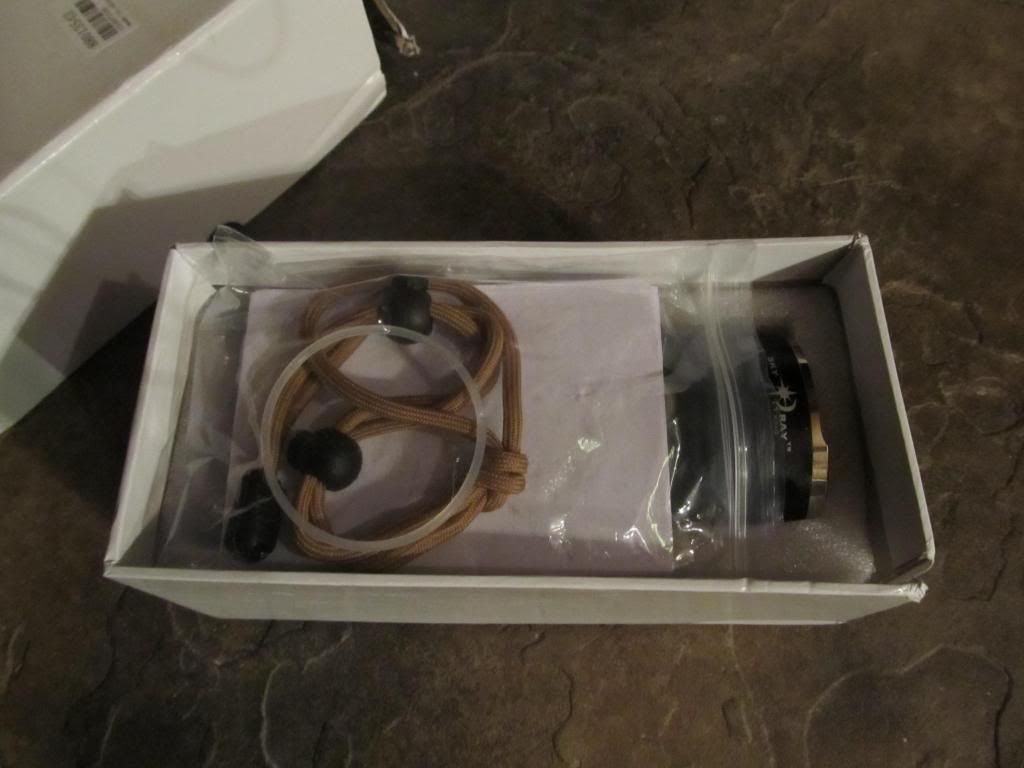
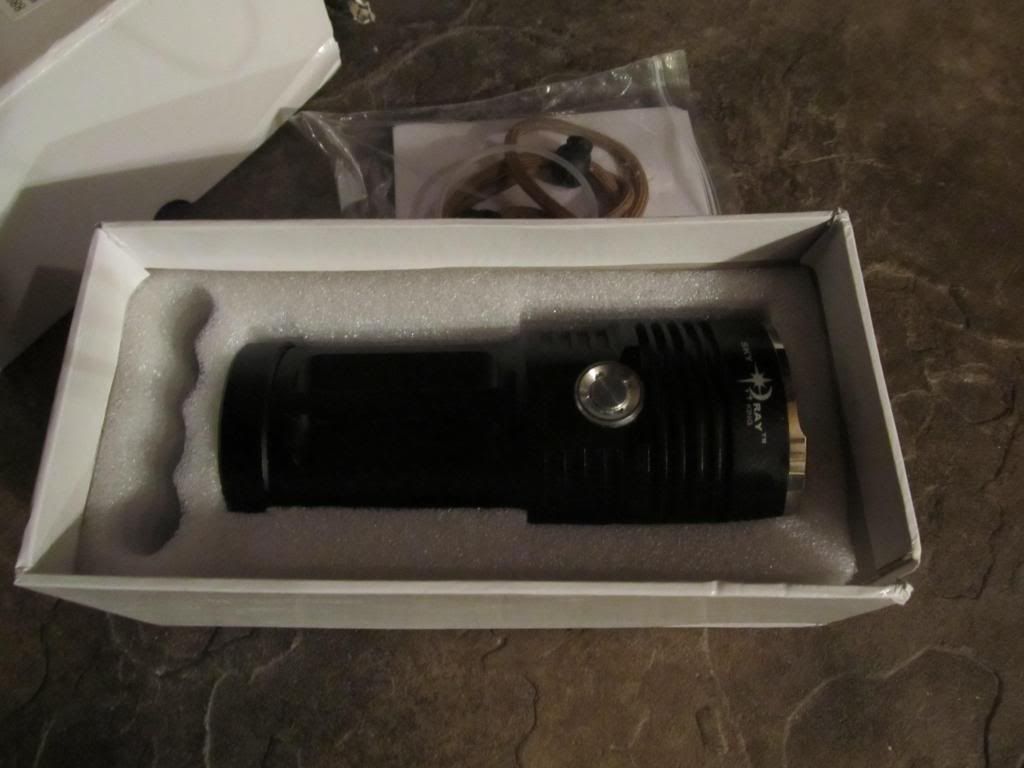
Gift-able box with heavy duty lanyard and manual included.
Cons:
Incompatible with flat top batteries (Laptop pulls need a bit added to positive terminal)
Positive terminal of batteries rub against the driver contact board when tightening the battery tube (This could be an issue in the long run).
A bit on the heavy side with 4x 18650.
Pictures:
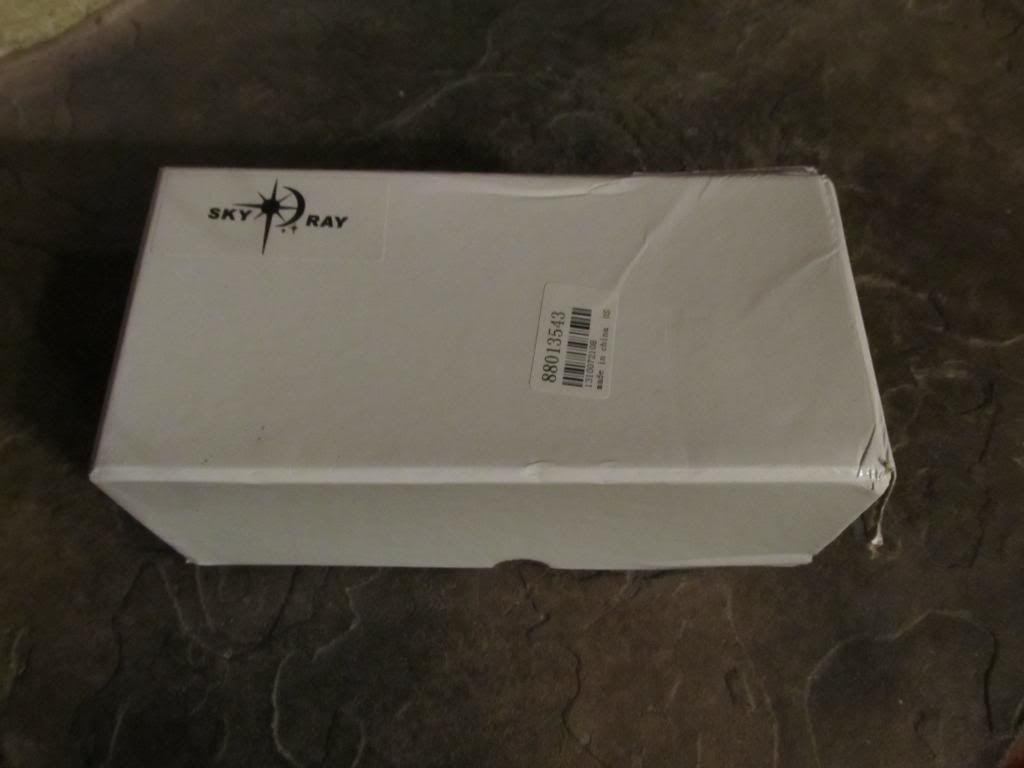
It arrived in a nice little box, adequately padded. The box suffered a bit of damage on the corner, but the light is unharmed.
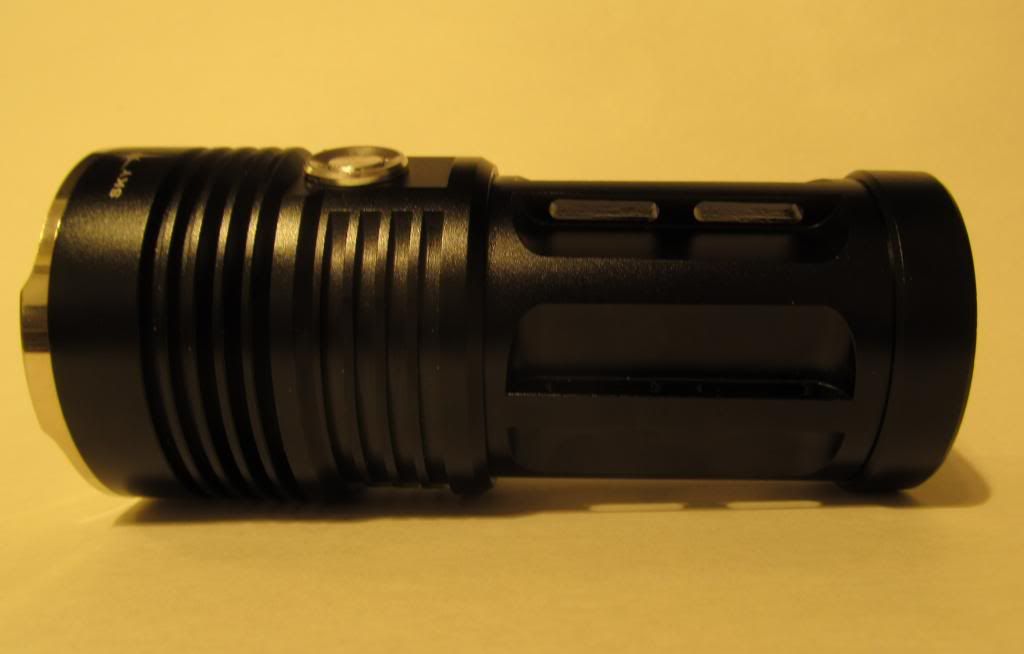
Up close

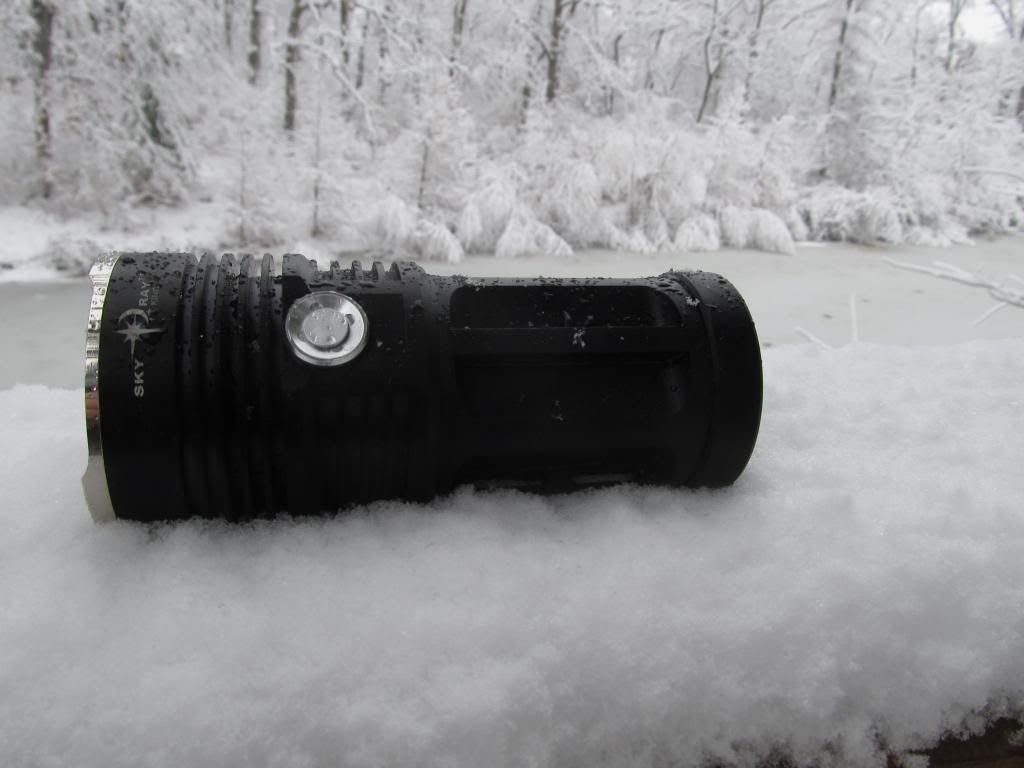
Side View
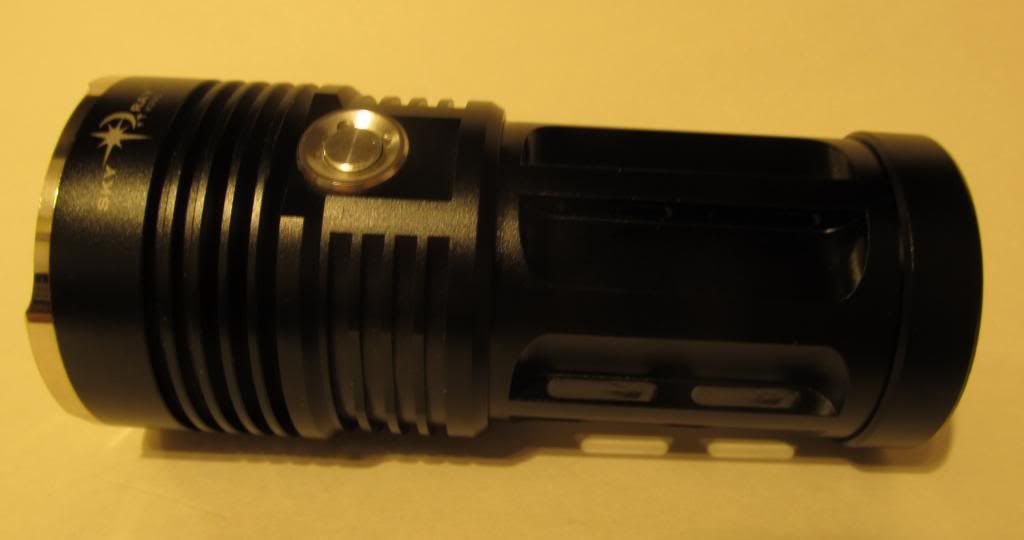
Tilted a bit more
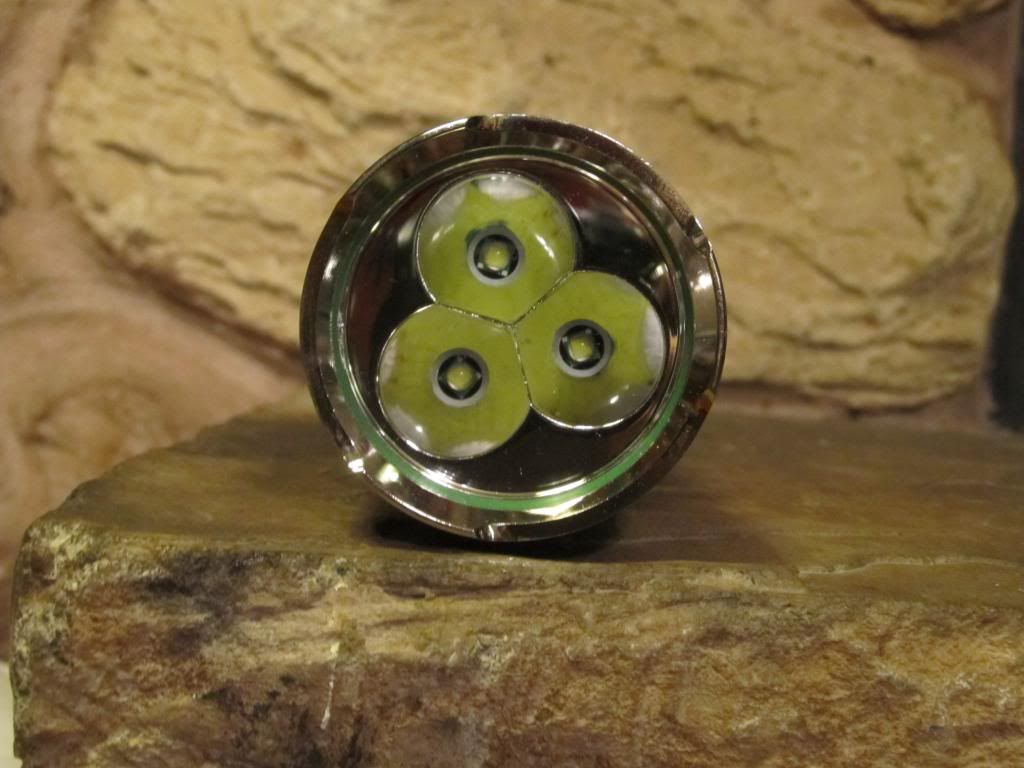
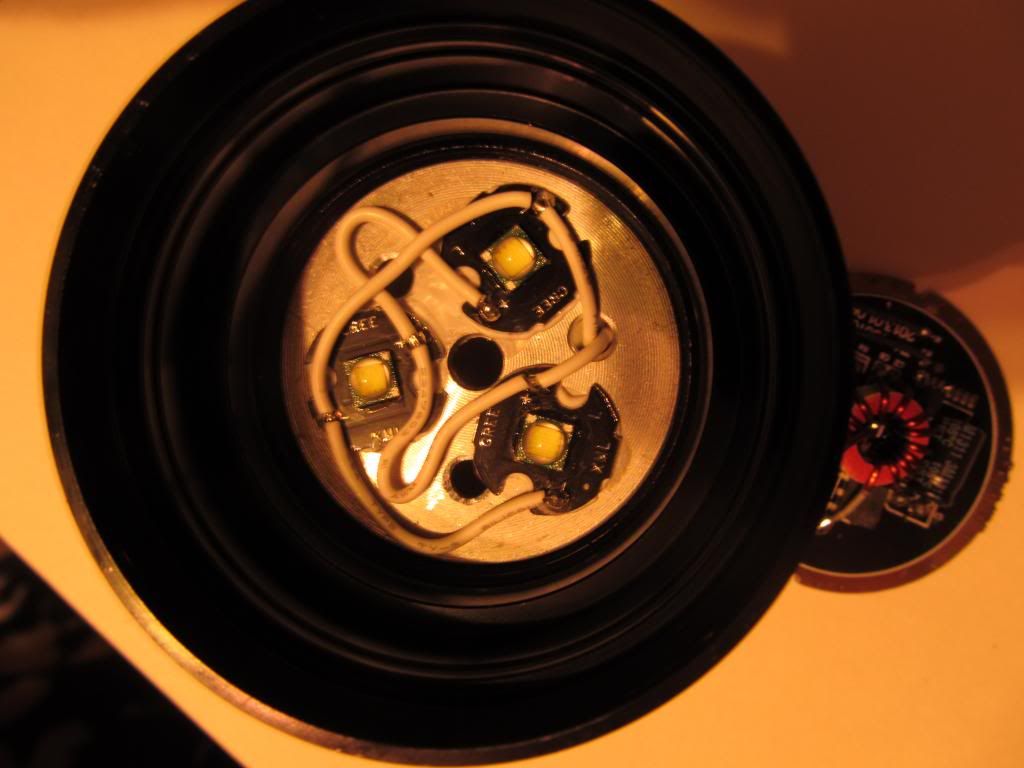
Beautiful 3 Up, small defect on the flat area of the aluminum reflector, but the actual light contact surfaces are immaculate.
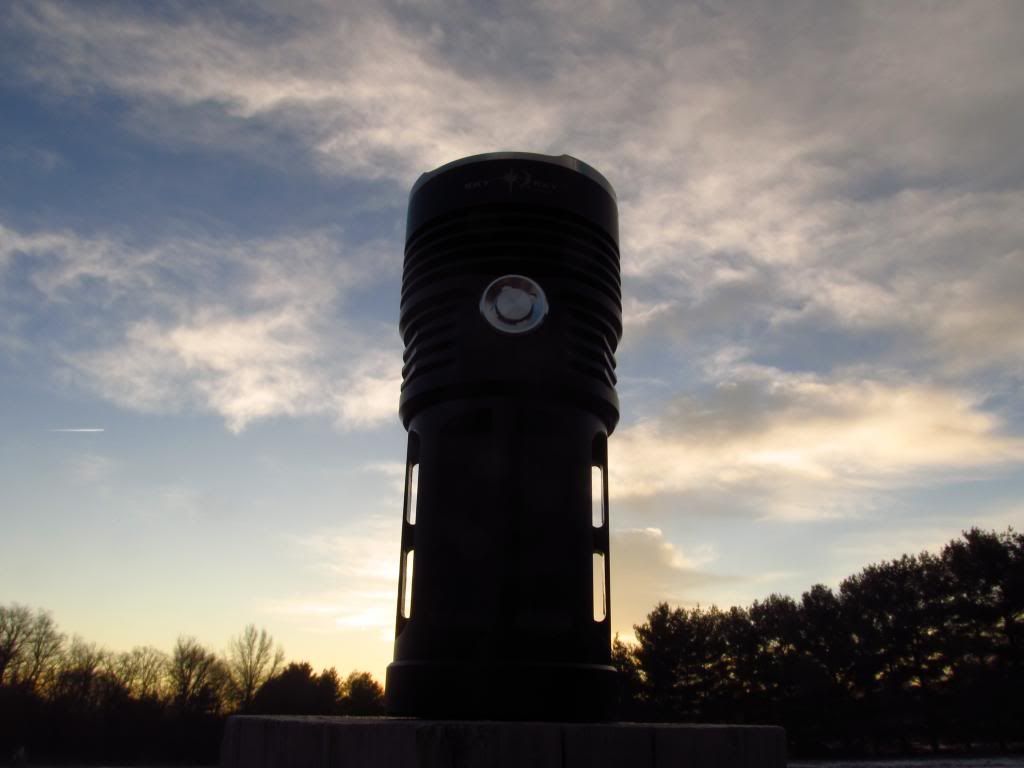
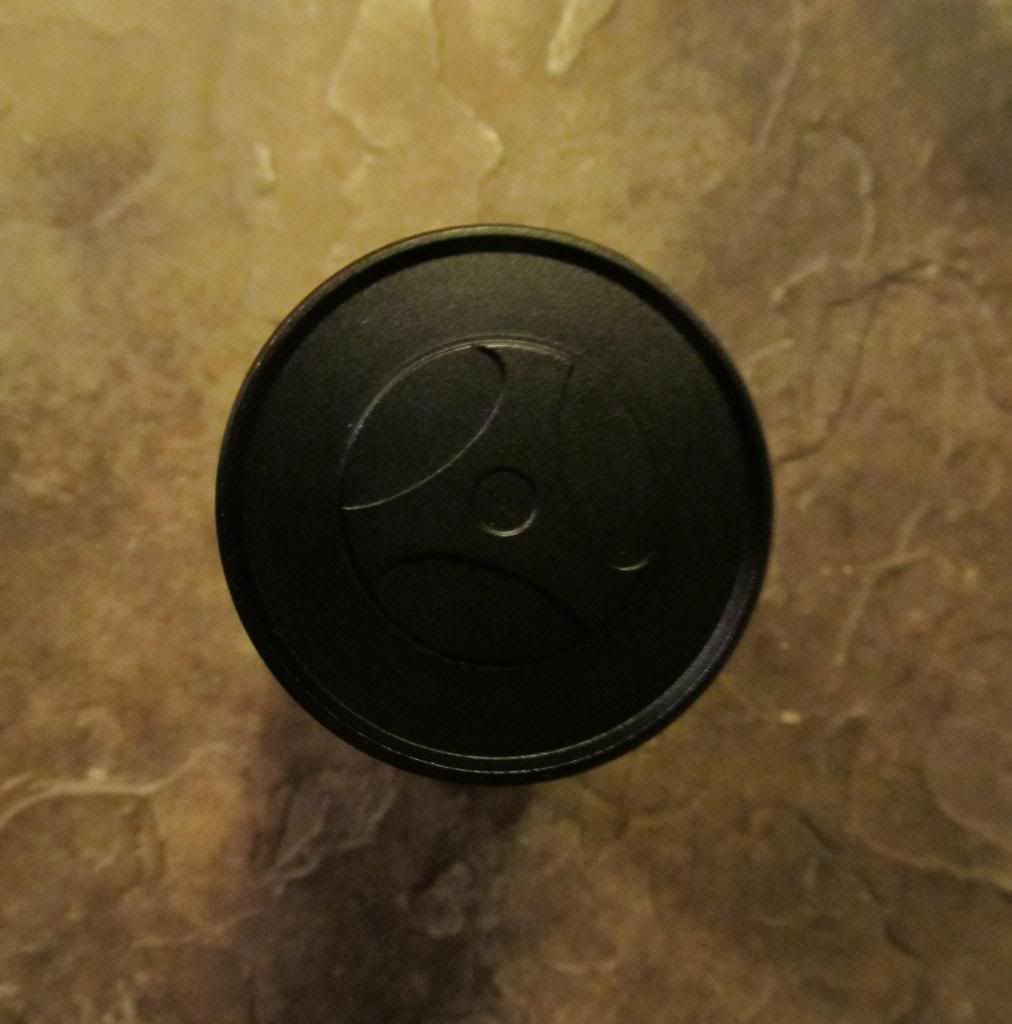
Back end
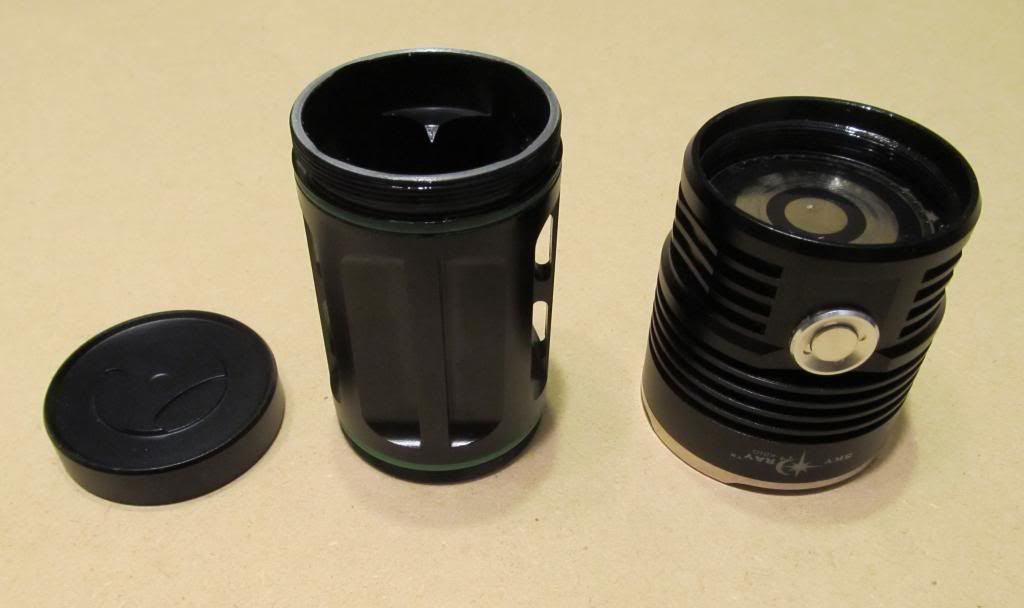
Partial Disassembly, Threads were liberally lubricated from factory.
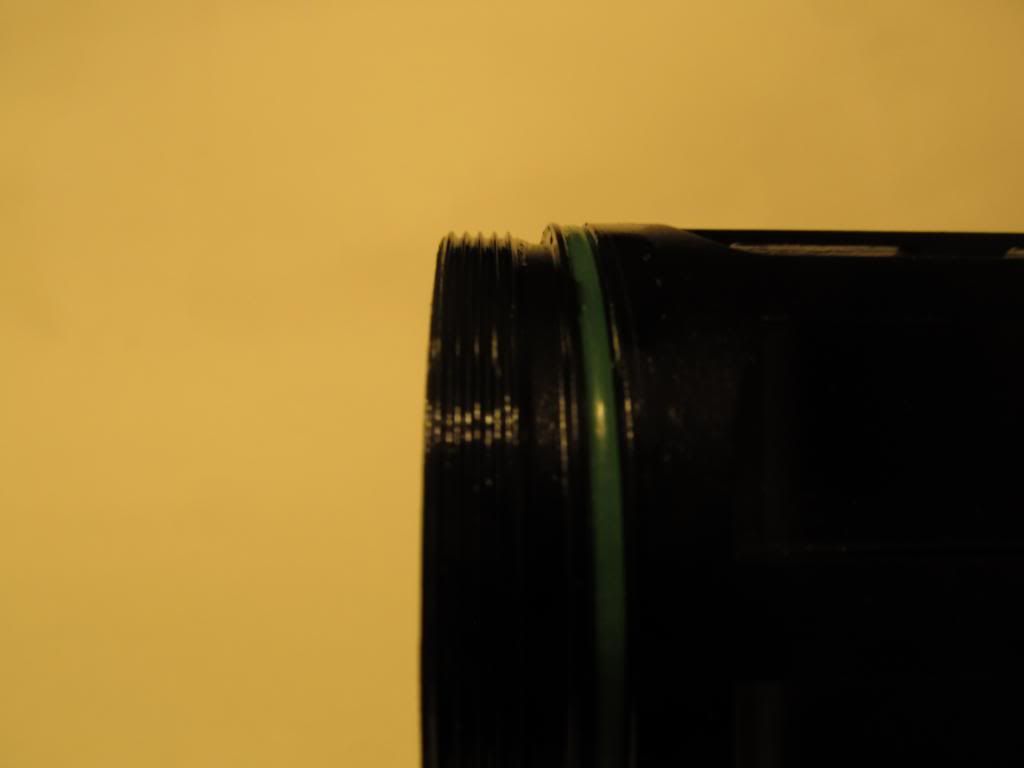
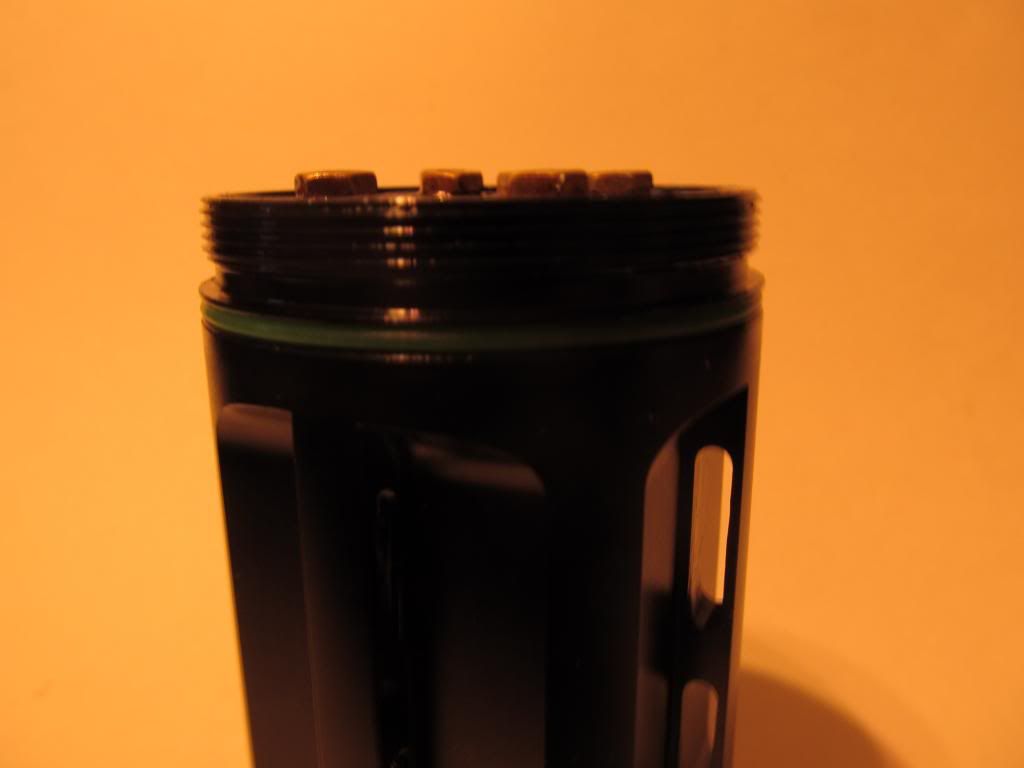
Top Threads
Bottom Threads

Plate at bottom of battery tube, missing a screw.
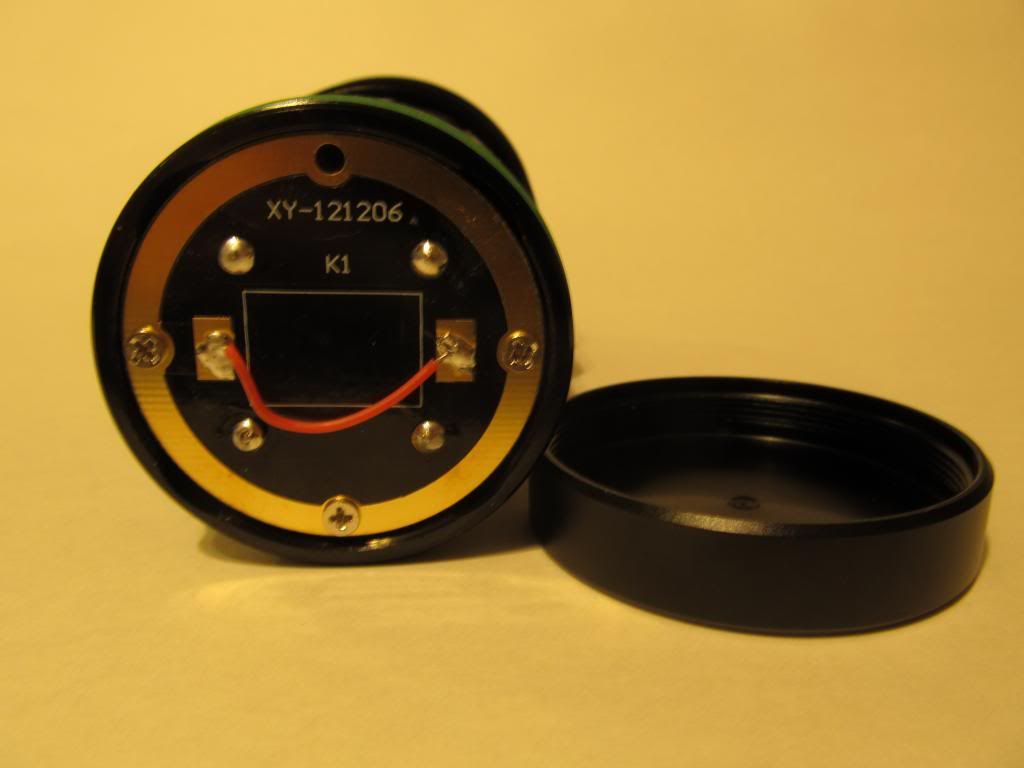
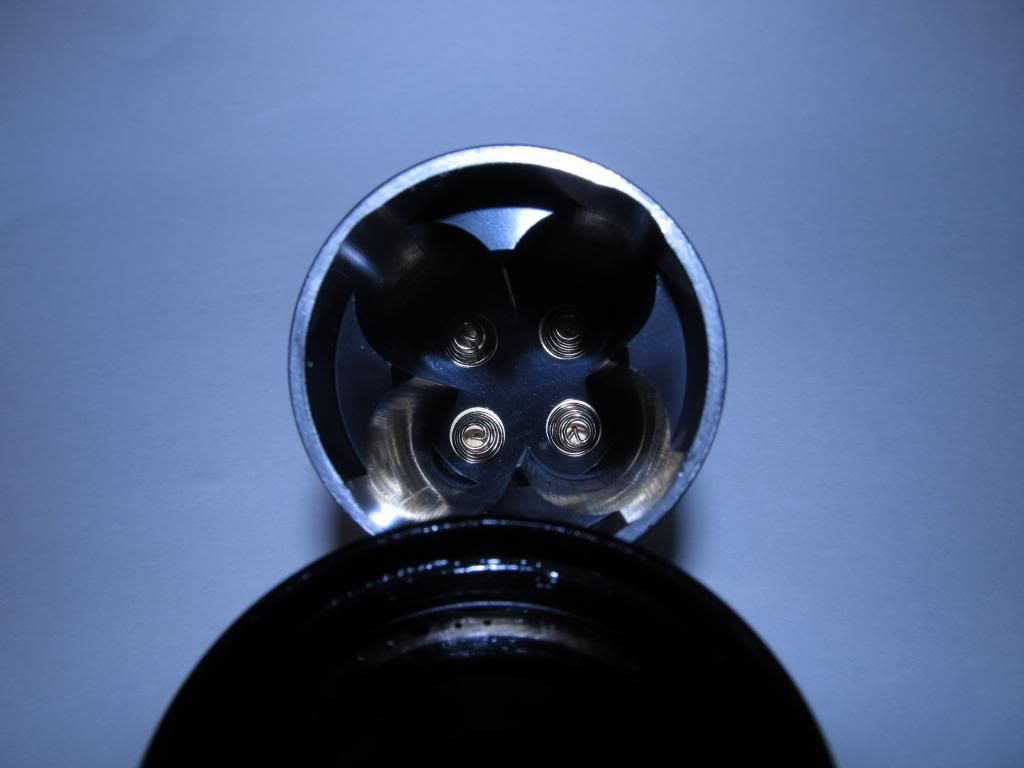
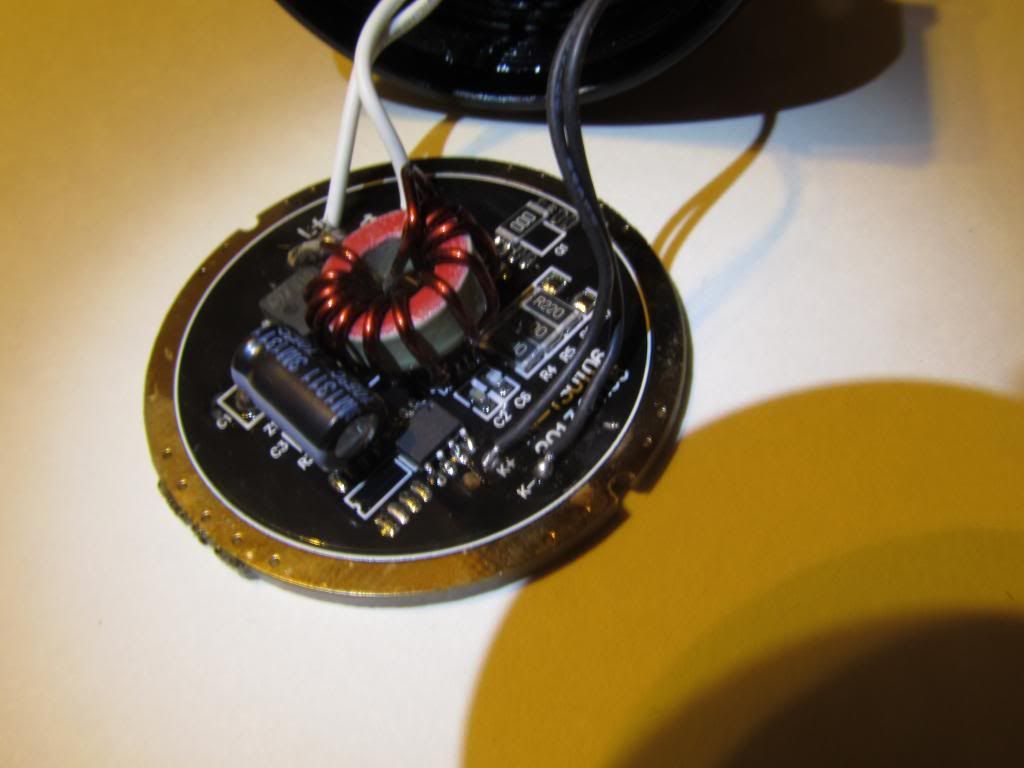
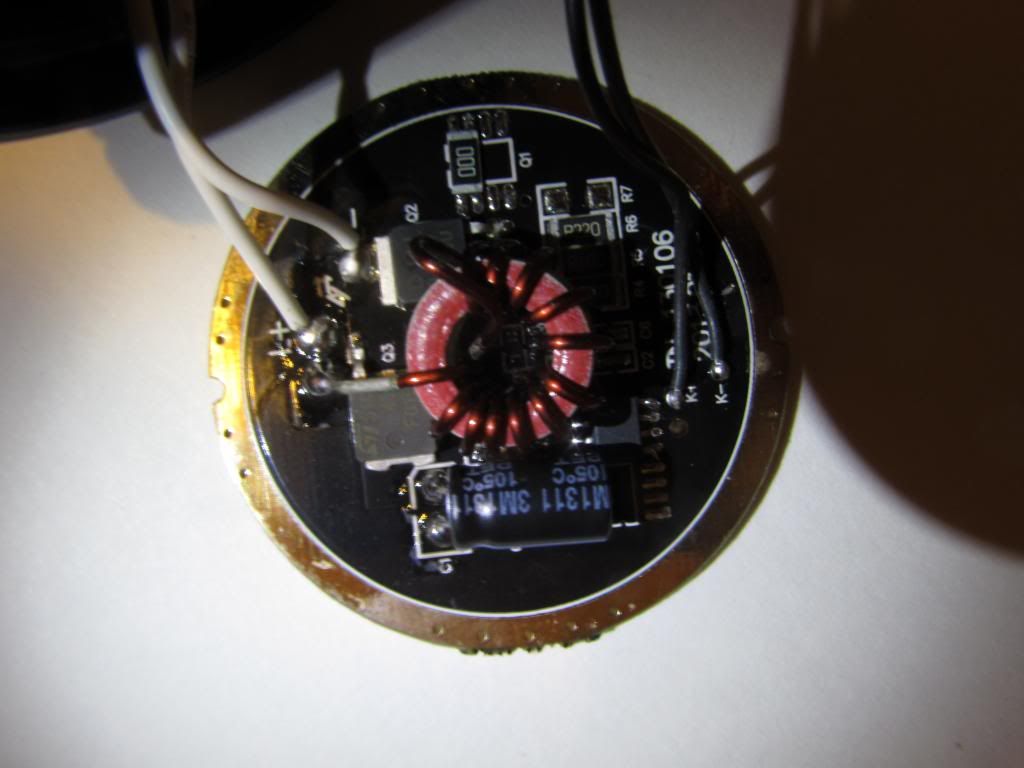
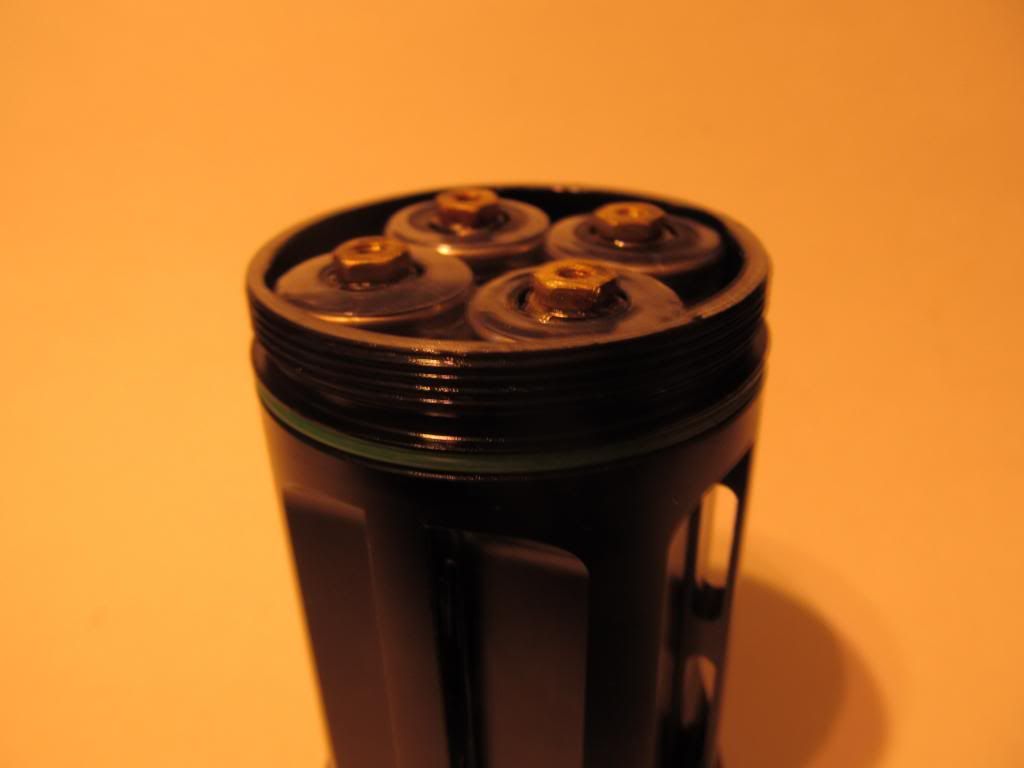
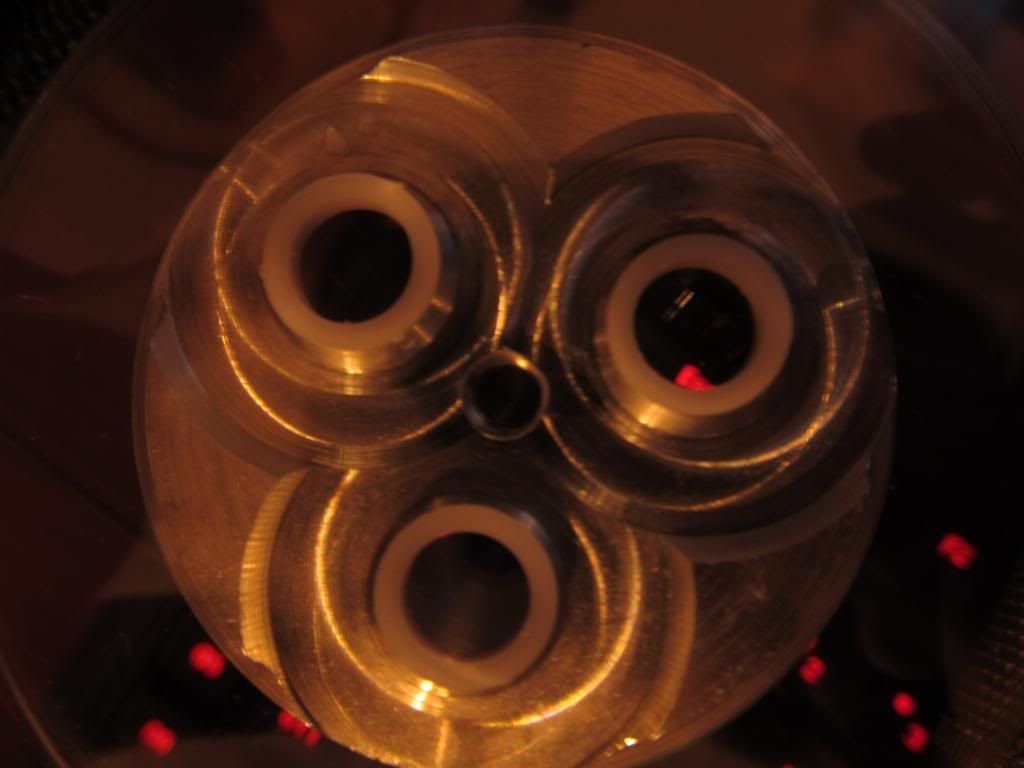
Driver Contact Plate
Down the Battery Tube
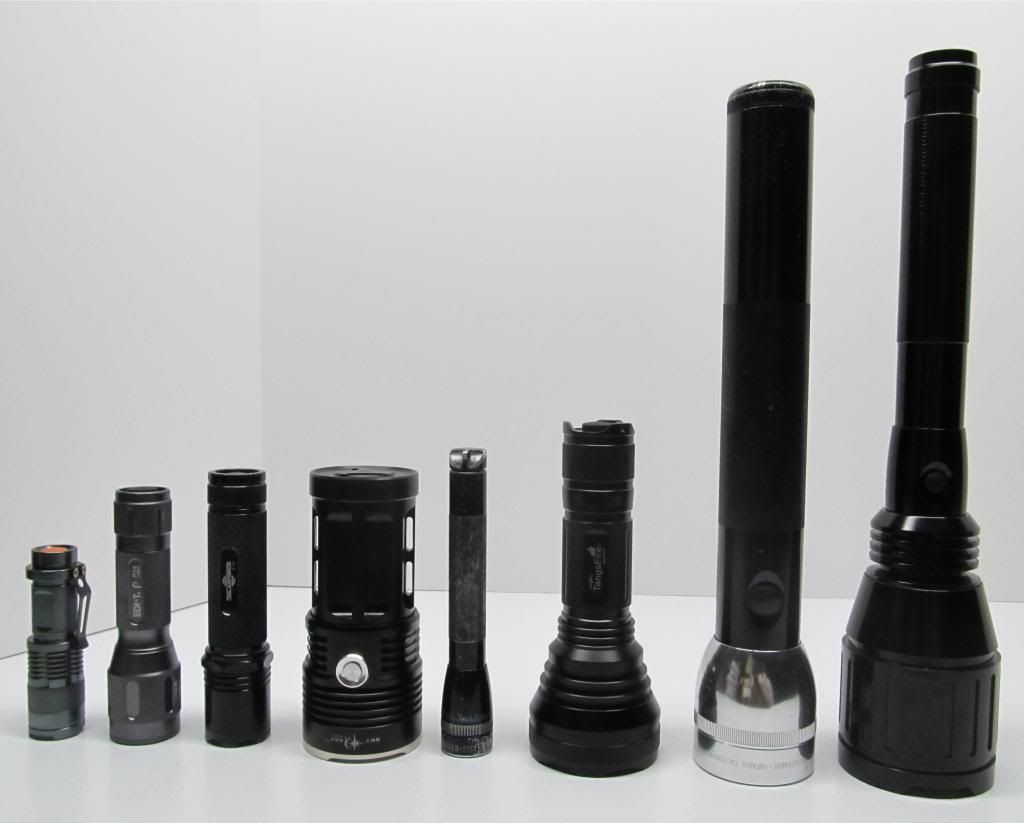
Size Comparison
SK68 - EDI T P14 - SF L2i - Sky Ray - Mini Maglite - HD 2010 - 3D Maglite - Defiant Super Thrower
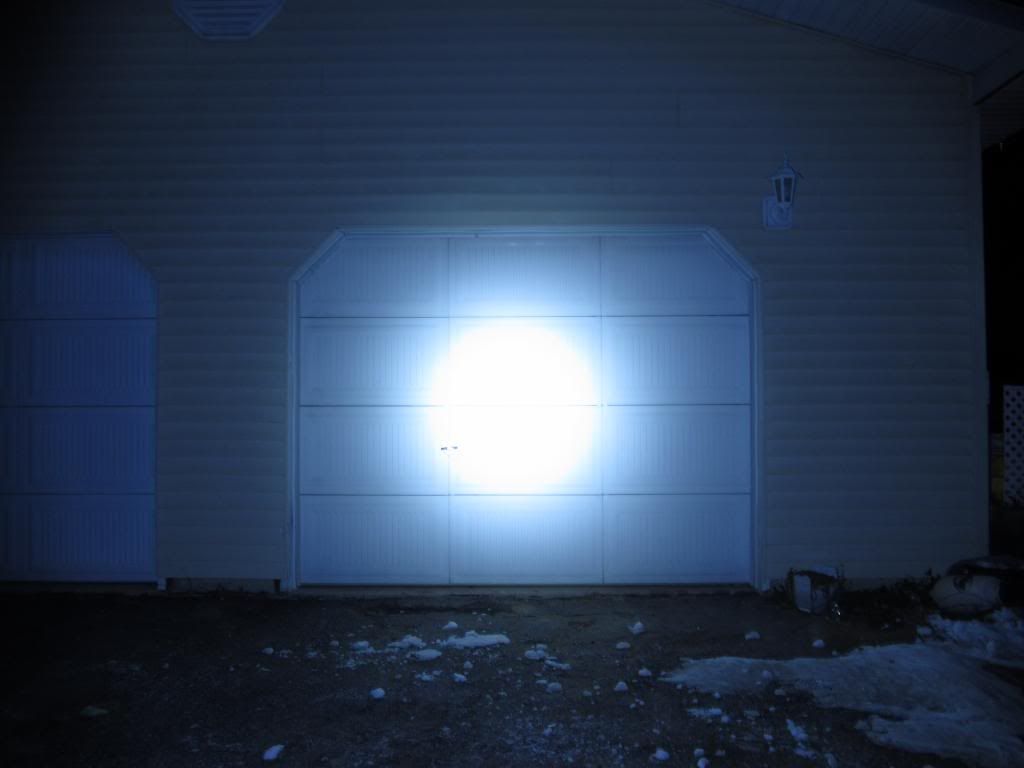
BEAMSHOTS:
Up close, about 1 - 2 feet away
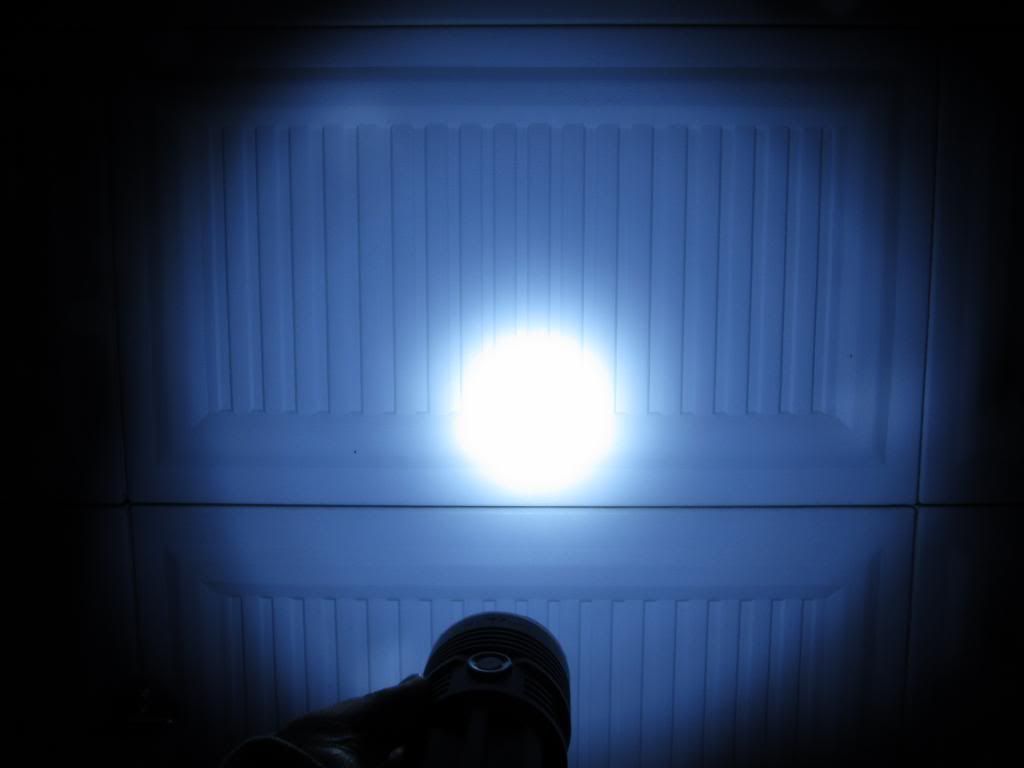
Control (May not show up, but on my camera shows the garage door just barely via a bit of moonlight) Approximately 20 feet.

Close to real life, actual hotspot is quite a bit smaller.
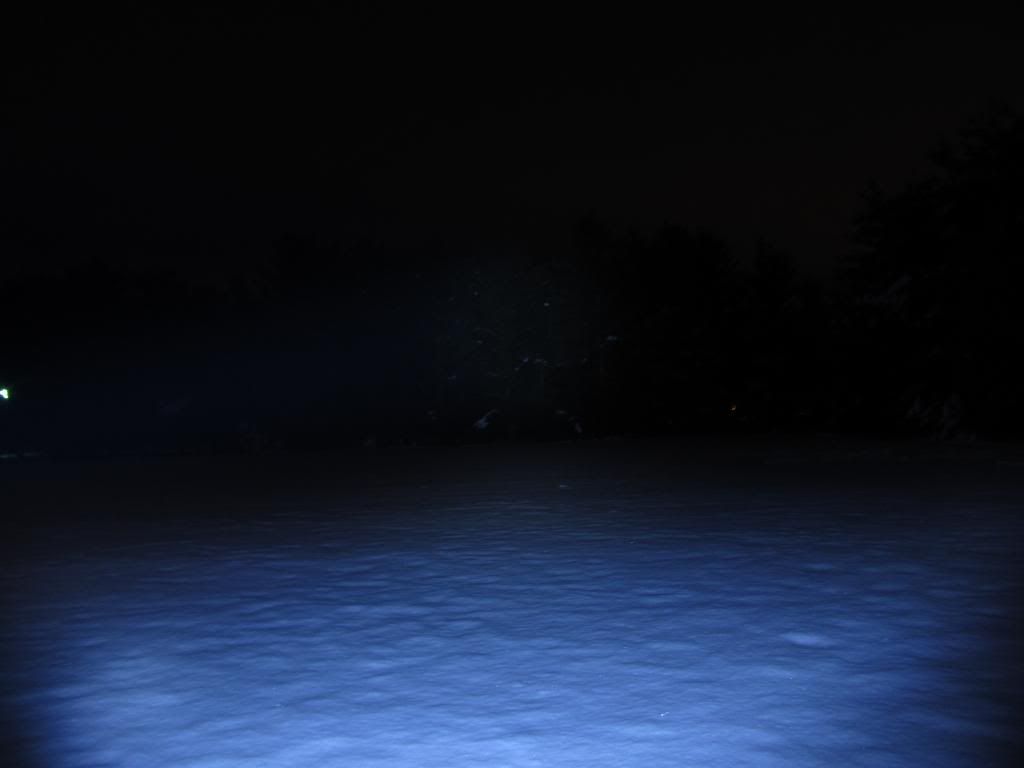
Approximately 50 yards to the trees.
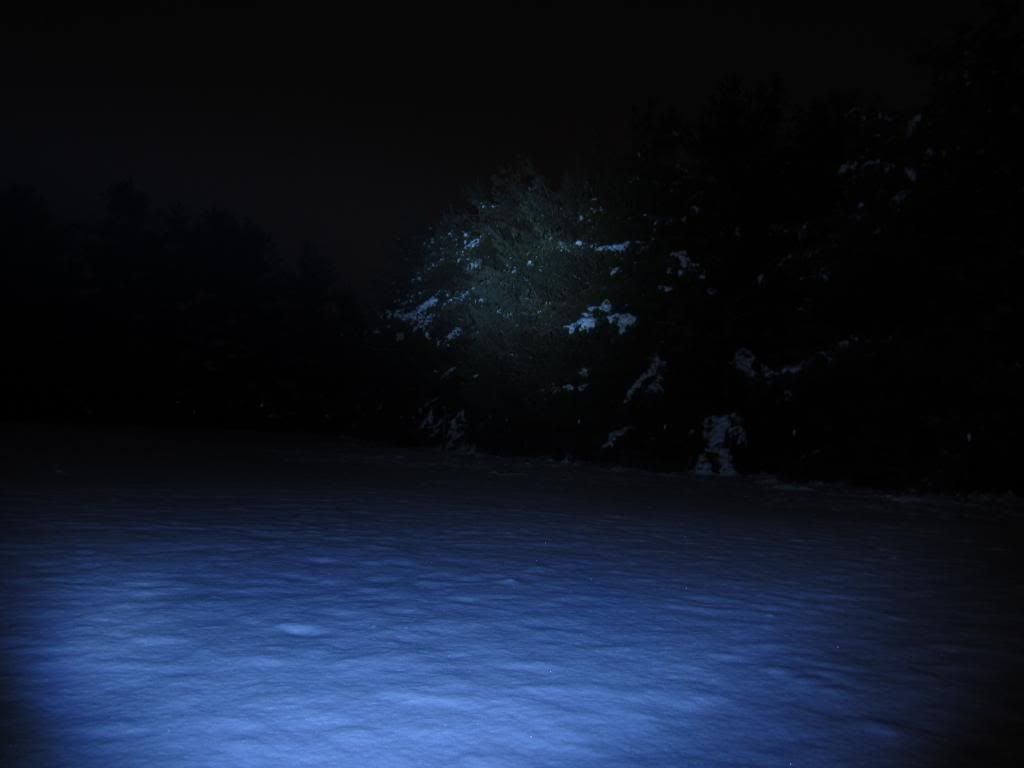
Approximately 25 Yards to trees
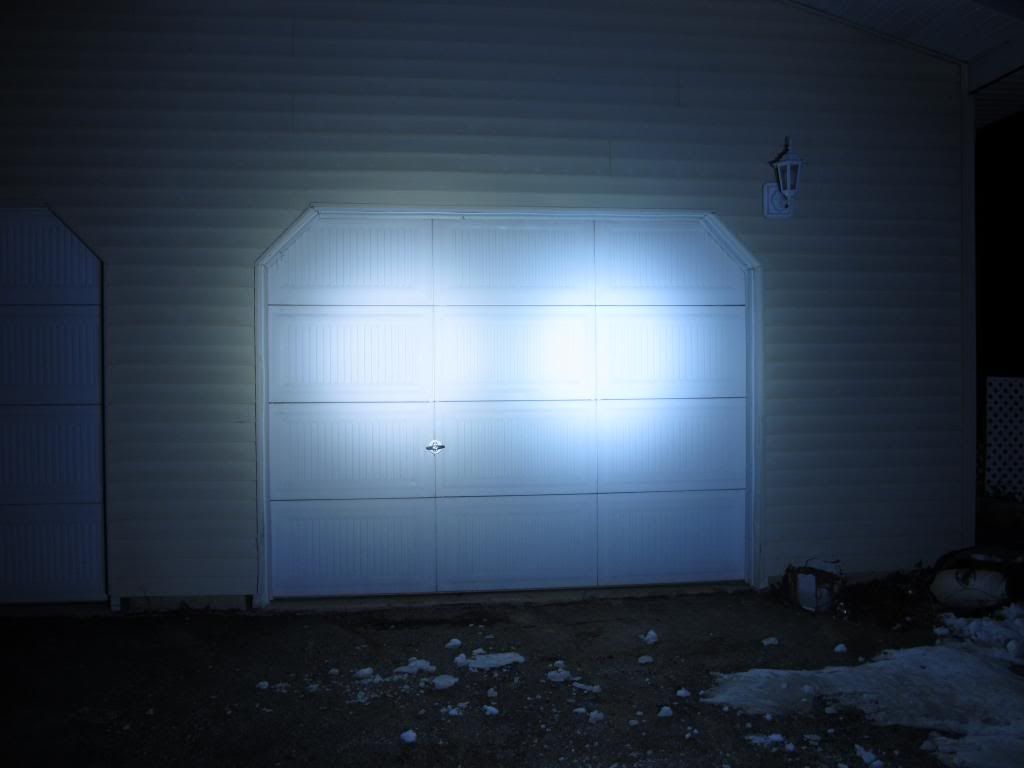
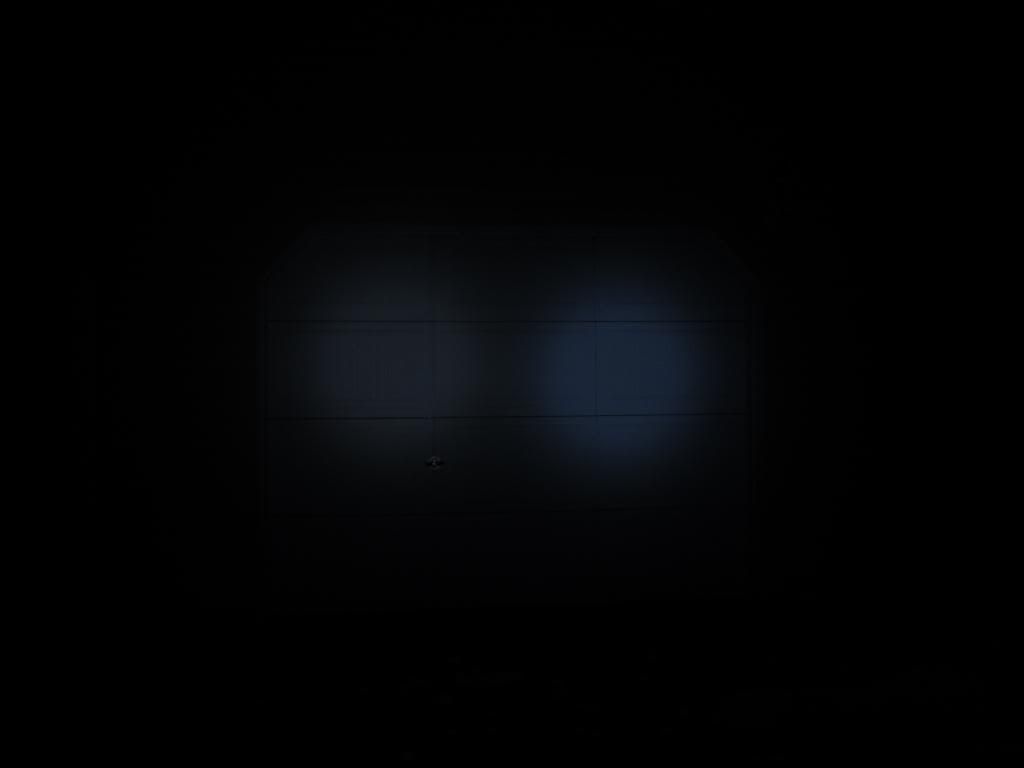
Comparison Shots:
Left: Defiant 3x XM-L T6 @ 7.2A Right: SRK (On Laptop pulls)
Dropping down the exposure
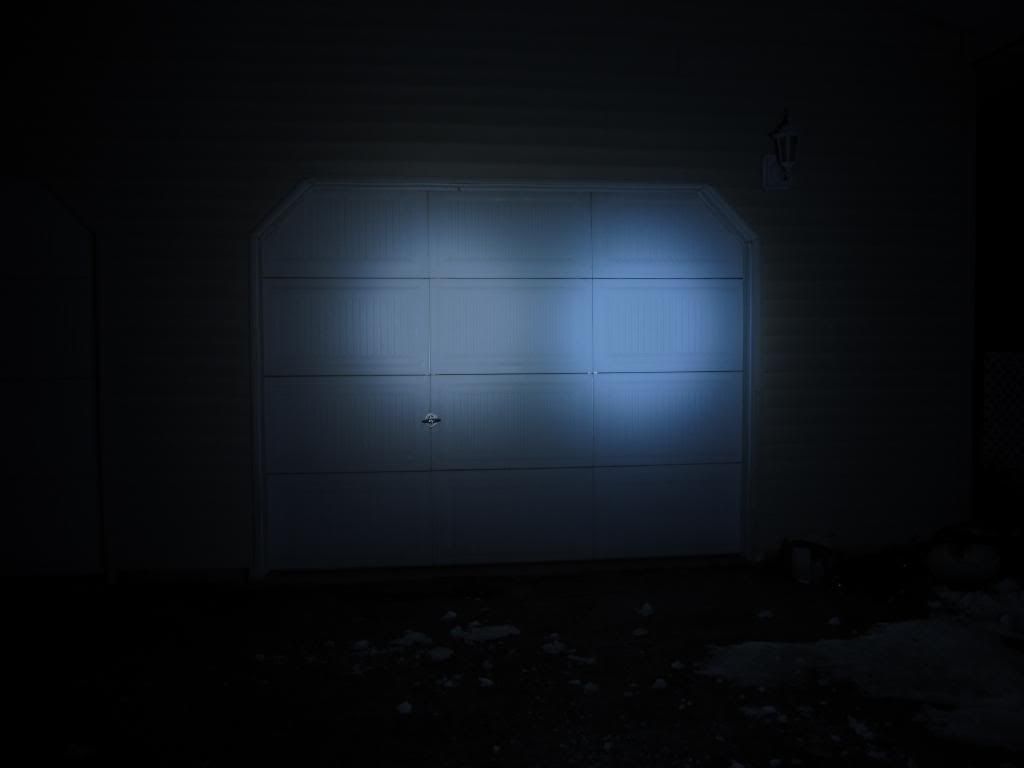
And a bit more
Breakdown Pictures:
Longer protected button top batteries fit fine (I tested Protected Panasonic 3400mAh button tops).
A Quick little mod to laptop pulls is needed in order to make them usable in this light:
Shows the slight protrusion of the positive pole of batteries needed in order to make contact with the driver's contact board:
Negative contact plate removed; anodized on the platforms, but the threads for the contact plate's screws are bare.
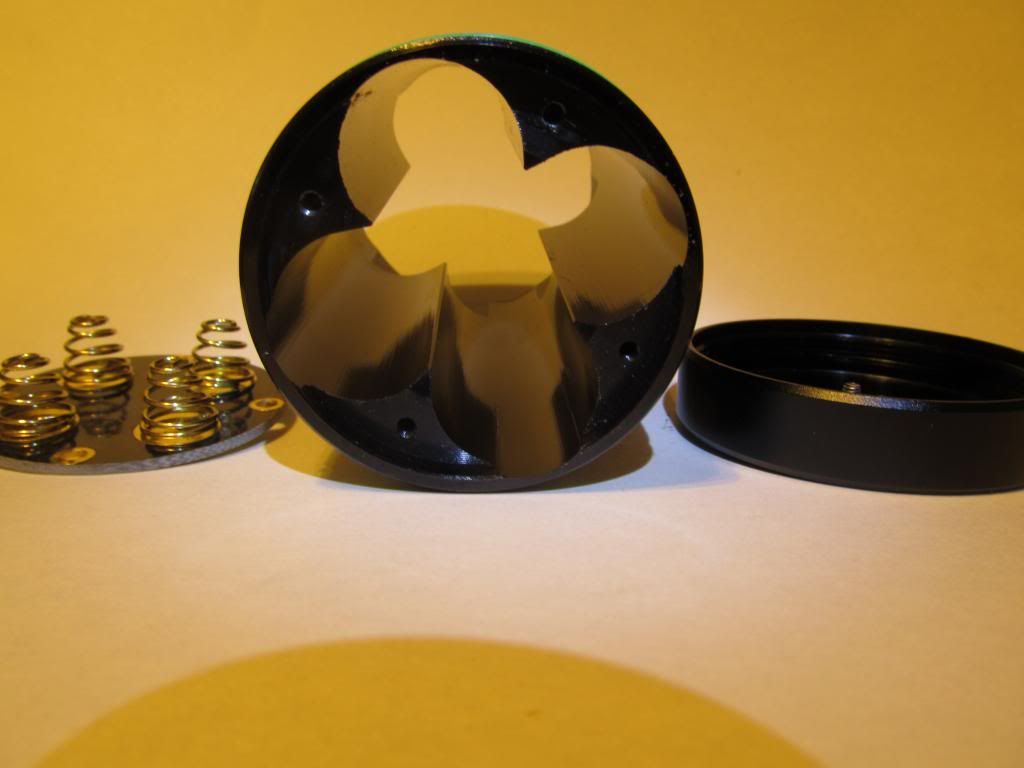
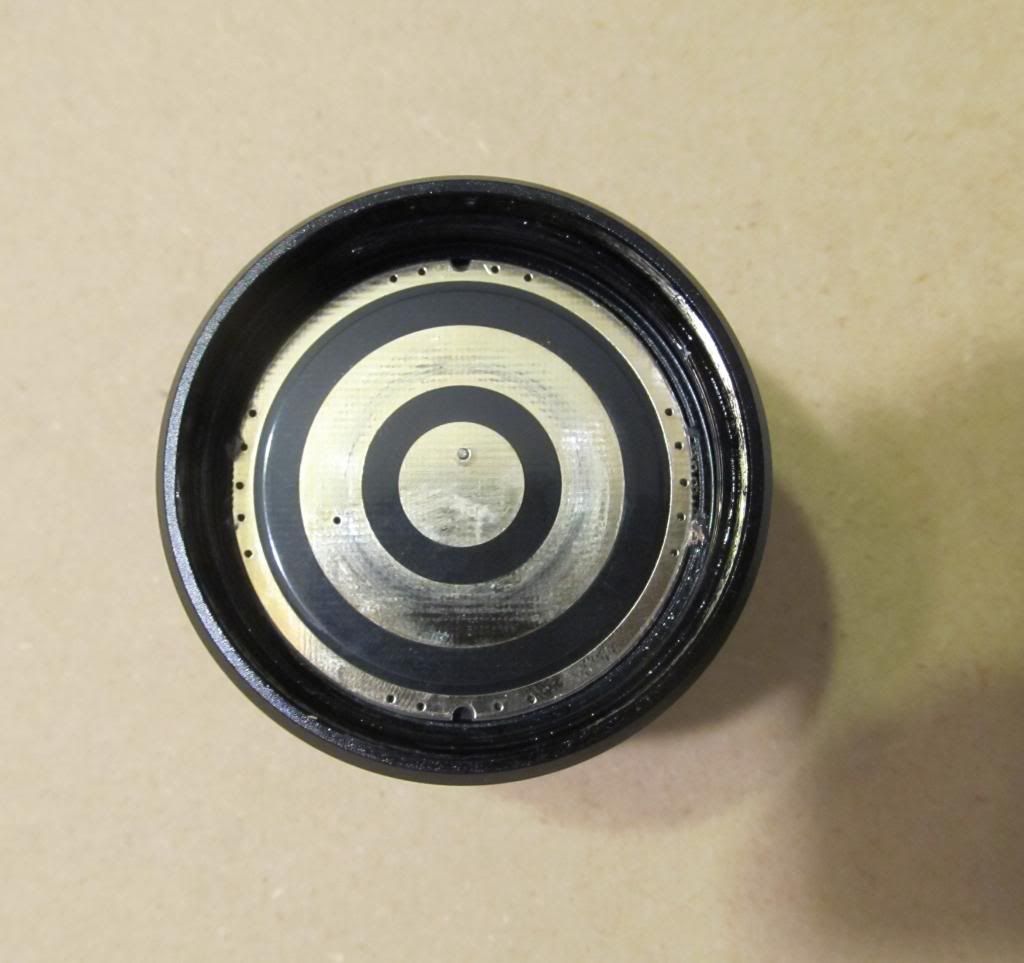
Underside of the reflector; large screw fastens the reflector down on top of the emitters through the underside of the pill.
Summary:
Battery: 4 x 18650
Switch: Electronic side switch, Reverse clicky
Modes: 3: High, Low + hidden strobe
LED Type: 3 x XM-L T6 (Cool White)
Lens: Glass
Tailstands: Yes
Price: $41.09 Shipped (US Warehouse)
Provided By: Tmart - Sky Ray 3XT6 18650 x 4
Pros:
Compact
Versatility in Battery options (1 - 4)
Extremely Bright (My brightest light as of 12-15-2013)
Great Run-time with 4x 18650 in parallel.Electronic side switch with hidden strobe.
Build quality is outstanding; great threads, machining is excellent, proper O-rings used.
Nice and comfortable in small and large hands even with extended use.
Gift-able box with heavy duty lanyard and manual included.
Cons:
Incompatible with flat top batteries (Laptop pulls need a bit added to positive terminal)
Positive terminal of batteries rub against the driver contact board when tightening the battery tube (This could be an issue in the long run).
A bit on the heavy side with 4x 18650.
Pictures:
It arrived in a nice little box, adequately padded. The box suffered a bit of damage on the corner, but the light is unharmed.
Up close
Side View
Tilted a bit more
Beautiful 3 Up, small defect on the flat area of the aluminum reflector, but the actual light contact surfaces are immaculate.
Back end
Partial Disassembly, Threads were liberally lubricated from factory.
Top Threads
Bottom Threads
Plate at bottom of battery tube, missing a screw.
Driver Contact Plate
Down the Battery Tube
Size Comparison
SK68 - EDI T P14 - SF L2i - Sky Ray - Mini Maglite - HD 2010 - 3D Maglite - Defiant Super Thrower
BEAMSHOTS:
Up close, about 1 - 2 feet away
Control (May not show up, but on my camera shows the garage door just barely via a bit of moonlight) Approximately 20 feet.
Close to real life, actual hotspot is quite a bit smaller.
Approximately 50 yards to the trees.
Approximately 25 Yards to trees
Comparison Shots:
Left: Defiant 3x XM-L T6 @ 7.2A Right: SRK (On Laptop pulls)
Dropping down the exposure
And a bit more
Breakdown Pictures:
Longer protected button top batteries fit fine (I tested Protected Panasonic 3400mAh button tops).
A Quick little mod to laptop pulls is needed in order to make them usable in this light:
Shows the slight protrusion of the positive pole of batteries needed in order to make contact with the driver's contact board:
Negative contact plate removed; anodized on the platforms, but the threads for the contact plate's screws are bare.
Underside of the reflector; large screw fastens the reflector down on top of the emitters through the underside of the pill.
Last edited:


