Ricker
0
- Joined
- Oct 14, 2015
- Messages
- 758
- Points
- 93
Hey everyone! I just recently have gotten back from an amazing, well needed vacation; now it's time to have some fun!
I had a gentleman whom owns a local oil delivery business and is a good friend approach me several weeks ago, and wanted me to acquire him a new, high powered laser. Knowing that he has several I agreed to make him a 7 watt portable laser AFTER he reads a quick disclaimer I had written for him regarding the safety of the diode i.e. planes, eyes, skin, cameras, etc. AND only if I can order him a pair of safeties as well.
Now that we have passed that stage, I gave him a few options, he chose the S4X from Survival Lasers. Which was a great choice for me due to Garoq's in-def tutorial to building one, which, I must admit, I studied and used closely. Thank you very much Gary for the great tutorial and equipment! :beer:
So, this is my first real build. I know it's not the prettiest, but I am hoping for one of the most photo documented for a first build. And PLEASE give some constructive criticism on this so I can improve the next time! The more detailed the better.
ATTENTION: This is a VERY Picture Heavy thread, sorry if this effects you negatively in any way. I am going to let the pictures do most of the talk other than some notes from time to time, thank you all for looking!
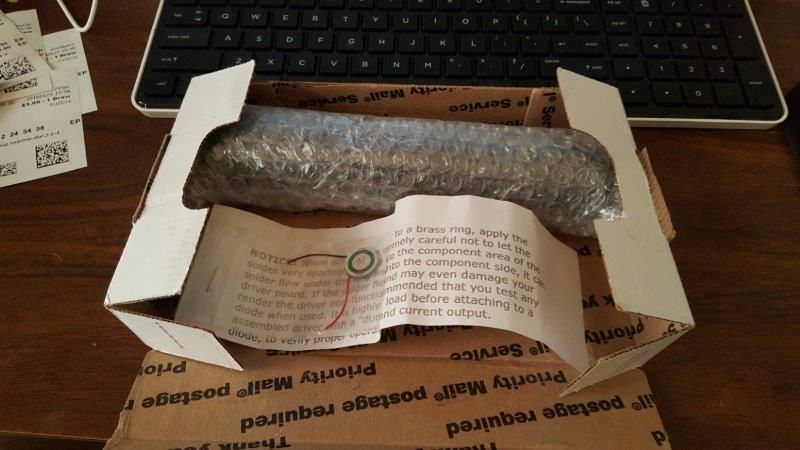
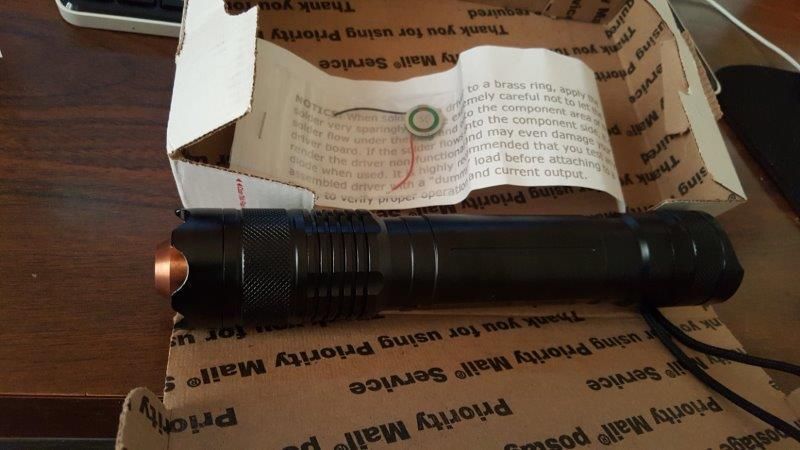
Unpackaging, Looks beautiful, so clean!
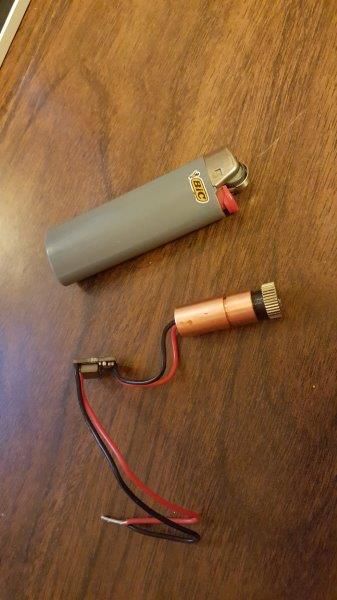
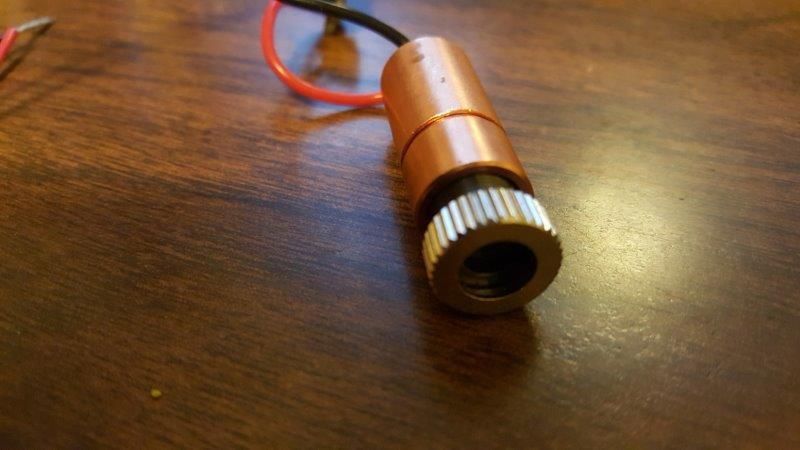
Diode and Driver look equally as good, never expect anything but with Jordan!
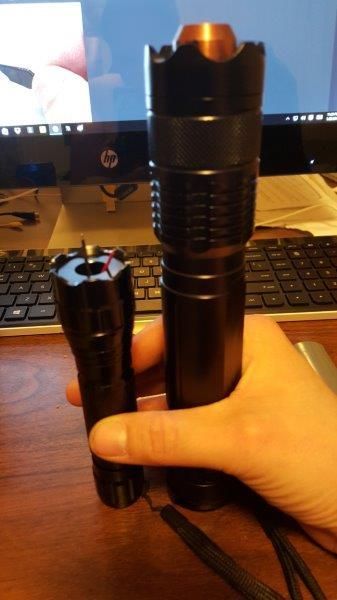
Just a little comparison to a 501B host, makes it look almost sad when standing next to eachother.
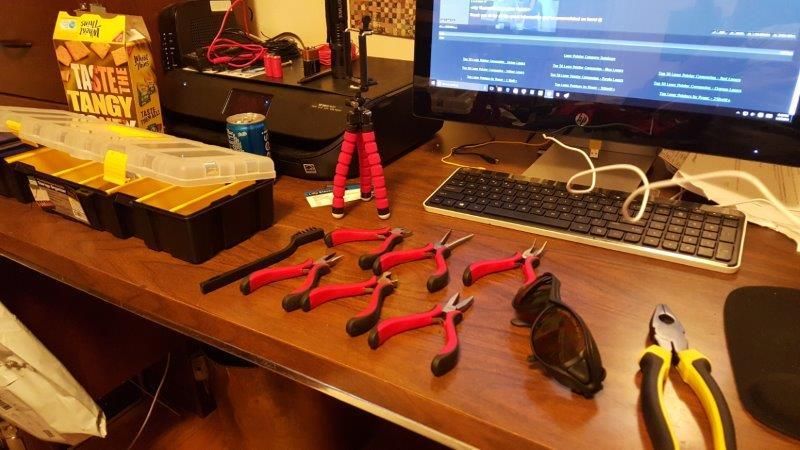
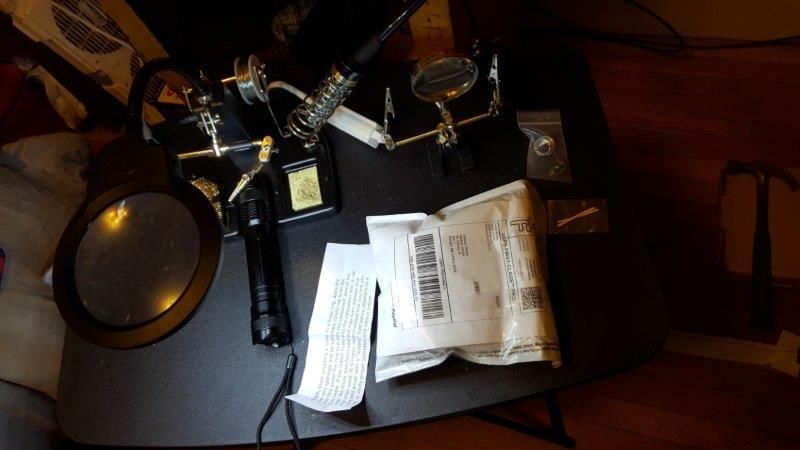
Just a quick view of my tools and little workplace. It's not a full shop, but it got the job done.
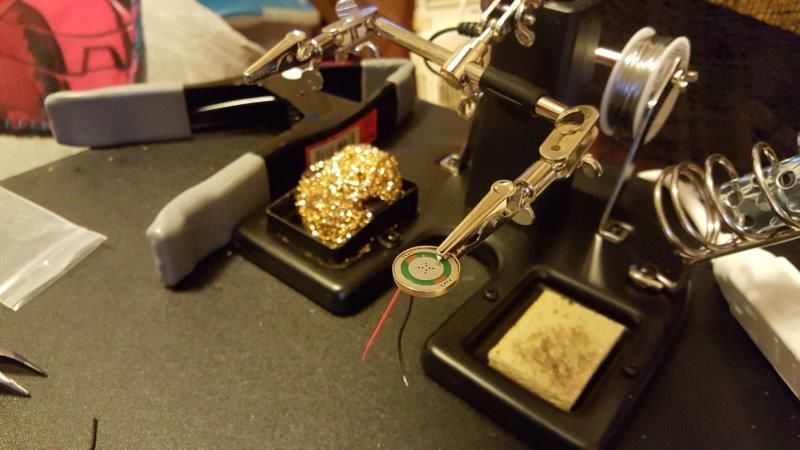
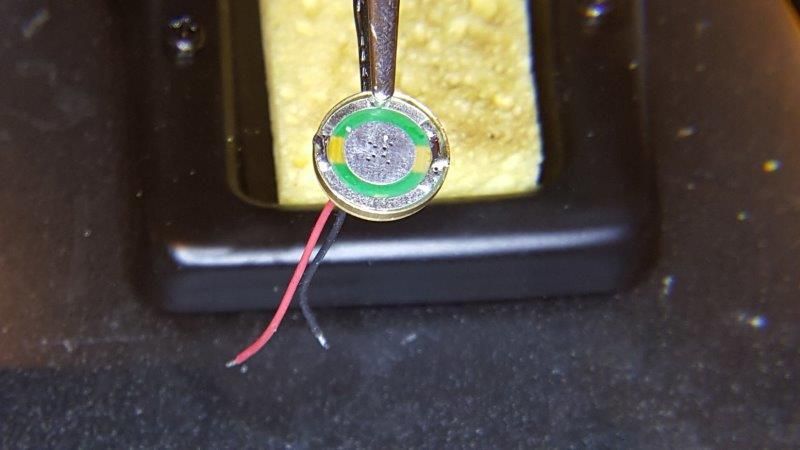
Soldering the battery contact board to the brass ring to make contact with host and have a snug fit into the driver pill. Notice the solder is just a hair over the top outside of the ring, if left, the contact board/ring may not have fit into the pill.
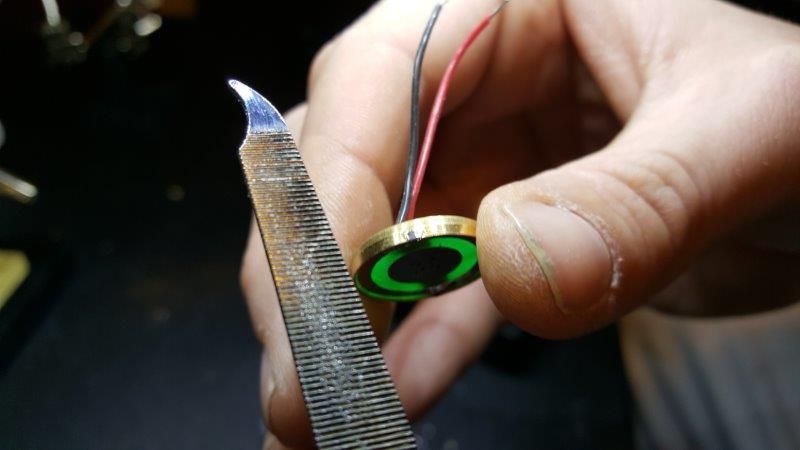
So I took out a fine grit file, and filed the excess solder off the outside of the ring until it was back to perfect condition.
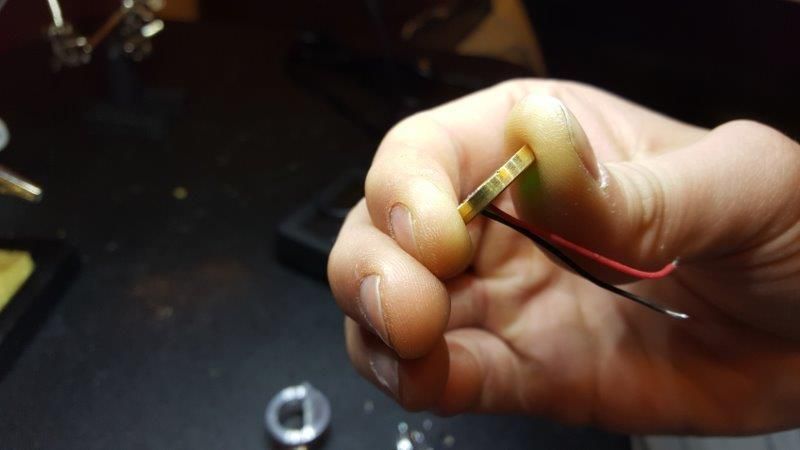
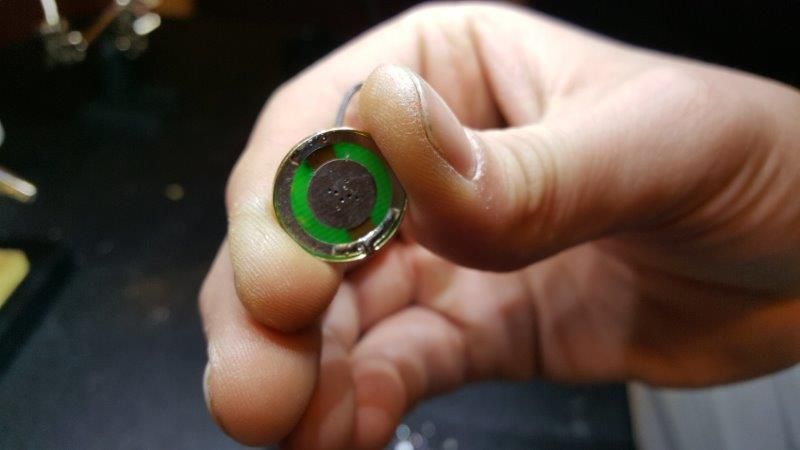
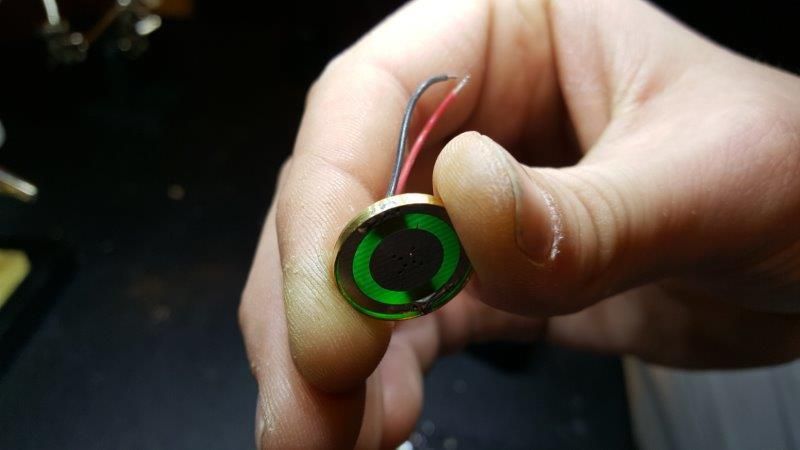
Looks good now!
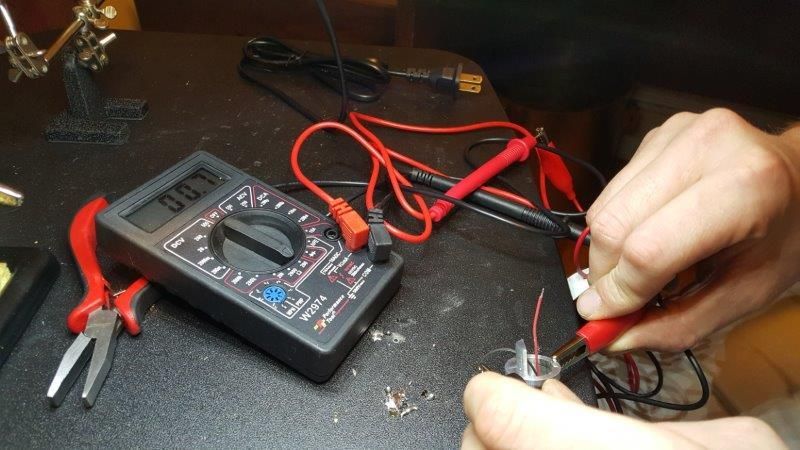
I did a quick test to make sure the contact board had correct contact between wires, ring, and pill. (During vacation I bought a Fluke 115 Multimeter, I know this isn't a good DMM.) :wave:
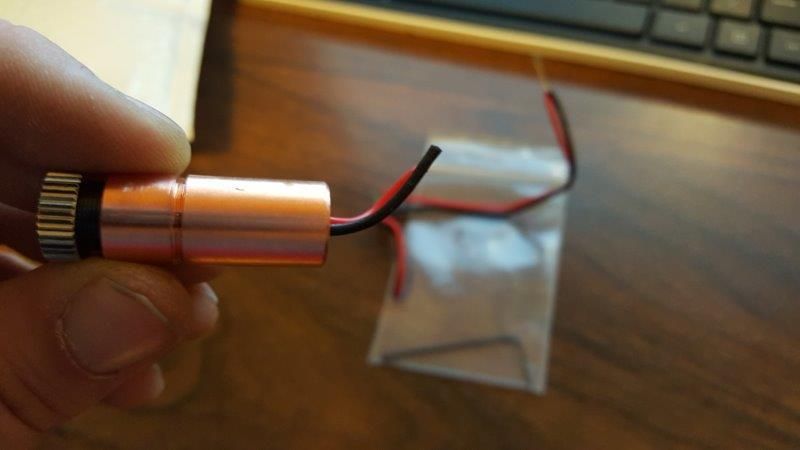
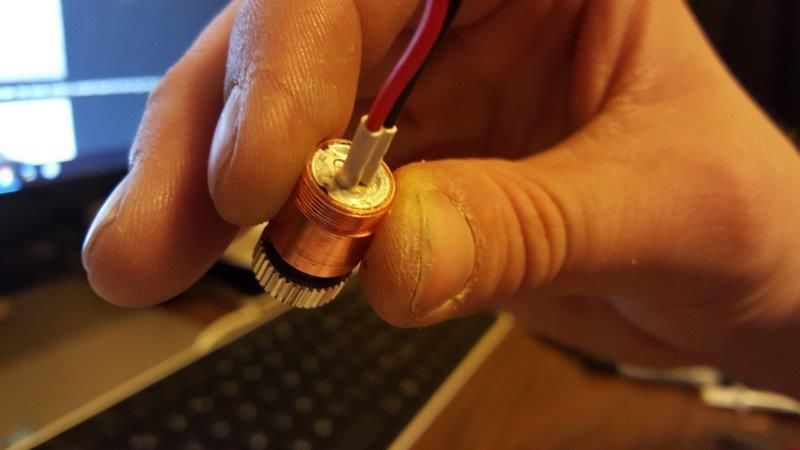
Cut the diode from the driver, and took the back half off the diode. I had spoke with DTR about how this would perform without the back half due to not having enough room in the heatsink with the SL driver pill. Jordan quickly replied, told me do NOT turn it on without the backing, and immediately sent me a half sized back half of the module for free! :thanks: Unfortunately vacation was coming up in two days, so the build would have to wait until I got back!
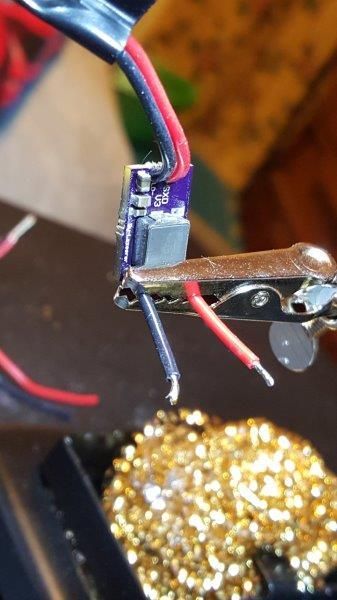
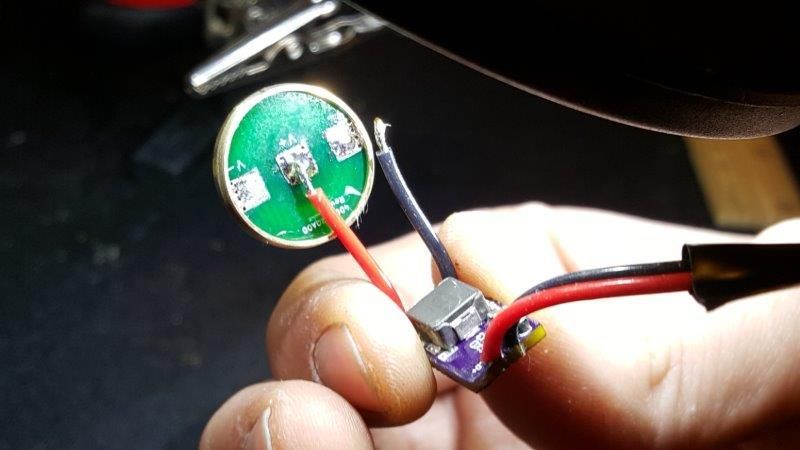
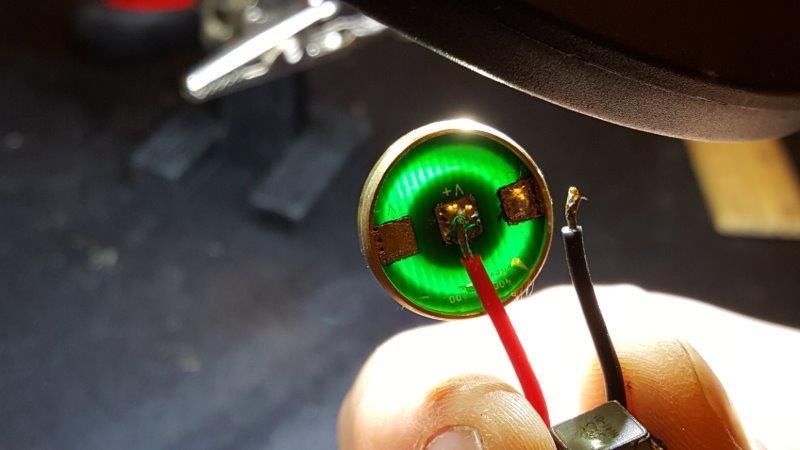
Simply attaching the SXD driver to the contact board.
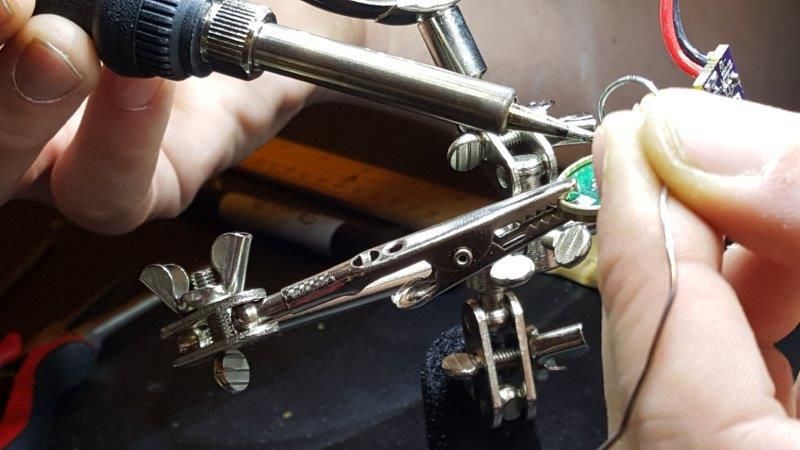
Soldering the negative wire to the negative pad of CB.
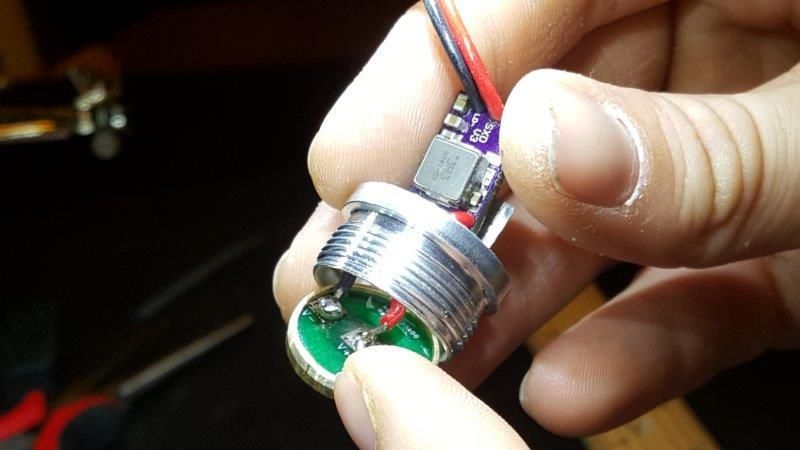
Last picture before it's off to California!
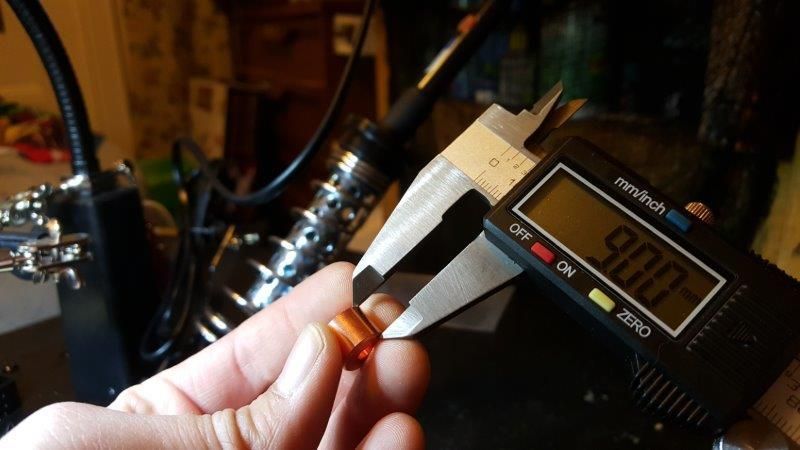
Measuring the size of the half module backing DTR sent me.
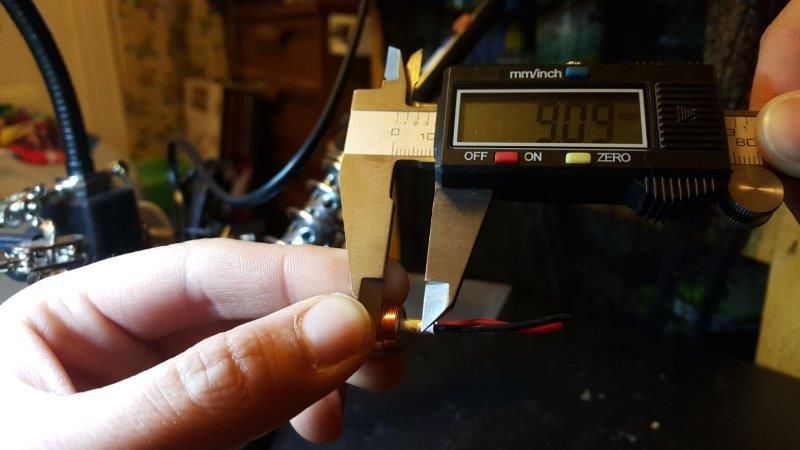
Trying to figure out roughly where to cut the heat-shrink back due to the shorter module, the heat-shrink will not allow the new back to screw on.
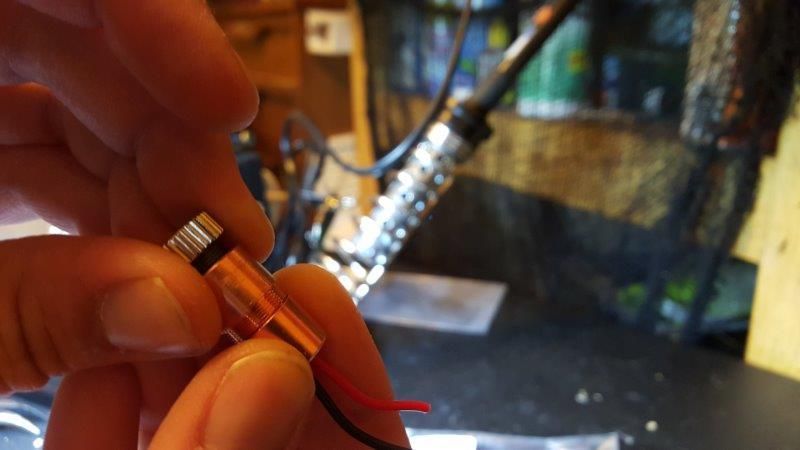
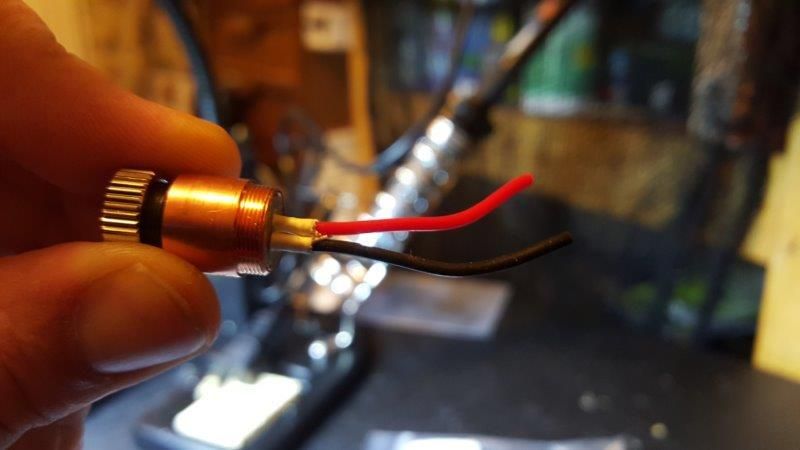
Cut the heat-shrink back to fit the new backing.
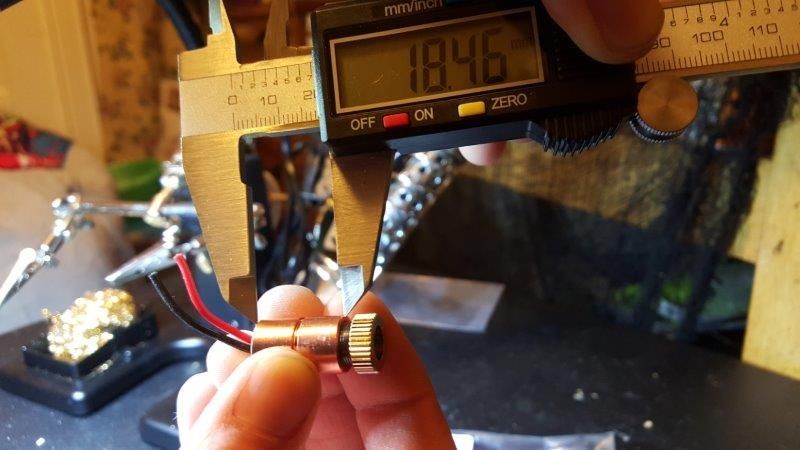
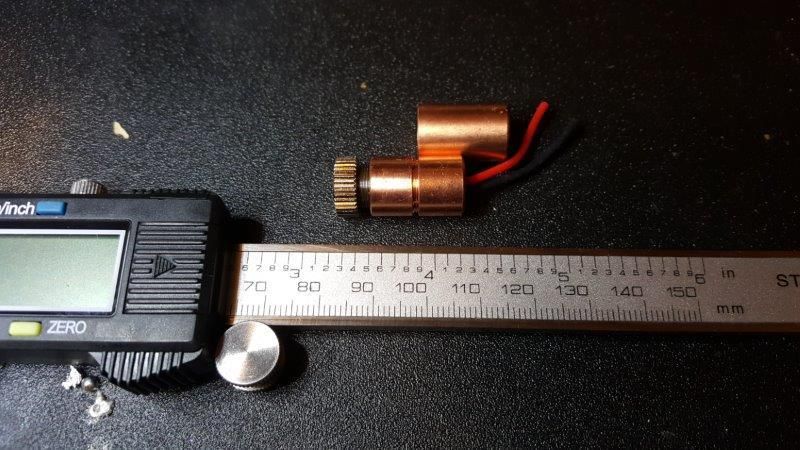
Showing the difference in size between the original and the new module backing. Thanks again Jordan!
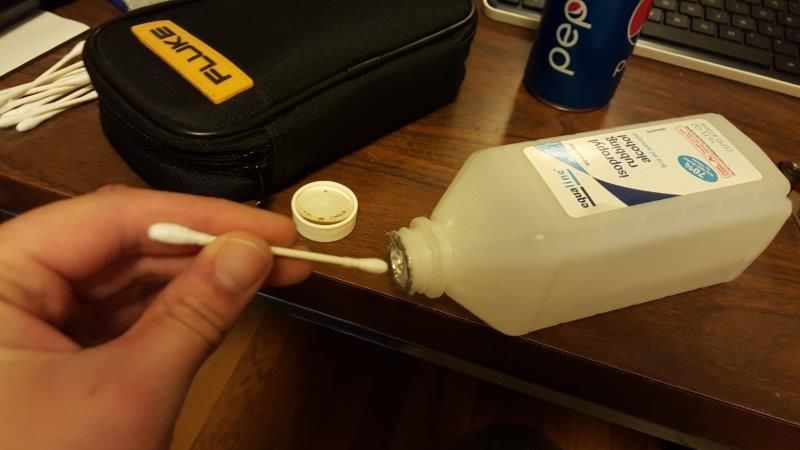
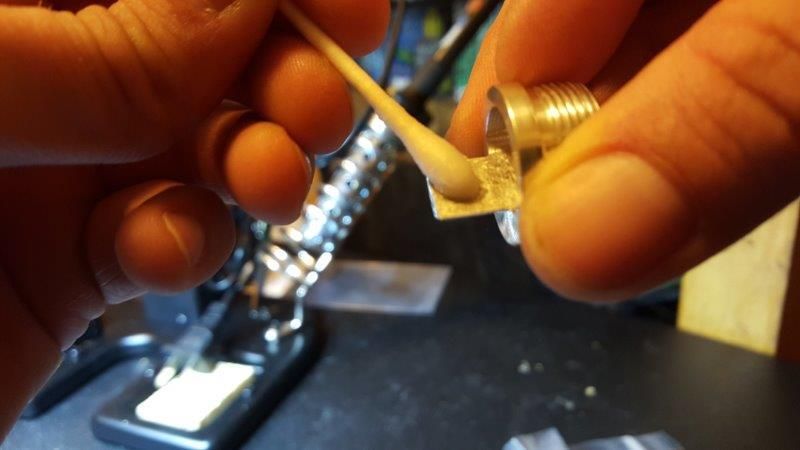
I took some rubbing alcohol to clean off the pill shelf to allow a perfect adhesive "grab" for the driver.
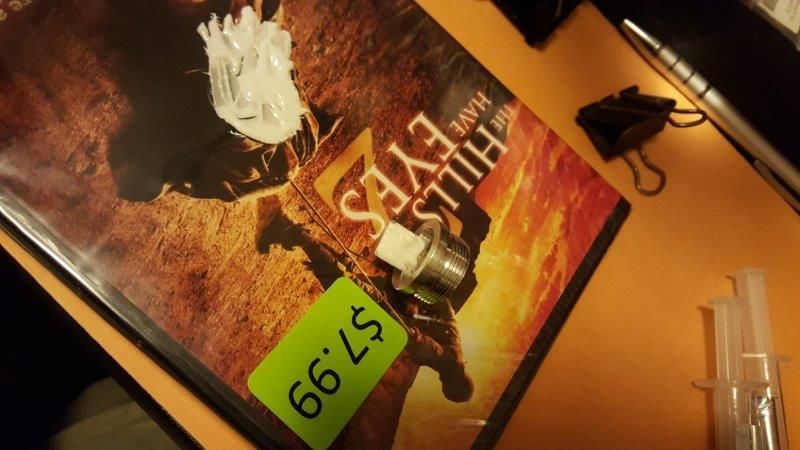
Putting the thermal adhesive on the pill.
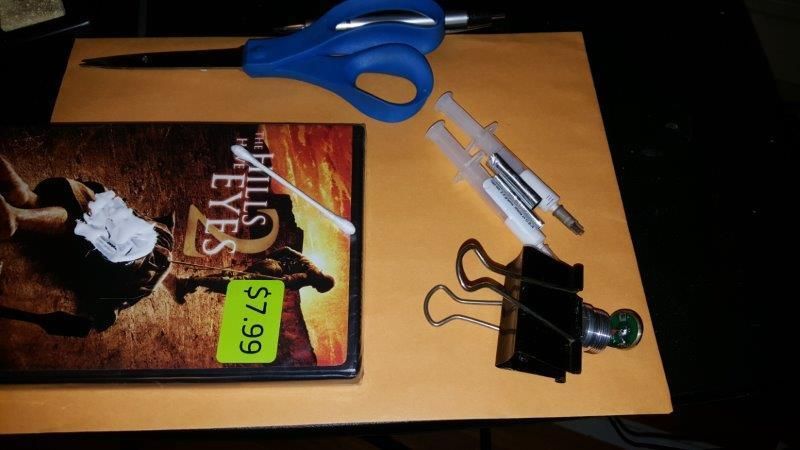
Now putting adhesive on the driver.
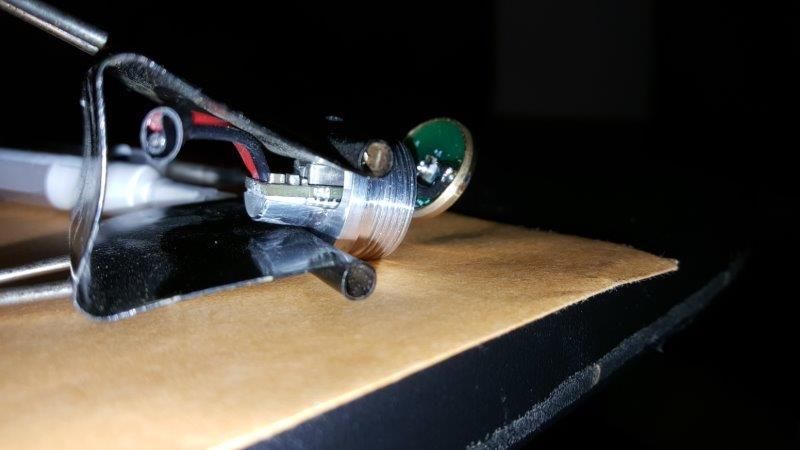
And now I clamped the two together, and let set overnight to ensure the best bond possible.
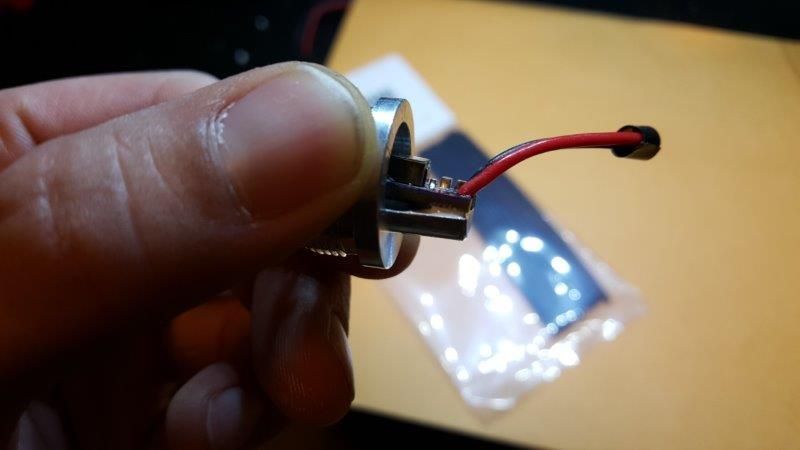
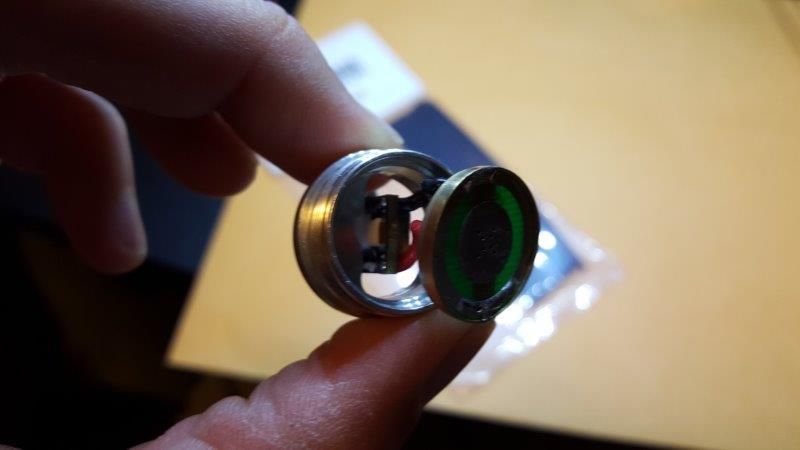
Next day: Stiff as steel!
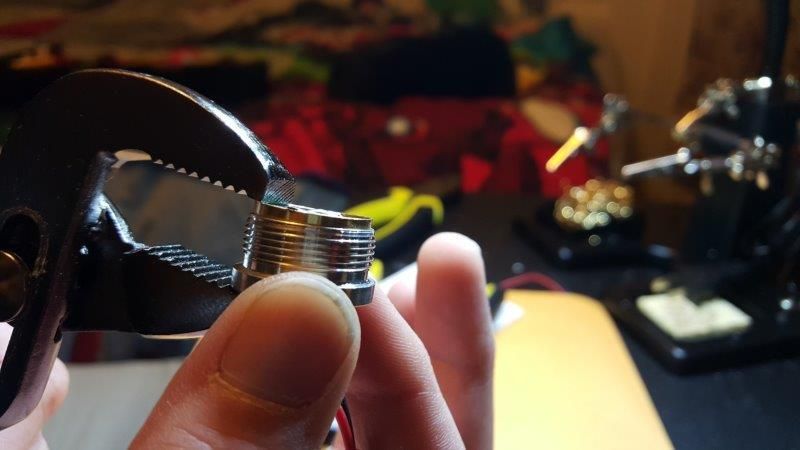
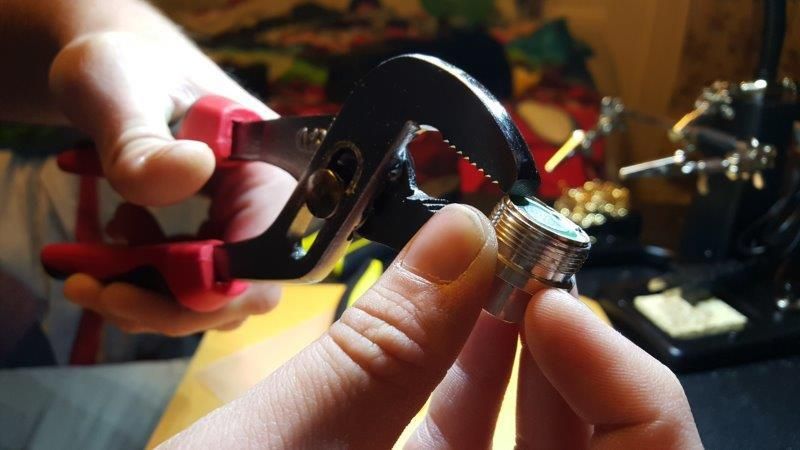
Using a small set of channel locks, I pressed the contact board and ring into the driver pill.
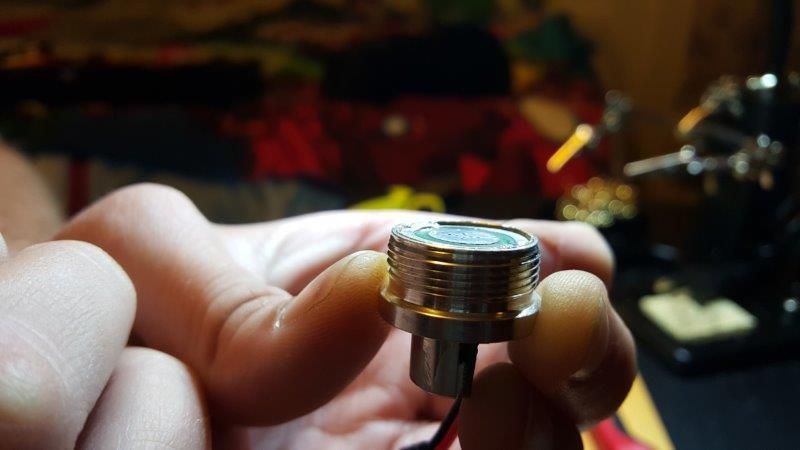
I made sure it was perfectly flush.
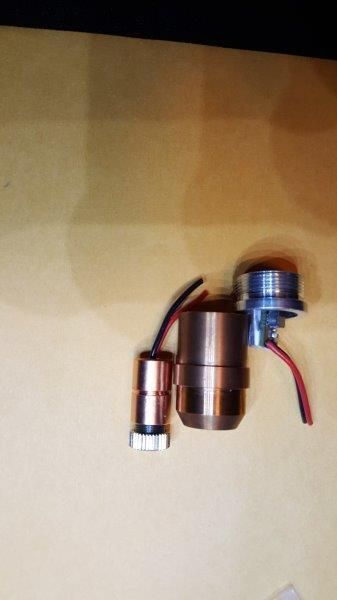
Trying to figure out the length of wire I need.
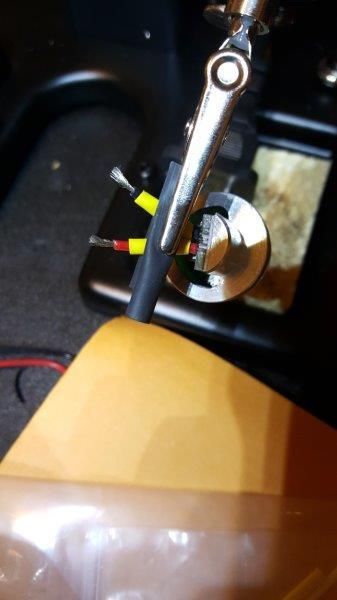
Getting driver ready to be tinned and soldered together with diode, here goes nothing! (Or should I say hundreds of dollars!)
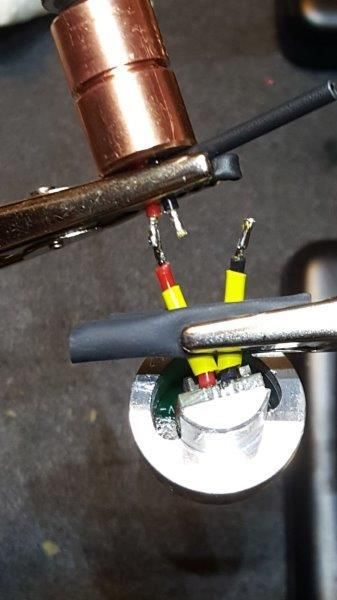
Positive is secured.
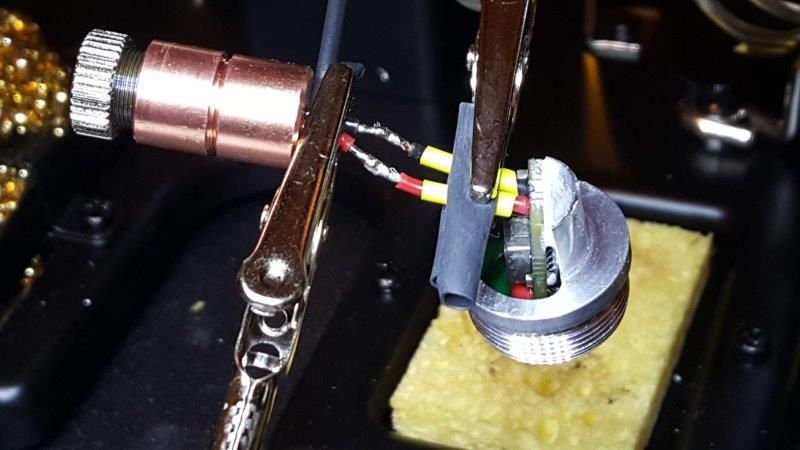
Negative is secured.
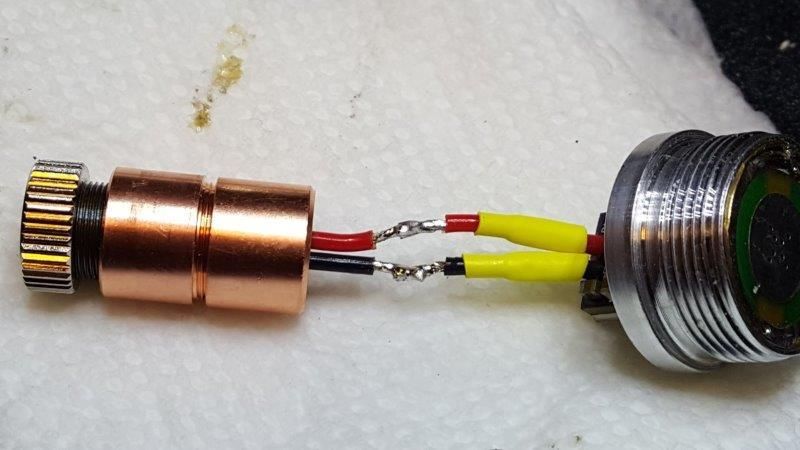
As you can see the solder is pretty ugly, AND because I did it this way of leaving the wires on, the heat-shrink was too close, and it closed it up a little bit as you can tell. That was the biggest pain of the whole build, trying to get the shrink all the way over onto the insulation on the other side. I had to rig it with another piece of heat-shrink that I scored down the side, then wrapped, heated, and left. Which made it look even more ugly. BUT I went and did a quick 5 second test and everything worked GREAT! I finally built a working laser from (almost) scratch!!:takeit:
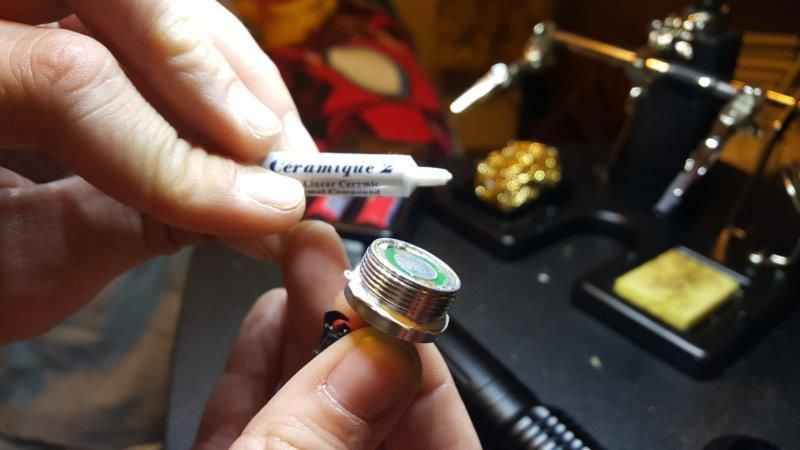
After the test, I started loading it with thermal compound, starting with the driver pill.
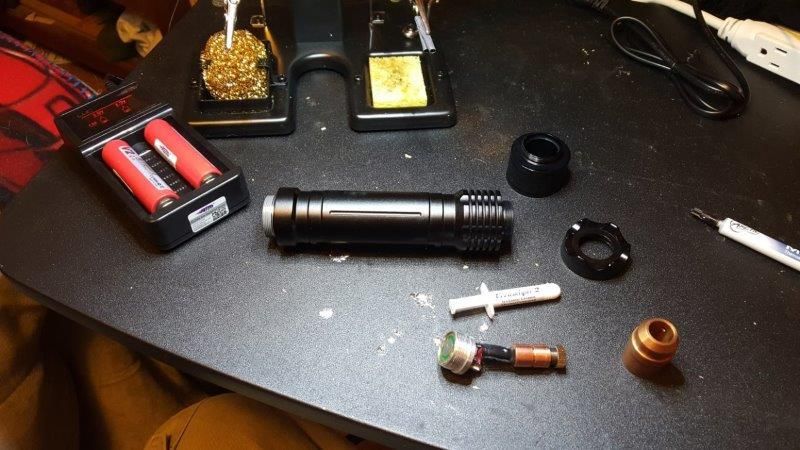
Getting the EFEST's ready for the first REAL spin.
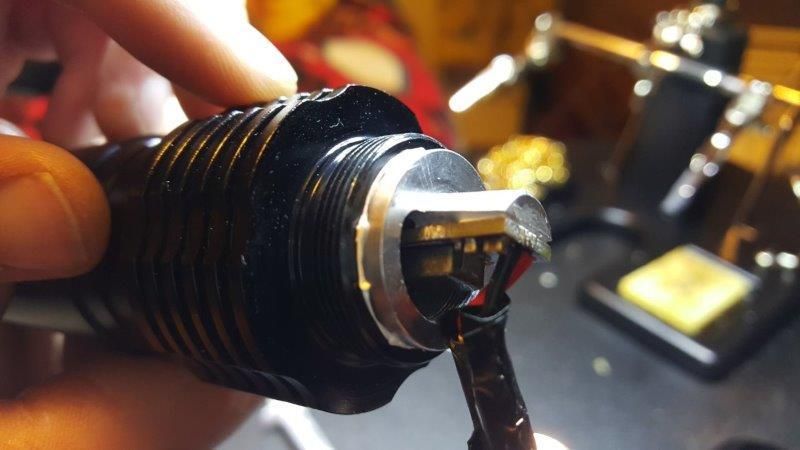
Pill Mounted.
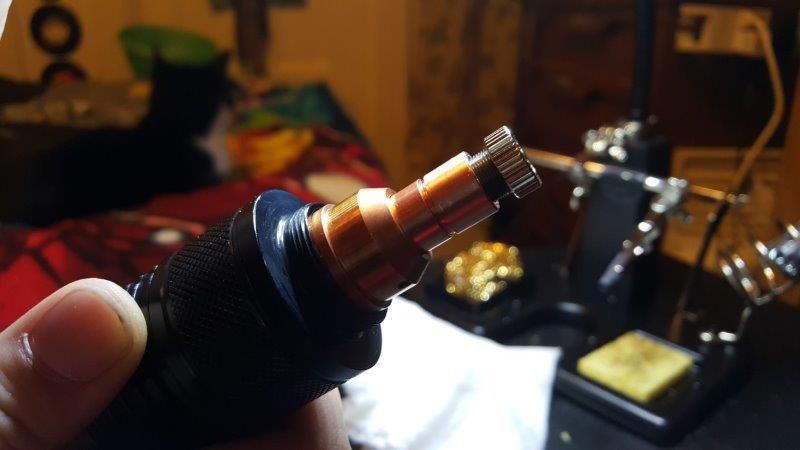
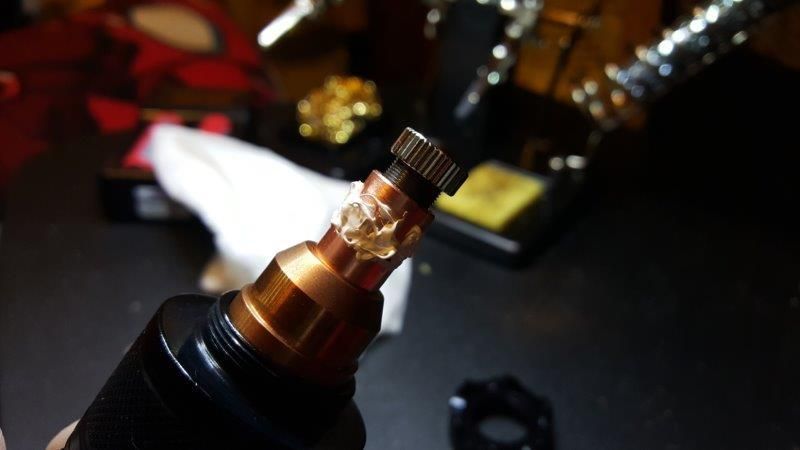
Diode is ceramiqued as well, and tightened down into the heatsink. It was definitely tight getting the diode down into the heatsink due to my crappy heat-shrinking job, but it worked, and it fit.
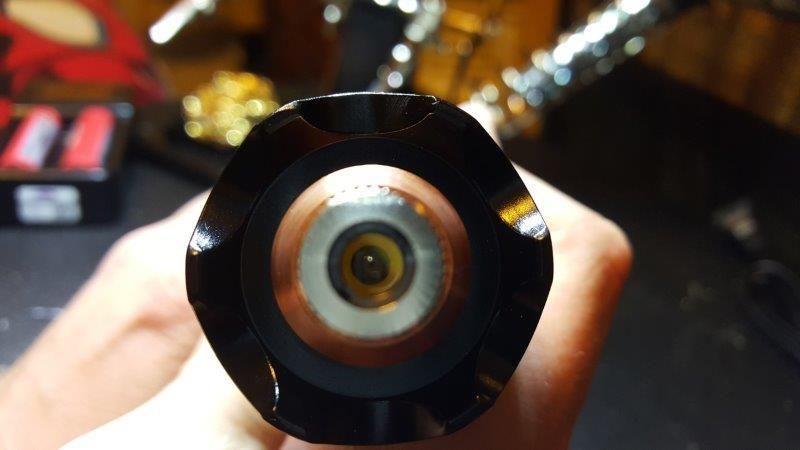
3-Element lens.
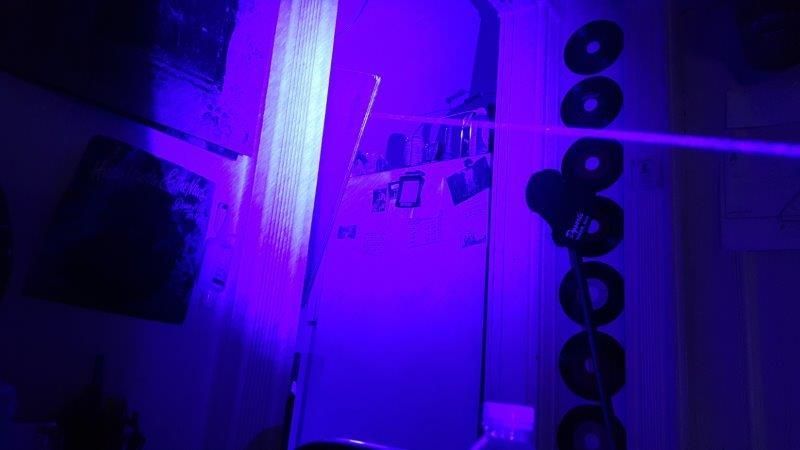
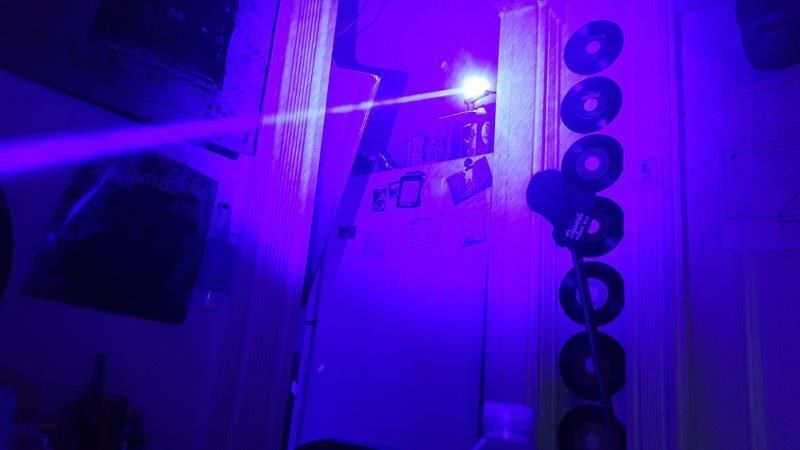
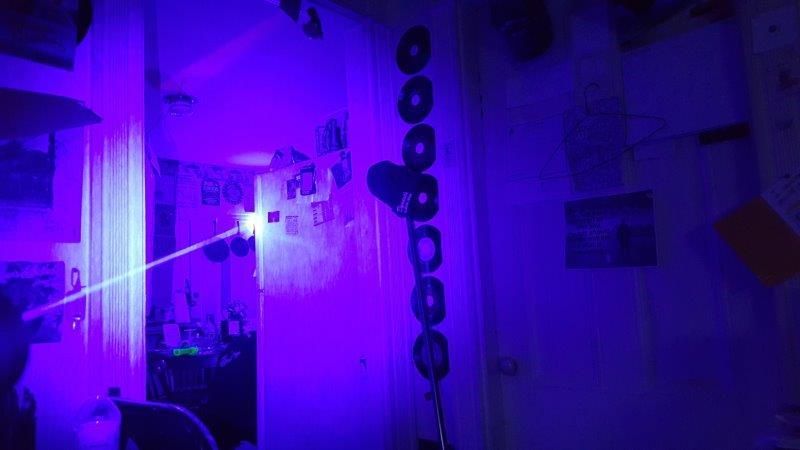
A couple simple beamshots before taking it to the customer whom was ecstatic when he received it!
Please let me know what you think, and let me down easy with the harsh judgments! Lol :evil:
I had a gentleman whom owns a local oil delivery business and is a good friend approach me several weeks ago, and wanted me to acquire him a new, high powered laser. Knowing that he has several I agreed to make him a 7 watt portable laser AFTER he reads a quick disclaimer I had written for him regarding the safety of the diode i.e. planes, eyes, skin, cameras, etc. AND only if I can order him a pair of safeties as well.
Now that we have passed that stage, I gave him a few options, he chose the S4X from Survival Lasers. Which was a great choice for me due to Garoq's in-def tutorial to building one, which, I must admit, I studied and used closely. Thank you very much Gary for the great tutorial and equipment! :beer:
So, this is my first real build. I know it's not the prettiest, but I am hoping for one of the most photo documented for a first build.
ATTENTION: This is a VERY Picture Heavy thread, sorry if this effects you negatively in any way. I am going to let the pictures do most of the talk other than some notes from time to time, thank you all for looking!
Specs:
NUBM44 7W+ 450nm Diode With 3-Element Lens DTR
Lazeerer's SXD Driver Preset to 4.5A DTR
S4X 2x 18650 Host SL
Extended Tapered Copper Heatsink SL
Driver Pill and Contact Board Ring With Driver Heatsink Shelf SL
16.8mm Battery Contact Board SL
Two: IMR 18650 2000mah 3.7v High Drain Li-mn Rechargeable Battery with Button Top EFEST
Arctic Silver Ceramique Thermal Compound, Arctic Silver Alumina Premium Ceramic Thermal Adhesive Arctic
Safety:
Eagle Pair 190-540nm & 800-2000nm Laser Safety Goggles
Manufacturers Website Reference:
DTR: DTR's NUBM44 Diode W/ SXD Driver, SL: Survival Laser's S4X Host, Extended Tapered Copper Heatsink, Heatsink Shelved Driver Pill, Arctic: www.ArcticSilver.com.


Unpackaging, Looks beautiful, so clean!


Diode and Driver look equally as good, never expect anything but with Jordan!

Just a little comparison to a 501B host, makes it look almost sad when standing next to eachother.


Just a quick view of my tools and little workplace. It's not a full shop, but it got the job done.


Soldering the battery contact board to the brass ring to make contact with host and have a snug fit into the driver pill. Notice the solder is just a hair over the top outside of the ring, if left, the contact board/ring may not have fit into the pill.

So I took out a fine grit file, and filed the excess solder off the outside of the ring until it was back to perfect condition.


Looks good now!

I did a quick test to make sure the contact board had correct contact between wires, ring, and pill. (During vacation I bought a Fluke 115 Multimeter, I know this isn't a good DMM.) :wave:


Cut the diode from the driver, and took the back half off the diode. I had spoke with DTR about how this would perform without the back half due to not having enough room in the heatsink with the SL driver pill. Jordan quickly replied, told me do NOT turn it on without the backing, and immediately sent me a half sized back half of the module for free! :thanks: Unfortunately vacation was coming up in two days, so the build would have to wait until I got back!


Simply attaching the SXD driver to the contact board.

Soldering the negative wire to the negative pad of CB.

Last picture before it's off to California!
...Three Weeks Later...

Measuring the size of the half module backing DTR sent me.

Trying to figure out roughly where to cut the heat-shrink back due to the shorter module, the heat-shrink will not allow the new back to screw on.


Cut the heat-shrink back to fit the new backing.


Showing the difference in size between the original and the new module backing. Thanks again Jordan!


I took some rubbing alcohol to clean off the pill shelf to allow a perfect adhesive "grab" for the driver.

Putting the thermal adhesive on the pill.

Now putting adhesive on the driver.

And now I clamped the two together, and let set overnight to ensure the best bond possible.


Next day: Stiff as steel!


Using a small set of channel locks, I pressed the contact board and ring into the driver pill.

I made sure it was perfectly flush.

Trying to figure out the length of wire I need.

Getting driver ready to be tinned and soldered together with diode, here goes nothing! (Or should I say hundreds of dollars!)

Positive is secured.

Negative is secured.

As you can see the solder is pretty ugly, AND because I did it this way of leaving the wires on, the heat-shrink was too close, and it closed it up a little bit as you can tell. That was the biggest pain of the whole build, trying to get the shrink all the way over onto the insulation on the other side. I had to rig it with another piece of heat-shrink that I scored down the side, then wrapped, heated, and left. Which made it look even more ugly. BUT I went and did a quick 5 second test and everything worked GREAT! I finally built a working laser from (almost) scratch!!:takeit:

After the test, I started loading it with thermal compound, starting with the driver pill.

Getting the EFEST's ready for the first REAL spin.

Pill Mounted.


Diode is ceramiqued as well, and tightened down into the heatsink. It was definitely tight getting the diode down into the heatsink due to my crappy heat-shrinking job, but it worked, and it fit.

3-Element lens.


A couple simple beamshots before taking it to the customer whom was ecstatic when he received it!
Please let me know what you think, and let me down easy with the harsh judgments! Lol :evil:
Last edited:


