Pman
0
- Joined
- Nov 28, 2012
- Messages
- 4,441
- Points
- 113
So, I had $ sitting with DTR for quite a long time watching and waiting to see what I might spend it on as he had said a while back that he had many diodes to test that might be up to snuff to release for sale. This has been out for a bit now although I would certainly call it new still. Really wasn't too interested to be honest in the 7W capable diode as I have so many units my desire was a different wavelength.
I already own 2 of the 462nm (although I rather call it a 464nm) at 2.2W one being in a custom host and another in a 510 adapter. Looking at the 464nm side by side with any other blue I had made all those other look very purple in comparison and I was concerned that the 465nm wouldn't be different enough.
After many others psted about how easy it was to get a wavelength shift by pushing it I finally decided to go with the whole shebang that Jordan offered which was the complete module in copper with the external SXD and G-2 set to at least 4.5A which should get me close to 470nm which should also give me a visible discernible wavelength change to make the purchase worth my while. I bought it with the G-2 so I could have another one on hand even though I have many other glass lenses as it is more cost effective to buy it with the complete module. I prefer 3-element lenses on most all of my units although I'm interested in trying out the G-7 from Podo if I remember correctly.
Upon arriving I noticed first and foremost how much I love the all copper module. Before this point I hadn't purchased anything that had it. This is a serious great upgrade over the common ones and this diode really needs the extra cooling in my opinion.
I had had Ehg make me up some custom heat-sinks at least a couple months ago for some larger units including a Dorcy side button and both a mag D and C (2) cell at a fantastic price. Work was done quickly and to my specs and am very pleased. He had preciously also made me up some focus knobs of various shapes/sizes so I have a bunch to choose from for that finishing touch.
Anyways, here is the build from yesterday and there's a lot of pics to share. I have only taken a couple beam shots so far but I figured I would get this up.
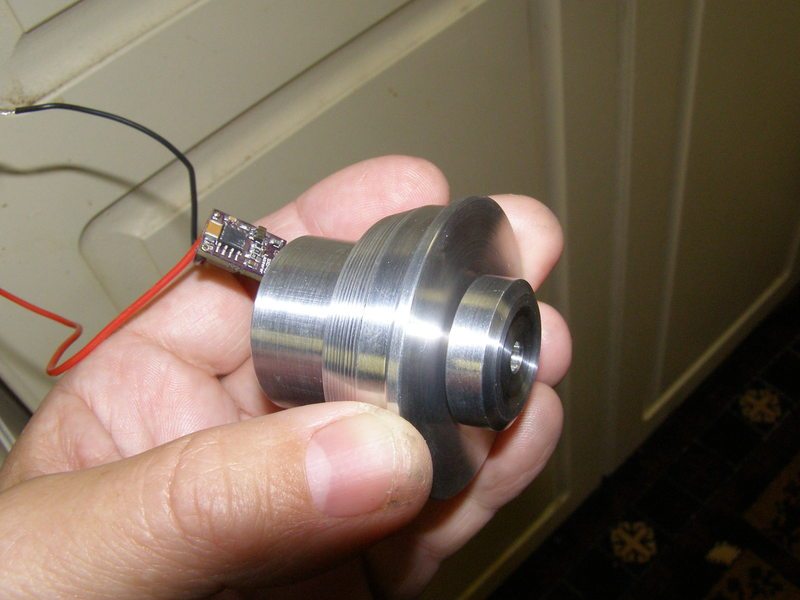
Here we have the heat-sink with the module already pushed in place and the driver just dangling. I really like that DTR used a thicker gauge wire than on the much lower output modules he sells so I didn't have to change them:
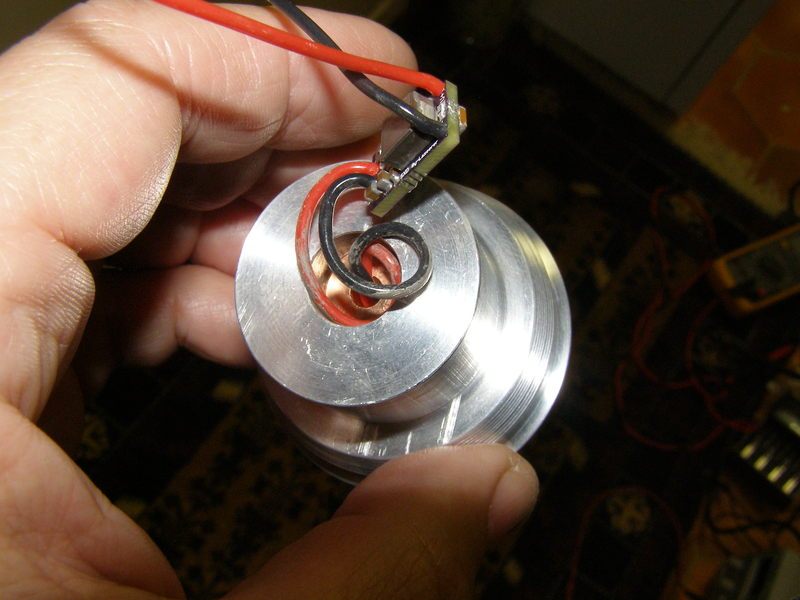
You can see the 8 and 5 chip that need to be heat-sinked above 3.5W although I would recommend they always be sinked:
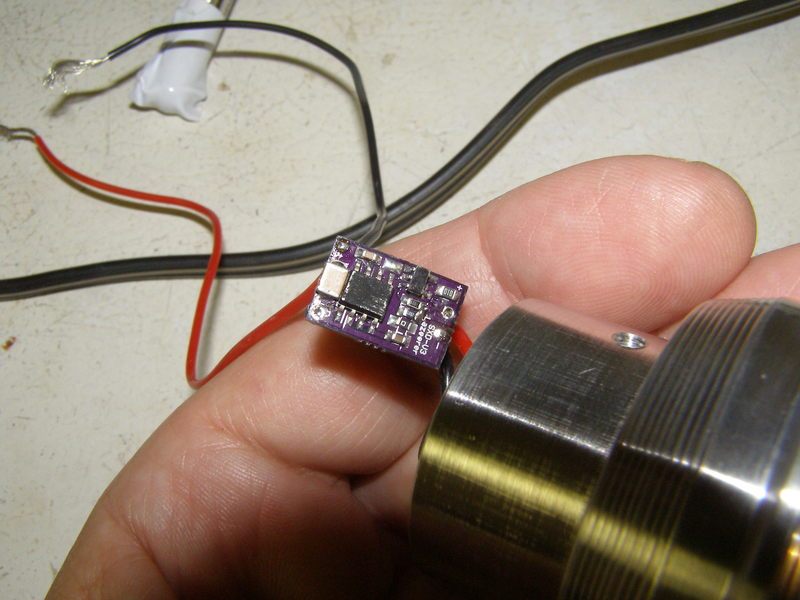
Sinked using Arctic Silver onto the diode sink opposite the diode. I would mention that I held the driver down for over an hour with my fingers as I watched a part of a movie. It wasn't that easy to keep strong pressure for that long but it did turn out exactly as I wanted it too:
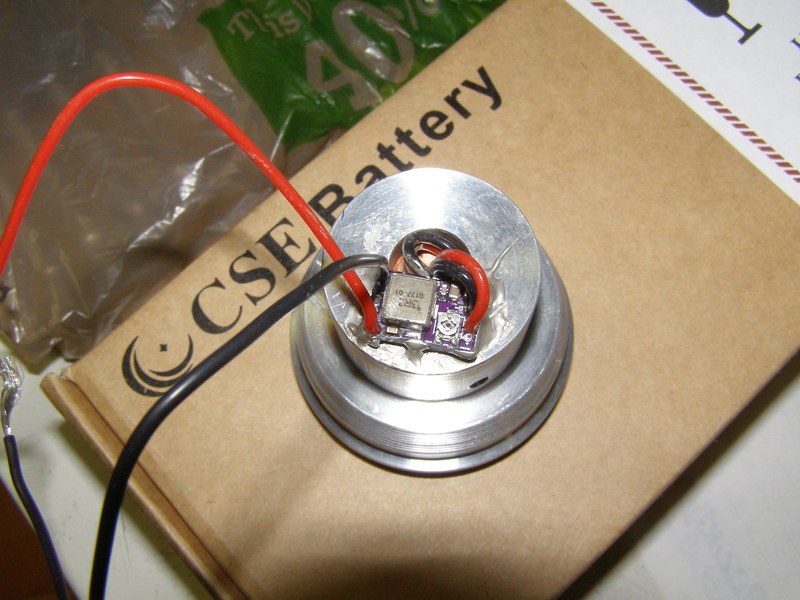
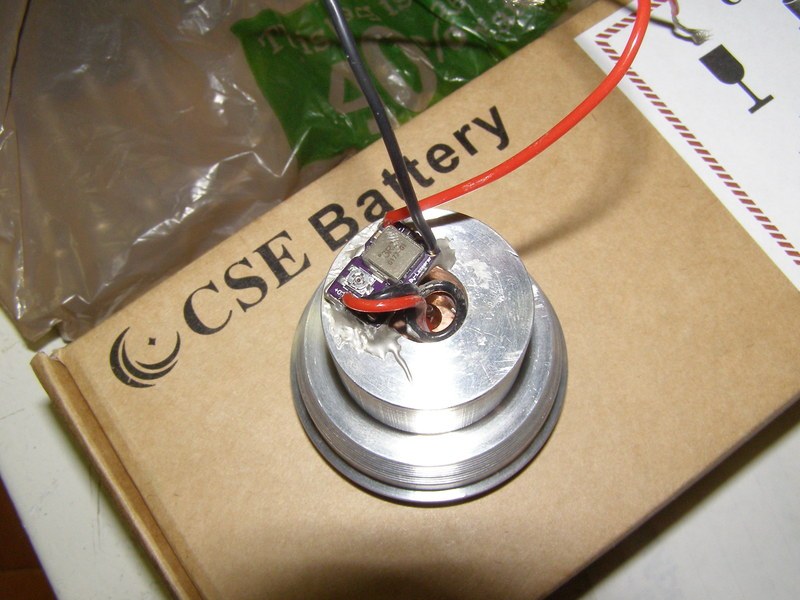
Just showing that when I am building I always put a cheapo plastic lens in to keep any debris away from the diode:
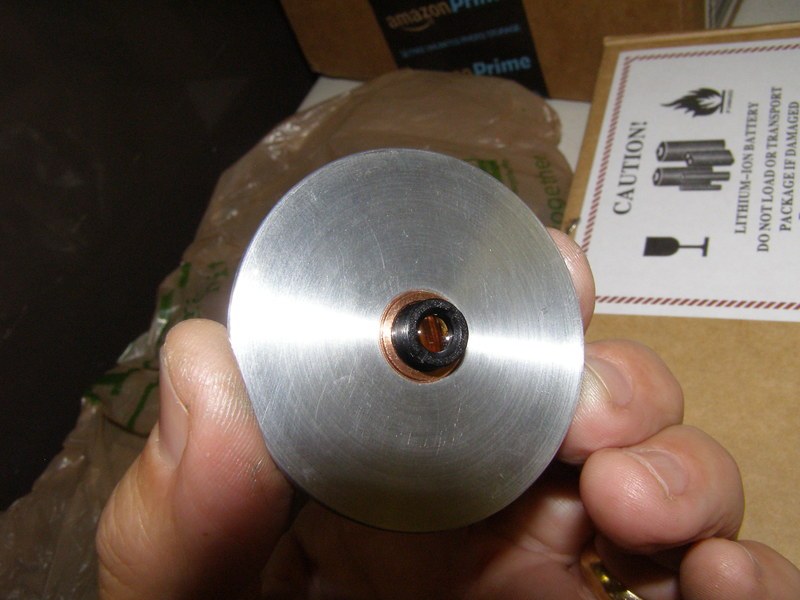
Here's the pill I had to work with:
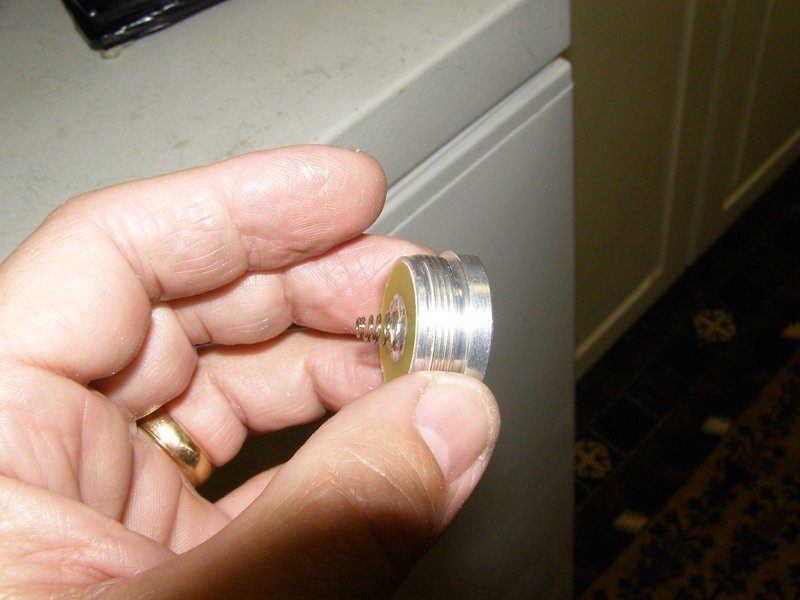
Already removed the LED and started to dremel though it:
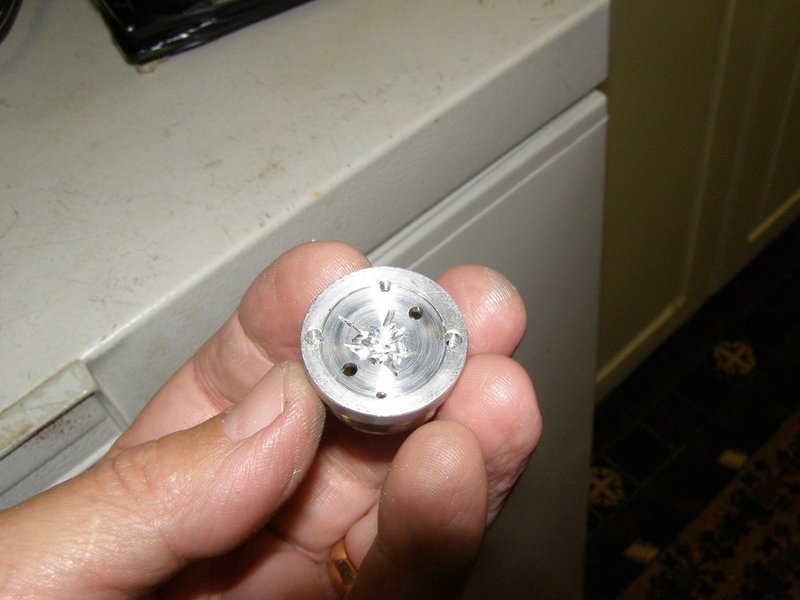
I needed a way to solder the negative so I took a copper ring and used my dremel to make it small to fit inside but also very tight:
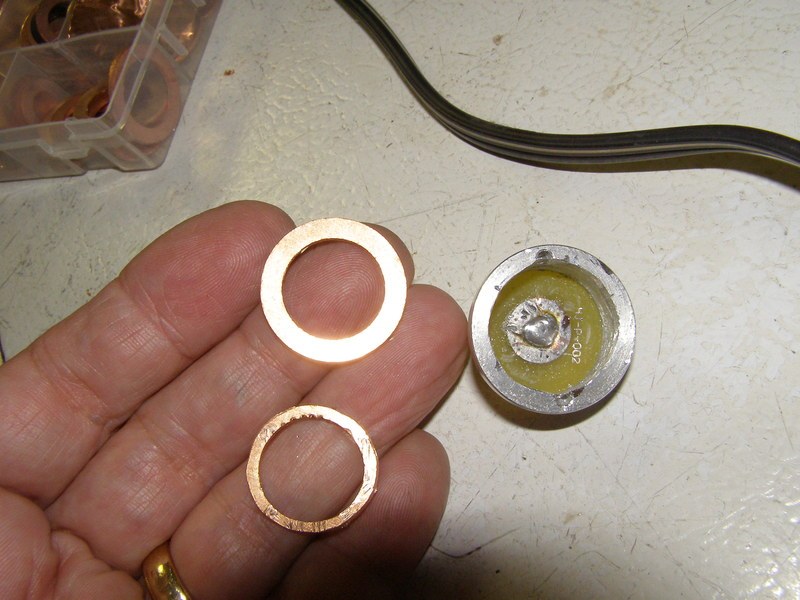
Here it is inserted after adding solder all the way around it so I could choose anywhere I wanted to attach the negative:
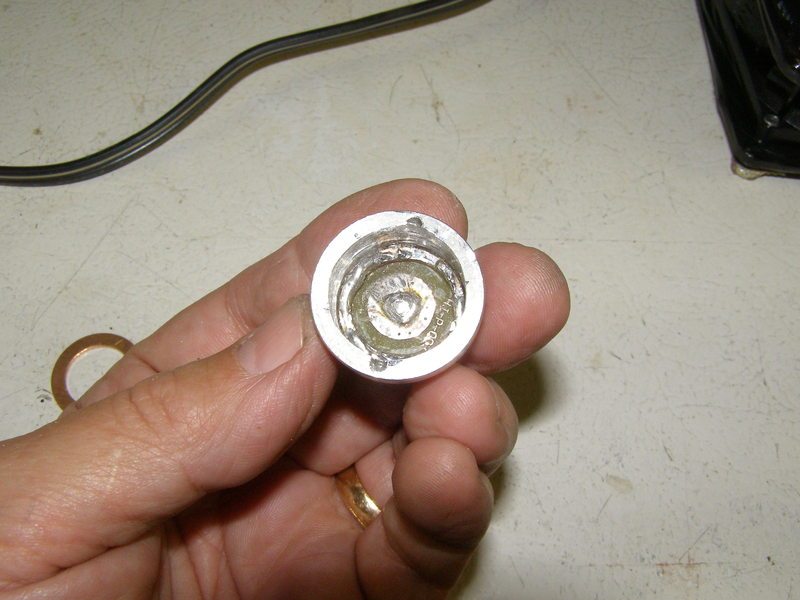
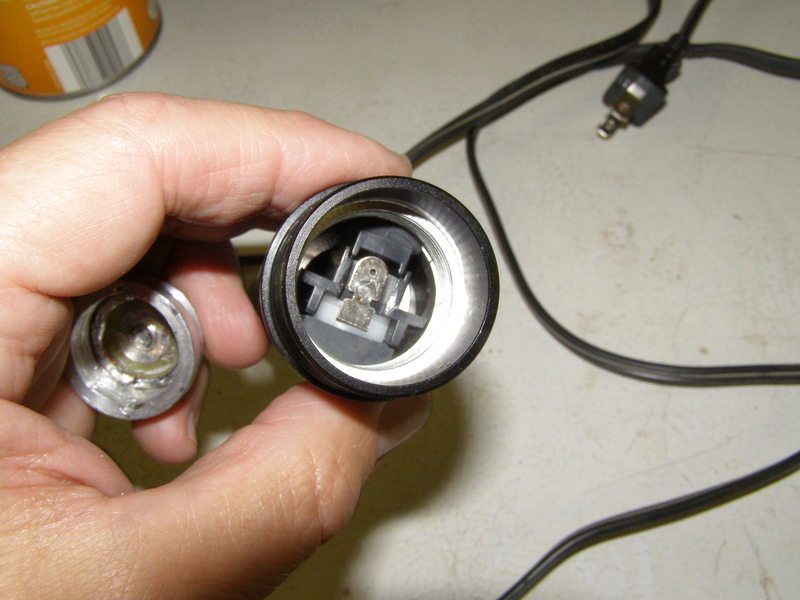
Inside of flashlight showing the pills contact point for switch:
In place:
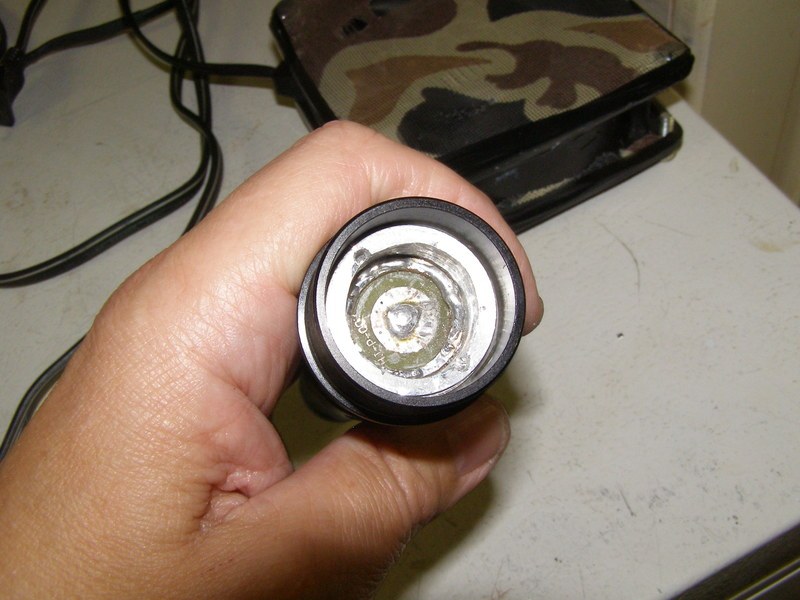
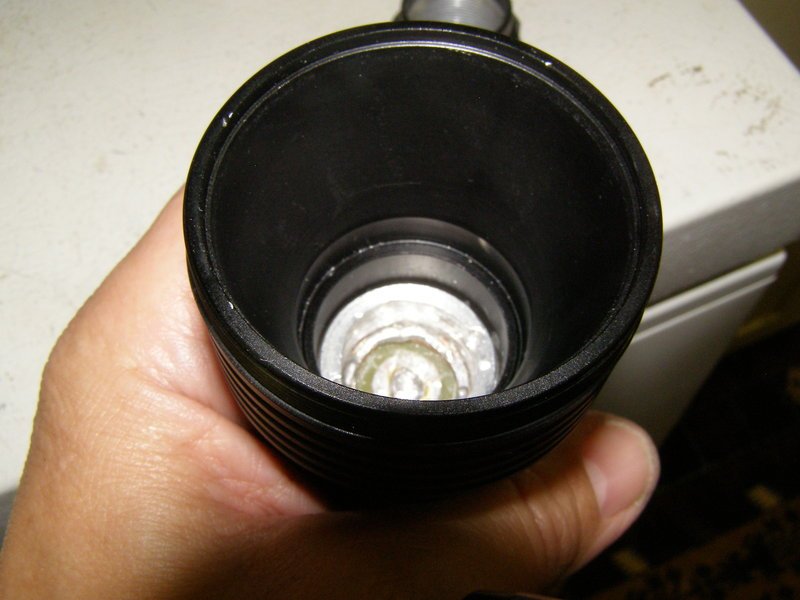
Here's the head and complete sink in place but without the top ring to hold the sink from moving:
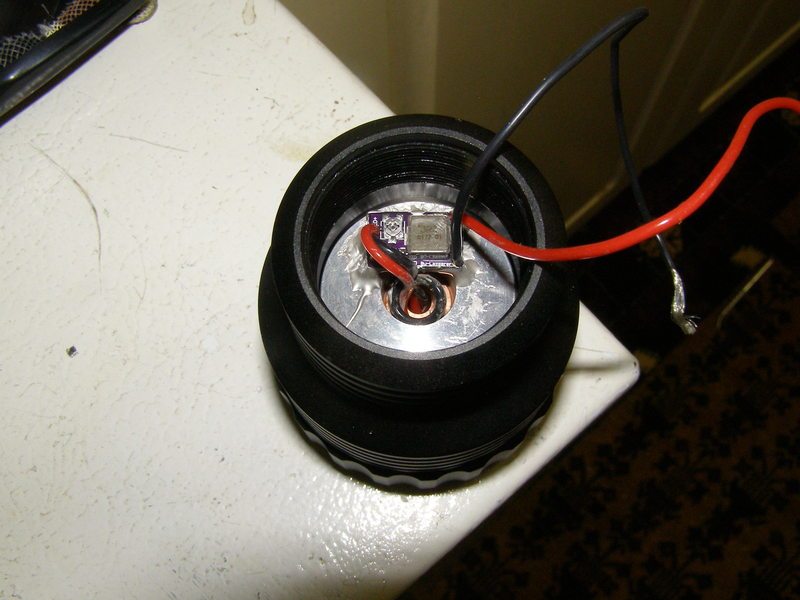
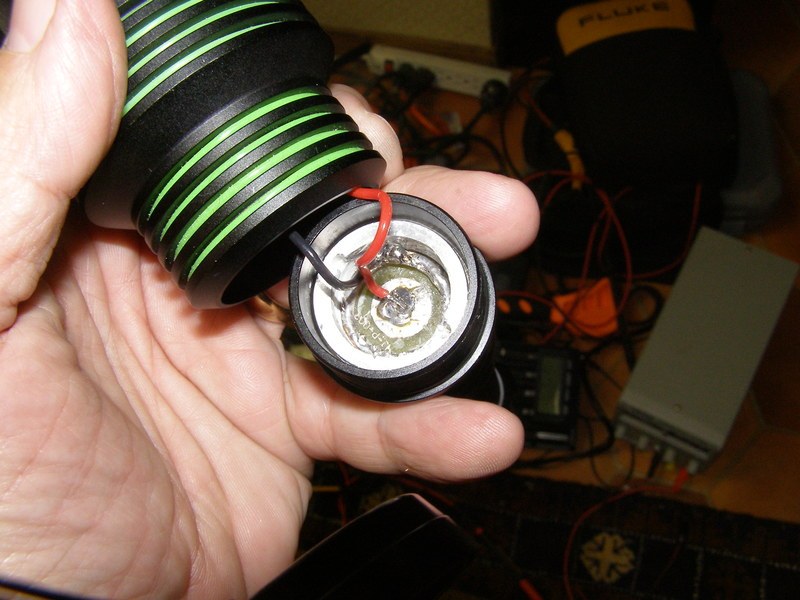
Soldered everything and left enough wire so I could screw the head on and easily see that I wasn't twisting the wires as I spun the sink at the same time. It's important to get the soldering iron hot enough to easily make a good connection to the copper as it needs to be hotter than normal as the pill acts like a sink pulling the heat away from the copper ring
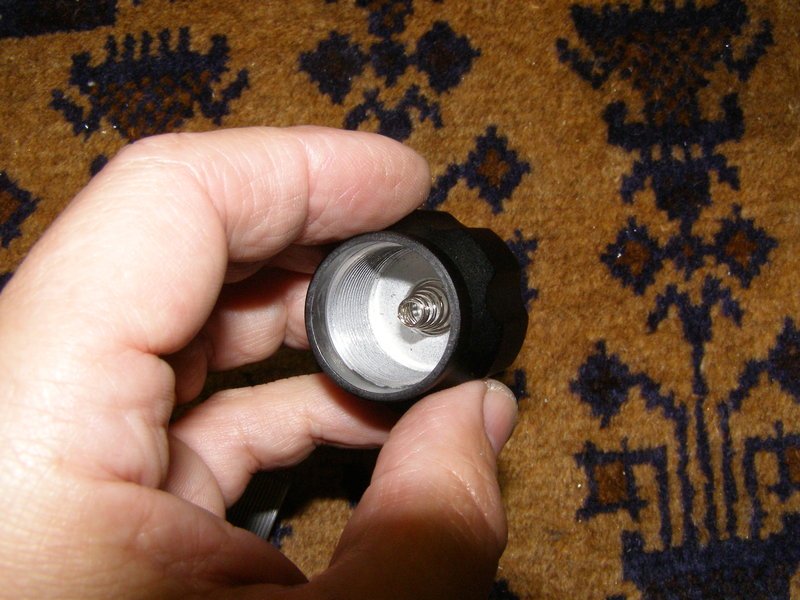
The tail cap with spring that I didn't have to modify. Yes I could have used a longer spring instead of the spacer that I made for proper battery length but I had already made the spacer months ago specifically for this purpose and it gives the perfect length to the OEM spring:
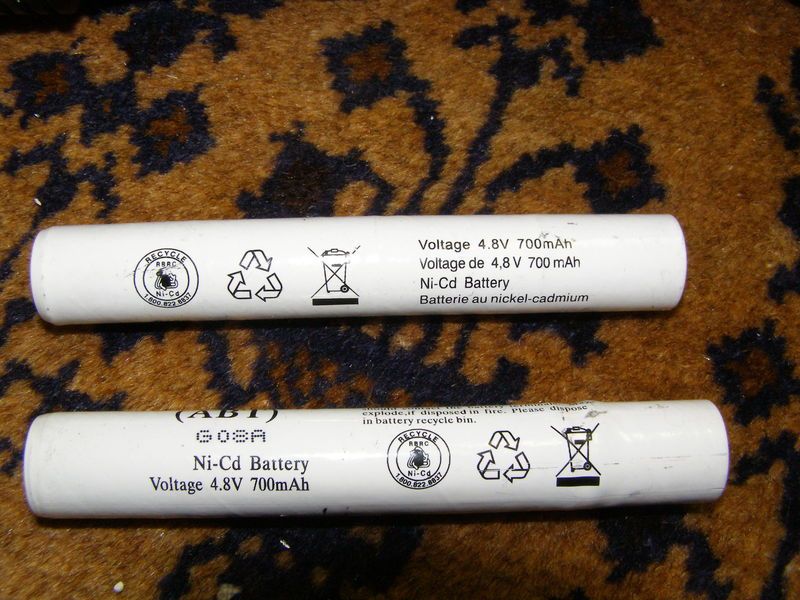
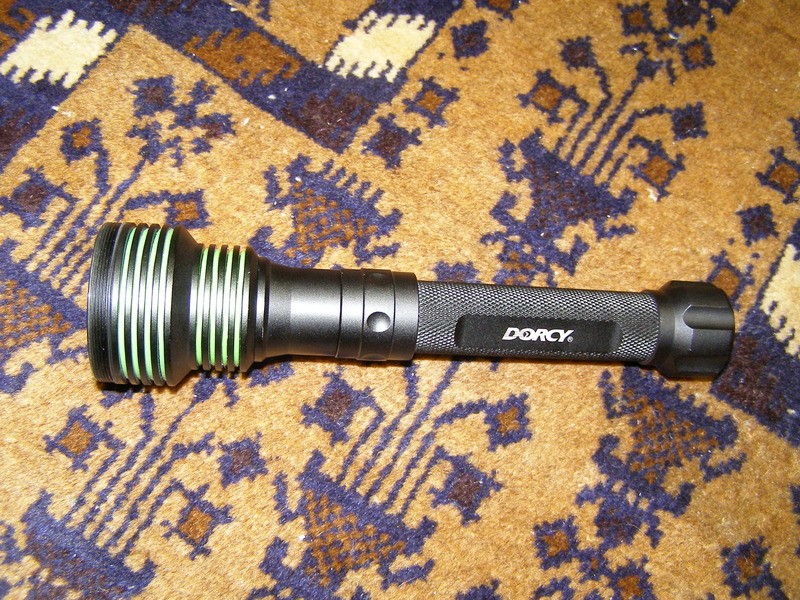
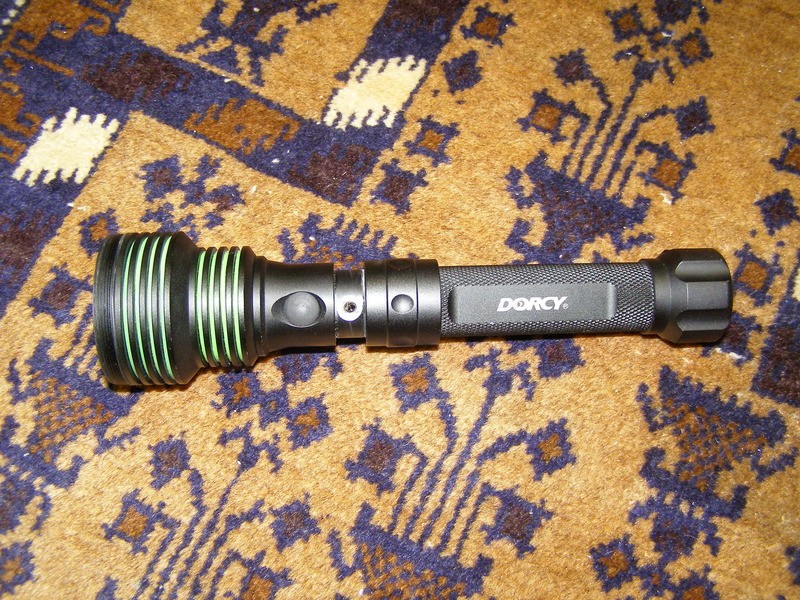
This flashlight was purchased maybe 4 years ago from Sears and came with a rechargeable 4.8V 700mAh Ni-Cd battery system with a ring that you could spin down to reveal the charging port as it also came with a wall wart. At the time I purchased an extra battery. The light cost $50 but I don't remember how much the extra battery was. I believe it was rated for 150 or 200 Lumens and before I decided to use it as a laser host it worked just fine:
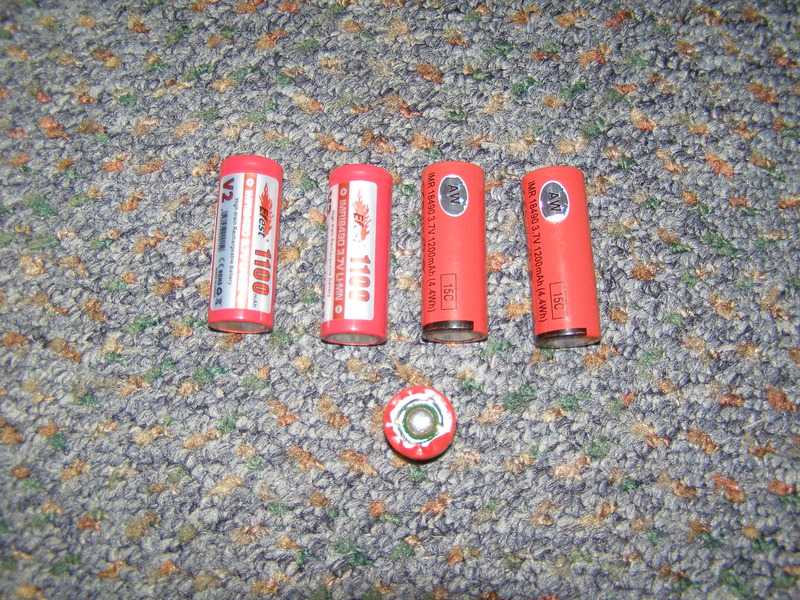
Batteries are (2) 18490 cells with a small spacer I made to fit exactly as the Ni-Cd length would:
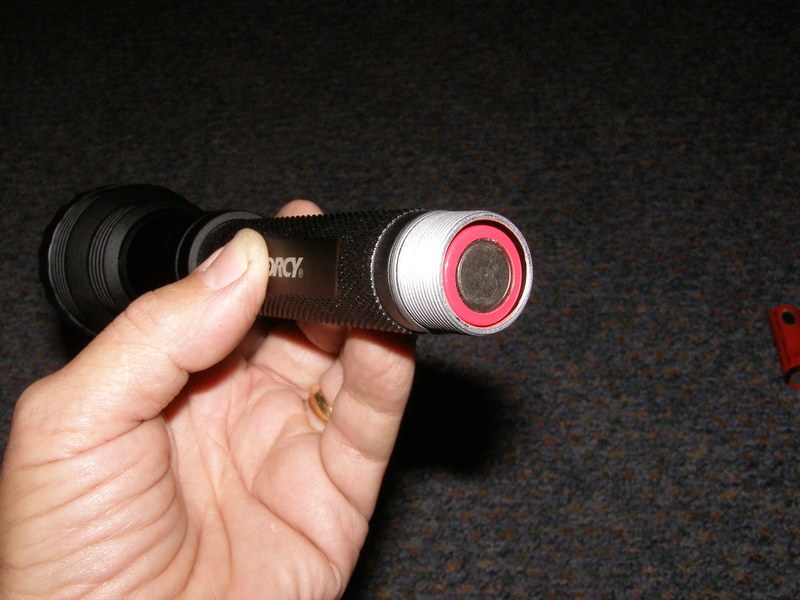
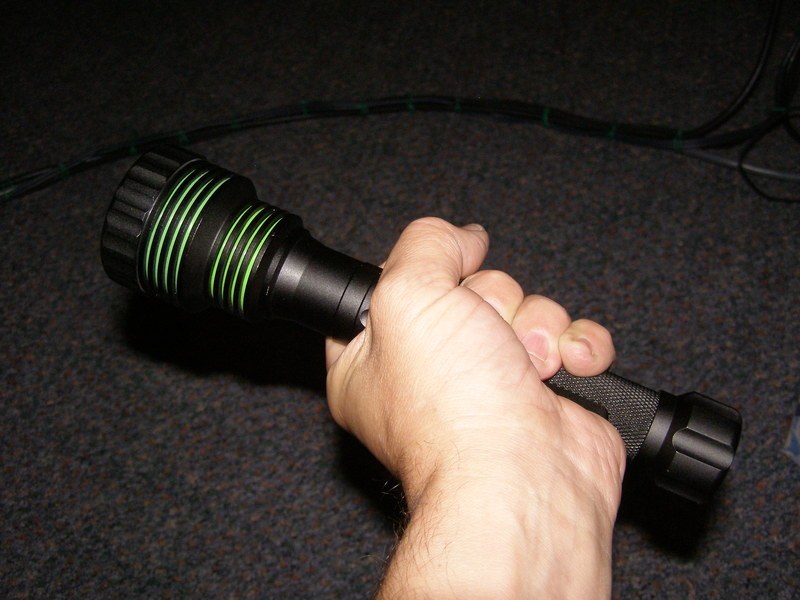
This is the unit with the GITD O-Rings before I did any labeling. I have never seen anyone else use this host:
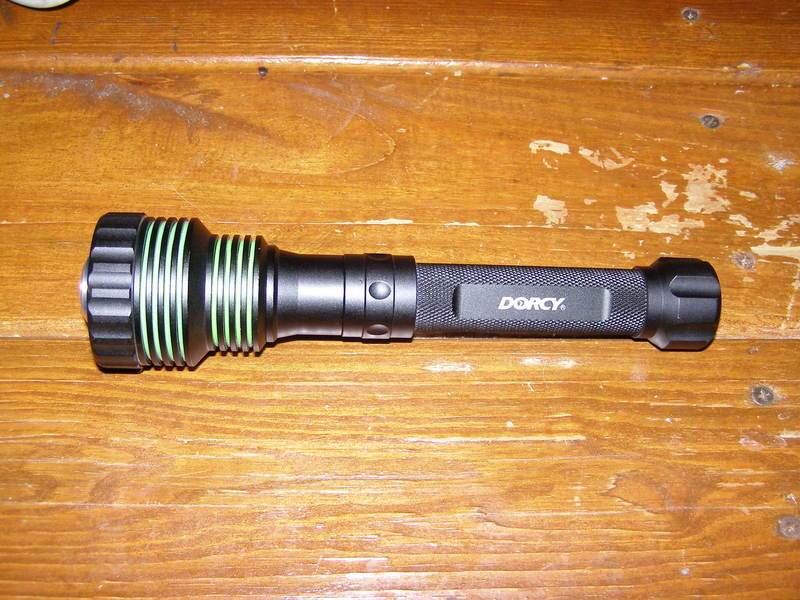
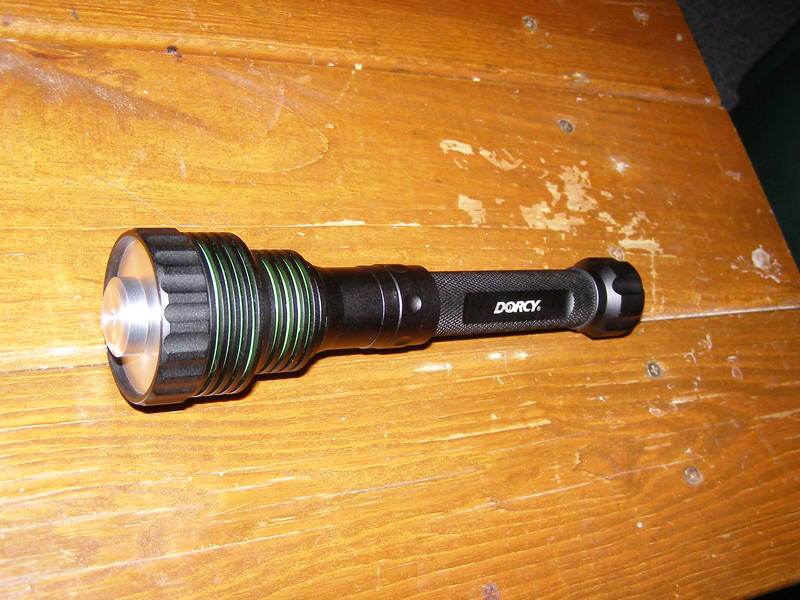
Here's the size although I do have small hands. It is as long as a (2) D cell mag and the head is just as wide:
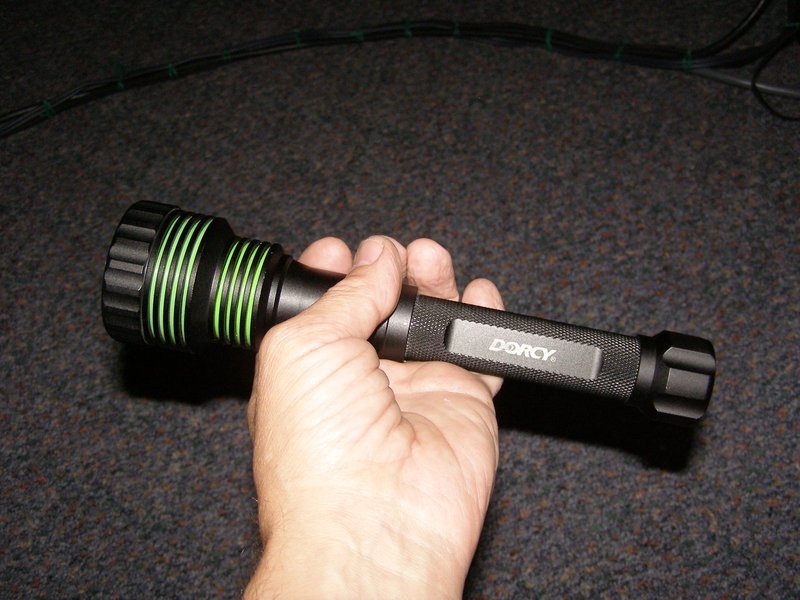
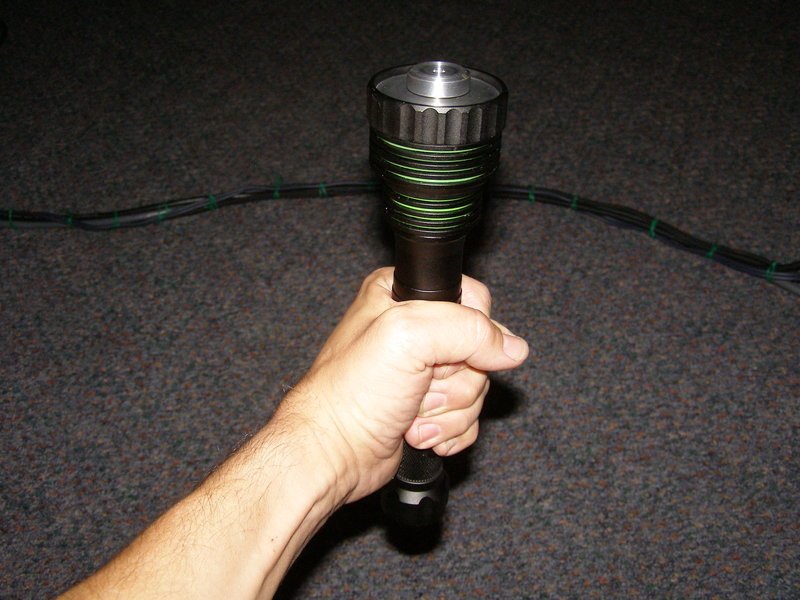
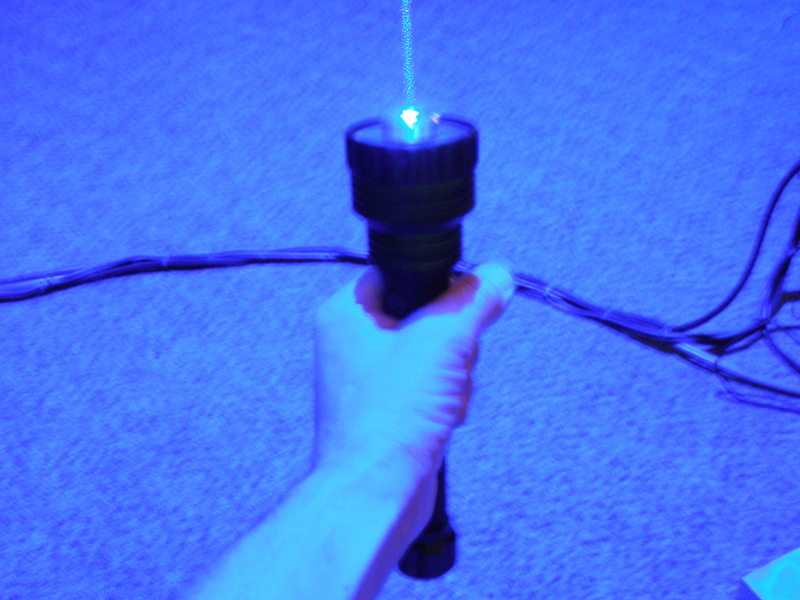
Turning on this close my camera pleads for mercy:
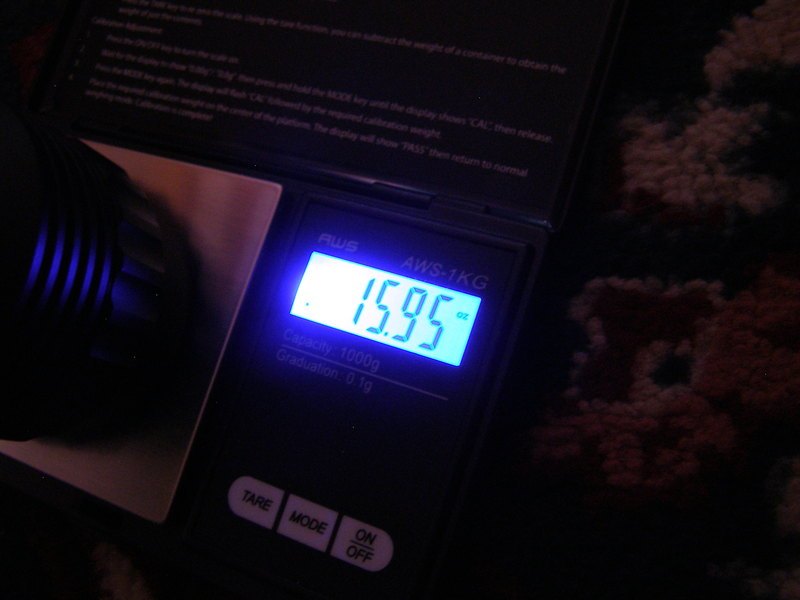
With batteries the weight is basically 1 pound:
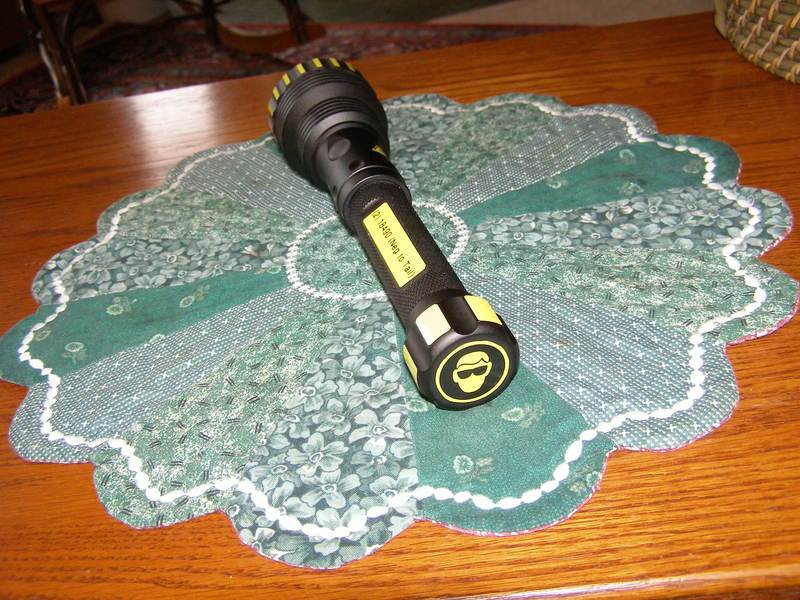
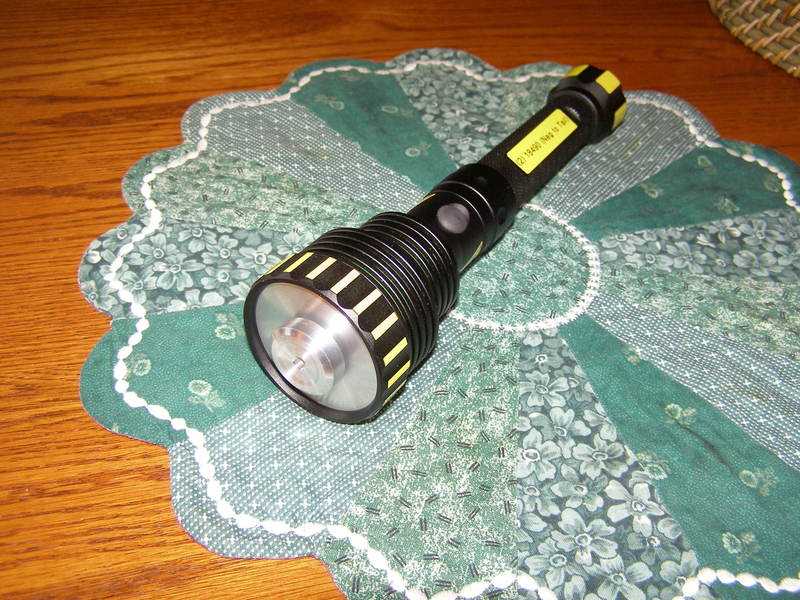
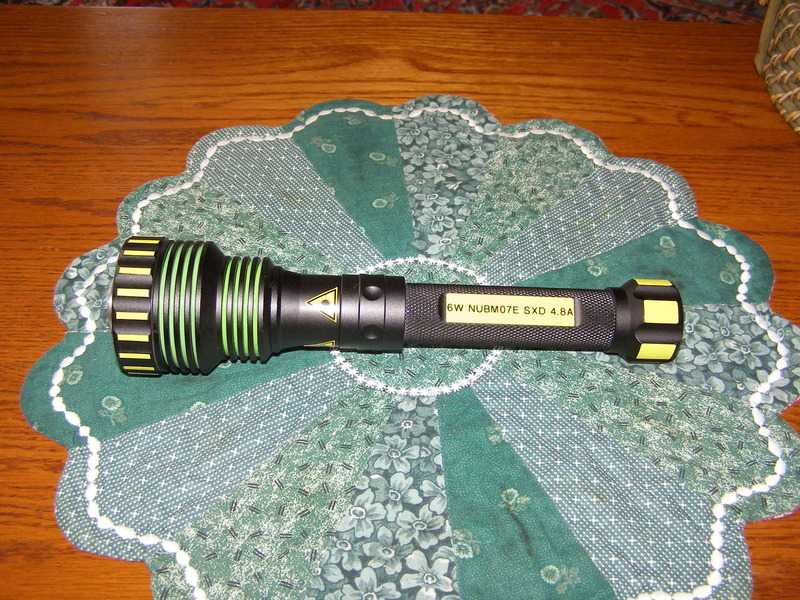
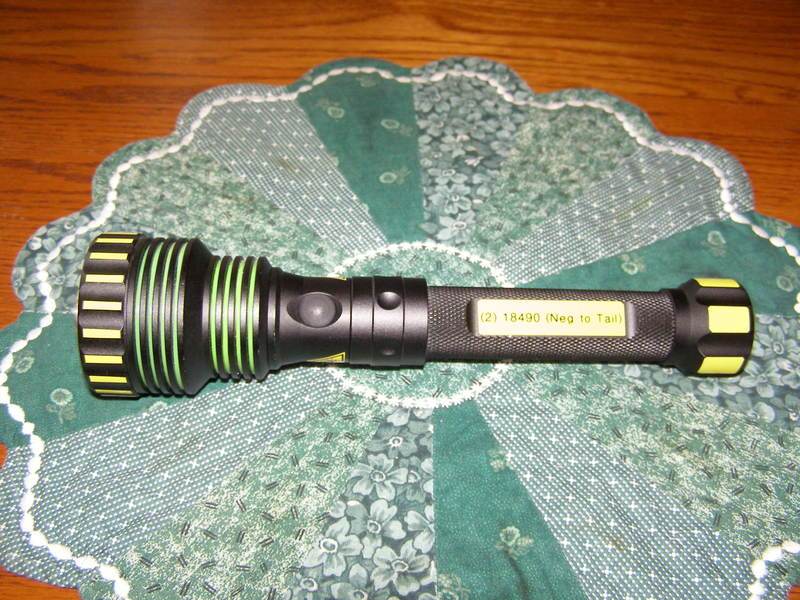
Finished product:
A pic using side button for on/off (not a momentary switch) in comparison to a 464nm:
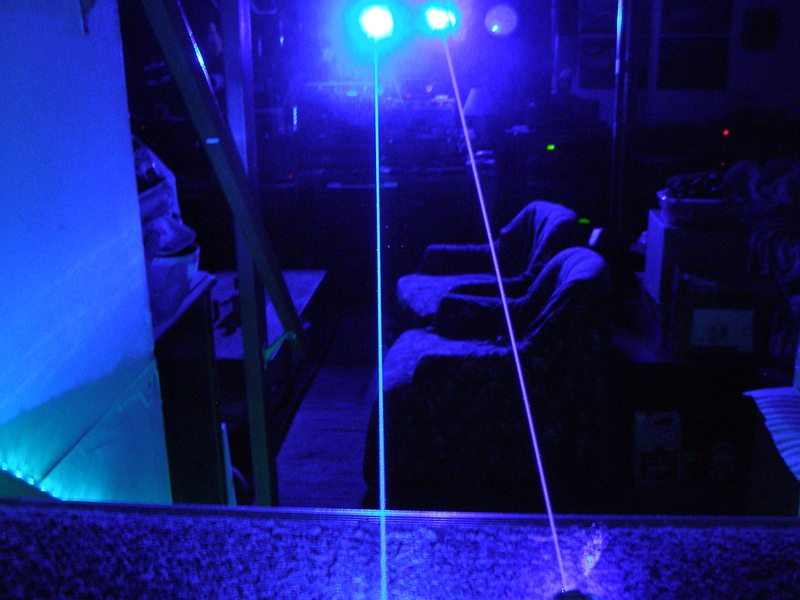
Night and day difference in wavelength. See how it makes the 464nm look purple. It is this large of a difference in person When I had tested the module out before doing anything with it my Fluke 381 showed 4.8A to diode. I also have apparently received quite the diode as it will peak just over 6W upon 74F room temp start
Just realized that I have been here 3 years now. Happy Birthday to me I guess.
I have't done a side by side with my 1.5W 520nm but the relative brightness calculator says that the 520 should be about 23% brighter for beam and twice as bright for spot.
I already own 2 of the 462nm (although I rather call it a 464nm) at 2.2W one being in a custom host and another in a 510 adapter. Looking at the 464nm side by side with any other blue I had made all those other look very purple in comparison and I was concerned that the 465nm wouldn't be different enough.
After many others psted about how easy it was to get a wavelength shift by pushing it I finally decided to go with the whole shebang that Jordan offered which was the complete module in copper with the external SXD and G-2 set to at least 4.5A which should get me close to 470nm which should also give me a visible discernible wavelength change to make the purchase worth my while. I bought it with the G-2 so I could have another one on hand even though I have many other glass lenses as it is more cost effective to buy it with the complete module. I prefer 3-element lenses on most all of my units although I'm interested in trying out the G-7 from Podo if I remember correctly.
Upon arriving I noticed first and foremost how much I love the all copper module. Before this point I hadn't purchased anything that had it. This is a serious great upgrade over the common ones and this diode really needs the extra cooling in my opinion.
I had had Ehg make me up some custom heat-sinks at least a couple months ago for some larger units including a Dorcy side button and both a mag D and C (2) cell at a fantastic price. Work was done quickly and to my specs and am very pleased. He had preciously also made me up some focus knobs of various shapes/sizes so I have a bunch to choose from for that finishing touch.
Anyways, here is the build from yesterday and there's a lot of pics to share. I have only taken a couple beam shots so far but I figured I would get this up.
Here we have the heat-sink with the module already pushed in place and the driver just dangling. I really like that DTR used a thicker gauge wire than on the much lower output modules he sells so I didn't have to change them:


You can see the 8 and 5 chip that need to be heat-sinked above 3.5W although I would recommend they always be sinked:

Sinked using Arctic Silver onto the diode sink opposite the diode. I would mention that I held the driver down for over an hour with my fingers as I watched a part of a movie. It wasn't that easy to keep strong pressure for that long but it did turn out exactly as I wanted it too:


Just showing that when I am building I always put a cheapo plastic lens in to keep any debris away from the diode:

Here's the pill I had to work with:

Already removed the LED and started to dremel though it:

I needed a way to solder the negative so I took a copper ring and used my dremel to make it small to fit inside but also very tight:

Here it is inserted after adding solder all the way around it so I could choose anywhere I wanted to attach the negative:

Inside of flashlight showing the pills contact point for switch:

In place:


Here's the head and complete sink in place but without the top ring to hold the sink from moving:

Soldered everything and left enough wire so I could screw the head on and easily see that I wasn't twisting the wires as I spun the sink at the same time. It's important to get the soldering iron hot enough to easily make a good connection to the copper as it needs to be hotter than normal as the pill acts like a sink pulling the heat away from the copper ring

The tail cap with spring that I didn't have to modify. Yes I could have used a longer spring instead of the spacer that I made for proper battery length but I had already made the spacer months ago specifically for this purpose and it gives the perfect length to the OEM spring:

This flashlight was purchased maybe 4 years ago from Sears and came with a rechargeable 4.8V 700mAh Ni-Cd battery system with a ring that you could spin down to reveal the charging port as it also came with a wall wart. At the time I purchased an extra battery. The light cost $50 but I don't remember how much the extra battery was. I believe it was rated for 150 or 200 Lumens and before I decided to use it as a laser host it worked just fine:


Batteries are (2) 18490 cells with a small spacer I made to fit exactly as the Ni-Cd length would:


This is the unit with the GITD O-Rings before I did any labeling. I have never seen anyone else use this host:


Here's the size although I do have small hands. It is as long as a (2) D cell mag and the head is just as wide:


Turning on this close my camera pleads for mercy:

With batteries the weight is basically 1 pound:

Finished product:


A pic using side button for on/off (not a momentary switch) in comparison to a 464nm:

Night and day difference in wavelength. See how it makes the 464nm look purple. It is this large of a difference in person
Just realized that I have been here 3 years now. Happy Birthday to me I guess.
I have't done a side by side with my 1.5W 520nm but the relative brightness calculator says that the 520 should be about 23% brighter for beam and twice as bright for spot.
Last edited:


