

foulmist
0
- Joined
- Mar 29, 2011
- Messages
- 1,056
- Points
- 48
Some of you probably remember my 445nm laser (A140 diode) which I did way back then disassembled it put an expanding lens, then removed it, then disassembled it again - I used the diode to test my fmt drive, later I updated it ...with .. my fmt drive and now I decided to DISASSEMBLE IT! again...
I don't know how it survived all this . well it kinda didn't but that later on:
HERE IT IS THE FINALLLL REVISION (don't believe me on this - I plan to update it again with a M-140 or H1600 diode )
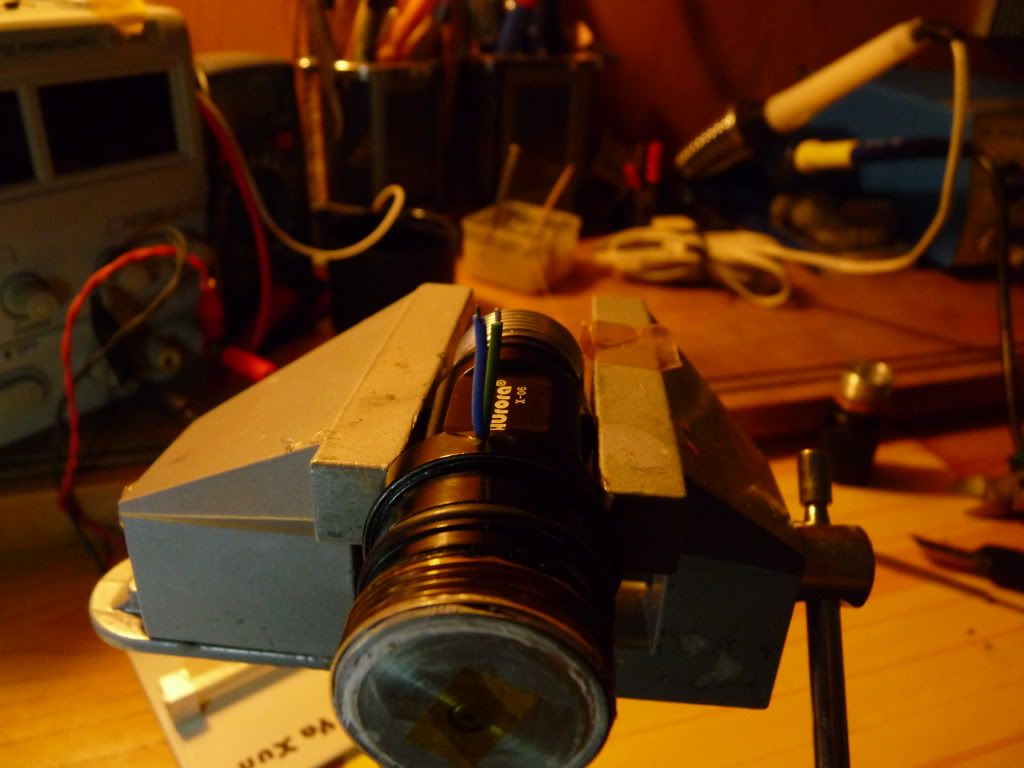
I will start with the video of it assembled first the photos - below ")
Yep, it's handheld with regulating output from around 10%(anything below won't power the 445nm diode) to 99% (100% is achieved when the signal is inverted but that later on )
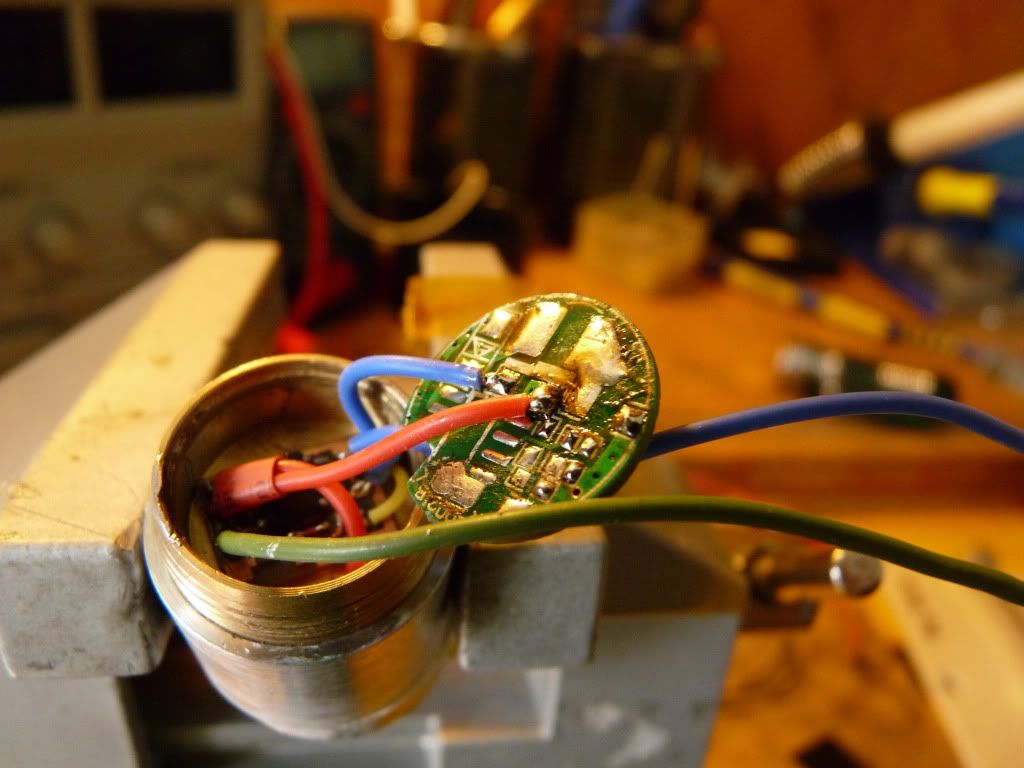
Now where do I start here are the parts:
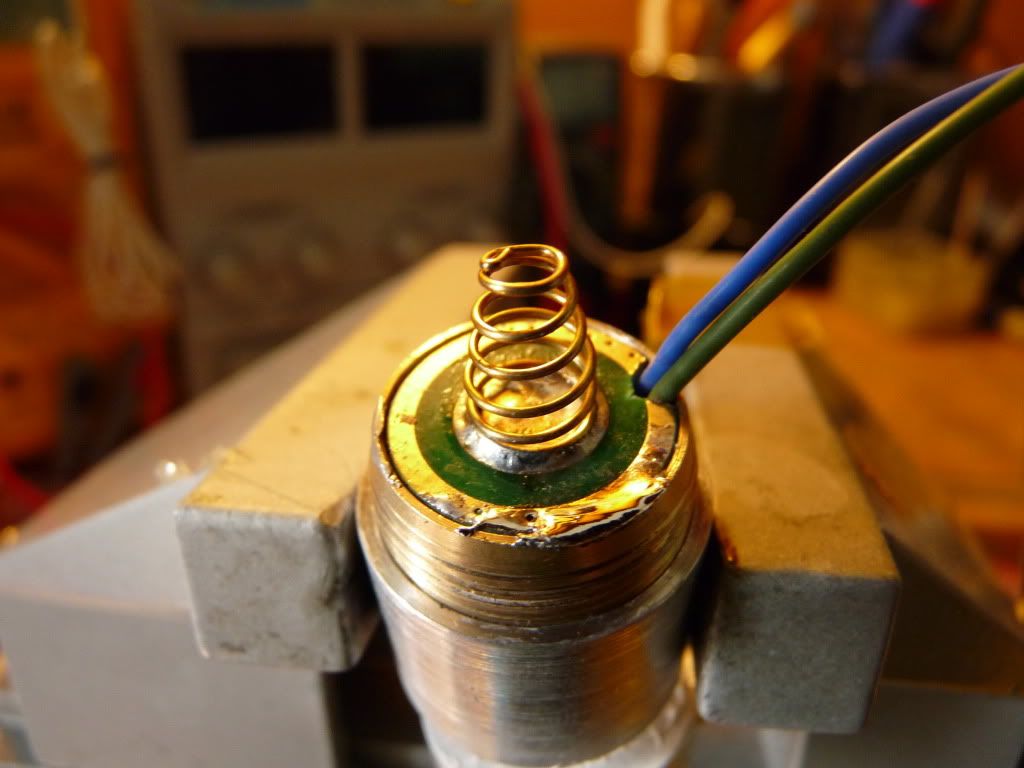
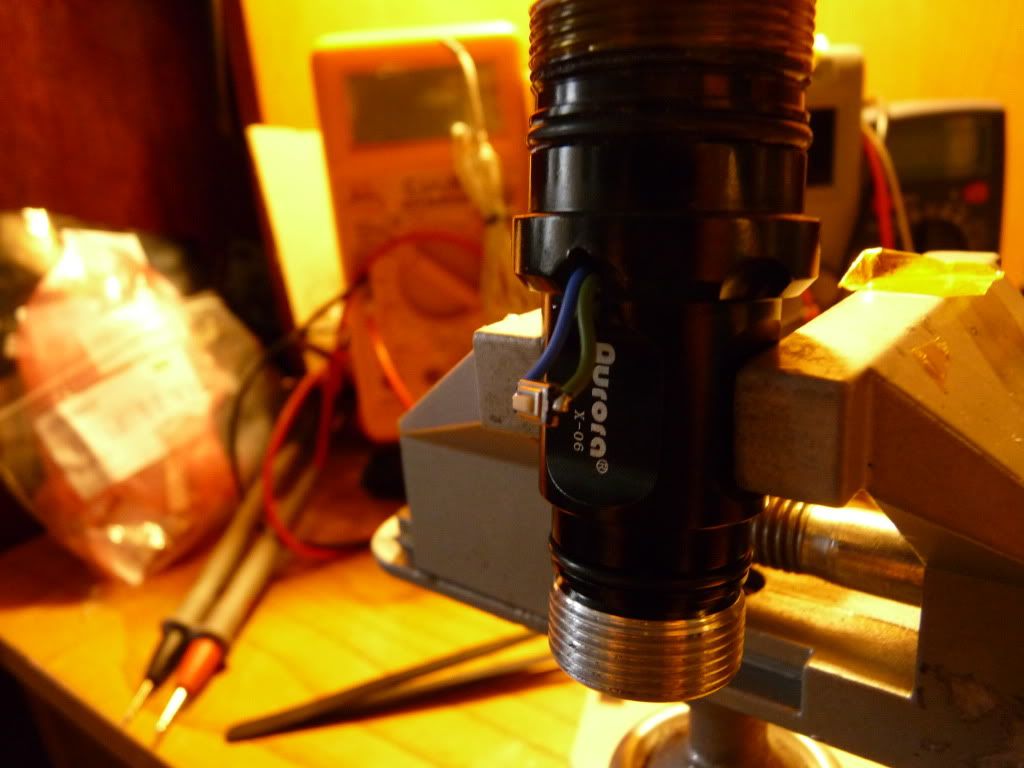
See the above wires? No? look again they are the 2 leads for an external button,
I had to drill a whole in the host, right below the pill and in height between the Spring and Battery a perfect spot not to damage the wires

see the kapton tape in front of the diode? remember that
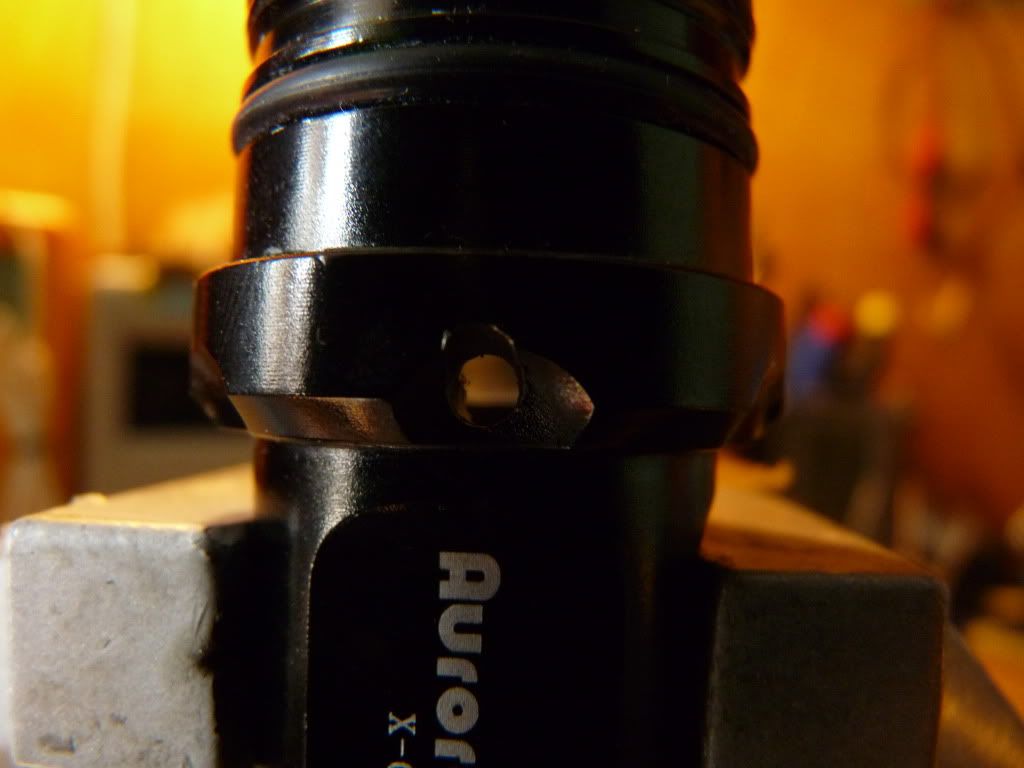
button soldered and ready to patch with silicon
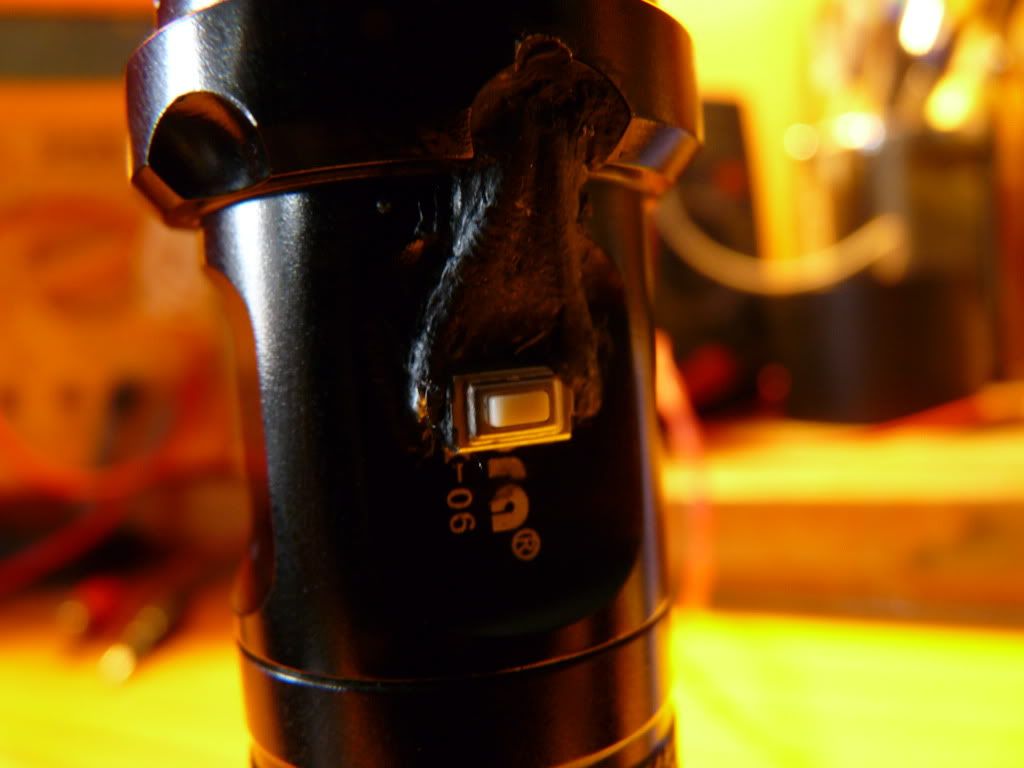
notice the "excellent job" on the button hahah
so that's done... Now just before finishing it accidentally damaged my 445nm laser diode.... :yabbmad: My mistake I always put a piece of kapton tape on the heatsink above the diode so I can protect it from dust and stuff while making my laser...
And I forgot to remove it before switching it on.!!! THE RESULT:
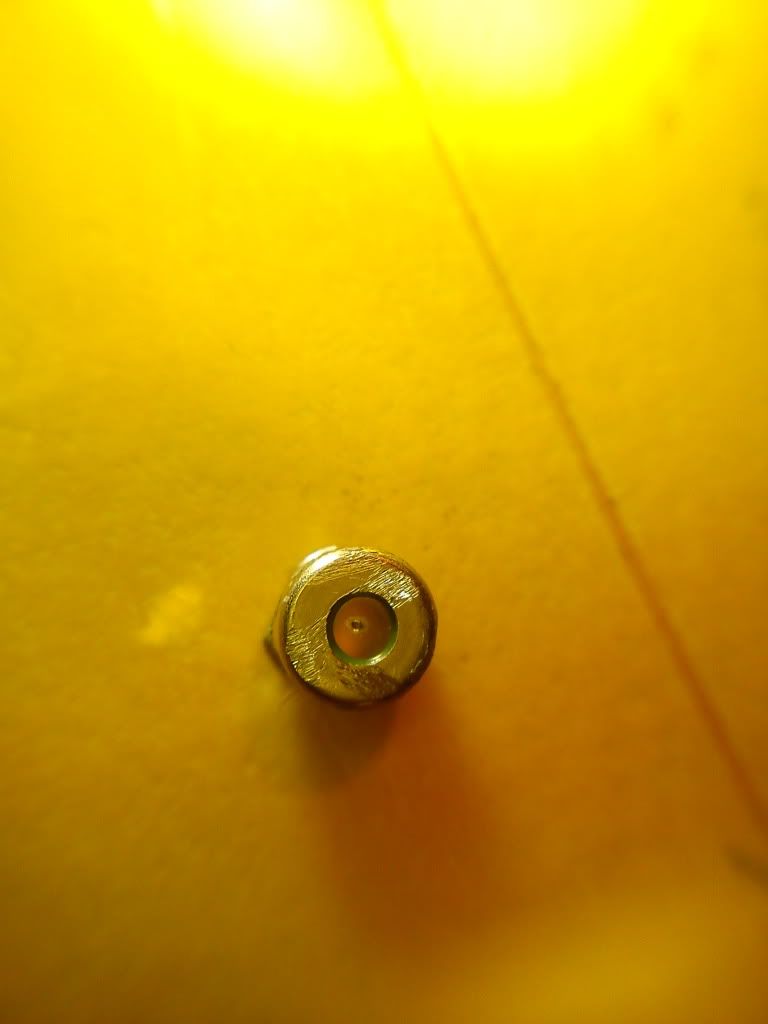
a crack whole burnt spot on the output window.. arggh I got so angry I grabbed the dremel tool and thanks to my excellent decanning skills (1st time ever) I successfully decanned the diode and it works great (not sure for how long)
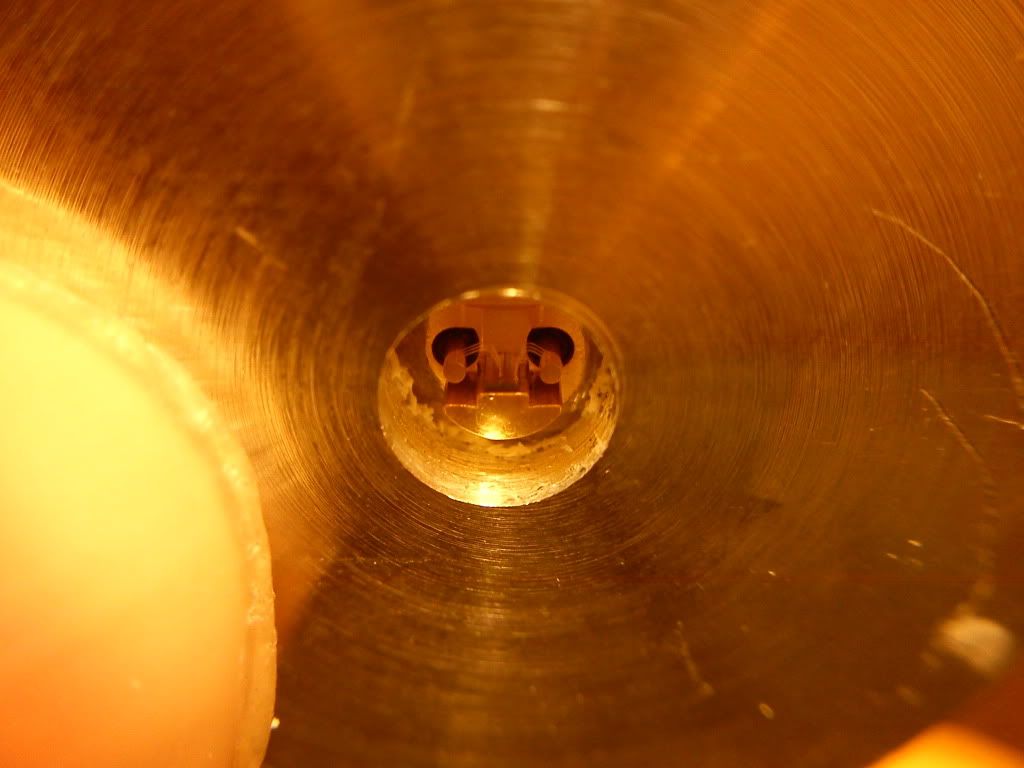 here it is decanned 445nm diode still working
Also the battery went from Samsung 2800mAh to Samsung 3000mAh (both from LarryDFW - thanks man :beer")
PWM circuit takes less than 100uA
well :thanks: for watching :beer:
I don't know how it survived all this
. well it kinda didn't but that later on:HERE IT IS THE FINALLLL REVISION (don't believe me on this - I plan to update it again with a M-140 or H1600 diode )
I will start with the video of it assembled first
the photos - below Yep, it's handheld with regulating output from around 10%(anything below won't power the 445nm diode) to 99% (100% is achieved when the signal is inverted but that later on
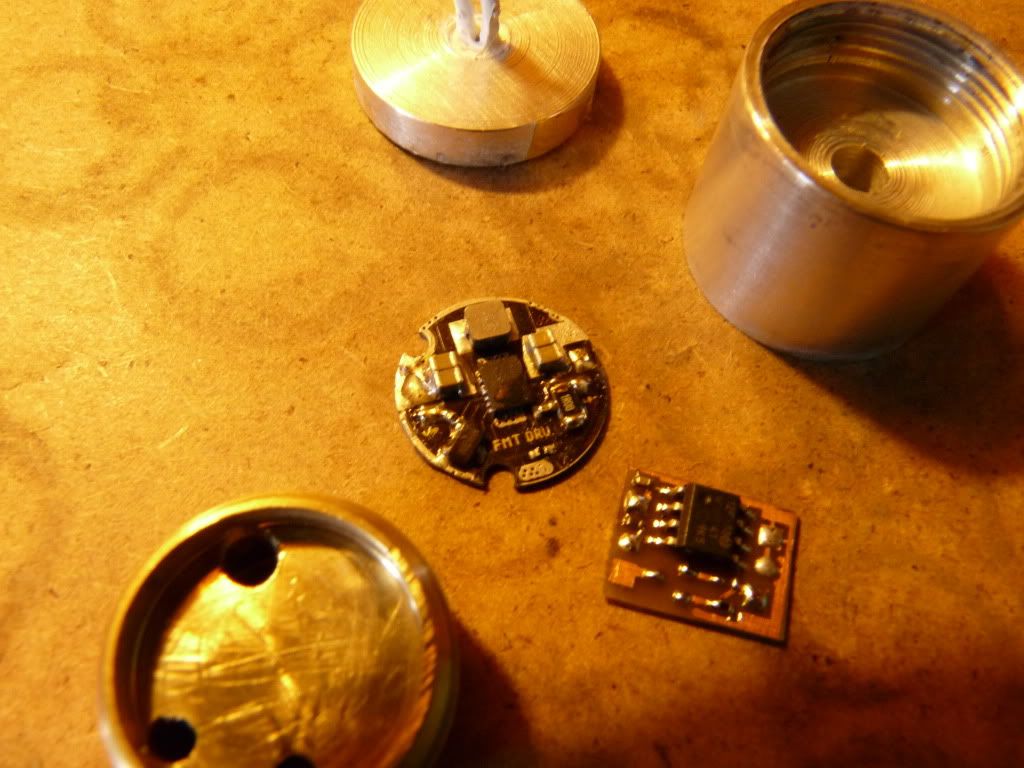
)Now where do I start here are the parts:
- an old used/abused A140 445nm diode (still in one piece)
- a fmt drive (1.75A) don't mind the 1ohm resitor (I used it for testing a red)
- my PWM circuit board (not complete, still waiting for parts (right now it can be used only with enable pins of some ICs, later it could switch the entire driver's positive terminal with a PMOS (see the 3 missing pads that's where it goes then higher frequncies and 100% duty cycle will be possible(inverted signal)) Current frequency is set to 529Hz, Maximum available frequency for this PIC without external quartz is 20kHz - will use it on some of my other lasers)
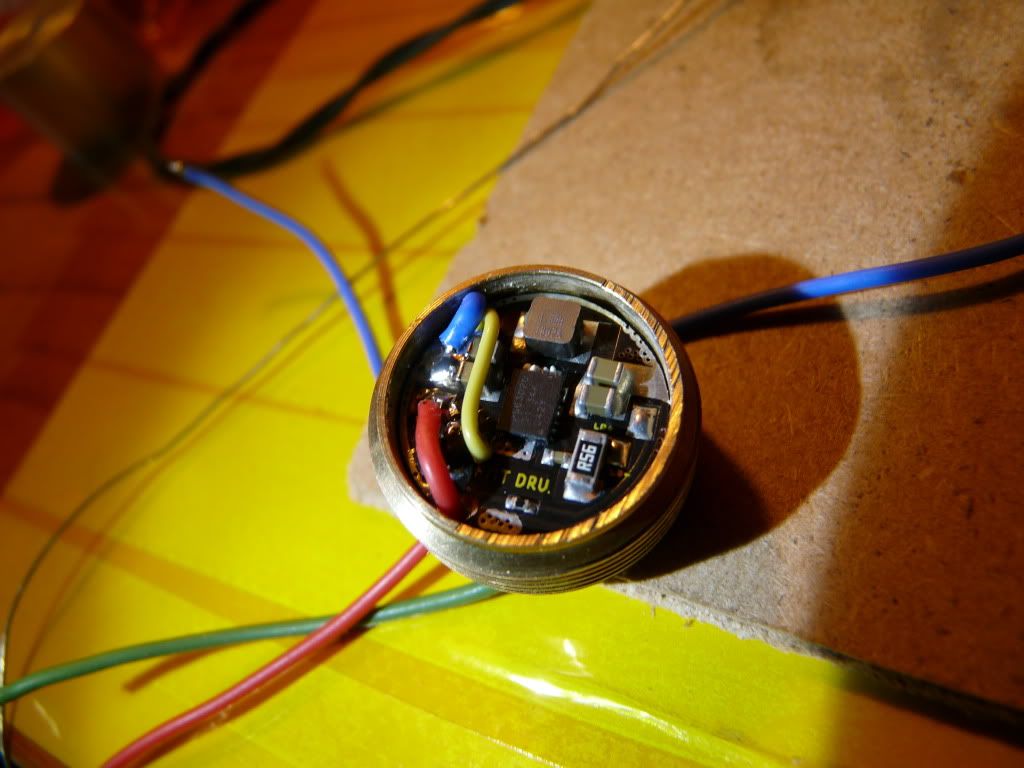
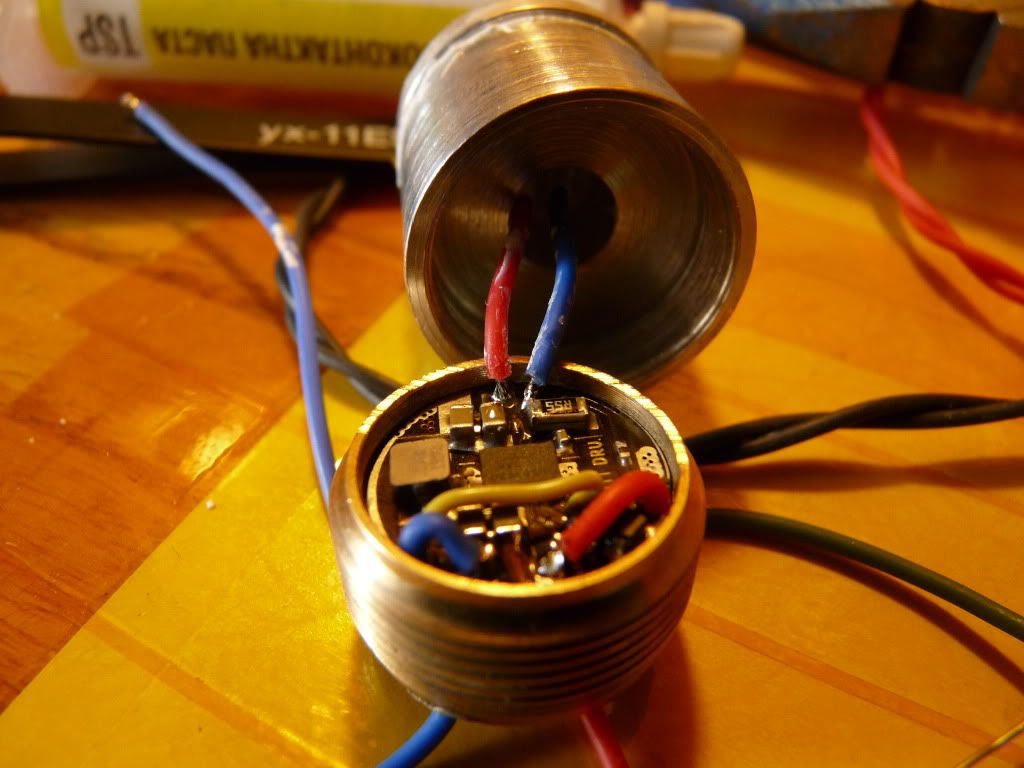
- pill for the boards
- heatsinks
- lots of patience and hard work
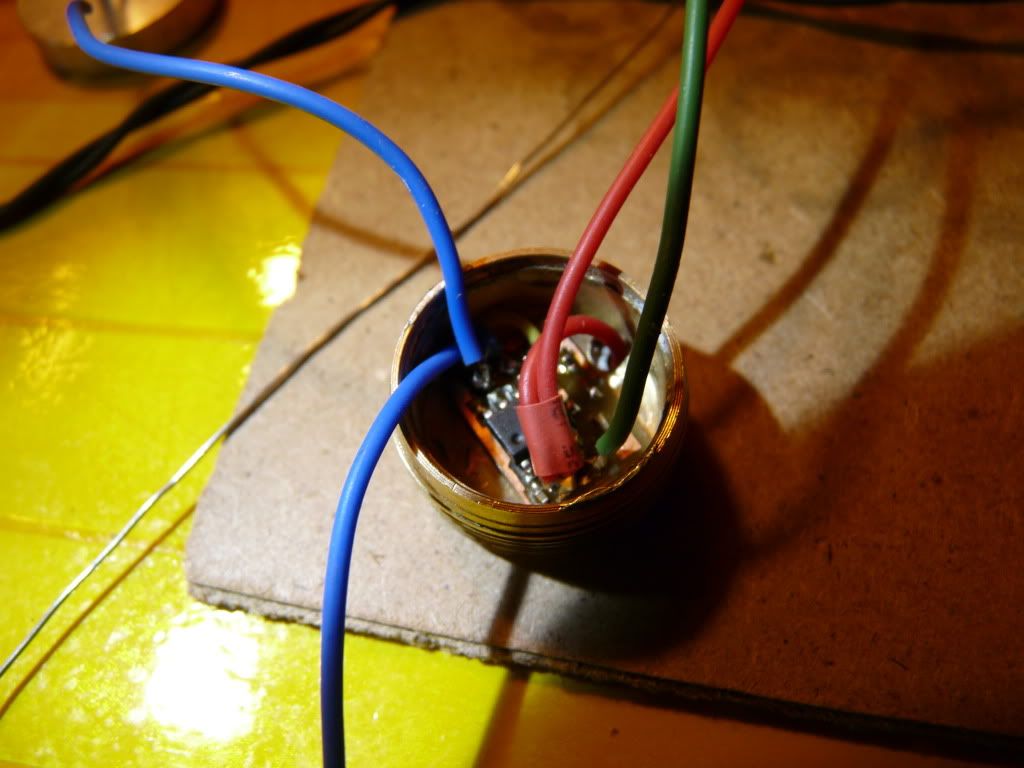
See the above wires? No? look again
they are the 2 leads for an external button,I had to drill a whole in the host, right below the pill and in height between the Spring and Battery a perfect spot not to damage the wires
see the kapton tape in front of the diode? remember that
button soldered and ready to patch with silicon
notice the "excellent job" on the button hahah
so that's done... Now just before finishing it accidentally damaged my 445nm laser diode.... :yabbmad: My mistake I always put a piece of kapton tape on the heatsink above the diode so I can protect it from dust and stuff while making my laser...
And I forgot to remove it before switching it on.!!! THE RESULT:
a crack whole burnt spot on the output window.. arggh I got so angry I grabbed the dremel tool and thanks to my excellent decanning skills (1st time ever)
I successfully decanned the diode and it works great (not sure for how long)
Also the battery went from Samsung 2800mAh to Samsung 3000mAh (both from LarryDFW - thanks man :beer
PWM circuit takes less than 100uA
well :thanks: for watching :beer:
Last edited:

