- Joined
- Aug 25, 2010
- Messages
- 533
- Points
- 63
Hello forum!
After a lot of time spent to improve and optimize my project, finally I'm back!
Many important changes were made to my rockets .. follow me and I will explain You everything
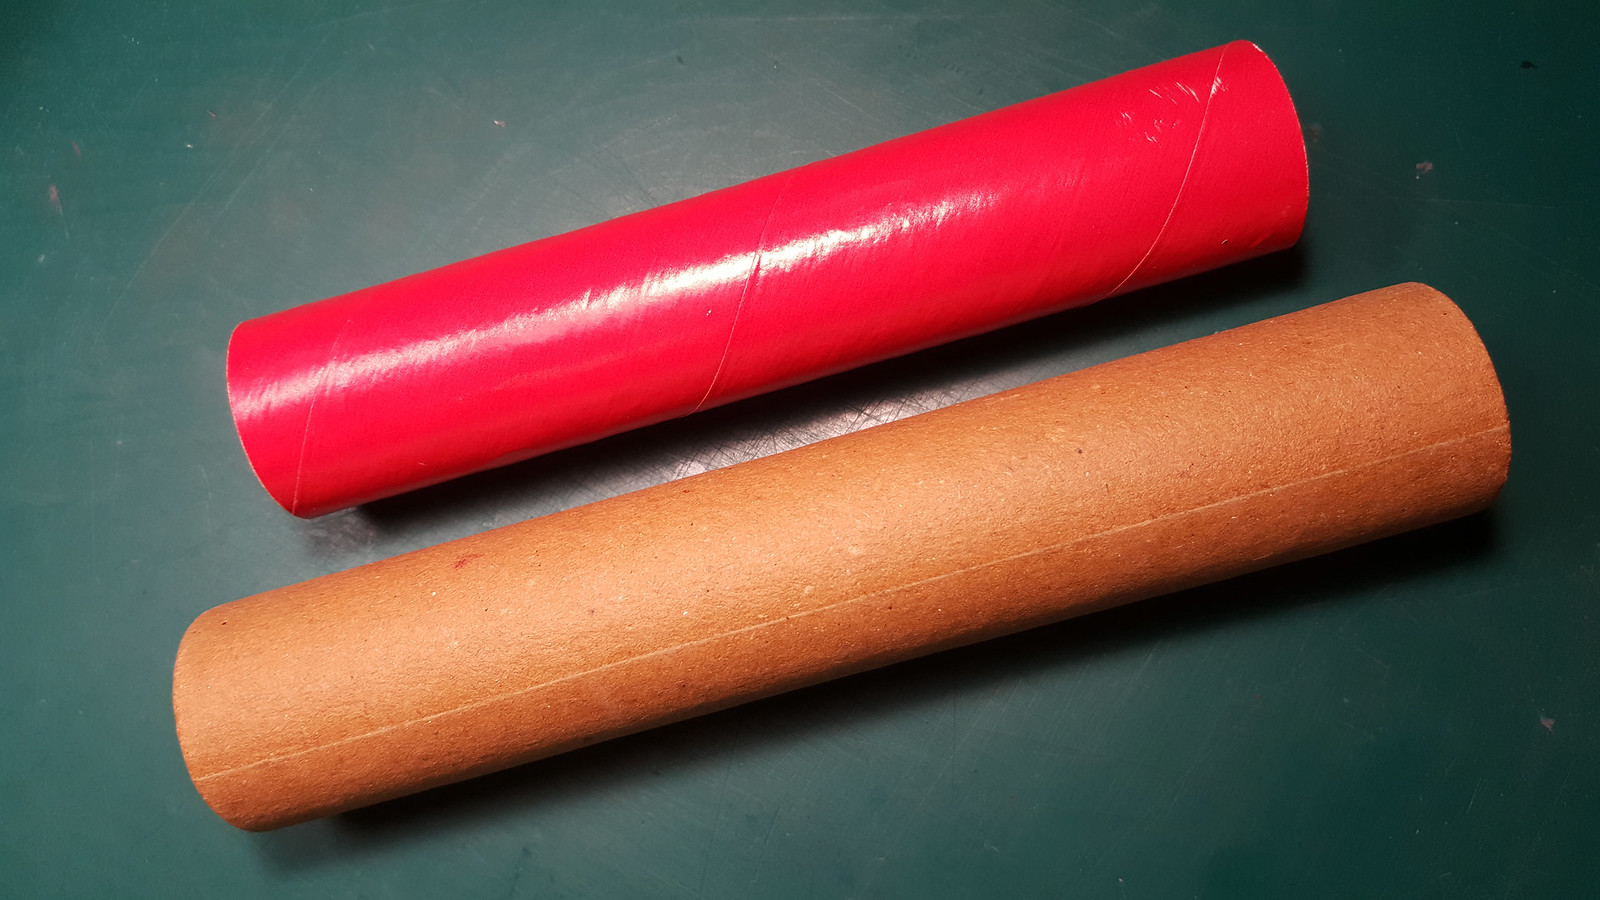
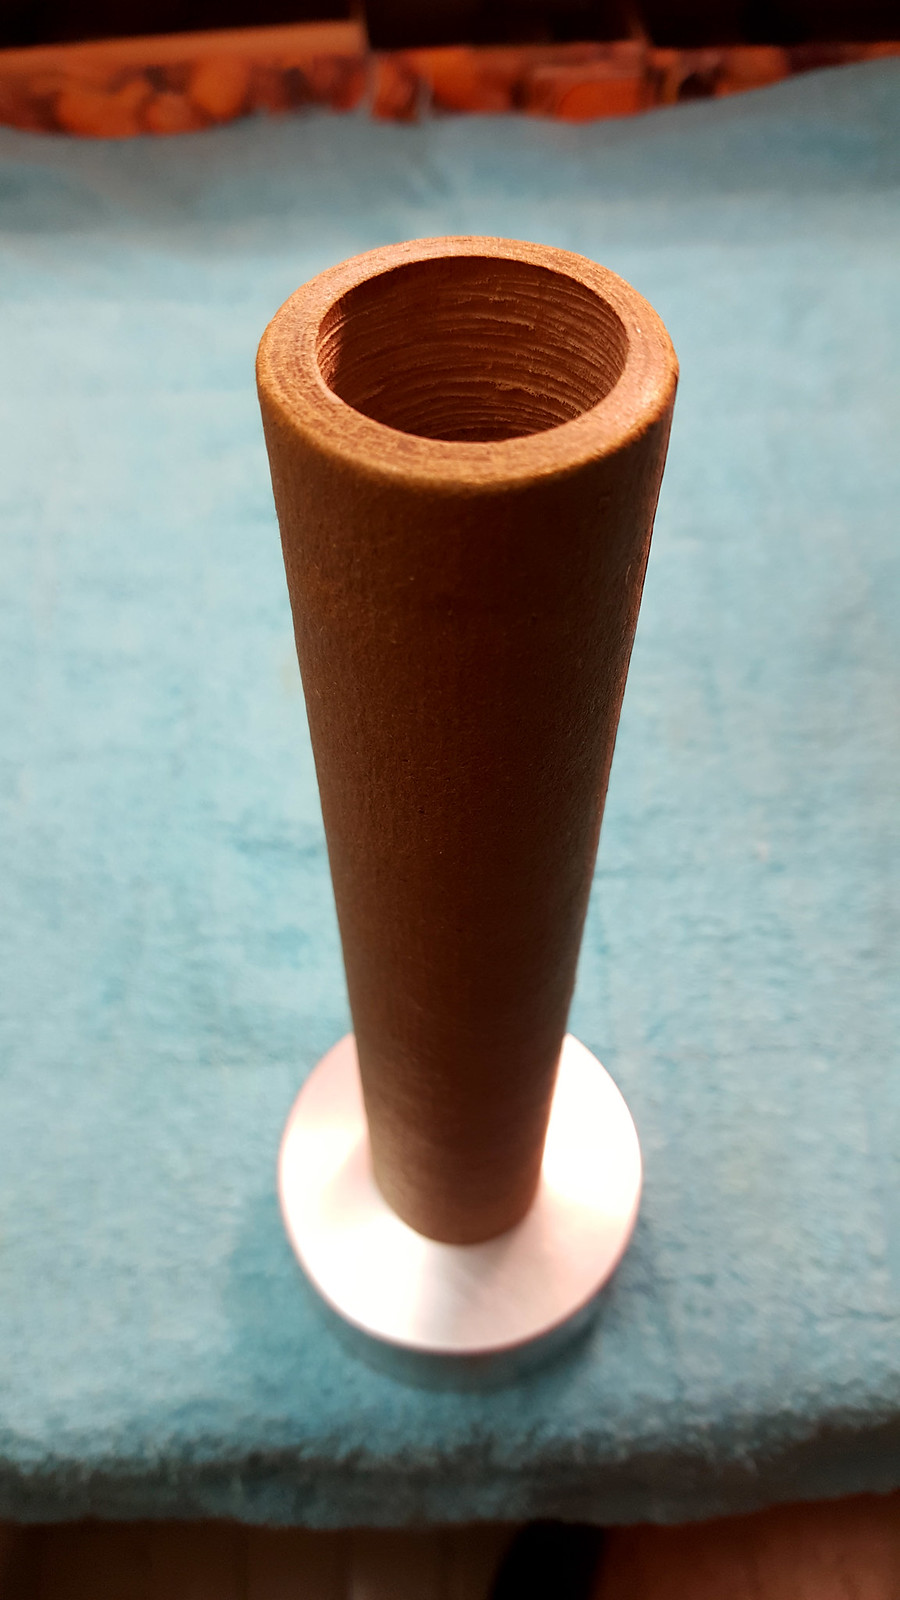
First of all, I replaced the "old" spiraled cardtube with a new thicker, longer, stronger and paralled wound one.
This cardtube can sustain a greater pressure inside, so I can boost it a lot:
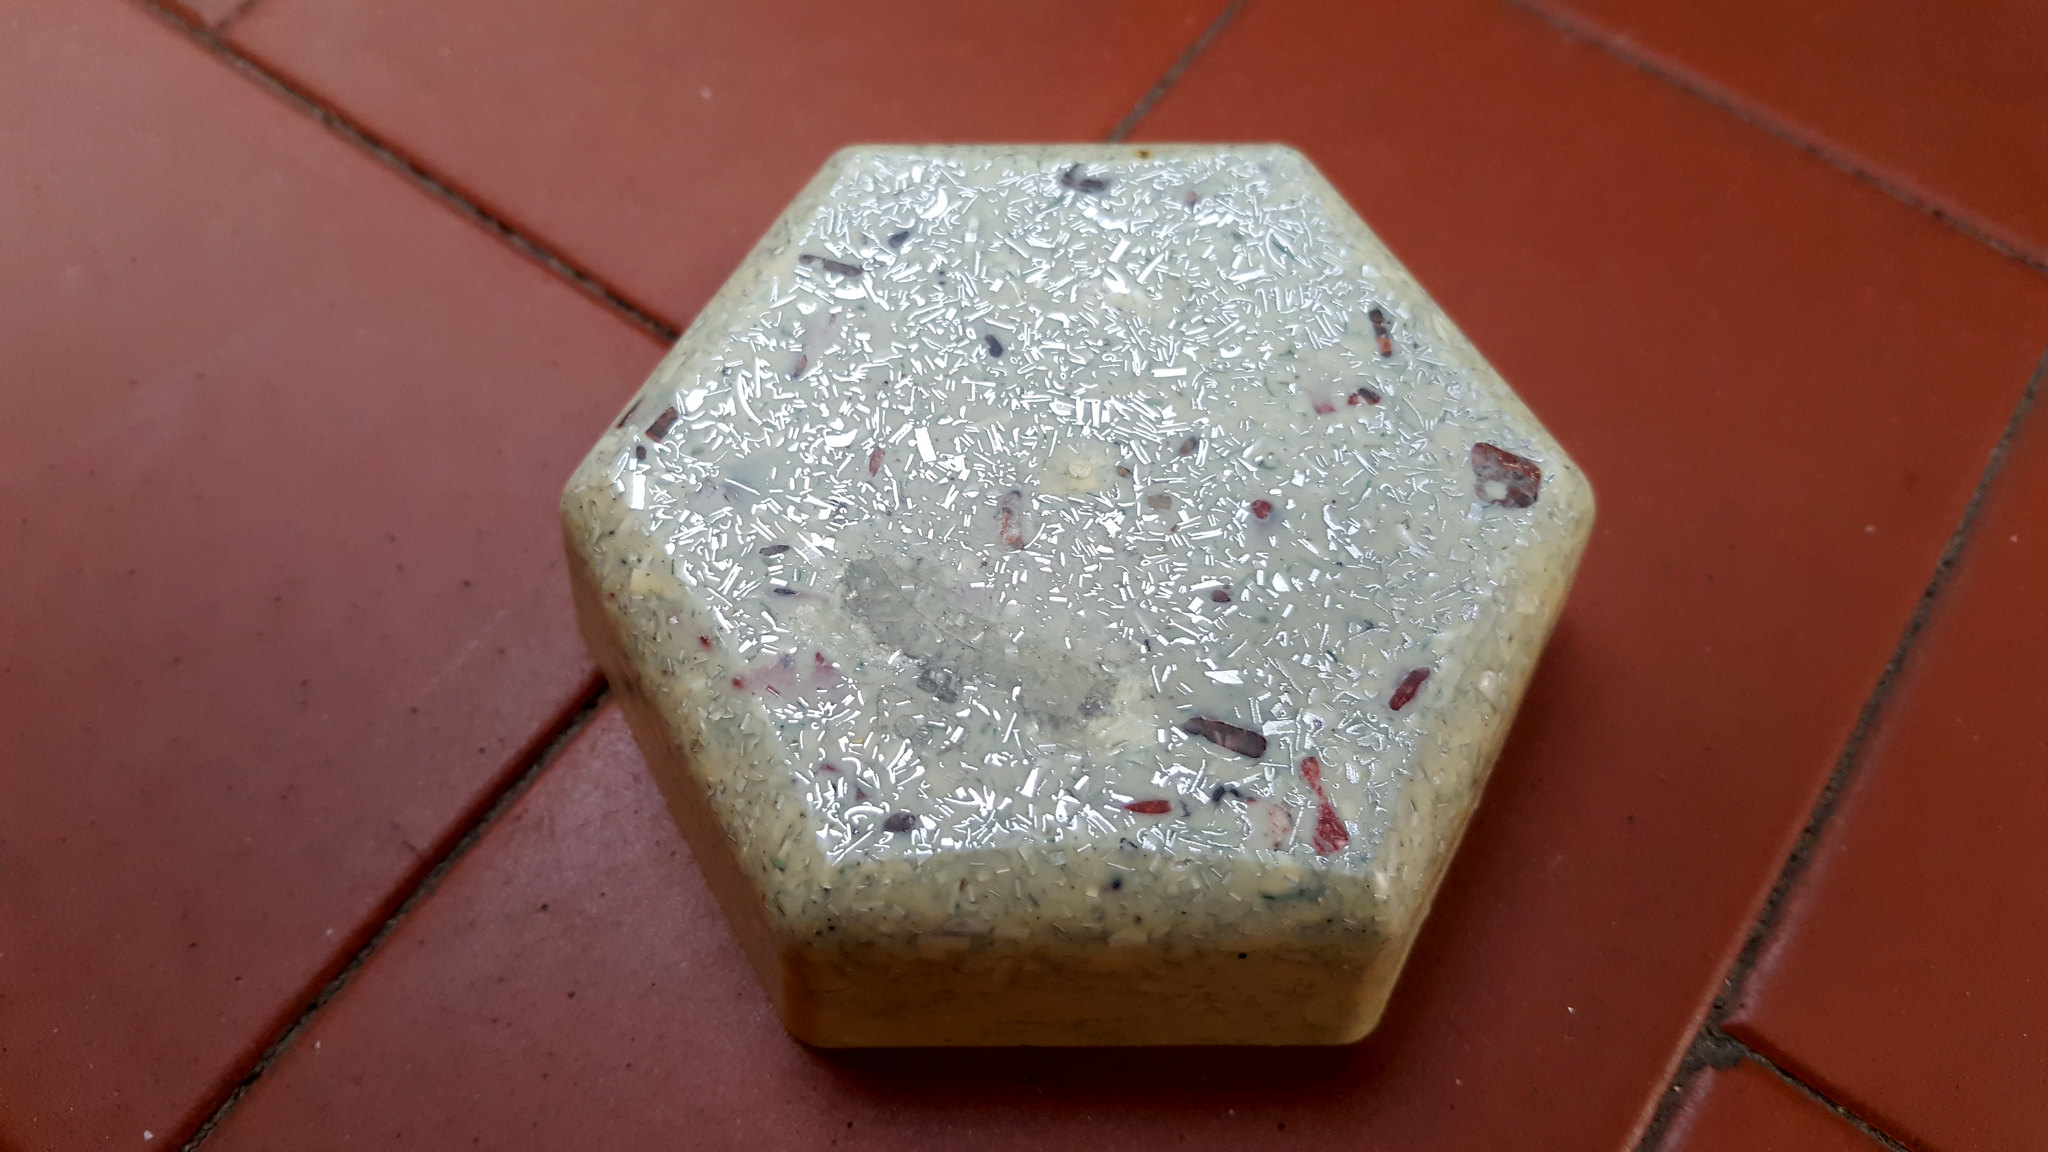
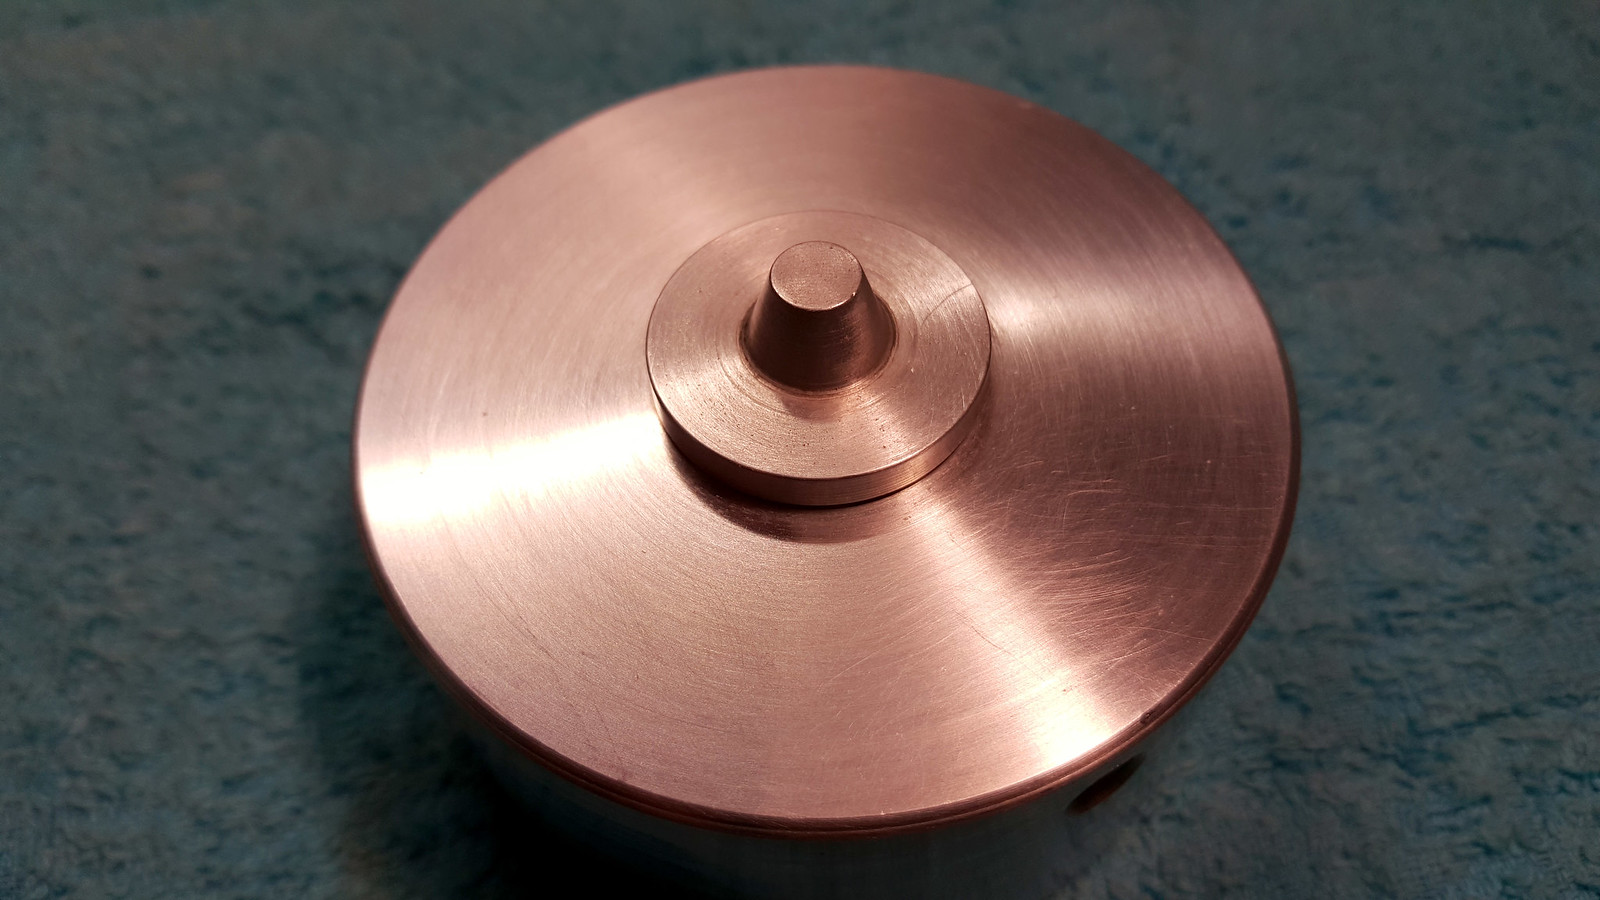
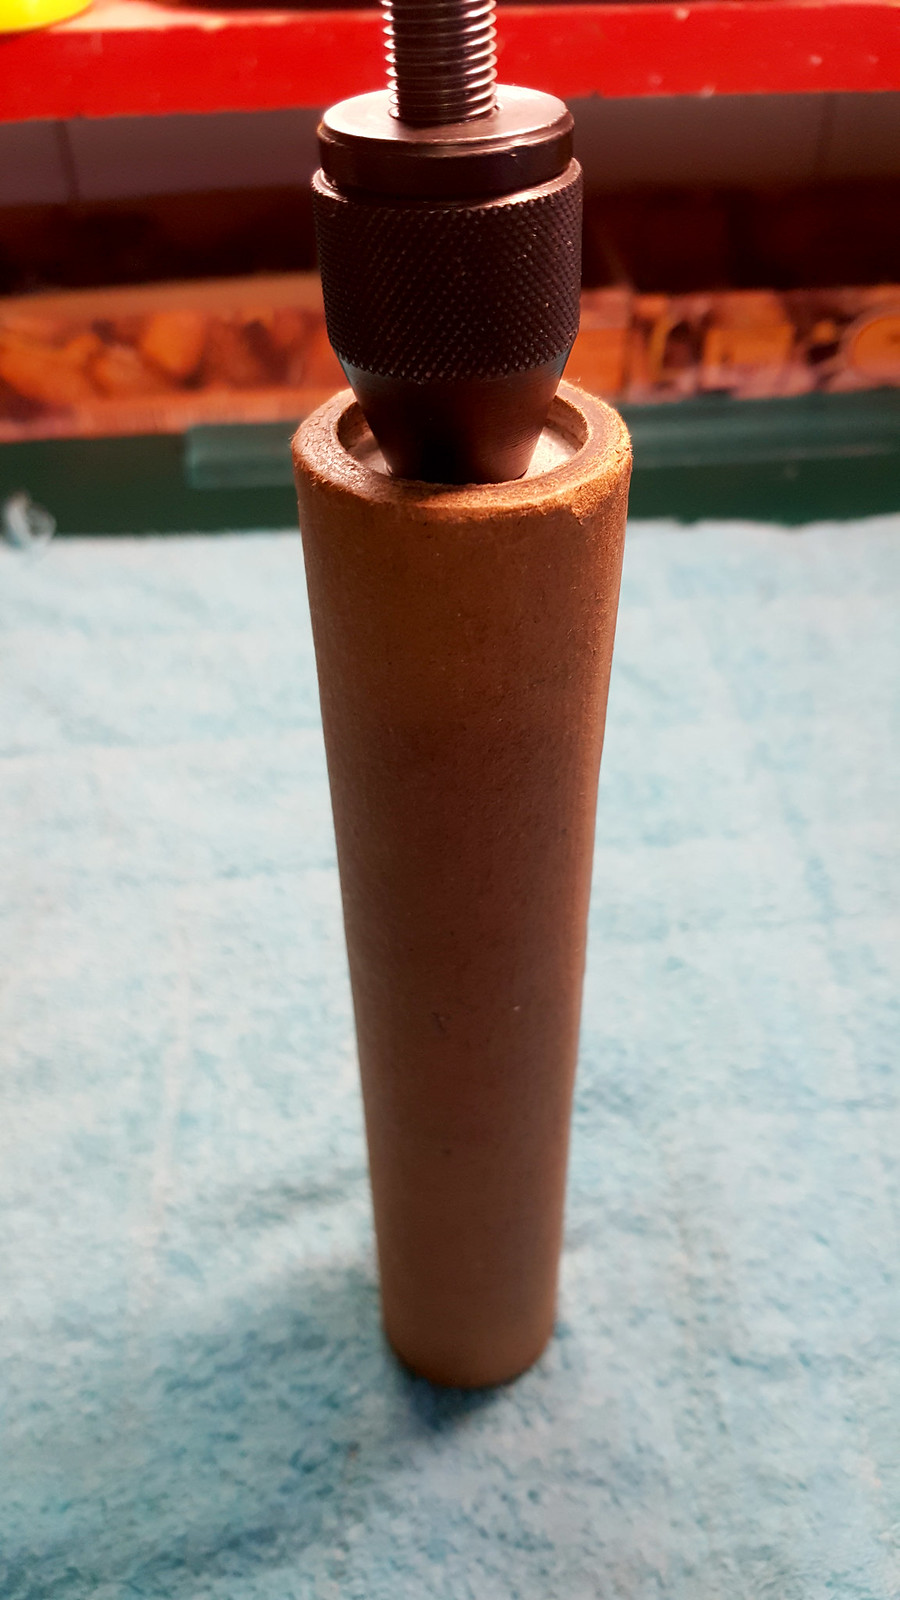
Here is the nozzle-maker that I have created with the help of a lathe:
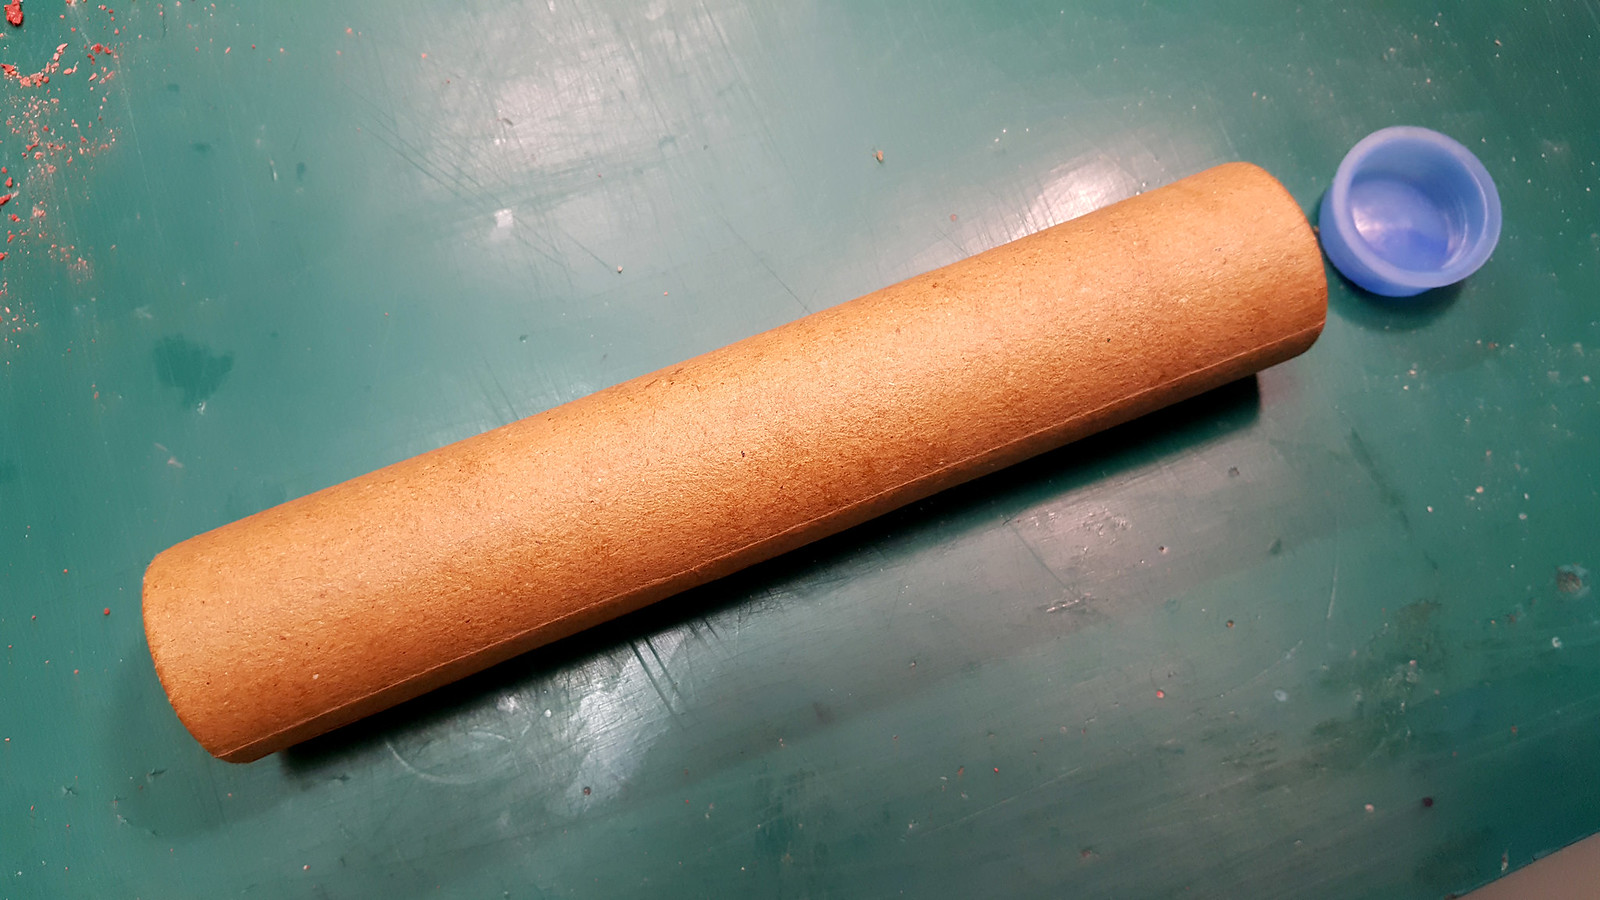
The cardboard tube and the cap:
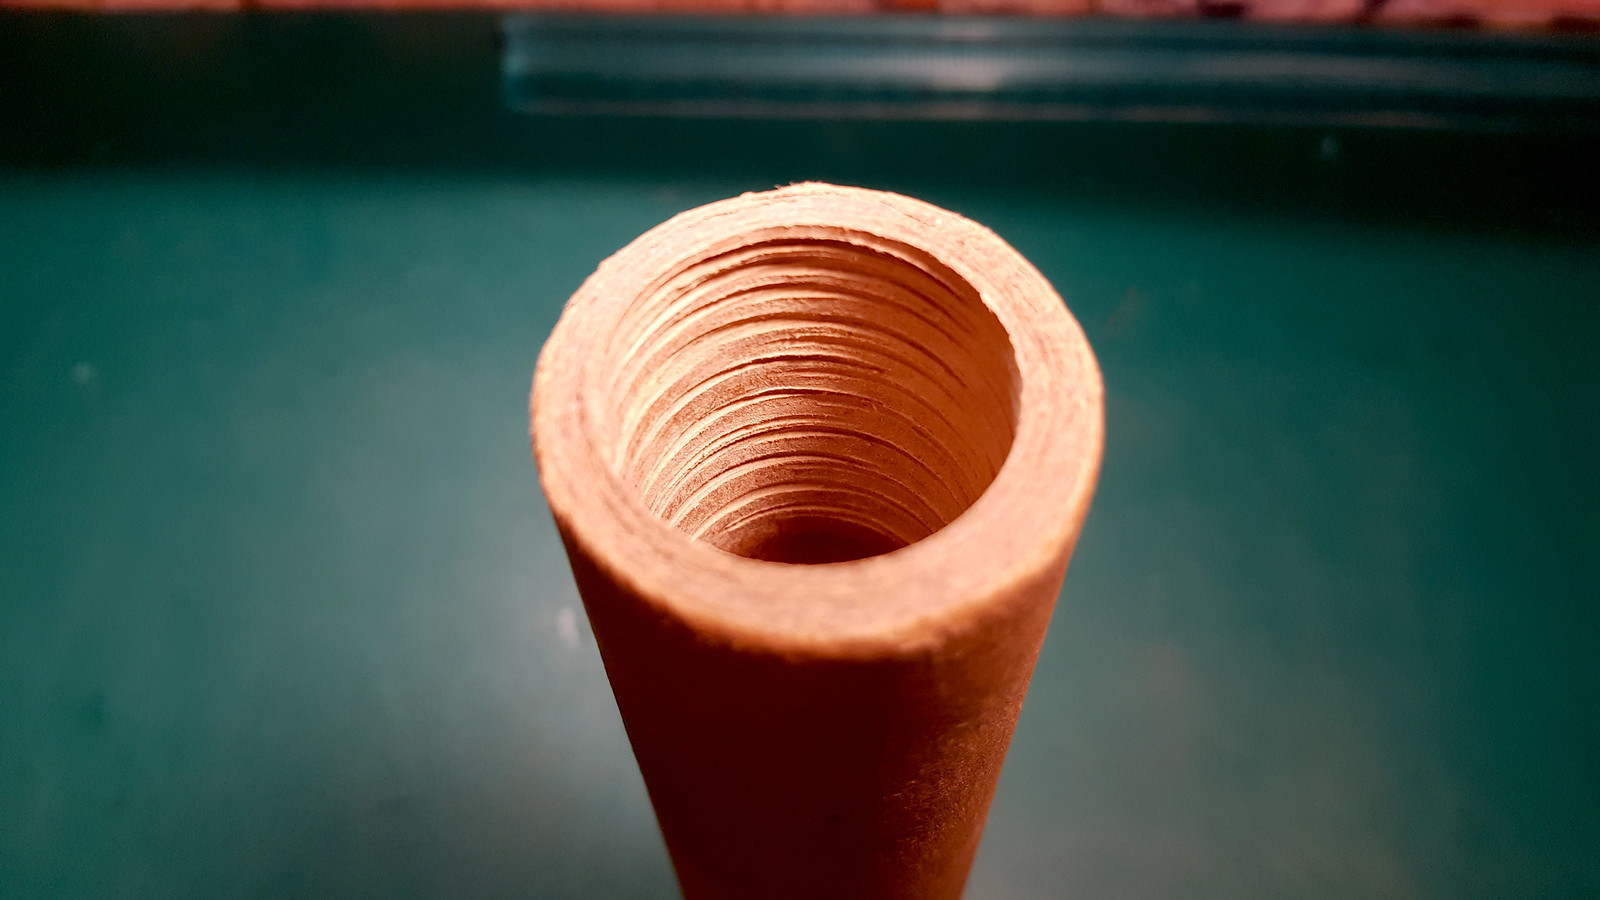
Making a sort of threads in the ID of the tube (both sides). In that way the glue will cling much better between the carboard tube and the cap and allow also the quick cement to cling better along the ID walls:
Inserting the cardboard tube in the nozzle-maker platform:
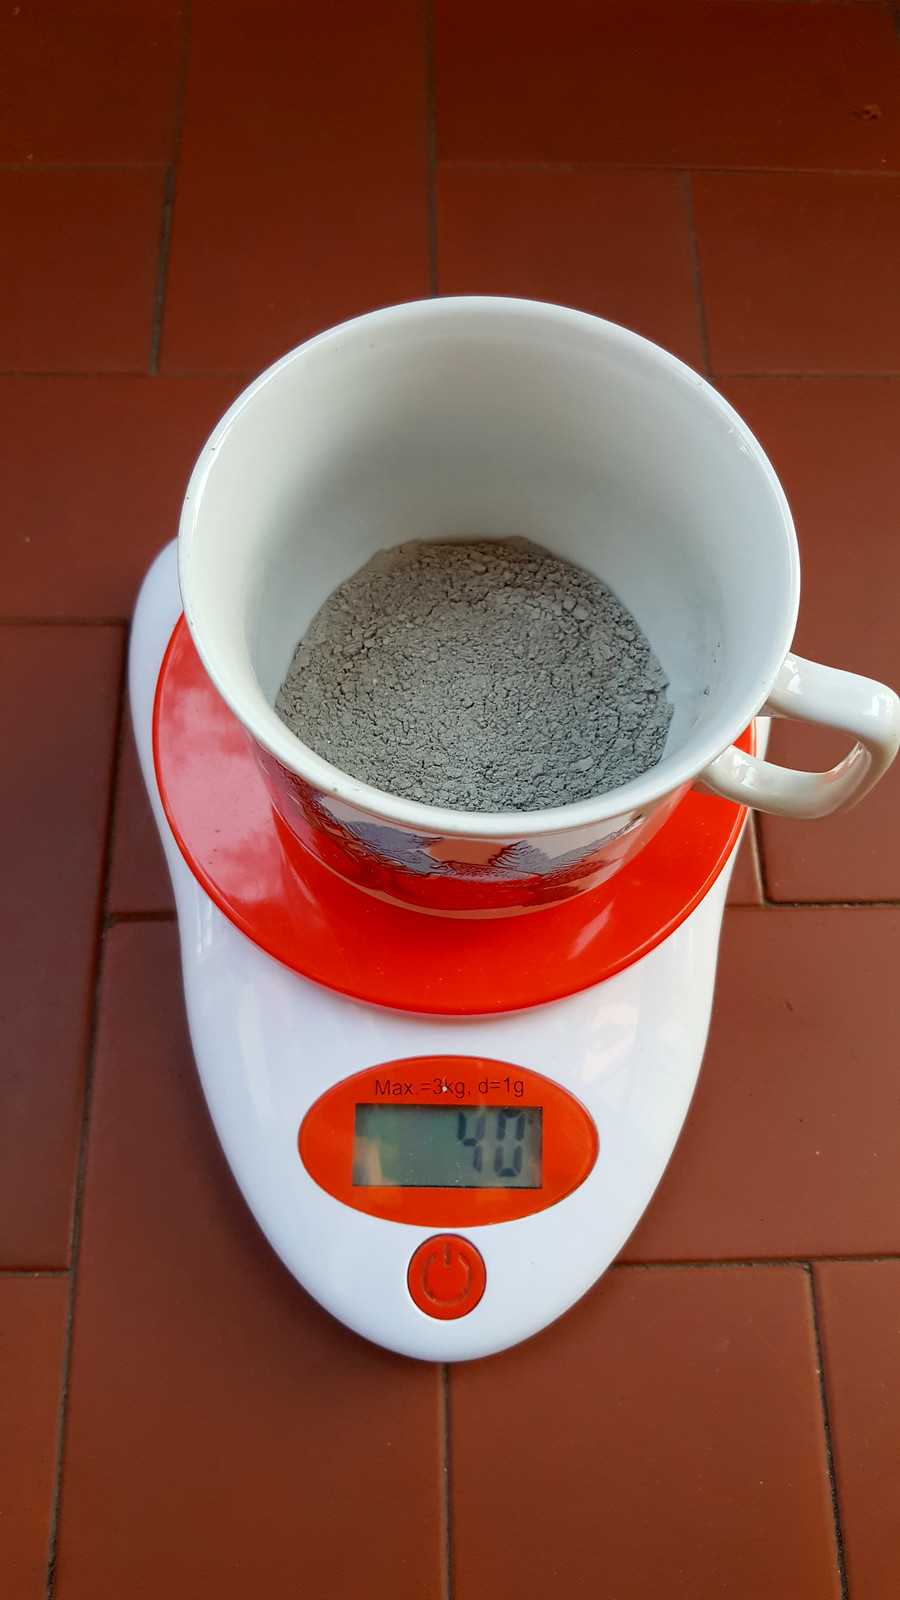
40 grams of quick cement:
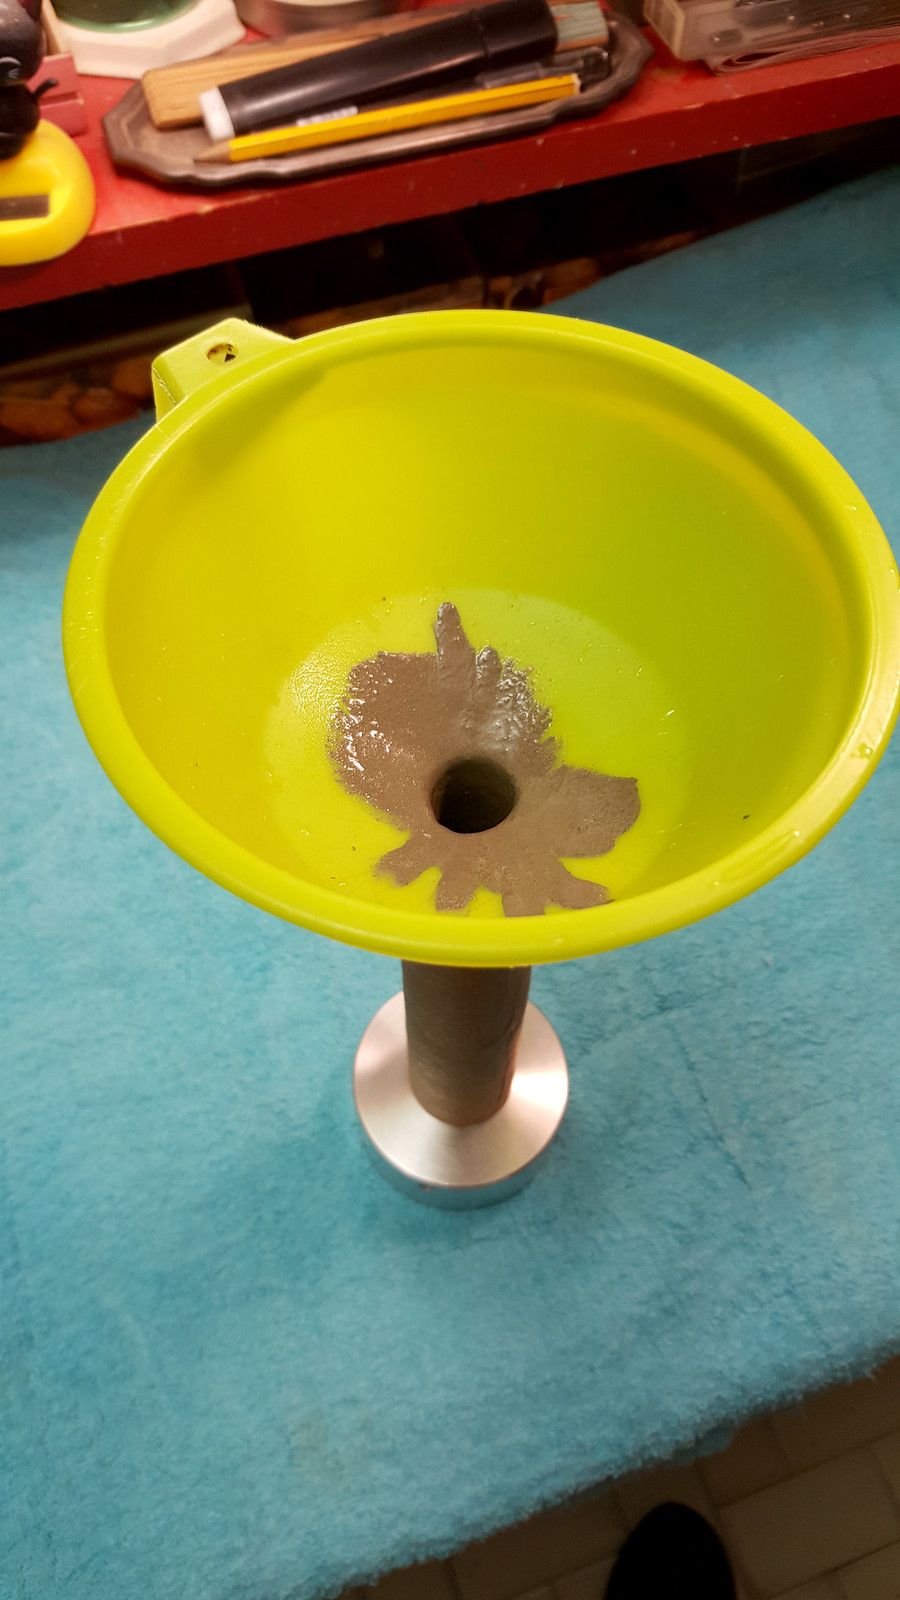
Dissolved cement in few water and poured it inside the tube with the help of a funnel:
Packing the quick cement with a perfect-fit PVC bar:

After 5 minutes the quick cement is enough hardened to remove the nozzle-maker. On the left the cement after 5 minutes, on the right after 24 hours:
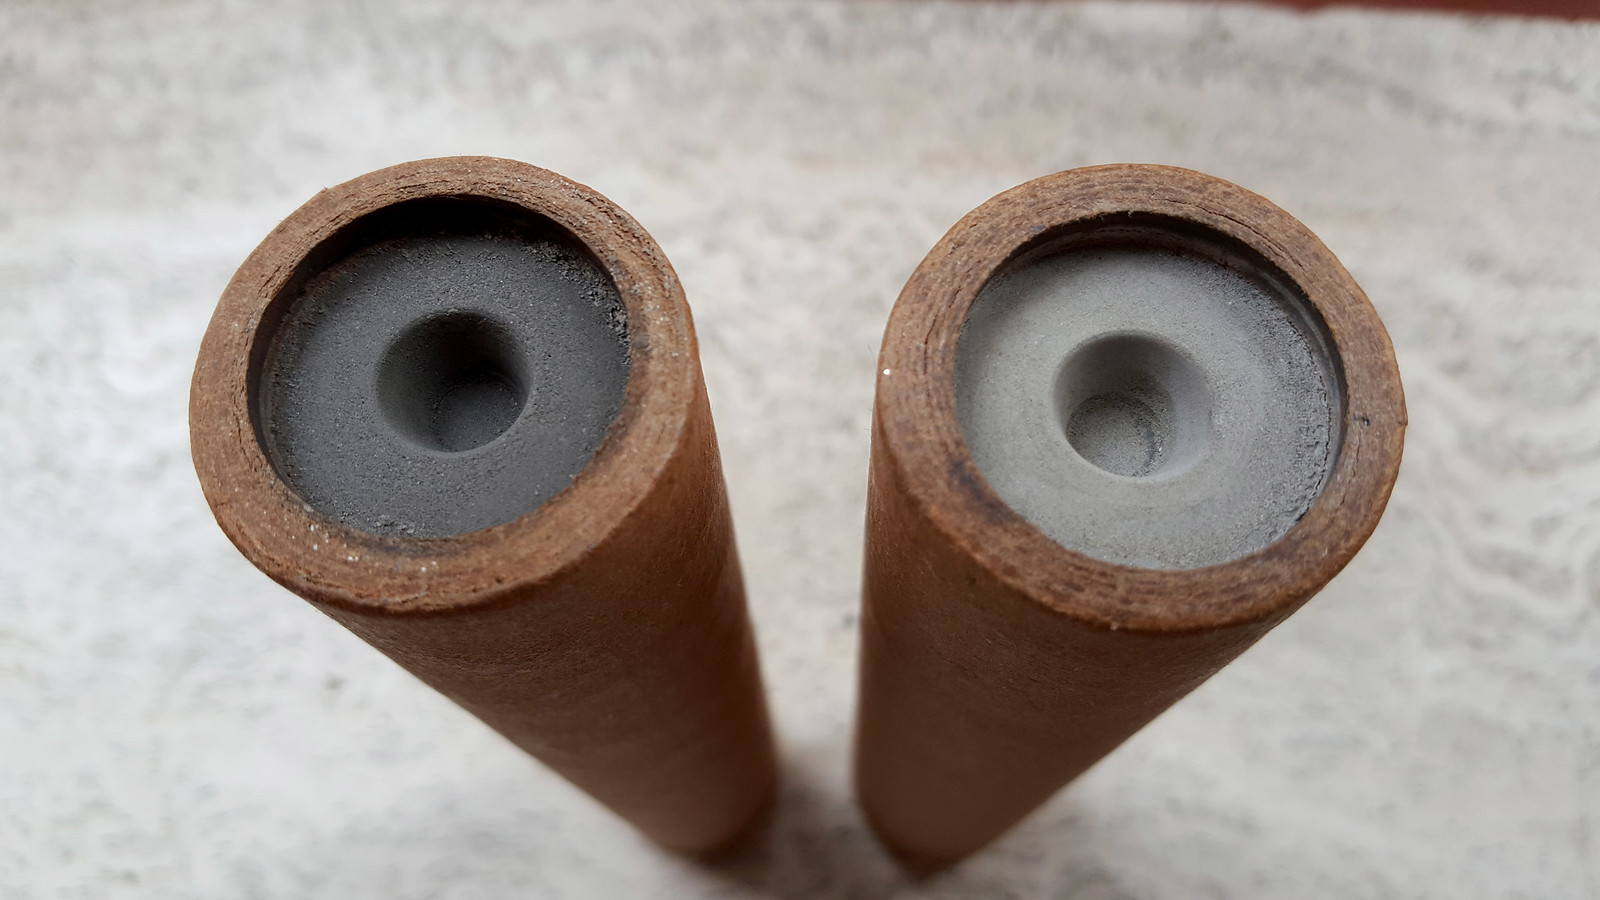
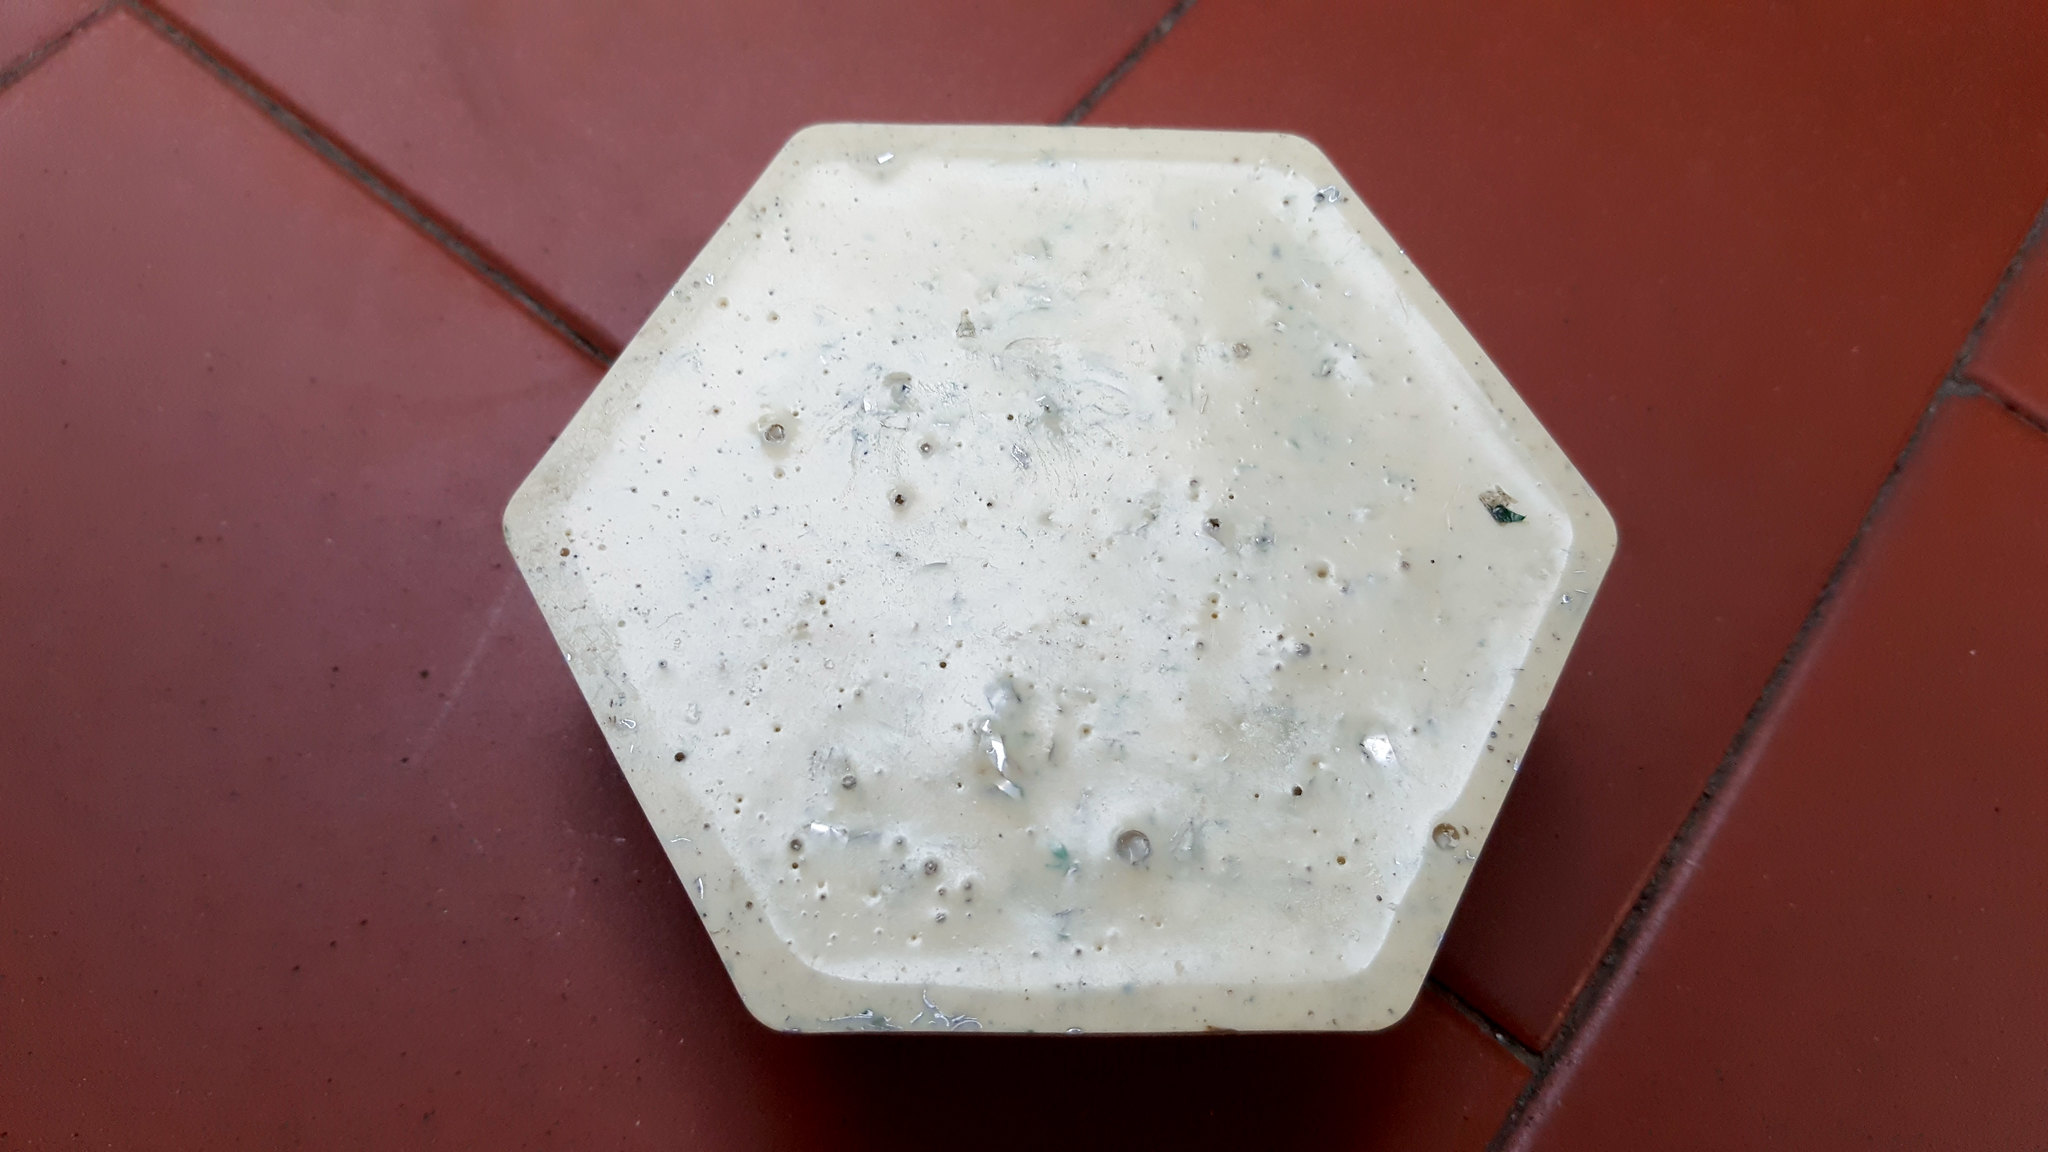
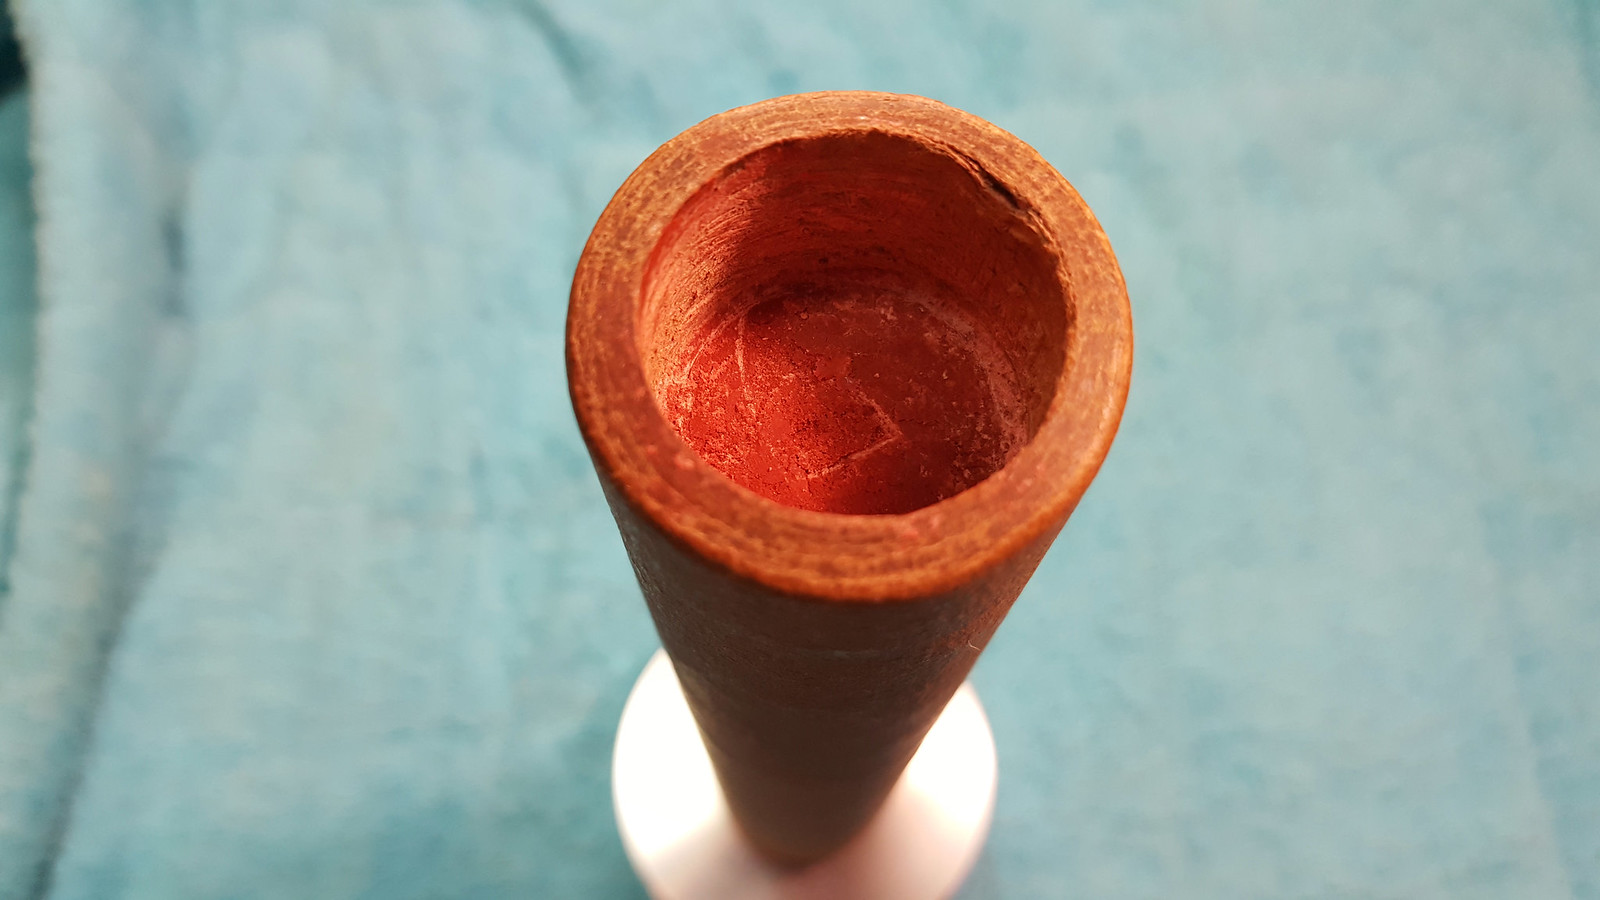
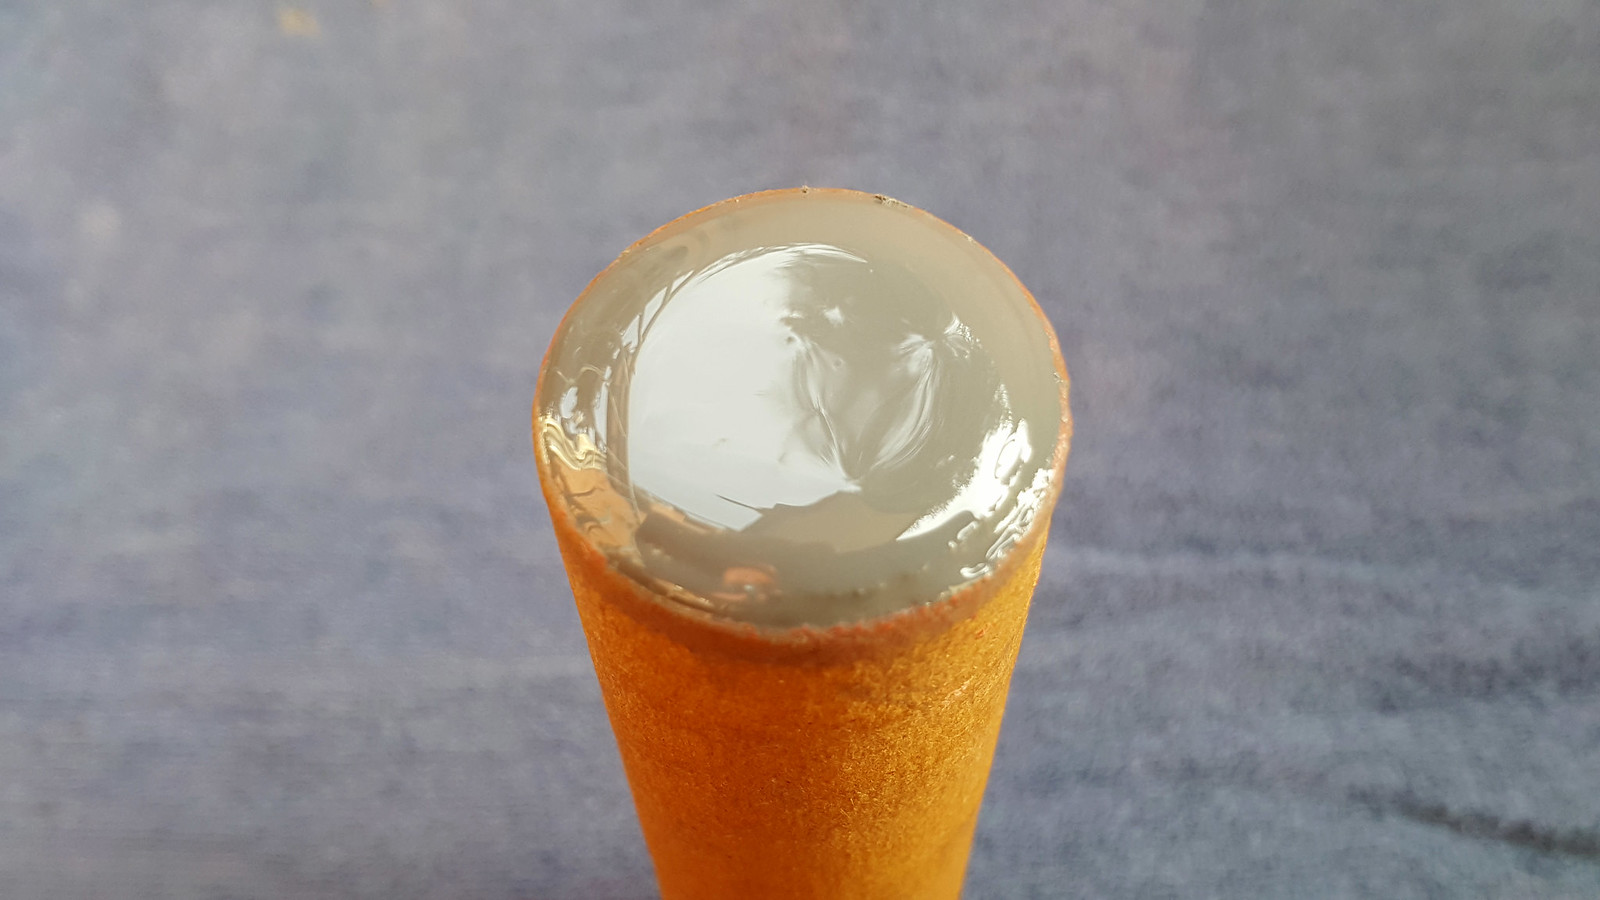
This is how the hardened cement appears inside:
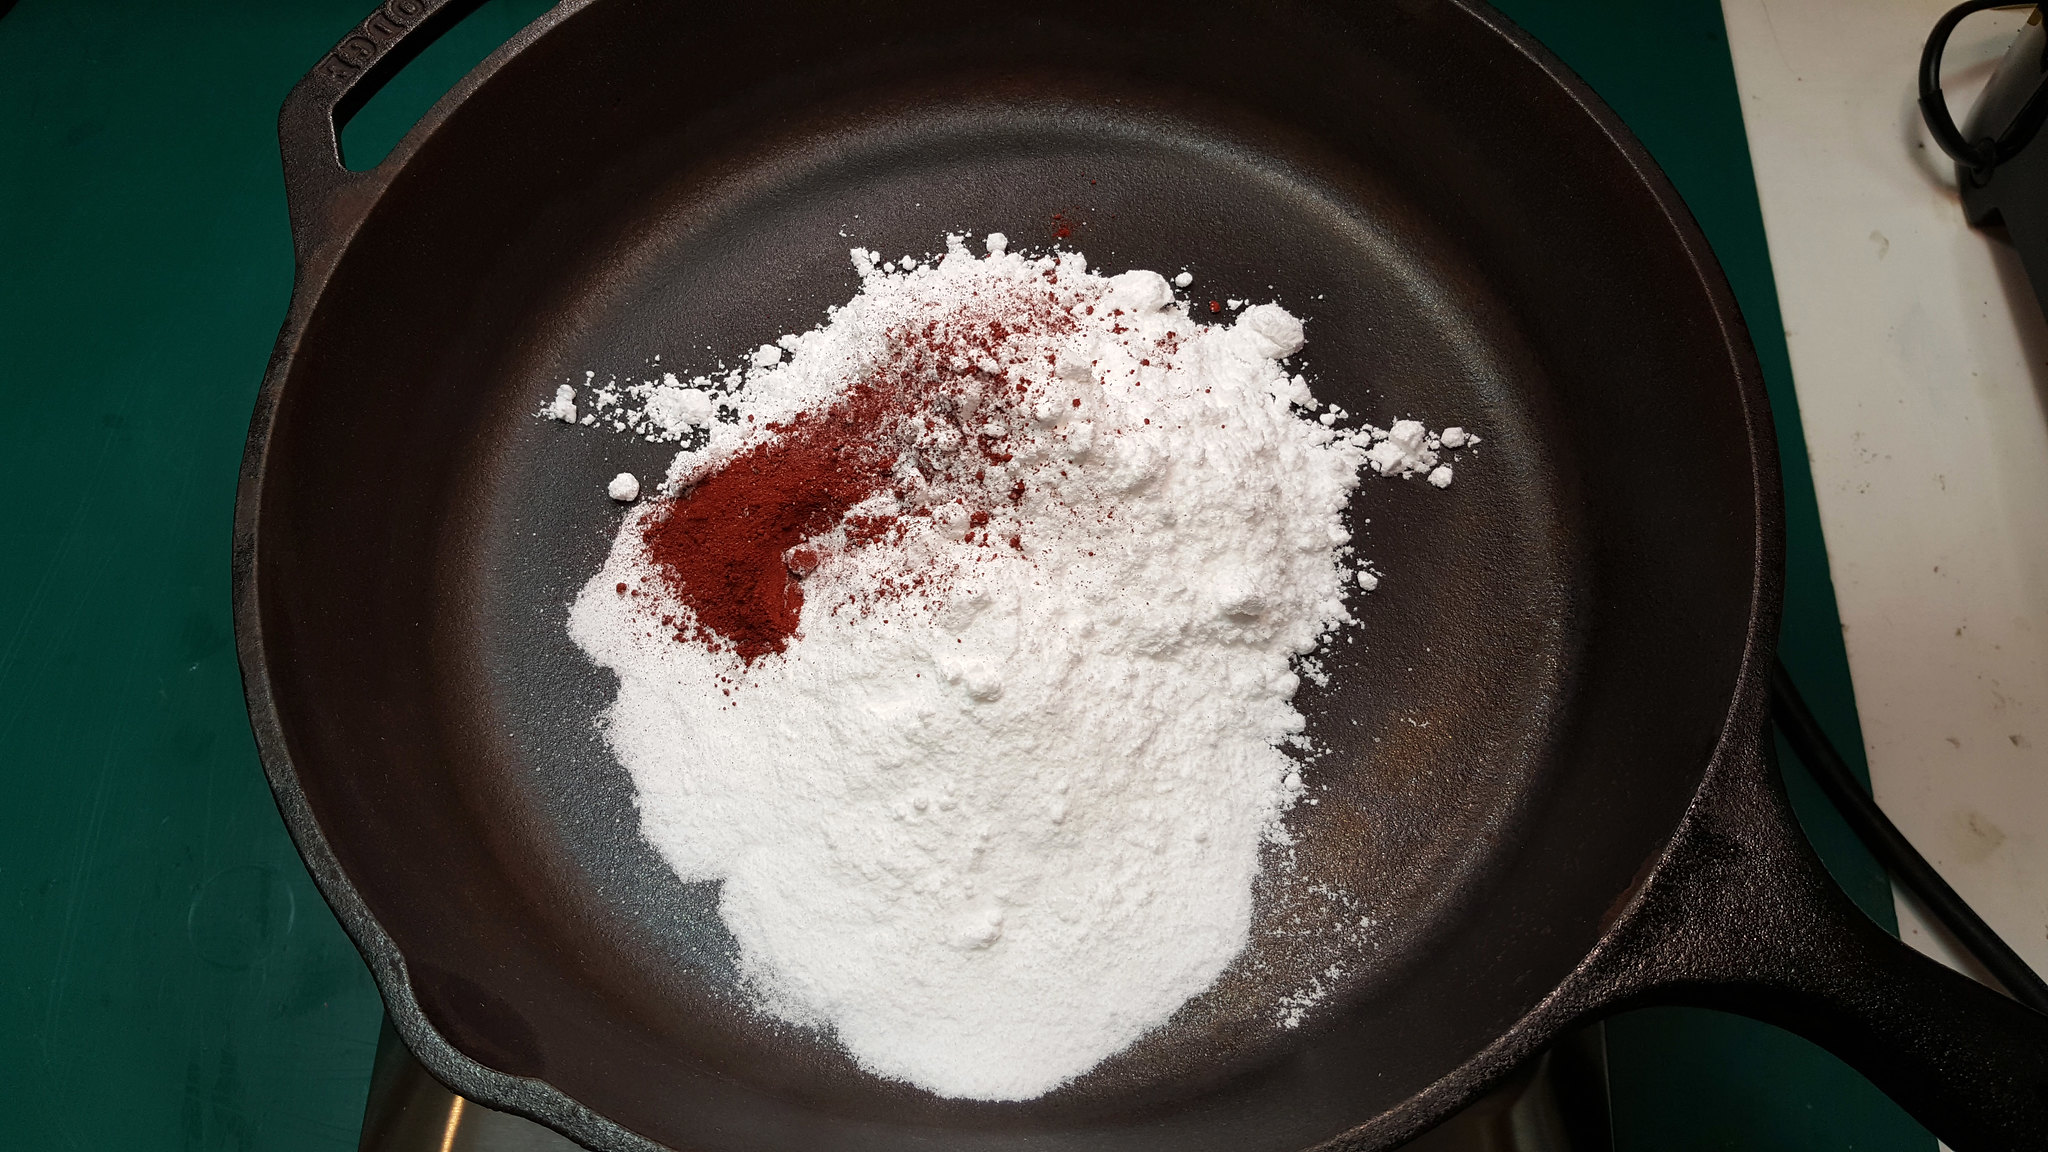
64.5% potassium nitrate, 34,5% sugar and 1% red iron oxyde. Every powder
was fine pulverized with the help of a ball mill. Since I will use a small amount of water
to minimize the cooking time, this help to dissolve the powders very quickly, especially when
the temperature raise:
Dissolving the components in distilled water:
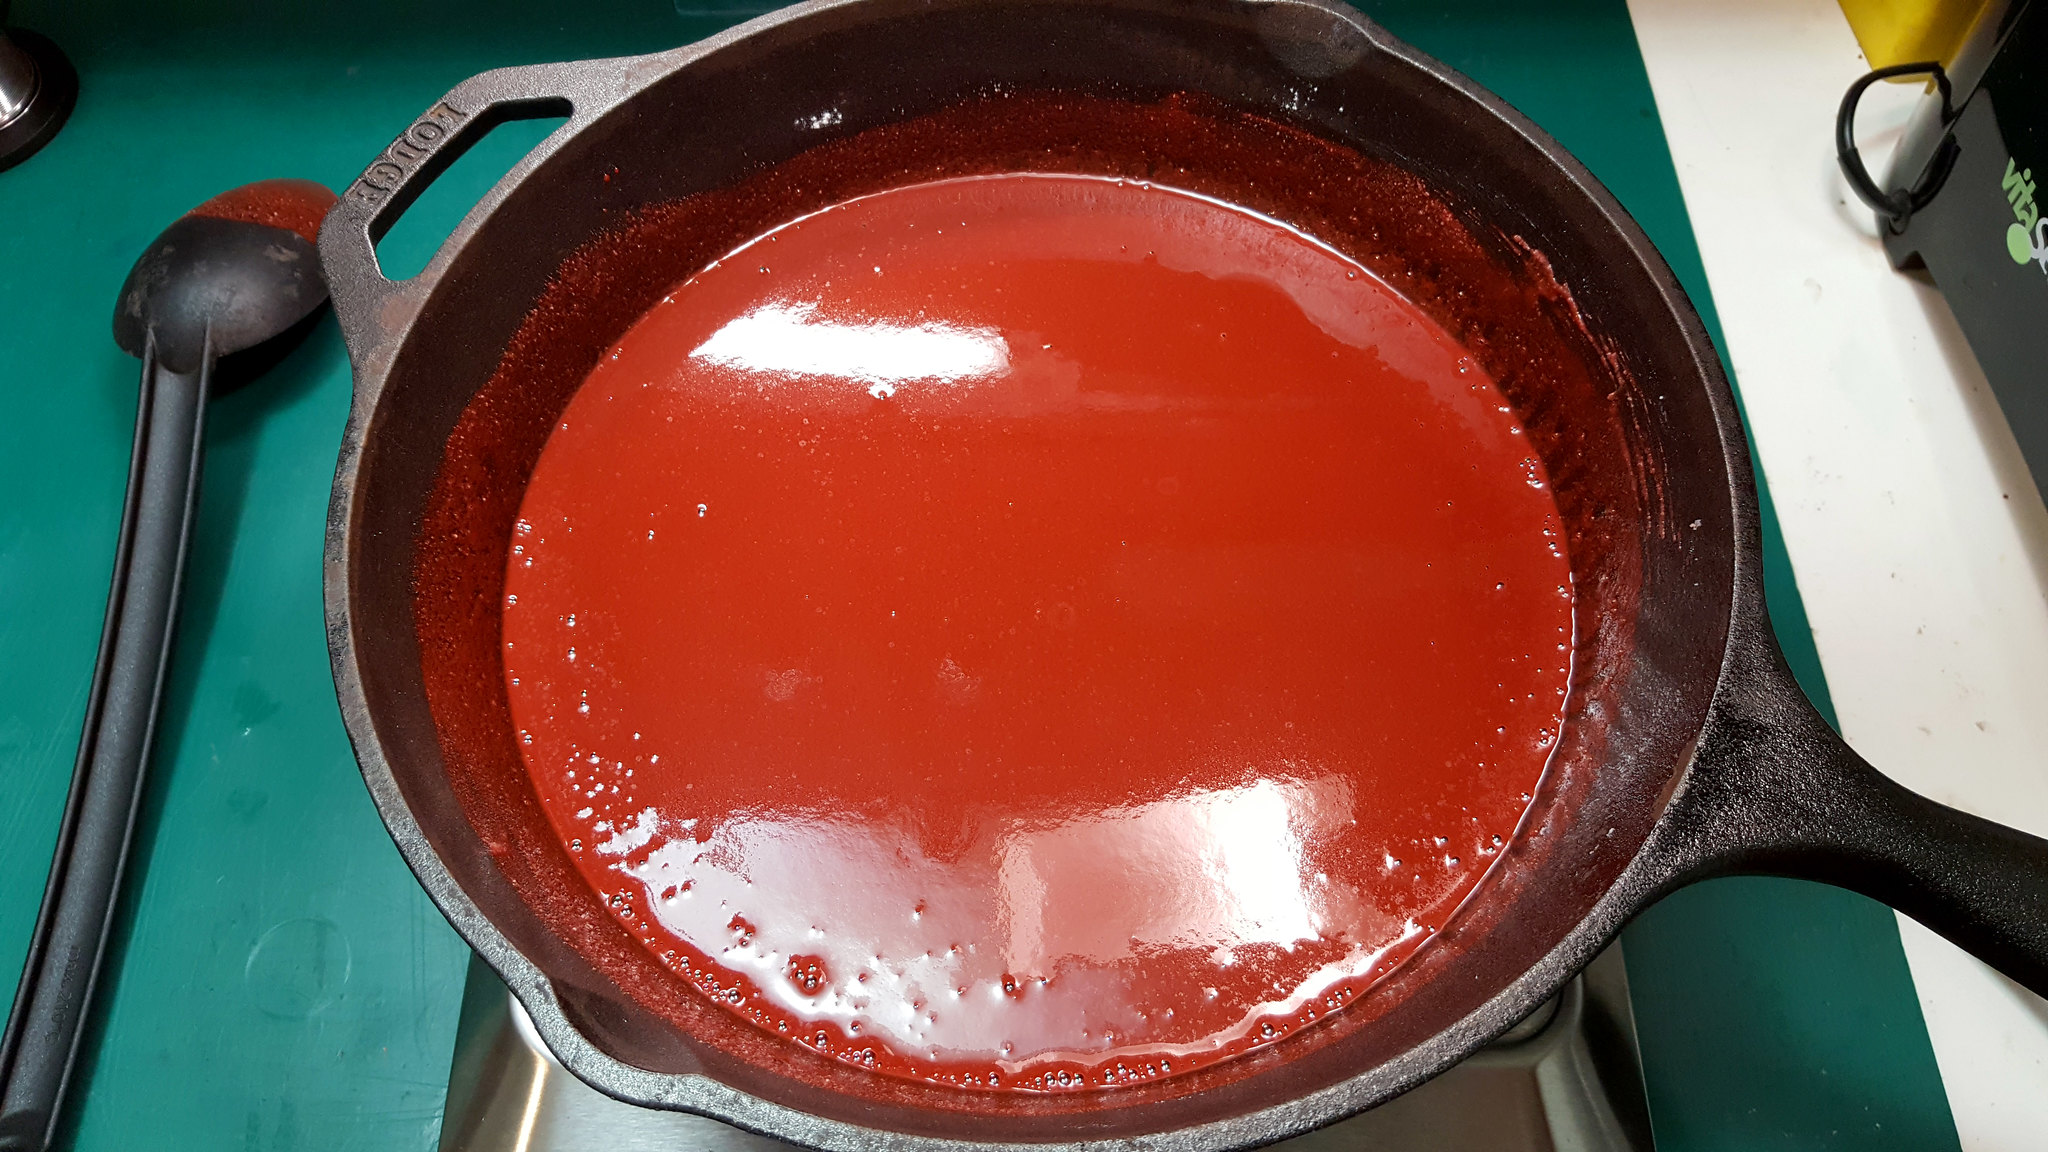
Cooking the mixture at about 150 °C on a thick cast iron pan over an electric plate.
This can prevent dangerous hot spots that can ignite the compound:
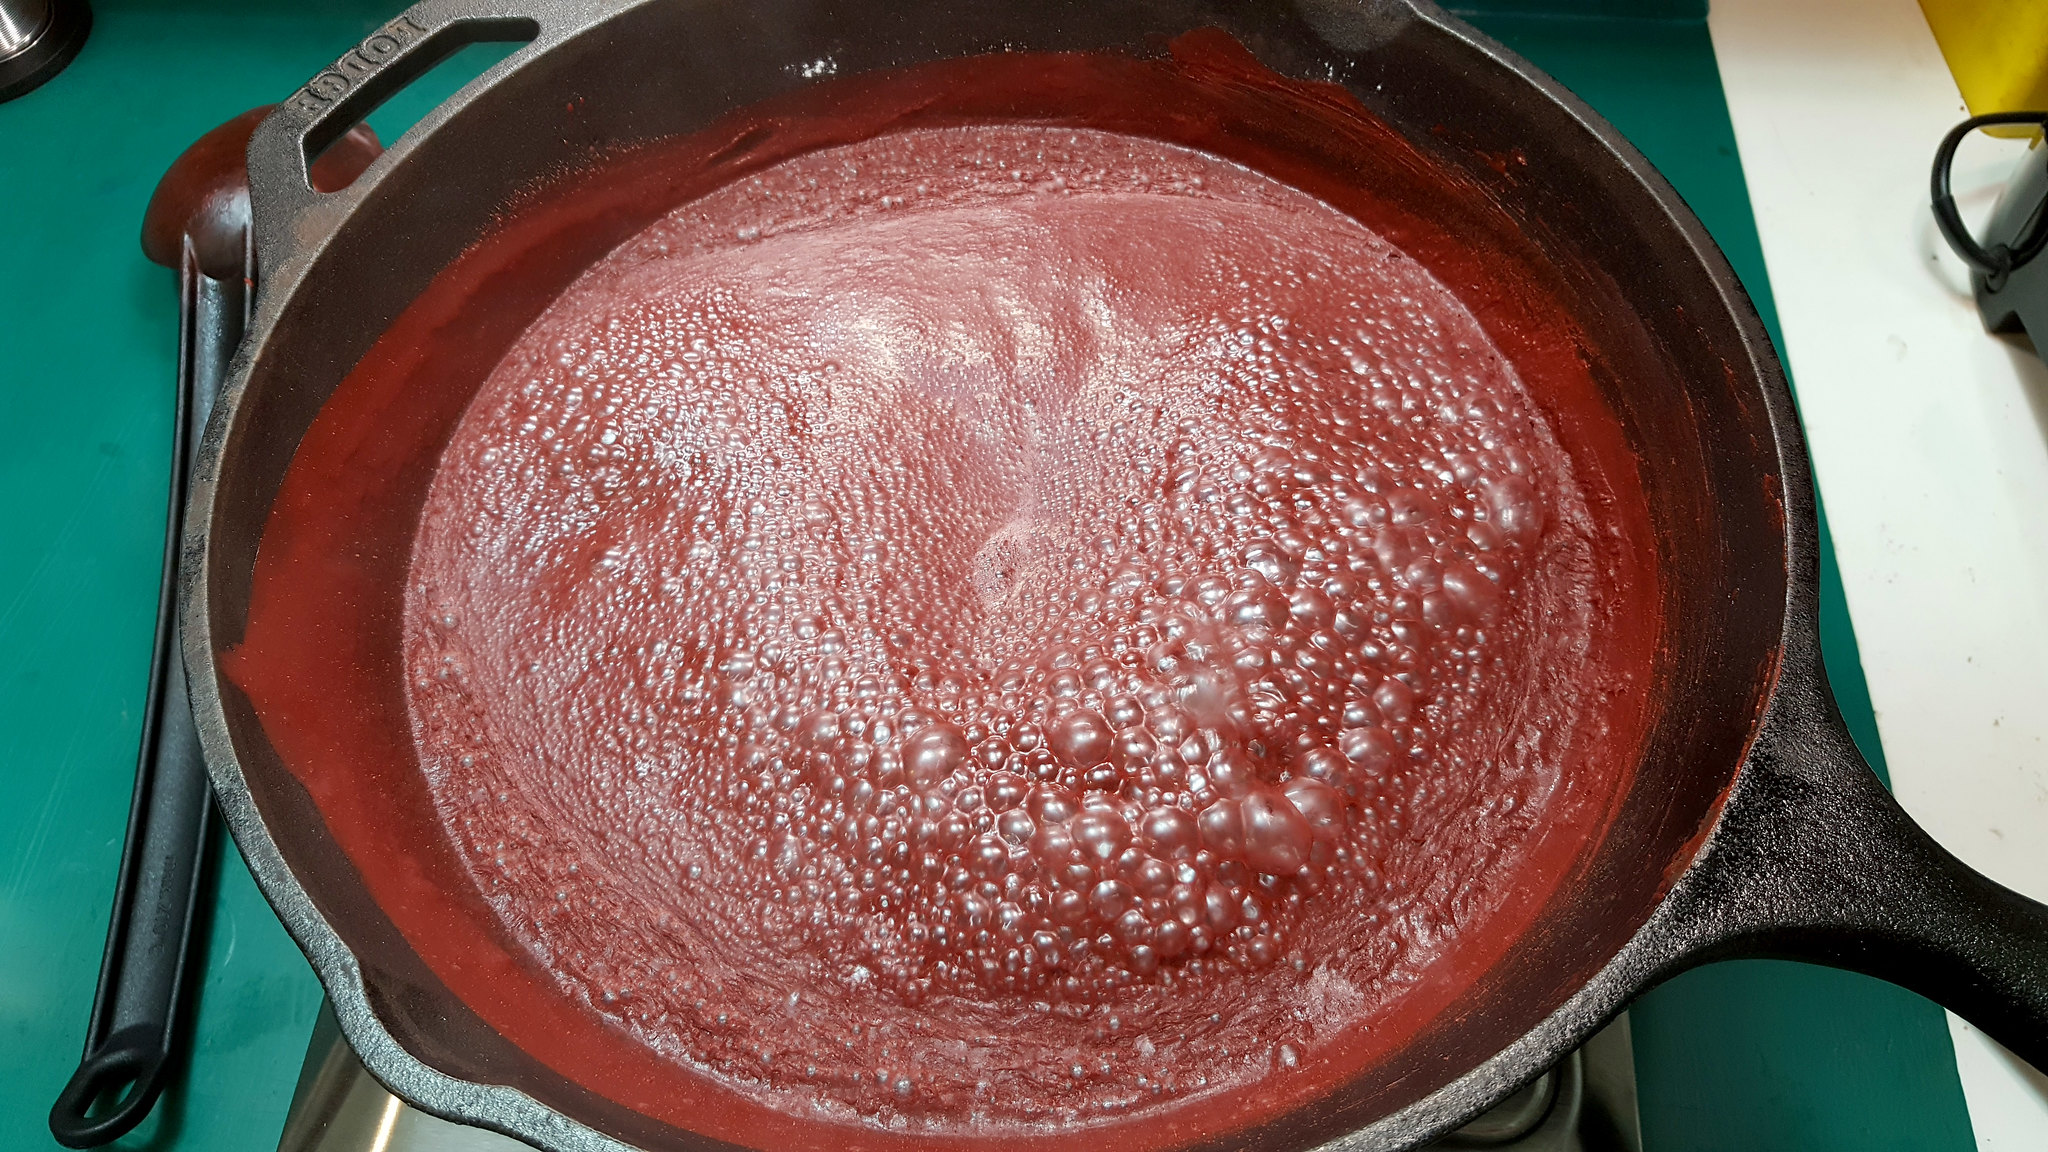
The compound is melted and perfectly dried. Maximum care is needed at this point because the mixture is now extremely flammable.
It is also important that the mixture is not generating smoke with the classic smell of caramelized sugar. If this is happening, it means that the temperature is near 180 °C, that is the point where the sugar decomposes, and this is not so good, because the powder loses part of its performance and can also auto-ignite:
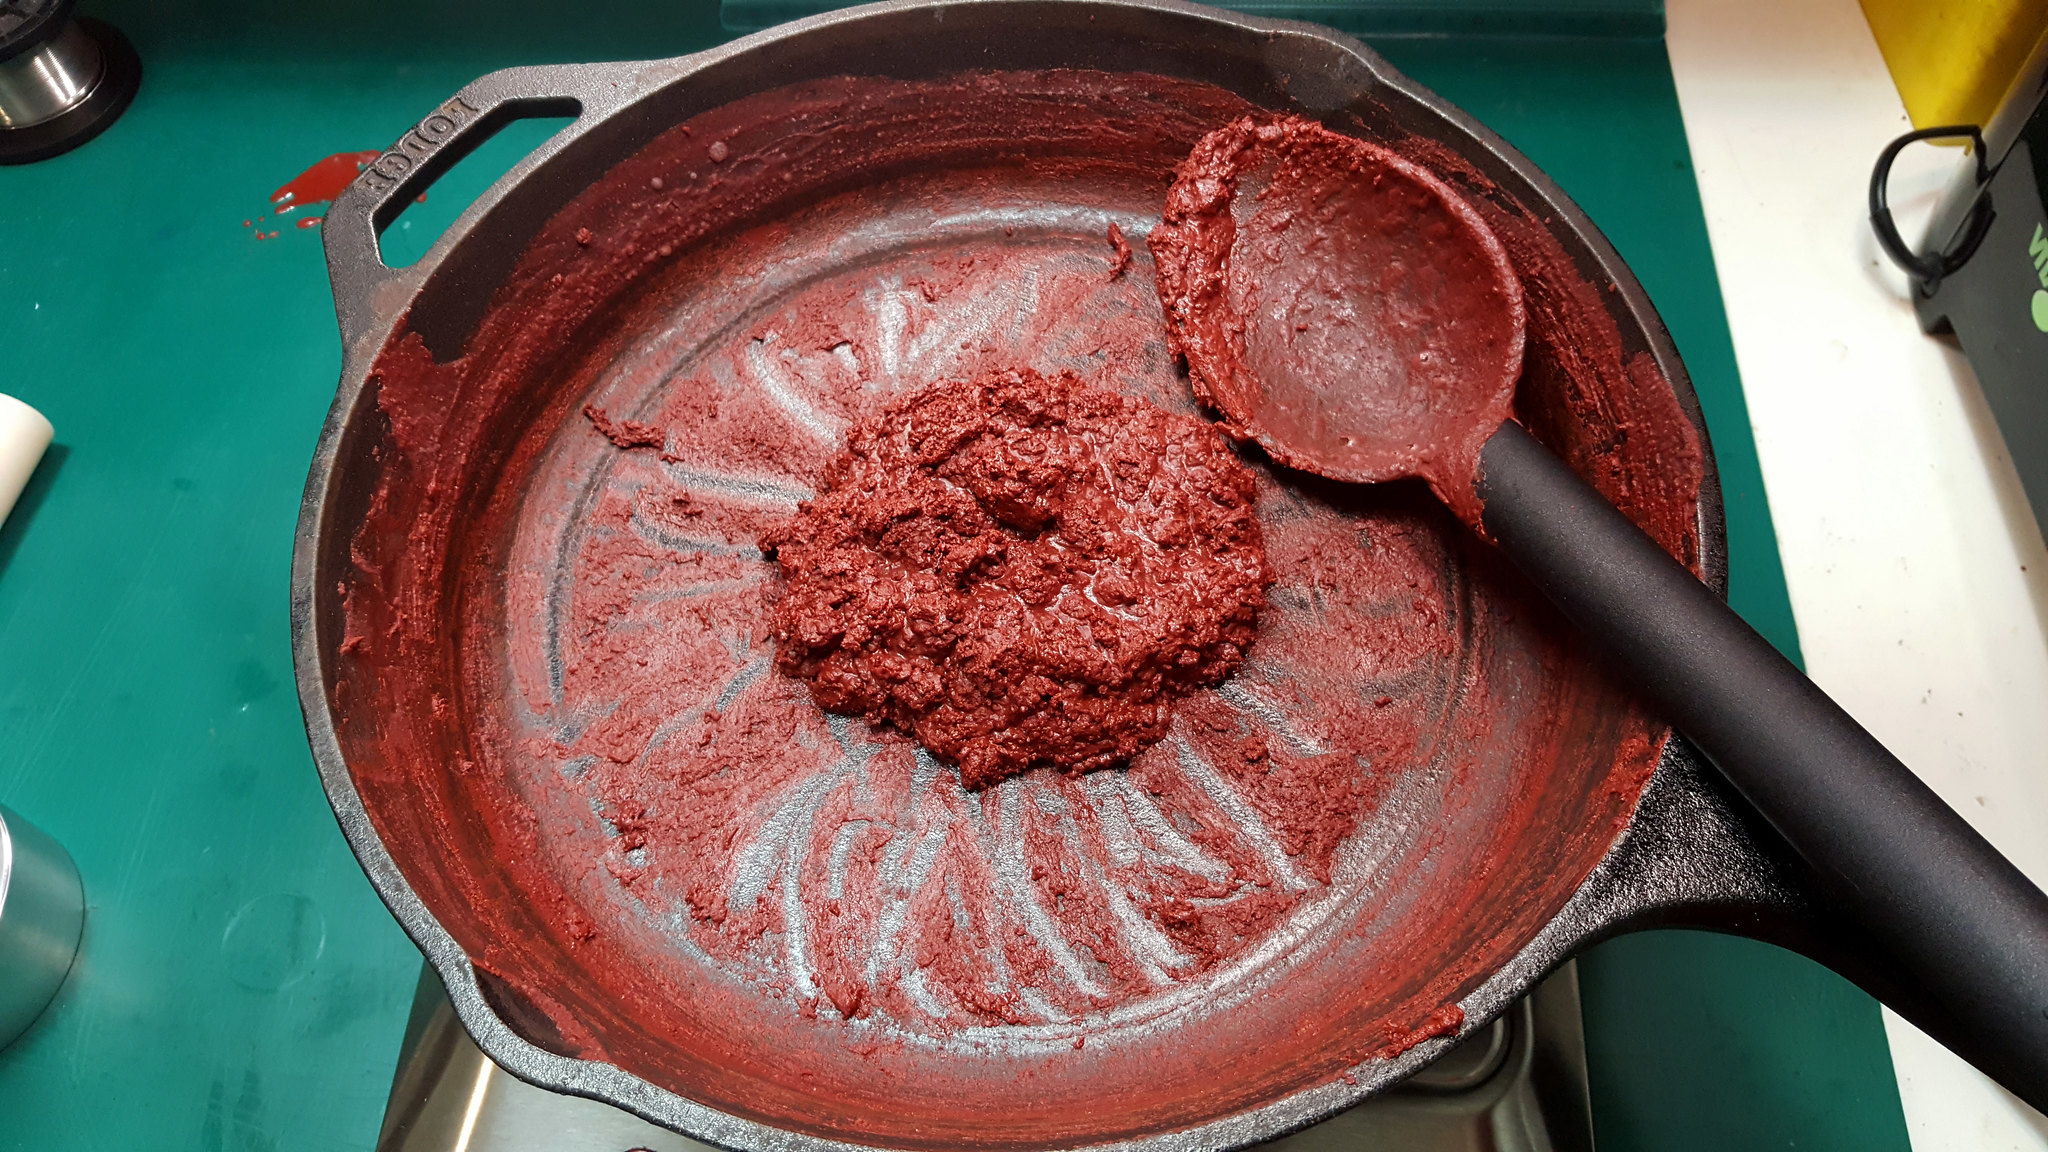
Dripping the compound inside the cardboard tube and packing it:
The packed and cold compound:
Pressing ang gluing the cap with strong epossidic glue:
Making the head flat with expanded foam:

Making the head rounded with strong epossidic glue:
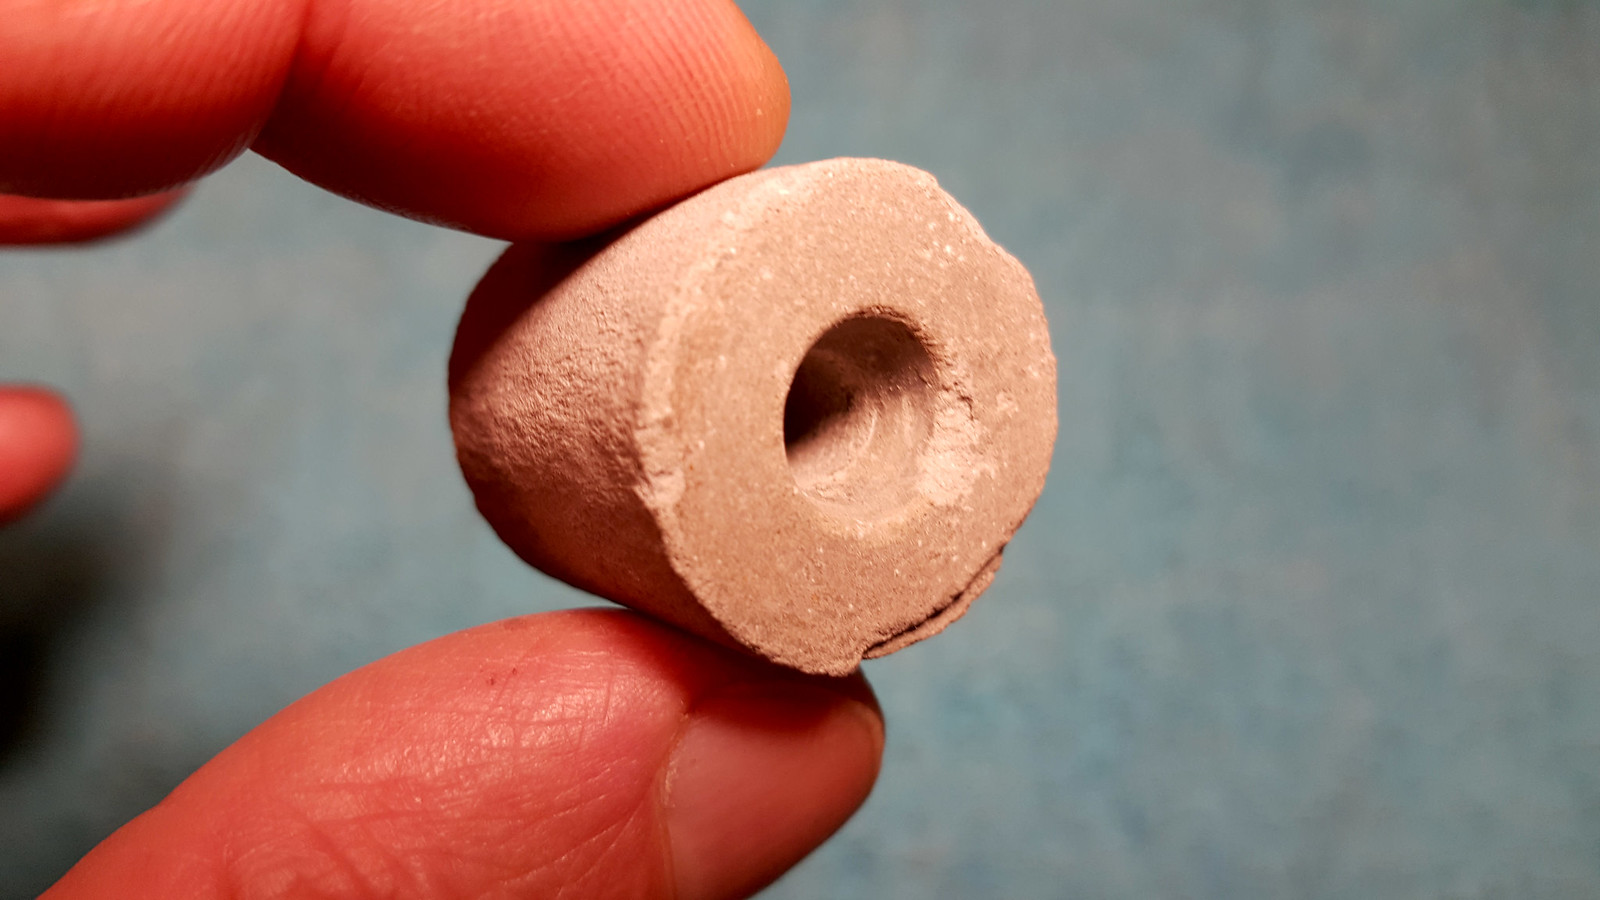
Making an hole in the compound. This is a very delicate step. I have tried a lot of variables before to found the correct diameter and depth of the hole. For this specific project, the hole done in the compound (that must be obiouvsly the same of the rocket nozzle) has a 7mm diameter and it must reach about 1/3 of the compound depth. Other values such as smaller hole diameter or greater hole depth will trasform the rocket in a firecracker:
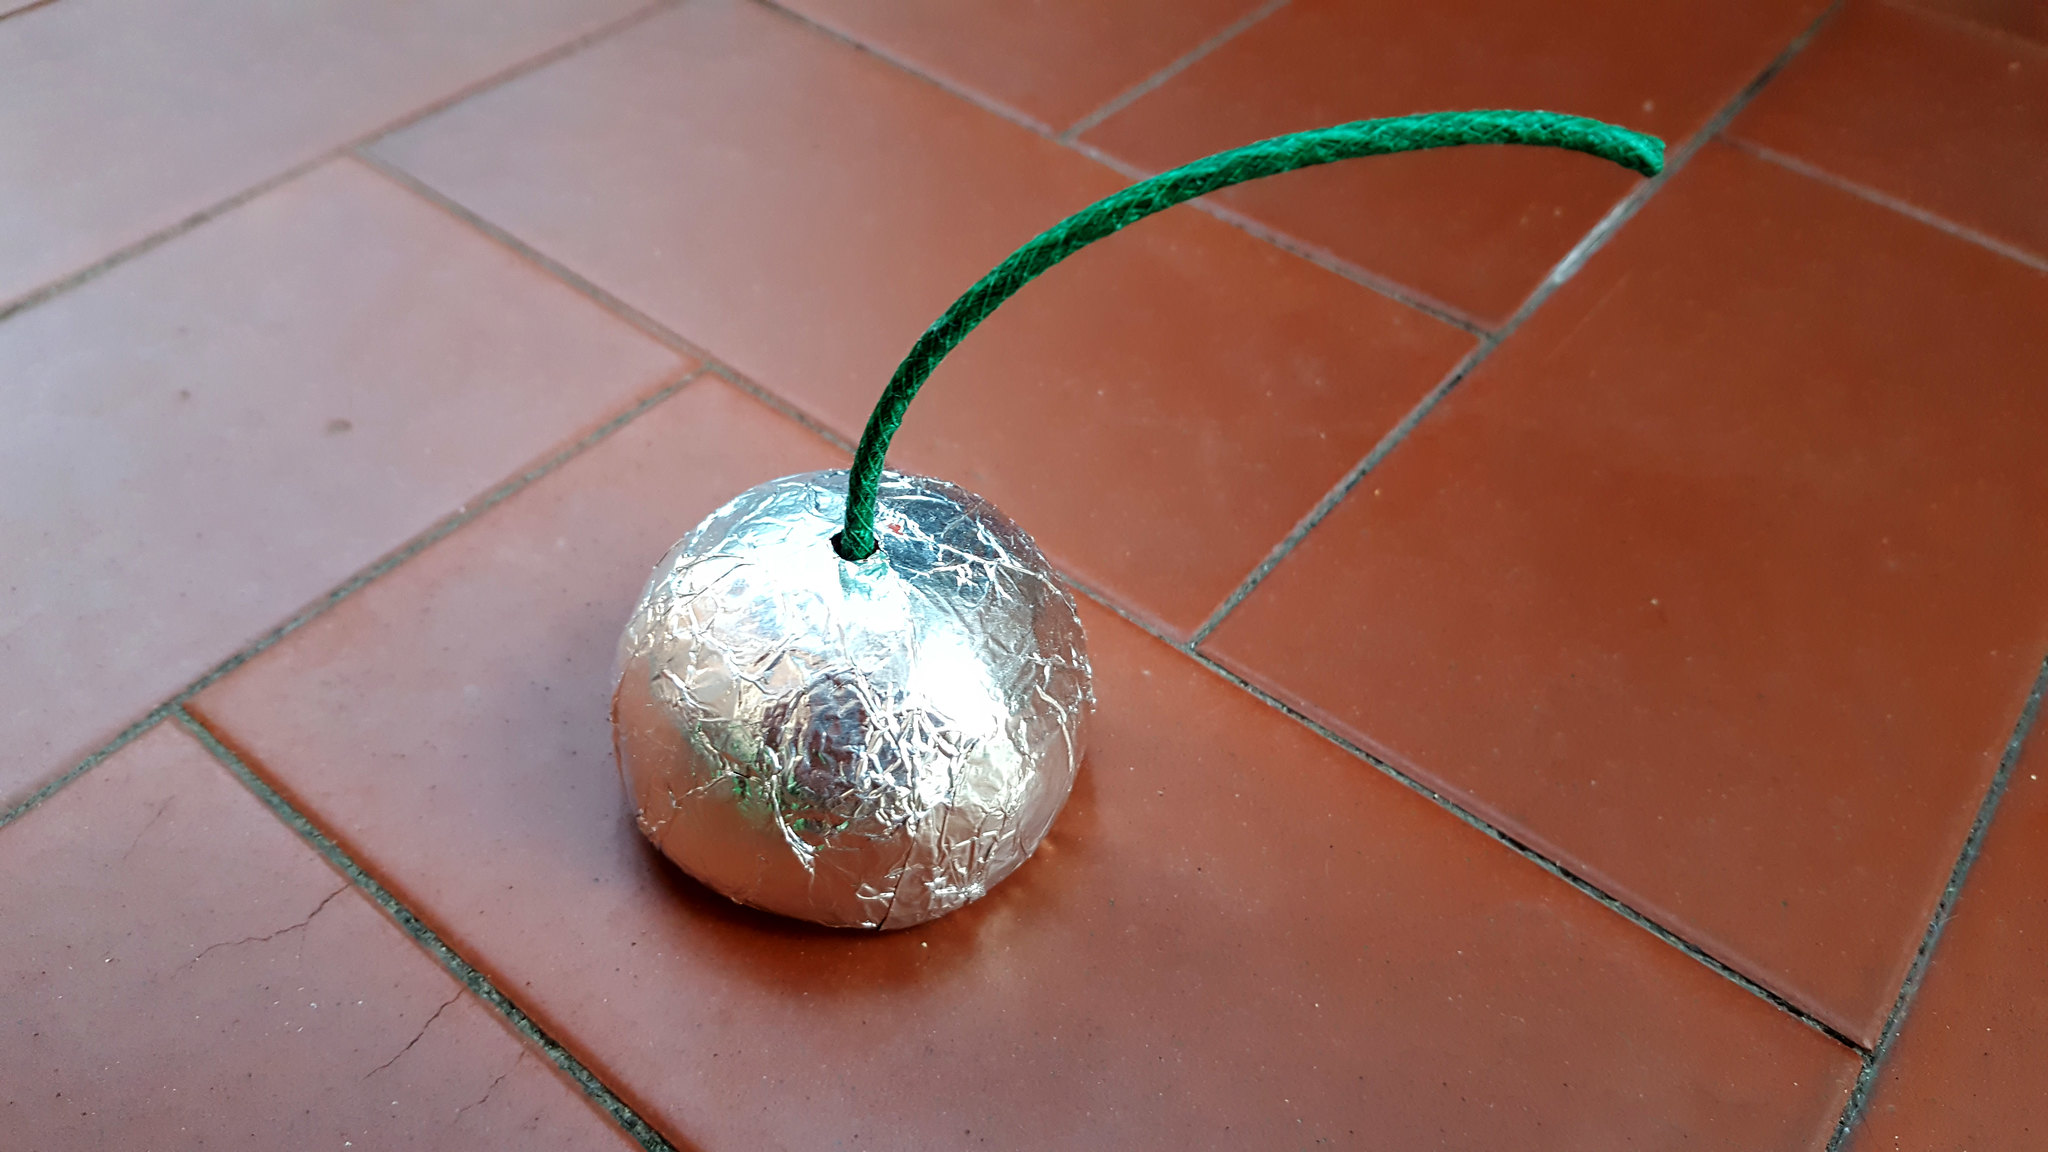
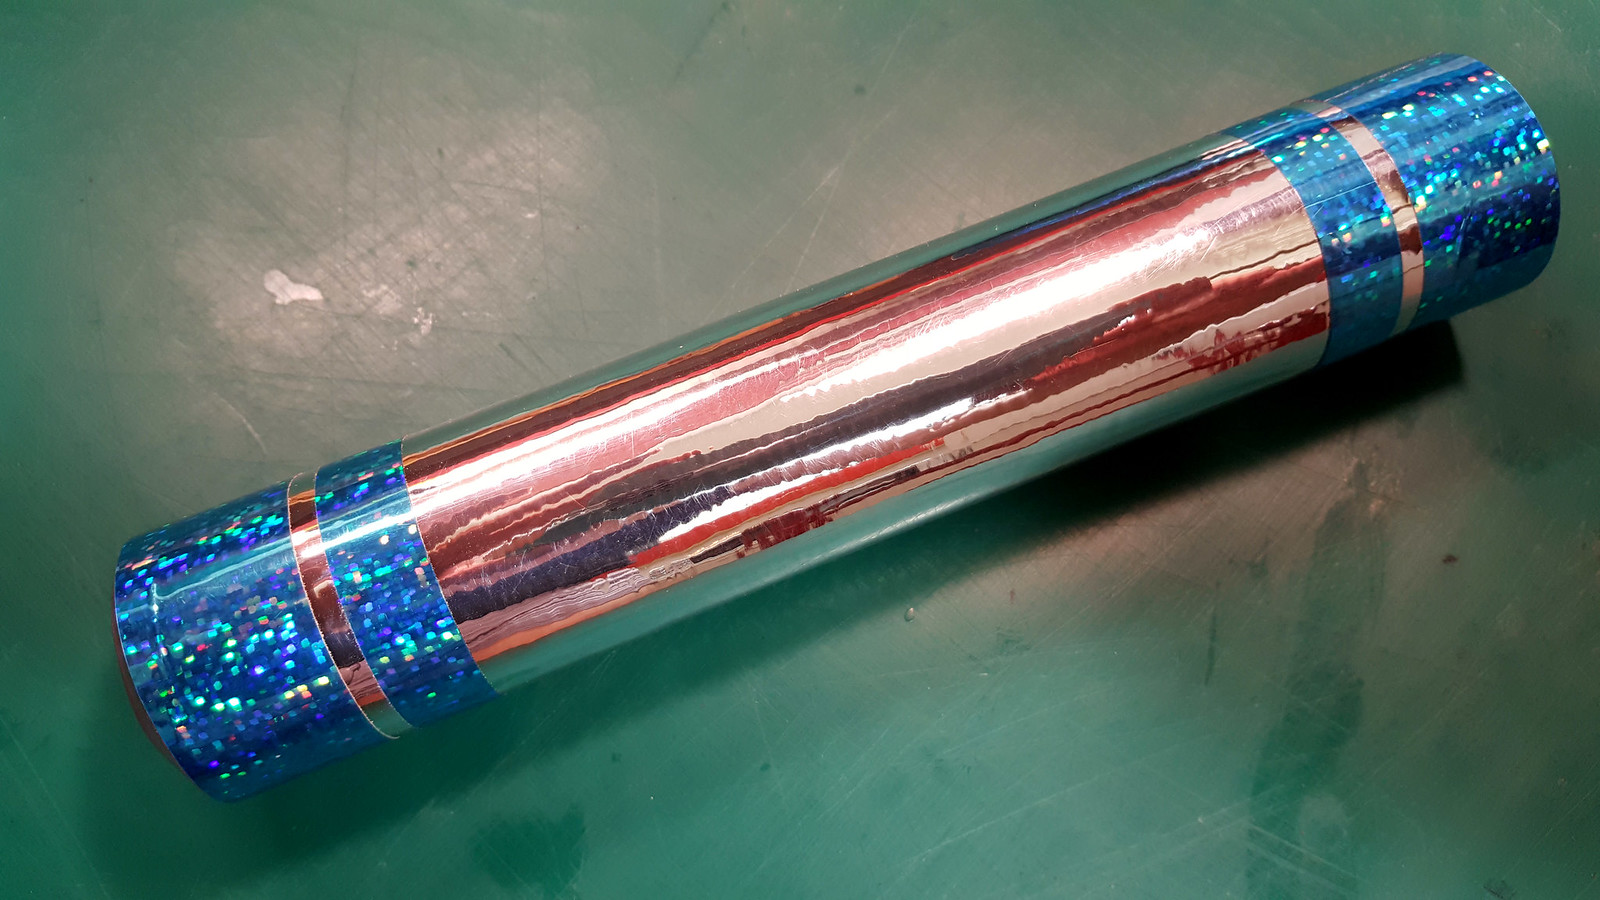
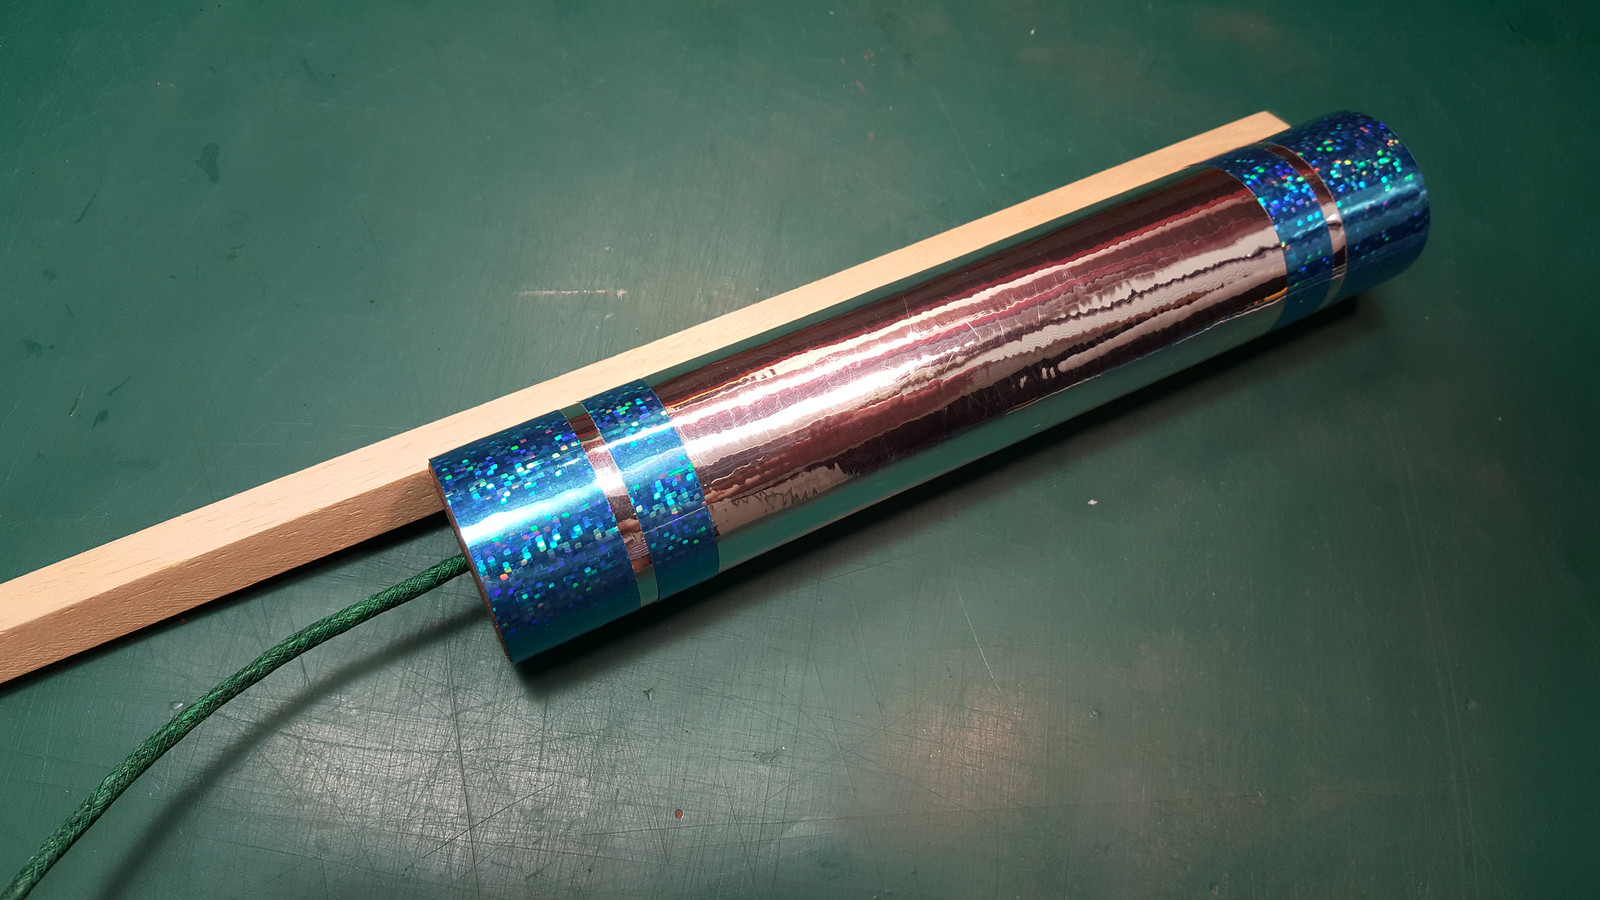
The rocket dressed in great gala:
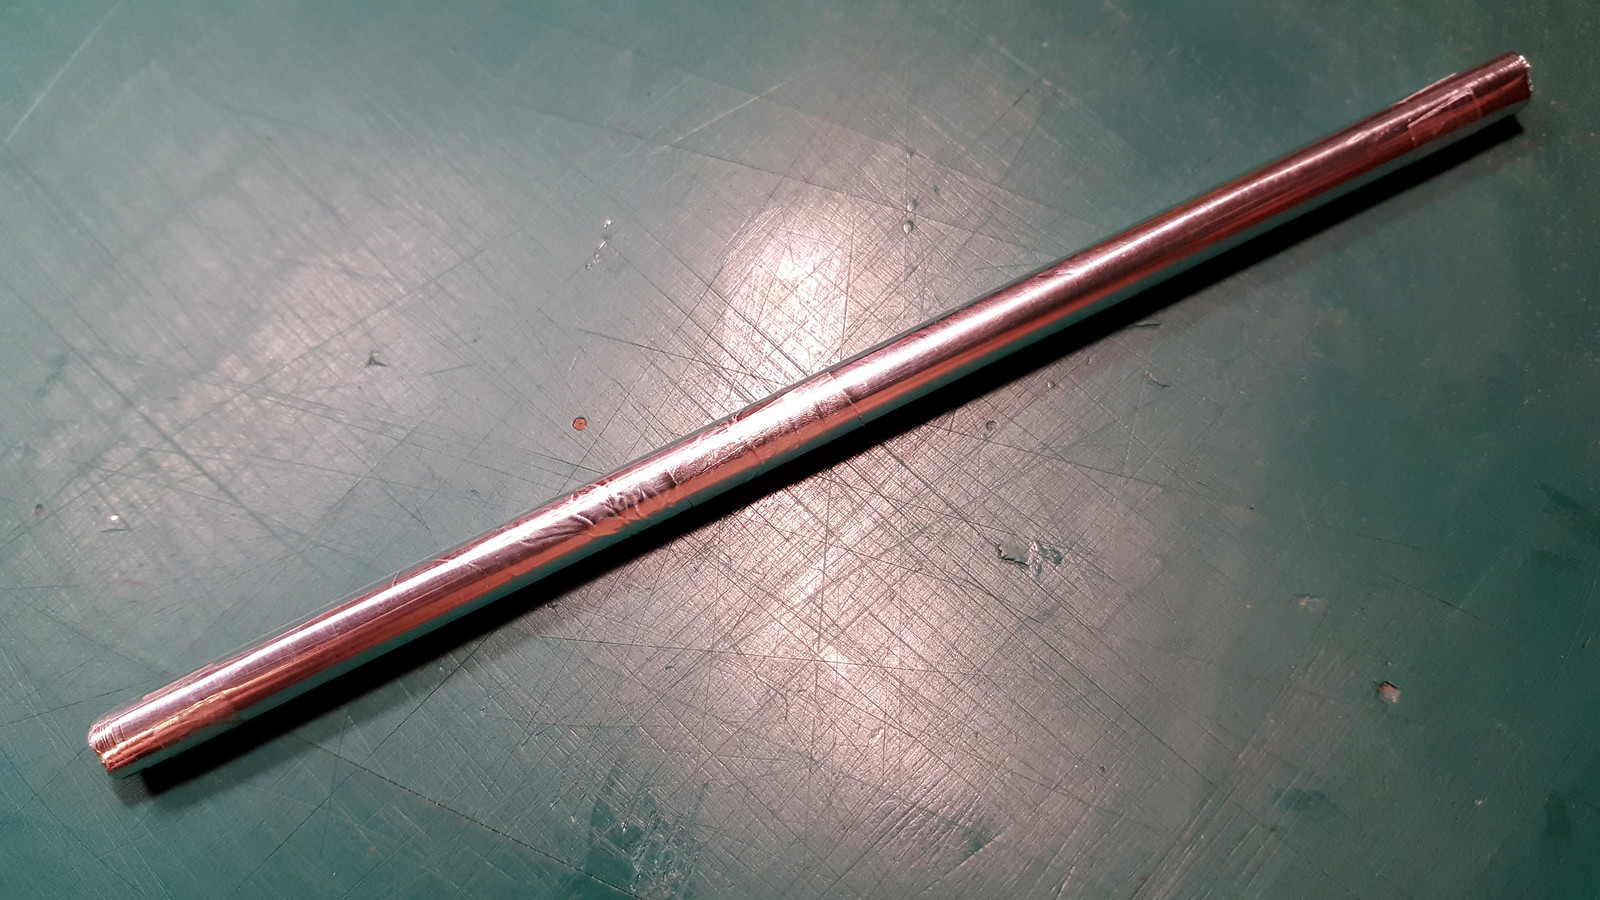
Wrapping a straw with some turns of aluminum foils. Inside the straw will be inserted the fuse. The straw allow to ignite the compound from the deep and the aluminum avoid a straw perforation that could prematurely ignite the compound:
The fuse was bent so it can be inserted firmly and will not slip out during its combustion:

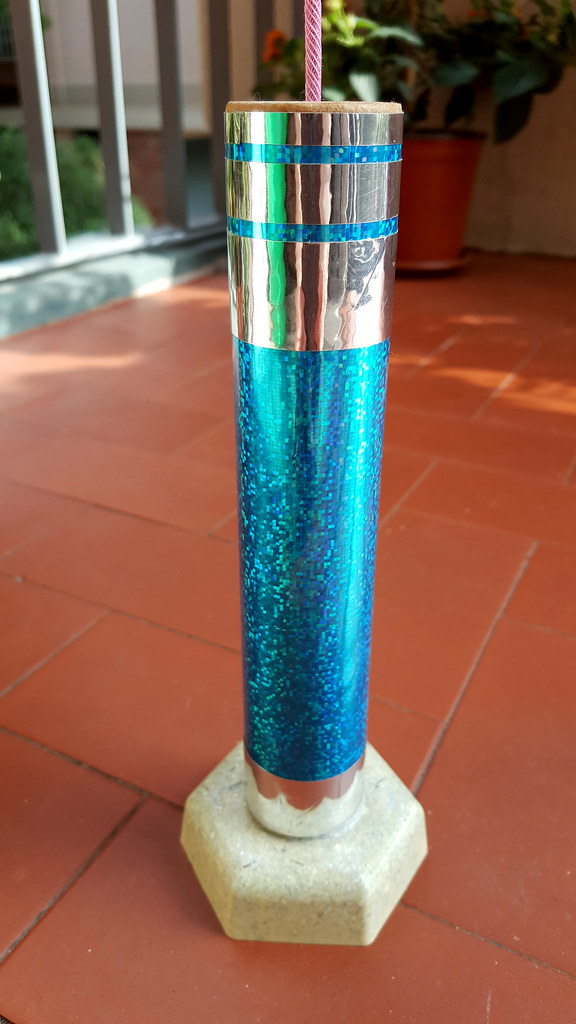
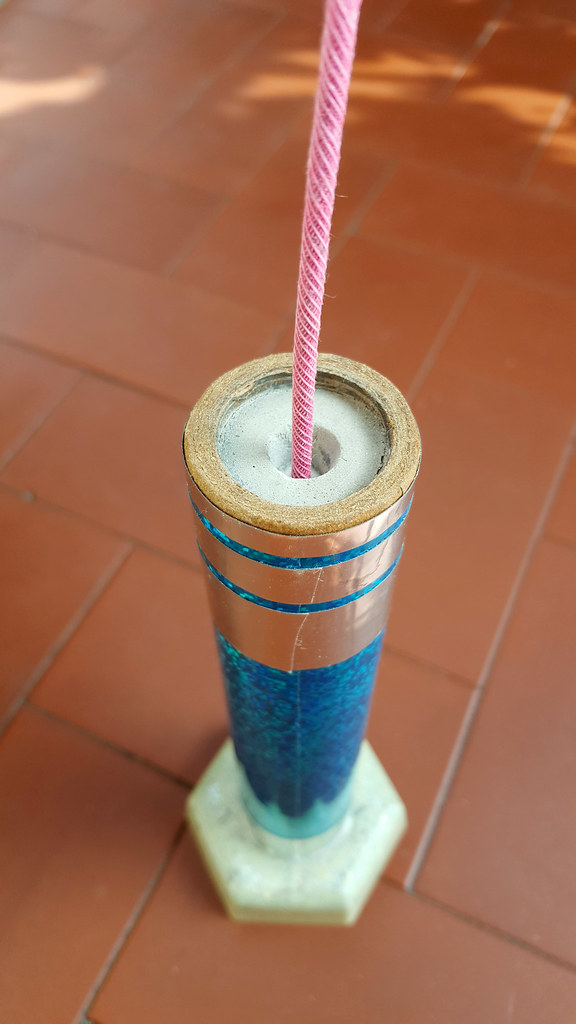
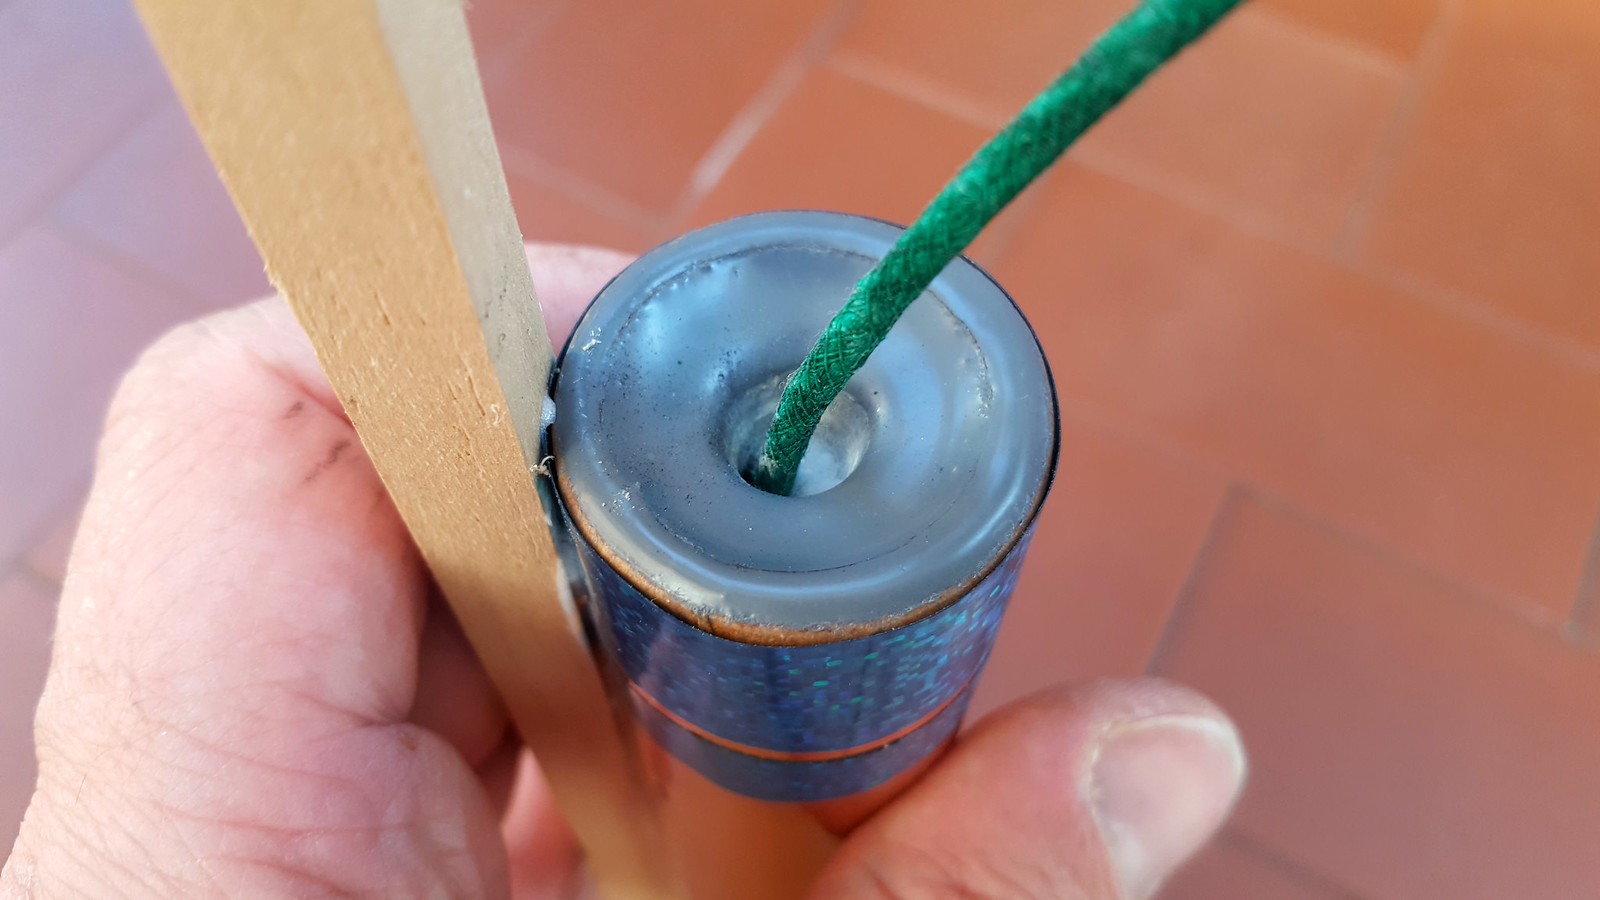
Nozzle glued, straw with fuse inserted. I used a 3mm, 4 cores high quality fuse. Barrell firmly glued over a Samba stick. A little piece of cotton will help to keep everything in place:
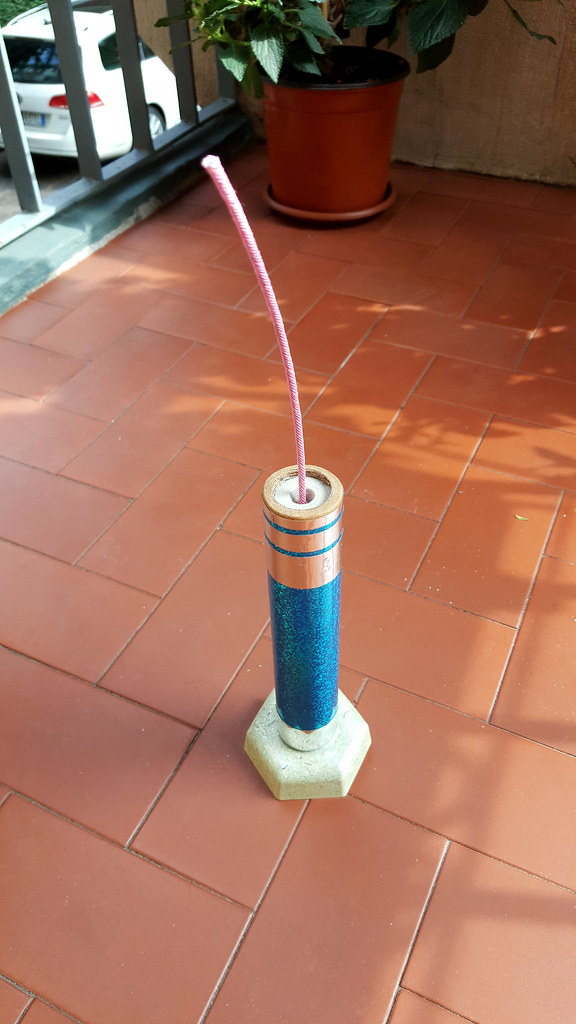
Finally the rocket is finished and ready to be launched:
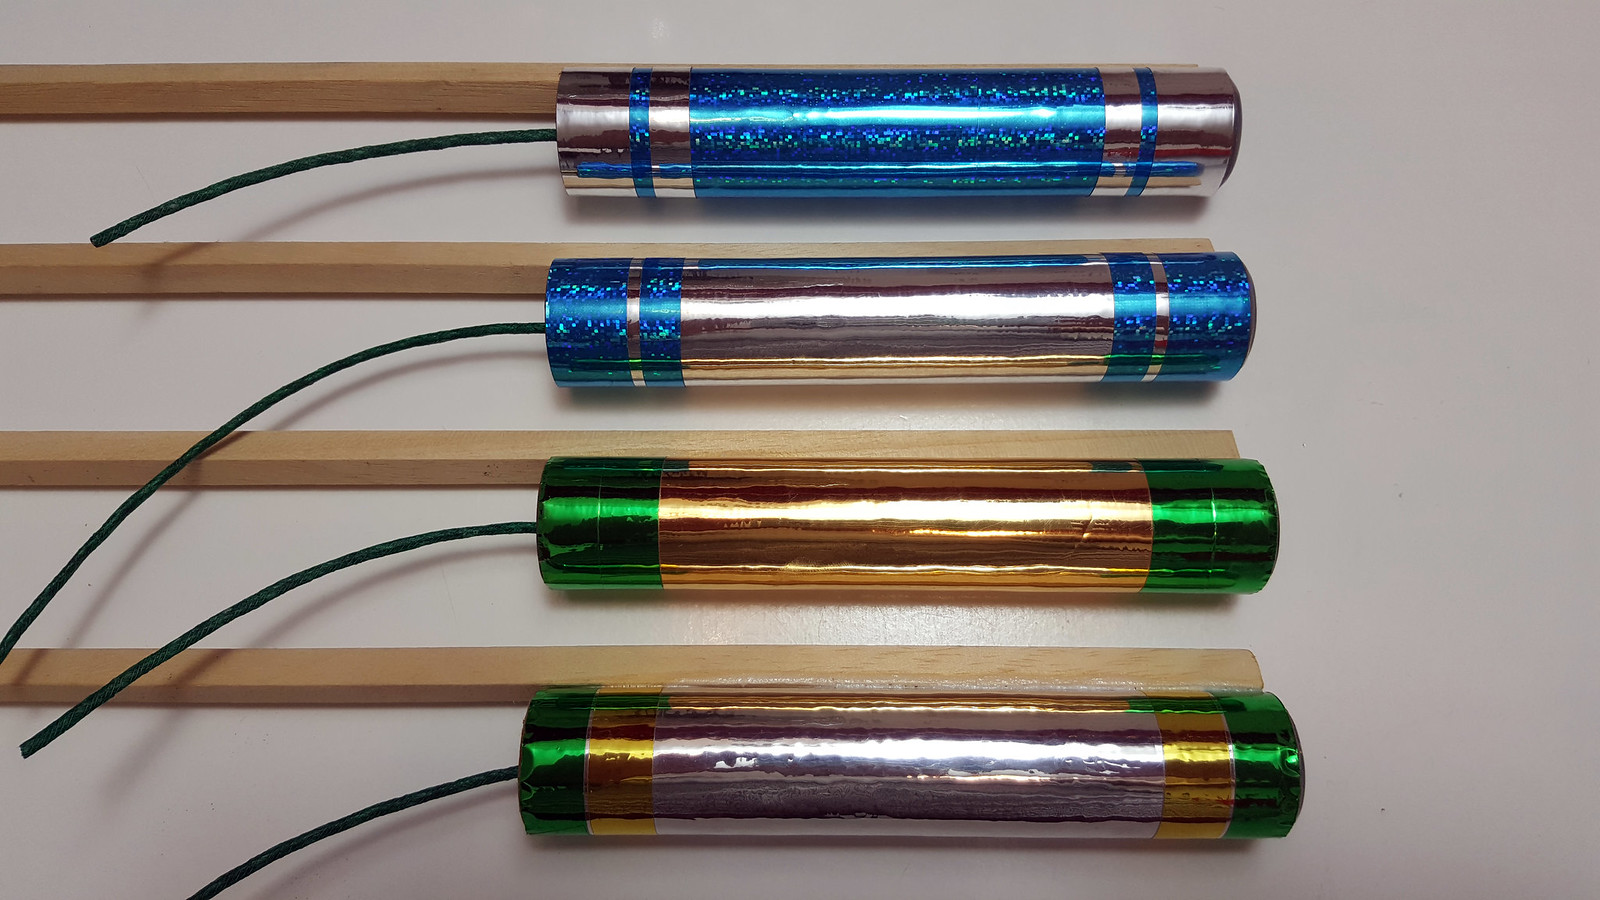
Some different evening dresses:
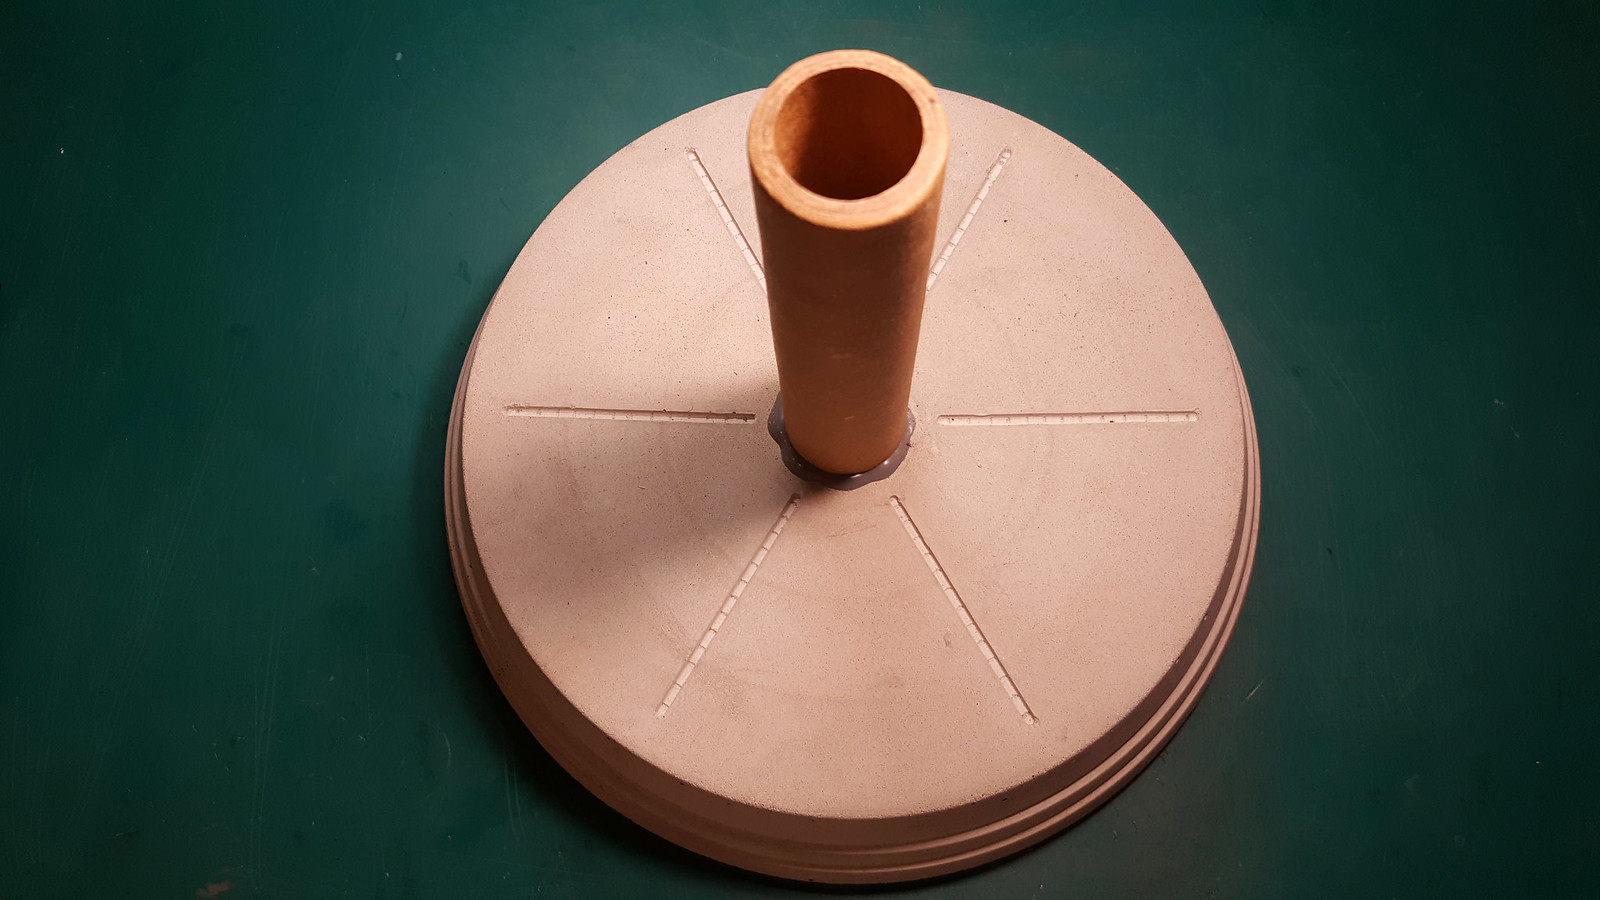
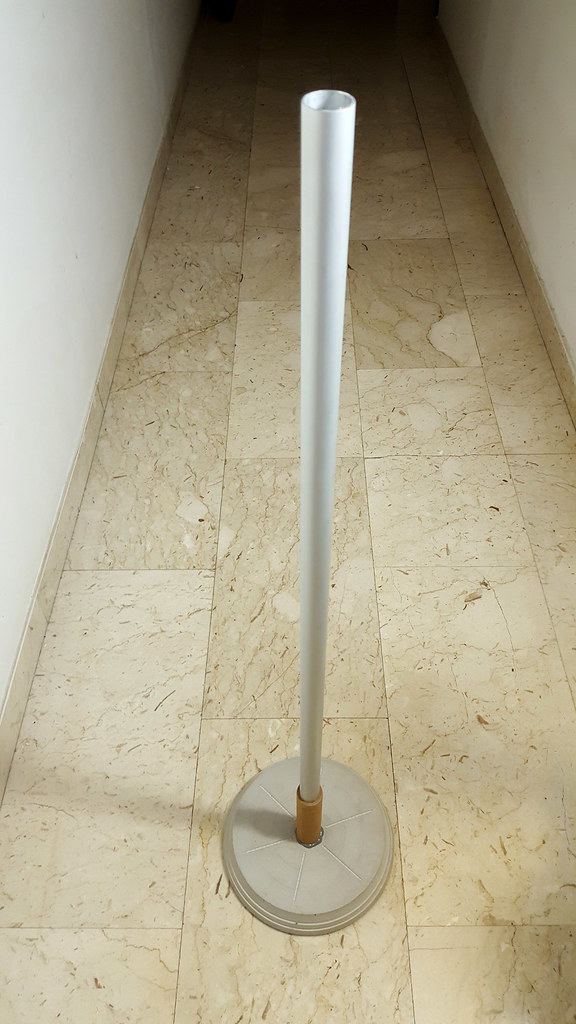
Another creation of mine ... the rocket launcher base:
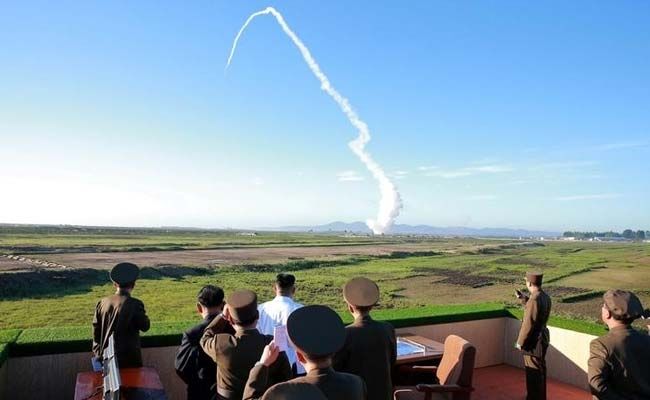
... and now, the launch:
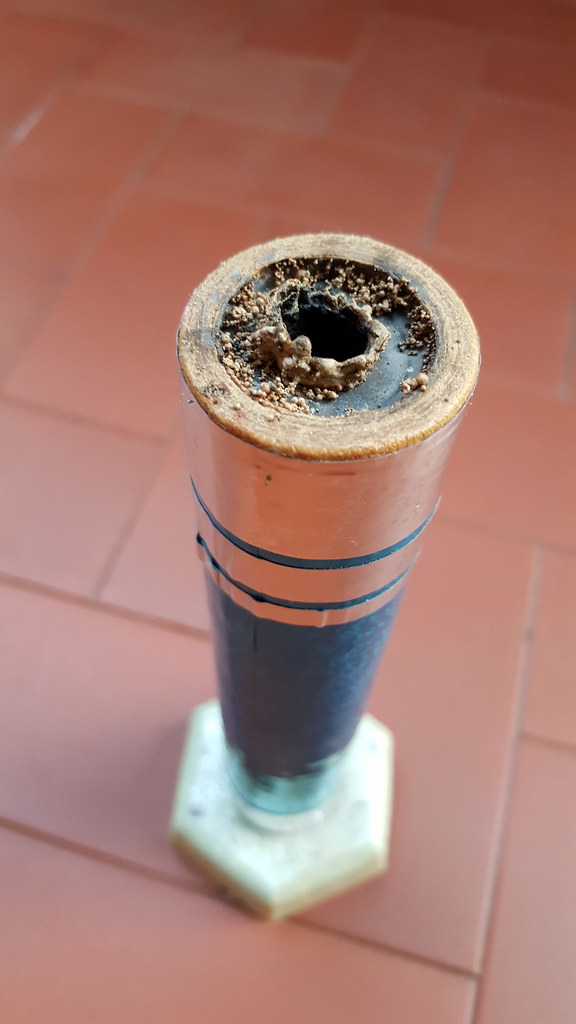
For an heavy 250 grams sugar rocket the departure is very impressive: ZZIP instead WOOOSSSHHHH ...
I think I reached the max limit of the internal pressure. A little bit more pressure and the rocket will be turned in a loud firecracker!
So, another great project was successfully completed.
But the thing do not stop here.
Hey dudes, YOU KNOW ME !! Stay tuned, the story is only at the very beginning :wave:
After a lot of time spent to improve and optimize my project, finally I'm back!
Many important changes were made to my rockets .. follow me and I will explain You everything
First of all, I replaced the "old" spiraled cardtube with a new thicker, longer, stronger and paralled wound one.
This cardtube can sustain a greater pressure inside, so I can boost it a lot:
Here is the nozzle-maker that I have created with the help of a lathe:
The cardboard tube and the cap:
Making a sort of threads in the ID of the tube (both sides). In that way the glue will cling much better between the carboard tube and the cap and allow also the quick cement to cling better along the ID walls:
Inserting the cardboard tube in the nozzle-maker platform:
40 grams of quick cement:
Dissolved cement in few water and poured it inside the tube with the help of a funnel:
Packing the quick cement with a perfect-fit PVC bar:
After 5 minutes the quick cement is enough hardened to remove the nozzle-maker. On the left the cement after 5 minutes, on the right after 24 hours:
This is how the hardened cement appears inside:
64.5% potassium nitrate, 34,5% sugar and 1% red iron oxyde. Every powder
was fine pulverized with the help of a ball mill. Since I will use a small amount of water
to minimize the cooking time, this help to dissolve the powders very quickly, especially when
the temperature raise:
Dissolving the components in distilled water:
Cooking the mixture at about 150 °C on a thick cast iron pan over an electric plate.
This can prevent dangerous hot spots that can ignite the compound:
The compound is melted and perfectly dried. Maximum care is needed at this point because the mixture is now extremely flammable.
It is also important that the mixture is not generating smoke with the classic smell of caramelized sugar. If this is happening, it means that the temperature is near 180 °C, that is the point where the sugar decomposes, and this is not so good, because the powder loses part of its performance and can also auto-ignite:
Dripping the compound inside the cardboard tube and packing it:
The packed and cold compound:
Pressing ang gluing the cap with strong epossidic glue:
Making the head flat with expanded foam:
Making the head rounded with strong epossidic glue:
Making an hole in the compound. This is a very delicate step. I have tried a lot of variables before to found the correct diameter and depth of the hole. For this specific project, the hole done in the compound (that must be obiouvsly the same of the rocket nozzle) has a 7mm diameter and it must reach about 1/3 of the compound depth. Other values such as smaller hole diameter or greater hole depth will trasform the rocket in a firecracker:
The rocket dressed in great gala:
Wrapping a straw with some turns of aluminum foils. Inside the straw will be inserted the fuse. The straw allow to ignite the compound from the deep and the aluminum avoid a straw perforation that could prematurely ignite the compound:
The fuse was bent so it can be inserted firmly and will not slip out during its combustion:
Nozzle glued, straw with fuse inserted. I used a 3mm, 4 cores high quality fuse. Barrell firmly glued over a Samba stick. A little piece of cotton will help to keep everything in place:
Finally the rocket is finished and ready to be launched:
Some different evening dresses:
Another creation of mine ... the rocket launcher base:
... and now, the launch:
For an heavy 250 grams sugar rocket the departure is very impressive: ZZIP instead WOOOSSSHHHH ...
I think I reached the max limit of the internal pressure. A little bit more pressure and the rocket will be turned in a loud firecracker!
So, another great project was successfully completed.
But the thing do not stop here.
Hey dudes, YOU KNOW ME !! Stay tuned, the story is only at the very beginning :wave:
Last edited: