- Joined
- Aug 30, 2008
- Messages
- 6,891
- Points
- 83
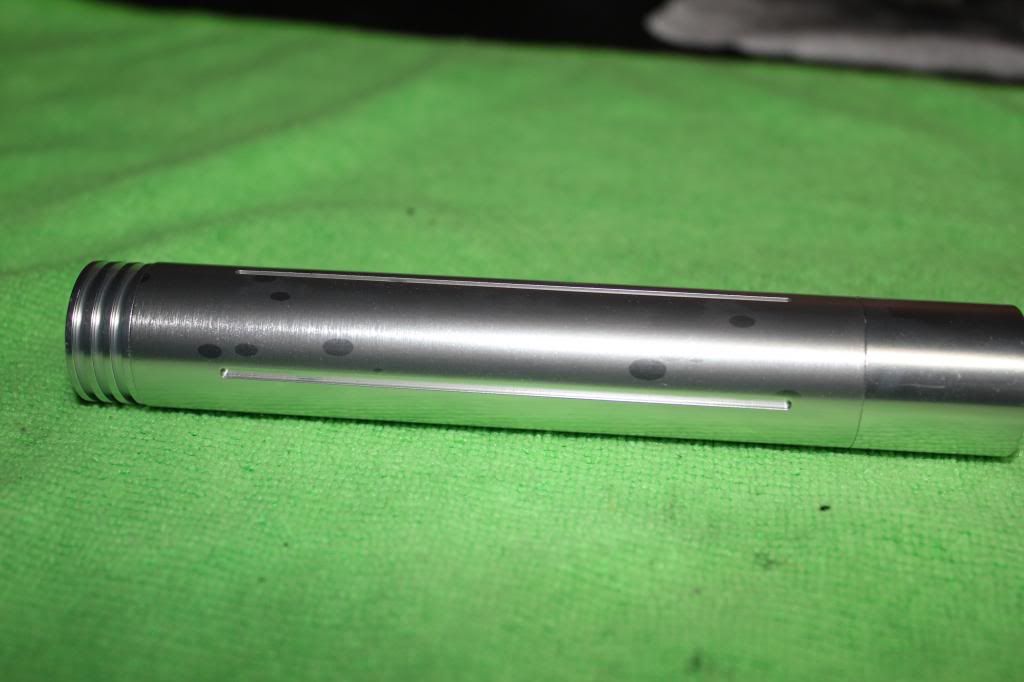
For the diode pocket I used a blade from the scissors and scrapped along the pocket until it was rubbed off.


For the diode pocket I used a blade from the scissors and scrapped along the pocket until it was rubbed off.
For the diode pocket I used a blade from the scissors and scrapped along the pocket until it was rubbed off.
Thanks for the tip :beer:
 :beer: Thanks for the tip as well
 I am having difficulty with putting the tailcap together. Never had a kryton before, I put the silicone bit in, put the clicky switch, then the white plastic bit, and push that in with a pen or something till it goes in as far as it can, then the black ring, and also push that in as far as possible. But then my clicky is jammed, I cant click it, if that makes sense.
Also, is the ground screw really necessary for a 9mm build?