- Joined
- Jun 24, 2010
- Messages
- 5,705
- Points
- 113
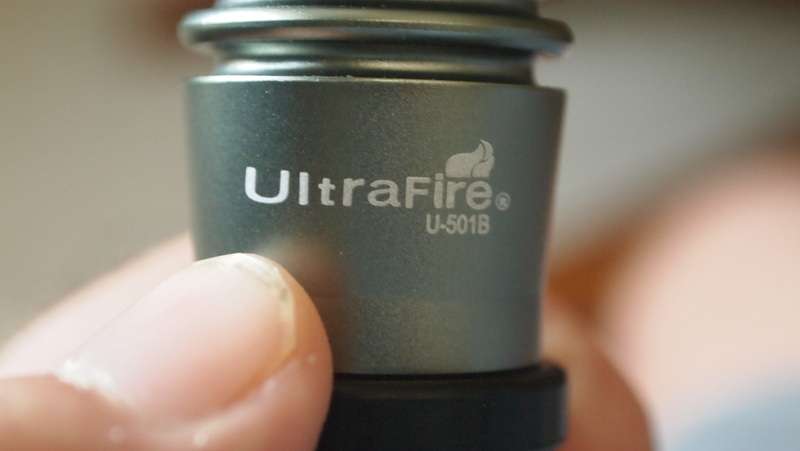
Ultrafire U-501B
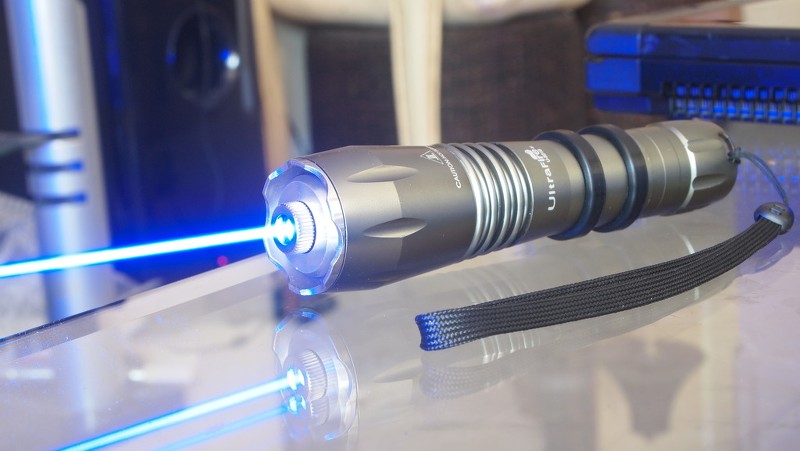
I saw Qumefox put a green module in one of these a while back and really liked the look of the host. Then one day I was browsing a flashlight site HK Equipment(I think:thinking
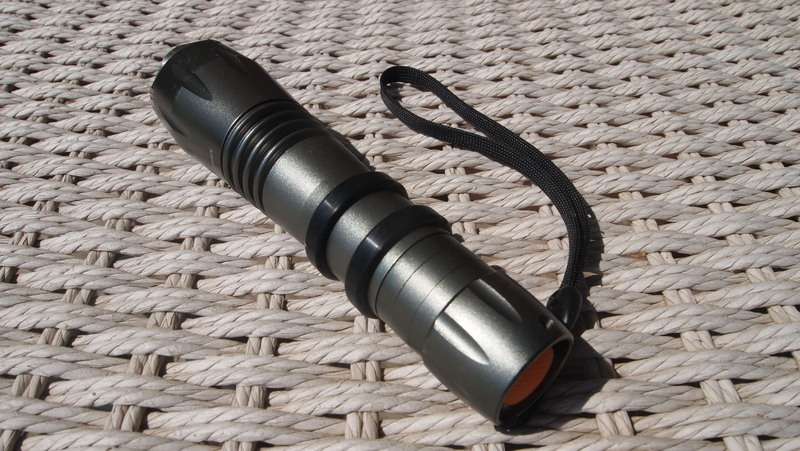
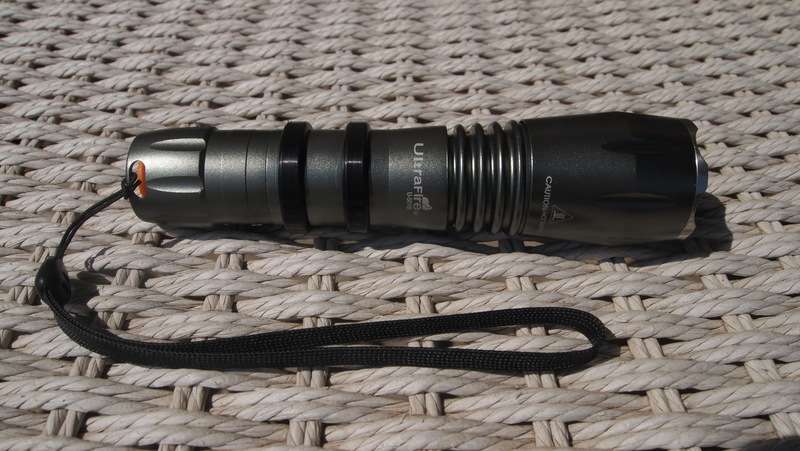
Anyway this host has a really sold feel. It is heaver than I thought it would be. The host walls are pretty thick compared to a lot of hosts. The mass of aluminum in this host gives it great heat dispersion capabilities.
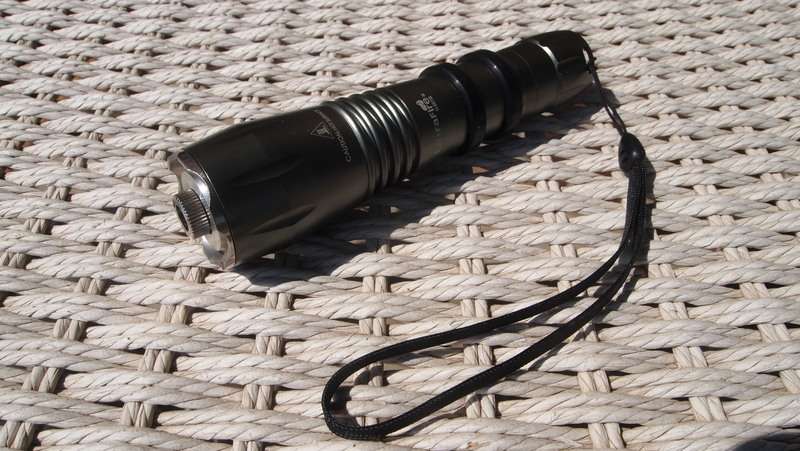
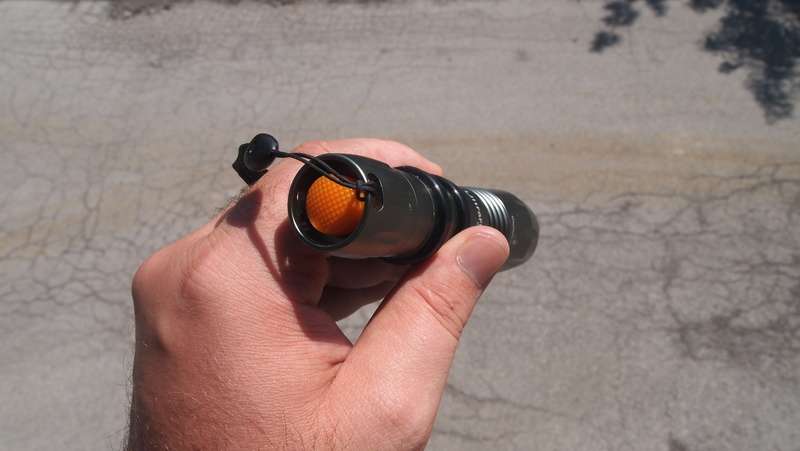
The look is pretty sweet. It has an aggressive stainless steel retaining ring on the top, has a large unique shaped head with intentions, fins around the mid section and the rubber grips that not only look good but add great functionality when trying to turn the unit on and off one handed.
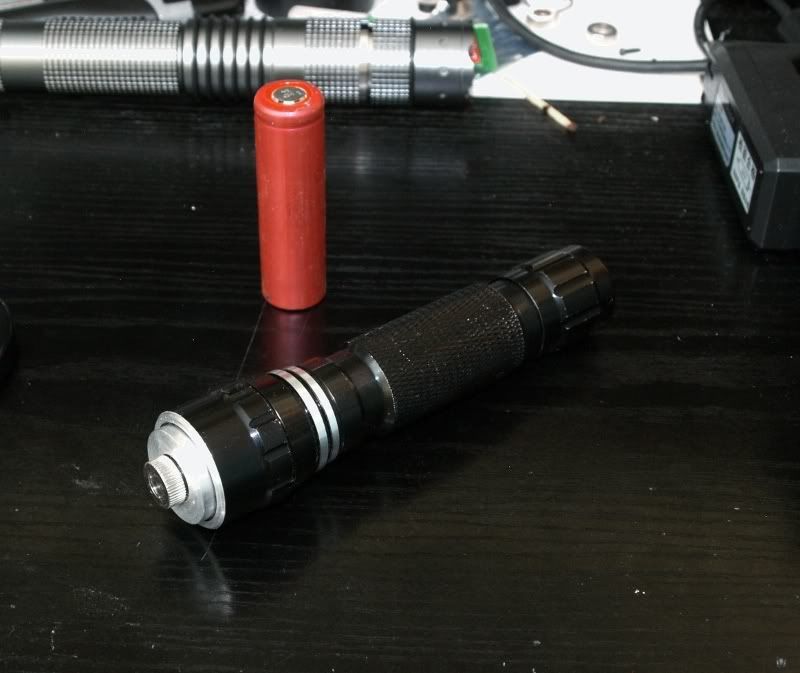
This host was sent to Flaminpyro to be mated up with a heatsink. He did a great job with keeping the look of the host with the heatsink protruding slightly out the front. And the sink is like a suction cup going into the body. There is a lot of metal on metal surface area with this sink which really does a good job moving heat into the host body.
Also of note and a personal highlight for me he made a copper plate for the top of the pill to mount the flexdrives on. This makes it a pretty straight forward build a little tight but did not require further modifications to adequately sink the drivers.
I am going to run through the build guide as I have shown similar builds many times but I do want to hightlight the driver driver sink.
Host
Here are some shots of the of the unit.





Assembley
Allrigt so to run through this here is how the host breaks down. There is the host body, heatsink, head, tailcap and copper driver heatsink.
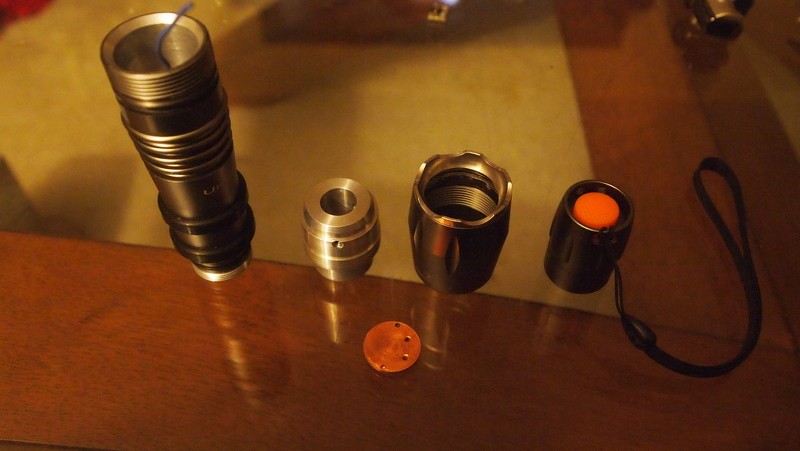
The copper heatsink is the my favorite part about the assembly of this unit. Jeff made it so it presses in tight to the pill. Weather you are going with flexdrives or a linear/buck driver it is a simple task to sink it.
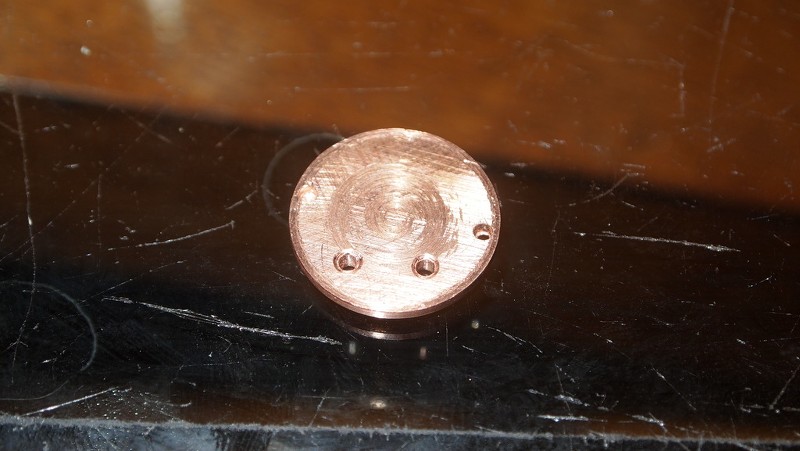
So I started out by setting up two Flexdrives with them to 900mA each, attaching leads and attaching them to the copper sink.
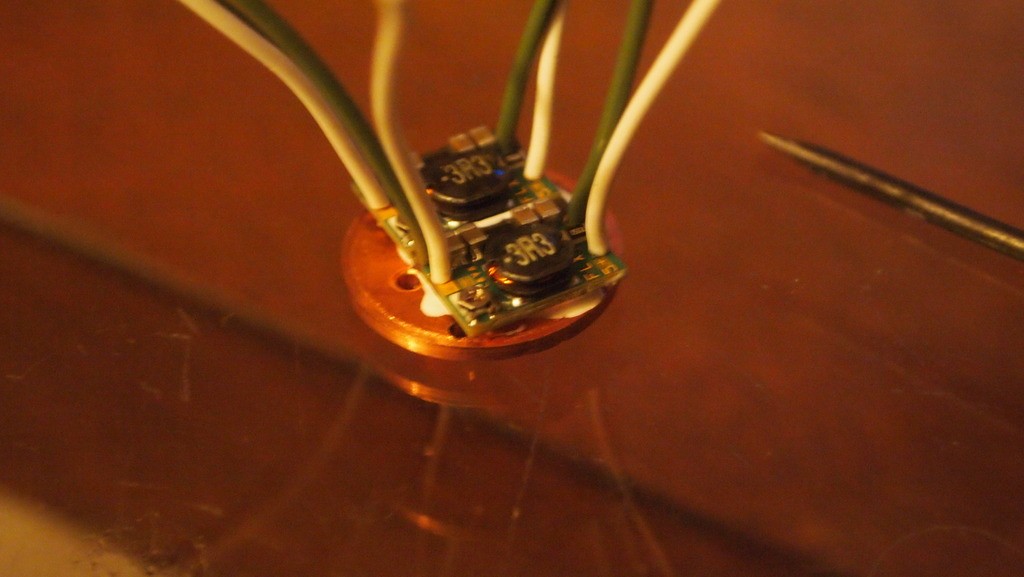
Then I removed the negative input wires as I will be bridging the case pin and the negative pin and use the host as path to ground. Then I tied the corresponding leads together.
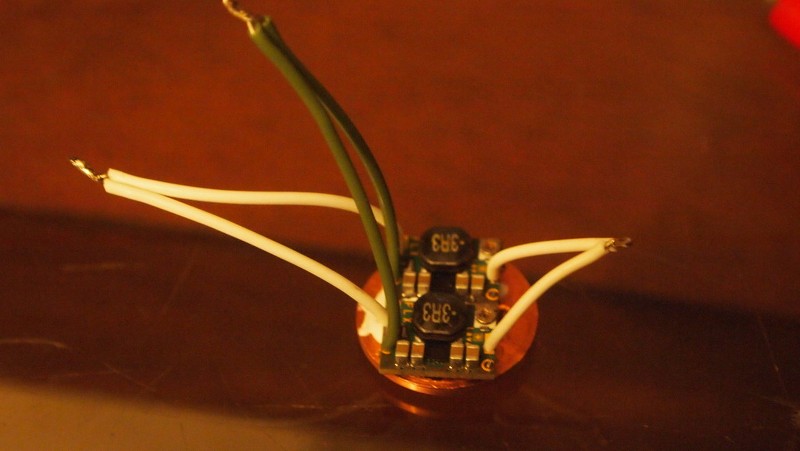
Next I ran the blue positive lead from the host though the small hole in the sink to attache to the driver positive input leads.
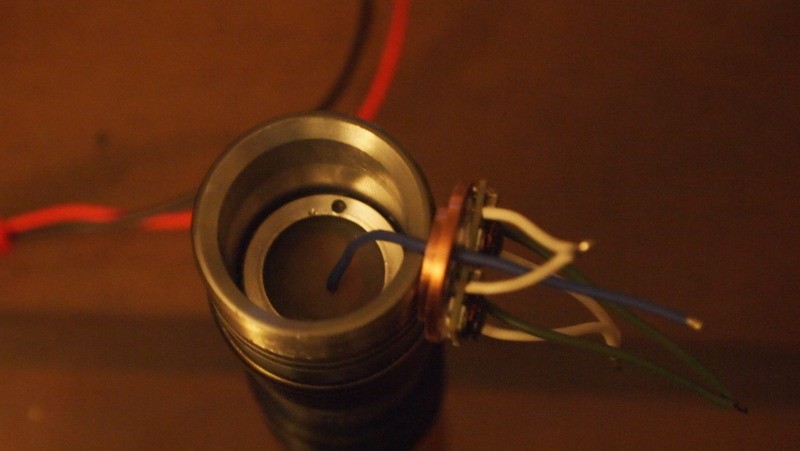
Then I pushed the copper plate down into the pill. Using two screwdrivers on each side to press it all the way in. Came out very clean looking.
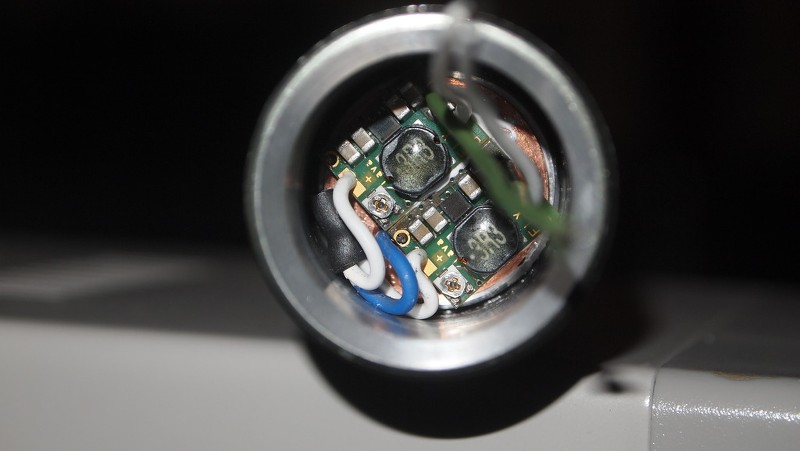
Now that the drivers are in position it is time to complete this build. I next need to add the diode. As you can see I bent over the case pin to the negative pin and tinned them together.
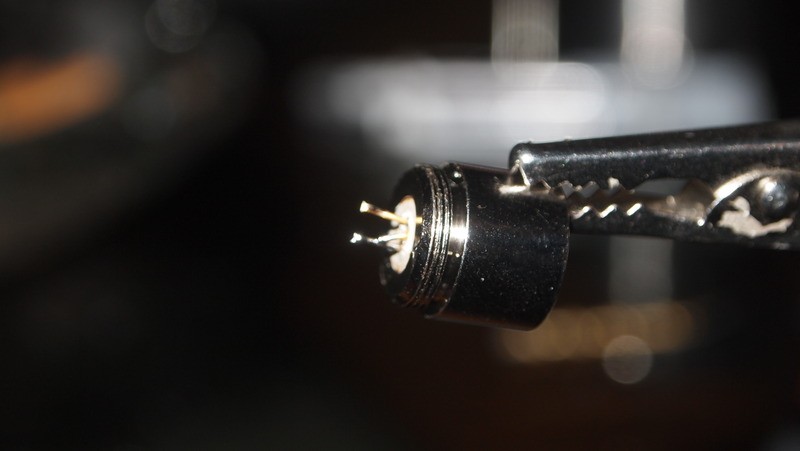
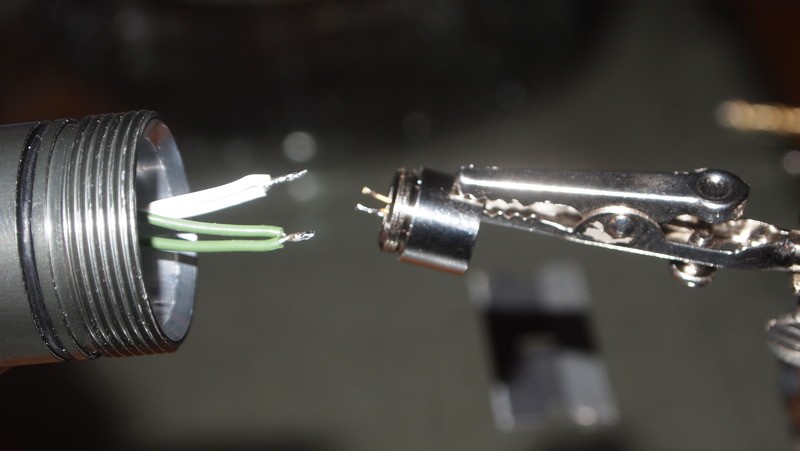
No I am ready to solder the leads on. I have added heatshrink to the wires and have the ends pretinned.
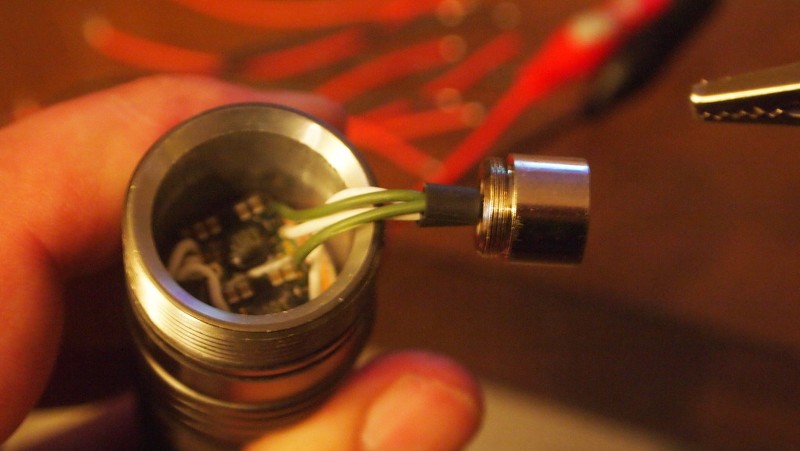
Soldered it on and moved up the heatshrink that I added previously. I use the exhaust from my butane soldering iron to shrink it.
Now all that is left is to put all the pieces together. I put the module in the heatsink. This heatsink really fits tight and the bottom 1/3 goes into the pill area and presses against the host inner walls which are bare metal not painted for great heat transfer. It is actually funny it is such a great fit if you put your finger over the module hole it cant go in due to the air pressure.:eg:
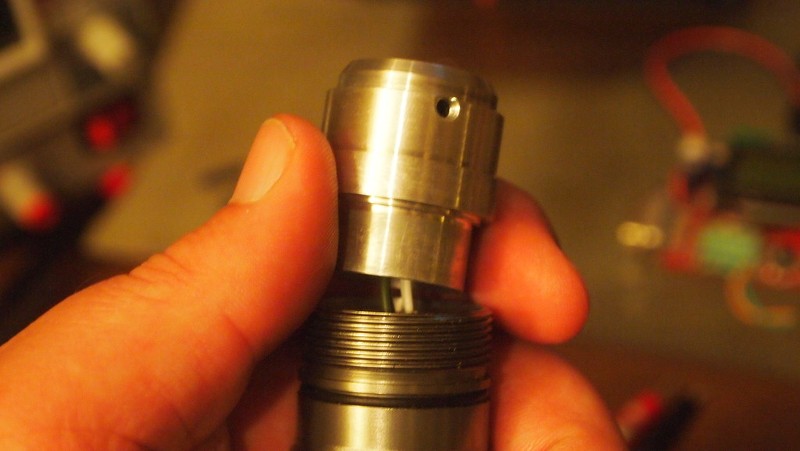
Now I have to set the module to my desired position. This can vary depending one what lens you are using and if you have some kind of custom focus adapter.
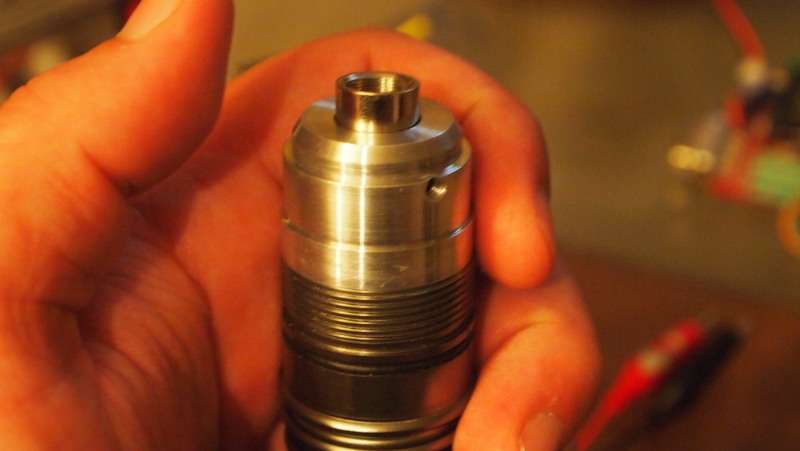
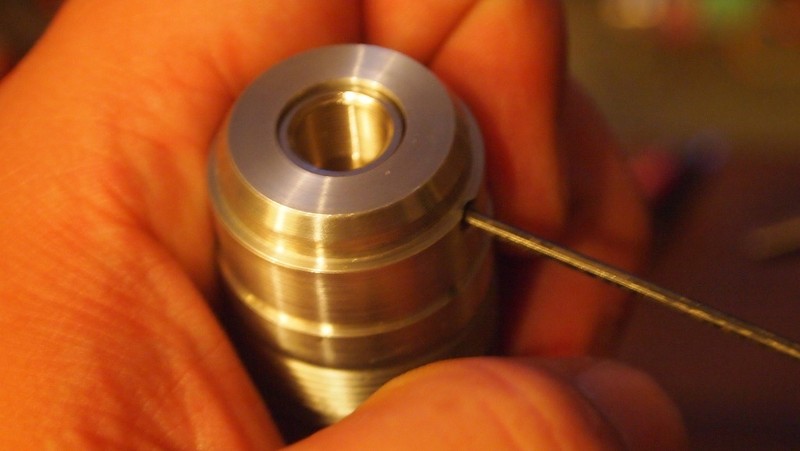
I plan on using a single element lens like a G-1/G-2 with a stock Aixiz focus adapter. So the lens will need to screw in pretty far to get the lens real close to the diode. So just a little past flush is perfect. After I get it set I tighten the set screw to keep it in place.
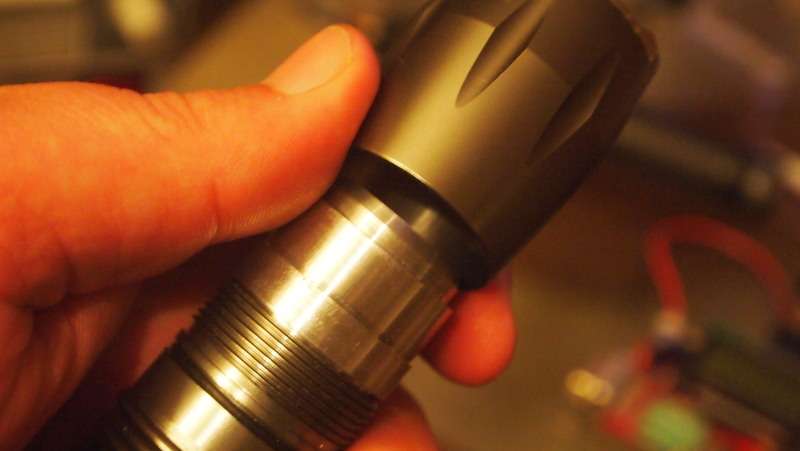
Lastly I just screw on the head and throw in some batteries.
And it is time to fire it up.
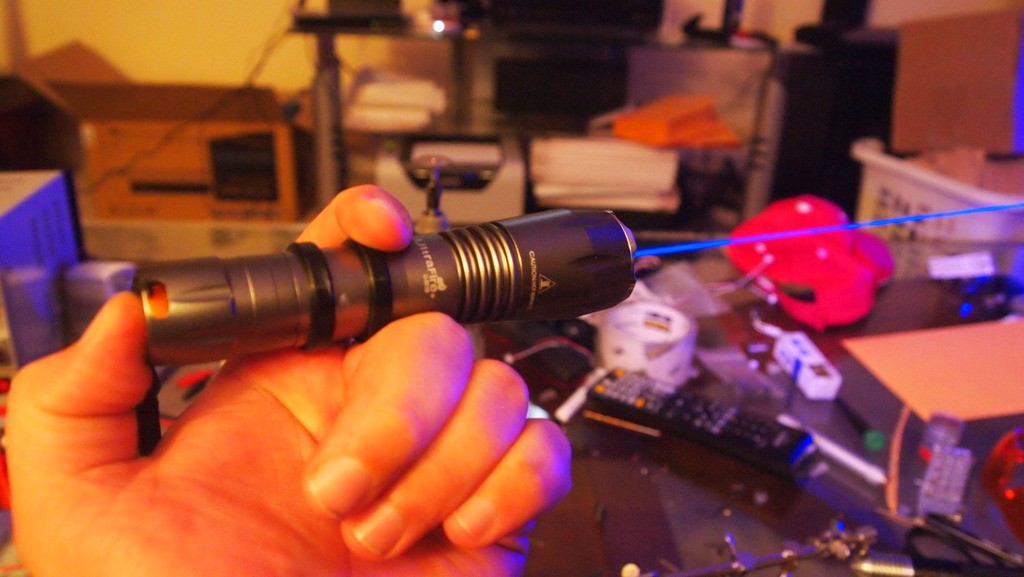
Beamshots
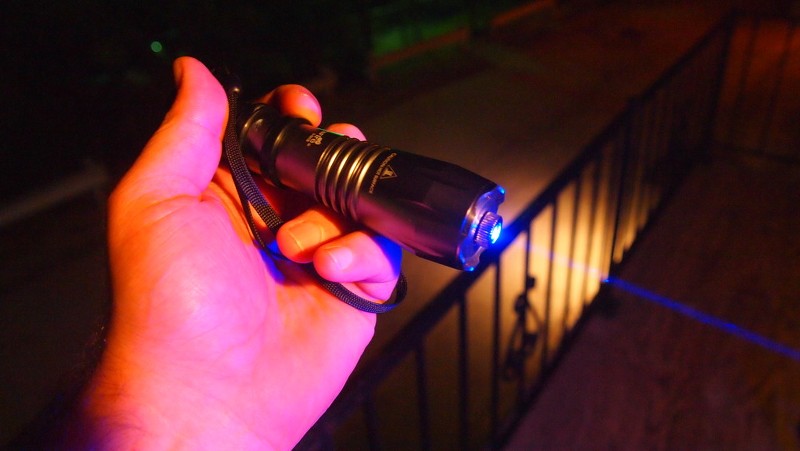
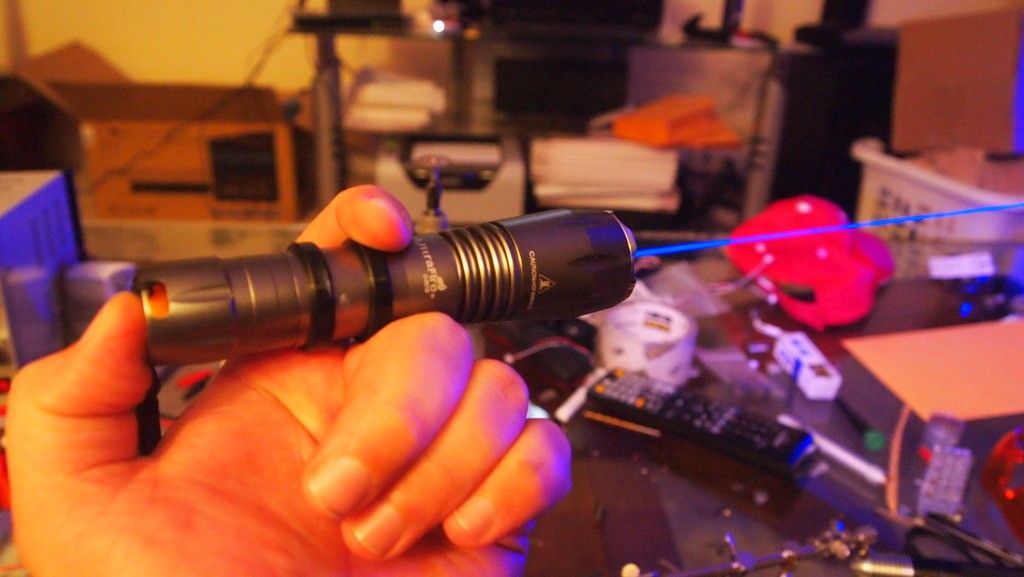
Here are a few shots I took.
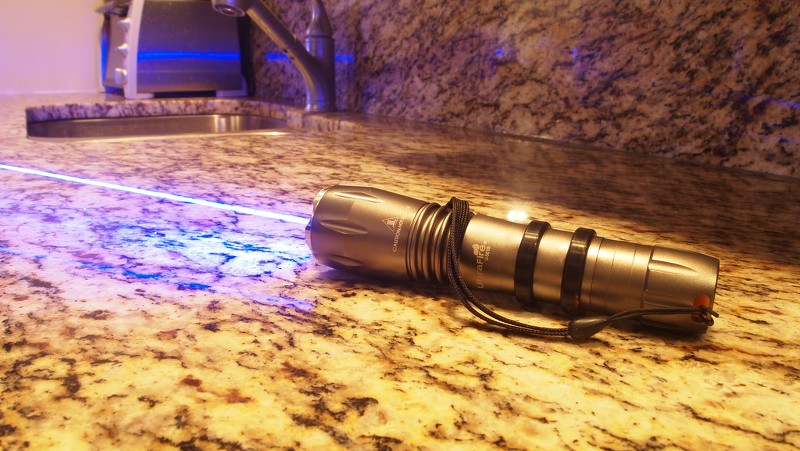
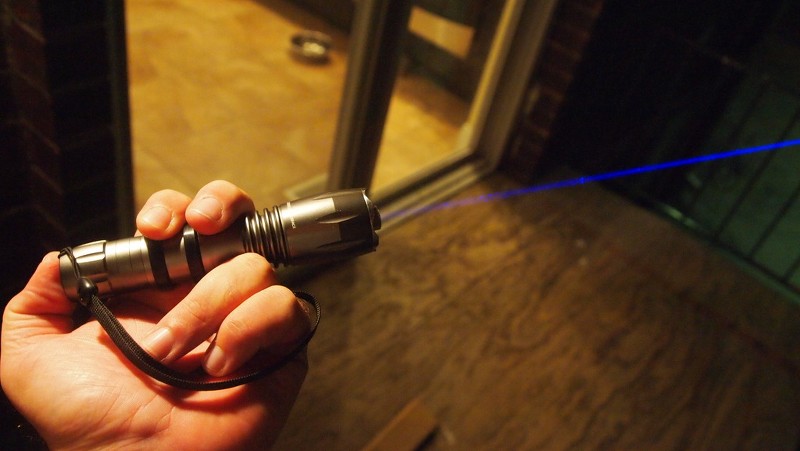
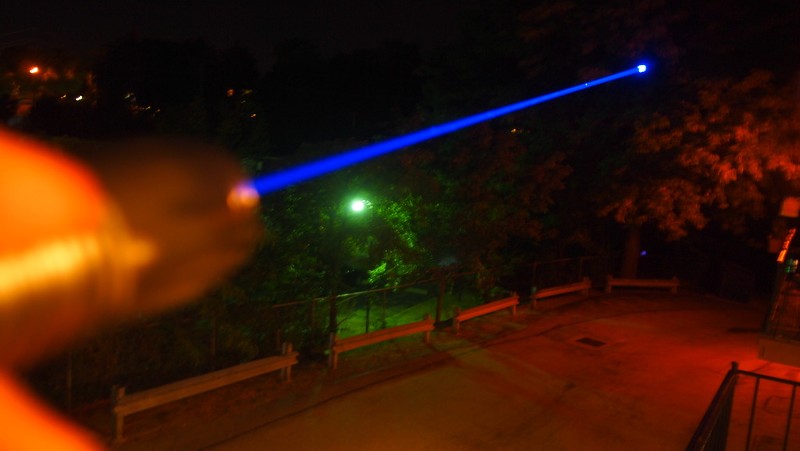
LPM Test
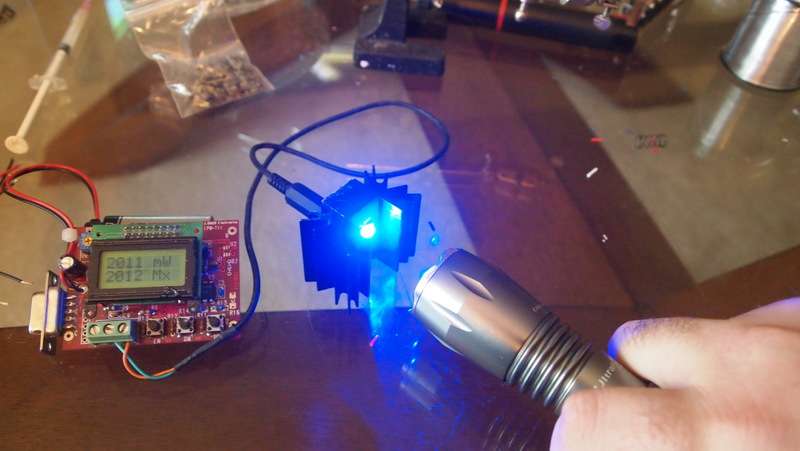
Did a quick test and It metered just over 2W with a G-1. Not surprisingly as I had previously tested this diode for it's efficiency.
Conclusion
I like this one a lot. It has a uniquely aggressive look and great capability to disperse heat. I also would like to thank Jeff for the sweet job on the diode and driver heatsink.:beer:
This is another great addition to my reviews and I hope you liked it. Thanks for reading.:yh:
Last edited:


