Welcome to Laser Pointer Forums - discuss green laser pointers, blue laser pointers, and all types of lasers

Buy Site Supporter Role (remove some ads) | LPF Donations

Links below open in new window

FrozenGate by Avery

SL S4/C6 20mm Adapter Build

DTR

0
Joined
Jun 24, 2010
Messages
5,680
Points
113
SL S4/C6 20mm Adapter Build​


Full 20mm host kit
DTR 20mm Host Kit

Adapter
20mm Diode Module Adapter
Diode Modules
dtrslasershop.com/diodes


Sold the module out of the 2W S4 470nm Overdrive build that I did here
http://laserpointerforums.com/f40/2w-470nm-c6-20mm-overdrive-special-100260.html

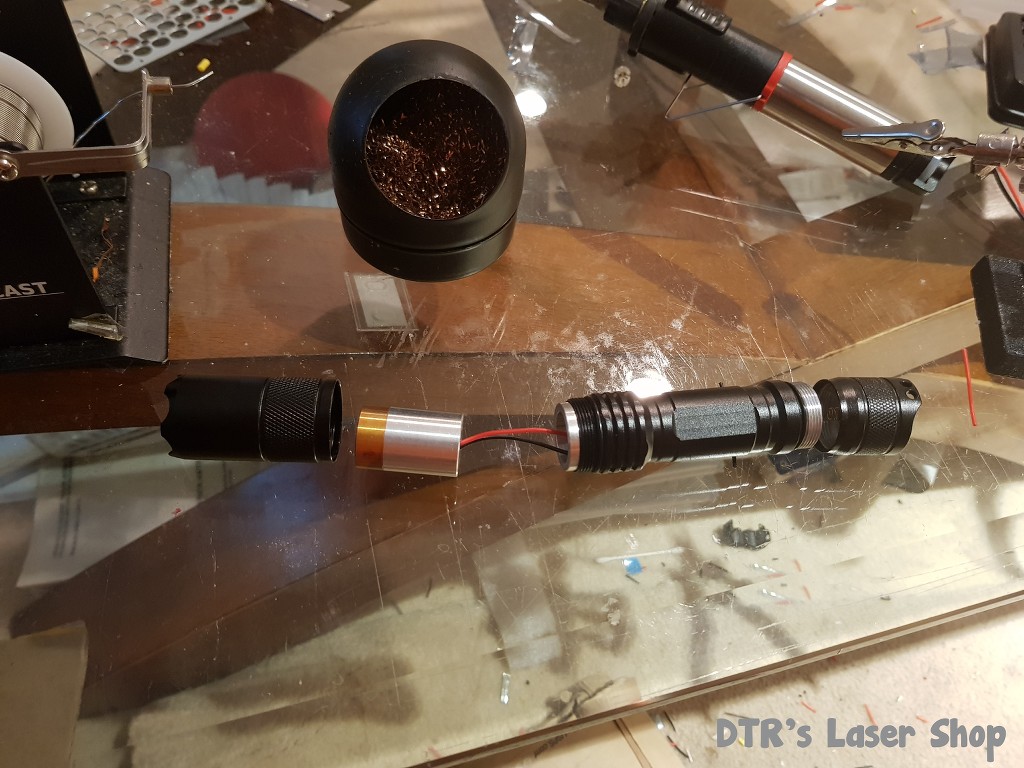
So this is a good chance to rebuild the unit and post it as a guide as have given a quick explanation to many customers asking how the process goes on these adapters with the 20mm modules. This will give a nice visual tutorial I can refer to and simplify it. Did this with a 20mm 505nm module I had sitting here which was the unit from the original testing video on them. Has a nano buck/boost driver in it.

I am really amazed at how simple these are to build and the options are literally endless.

For options you can do a low power build like this or all the way up to the NUBM44 and still get a very decent duty cycle with the 20mm modules. It works with any diode I offer in 20mm module with driver.

The adapter also is compatible with both the C6 host as well as this S4 host. Gary mentioned one for the Stainless Steel hosts and the S4X hosts will be coming along at some point.

Also a neat addition I am thinking about is putting a quick connect on the contact board so I can just hot swap any module into the unit on the fly.


Anyway here is how to throw one together.

Just start with any of my diode in 20mm module with driver options whether it is the ones with the driver inside the aluminum back or the higher power units with the driver thermally mounted in the copper back with driver shelf, C6 host, drilled pill with contact board and tailcap.
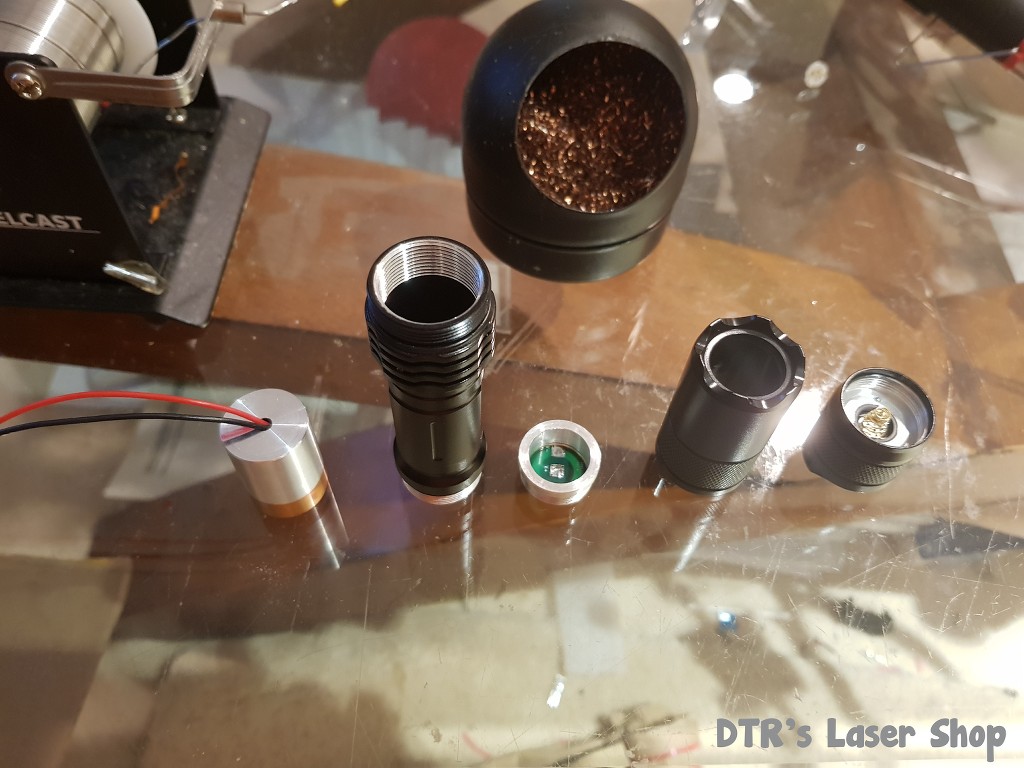
CdFsAo.jpg


Solder the leads to the contact board.
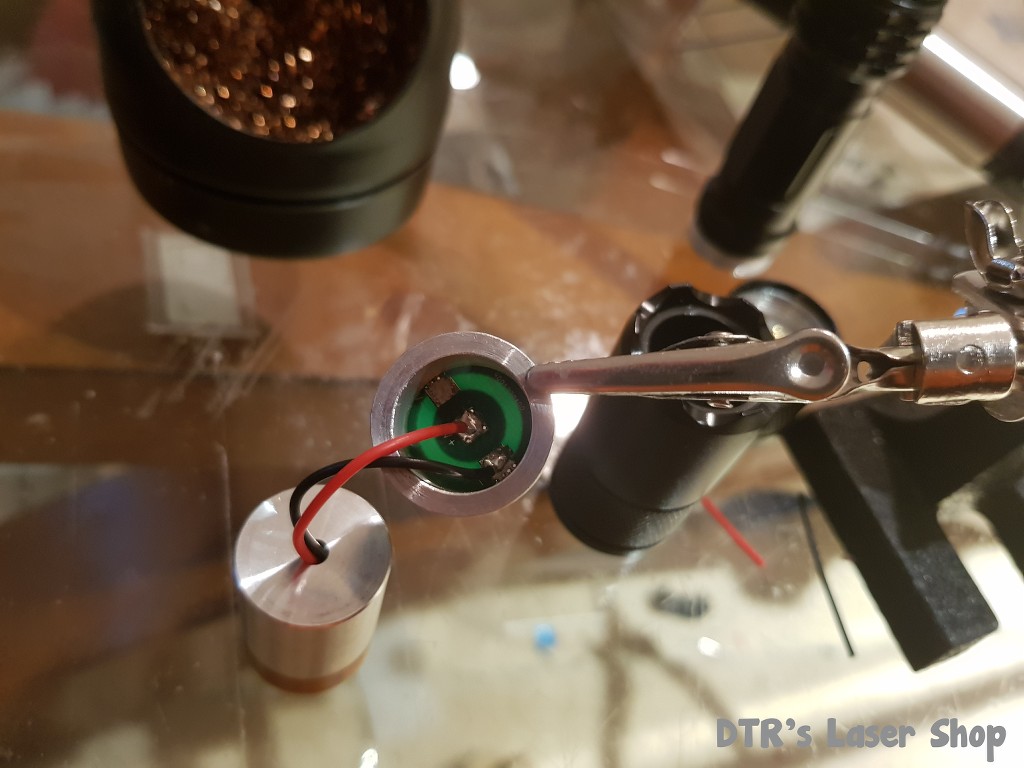
9Sryub.jpg


Screw the pill into the host body.

ijrTtU.jpg


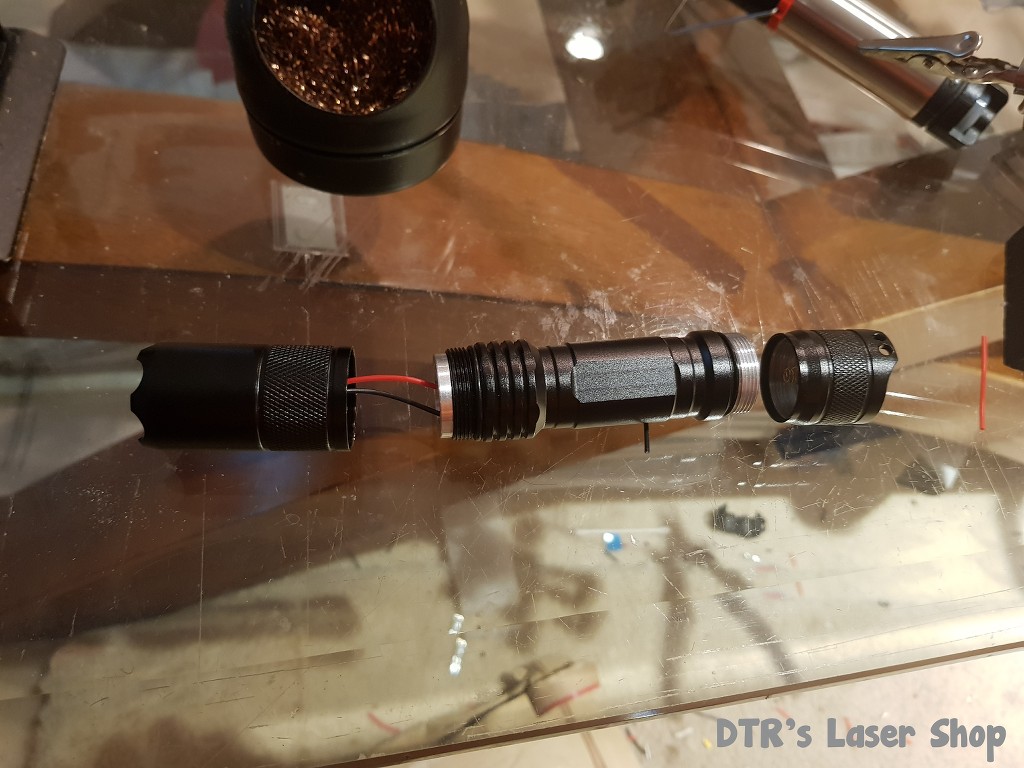
Slide the module in the 20mm adapter.
3q0vh2.jpg


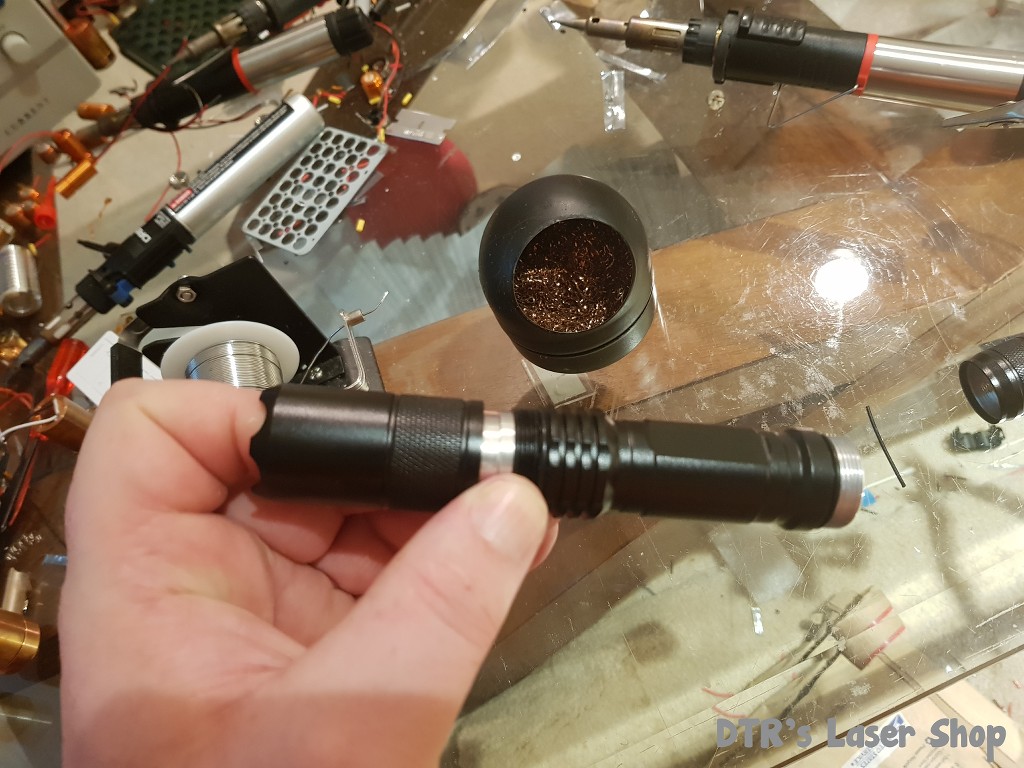
Nex keeping your finger firm on the module tuck the excess wire into the pill and press against the back of the module making sure no wire is pinching between the two and screw the 20mm adapter down. Your finger on the module ensures it does not turn as you screw the adapter on and twist up the wires.
dmBd1d.jpg


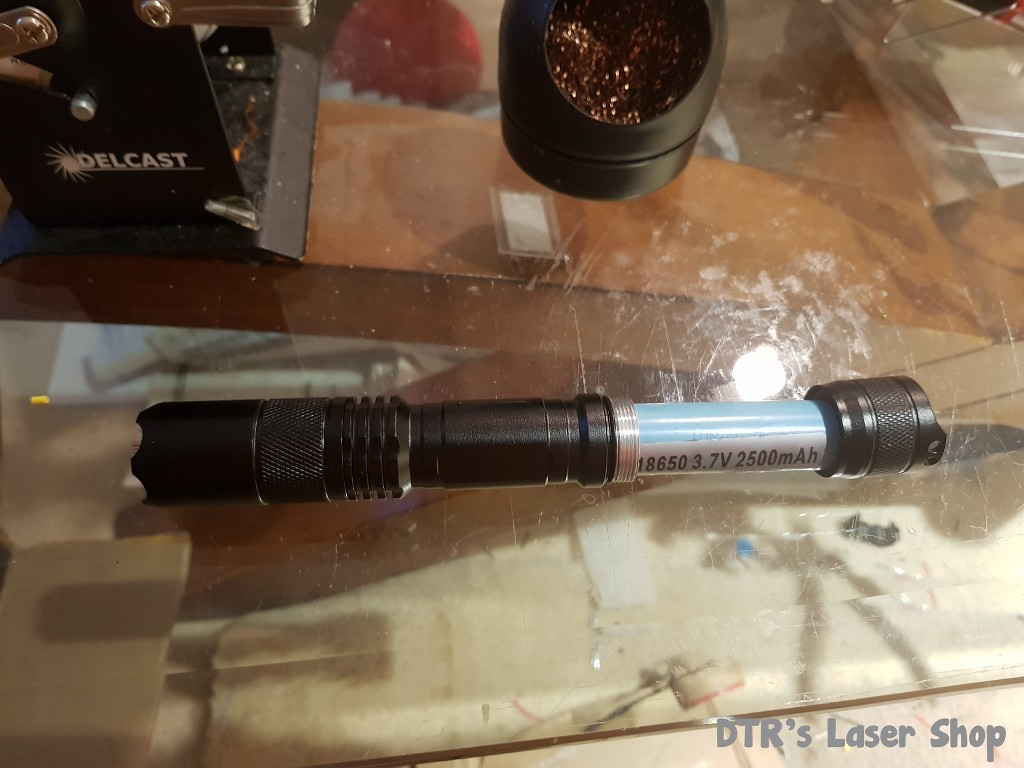
Now just put the correct batteries in. On this one it is a single 18650 Li-ion for some it would be two 18350's for the higher power builds.
5bgXac.jpg


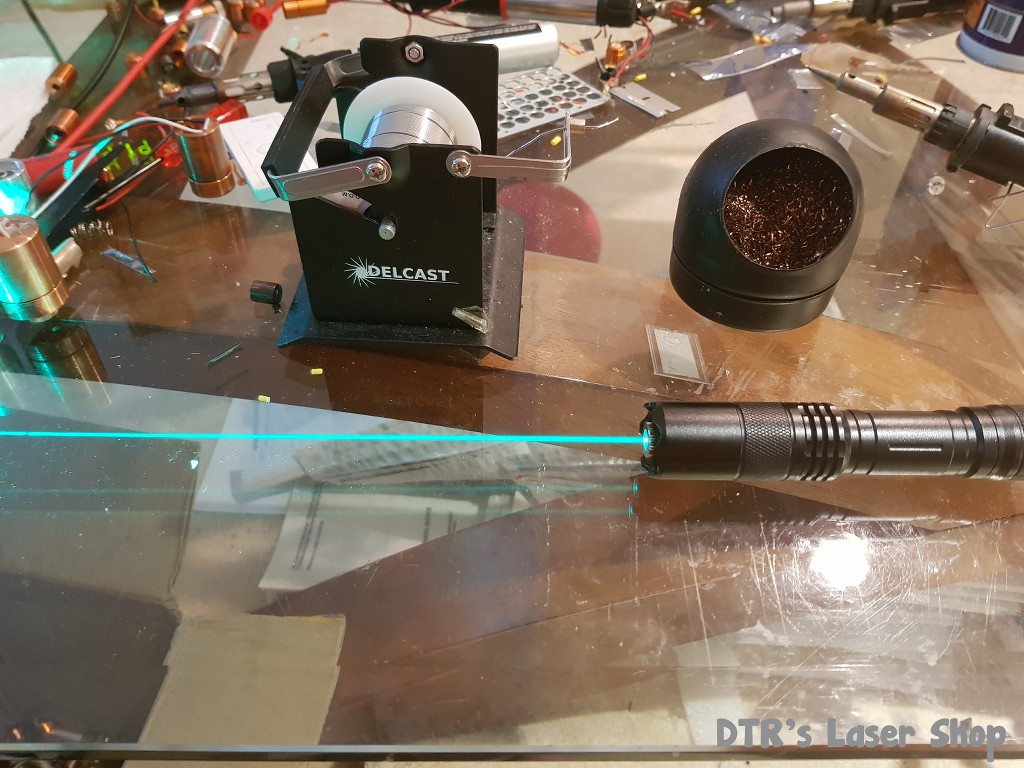
And you are all set.:beer:

OUmCR2.jpg


There you have it. Will post back with some pics when I add a quick connect in there.:beer:
 
Last edited:


Nice tutorial, Jordan. I wouldn't have thought that the 20mm module would be enough heat sink for a 44. :thanks:
 
Yea when I put the quick connect plug in there I will put up some pics of a NUBM44 unit in there and test out the runtimes. Should be able to do at least 45seconds on 2 minutes off if not much longer. The module can do that by itself not in any host just need to get an idea how much longer the host would add.:beer:
 
Hi,
I have just purchased an SX4 host and will be machining a full copper sink but it will be the extended type for more heat dispersion. And a 44 will go in it with a SXD driver sinked to the pill .I made one some time back and it was sold.

Rich:)
 
Very nice Jordan.
Love that beam shot, gorgeous colour.
Mind if I ask what camera you used?
Looks like an accurate colour match, I'm always struggling to get an accurate colour in my beam shots.

RB

:yh:
 
Very nice build. With quick connects, that would be so easy to swap out modules, great idea. :gj:

Like RB said, nice color in your beam shot, very nice. :)
 
Last edited:
Nice build tutorial Jordan, this is about as easy as you can make a build, the only thing better would be to add that quick connect feature! :beer:
I totally agree with RB astro; that is a beautiful beam shot, if that color is accurate, this 505nm is one sweet looking wavelength!
 
Very nice DTR. A Quick connect would be a great feature to have. By the way, I received my Pl520 today, which is one day earlier than estimated. Thanks :)
 
The color is fabulous! I definitely need to try one of those. The quick disconnect is a great idea. Yes, I need to get busy with the SS and S4X versions. I've been too busy with the rocket biz and now SL needs some love... ;)

Maybe we should do a complete kit with options specifically for the 20mm module?
 
Last edited:
  • Like
Reactions: GSS
Yep that beam colour is just insane, I have that 505 diode on my desk and was in no rush to hook it up but now I need to get busy!
 
Jordan does the press sleeve fit well with the diode press that pyro sells? I have the full kit so was wondering about the clearances. Could I purchase the sleeve only? Quick connect? Sounds good.

Garoq looking forward to the SS adapters. I like how the S4 looks with these 20mm adapters. A minimalist 10440 host would be awesome. Tail clicky or twist cap.
 
Yea the pictures were taken with my cell phone. Galaxy S8. It is taking pictures that are better than my old Olympus camera for keeping the original colors. The Olympus would blend wavelengths to the point where 405nm and 445nm were the same. It was not good for that where the S8 camera seems to keep a pretty close representation.


Jordan does the press sleeve fit well with the diode press that pyro sells? I have the full kit so was wondering about the clearances. Could I purchase the sleeve only? Quick connect? Sounds good.

Garoq looking forward to the SS adapters. I like how the S4 looks with these 20mm adapters. A minimalist 10440 host would be awesome. Tail clicky or twist cap.

Yes the press sleeves use the same diode presses as the 12mm ones.:beer:
 
Yea the pictures were taken with my cell phone. Galaxy S8. It is taking pictures that are better than my old Olympus camera for keeping the original colors. The Olympus would blend wavelengths to the point where 405nm and 445nm were the same. It was not good for that where the S8 camera seems to keep a pretty close representation.
Absolutely spot on.
I used my Olympus for the shot below and it's exactly what happened.
The 445nm is on the right, the 465nm is on the left but they blend in to the point where it's hard to distinguish the two.

Thanks for the info Jordan.

P5180007-pro.jpg
 
Is that really what the color of these 505nm lasers looks like? If so I gotta get to building one immediately:D
 
Is that really what the color of these 505nm lasers looks like? If so I gotta get to building one immediately:D

Yes.
I connected my module up to a battery last night, after it arrived earlier in the post, just quickly to test it and that's what it looks like.

Beautiful.

RB


Back
Top