- Joined
- Jun 24, 2010
- Messages
- 5,705
- Points
- 113
2W Sirius-1-C
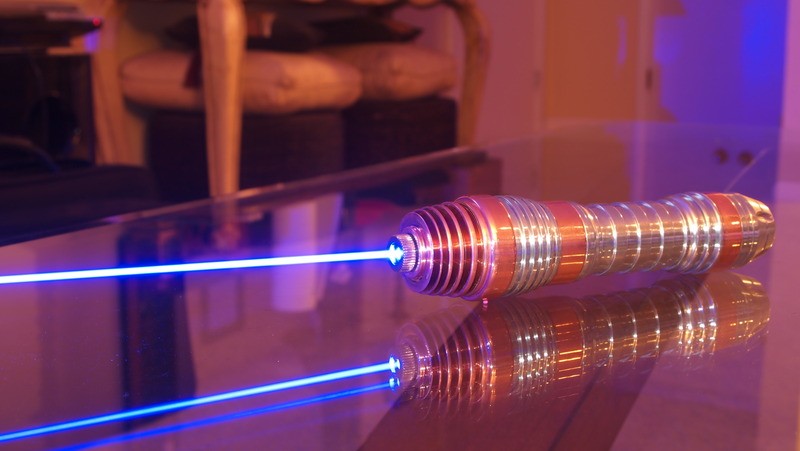
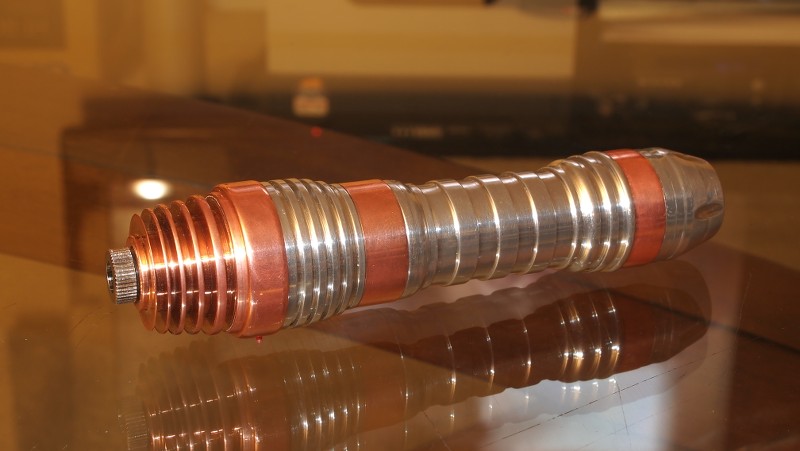
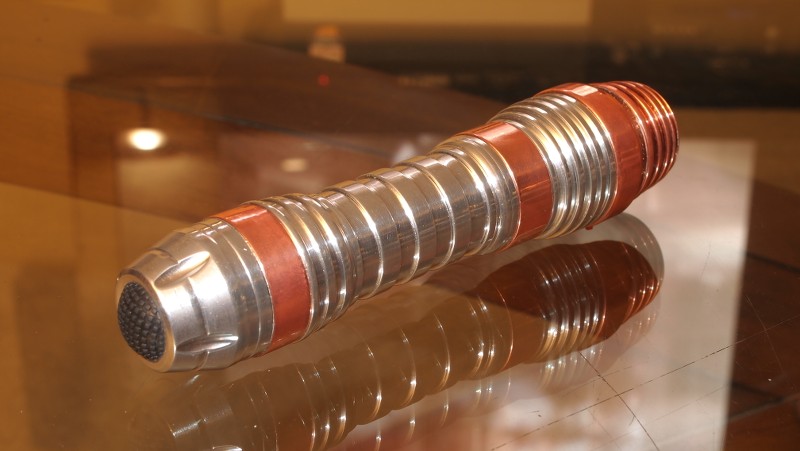
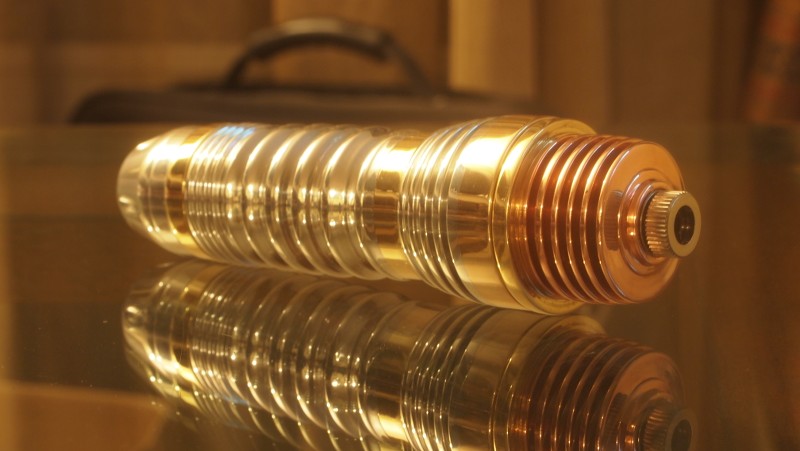
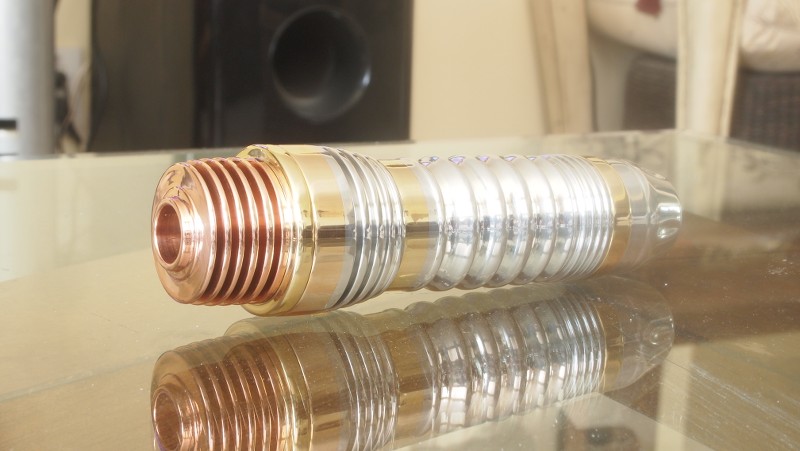
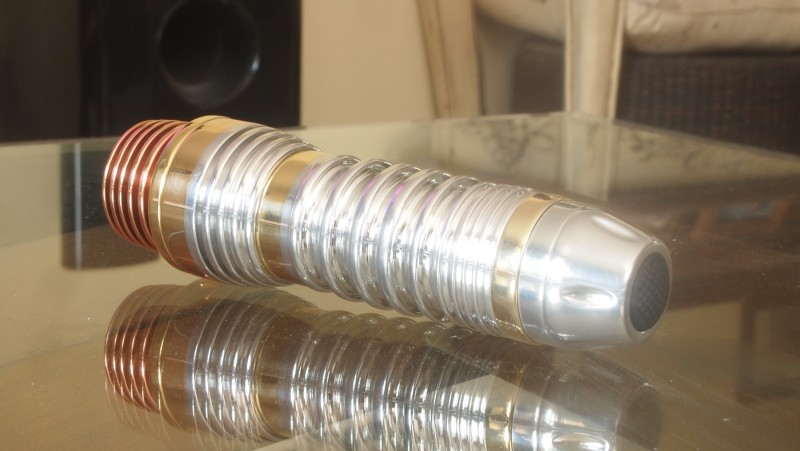
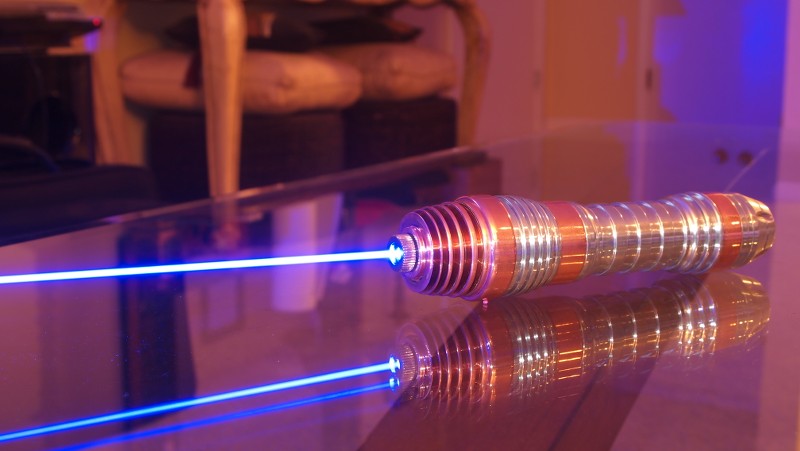
I am thrilled to be the first to introduce the community to a new host builder. This is all started with a guy I have been talking with that bought some stuff off me on eBay and found he is skilled with both electronics and a lathe. Actually I have been talking with him and his wife. They are very much a tag team. She has an account here username DeadEYeMo. They showed me some of the custom hosts he has made and that really peaked my interest. This one is called the Sirius-1-C. He actually makes two versions of this host the Sirius-1 and the Sirius-1-C which has the copper head. I chose the copper one as it really looked sweet. Here is a picture from them with both units. The only thing that would make them look even better is a custom focus adapter. That will be next.
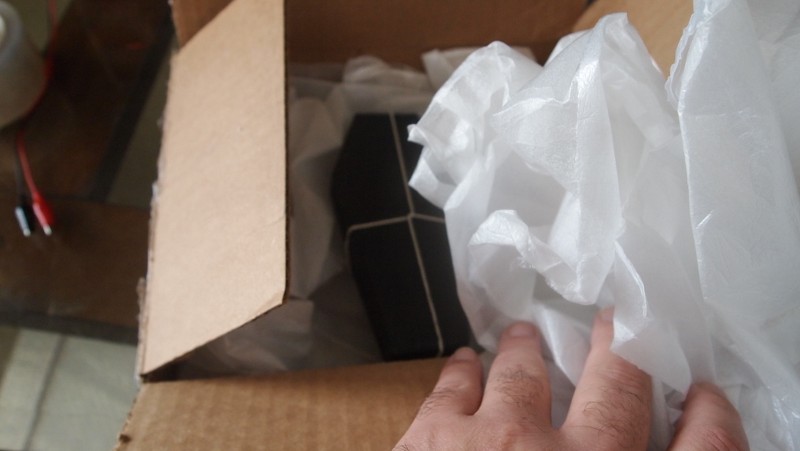
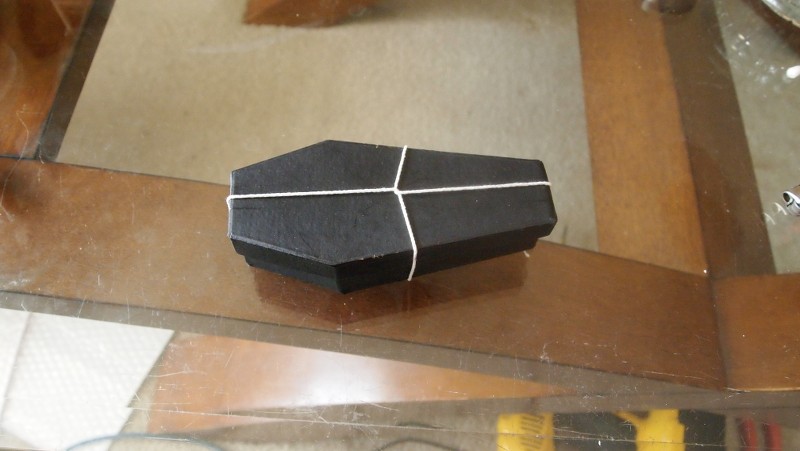
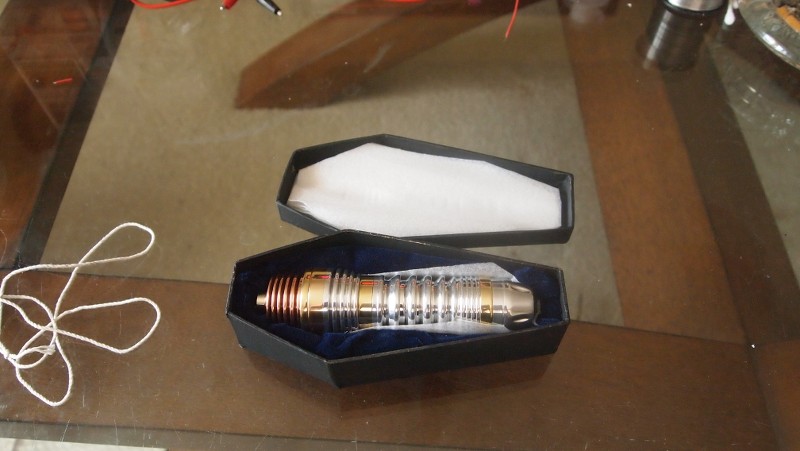
I have to say I have been really anticipating this host and when I saw a large package in the mail I got really excited. Opened it up and there was a lot of bubble wrap and other packing material I had to wade through. I got though the jungle of packing material and found a nice little box wrapped up like a present on on Christmas morning.:san:
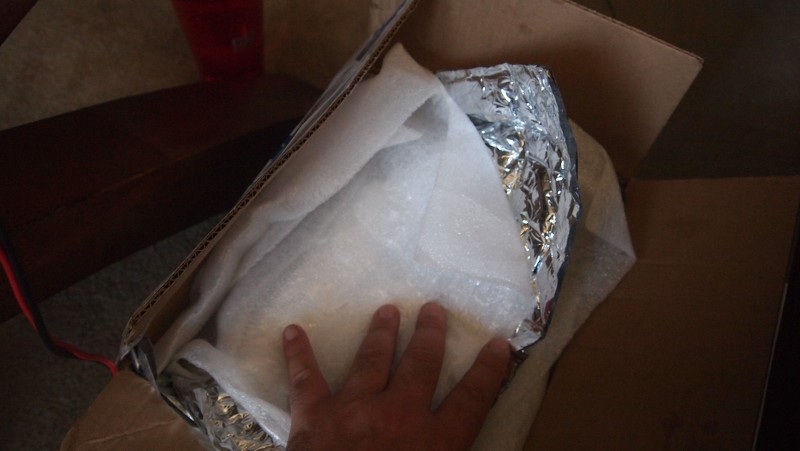
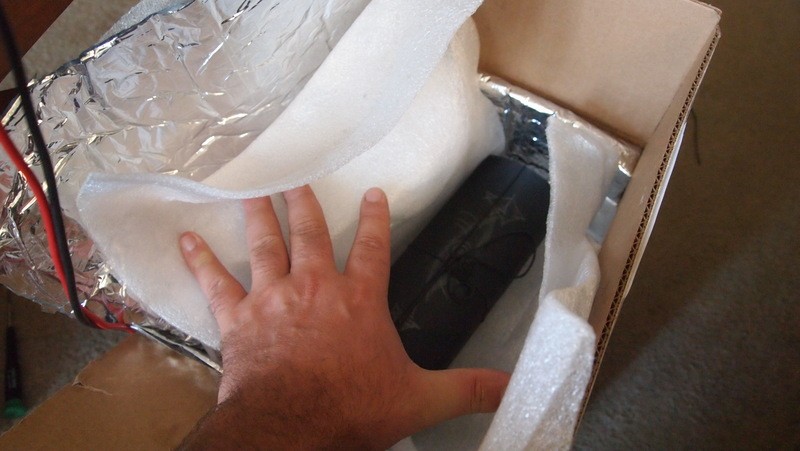
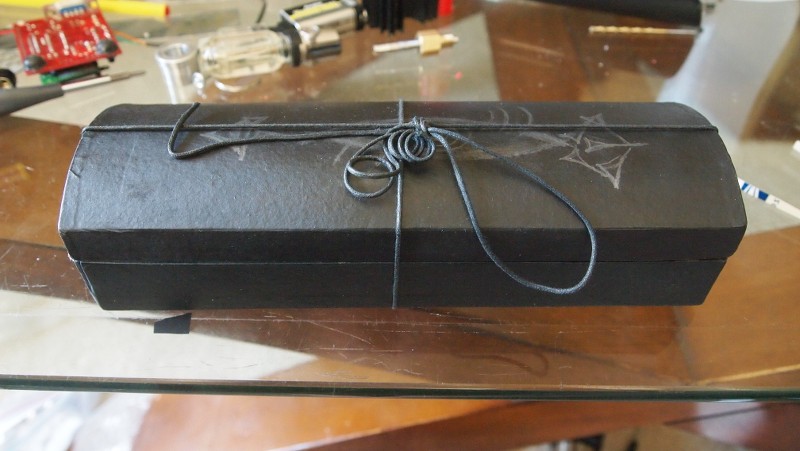
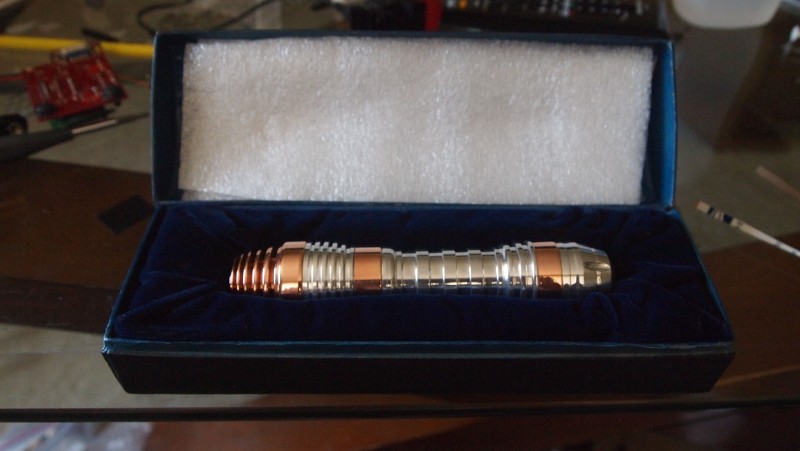
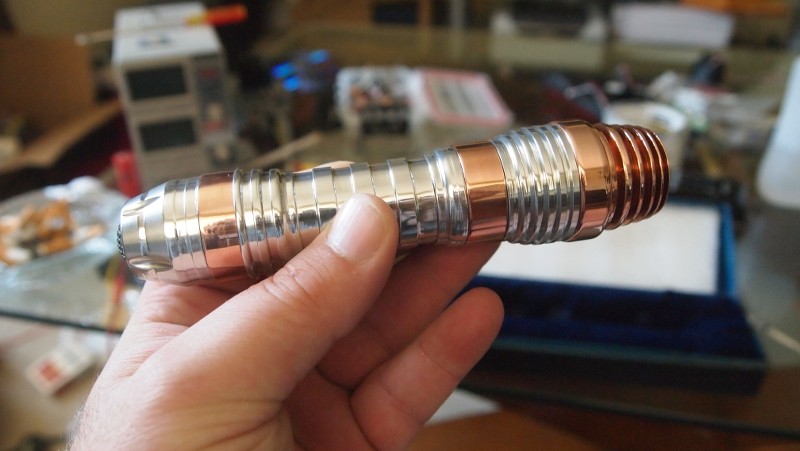
I got it out and took a minute to check out the box before opening it and actually get this beast in my hands.:eg:
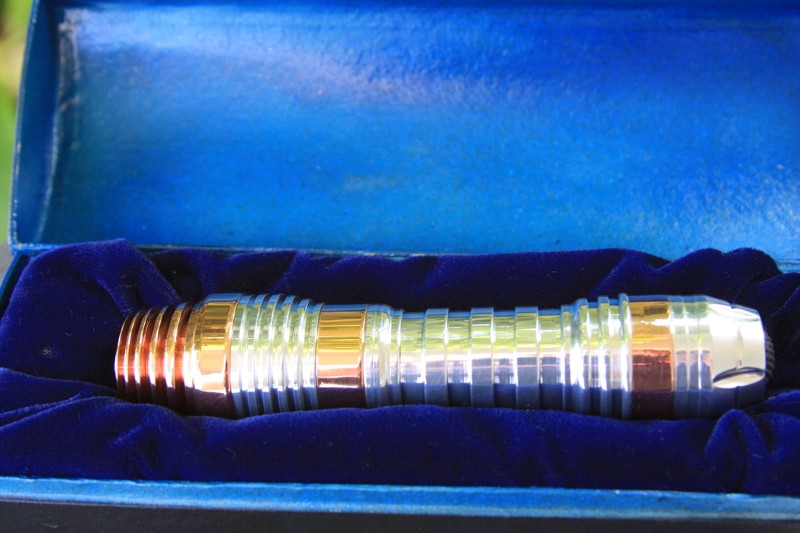
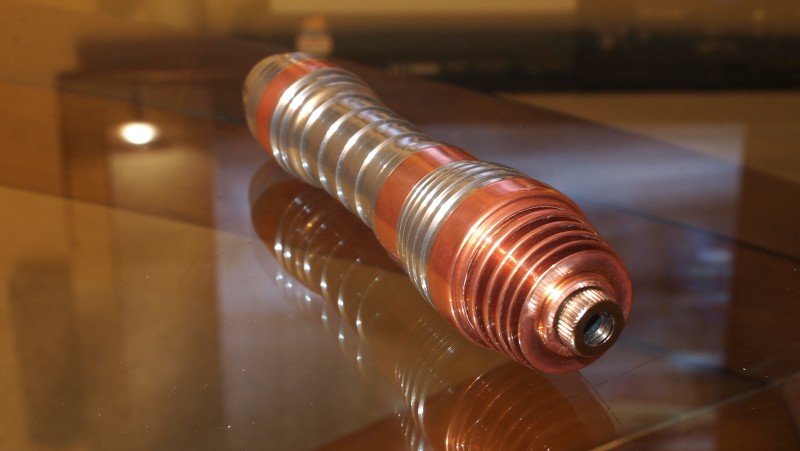
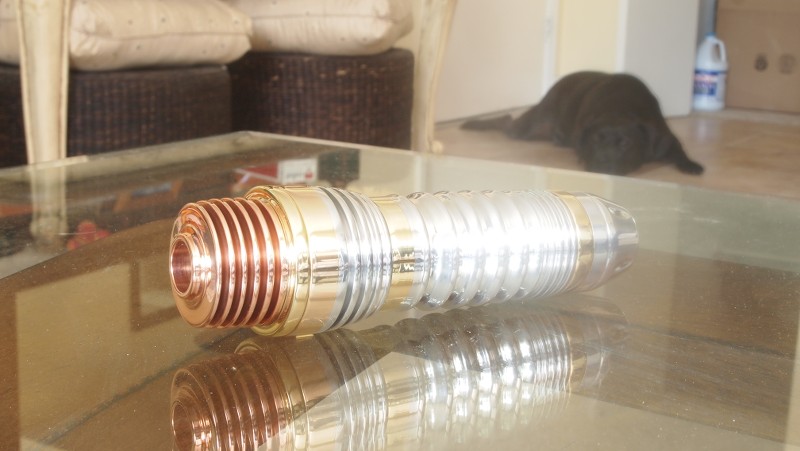
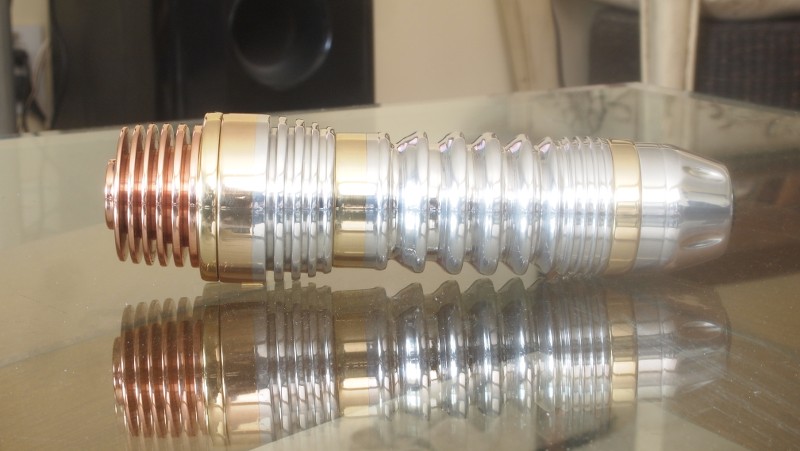
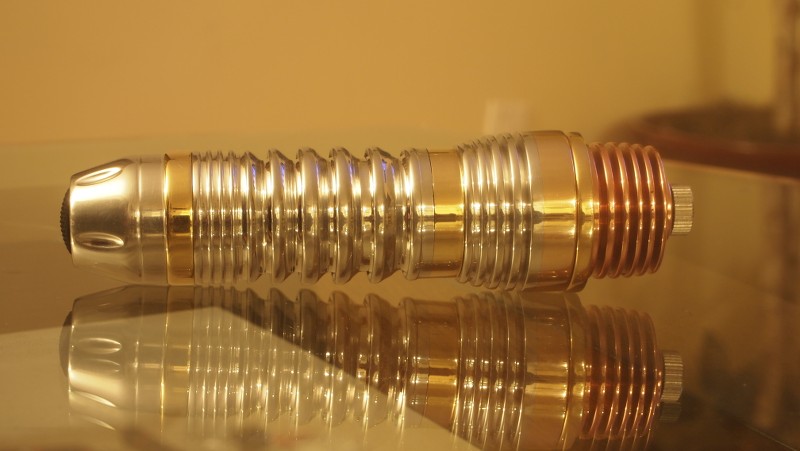
Host Version 2
Assembly
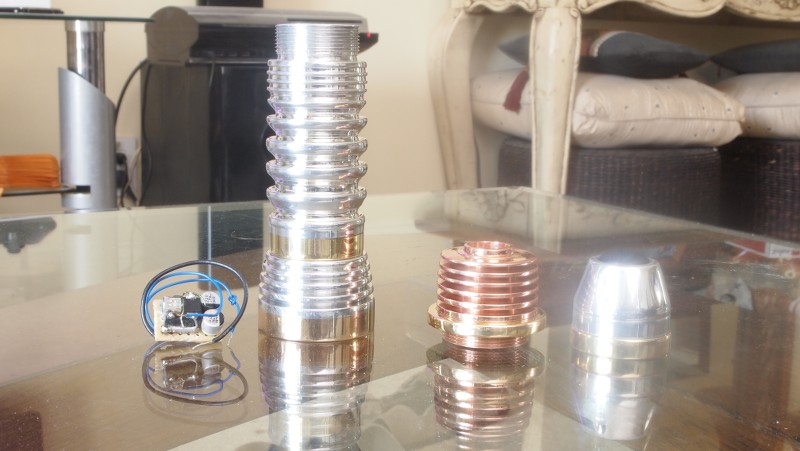
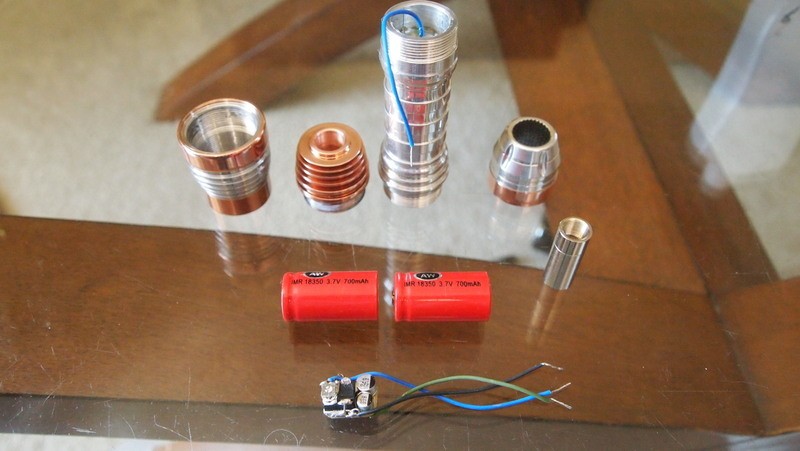
Alright now on to the fun stuff. For me at least. This is how this host breaks down. There is the head, heatsink, host body and tail cap. I also have a pair of 18350's and one of the prototype buck drivers that he made. It is capable of over 2A and is adjustable via a pot. Being a buck driver it when running a 445 instead of the extra voltage being dropped as heat it is turned into extra current so this unit ended up drawing 1.27A to put out 1.8A to the diode @ 8.2V.
First thing I did was get a diode ready. I have one that I know is very efficient that was waiting for this build. I started by bending the case pin with the negative pin since the negative side on this driver is continuous like the flexdrive.
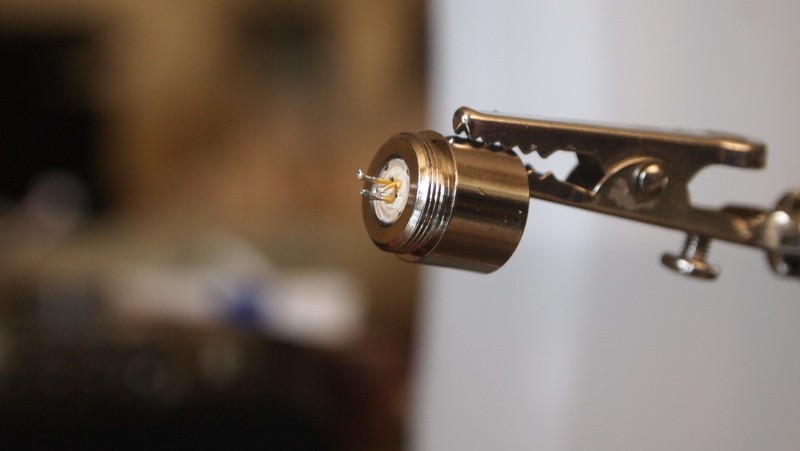
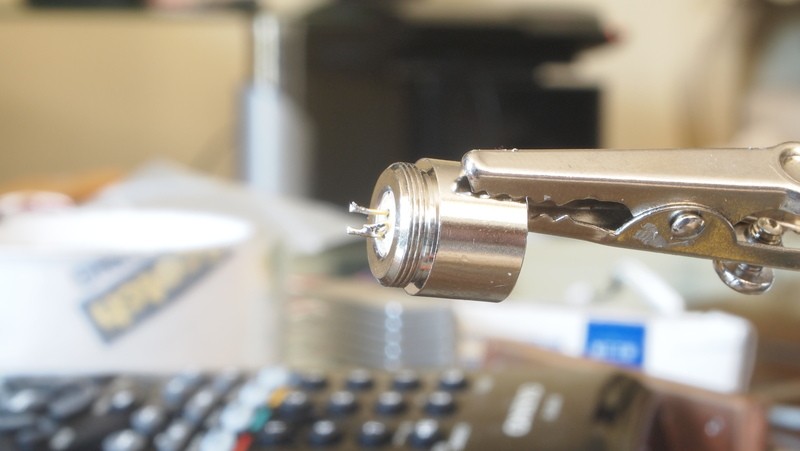
After bending it over I pretinned it to make a solid connection.
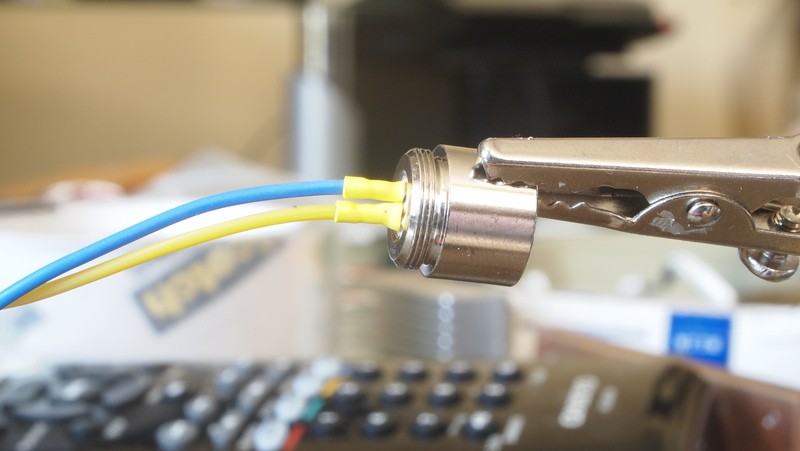
Next I soldered on leads and added shrink tubing.
So now I need to get the module in the head. This host does not use a set screw but requires it to be press fit for maximum thermal transfer.
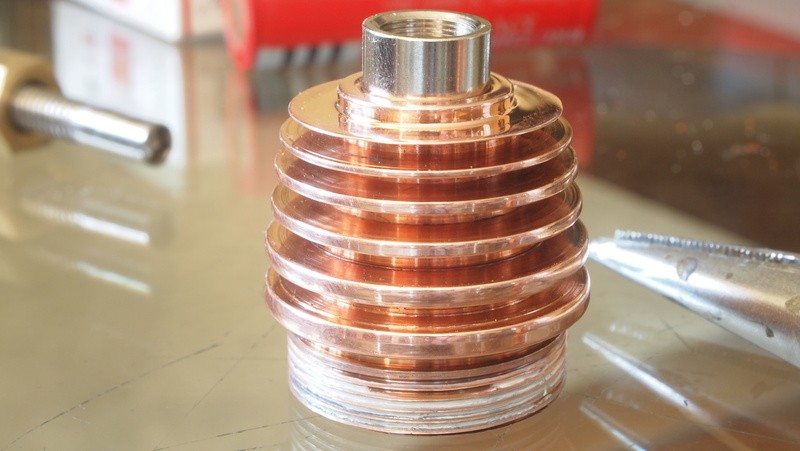
So I tucked the wires nicely inside the heatsink.
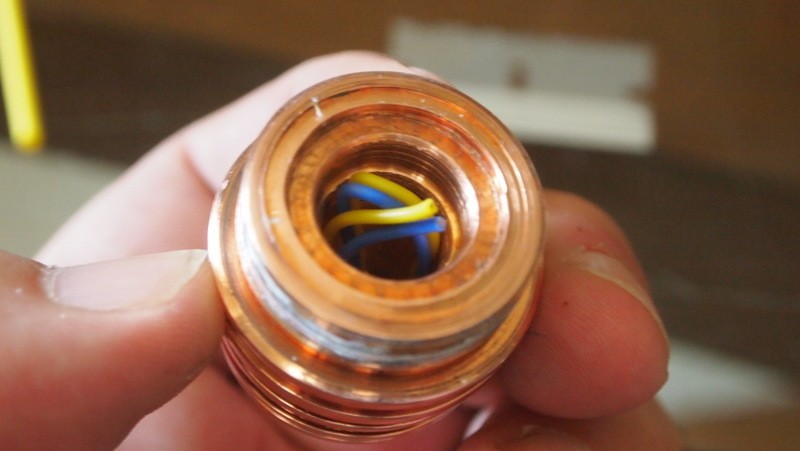
And I decided to use the big boy. A block of wood and a vice would work in a pinch but this was way more fun.:eg:
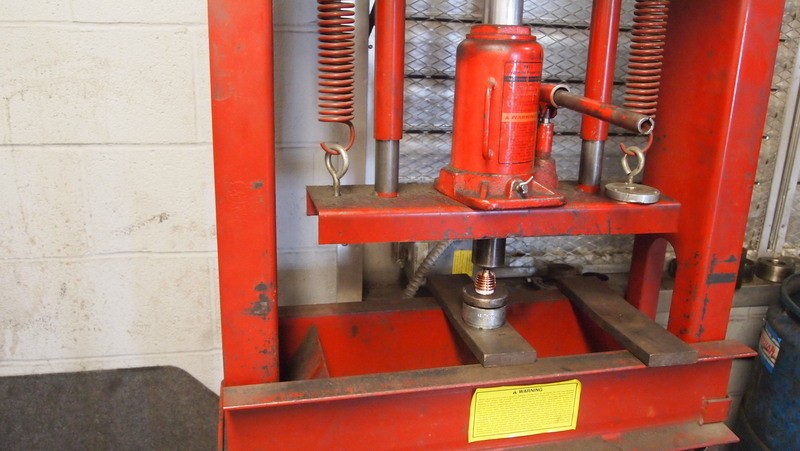
I have a diode removal tool from Flaminpyro that I will use the part that has the Aixiz lens threading on it to push the module in without taking the chance of the press or if I used wood to maul up the head and to slightly push the module past flush.
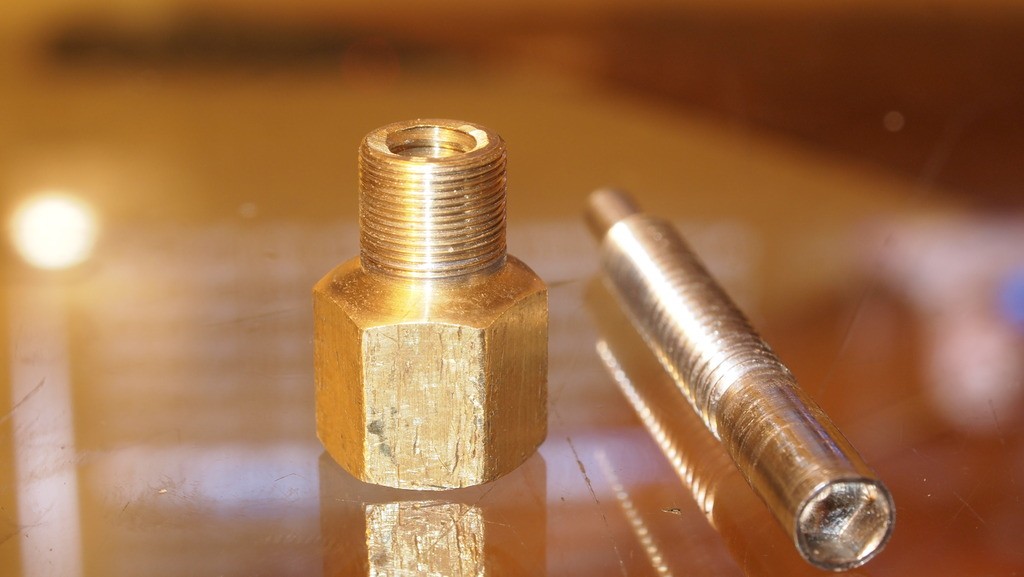
Pressed it just a tad past flush as this is about perfect for the G-1.
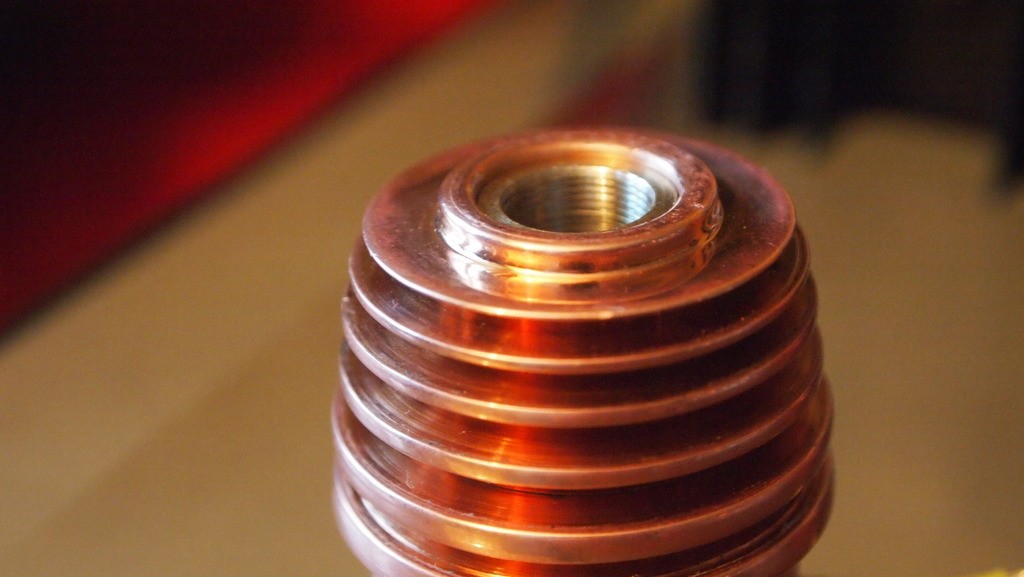
Next I set up one of his buck drivers. EDIT(I need to revise this part of the tutorial) This driver if you choose to use it can be very good but does require that you have more than just a casual knowledge of electronics and a test load as it is not a constant current driver. PM me or Mo for details.
Next I soldered the leads from the diode to the driver.

Next I powered it up with my bench supply to make sure everything was working as desired. Got a peak of 2042mW and note that the current draw is only 1.27A to produce 1.8A. That is awesome since the build does require smaller capacity 18350's which should bring the capacity up closer to a dual flex with an 18650.
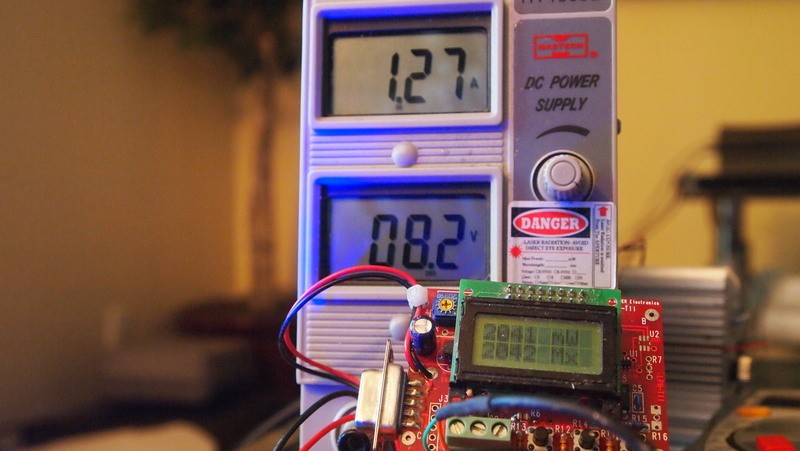
Next I put the driver though the head and screwed the heatsink in.
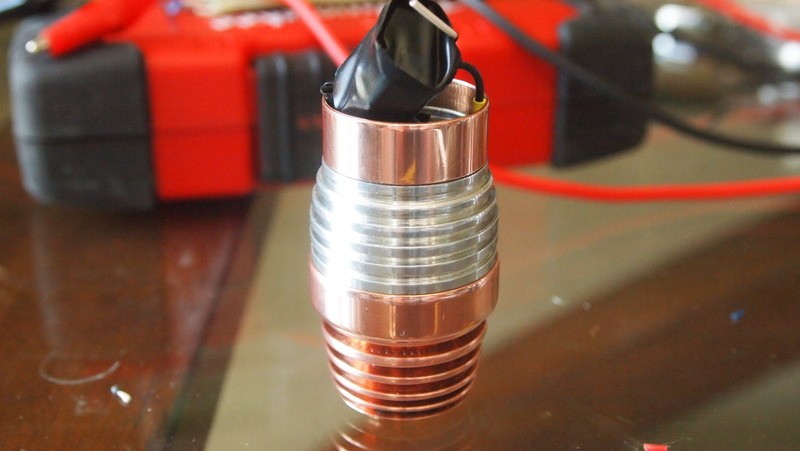
Now the final step in building this unit is to connect the driver to the positive contact in the host.
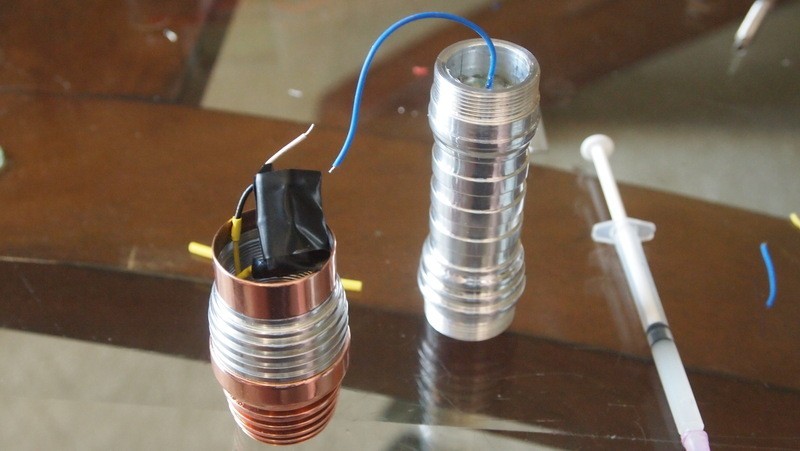
Got it soldered on and as you can see I left a little slack as there is no way to keep it from binding a little as I screw the two half's together.
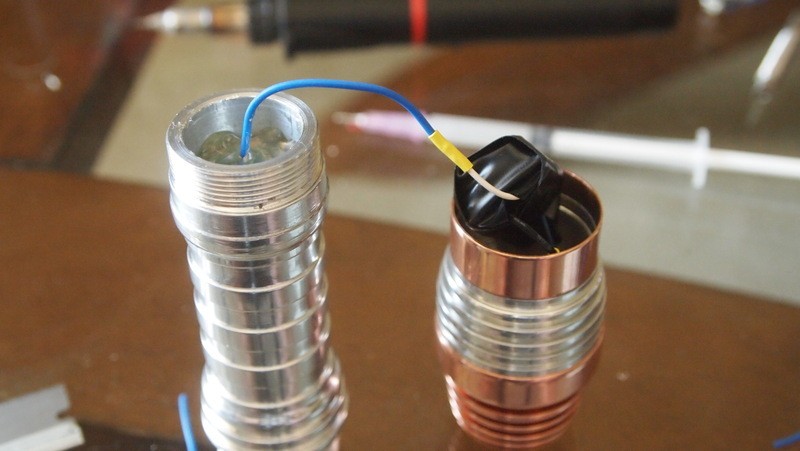
Next I packed it down into the head and proceeded to screw it together.
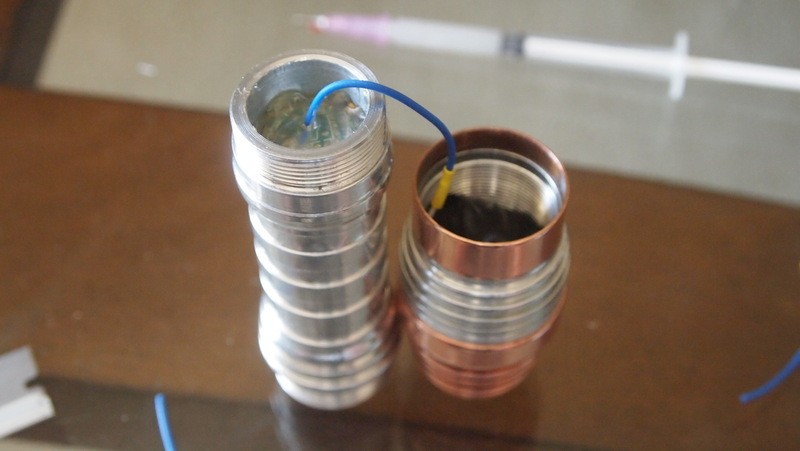
Now it is all together and I threw in the batteries and the build is complete.:wave:
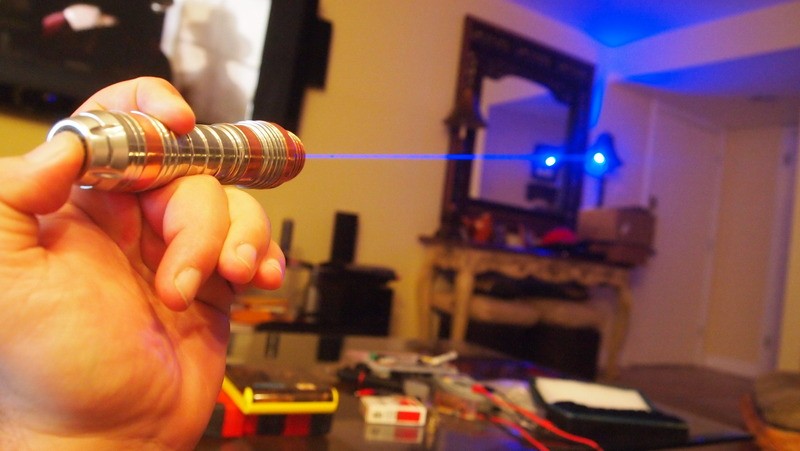
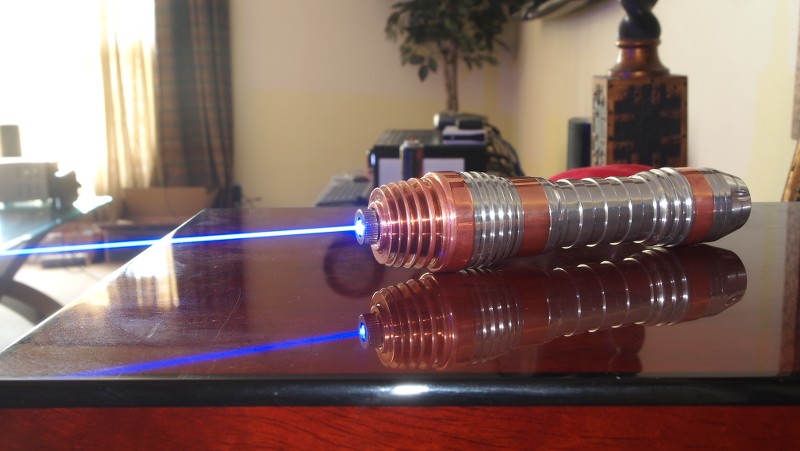
Beamshots
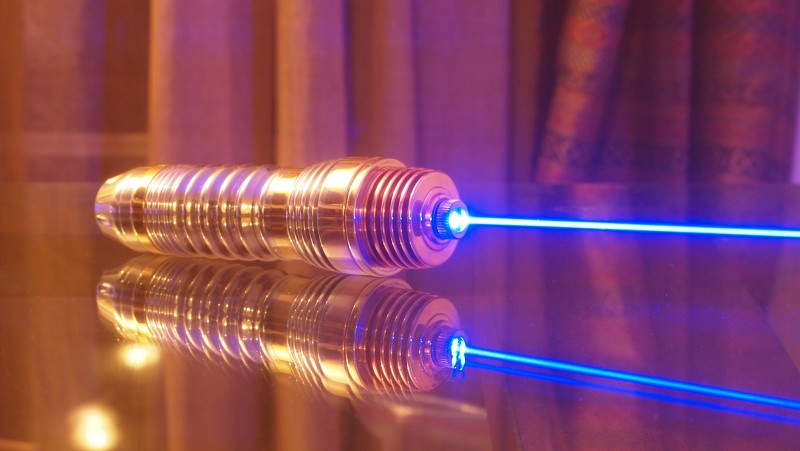
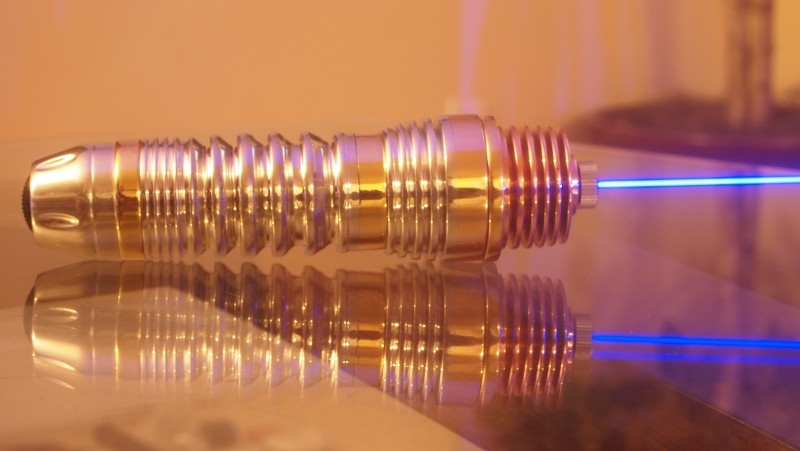
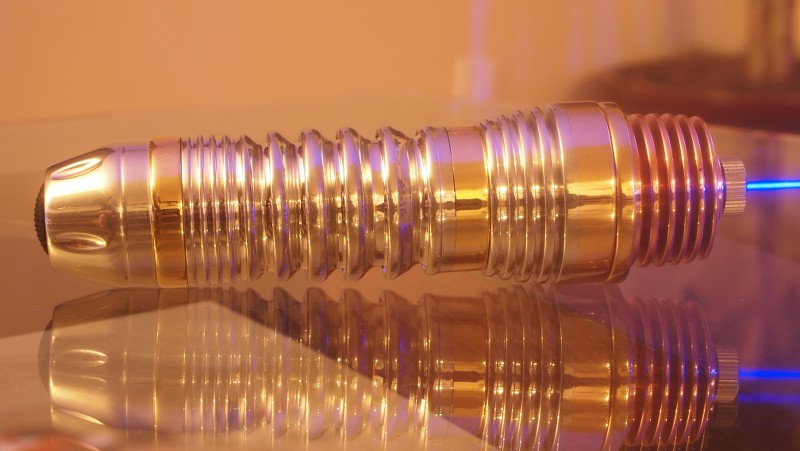
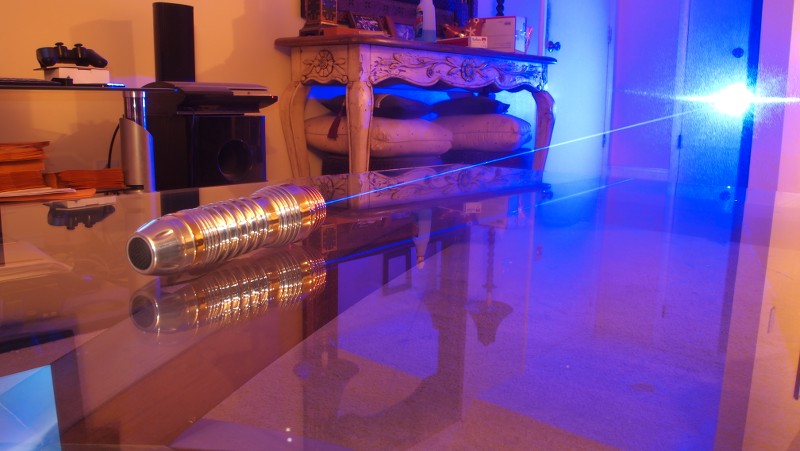
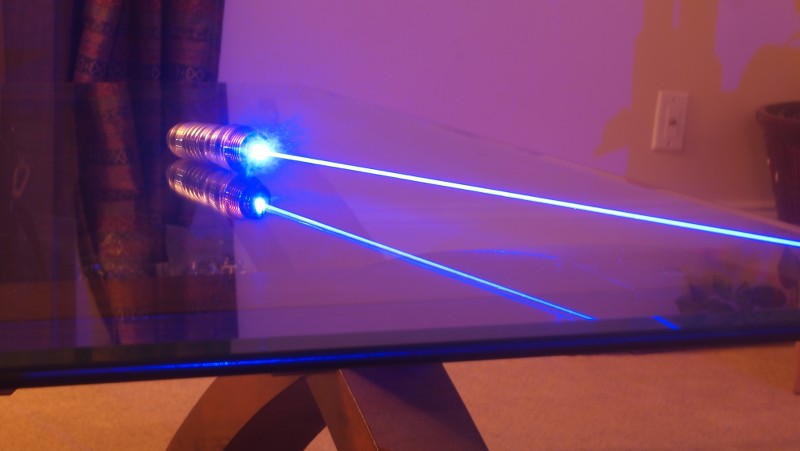
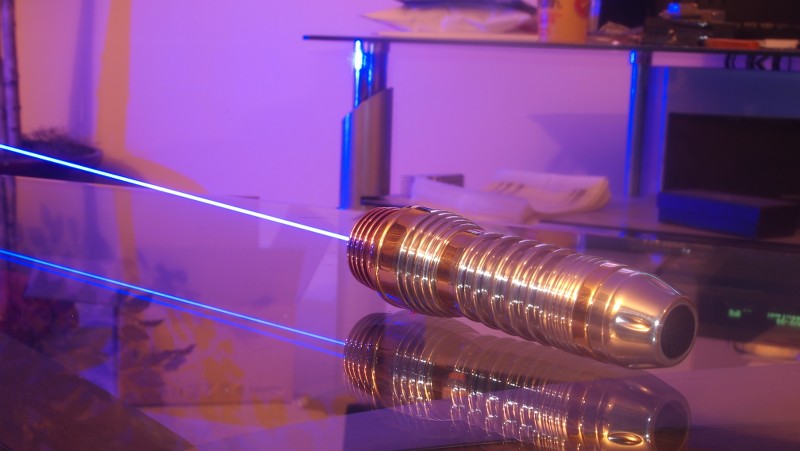
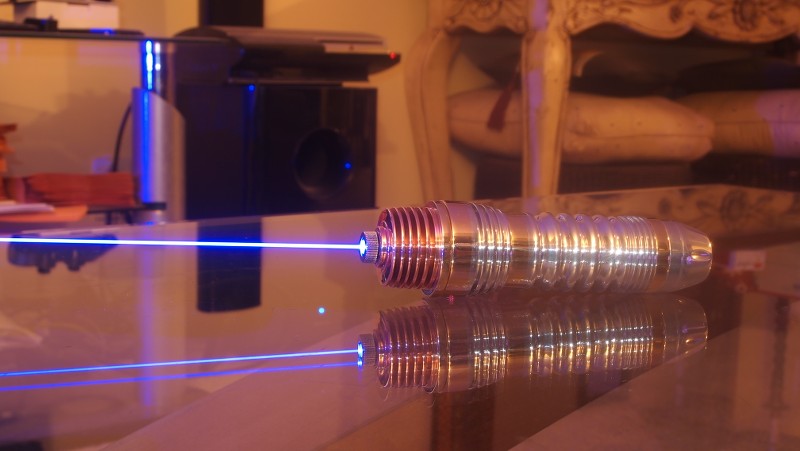
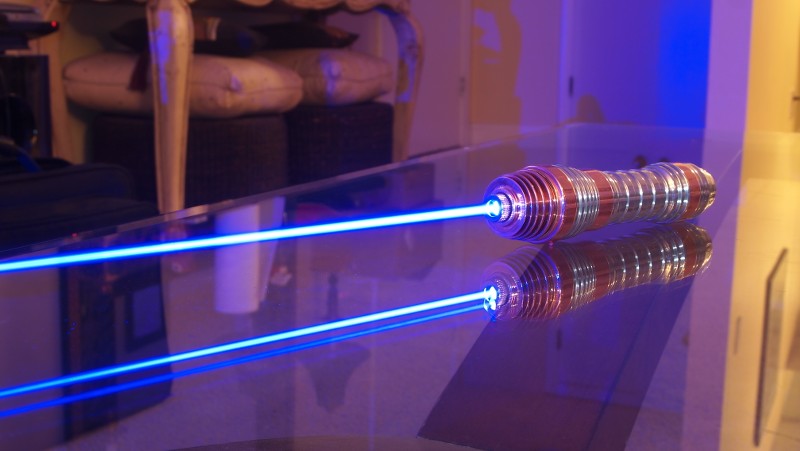

LPM Test
This unit tested out with the G-1 lens and peaks just under 2.1W.:gun:
Here is a three minute run I did with this host. Less than 100mW drop over the run.
I think these hosts will be a welcome addition here. This is very well constructed custom unit and has a very detailed appearance. He really puts a great deal of time into each one I definitely recommend his work. If you have any questions about specs, pricing or availability please PM DeadEYeMo for details here on LPF. The only thing I see that I will need to keep and eye on is I have heard that fingerprints on copper is a killer so I assume the host will take a little upkeep. But other than that it is an amazing piece of work.
Thanks for reading my review. I hope you enjoyed it.:beer:

I am thrilled to be the first to introduce the community to a new host builder. This is all started with a guy I have been talking with that bought some stuff off me on eBay and found he is skilled with both electronics and a lathe. Actually I have been talking with him and his wife. They are very much a tag team. She has an account here username DeadEYeMo. They showed me some of the custom hosts he has made and that really peaked my interest. This one is called the Sirius-1-C. He actually makes two versions of this host the Sirius-1 and the Sirius-1-C which has the copper head. I chose the copper one as it really looked sweet. Here is a picture from them with both units. The only thing that would make them look even better is a custom focus adapter. That will be next.
Host
I have to say I have been really anticipating this host and when I saw a large package in the mail I got really excited. Opened it up and there was a lot of bubble wrap and other packing material I had to wade through. I got though the jungle of packing material and found a nice little box wrapped up like a present on on Christmas morning.:san:


I got it out and took a minute to check out the box before opening it and actually get this beast in my hands.:eg:


Host Version 2


Assembly
Alright now on to the fun stuff. For me at least.

First thing I did was get a diode ready. I have one that I know is very efficient that was waiting for this build. I started by bending the case pin with the negative pin since the negative side on this driver is continuous like the flexdrive.

After bending it over I pretinned it to make a solid connection.

Next I soldered on leads and added shrink tubing.

So now I need to get the module in the head. This host does not use a set screw but requires it to be press fit for maximum thermal transfer.

So I tucked the wires nicely inside the heatsink.

And I decided to use the big boy. A block of wood and a vice would work in a pinch but this was way more fun.:eg:

I have a diode removal tool from Flaminpyro that I will use the part that has the Aixiz lens threading on it to push the module in without taking the chance of the press or if I used wood to maul up the head and to slightly push the module past flush.

Pressed it just a tad past flush as this is about perfect for the G-1.

Next I set up one of his buck drivers. EDIT(I need to revise this part of the tutorial) This driver if you choose to use it can be very good but does require that you have more than just a casual knowledge of electronics and a test load as it is not a constant current driver. PM me or Mo for details.
Next I soldered the leads from the diode to the driver.

Next I powered it up with my bench supply to make sure everything was working as desired. Got a peak of 2042mW and note that the current draw is only 1.27A to produce 1.8A. That is awesome since the build does require smaller capacity 18350's which should bring the capacity up closer to a dual flex with an 18650.

Next I put the driver though the head and screwed the heatsink in.

Now the final step in building this unit is to connect the driver to the positive contact in the host.

Got it soldered on and as you can see I left a little slack as there is no way to keep it from binding a little as I screw the two half's together.

Next I packed it down into the head and proceeded to screw it together.

Now it is all together and I threw in the batteries and the build is complete.:wave:

Beamshots


LPM Test
This unit tested out with the G-1 lens and peaks just under 2.1W.:gun:
Here is a three minute run I did with this host. Less than 100mW drop over the run.
Conclusion
I think these hosts will be a welcome addition here. This is very well constructed custom unit and has a very detailed appearance. He really puts a great deal of time into each one I definitely recommend his work. If you have any questions about specs, pricing or availability please PM DeadEYeMo for details here on LPF. The only thing I see that I will need to keep and eye on is I have heard that fingerprints on copper is a killer so I assume the host will take a little upkeep. But other than that it is an amazing piece of work.
Thanks for reading my review. I hope you enjoyed it.:beer:
Last edited:


