

- Joined
- Jun 24, 2010
- Messages
- 5,705
- Points
- 113
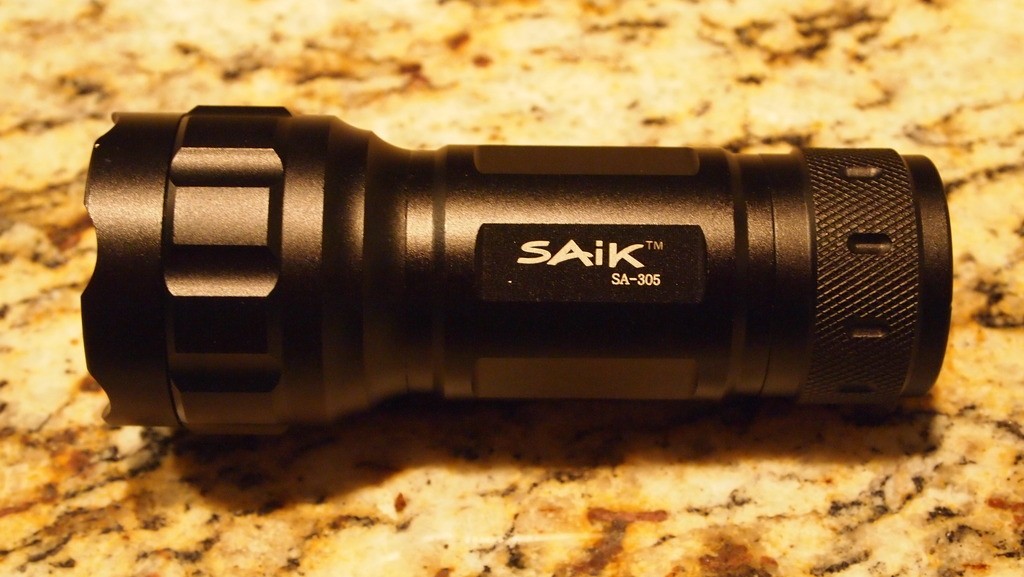
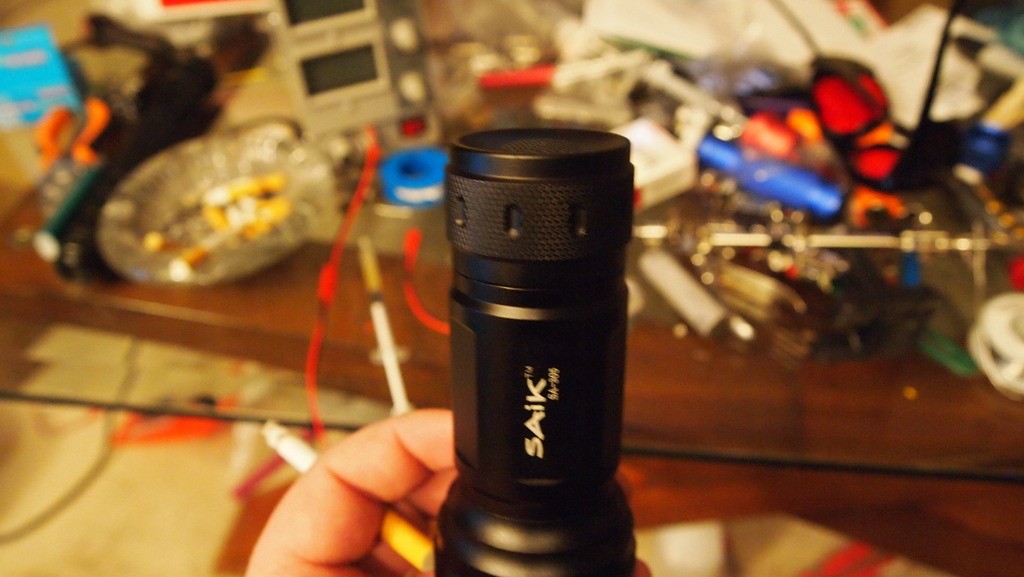
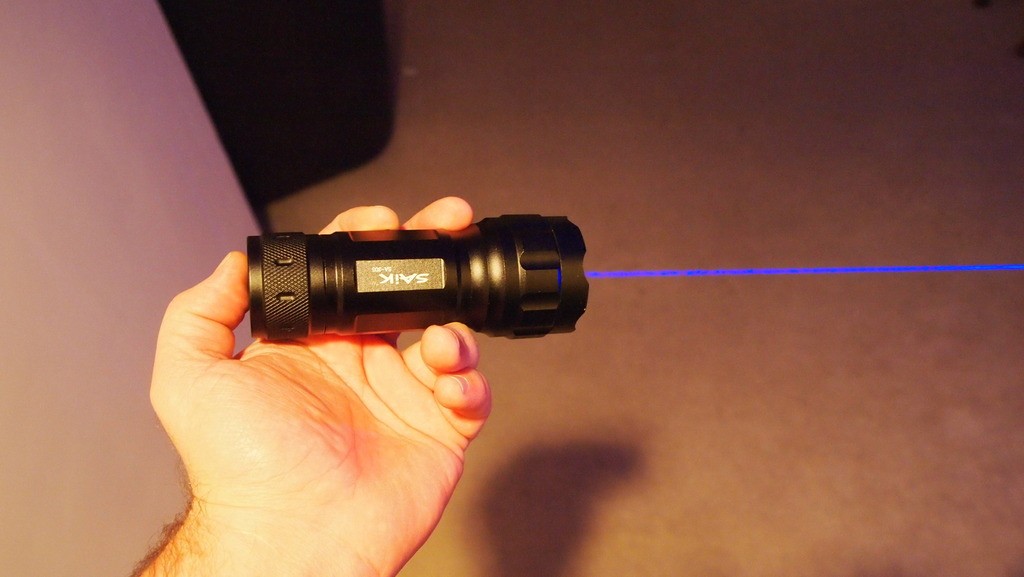
2W SAIK SA-305 26650 Host W/Massive Mohrenberg Heatsink
Host
Alright so I have been searching for hosts that fit a 26650 and I came across this unit on Priceangles. This is a 3XAA host that allows for great mass for the heatsink and fits the 26650 with some minor modifications.
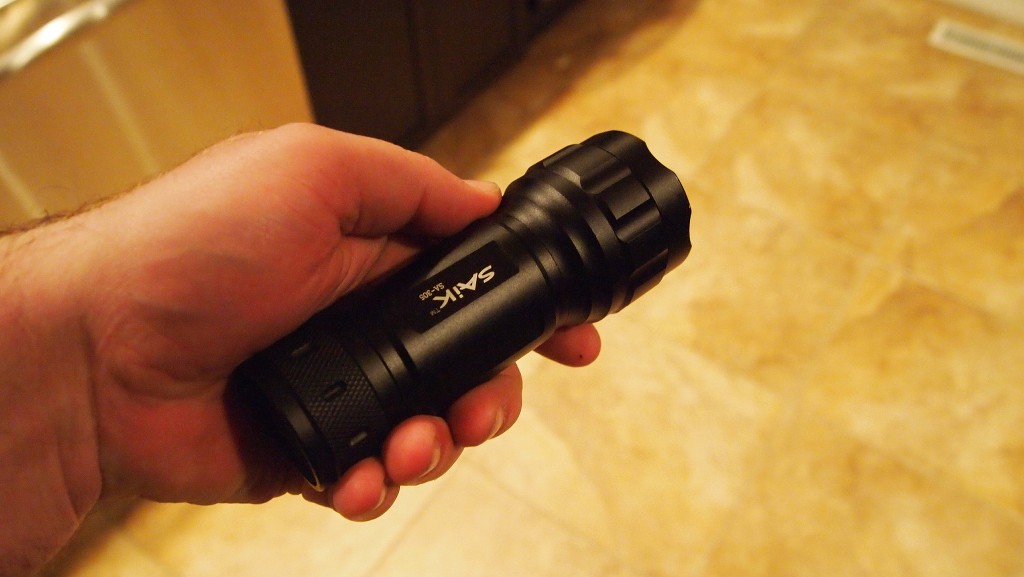
Here is a link to the host. Ordered it with free shipping and I got it in half the time stuff normally takes to arrive from DX. I don't know if this is normal or a fluke but I was very happy.
SAiK SA-305 Cree Q2 WC 3-Mode 140LM White LED Flashlight (3*AA) $14.41 Free Shipping
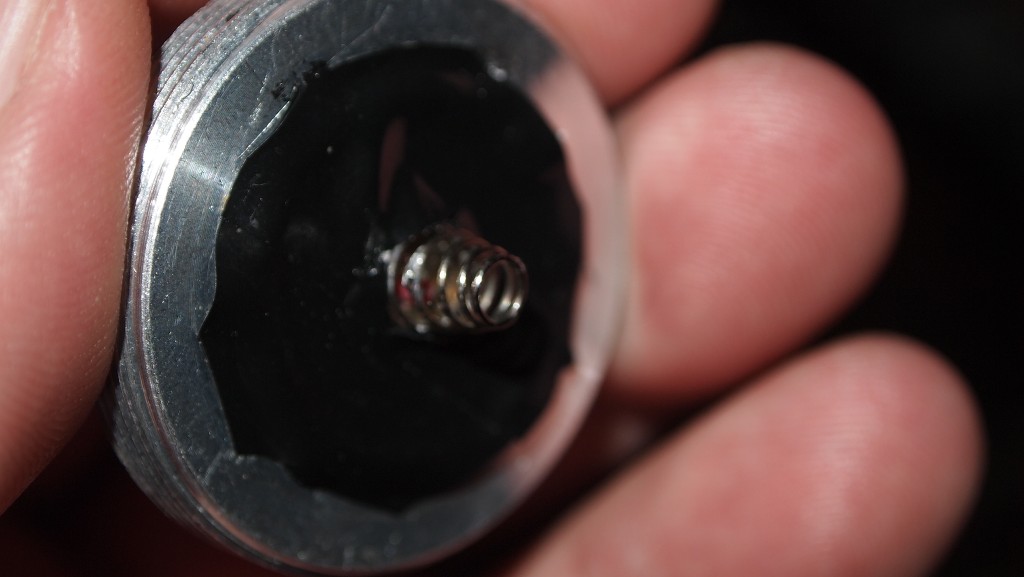
So I got this host and first thing I did was take it apart. Now I did kind of mess up a little and I can't find the pictures I took before I sent it off to have the heatsink made. But the only real modification is similar to the one needed on the MXDL where you take off the metal cap and just leave just the spring to increase the depth for the longer battery. When I get another host I will edit with some shots of the simple process.
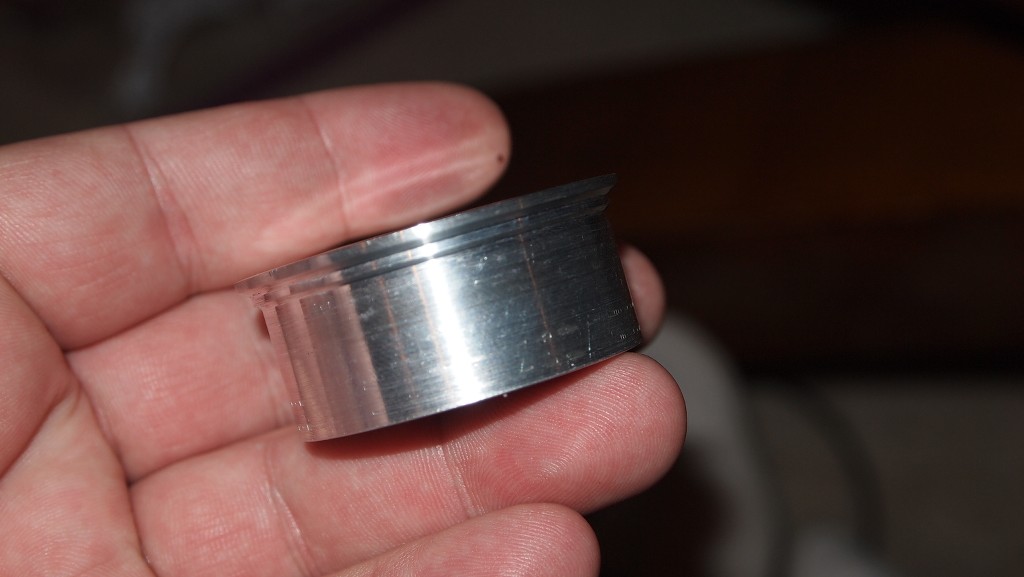
Now that I know the battery fits I hit up Mohrenberg for the heatsink. About a week later I get a package in the mail and was happy to see my host with a glistening new heatsink. The heatsink is awesome. Massive with a nice polished face.:eg: Thanks Moh excellent job as always.
")

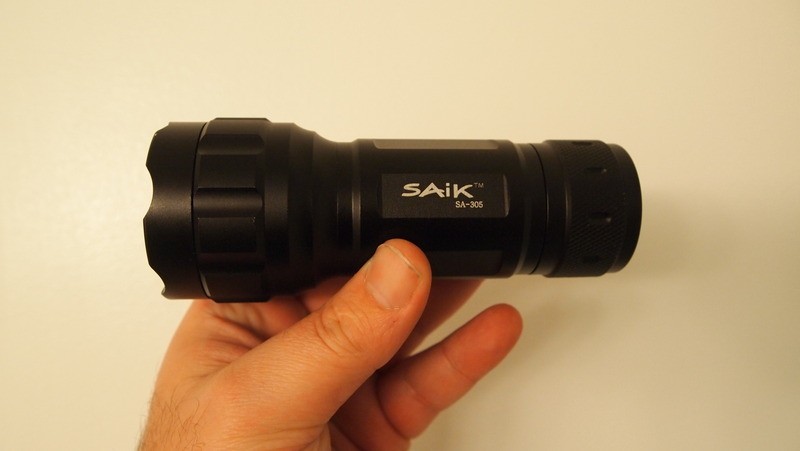
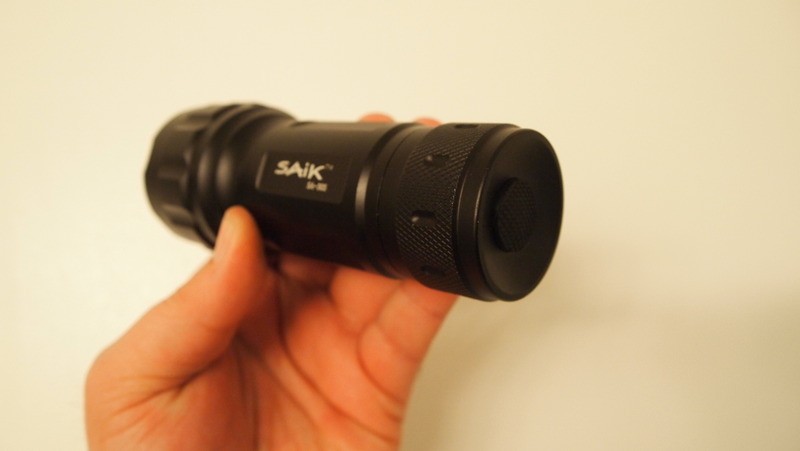
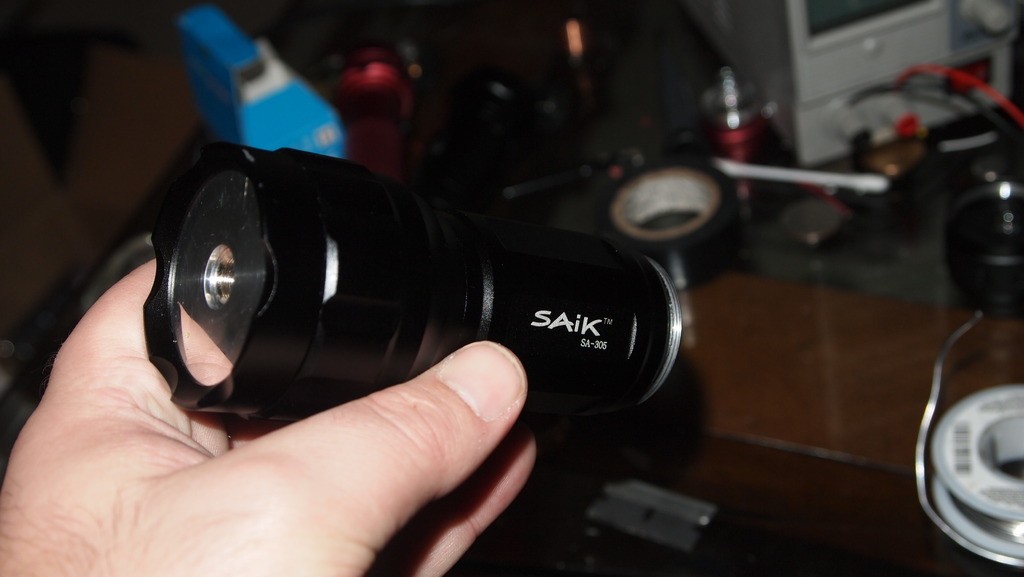
It has a fat compact body with good weight that feels great in the hand.
Assembly
Alright here is the host broken down. Host body, pill, tailcap w/click, head, retaining ring and heatsink. If you will notice I like to put some electrical tape around the contact points for the battery on the bottom of the pill and the top of the tailcap just to make sure there are no shorts.

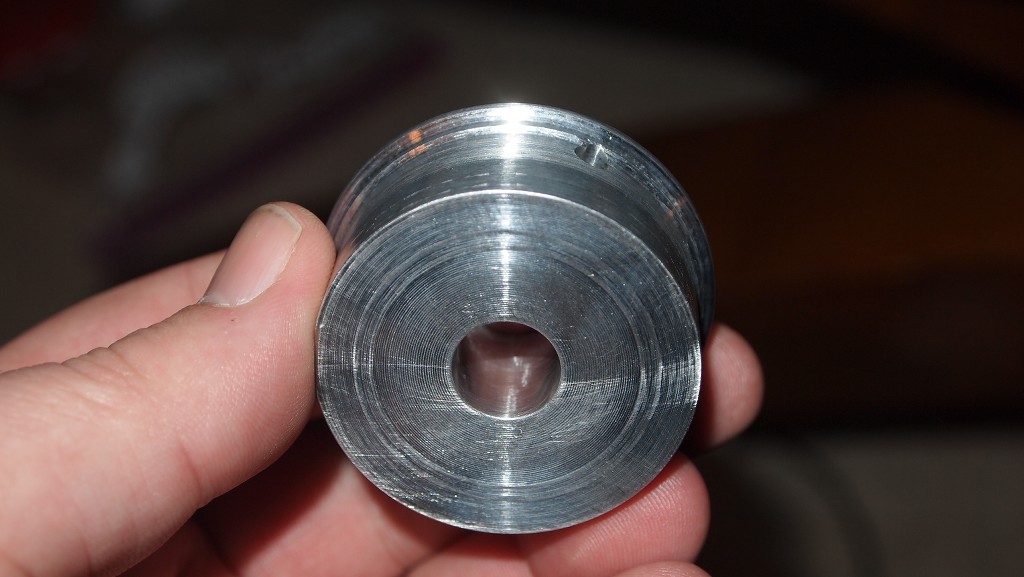
Here is the heatsink. Now it is not quite as massive as the 2D Mag heatsink of Jayrob's but I would guess that it is around 3X the mass of an MXDL.

Here is the pill and the electrical tape that I put over the battery contact area.
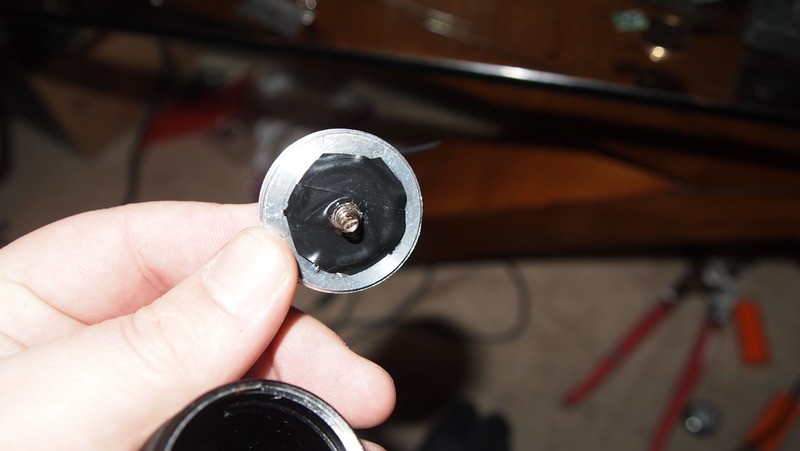
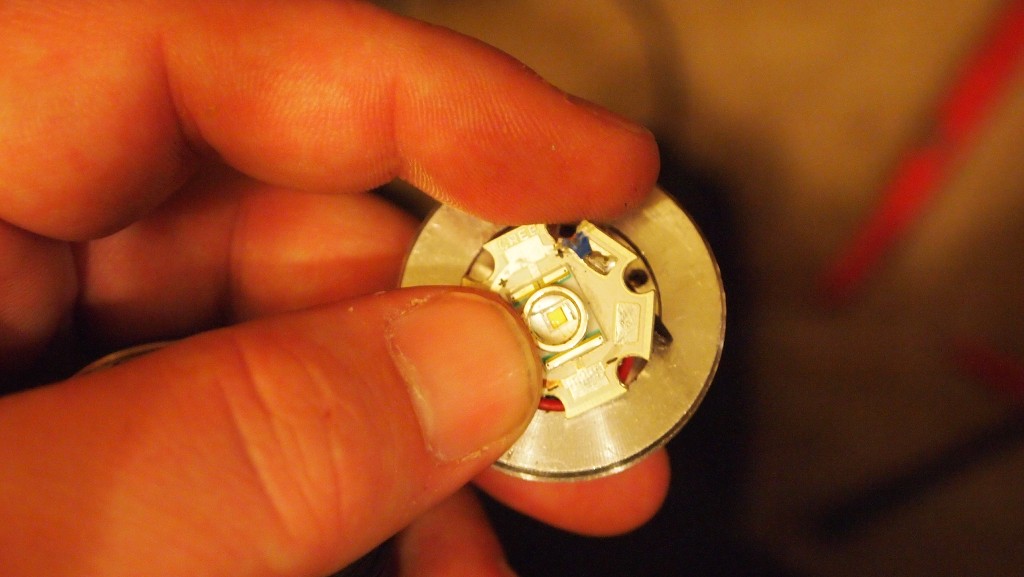
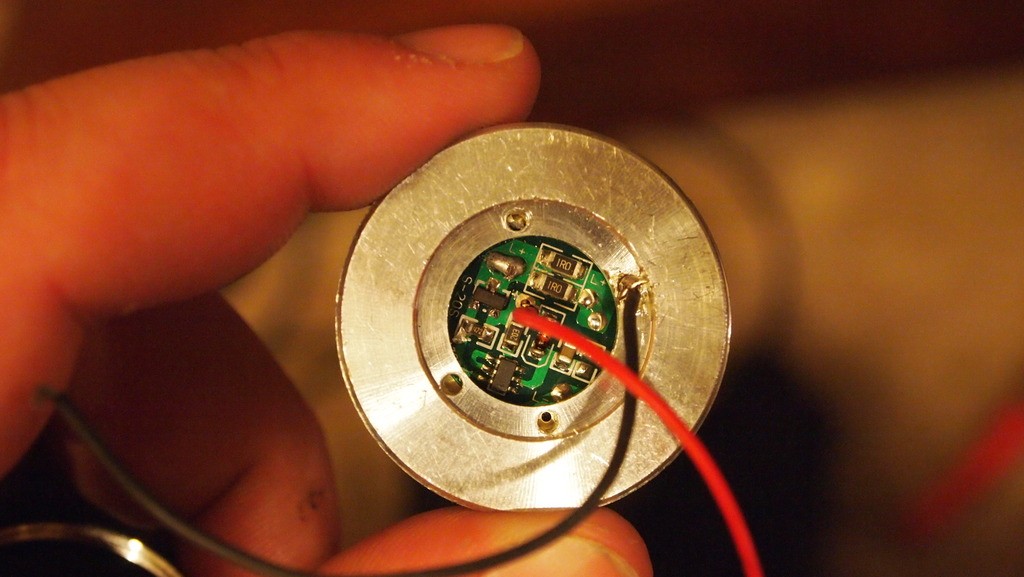
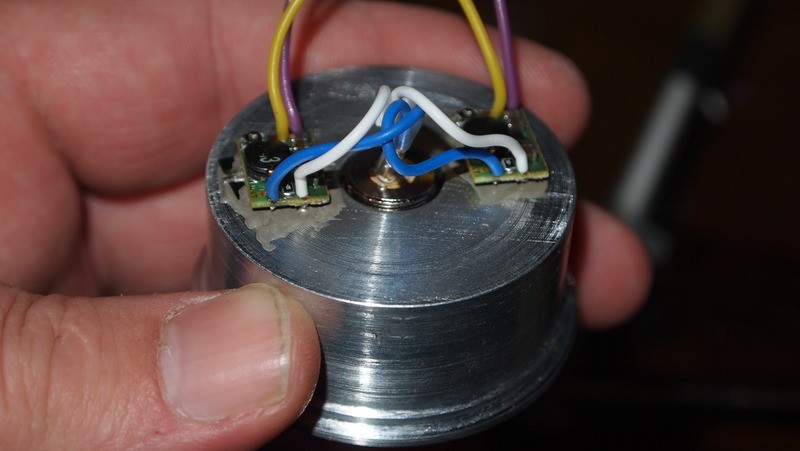
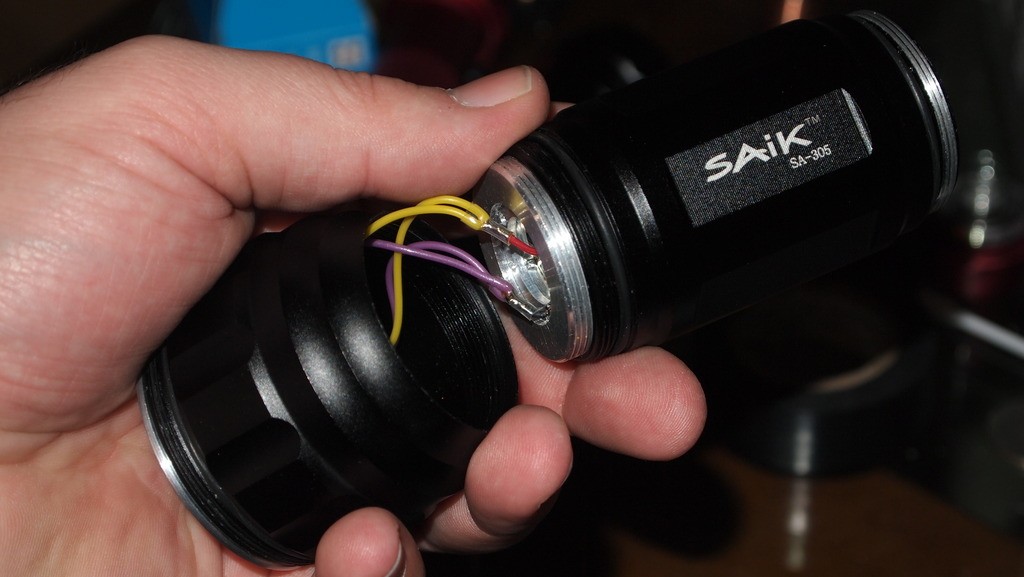
On the opposite side of the pill we need to remove the LED by clipping the blue wire and the negative unshielded wire.
Now I like to bypass the old driver altogether and what I do is drill a hole in the center of the driver board that is big enough to get a wire through.
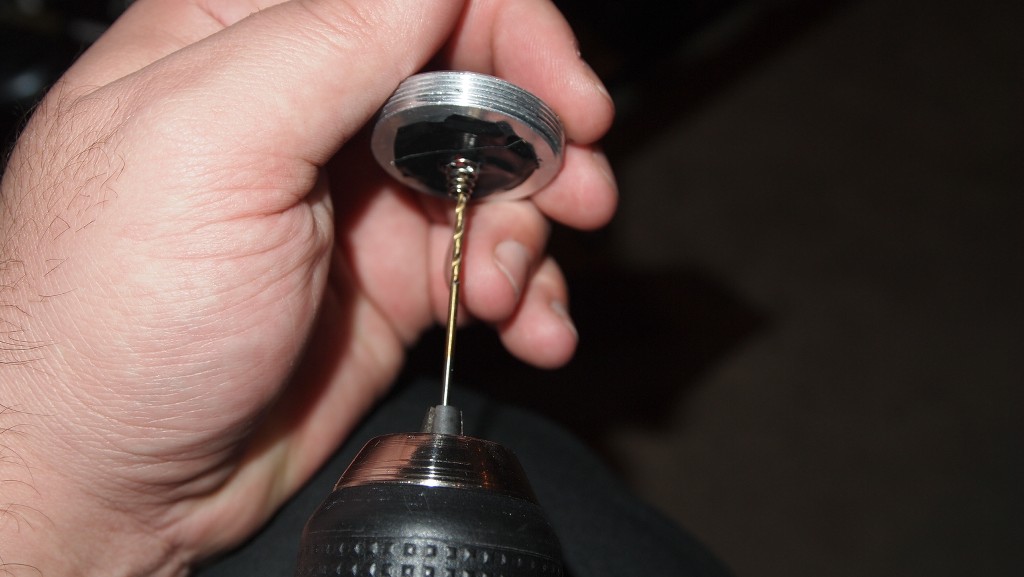
Once you have a hole in the driver for the positive wire solder the negative wire to the the pill that previously had the negative wire push the positive wire through the hole in the old driver.
Then flip it over and solder the wire directly to the bottom of the spring. Be light because this is a pressure point and if you use too much solder it could break off.
Now the pill is all set up with your leads.
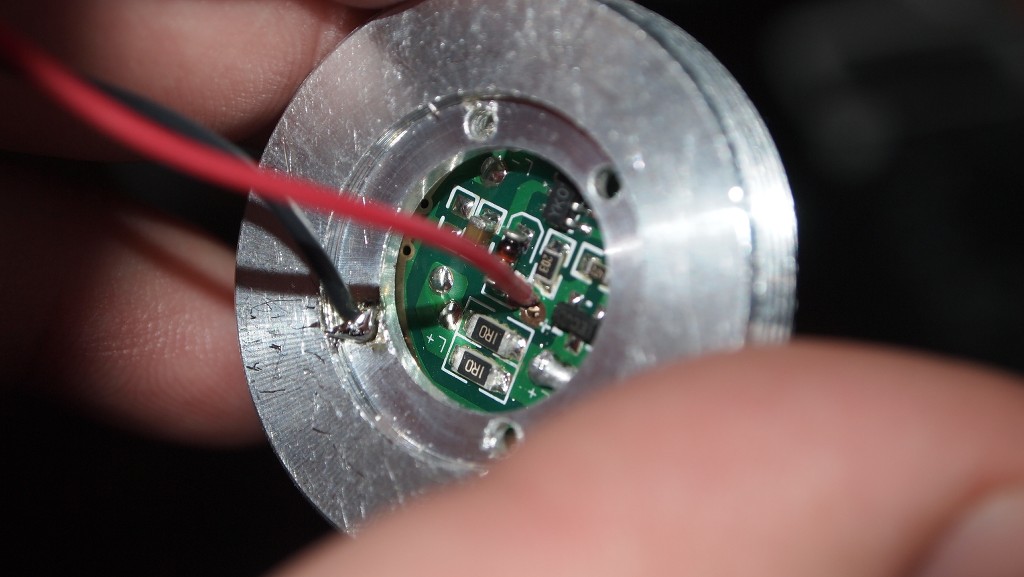
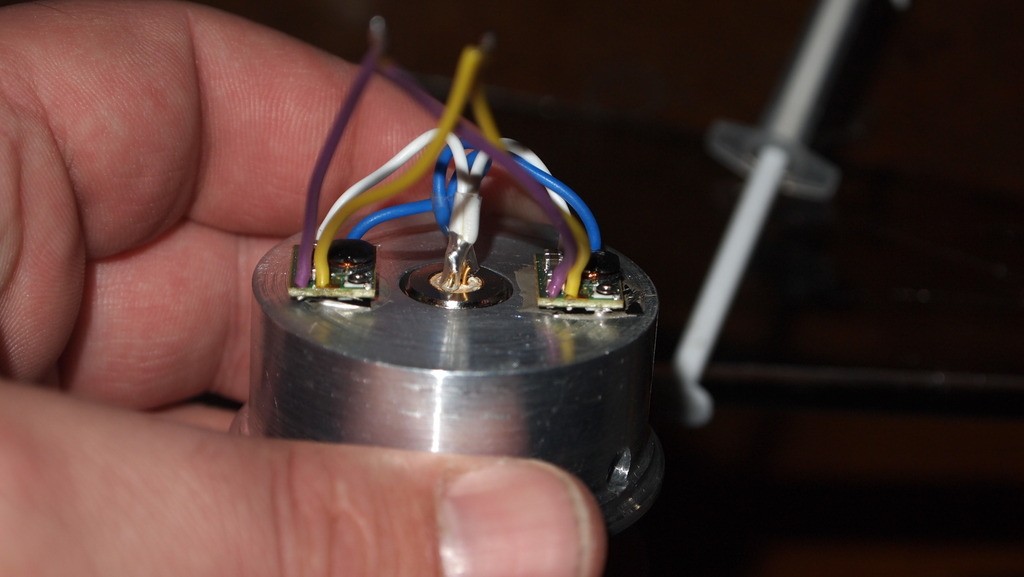
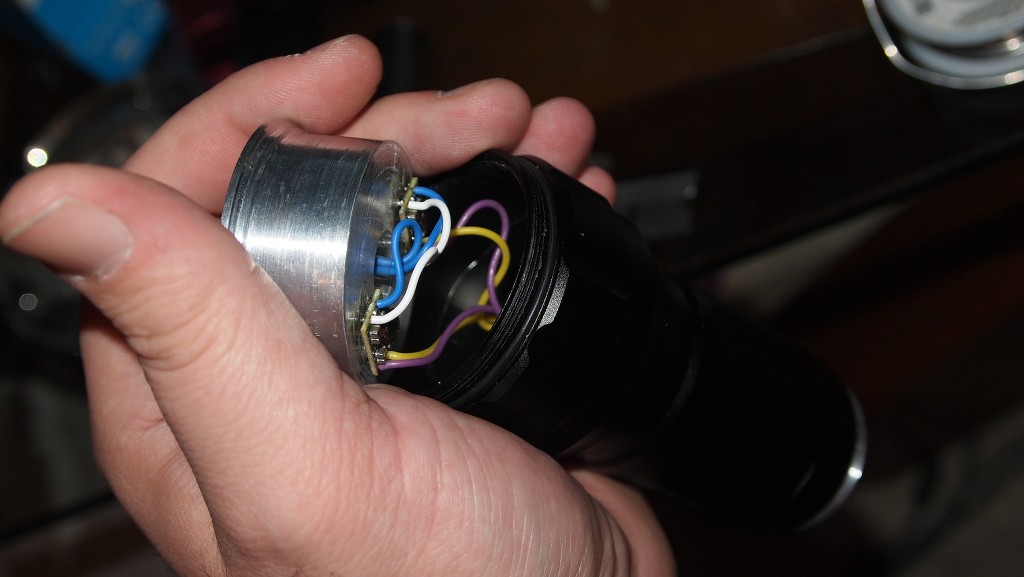
Next I got two flexdrives set up to 900mA each. Thanks Flaminpryo for the great variety of colors for these wires. It definitely helps keep everything straight. Plus it is some of the best wire I have ever seen.:beer:

On this host the heatsink is large enough for me to use it to sink the drivers so no messing around with coins or half moon sinks. I got some thermal adhesive and let the drivers set for 15 minutes.

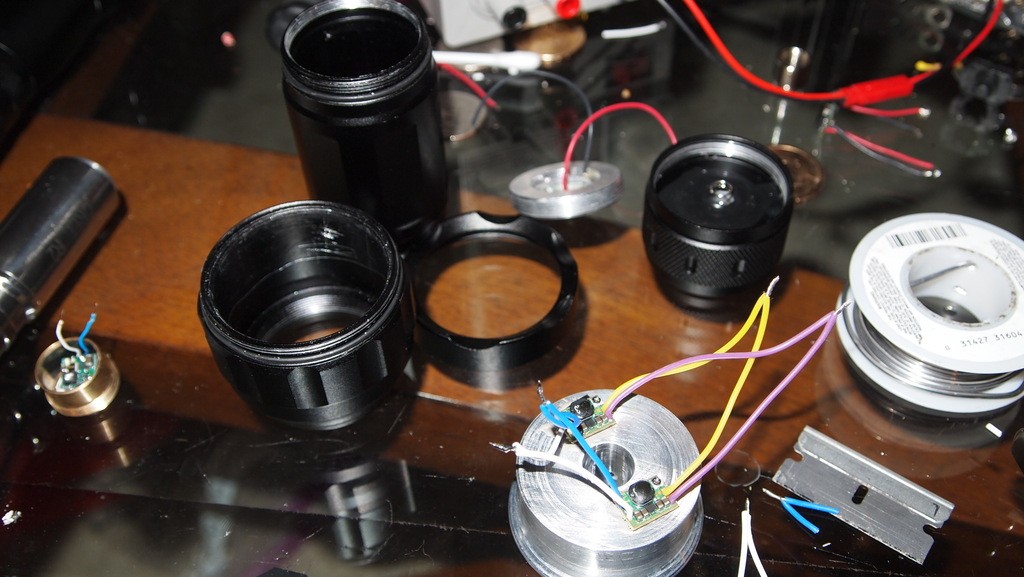
Next I harvested a diode and prepared to solder it to the leads from the drivers.
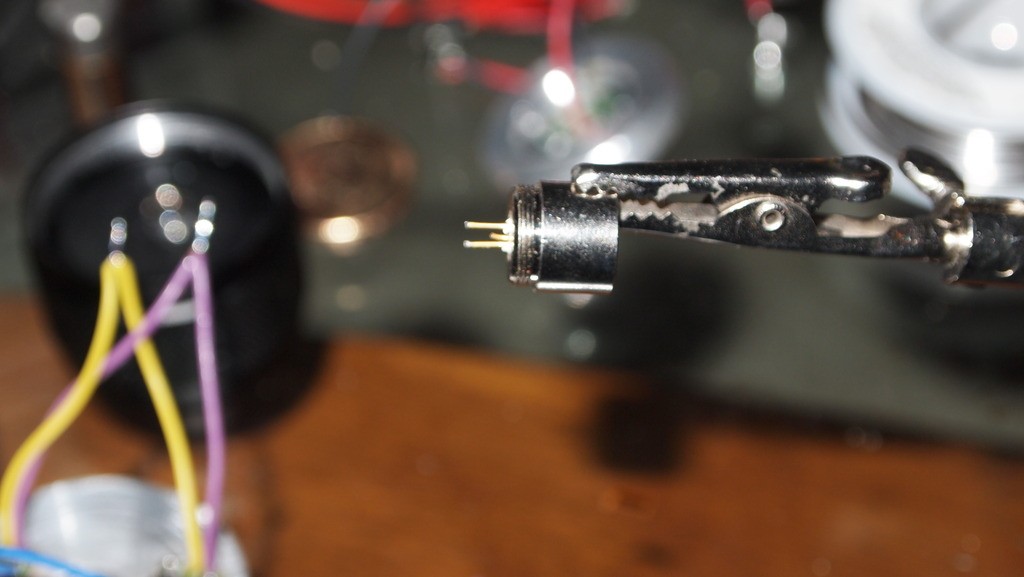
Now that your diode is connected just slide it into the back of the heatsink.
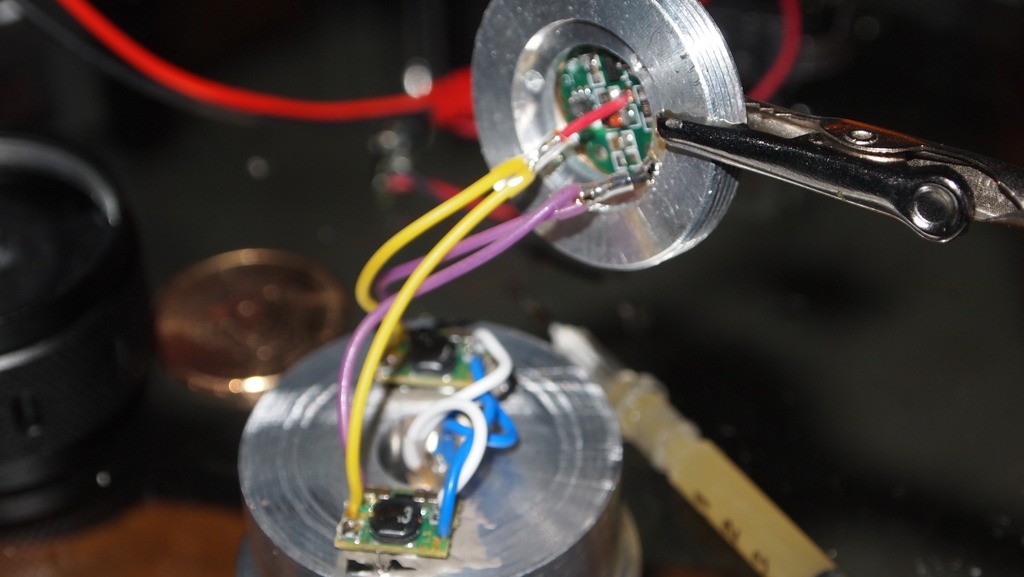
For the leads to the battery I shortened up the wires from the pill and prepared to solder the leads to them.

Now the hard part is over. All that is left is buttoning it up.
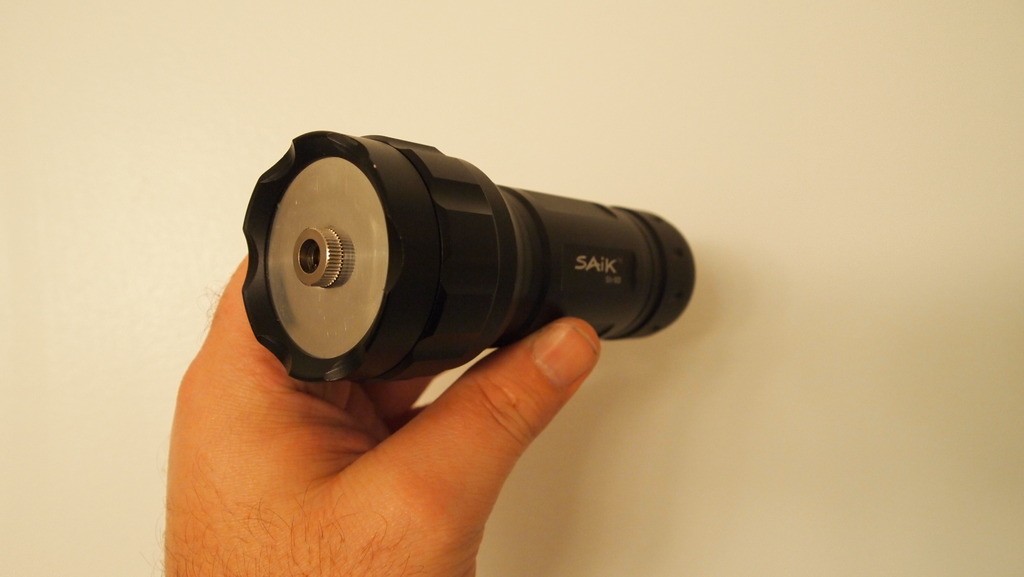
Place the heatsink in the head but don't screw the retaining ring on yet so the heatsink can spin as to not twist up your wires in the next few steps.
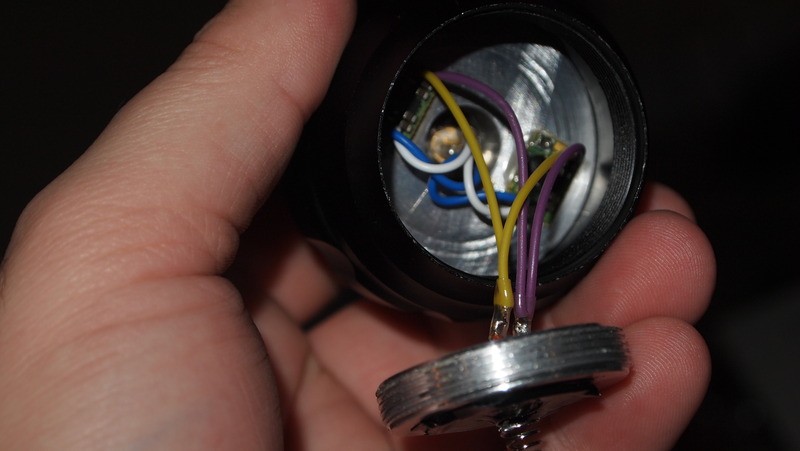
Screw the pill into the host but not too far so that it gives enough room for the battery.
Now pull the heatsink out a little and screw the head on the host body and be careful not to let the heatsink or host body turn independently of each other just the head.
Slide the heatsink back in the head and screw the heatsink retaining ring on.
Pop in a battery.
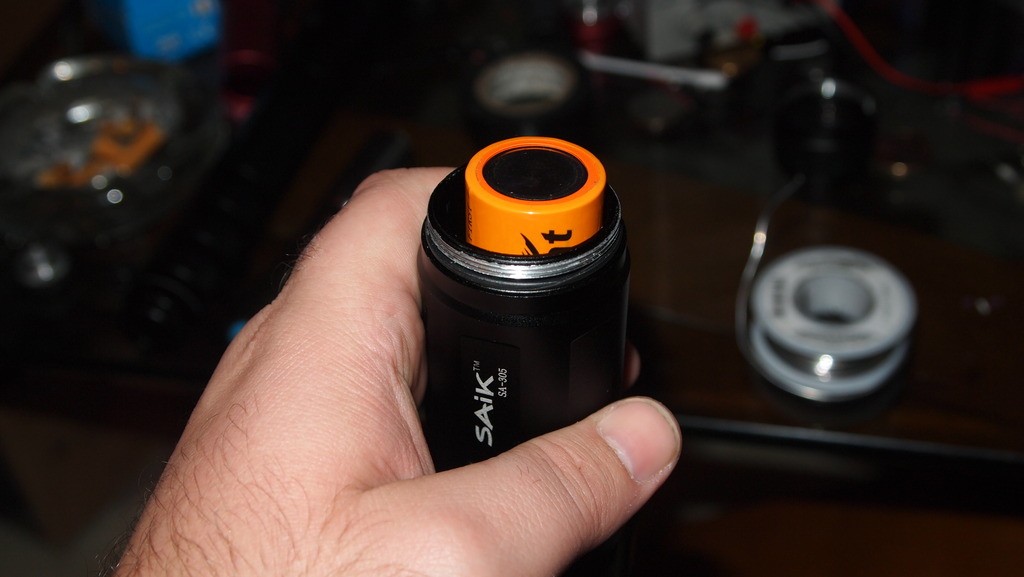
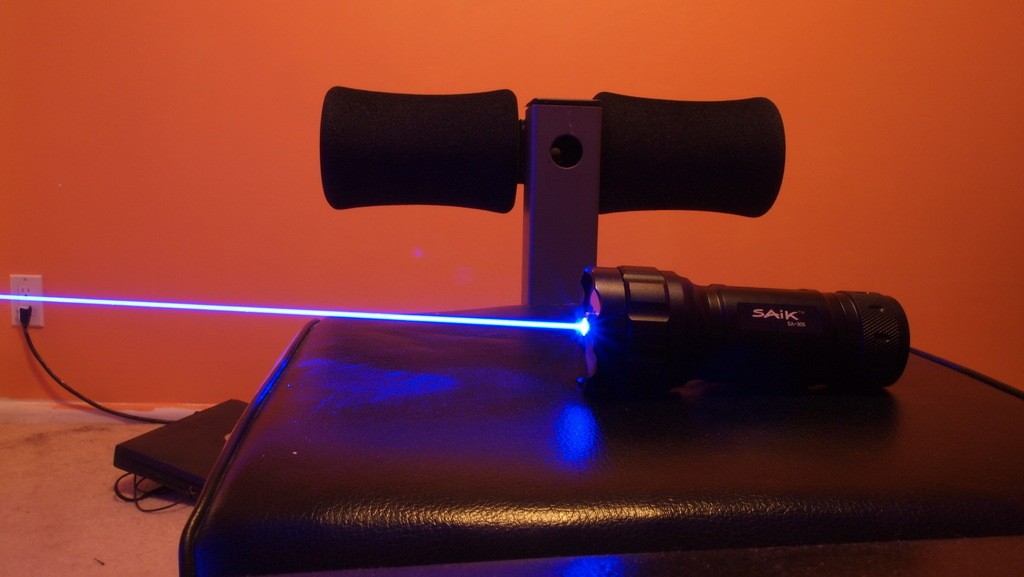
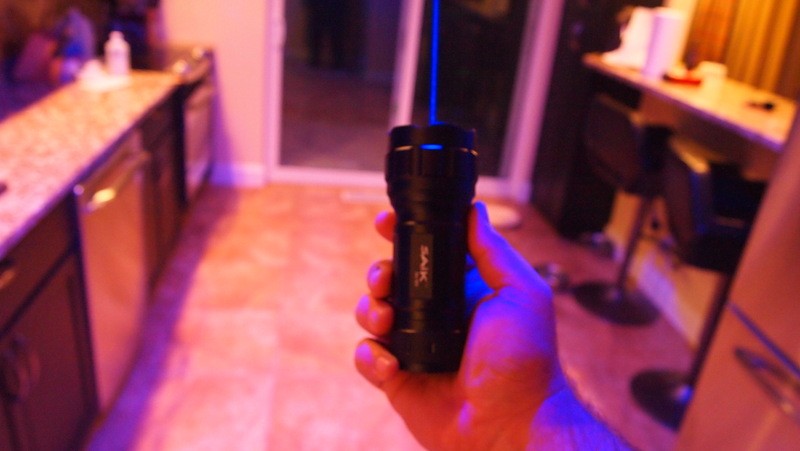
Screw on the tailcap and you are ready to lase.
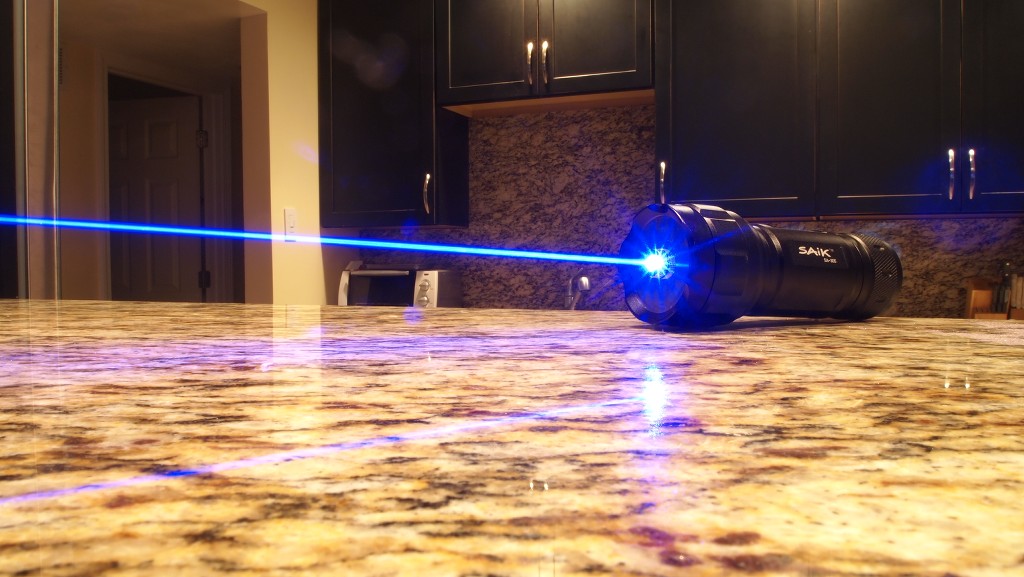
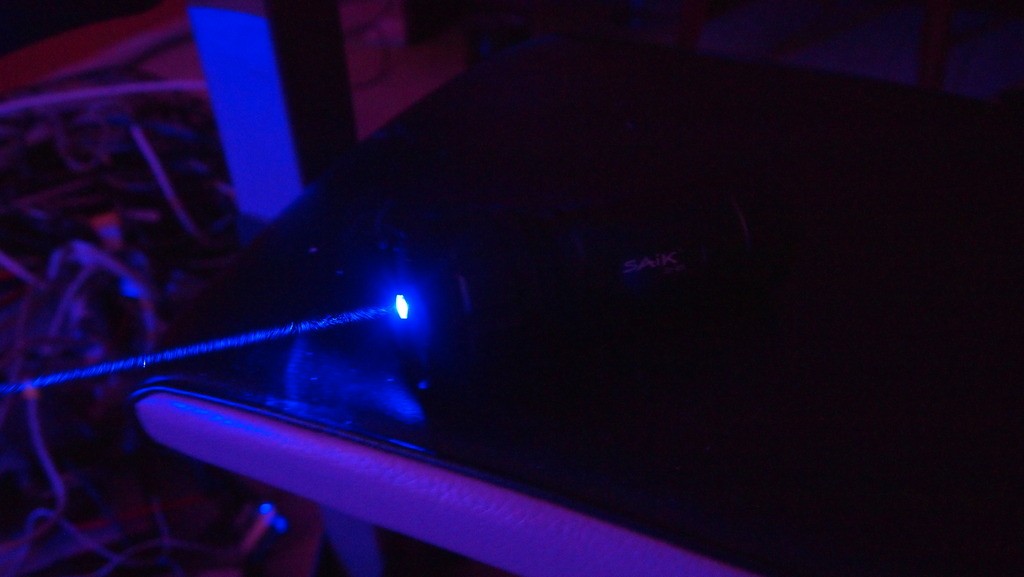
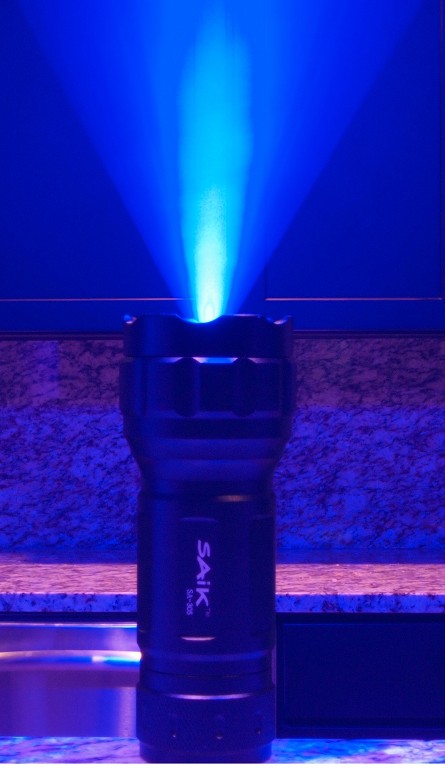
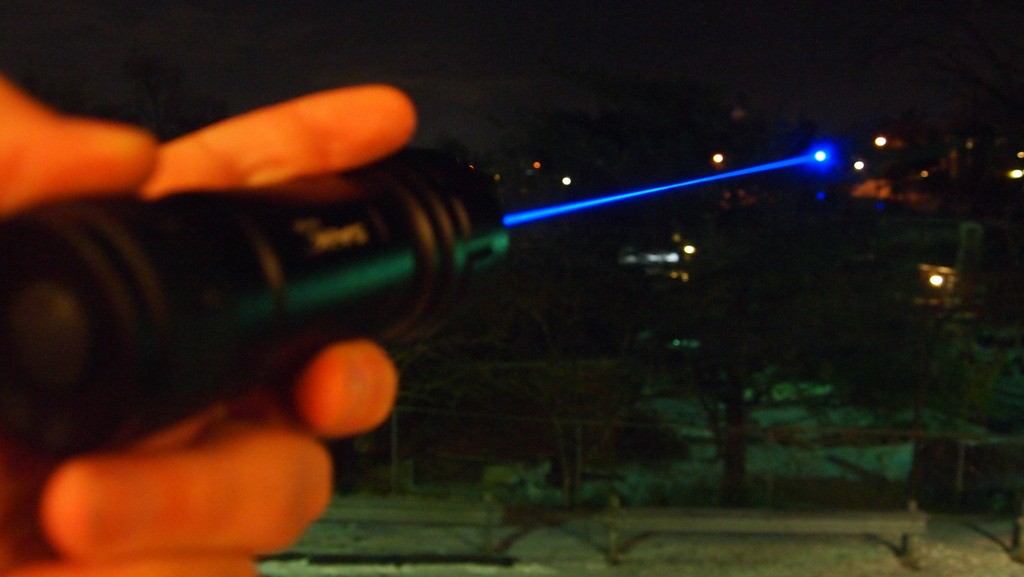
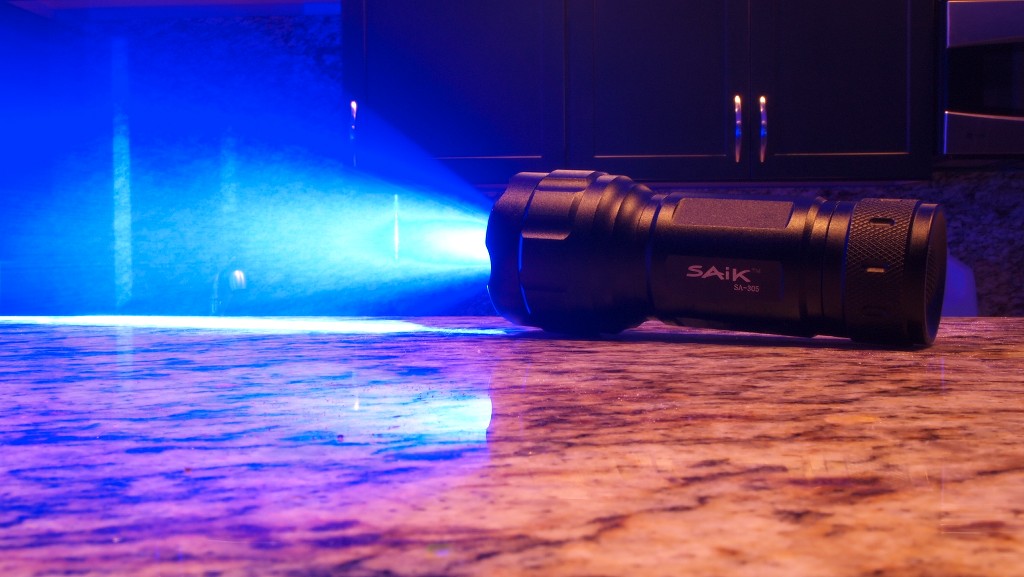
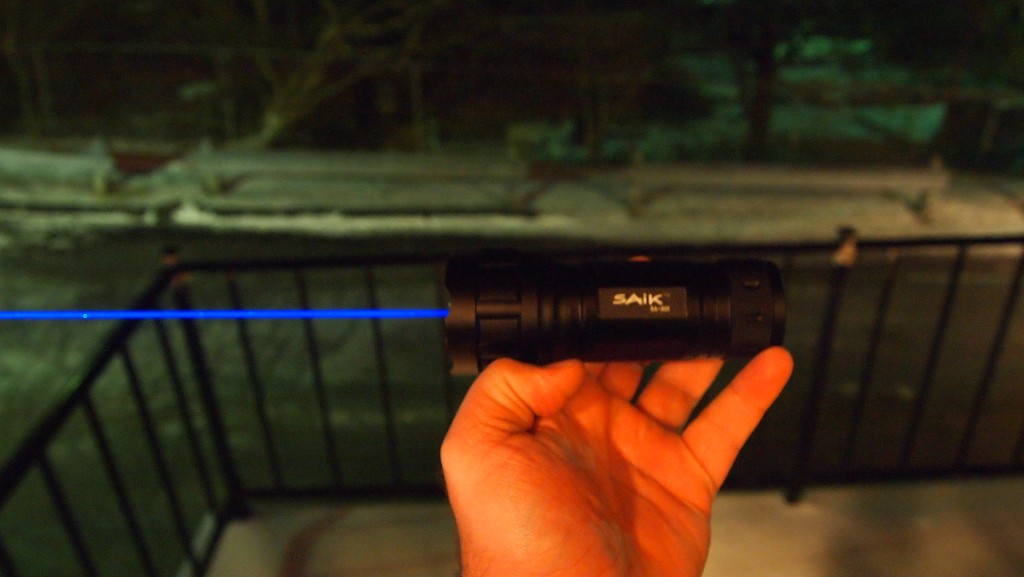
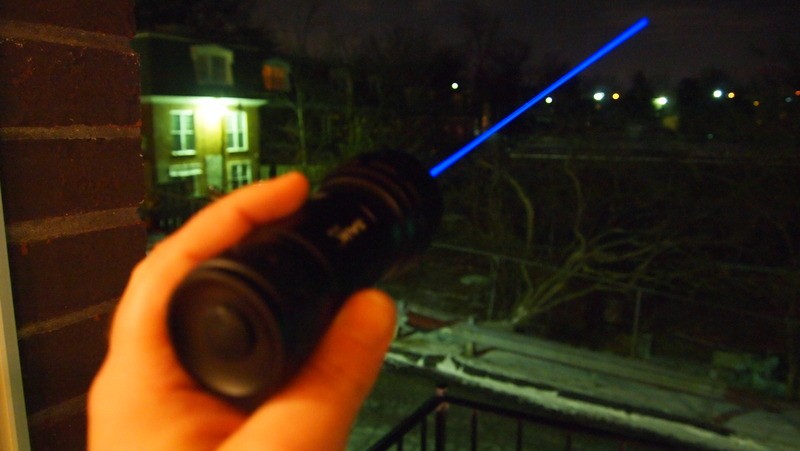
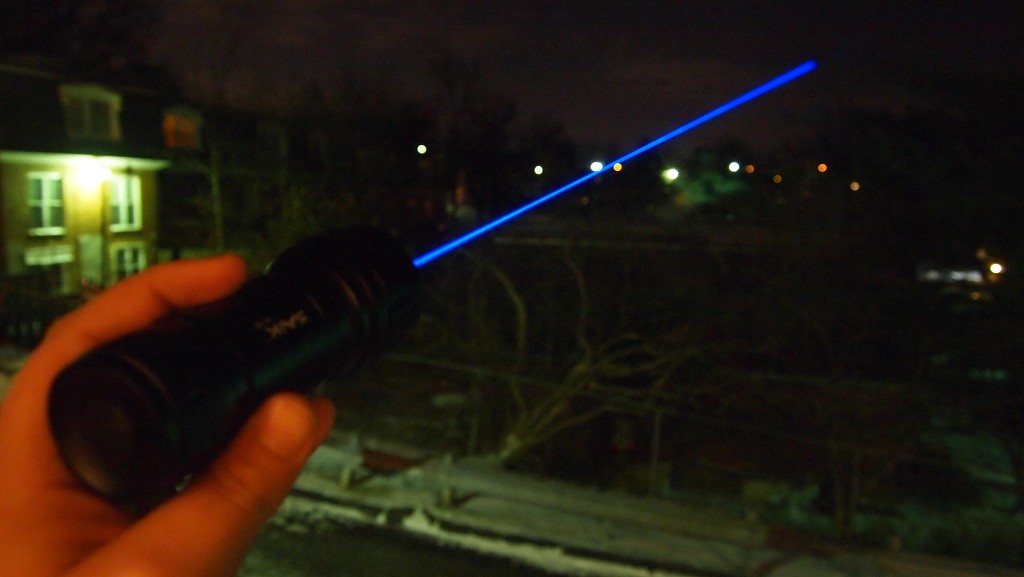
Beamshots
It had been suggested that for some of the newer members to point out that some of my beam shots are taken with long exposures or smoke so that the beam is more glorious. In real life they are spectacular but some of the shots I take make it look like it is spewing out plasma.:crackup:


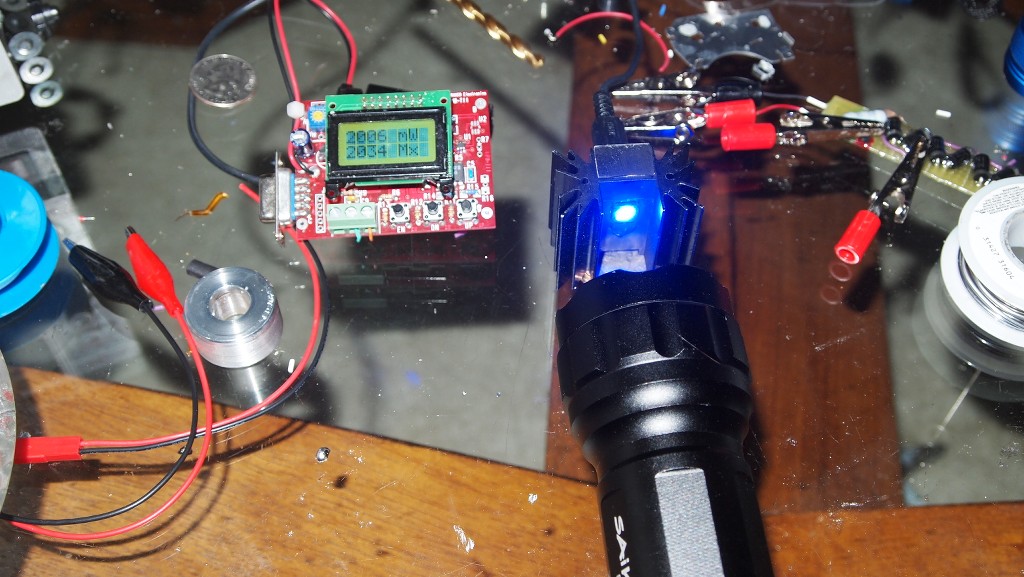
LPM Tests
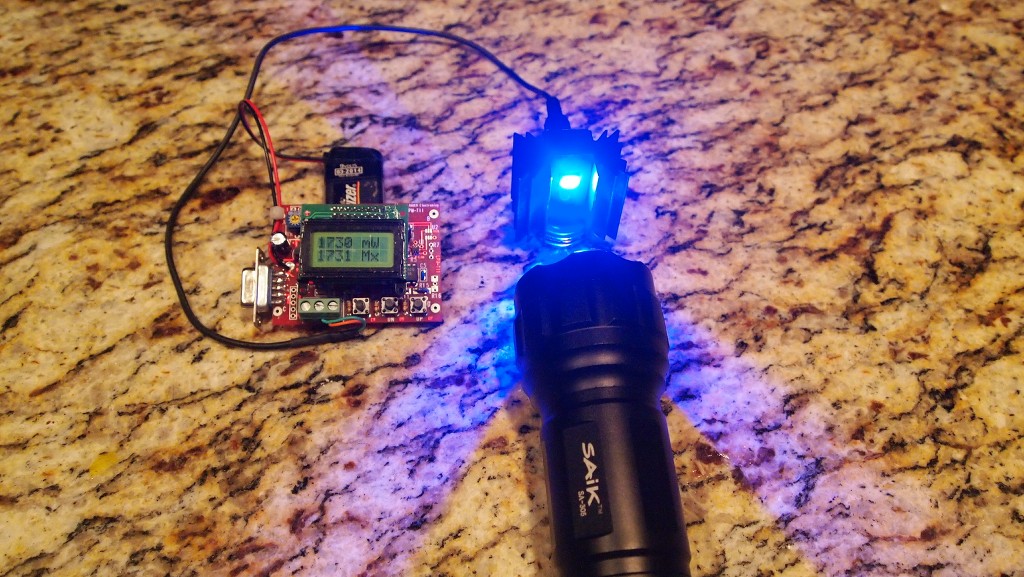
Alright so with this unit set @1.8A it is putting out around 1950mW and last few reviews I have done have had similar results. A lot of people asked why not just bump it a little to get the 2W well for those people I jumped it to 1.9A and it does over 2W.
I always hope to find a really efficient diode that will give 2W @1.8A like the one in the Frankenstein but most land right here. And 1.8A is where I am most comfortable setting these diodes. So I took a shot of it doing 2W then I turned it back down to 1.8A.2032mW Peak W/405-G-1 @1.9A
1732mW Peak W/Aixiz Glass @1.8A
Duration test done W/405-G-1 lens @1.8A
10 minute run 250mW drop.
Final Thoughts
This is a great sized host for good mass and a sweet look. I will continue looking for good hosts for these batteries but this is a great one that is pretty easy to set up and get a heatsink for. I definitely recommend it for anyone looking for a good high powered 445 project.
Thanks for reading my review. If you would like to see more of my tutorials/reviews please check the compilations link in my sig.:beer:[/QUOTE]
Last edited:


")