- Joined
- Jun 24, 2010
- Messages
- 5,705
- Points
- 113
A quick EDIT for this tutoral. I have another style as well. It is a 32650 sized unit that is doing 2.3W.
__________________________________________
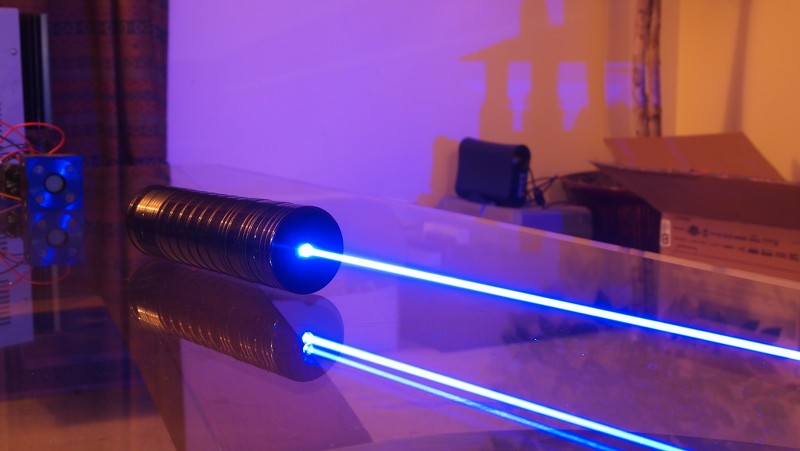
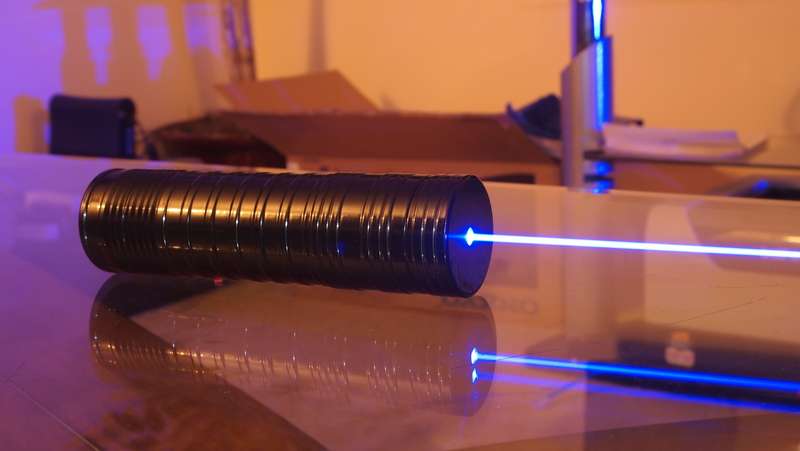
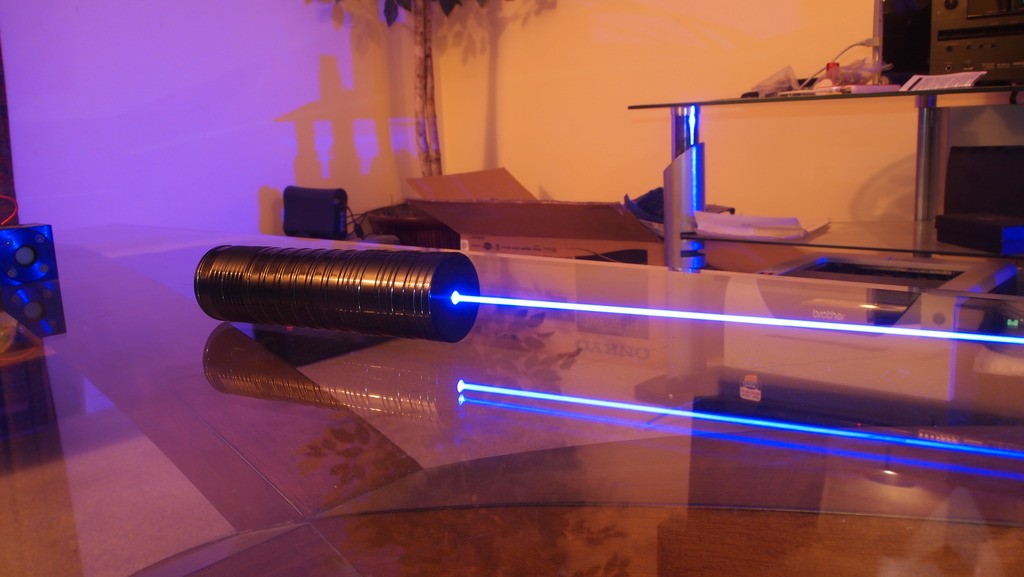
Here we go. I got a new personal high with a Ehgemus Alien host I built today. 2.3W @ 1.8A.:gun:
I decided not to do a new tutorial thread as this is just a recreation of this Alien style host but it is fit for a 32650 not a 26650 as the original in the OP was. This is an exceptional laser. It has a little fatter body that gives a beefier look and feels really solid with great weight. Plus is uses a 6000mAh 32650 Feilong battery.
I was shocked when I first tested it. Came out to 2318mW and it was not even from a cold start as I was playing with it trying to get the lens to the right depth in the focus adapter.:san:
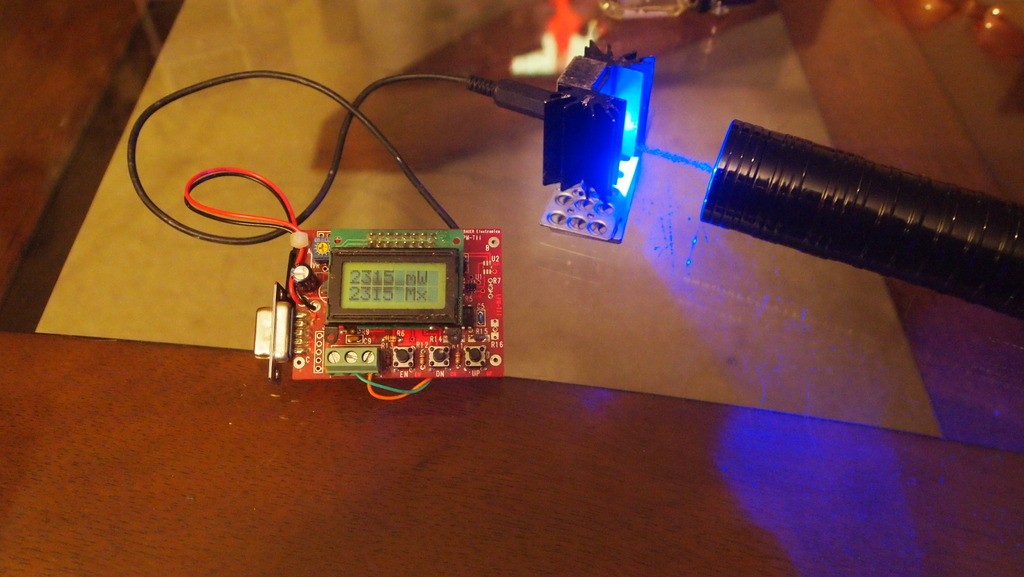
So I let it cool down and then did a 5 minute run on my Orphir LPM.
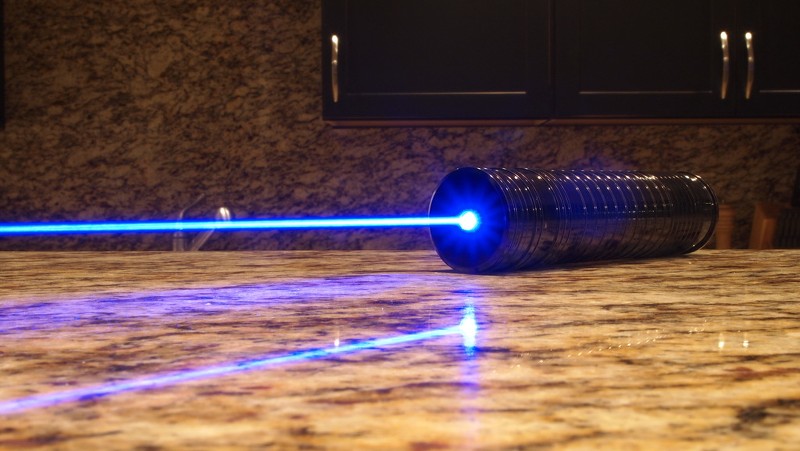
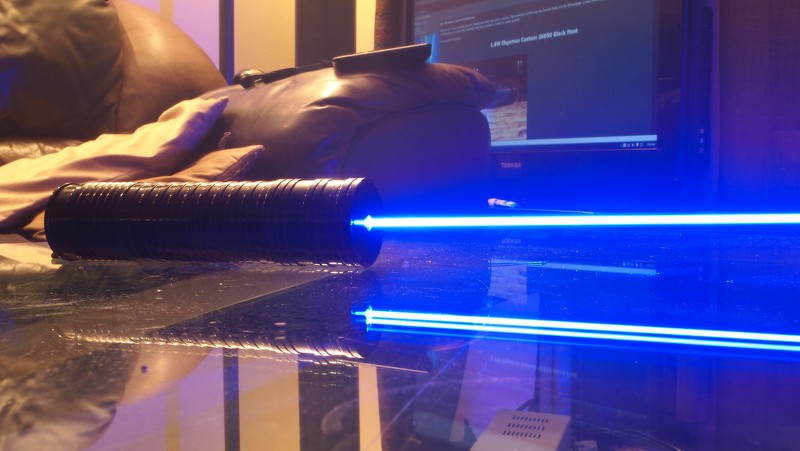
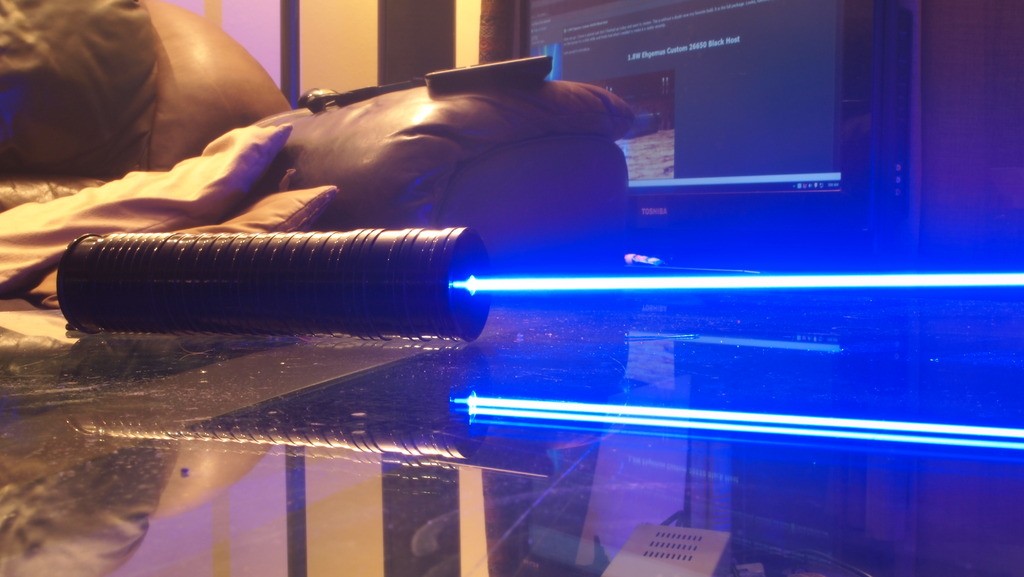
Here are some sick long exposure shots.:eg:
_____________________________________________
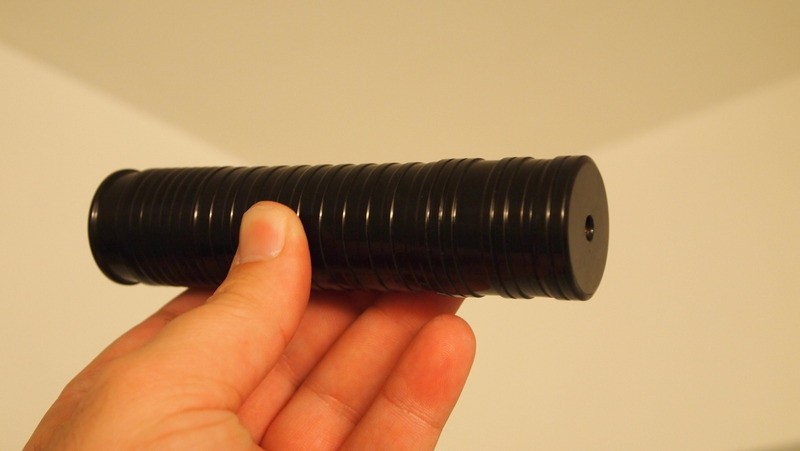
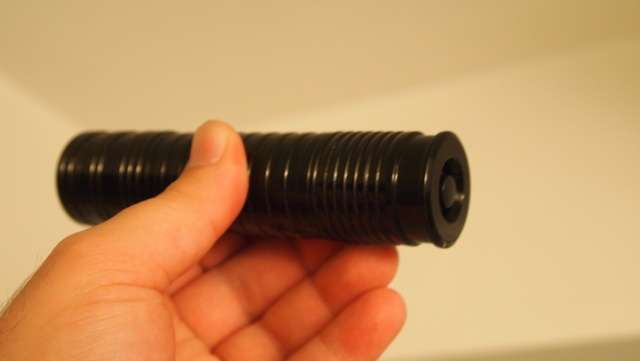
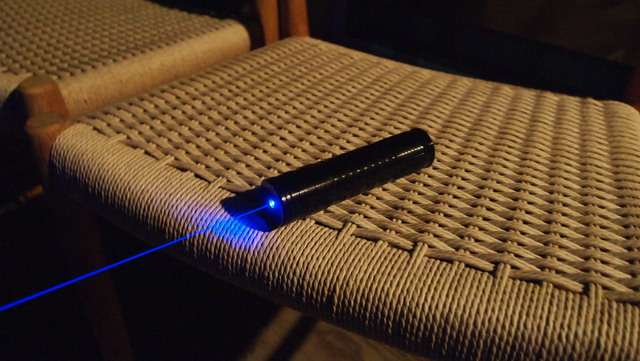
Here we go. I have a special unit that I finished up today and want to review. This is without a doubt now my favorite build. It is the full package. Looks, funconality and power. I have had this one on the burner for a little while and finally had what I needed to make it a reality recently.
I am proud to introduce,
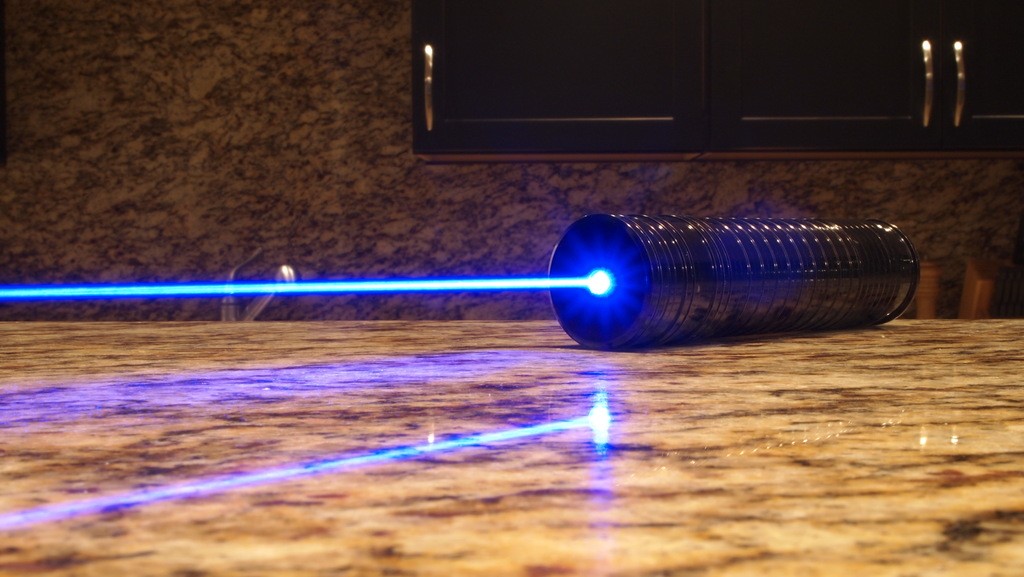

This project started with a battery. The biggest concern that I have been having lately with these high power builds is the current draw of the boost drives. Just pushing a 445 @ 1.5A with a Flexdrive they are pulling between 2.5A fully charged to 3A as the battery gets low. Now I have been thinking about doing a dual flexdrive unit for a while. The only problem is a standard AW 18650 2900mAh battery commits suicide when trying to draw anything over 3A from them. So I have been searching for alternatives. That is when I stumbled across this battery which I have found on two of my favorite battery sites. Lighthound and Batteryspace. It is a 26650 4000mAh battery that can handle up to a 10A draw.:eg:
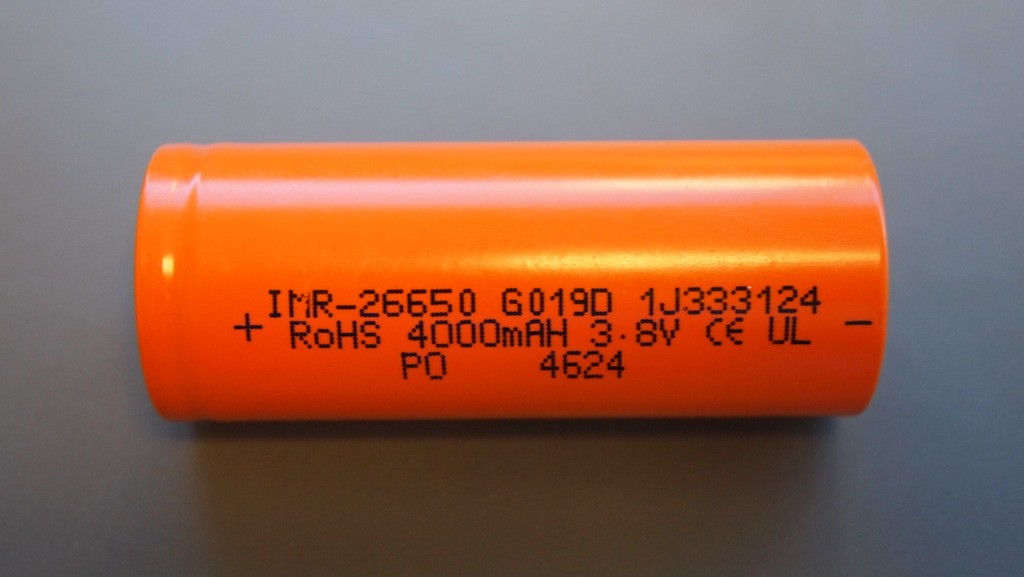
Here are the links for the batteries.
Lighthound IMR 26650 4000mAh LiMN rechargeable lithium battery
LiMnNi Rechargeable 26650 Cell: 3.7V 4000 mAh, 10A rated 14.8Wh - UN Approved (NDGR)
I think the composition is identical and the only difference I can see is the positive contact. In this host it makes no difference but the Batteryspace one has a larger contact that sticks out a little further making it easier to put them in series. But we will just be using a single battery for this unit so not a big deal.
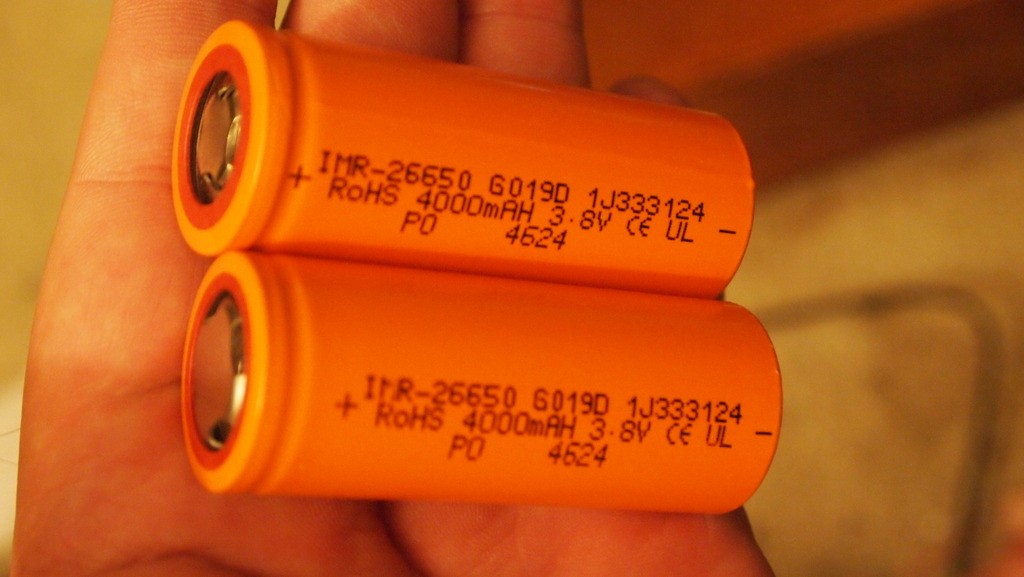

The Batteryspace unit makes contact very well when stacked.
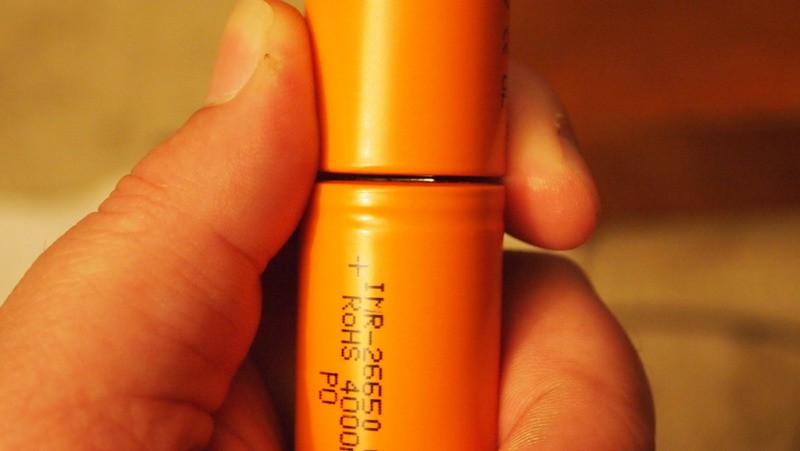
But the Lighthound does not make contact due to the fact that the positive contact is smaller and recessed a bit.
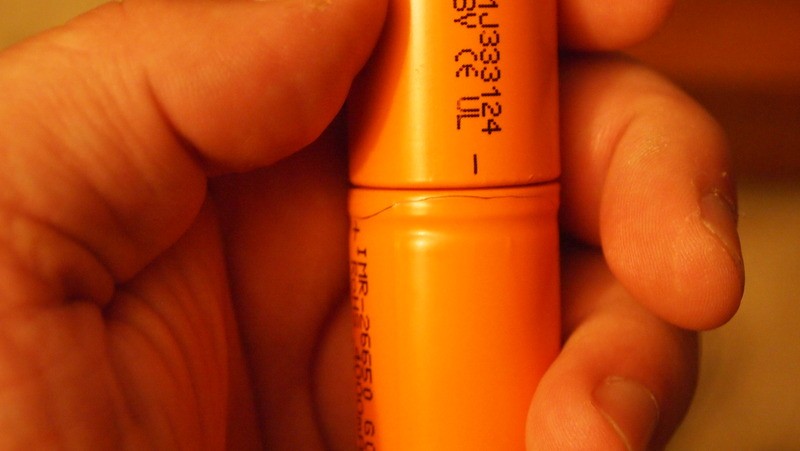
Here are the specs from Lighthounds product page that are the same as the Batteryspace page.
------------------------------------------------------
Safe chemistry LiMN 3.7V rechargeable battery is now available in 18650 size. These cells can handle high amperage and is safe to use in series / multi-cell applications. Can be charge with any LiIon battery charger with 4.2V output.
IMR26650 Specifications: Nominal Voltage : 3.7V
Capacity : 4000mAH
Lowest Discharge Voltage : 2.50V
Standard Charge : CC/CV ( max. charging rate 5A )
Cycle Life : > 500 cycles
Max. continuous discharge rate : 10A
Operating Discharge Temperature : -10 - 60 Degree Celsius
Size : 26.18mm (1.03") x 65.33 mm (2.57") +/- .05mm
-------------------------------------------------------
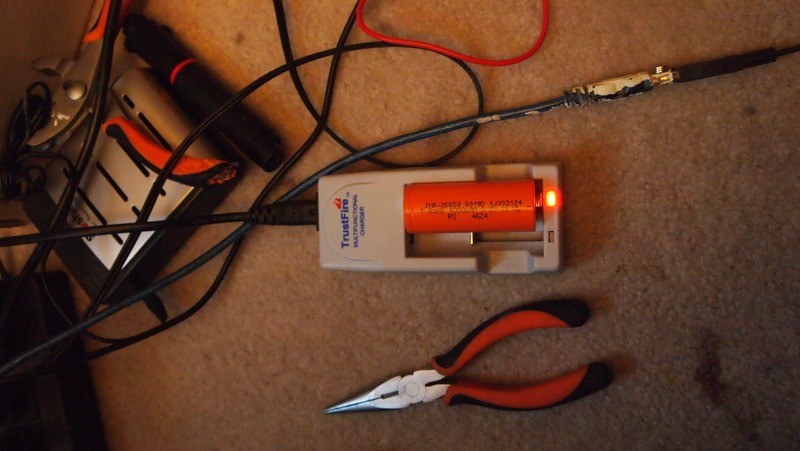
Now my first thought was how well will these fit in my charger. So when I got them I tried them in my Trustfire charger. I needed to wedge them in and use a magnet on both sides to make contact. And it takes up both bays so no chagrining anything else while this hoss is in there. It worked but not the best solution.
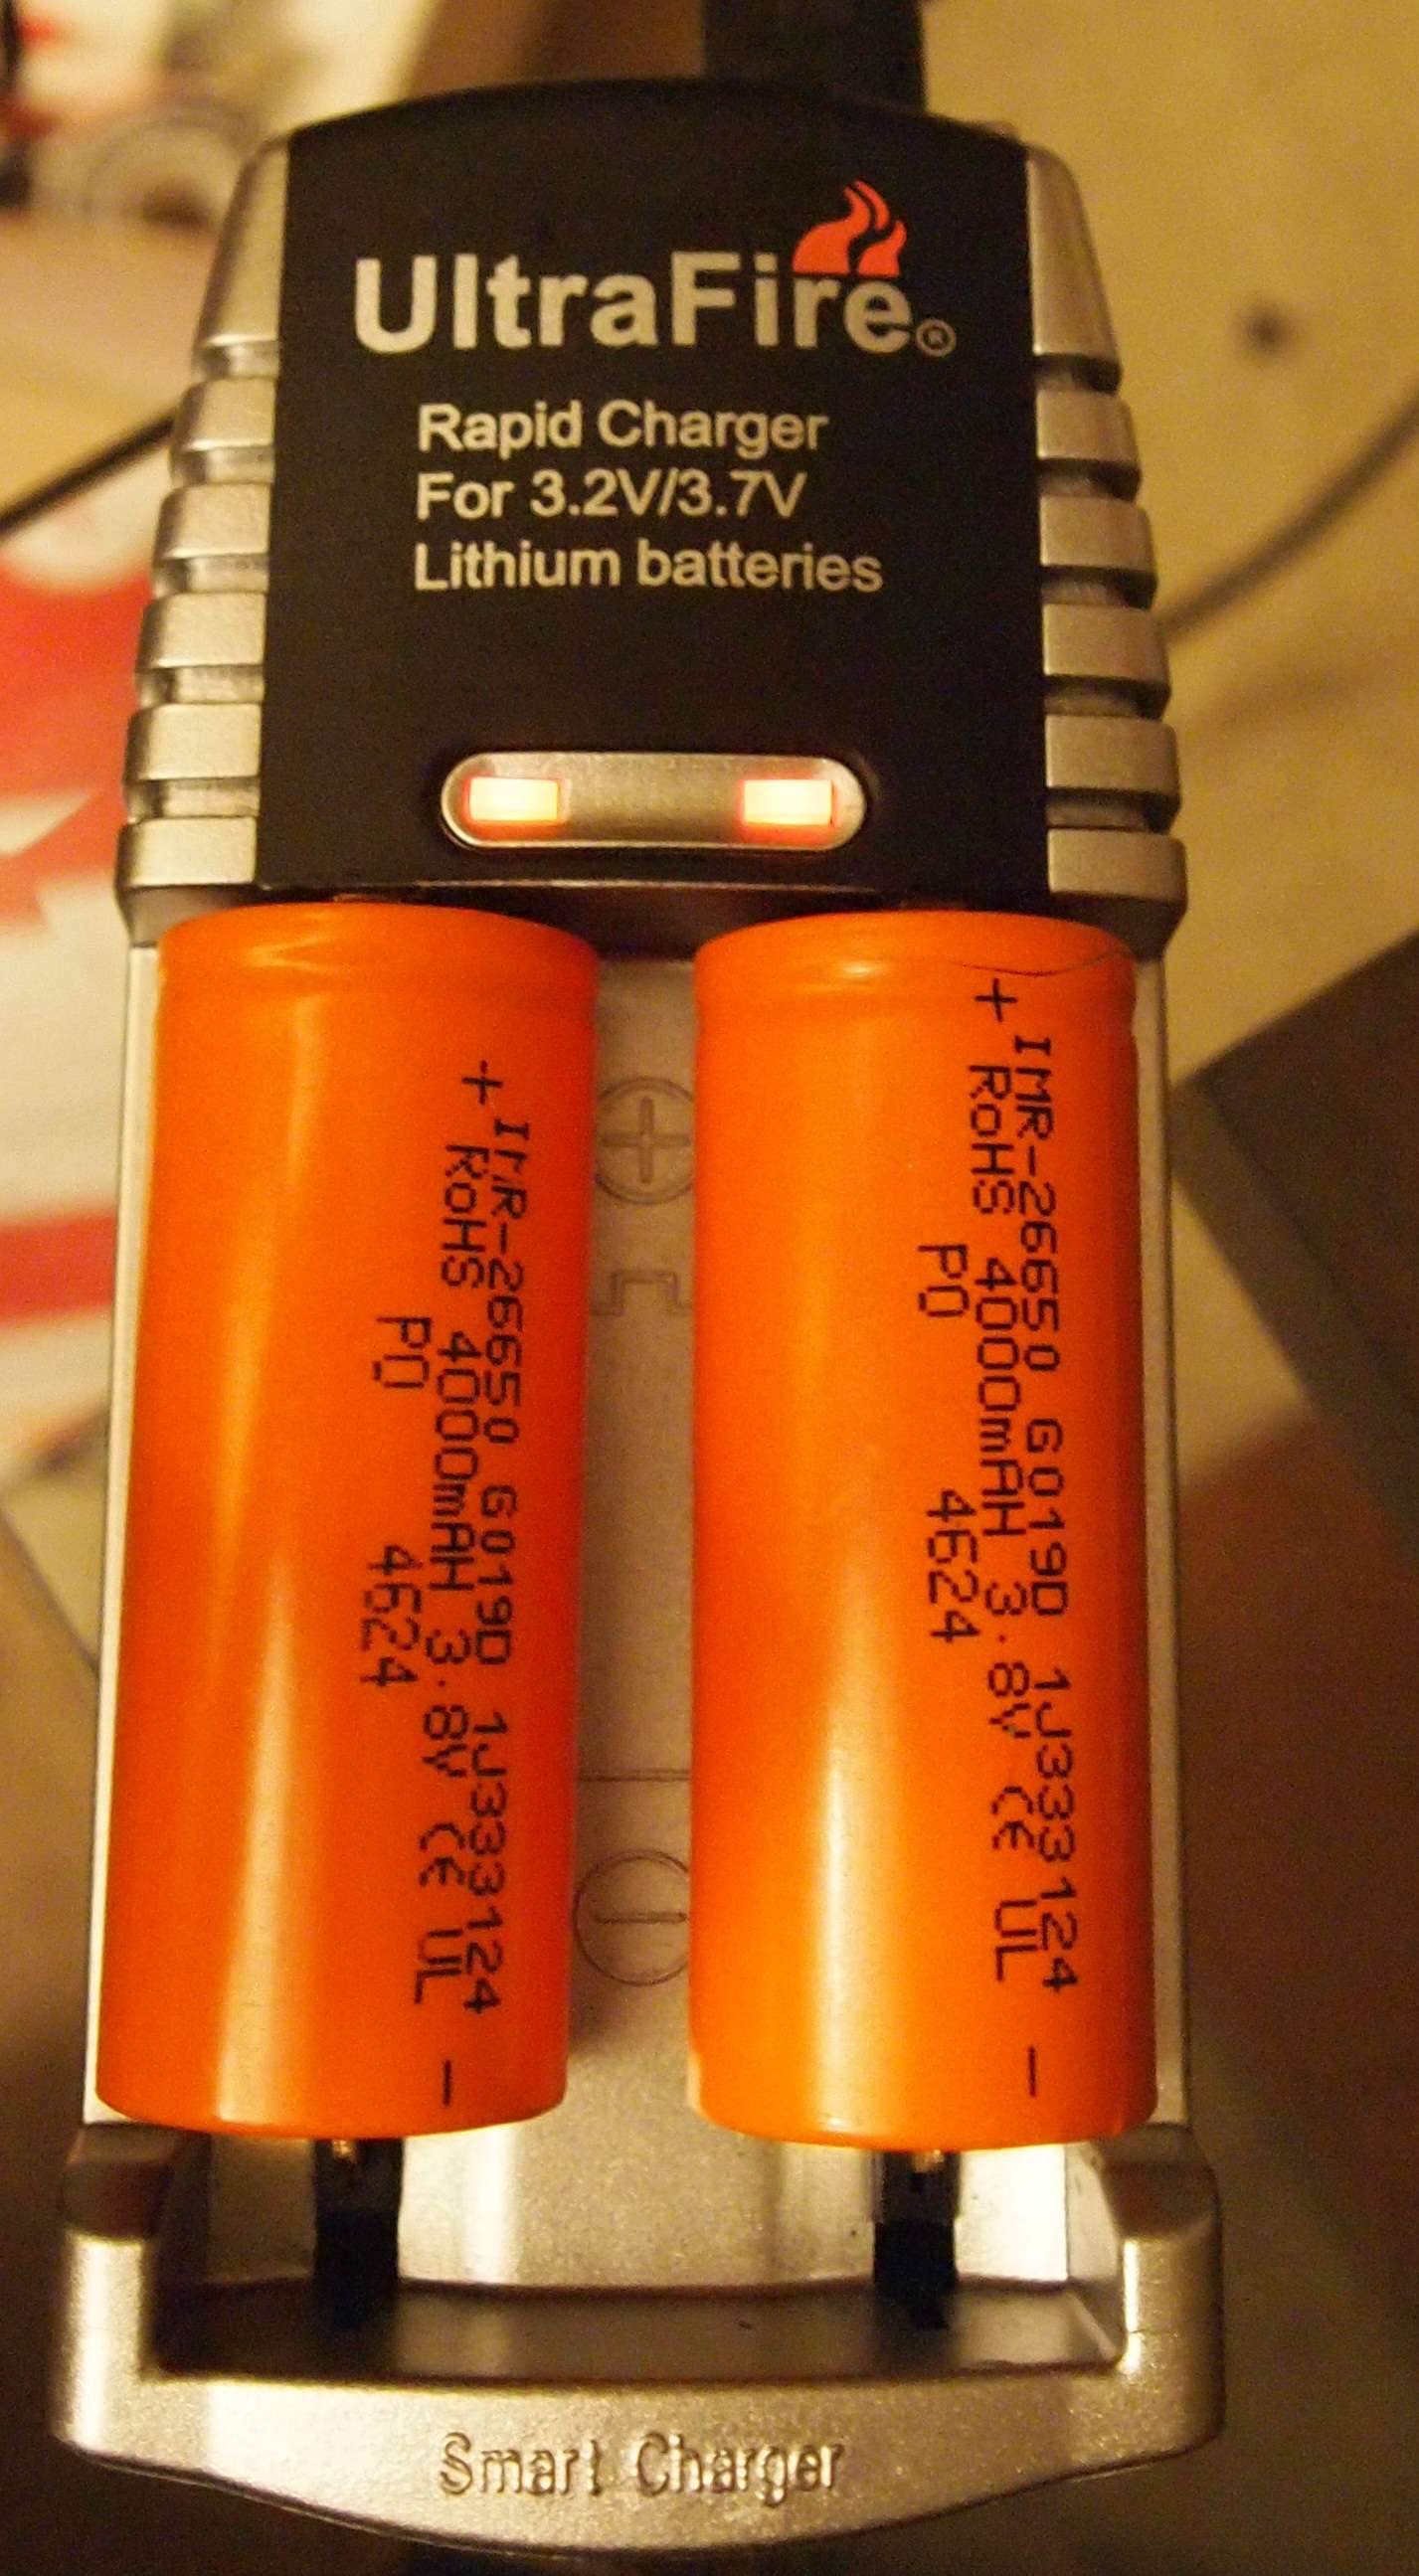
So I ordered the Ultrafire WF-188 charger because it has a little wider charging bay and the nice thing is I can switch between 3.7V or 3.2V to charge my LiFePO4 batteries. When I got this charger first thing I did was pop in these bad boys and would you know it they fit perfectly and charge to a nice 4.21V.
So now I have my battery figured out I wanted a host. I thought about some 3XAA battery flashlights but I wanted a unique looking host so I PM'ed Ehgemus and like most members that I have talked to he had not seen this type of battery before so he asked me to send it to him to size the host to the battery. Sounded like a good plan so I sent it off.
A few days later I got a PM from him all excited about the new host he was making for me and said that it should be done in a few days but if I could spare it he wanted to keep the battery so he could make one for himself. No problem I said and asked if he could document the process of making the host a little for my readers.
So he sent me these pictures showing the various stages of completion of the host.
Here is the basic aluminum host body with the ends threaded for the direct press head and the tailcap. The great thing about the direct press head it makes the whole host body the heatsink.:eg:

Next to the lathe.


Now that the body is all done here is how it looks.

Next thing needed was to make the focus adapter that screws into the head via the lens.

Now all that the body is done it is time to add the powder coating. I went with black on this one but he also could do white, blue and red.


Now either he has elf hands or I just have goliath ones because I was looking at the photos that he sent and was thinking "this thing is massive".:na:
But when I finally got it I found it very well sized and comfortable to hold.

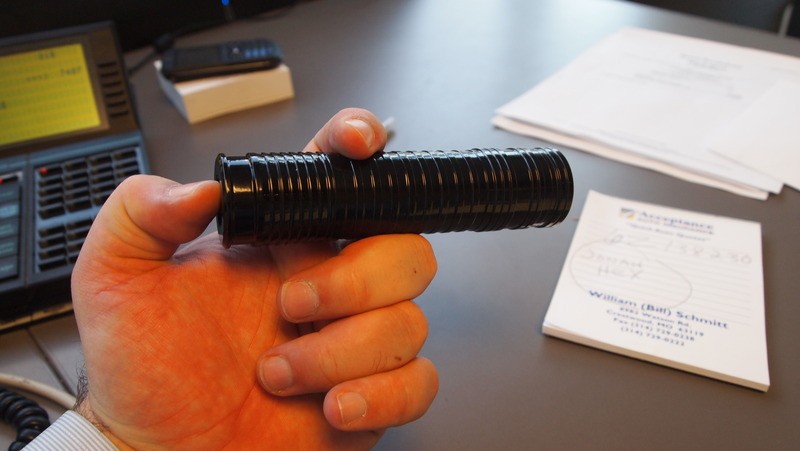
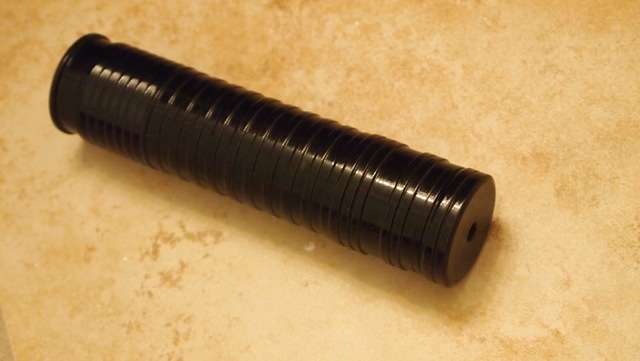
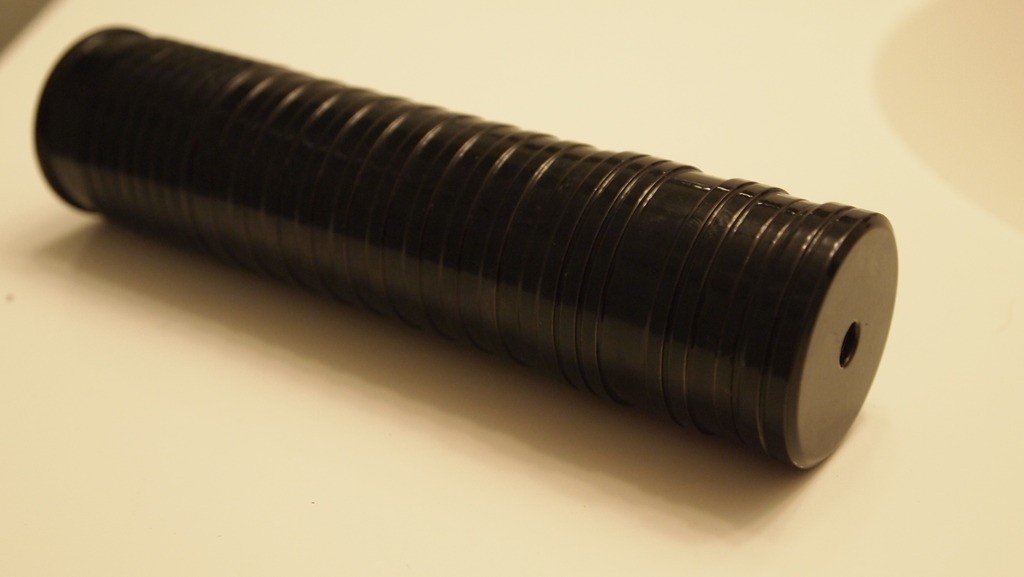
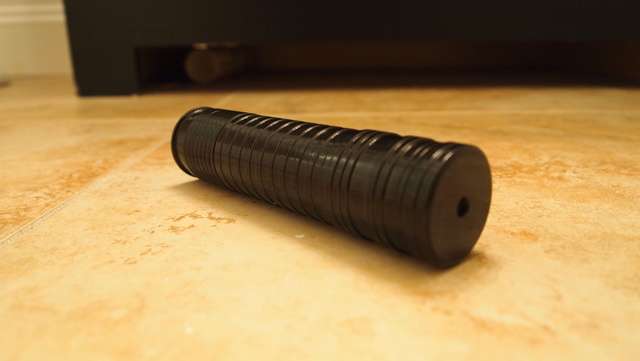
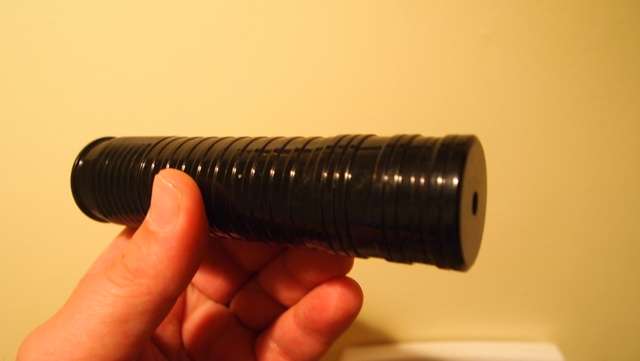
Here is a little size comparison with the Frankenstein and my SS 18650 from Jayrob.

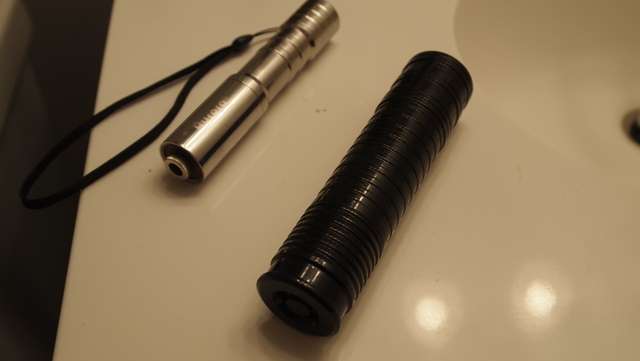
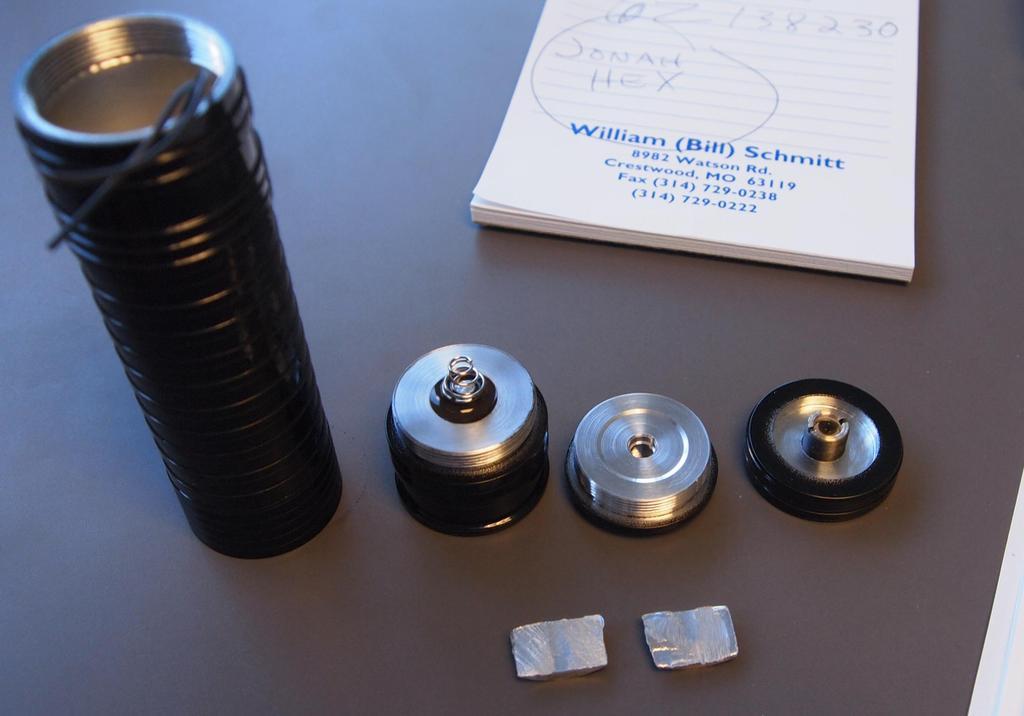
First thing I did was break it down and this host consists of these parts. The host body, tailcap, direct press head, focus adapter and I also asked him to make two little half moon aluminum sinks for the drivers.
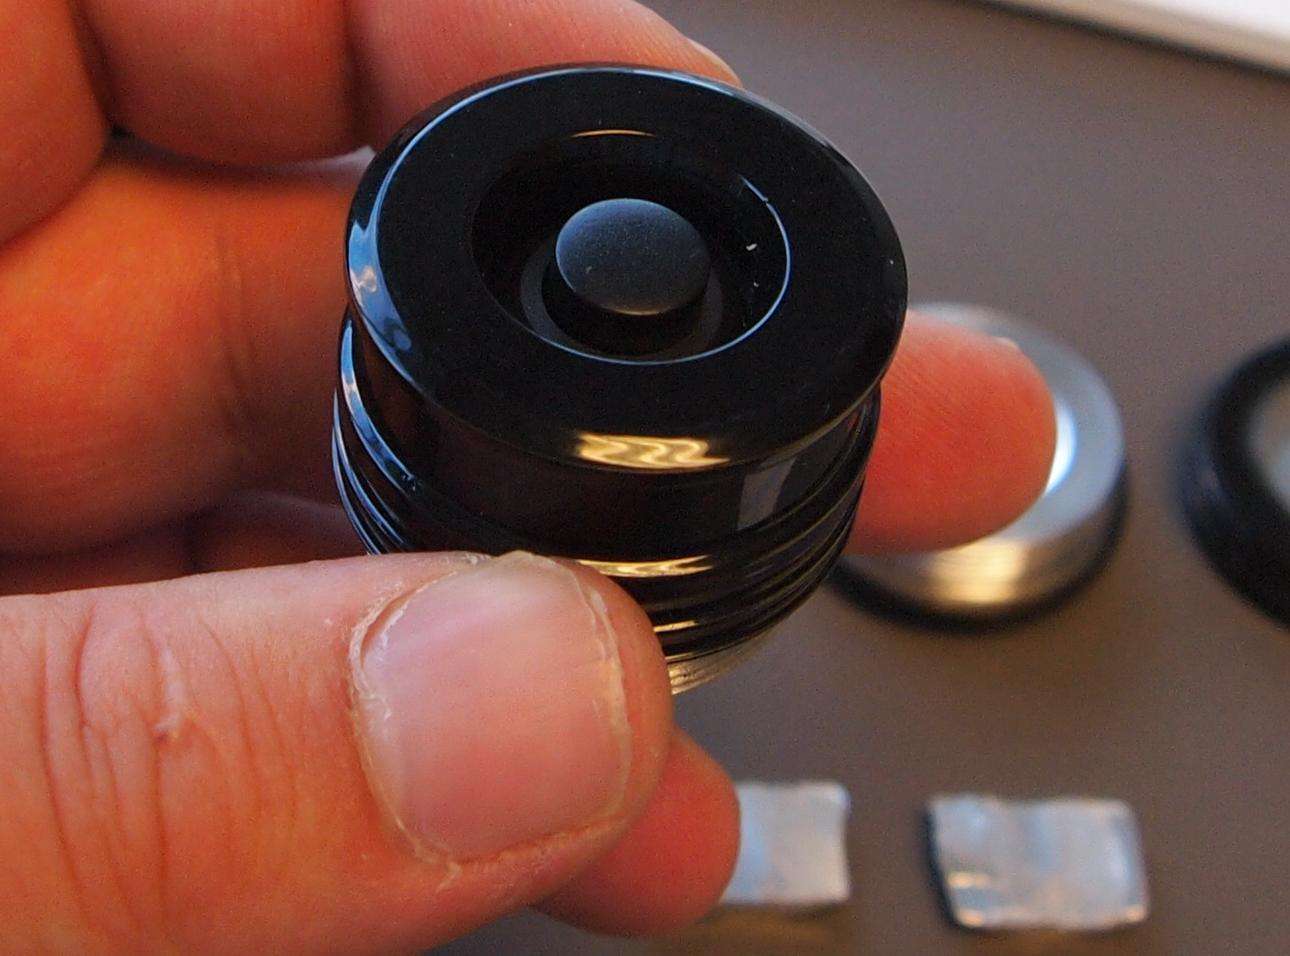
Now I just want to take a moment to highlight one of the best things about Ehgemus's builds. The clicky. It is a forward clicky with the best action that have seen on any of the hosts that I have had the pleasure of using. Since it is a forward clicky you can use it as a momentary with a soft press or a on/off style by pushing it all the way down. Just amazing. Not that the rest of the host is not as amazing.
So to get this unit all put together I am going to need two flexdrives. Now beside the waiting for the host to arrive this was the longest part of the whole build. Setting the flexdrives to the exact same mA. I ended up setting both to 810mA because with these flexdrives the pot is so sensitive. I was shooting for 800 but hit 810 on the first and then spent about an hour trying to get the other on to the exact same setting.:banghead:
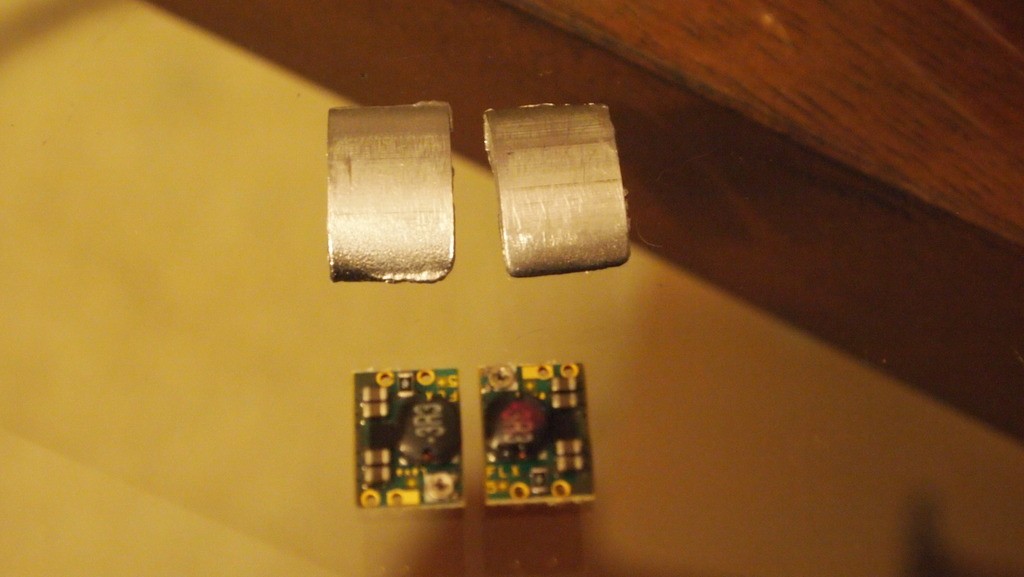
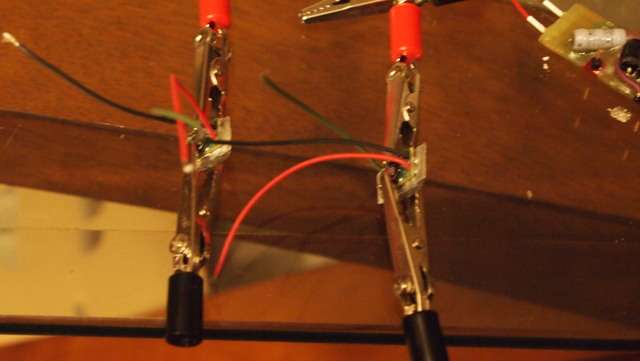
Now that they are set to the same mA I got out my thermal adhesive and bonded the drives to the little half moon sinks. I used alligator clips to hold them in place while the adhesive hardens.
When we were discussing this build Ehgemus knew that I was going to do a dual driver so he put two wires coming from the positive contact for the drivers.
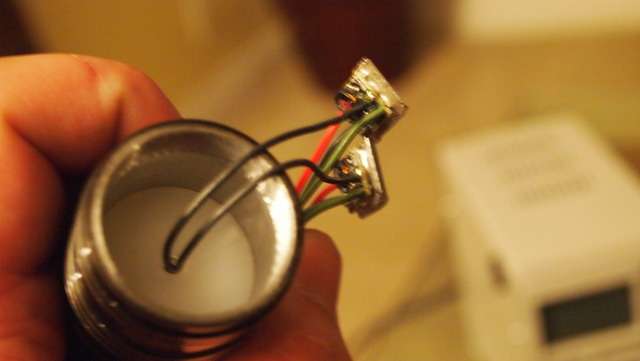
Next I got some more thermal adhesive and bonded the rounded part of the first little heatsinks to the host inner walls.
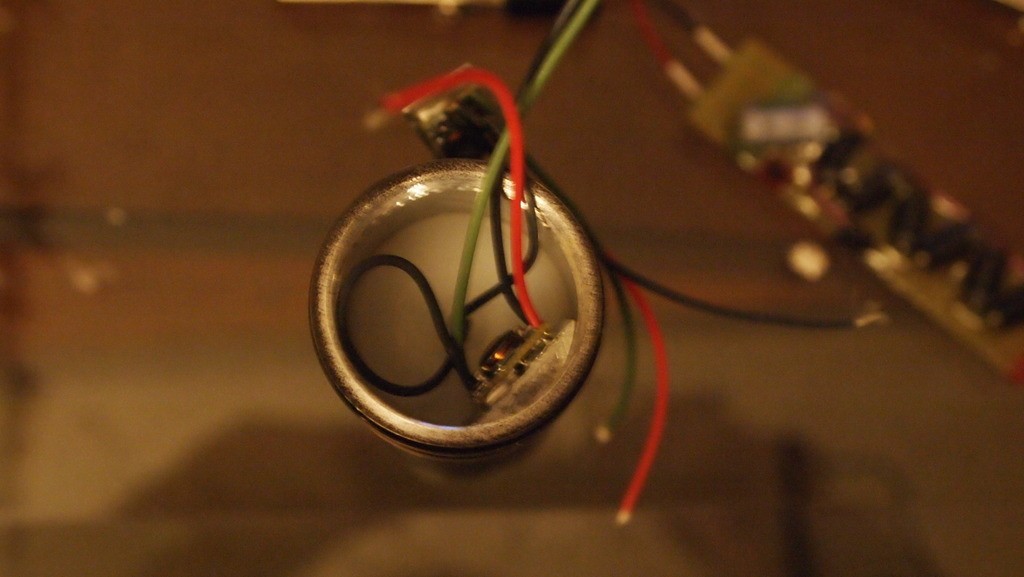
After the adheasive hardened I checked and it was well bonded to the inside of the host.
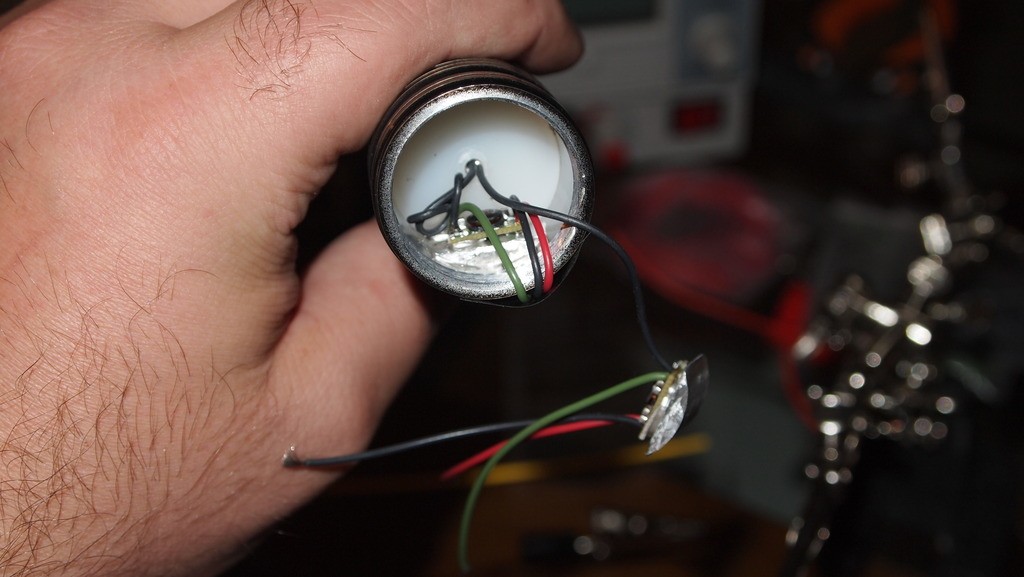
I bonded the second and was left with a little wire mess.

I trimmed down the wires, soldered the six wires into three and packed them down into the pill. Leaving three wires for the diode. The positive, negative and case pin wire.
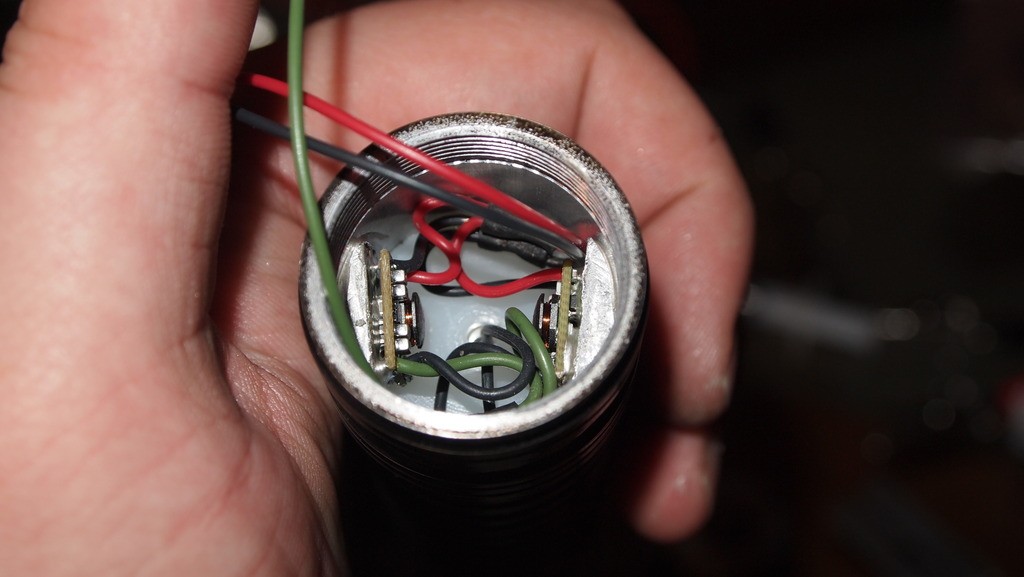
Now I pressed a diode into the head and soldered the three wires to the pins. You will notice I left a little slack on the wires so they don't bind when you screw the head on.

Now gently screw the head on. Ehgemus's hosts have very smooth threads so there should be no problem slowly screwing it in and making sure that the wires don't not bind. If you feel it binding unscrew and try again.
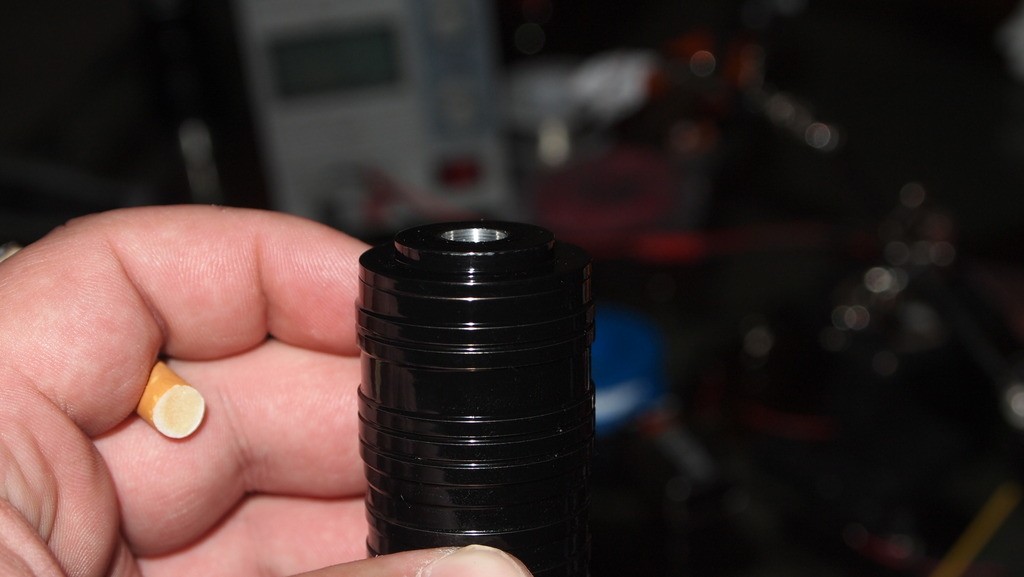
Next I prepare my 405-G-1 lens. I put 1 and 1/2 wrapes on the center of the lens. It is important not to put the tape over the whole lens because little peices can be shreaded off at the bottom when focusing dropping some in the module that can get on the diode window burning it and destroying your diode.
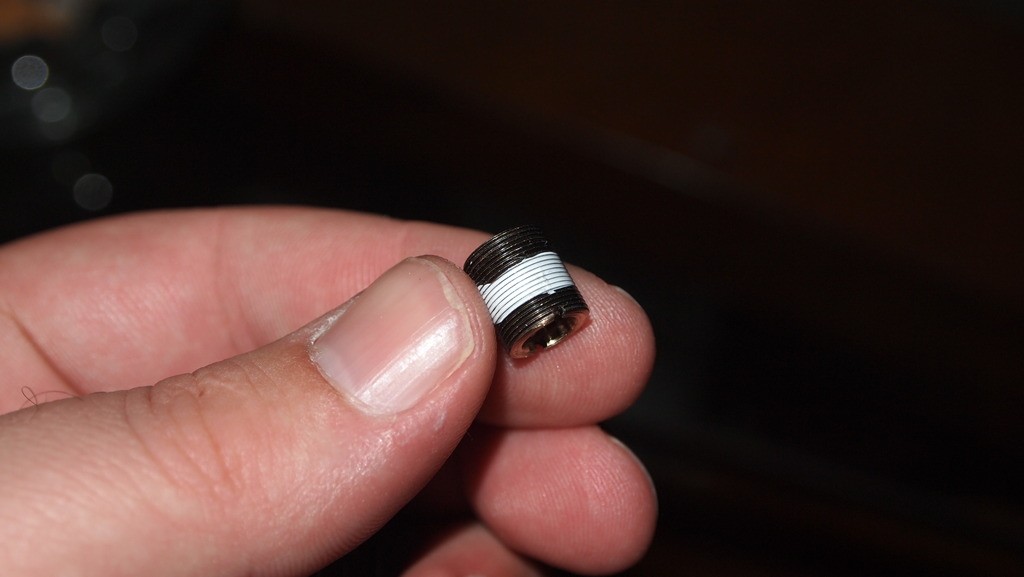
Screw the lens into the focus adapter and tighten it down as hard as you can by hand.
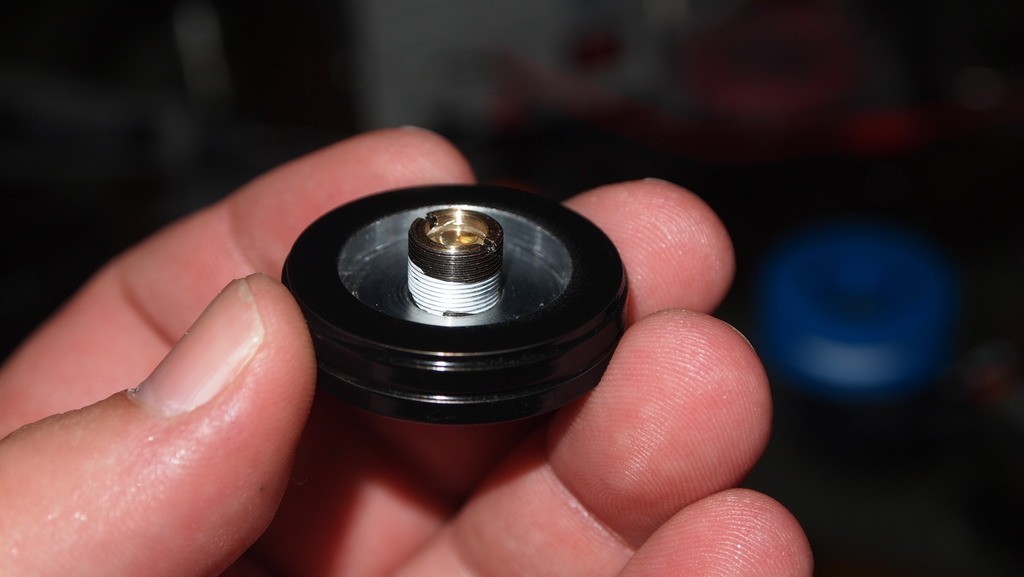
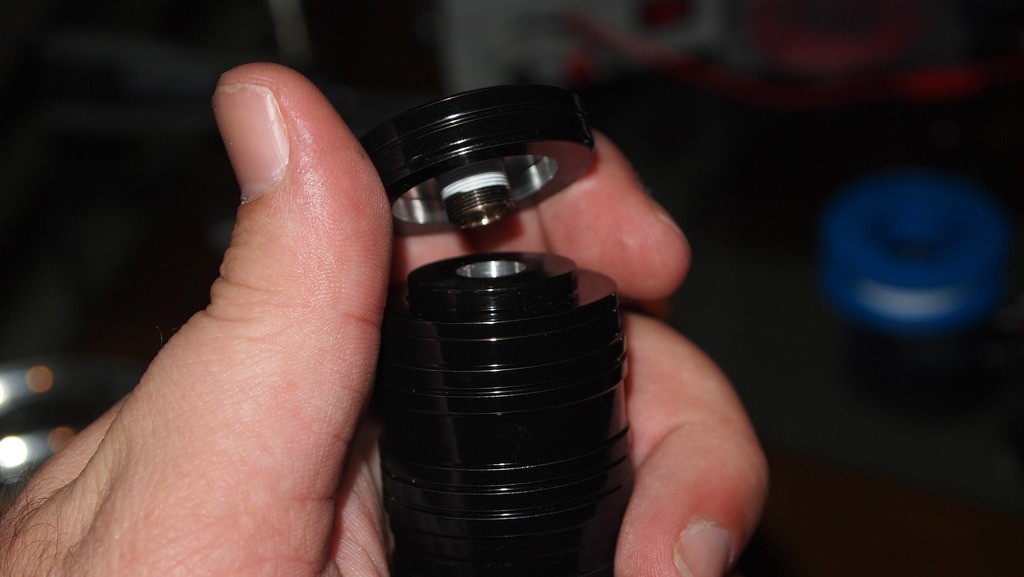
Then all that is left is to screw the focus adapter into the host body and you are set.
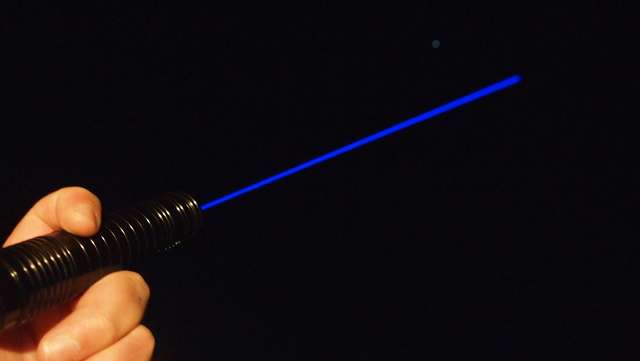
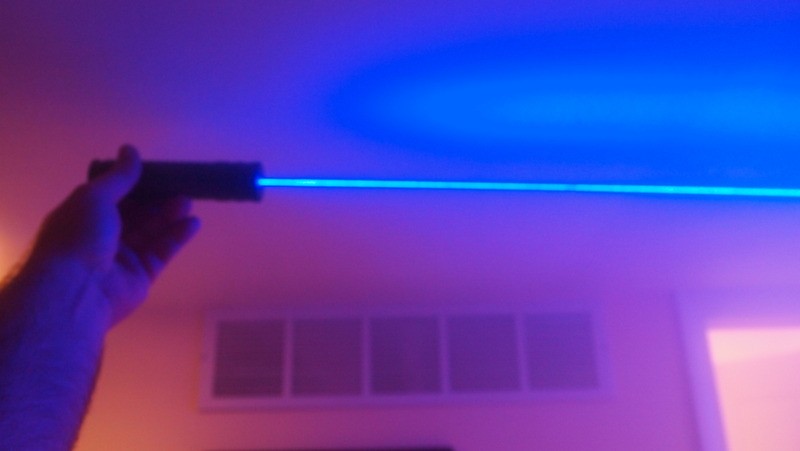
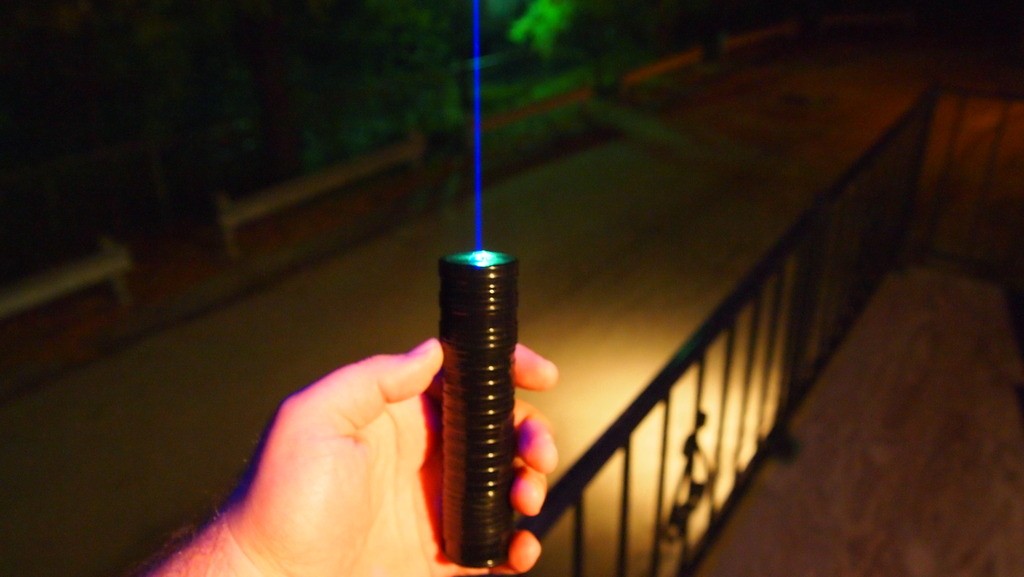
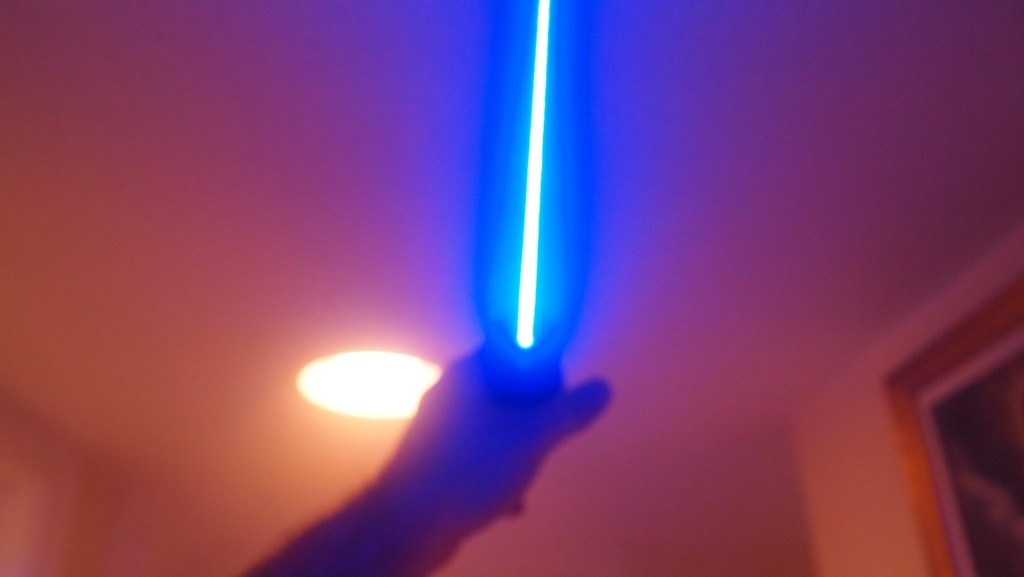
As always some great beamshots.:eg:
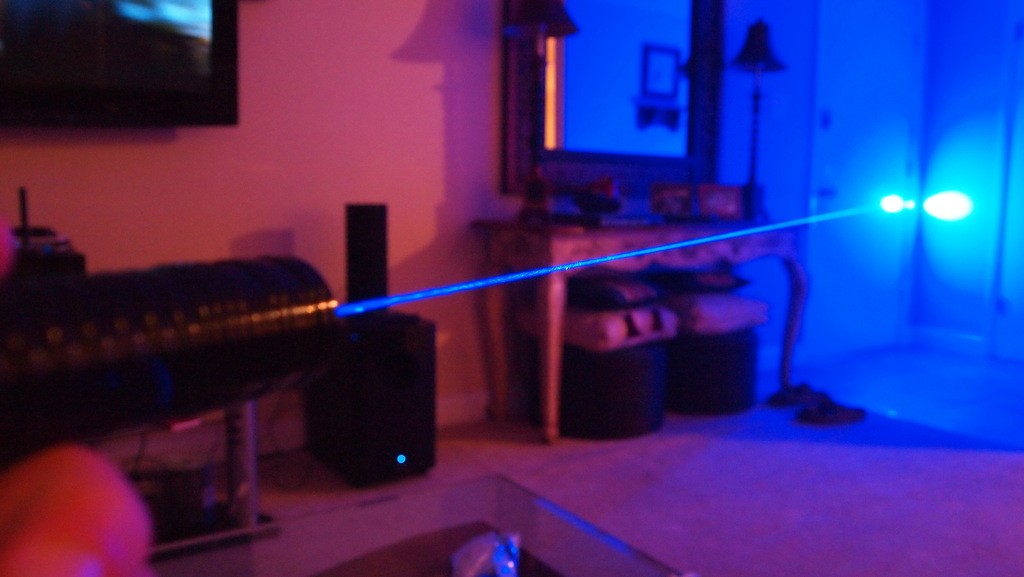

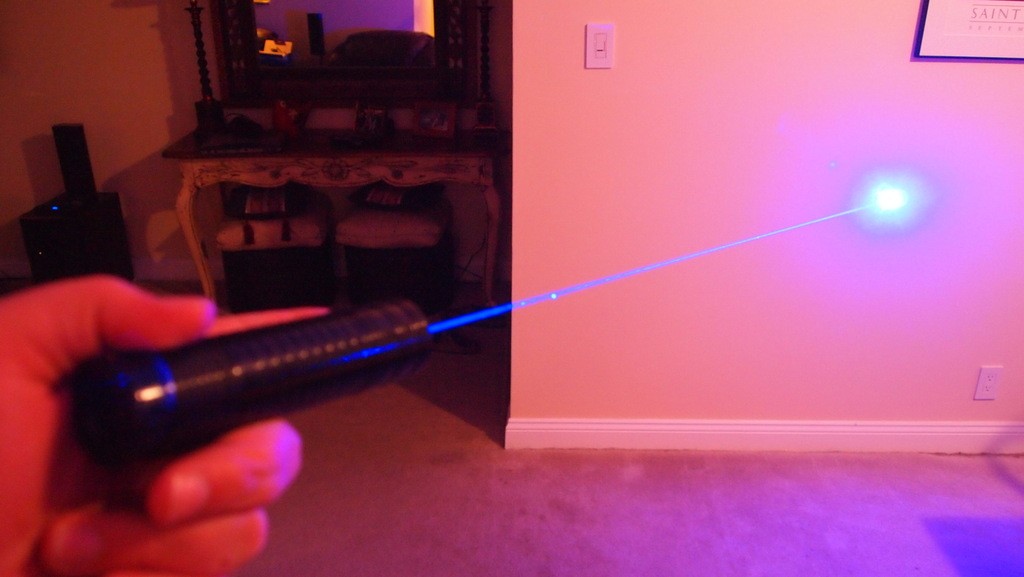
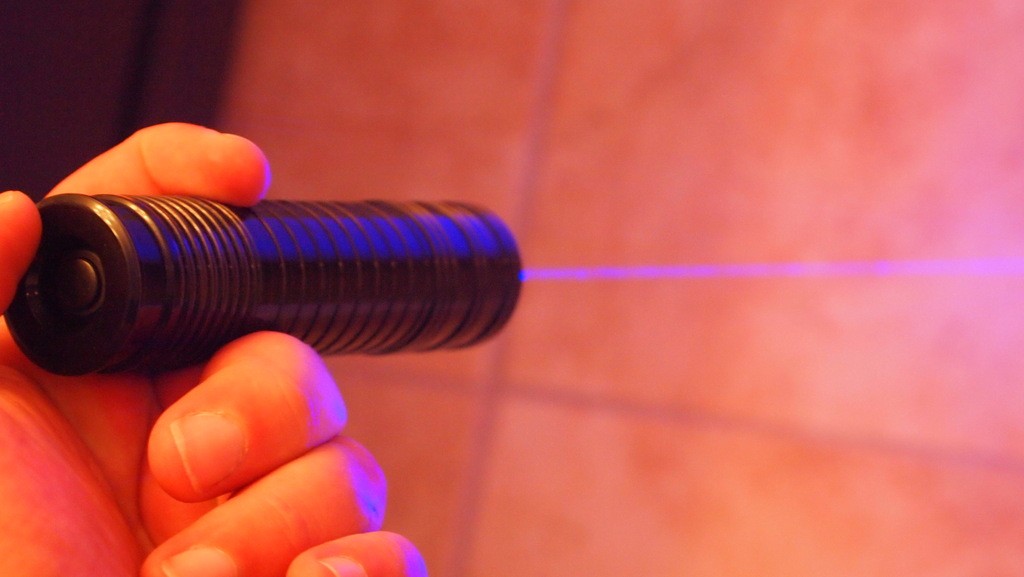
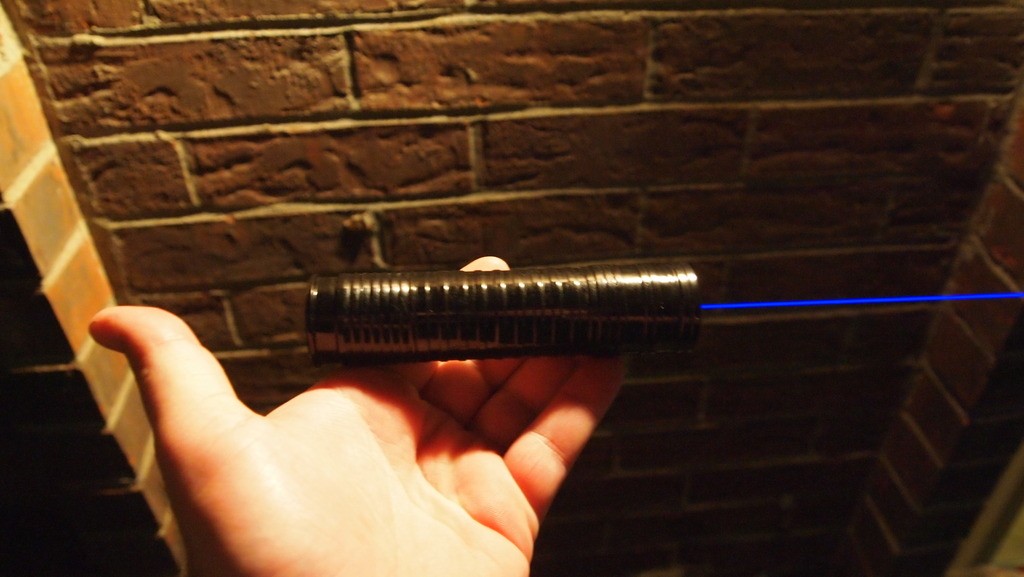
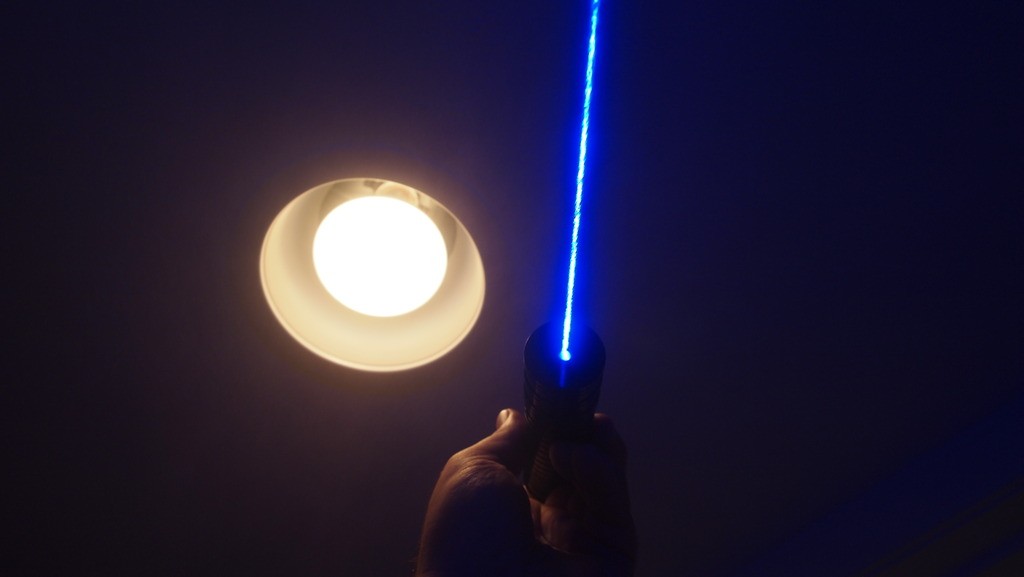
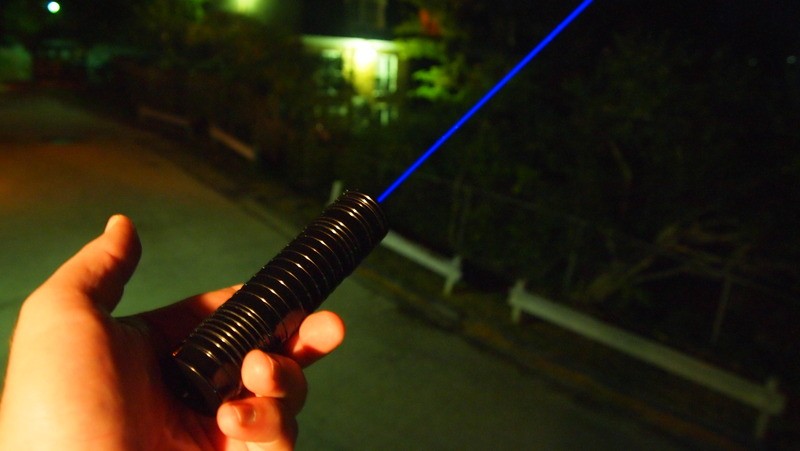
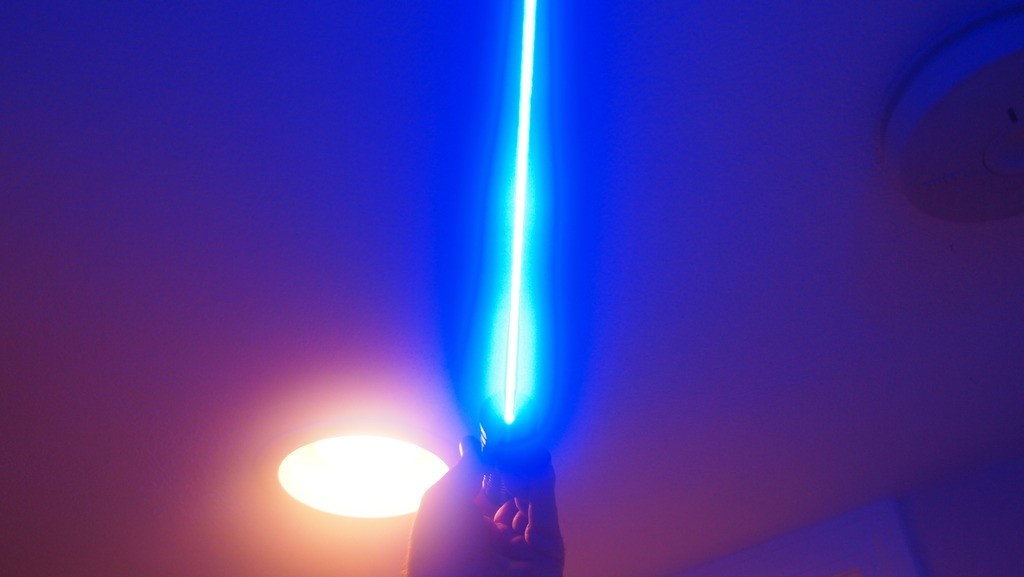
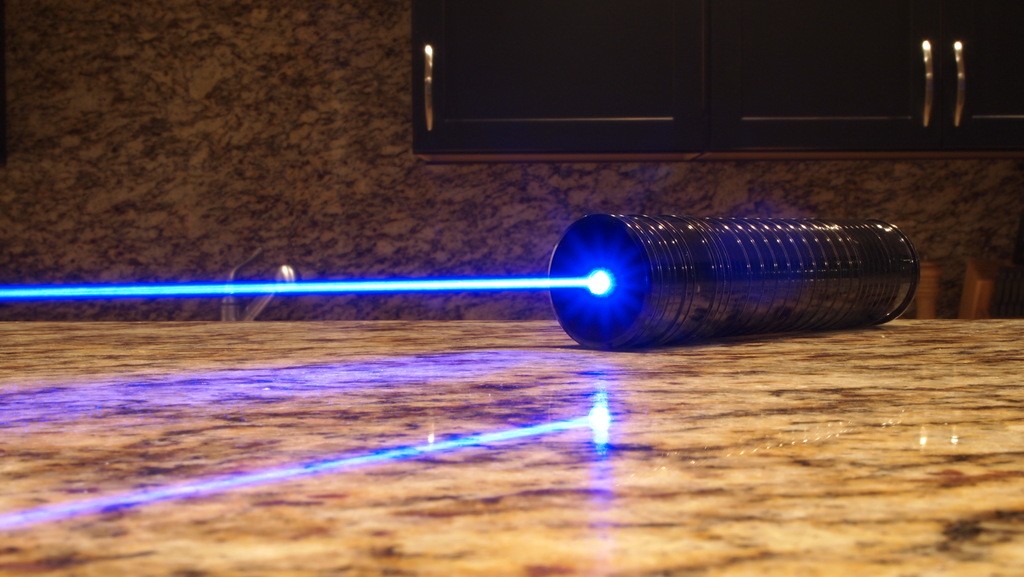
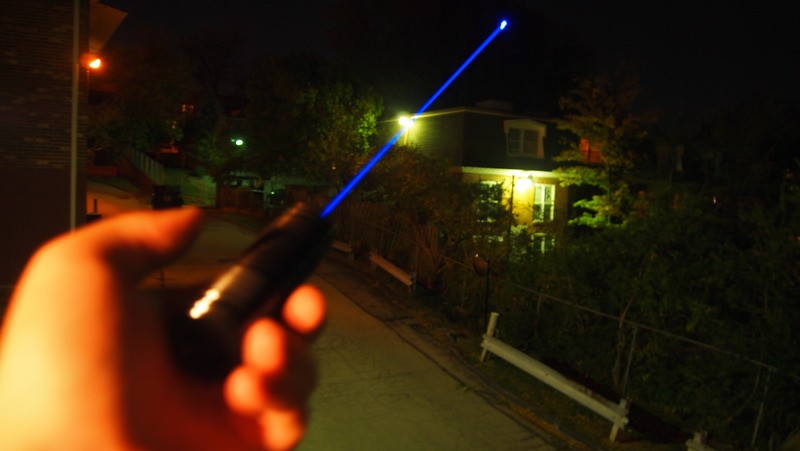
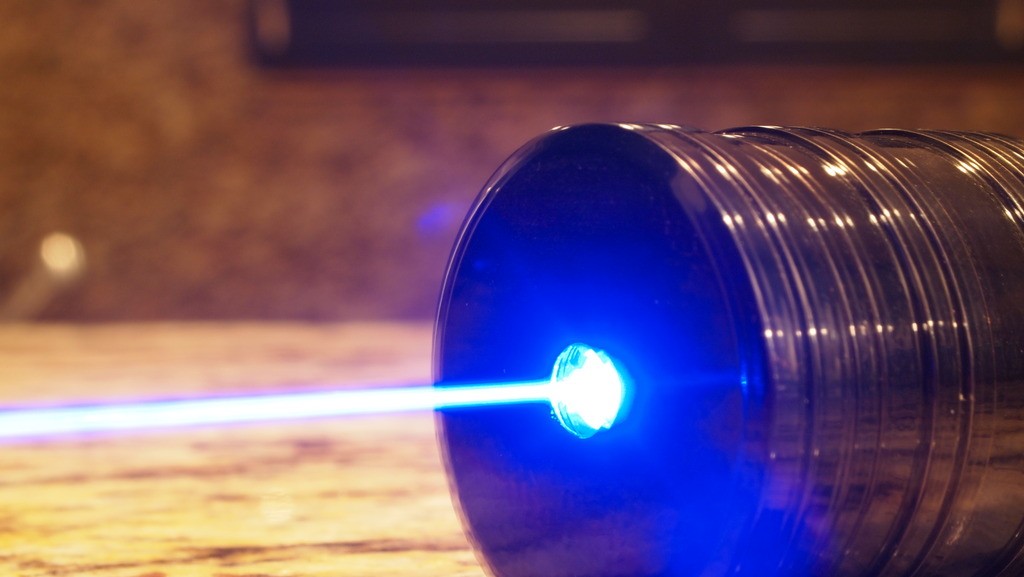
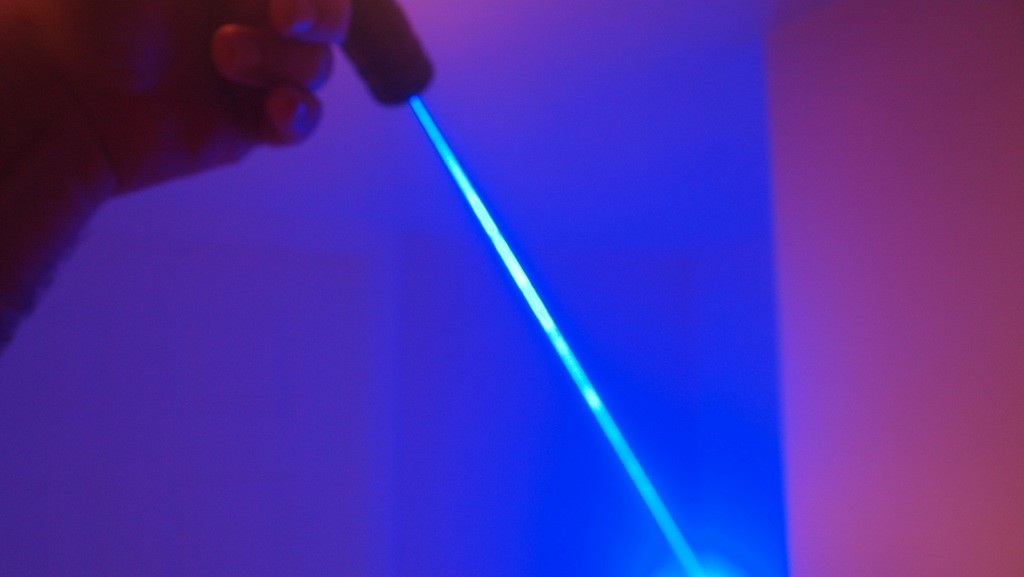

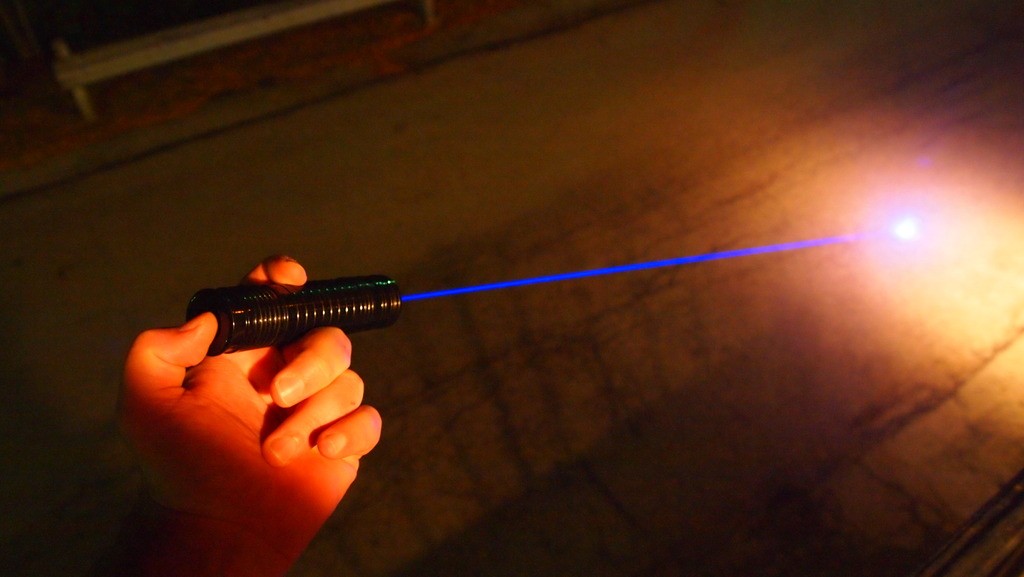

I did a ten minute run and the host really did not get that warm. This host's ability to disperse heat is amazing.
Conclusion
I really enjoyed this build. This has been fun project from concept to final product. I am really impressed how well it holds up in the duration testing. It has an amazing feel in your hand and the clicky is so smooth their is no substitute. I want to give a huge thanks to Ehgemus. You do just amazing work and are a great asset to this community.
Hope you found this review/tutorial enlightening. Thanks for reading.
__________________________________________
Here we go. I got a new personal high with a Ehgemus Alien host I built today. 2.3W @ 1.8A.:gun:
I decided not to do a new tutorial thread as this is just a recreation of this Alien style host but it is fit for a 32650 not a 26650 as the original in the OP was. This is an exceptional laser. It has a little fatter body that gives a beefier look and feels really solid with great weight. Plus is uses a 6000mAh 32650 Feilong battery.
I was shocked when I first tested it. Came out to 2318mW and it was not even from a cold start as I was playing with it trying to get the lens to the right depth in the focus adapter.:san:

So I let it cool down and then did a 5 minute run on my Orphir LPM.
Here are some sick long exposure shots.:eg:


_____________________________________________
Here we go. I have a special unit that I finished up today and want to review. This is without a doubt now my favorite build. It is the full package. Looks, funconality and power.
I am proud to introduce,
1.8W Ehgemus Custom 26650 Black Host


The Idea
This project started with a battery. The biggest concern that I have been having lately with these high power builds is the current draw of the boost drives. Just pushing a 445 @ 1.5A with a Flexdrive they are pulling between 2.5A fully charged to 3A as the battery gets low. Now I have been thinking about doing a dual flexdrive unit for a while. The only problem is a standard AW 18650 2900mAh battery commits suicide when trying to draw anything over 3A from them. So I have been searching for alternatives. That is when I stumbled across this battery which I have found on two of my favorite battery sites. Lighthound and Batteryspace. It is a 26650 4000mAh battery that can handle up to a 10A draw.:eg:

Here are the links for the batteries.
Lighthound IMR 26650 4000mAh LiMN rechargeable lithium battery
LiMnNi Rechargeable 26650 Cell: 3.7V 4000 mAh, 10A rated 14.8Wh - UN Approved (NDGR)
I think the composition is identical and the only difference I can see is the positive contact. In this host it makes no difference but the Batteryspace one has a larger contact that sticks out a little further making it easier to put them in series. But we will just be using a single battery for this unit so not a big deal.


The Batteryspace unit makes contact very well when stacked.

But the Lighthound does not make contact due to the fact that the positive contact is smaller and recessed a bit.

Here are the specs from Lighthounds product page that are the same as the Batteryspace page.
------------------------------------------------------
Safe chemistry LiMN 3.7V rechargeable battery is now available in 18650 size. These cells can handle high amperage and is safe to use in series / multi-cell applications. Can be charge with any LiIon battery charger with 4.2V output.
IMR26650 Specifications: Nominal Voltage : 3.7V
Capacity : 4000mAH
Lowest Discharge Voltage : 2.50V
Standard Charge : CC/CV ( max. charging rate 5A )
Cycle Life : > 500 cycles
Max. continuous discharge rate : 10A
Operating Discharge Temperature : -10 - 60 Degree Celsius
Size : 26.18mm (1.03") x 65.33 mm (2.57") +/- .05mm
-------------------------------------------------------
Now my first thought was how well will these fit in my charger. So when I got them I tried them in my Trustfire charger. I needed to wedge them in and use a magnet on both sides to make contact. And it takes up both bays so no chagrining anything else while this hoss is in there. It worked but not the best solution.

So I ordered the Ultrafire WF-188 charger because it has a little wider charging bay and the nice thing is I can switch between 3.7V or 3.2V to charge my LiFePO4 batteries. When I got this charger first thing I did was pop in these bad boys and would you know it they fit perfectly and charge to a nice 4.21V.

Host
So now I have my battery figured out I wanted a host. I thought about some 3XAA battery flashlights but I wanted a unique looking host so I PM'ed Ehgemus and like most members that I have talked to he had not seen this type of battery before so he asked me to send it to him to size the host to the battery. Sounded like a good plan so I sent it off.
A few days later I got a PM from him all excited about the new host he was making for me and said that it should be done in a few days but if I could spare it he wanted to keep the battery so he could make one for himself.
So he sent me these pictures showing the various stages of completion of the host.
Here is the basic aluminum host body with the ends threaded for the direct press head and the tailcap. The great thing about the direct press head it makes the whole host body the heatsink.:eg:

Next to the lathe.


Now that the body is all done here is how it looks.

Next thing needed was to make the focus adapter that screws into the head via the lens.

Now all that the body is done it is time to add the powder coating. I went with black on this one but he also could do white, blue and red.


Now either he has elf hands or I just have goliath ones because I was looking at the photos that he sent and was thinking "this thing is massive".:na:
But when I finally got it I found it very well sized and comfortable to hold.


Here is a little size comparison with the Frankenstein and my SS 18650 from Jayrob.


Assemboly
First thing I did was break it down and this host consists of these parts. The host body, tailcap, direct press head, focus adapter and I also asked him to make two little half moon aluminum sinks for the drivers.

Now I just want to take a moment to highlight one of the best things about Ehgemus's builds. The clicky.

So to get this unit all put together I am going to need two flexdrives. Now beside the waiting for the host to arrive this was the longest part of the whole build. Setting the flexdrives to the exact same mA. I ended up setting both to 810mA because with these flexdrives the pot is so sensitive. I was shooting for 800 but hit 810 on the first and then spent about an hour trying to get the other on to the exact same setting.:banghead:

Now that they are set to the same mA I got out my thermal adhesive and bonded the drives to the little half moon sinks. I used alligator clips to hold them in place while the adhesive hardens.

When we were discussing this build Ehgemus knew that I was going to do a dual driver so he put two wires coming from the positive contact for the drivers.

Next I got some more thermal adhesive and bonded the rounded part of the first little heatsinks to the host inner walls.

After the adheasive hardened I checked and it was well bonded to the inside of the host.

I bonded the second and was left with a little wire mess.

I trimmed down the wires, soldered the six wires into three and packed them down into the pill. Leaving three wires for the diode. The positive, negative and case pin wire.

Now I pressed a diode into the head and soldered the three wires to the pins. You will notice I left a little slack on the wires so they don't bind when you screw the head on.

Now gently screw the head on. Ehgemus's hosts have very smooth threads so there should be no problem slowly screwing it in and making sure that the wires don't not bind. If you feel it binding unscrew and try again.

Next I prepare my 405-G-1 lens. I put 1 and 1/2 wrapes on the center of the lens. It is important not to put the tape over the whole lens because little peices can be shreaded off at the bottom when focusing dropping some in the module that can get on the diode window burning it and destroying your diode.

Screw the lens into the focus adapter and tighten it down as hard as you can by hand.

Then all that is left is to screw the focus adapter into the host body and you are set.

Beamshots
As always some great beamshots.:eg:


LPM Test
I did a ten minute run and the host really did not get that warm. This host's ability to disperse heat is amazing.
Conclusion
I really enjoyed this build. This has been fun project from concept to final product. I am really impressed how well it holds up in the duration testing. It has an amazing feel in your hand and the clicky is so smooth their is no substitute. I want to give a huge thanks to Ehgemus. You do just amazing work and are a great asset to this community.
Hope you found this review/tutorial enlightening. Thanks for reading.
Last edited:


