- Joined
- Jun 24, 2010
- Messages
- 5,705
- Points
- 113
I Am Proud to Introduce The
2W DTR Frankenstein
2W DTR Frankenstein
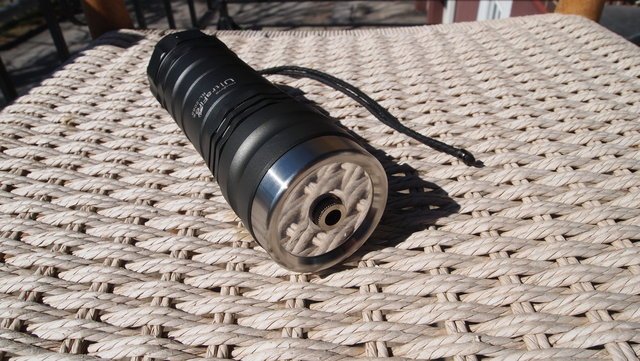
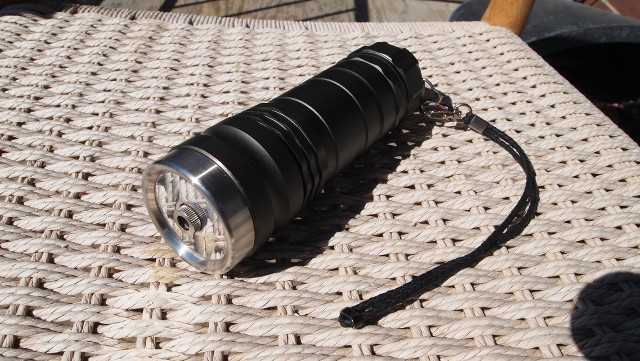
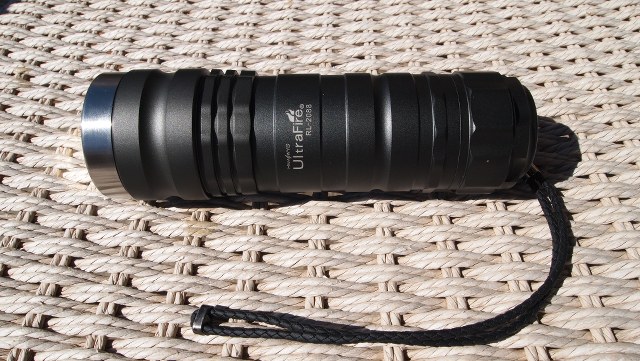
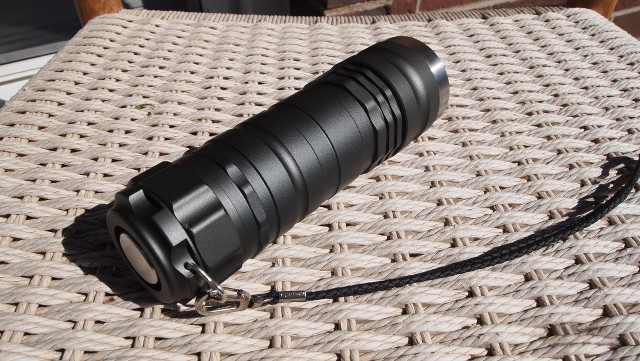
So I decided to make an awesome massive laser out of this unit.:eg:
I contacted Jayrob and he said he would make a heatsink for me and I sent it off to him.
He kept me up to date as he was working on it.
Here's how the modifications were done. Excellent work by the way. Jay is certainly a master at his craft.
He contacted me all worried that he would need to damage the reflector to get it out because it was glued heavily into the head. And he wanted to give me a chance to change my mind because there would be no going back. I told him he could bash it with a hammer if it made it look good.:crackup:

Next step was to remove the old driver from the head.

Then he drilled out the pill and made these nice little indentures so I could use to unscrew it. I kind of feel bad I did not even use it in the final build.

Again I feel bad because he modded the battery holder for 3X18650 in parallel that would give some amazing runtimes. And I ended up going with them in series.

He machined the head out and made this beautiful heatsking that is so massive that if you don't see it in person you don't fully comprehend how much mass it has. It might as well be a labby heatsink without the fins. It is fit for a 1/2in copper module.(I love overkill:eg

He gave an awesome mirror finish to the face of the heatsink. Just amazing work.

After that he packaged it up and sent it back to me. Thanks Jay.:beer:
Two days later I got it in the mail. First thing I did is put in the module and lens with no diode just to get a picture of what it looks like. I was so excited. This is the best part of this hobby. Figuring out how to make something that you have not worked on before is a great thrill.
Talk about :horse:
I opted to go for a copper module in this unit.:evil:
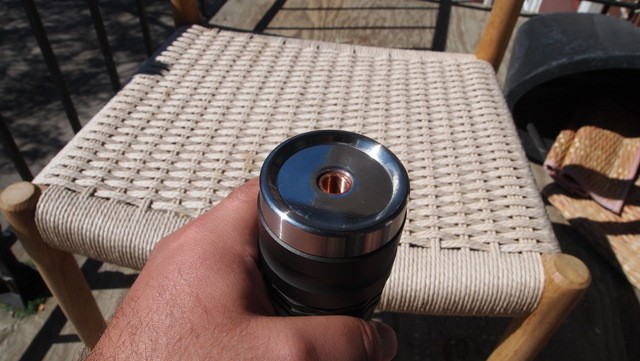
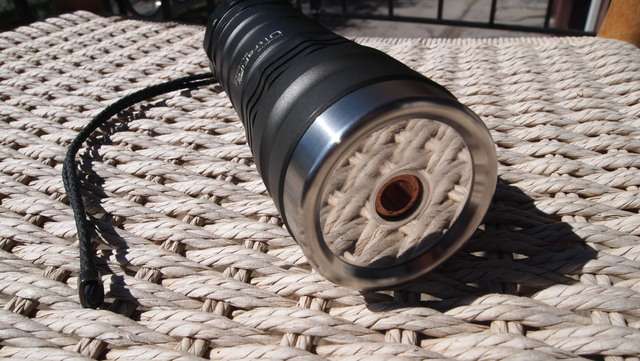
I spent a lot of time debating what driver setup I would use. I was going to use two Flexdrives in parallel but I decided to go with the Flexmod P3 from the good Dr. for this build. It is something that you don't see in portables and thought it would add a bit of a unique touch to this build. It is a linear driver that can give an output of up to 2A.
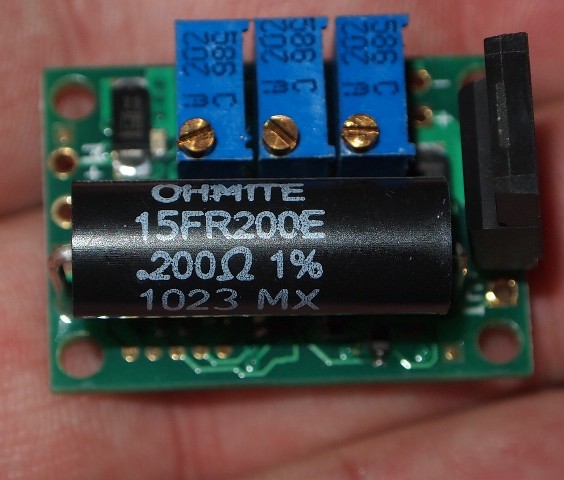
I won't go too heavily into the setup of the driver. If you want to know more you can see my tutorial. Click on the picture below to go to the tutorial.
Here is how the driver is set up.
How to set up the P3 for a handheld laser
I have taken the driver heatsink and extended it so it can be attached to the bottom of the host heatsink. I used three strands for each pin with the pyro wire that(according to Flaminpryo's lip test
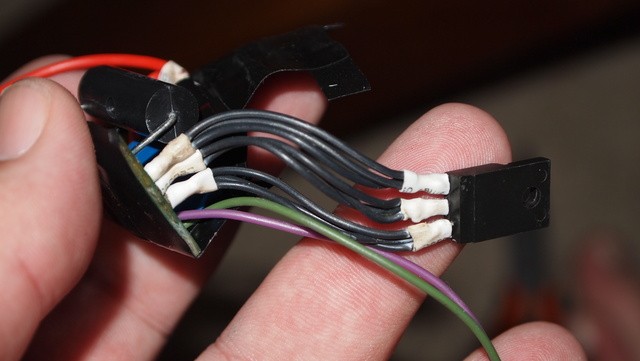
Here is the driver. Since the primary use of this driver is for lab units and projectors I used a LM3805 on a second line in from the battery which drops the voltage to make a 5v signal wire to the modulation input that turns the unit on to full power all the time. There is very little current drawn from the Modulation input it should not need any heatsinking on the LM3805. I ran a wire from the positive in to the interlock to keep it on and I also disabled the 7 second delayed start by soldering two of the pads together on the driver.
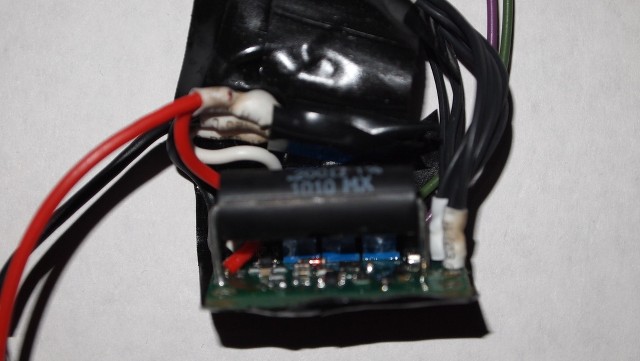
I then soldered the diode to the wires.
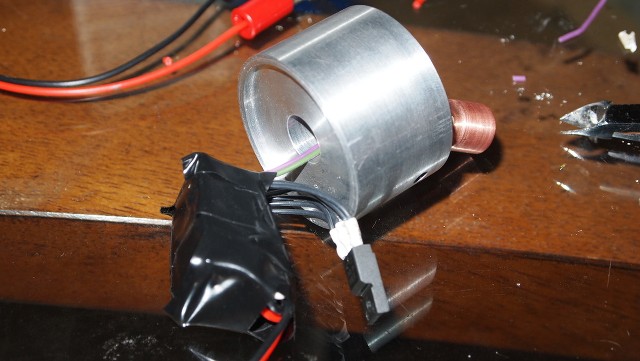
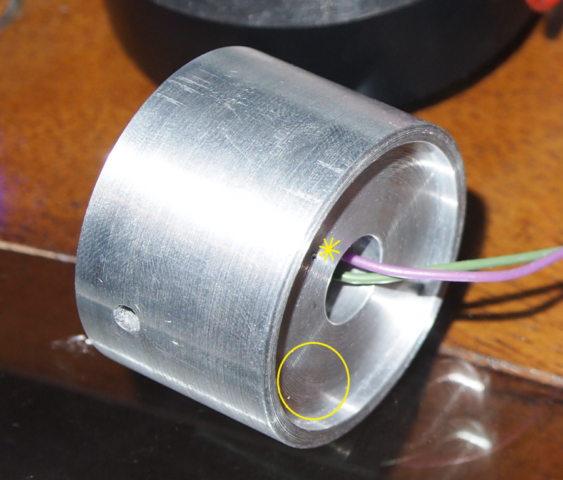
I am going to bond the drive sink with the host sink(see yellow circles) with thermal epoxy.
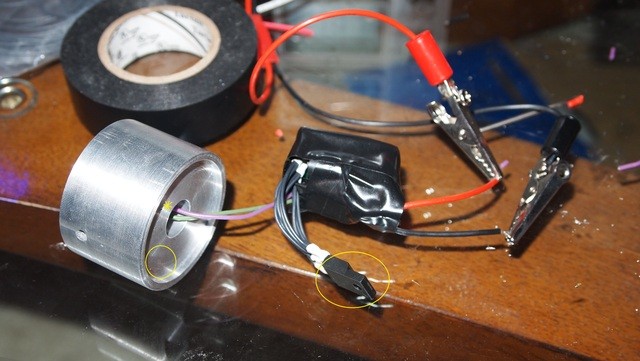
If you look to the left of the yellow star I tried to start a hole with my Dewalt drill but that was not going to happen. I guess just thermal adhesive will be good enough.
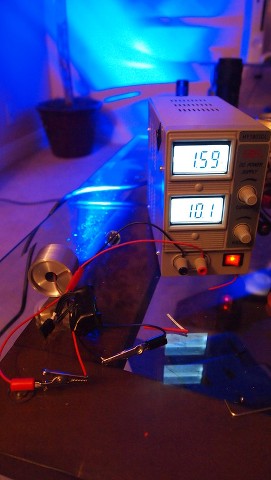
Here it is. I have set it to 1.6A. Since it is a linear driver you can see an accurate current reading on the power supply. I will also be using the 3X18650 Lifepo4 high discharge batteries in series. It needs to be over 6V so three of these batteries are 3.2V(3.6V fully charged) each and in series will be will be between 10 to 11V.
The seller of these Lifepo4 says the battery elements have a 17A discharge rate. Should be enough.:evil:
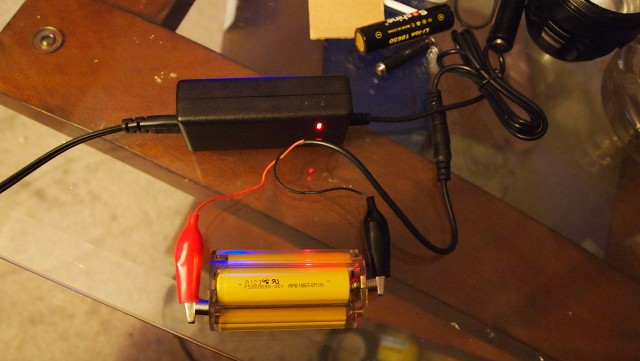
So I charged them up. Check out the charging setup. They require a special charger that can handle batteries that have a low resistance in the cell and a cutoff of 3.6V. This batter holder makes a great charger unit as well. Just used some magnets and works great.
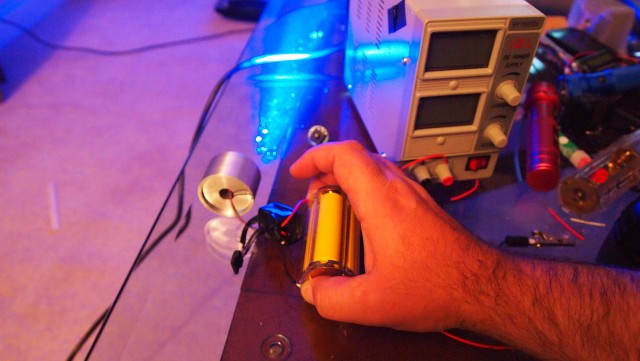
When the batteries were done charging I retested the unit to see if there were any differences when I switched from the power supply.
I set the two sinks together and let the thermal adhesive set.
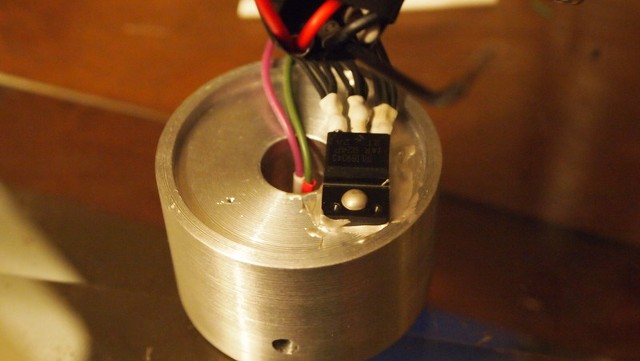
I pinched the negative wire between the host heatsink and the lip that it sits on and tightened the stainless steel retaining ring down. Then I packaged the driver in the head. Oh yea, fits like a glove.
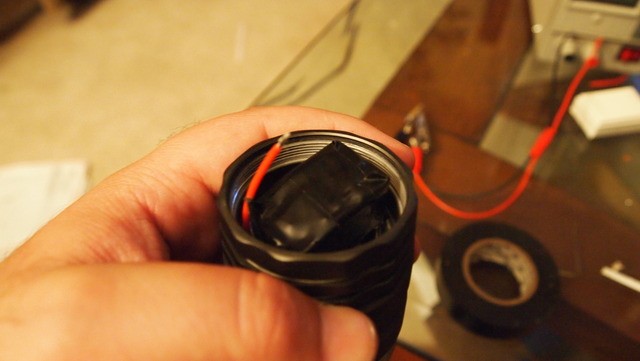
I tested the unit again using the host body as the ground to make sure I had a good contact.
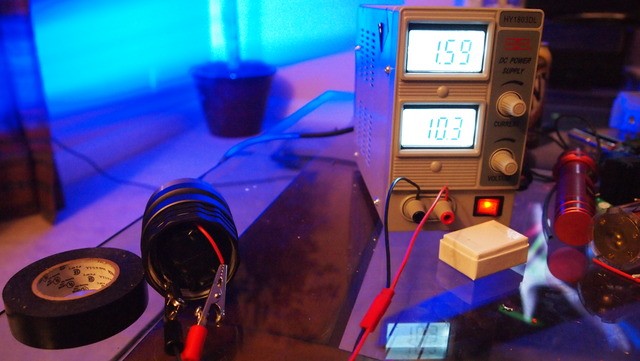
I did a 60 second run with my finger on the driver heatsink that is now bonded to the host heatsink. It got warm but not hot. Yea!!! It is distributing heat into the large host heatsink very effectively.
Next I glued a spring that I got out of a $1 ebay flashlight on the bottom of the driver to make contact with the positive contact point in the host. Knew that flashlight would come in handy.
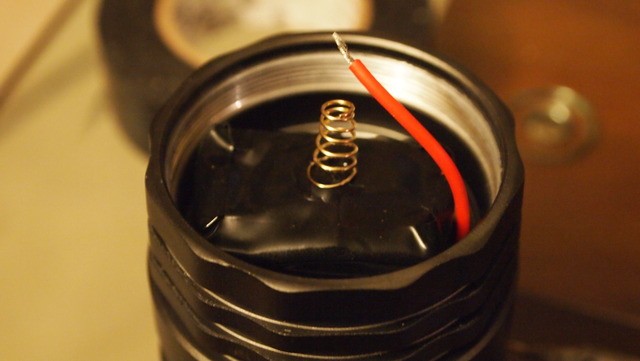
I soldered the positive wire to it and was ready for the final step.
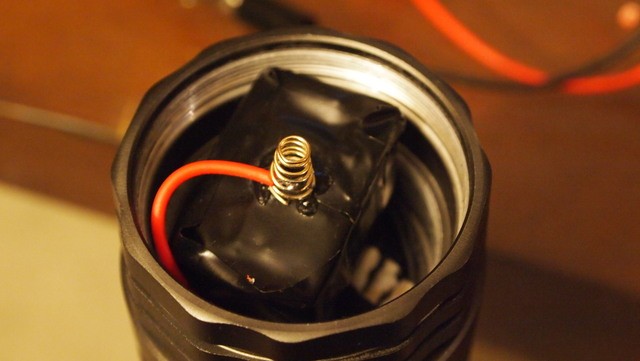
Then I screwed the head into the host body and whala it is alive.:drool:
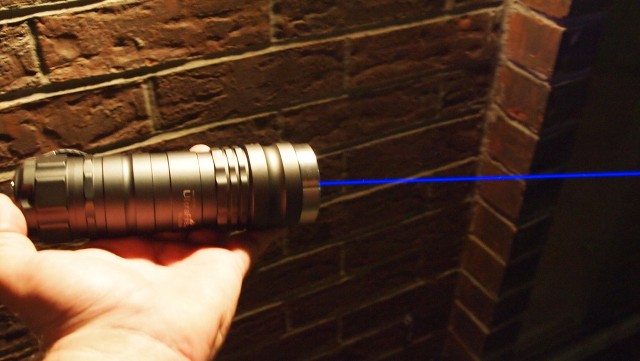
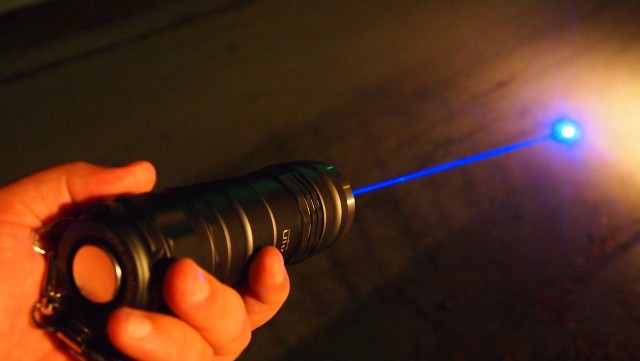
I now have an amazing host with a unique driver running a 445 @ 1.6A putting out 1870mW in a portable unit.:bowdown:
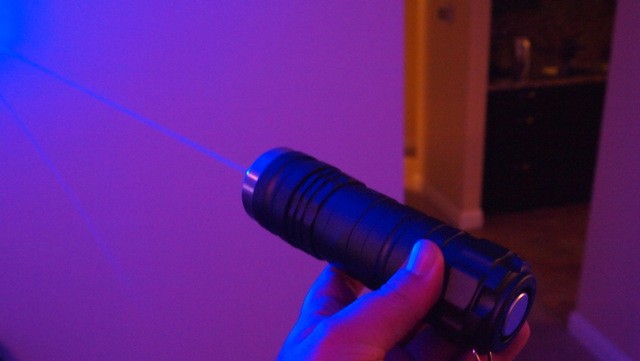
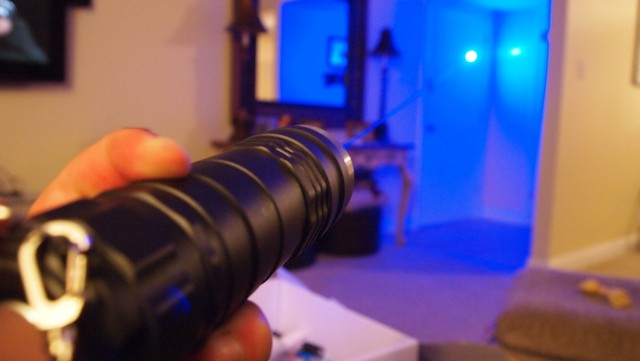
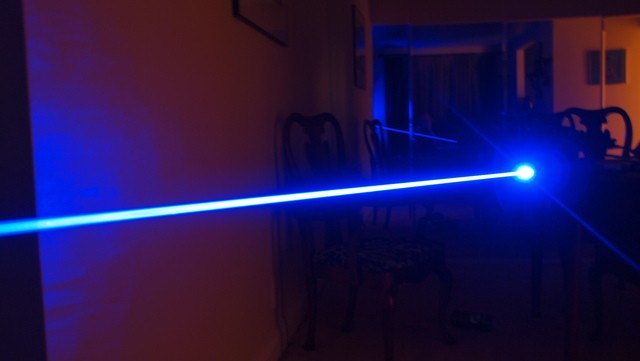
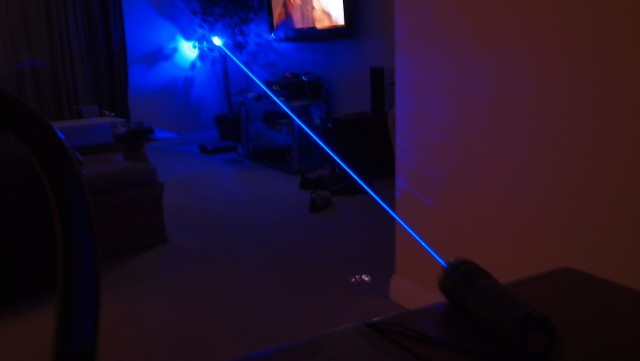
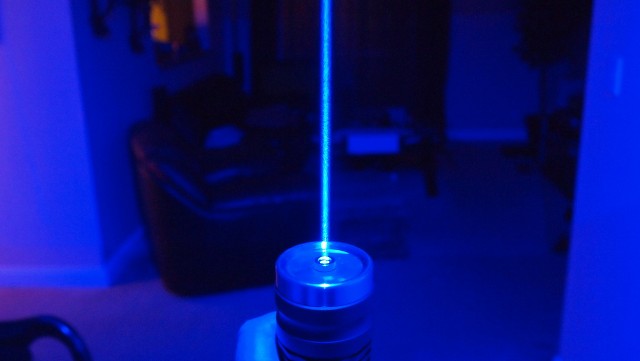
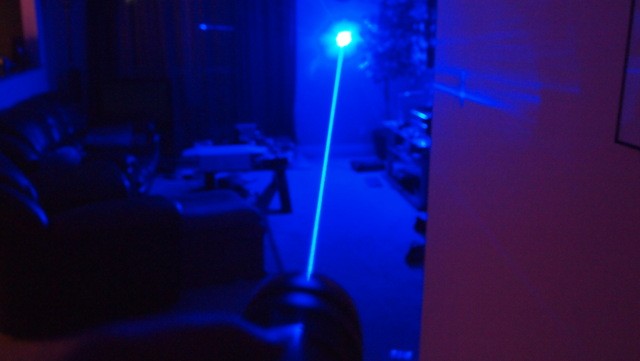
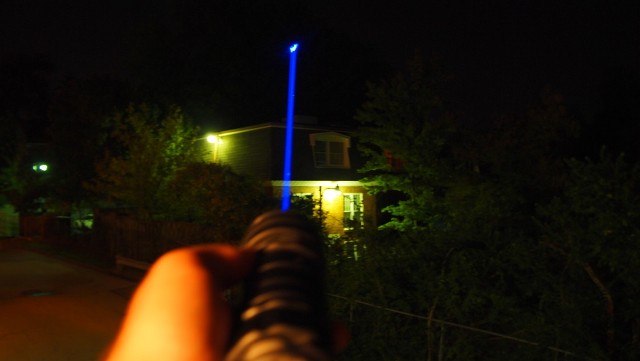
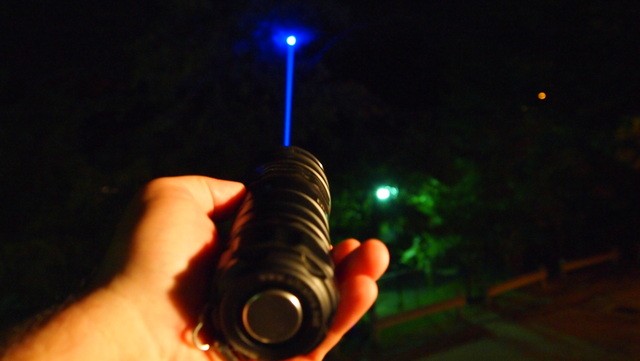
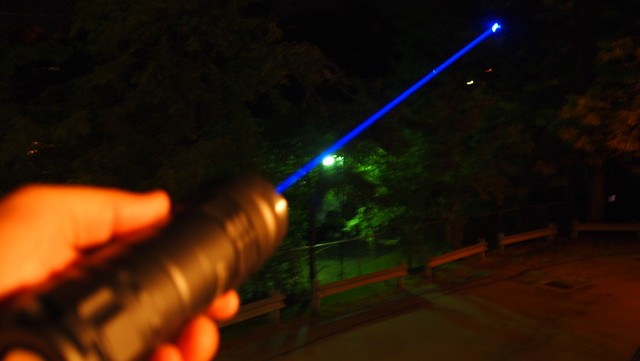
Beamshots
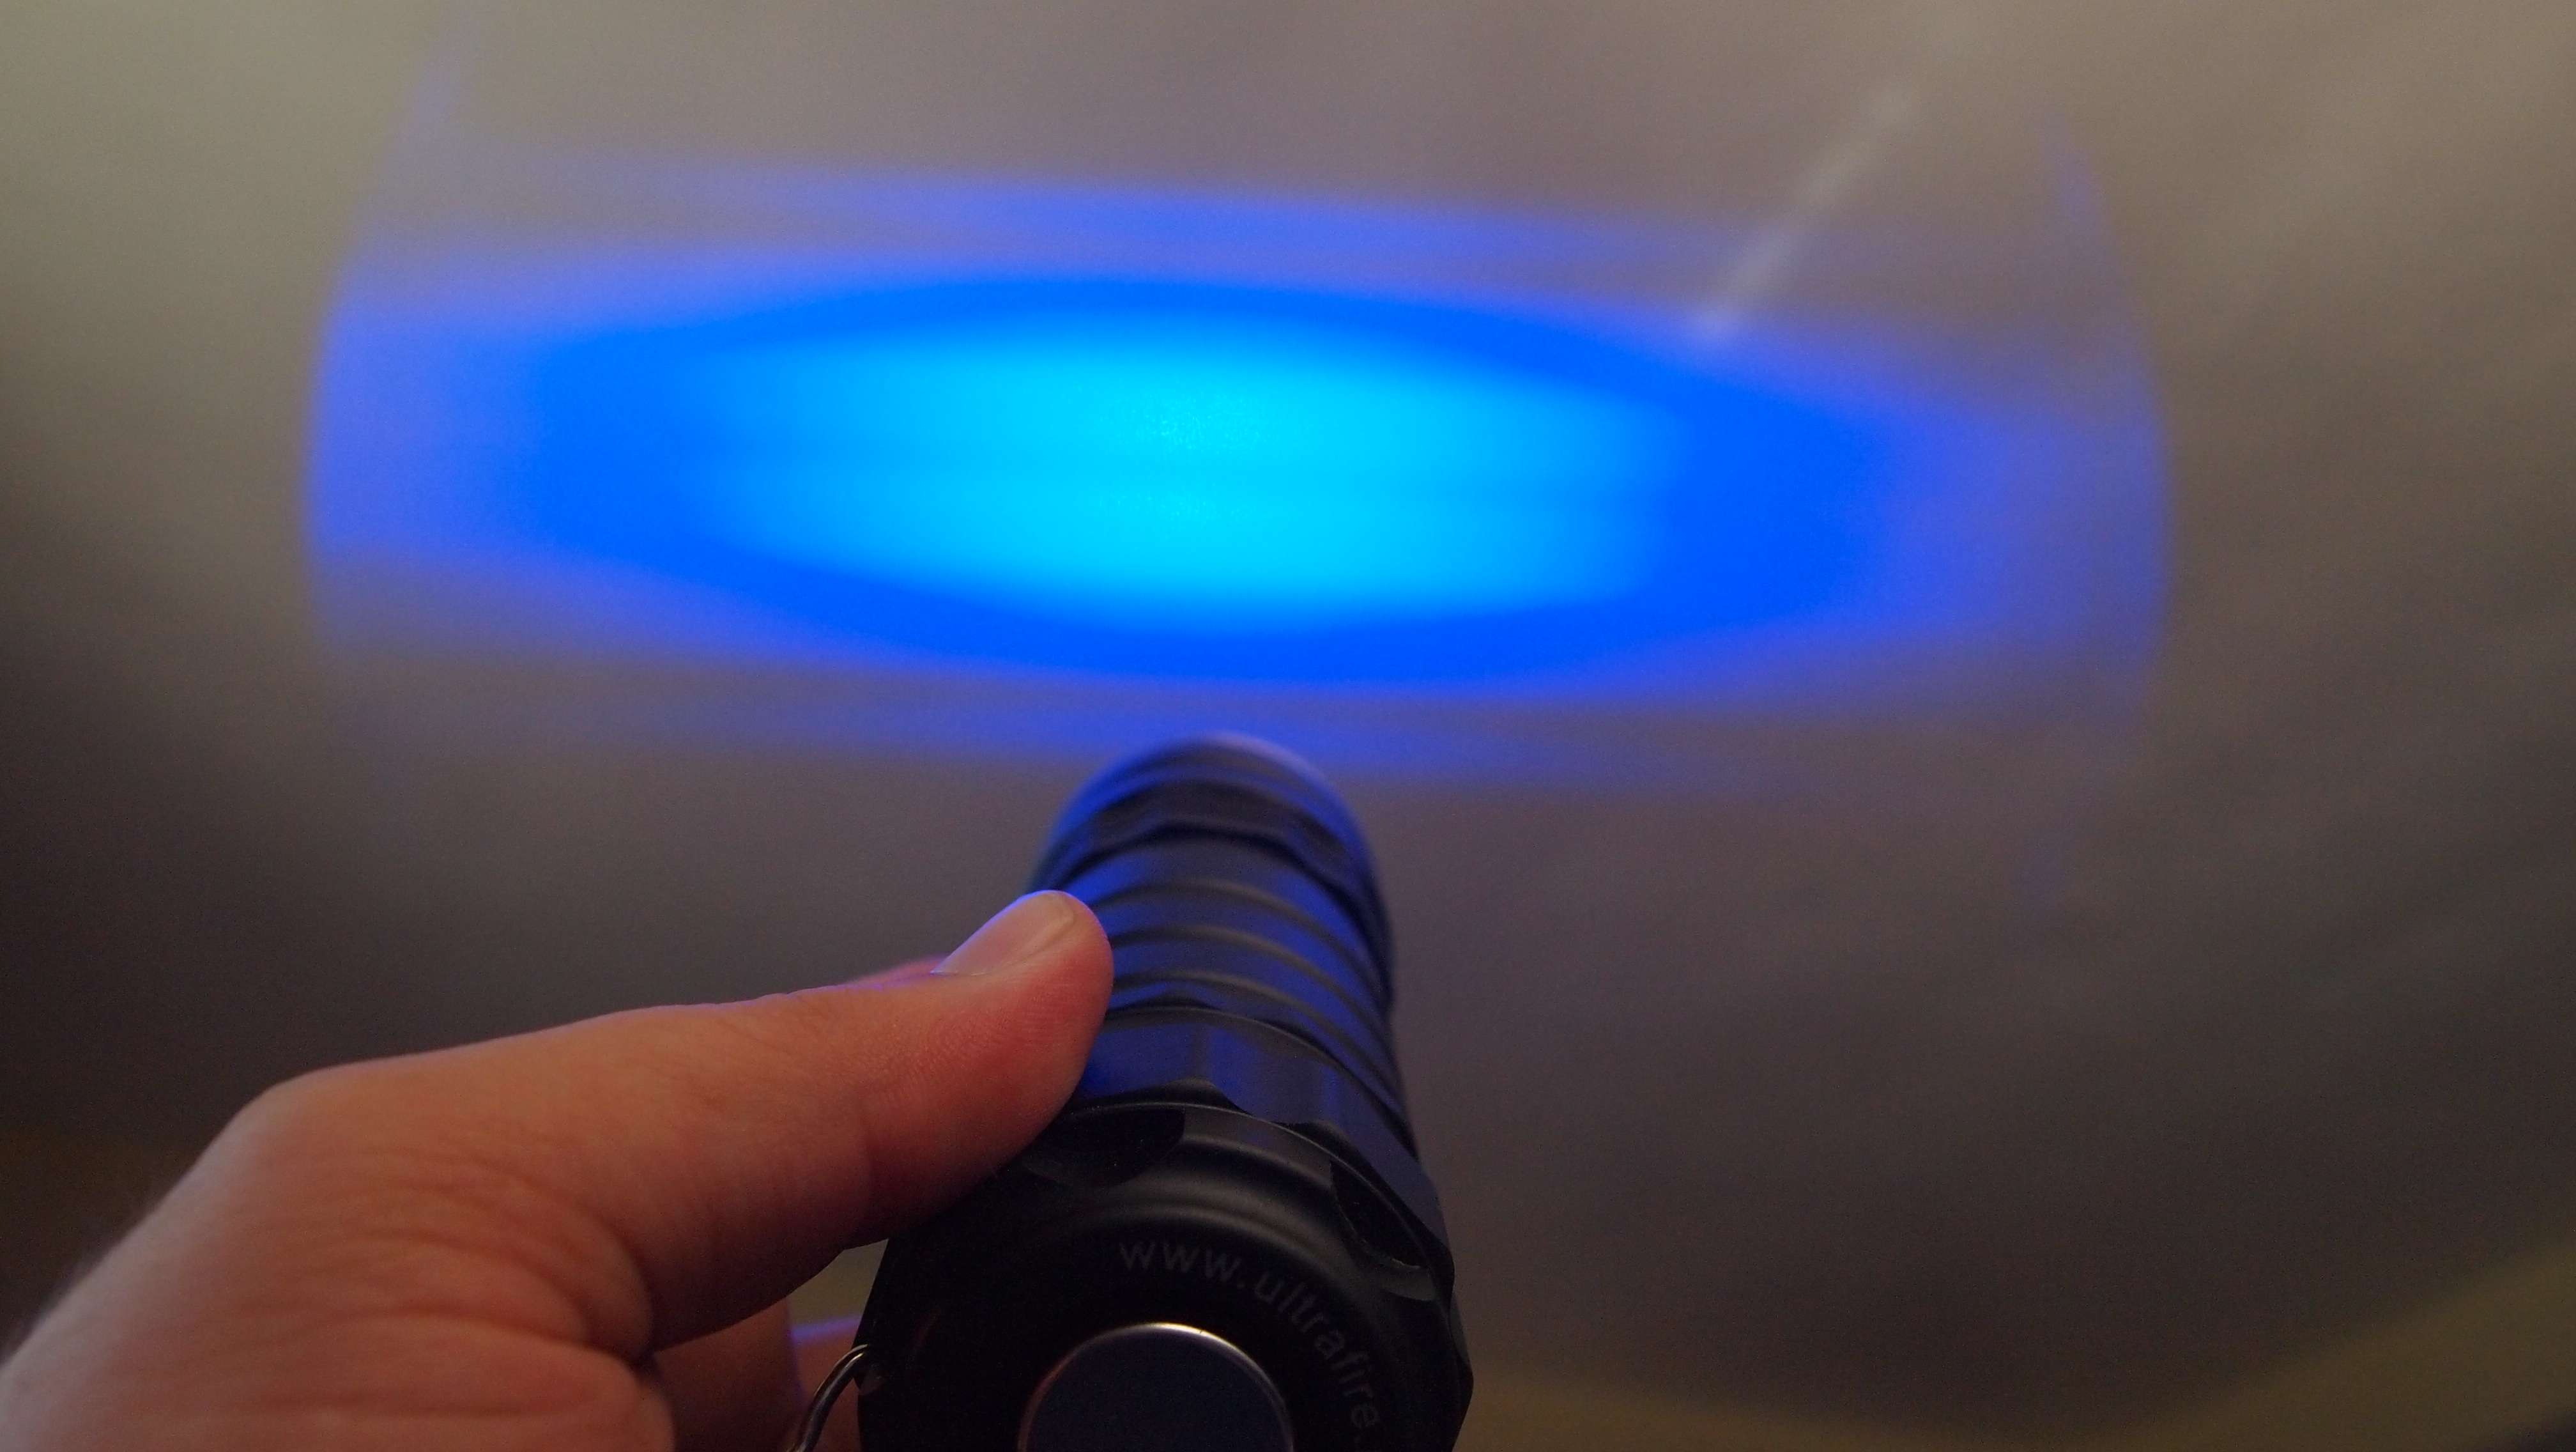
This thing is so bright. It is by far the brightest beam I have ever seen. I am in awe every time I turn it on.
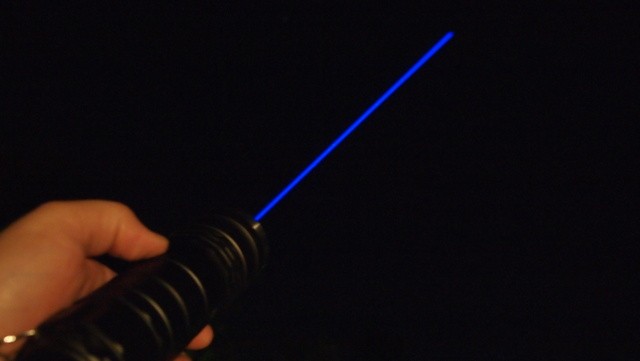
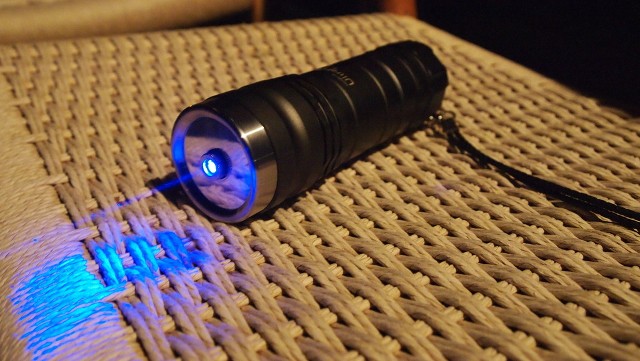
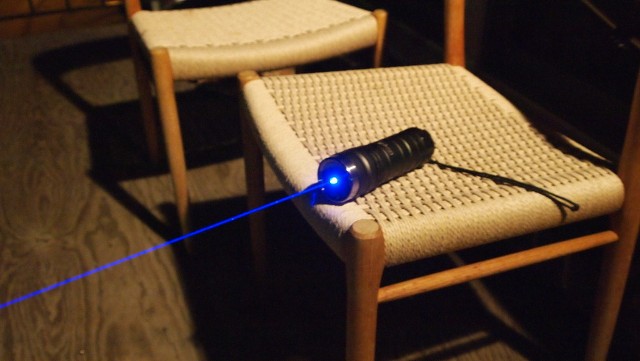
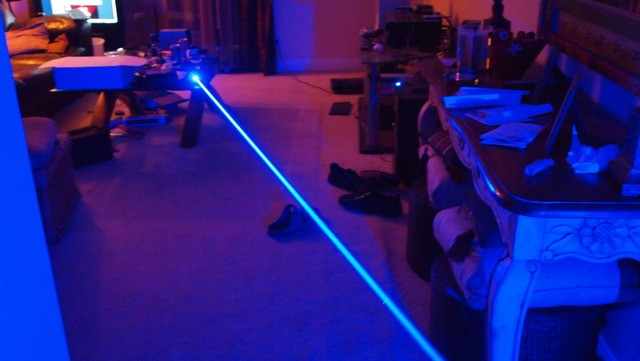
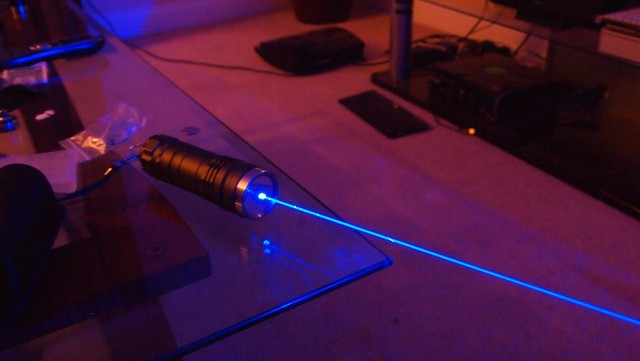
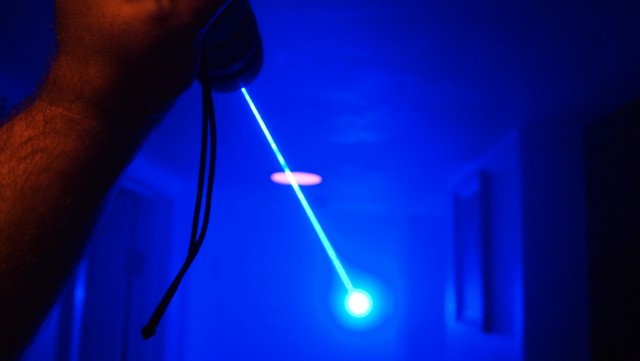
LPM Test:evil:
-----------------------EDIT---------------------
I got a bug to mess with my Frankenstein today. And as you all know I am never satisfied. And probably will not be till I actually kill a 445 diode. Which with all my high powered units none have died or shown any degradation yet. This diode has run for almost 4 hours now @1.6A but I have decided to turn it up a bit. It is now set to 1750mA.:eg:

The line starts here for 2W handheld 445's.
-------------------EDIT---------------------
405-G-1 Lens 1871mW!!!!
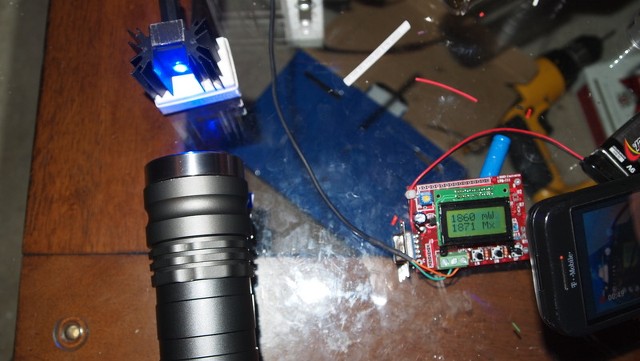
This is awesome. It runs better than I even imagined. High power and no overheating. I am so excited I am like a kid on Christmas morning.:san:
Here is a video of the unit burning a CD Case.
14 minute run I was not happy my new camera decided to stop recording at 14 minutes. I was going to start it back up but figured this gets the point across. I believe that it could have gone twice as long.
this time I set to HD setting instead of SD that it was on last time and it cut out at 7min. So I went and read my owners manual.(come on who reads the owners manual) and it say all files are limited to 2gb with the uncompressed video this thing saves in. Why can't it use X264 or something that can give great compression and excellent video quality. It is a scam I say. Anyway here is a 7 minute run but you can see the meter.:beer:
In conclusion. This is the most gratifying project that I have worked on yet in my small time in this hobby. This unit is so unique an such a ridicules power that I am sure it will make some heads turn. I have run it as long as 6 min now and it seems like it has not even got warm. I also noticed on this unit that the power does not drop as rapidly as with my other high power builds. It could be the linear nature of the driver as well as the massive heatsink.
Anyway I know you enjoyed this one. Probably not as much as I but that is the way it goes.
Last edited:


