

- Joined
- Jun 24, 2010
- Messages
- 5,705
- Points
- 113
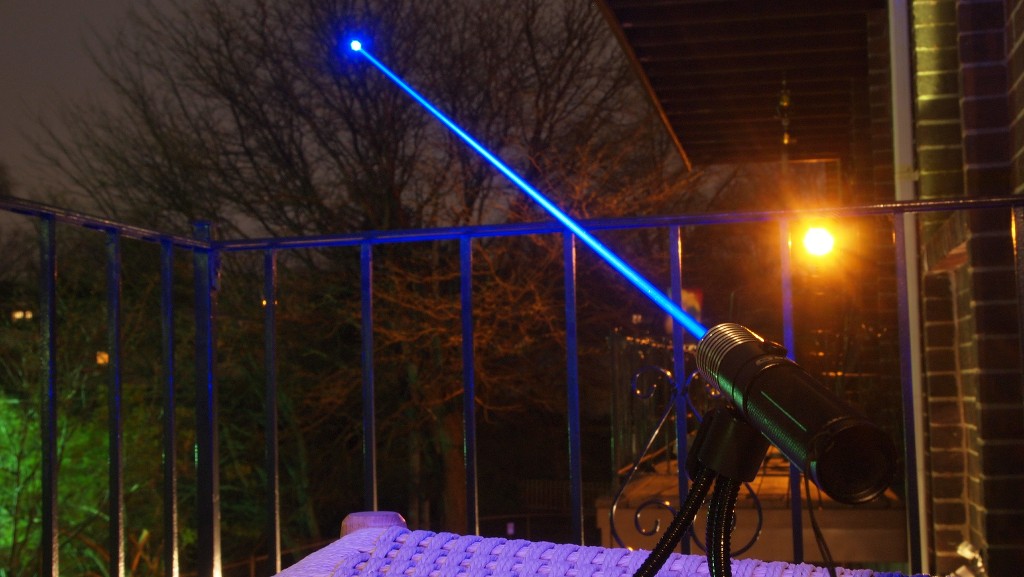
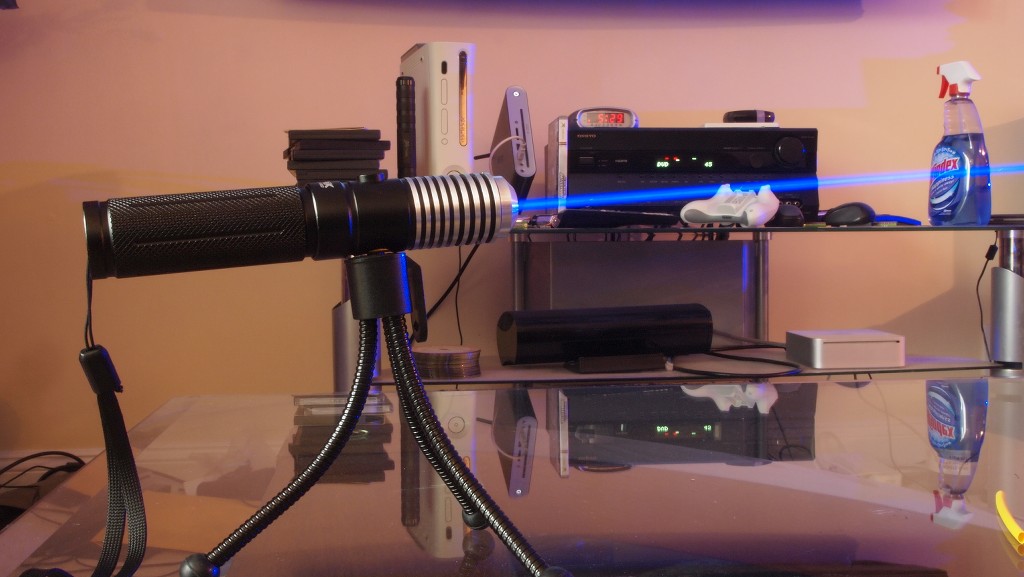
1.4W Qumefox Sipik HK21 18650 Host
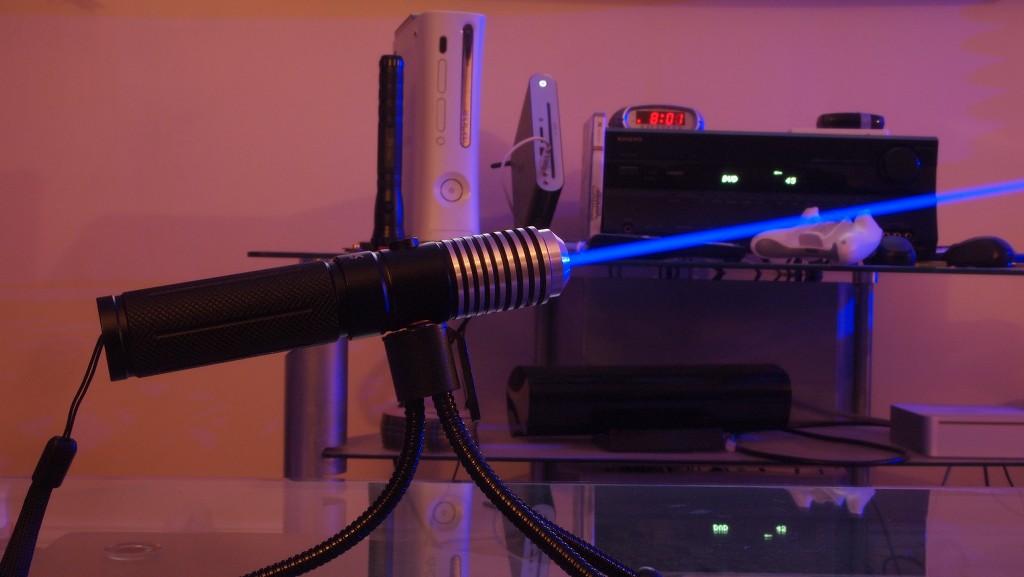
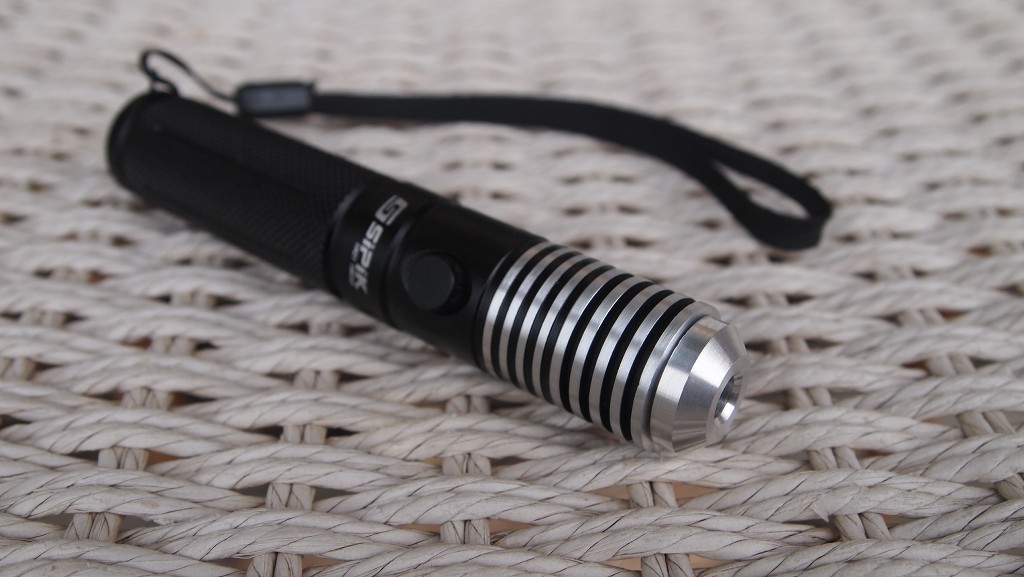
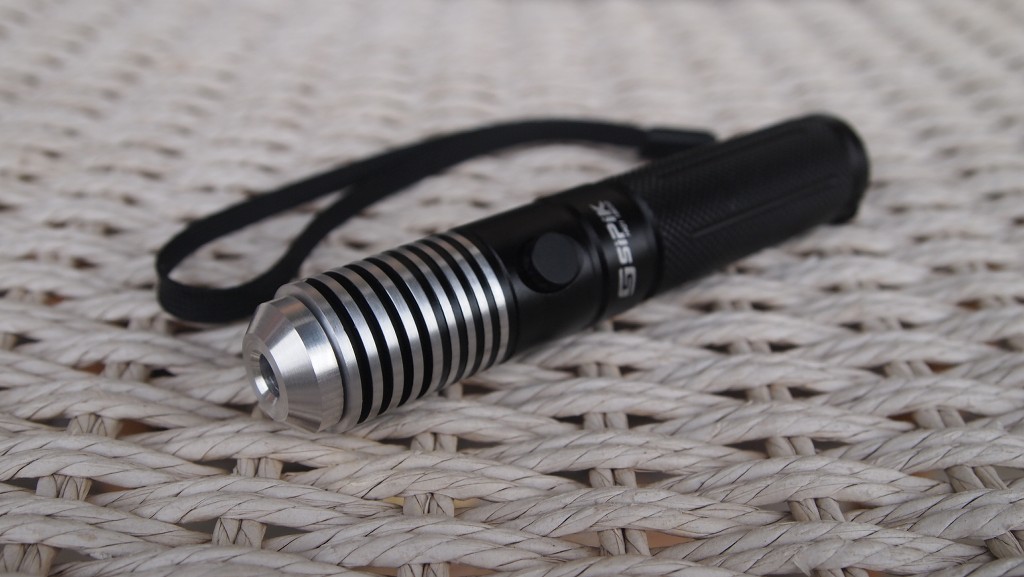
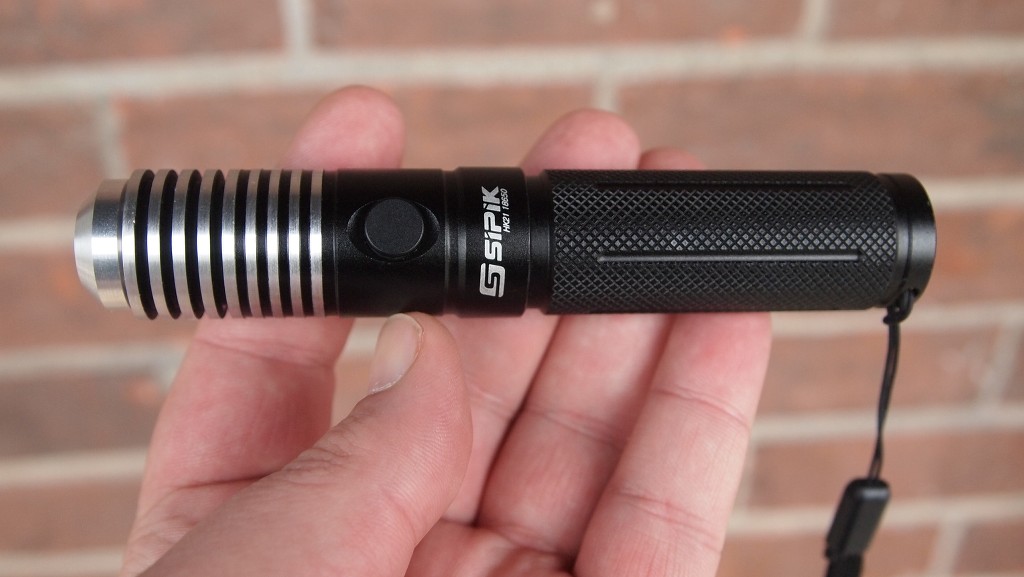
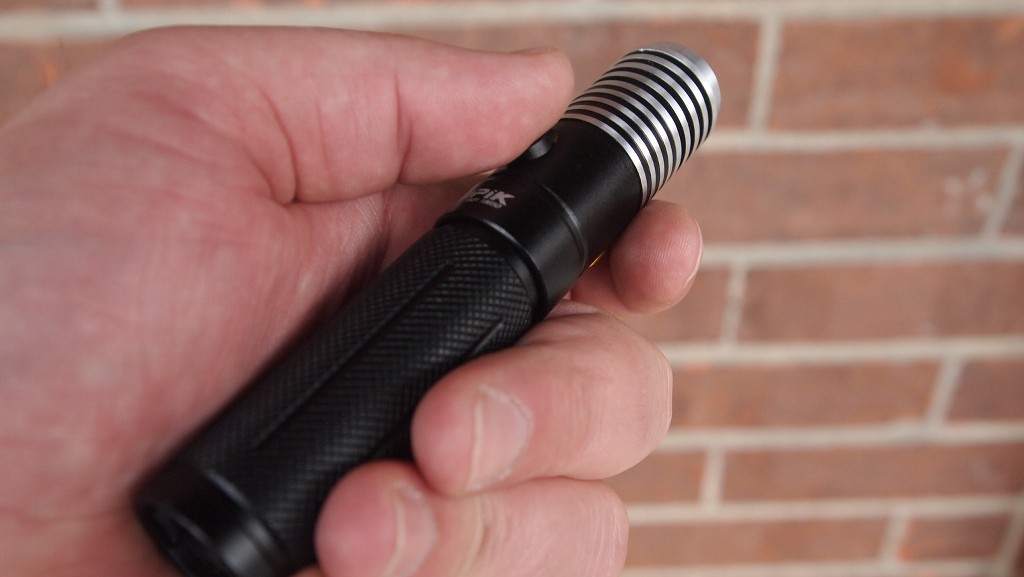
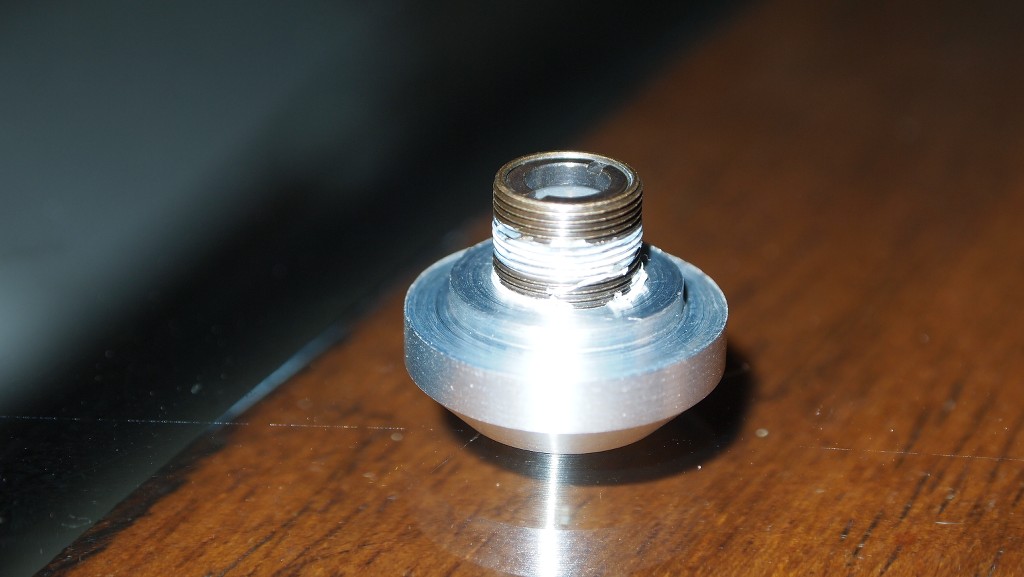
Here is a neat little host I got today and decided to do a little review of. Qumefox is planning on carrying these kits and I liked the look of it so I ordered one up. It is a side outtie clicky 18650 host with a finned protruding heatsink. It has a tripod mount(tripod included), custom focus adapter and a very well machined driver pocket/finned heatsink. Qumefox is a great guy to deal with, ships quick and does great work. When he said he was selling the first couple of units he had made I contacted him about getting one of them. We talked about the aluminum vs the copper and I decided that my main focus is visual appeal and thought the aluminum one looked the best. So I ordered it Monday night and got it today Thursday.
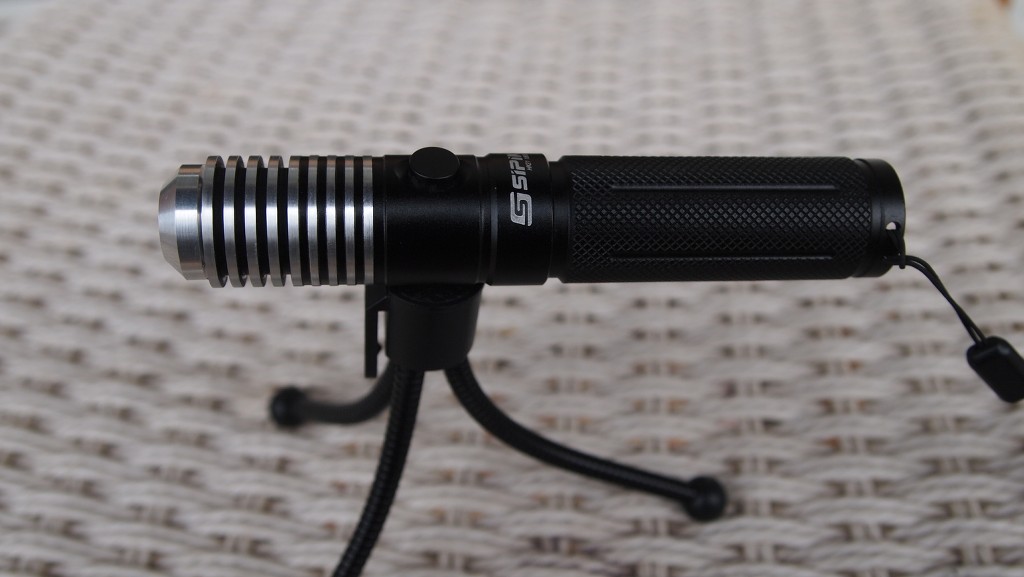
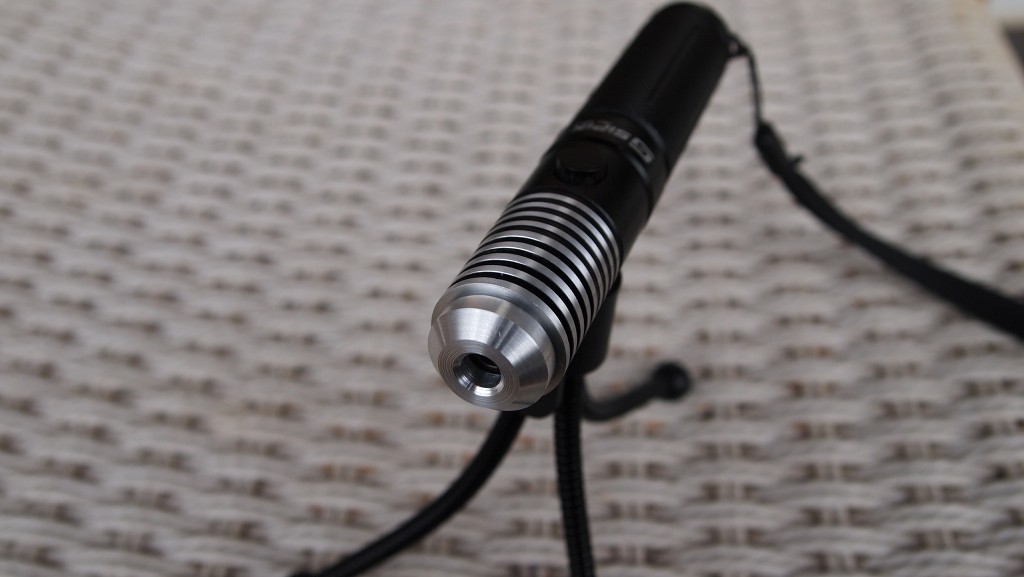
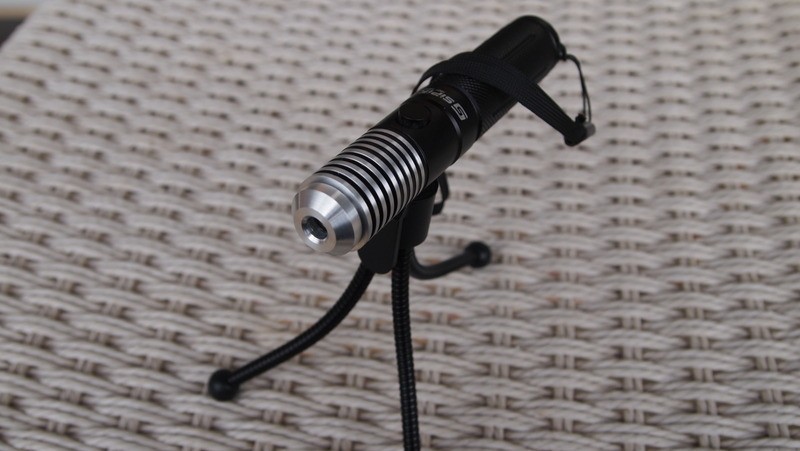
Here are some great shots of this host.
Host

Build Tutorial
The assembly of this unit is pretty straight forward. The addition of the tripod really is a sweet bonus for this host kit.


Here is what the build consists of. It has a tripod, battery compartment, switch housing, driver pocket/finned heatsink, Aixiz module with back cut off, custom focus adapter, PCB board with spring and some Flaminpryo wire.

You could use a few different drivers for this build but since it already is set up for a NJG-18 driver I went with it. It is a boost driver capable of driving a 445nm with a single 3.7V Li-Ion battery. It is a 5 mode capable driver that can also be wired for always on full power. On high I suggest sticking around 1350 mA without heatsinking modifications. Here is a thread outlining this driver.
http://laserpointerforums.com/f67/njg-18-multimode-boost-driver-445nm-possibly-650nm-55496.html
Now I decided to go with the driver wired for always on full power. I wired the driver up and put it on a test load and set the current. I know it says 1461mA but I ended up turning it down a little landing on 1350mA.
")

So I have my driver set up and ready to go into the host.
As seen here the driver will fit very snug in the diode pocket.
Next I wired it up to a diode. I bridged the case pin and the negative pin on the diode to bypass the drivers modes.

Next I put the driver and diode in the heatsink and used a couple of dabs of adhesive to hold the driver in place. Then when it dries push the module in the heatsink and use your allen wrench or T-6 Star to tighten the module in.
Now with the old PCB it had a little longer spring than the NJG has to make contact with the positive contact in the host.
I removed the spring from the board and soldered it to the drivers short spring.
It actually makes contact in the host really well.
Now the hard part is over screw the driver pocket/heatsink into the host.

Throw in a battery and screw the battery compartment in.

Now to the custom focus adapter. You will want to regulate how far it screws into the adapter depending on which lens you are using. I use a heavy bit of teflon on the very top of the threads where the focus adapter screws on. You will have to do trial and error to find where you want it and you want the tape to make it very tight so it will require a little pressure to screw it in. I also used a small amount of teflon half way up the threads just to hold it nice and steady in the host. I suggest screwing it in and out a few time and then cleaning off any frayed teflon. You want to make sure before powering whenever you have the lens off that there is no teflon that gets in the module or you could damage the diode. There are also other options than teflon.
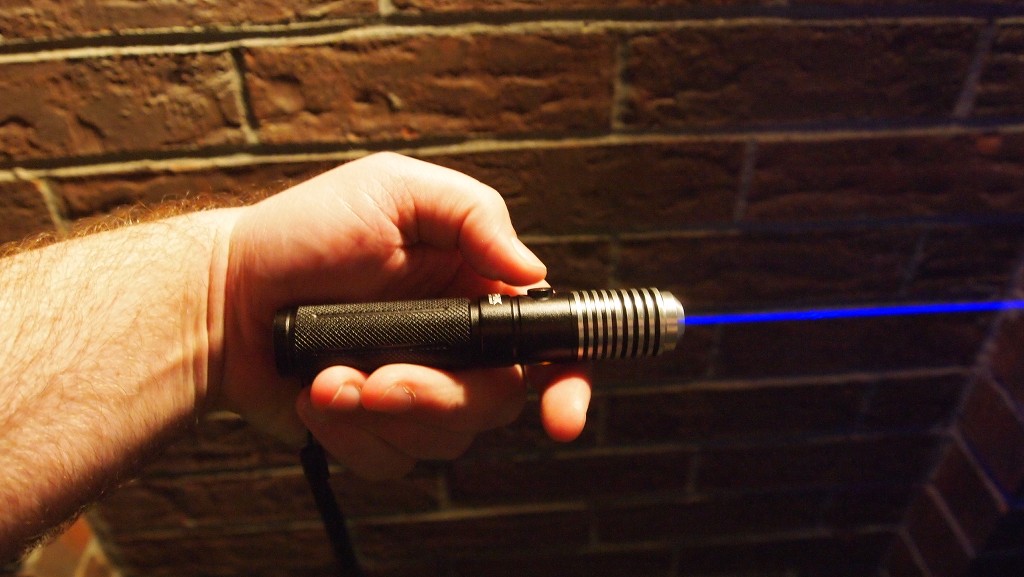
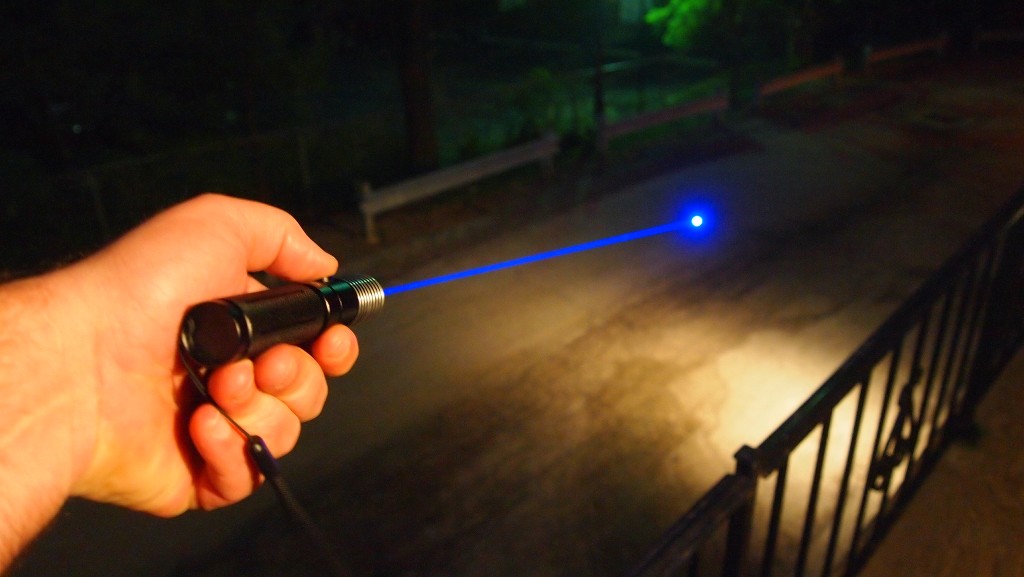
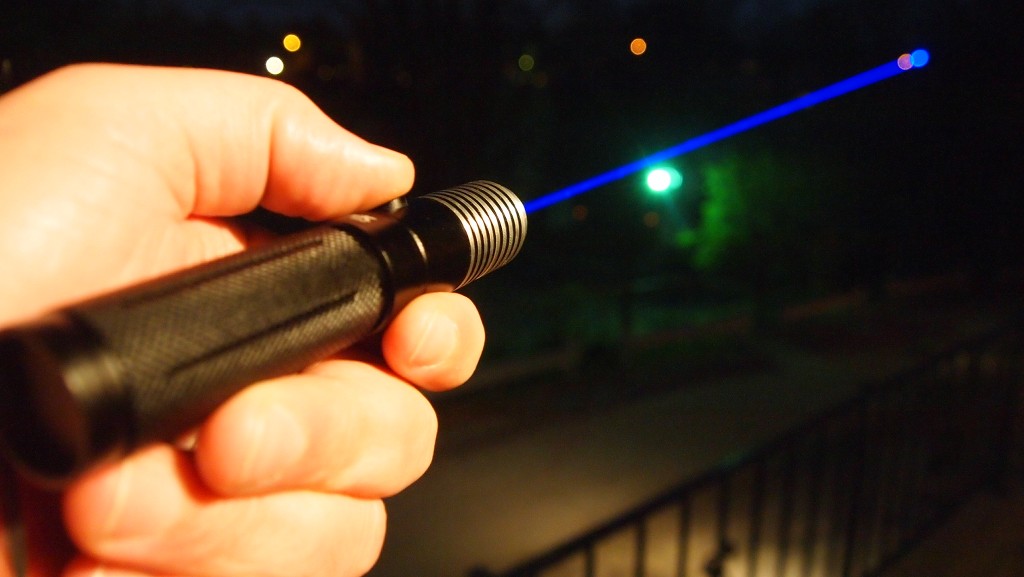
Not that it is all put together you are ready to go.
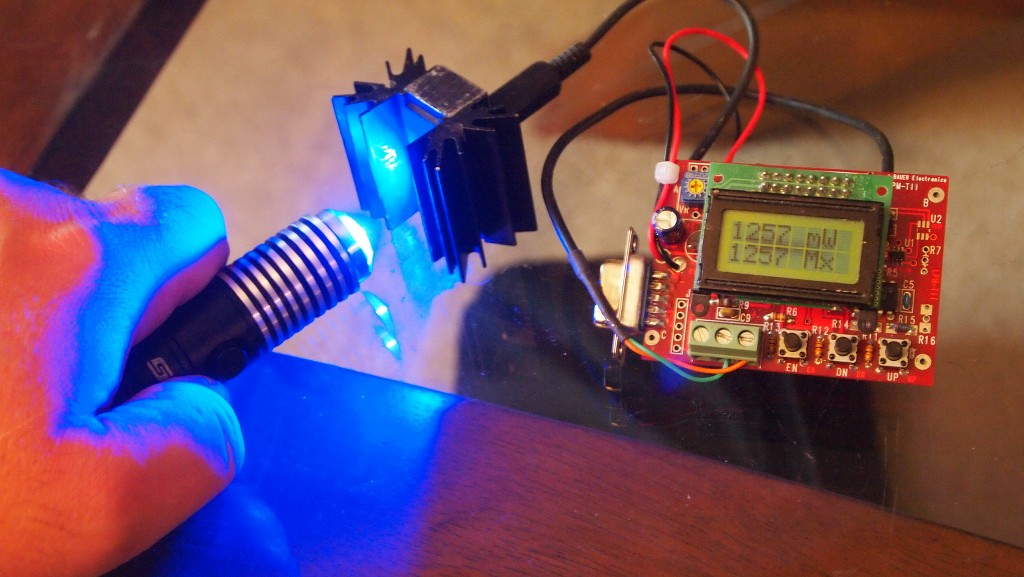
LPM TEST
I ran a test with an Aixiz glass lens and the result was 1257mW peak and with a G-1 I am sure it will push 1.4W.
Final thoughts
I am very impressed with this host. It is much more compact than I thought when looking at the pictures which is a plus in my book. It has a very aggressive look with the finned heatsink and the machine work is high quality.
One thing I did notice. The host fits my Sanyo 2600mAh unprotected batteries very well but it would not screw all the way in with my AW 2900mAh protected cell. It was just a little too tall. Keep this in mind when selecting a battery. I have not looked that close but maybe the positive battery contact point can be moved up a few mm to help in the fit.
The clicky is an outtie clicky which means that you can use it for momentary off when it is on with slight half presses. I did not get to try it out until I had already fully assembled the unit and most of the time it would be nice for a innie clicky that has momentary on from an off state but with this outtie it would actually work really well if I had not disabled the modes. It would make scanning through the modes very easy.
So that is it. Overall a very impressive little unit. I would not try to turn this into one of my superbeasts that run for long duty cycles @ high wattage due to the mass but a 2 minutes on and 1 minute off does seem to be fine for this host running @ 1350mA.
Thanks for reading my review if you would like to see more reviews I have done please check the link in my sig.
Last edited:


")