

- Joined
- Sep 7, 2008
- Messages
- 396
- Points
- 18
This is my first tutorial, so if I missed anything, please let me know and I'll try my best to put it in.
So, due to popular demand, and my overwhelming generosity (and humility, obviously), I'm posting this build. My original idea didn't work, then I tried another one and figured out it wouldn't work before I tried it, then I figured out this one, which works pretty nicely. I've linked to a video of me lighting a match at the bottom of the post.
So, start by buying the color of MiniMAG you want to use. I was building a blue one for a friend of my dad.
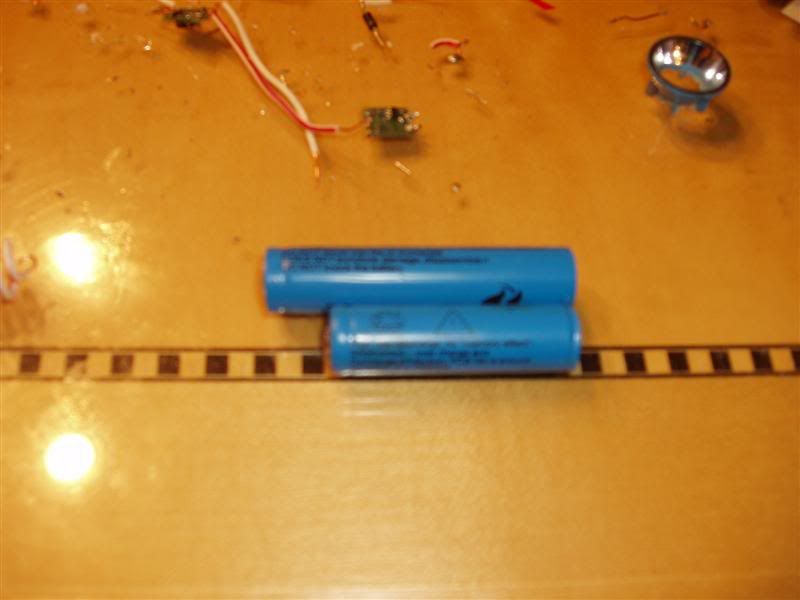
This build uses 14650 lithium batteries. I bought them from BestOfferBuy.com, since it was cheaper than DX, and DX never got back to me after I contacted their customer service. (DARN THEM!) This is a 14650 (top) next to a protected 14500 (standard AA size, bottom).
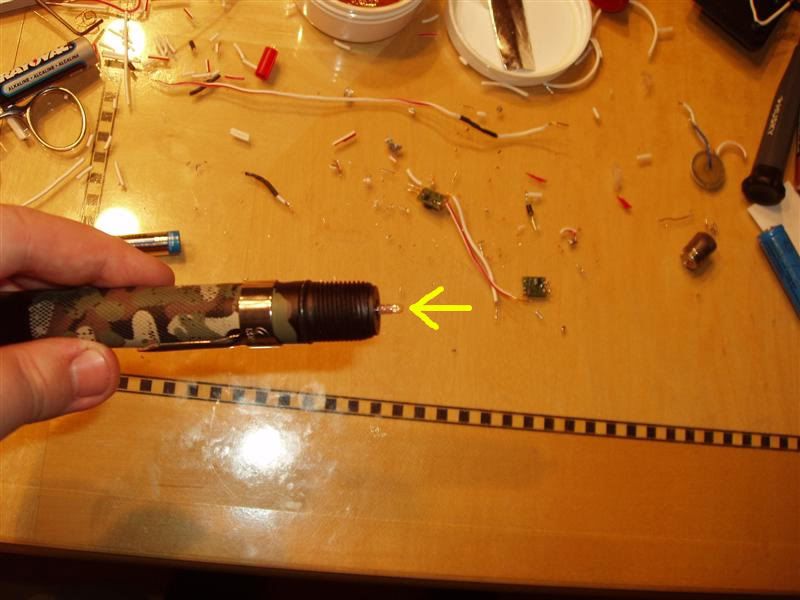
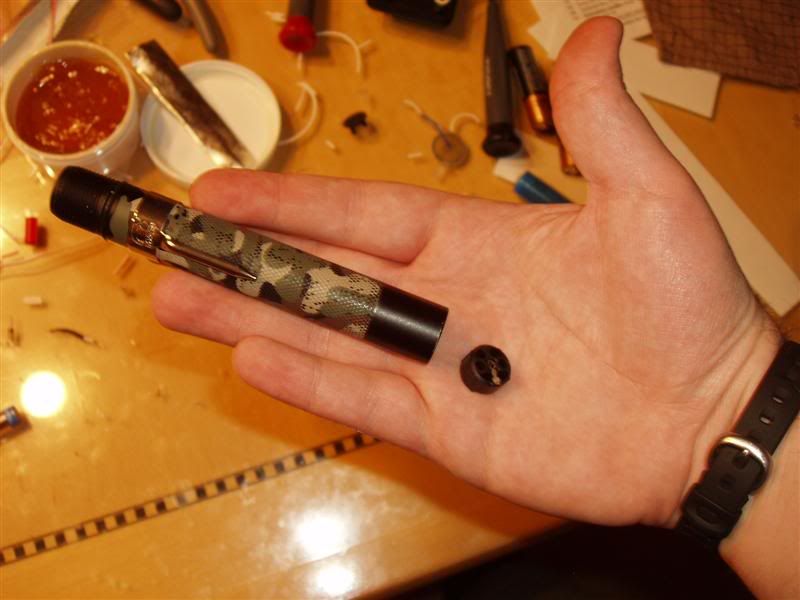
The first few images are of a camo-colored MiniMAG...it changed colors magically >_> <_< >_>
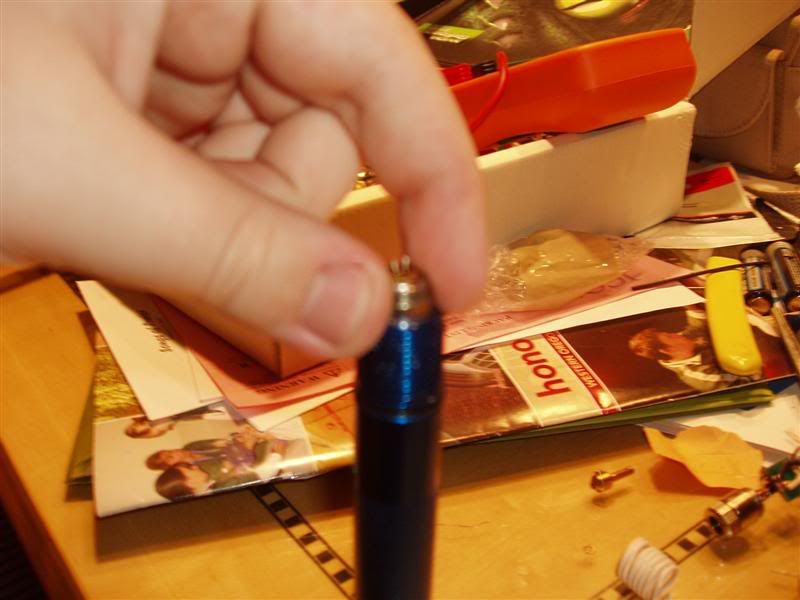
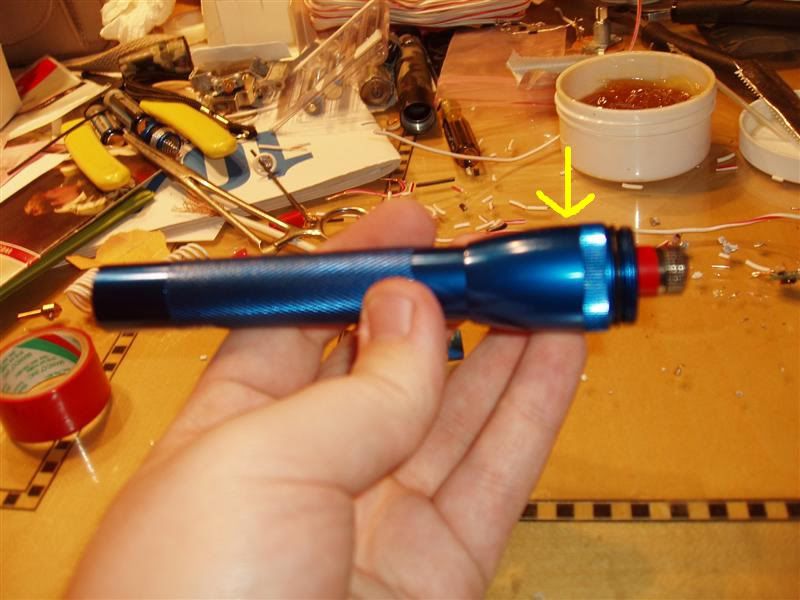
Take out the bulb, then remove the part that says, "do not remove."

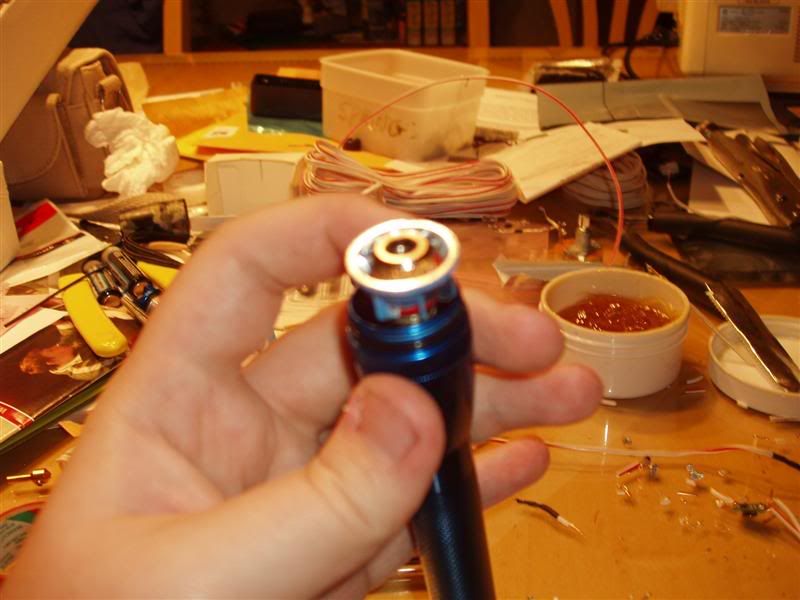
Let the piece inside fall out.
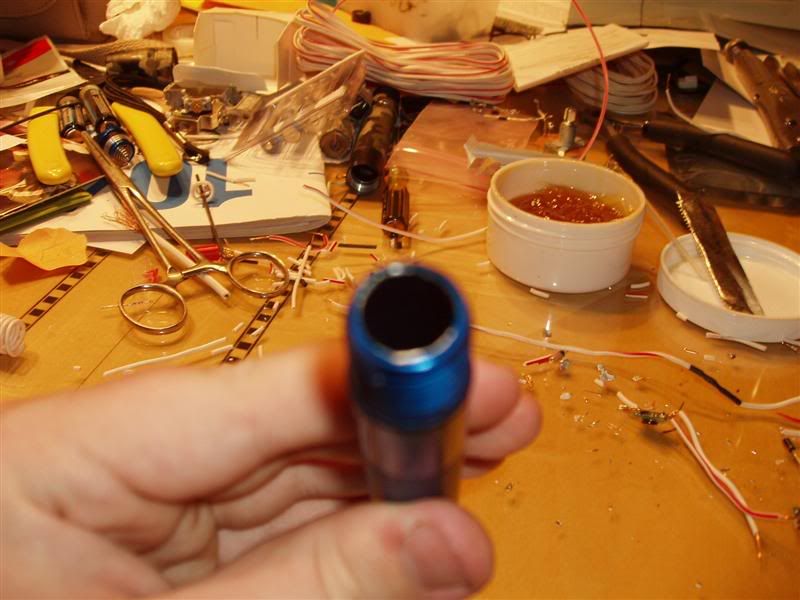
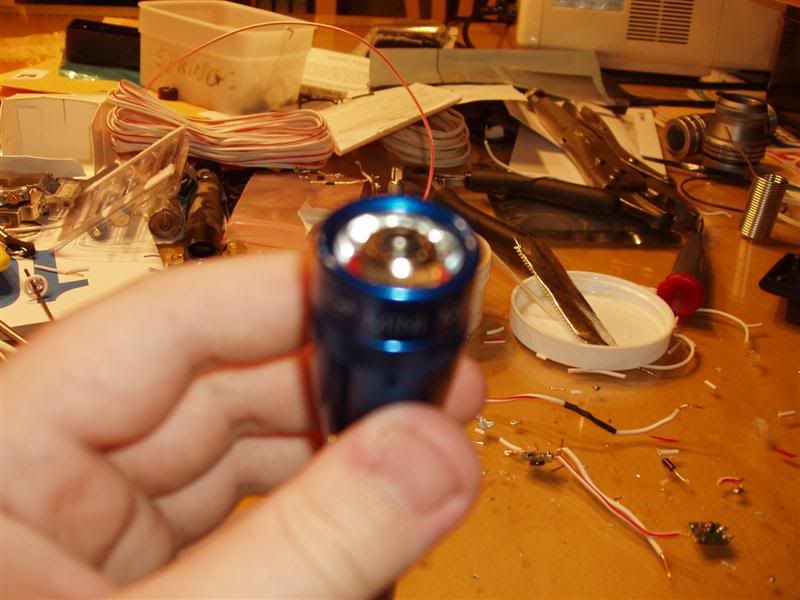
This is where it changes to blue.
Drill out the top to about 12 and 1/4 or 12 and 1/2 mm (mine was in there, somewhere).
Do the same to the reflector. I tried drilling it out, but wasn't very successful, so I used instead a dremmel (part of why it looks so bad). This can be just a hair too small, because later it will need to fit snugly on the diode module housing (I use electrical tape).
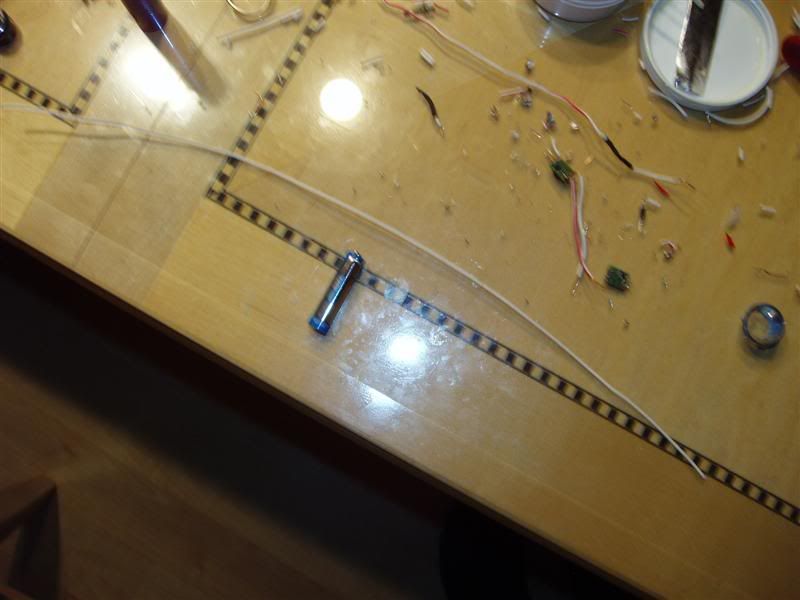
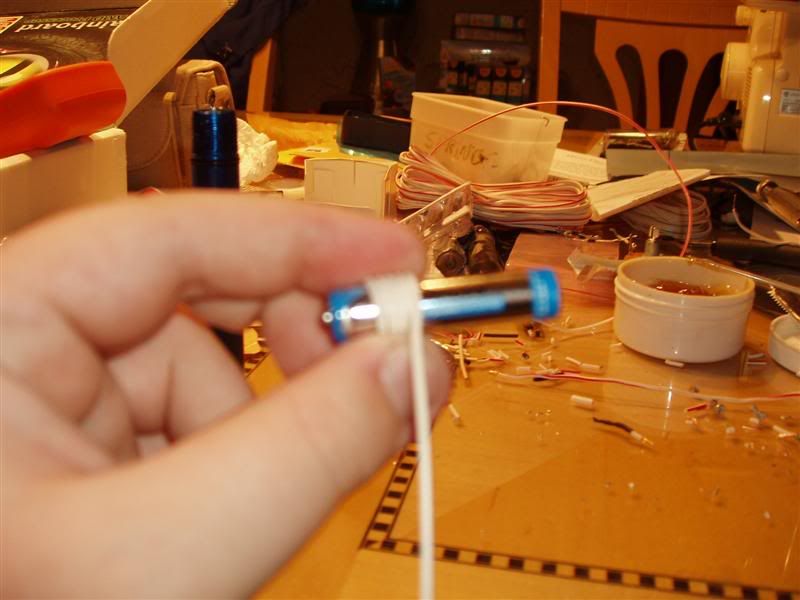
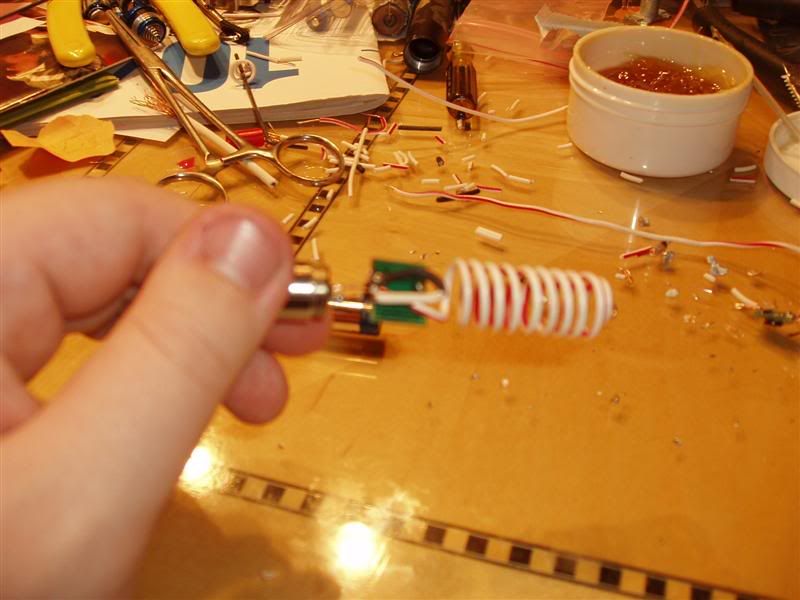
Take about 16 inches of wire (I have about 16 and 1/2), and coil it tightly around a AAA battery. Depending on the thickness of the wire, it should be just about the right size to fit inside the AA housing. (My wire only had to be adjusted slightly.)
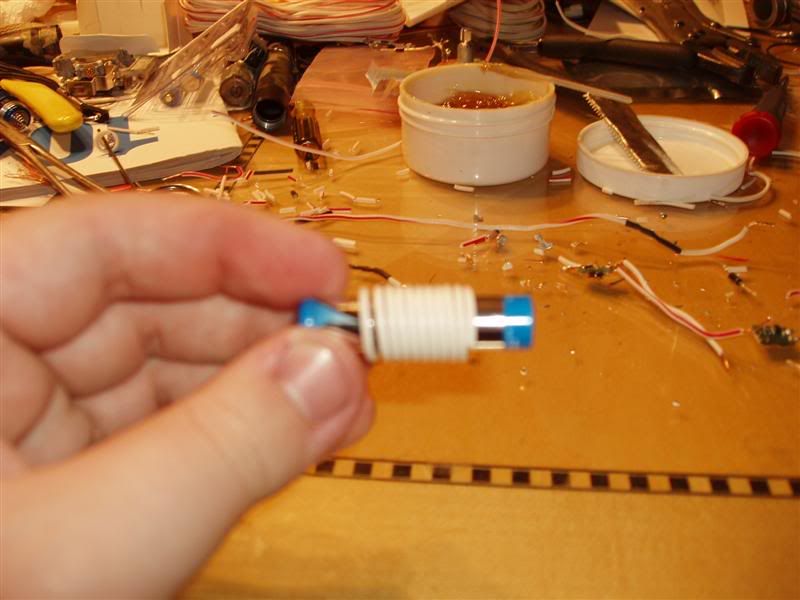
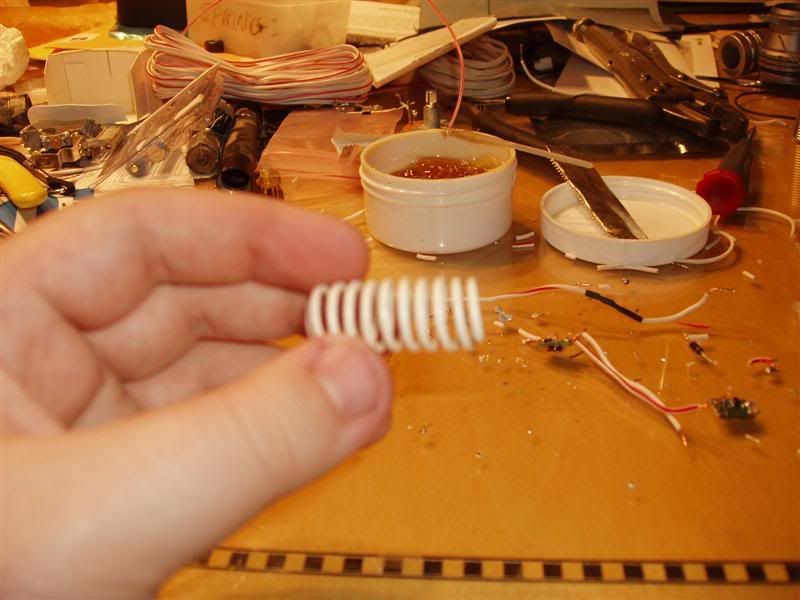
Take it off and stretch it out a little bit, but try to keep it a pretty uniform spread.
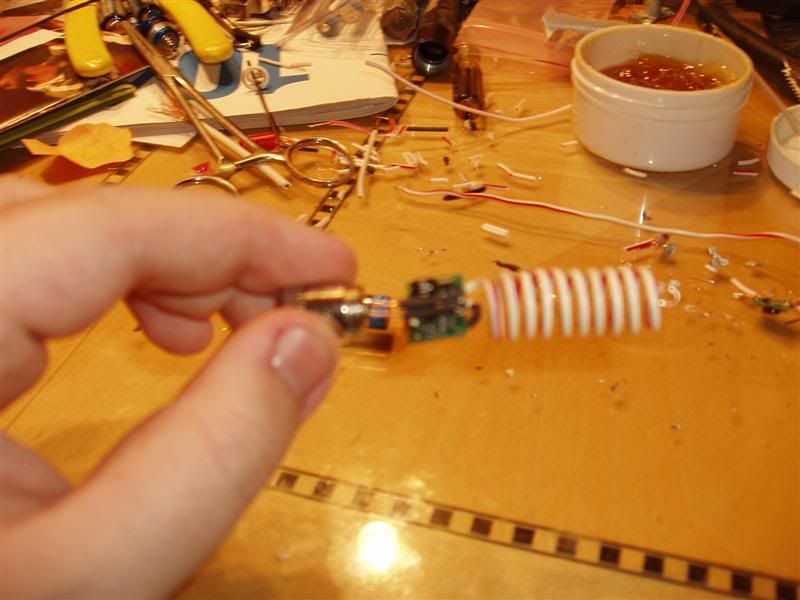
So I had plenty of wire to work with, I soldered short wires to the diode +/-, the coil to the battery +, and another short wire to the battery -, then I ran them across the FlexDrive, to take up slack, and put some heat shrink tubing on some of the wires, to prevent shorts. Before I broke it, I tried something like this with the V4 FlexDrive, but I wrapped the wire around the driver, due to its small size, and that did well to make it take up the extra space (not pictured). The battery negative wire from the driver is leading down and then back up, and sticking out to touch the case just under the rim at the top. The inside of the case is painted, and does not conduct electricity, but the under side of that ring at the top is not painted, which is where our complete circuit is made.
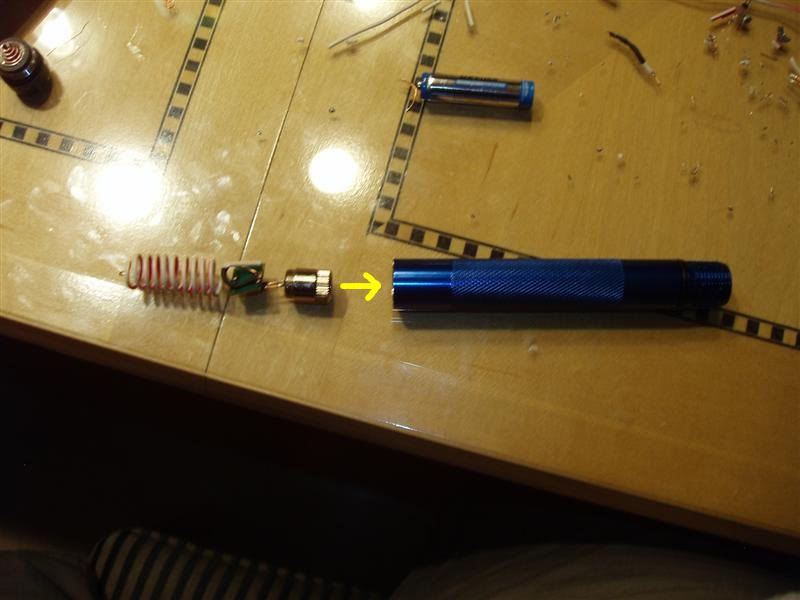
Insert the whole thing into the MiniMAG, and let the diode stick out the top end.
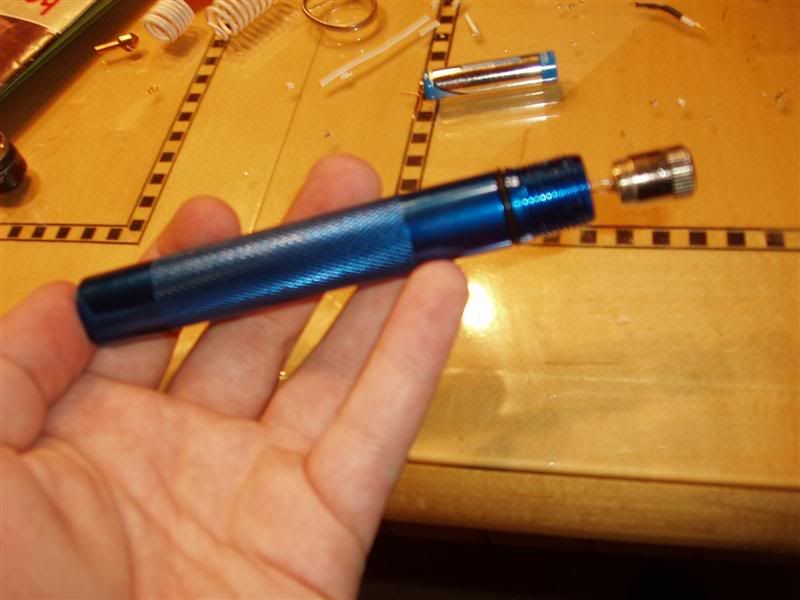
If the reflector doesn't fit snugly, put on some electrical tape.
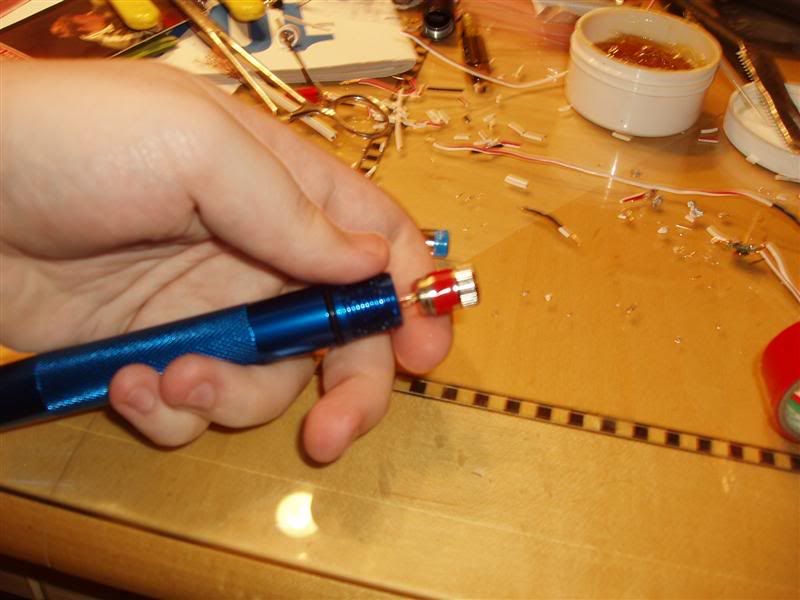
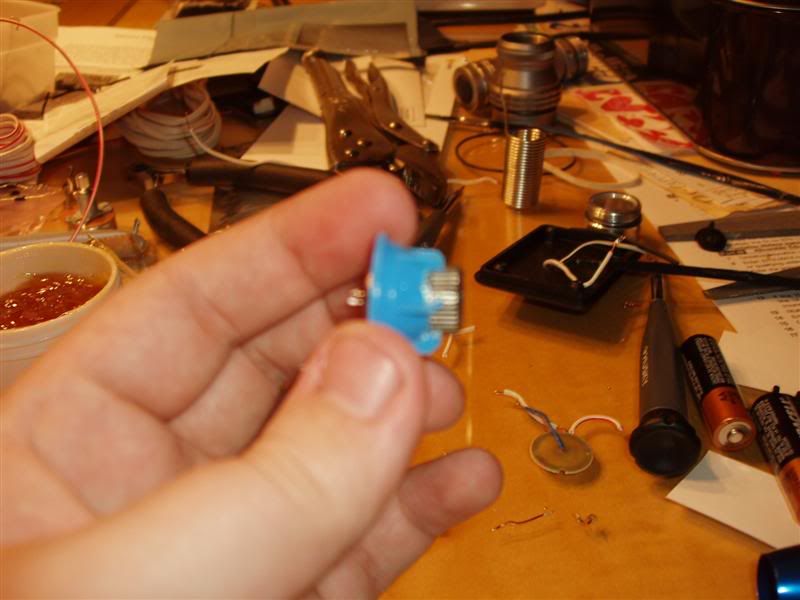
Add the main part of the twisty-switch-thing.
Add the reflector.
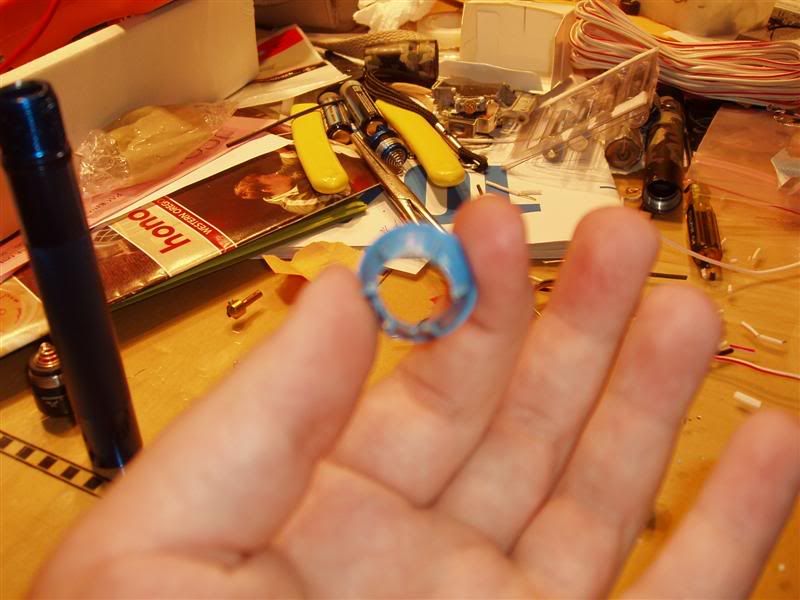
Add the top ring.
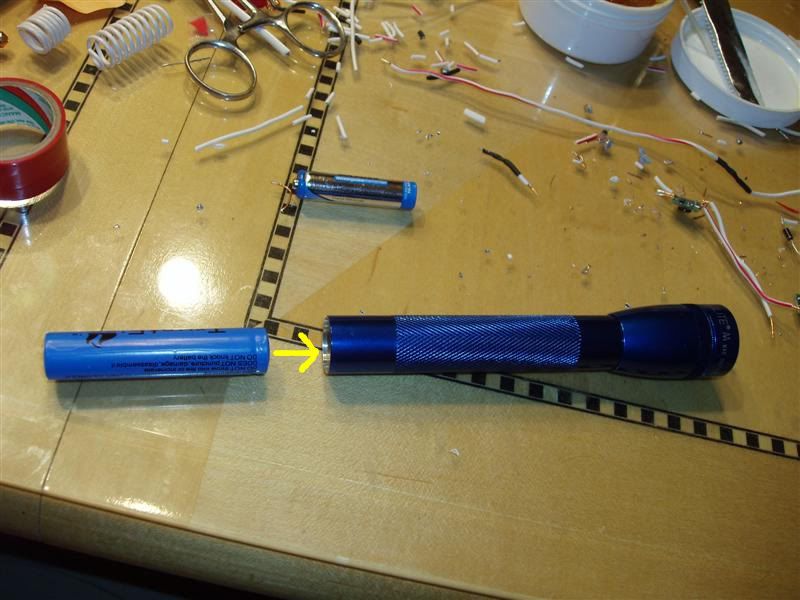
Slowly unscrew the twisty-switch until you feel it getting a little tight, then screw it back a little to D/C the battery negative wire from the battery. Insert the 14650.
It'll be pretty close to flush, but don't worry, there's a LOT of space that copper coil can take up.
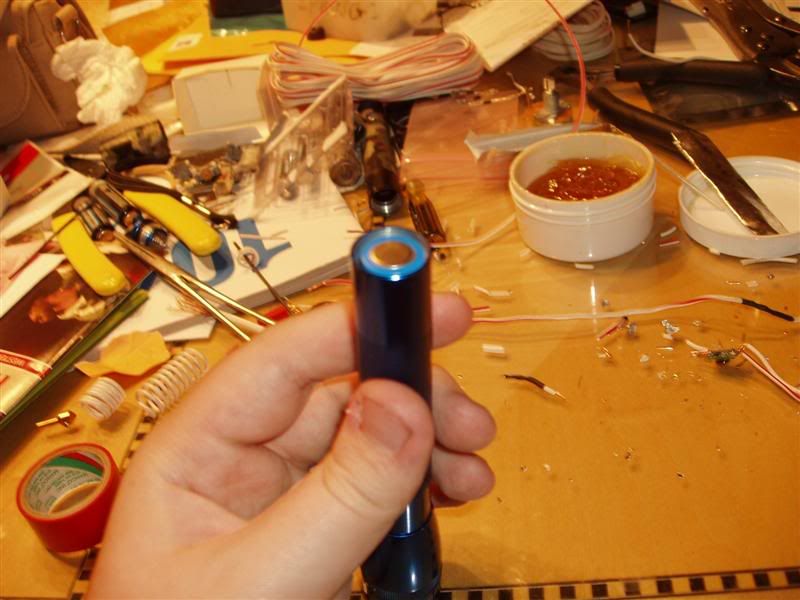
Screw on the bottom.
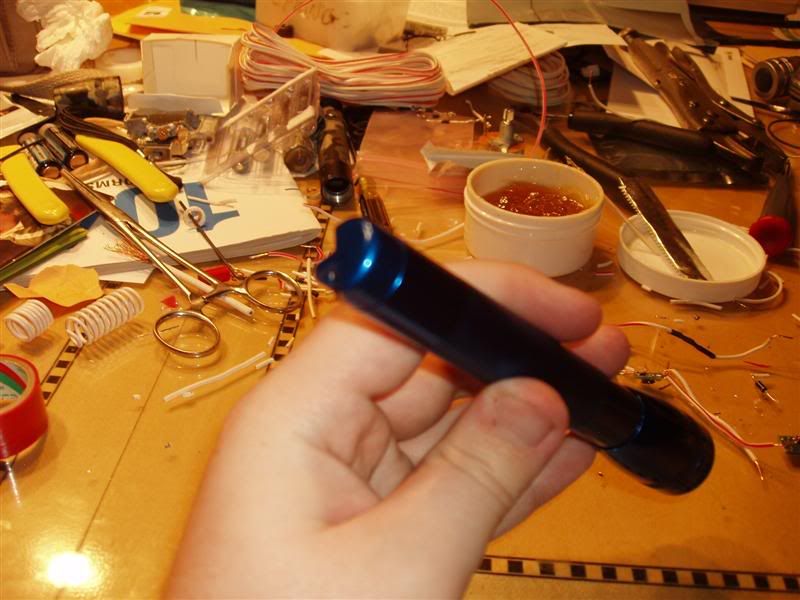
And if you did it right, you're done!")
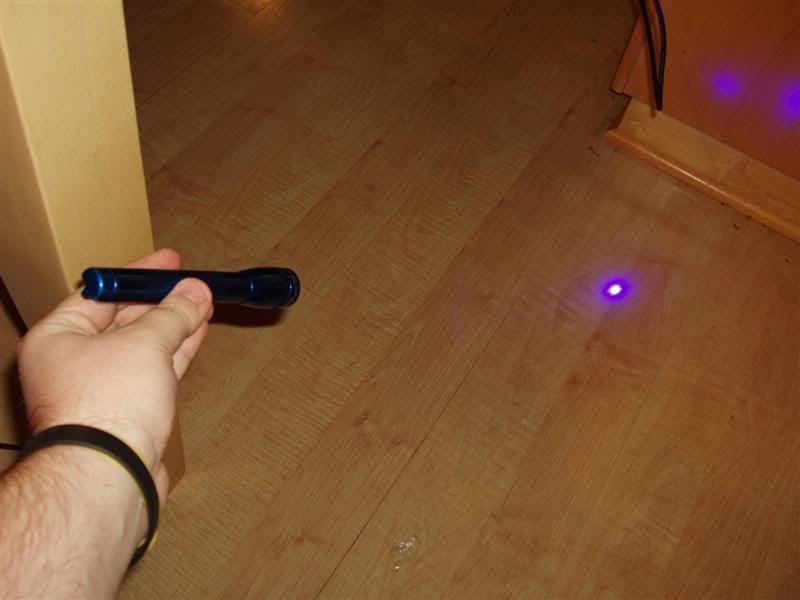
And here's the link to my video, showing how well it works
http://www.youtube.com/watch?v=Snu1OjiTgjw
So, due to popular demand, and my overwhelming generosity (and humility, obviously), I'm posting this build. My original idea didn't work, then I tried another one and figured out it wouldn't work before I tried it, then I figured out this one, which works pretty nicely. I've linked to a video of me lighting a match at the bottom of the post.
So, start by buying the color of MiniMAG you want to use. I was building a blue one for a friend of my dad.
This build uses 14650 lithium batteries. I bought them from BestOfferBuy.com, since it was cheaper than DX, and DX never got back to me after I contacted their customer service. (DARN THEM!) This is a 14650 (top) next to a protected 14500 (standard AA size, bottom).
The first few images are of a camo-colored MiniMAG...it changed colors magically >_> <_< >_>
Take out the bulb, then remove the part that says, "do not remove."
Let the piece inside fall out.
This is where it changes to blue.
Drill out the top to about 12 and 1/4 or 12 and 1/2 mm (mine was in there, somewhere).
Do the same to the reflector. I tried drilling it out, but wasn't very successful, so I used instead a dremmel (part of why it looks so bad). This can be just a hair too small, because later it will need to fit snugly on the diode module housing (I use electrical tape).
Take about 16 inches of wire (I have about 16 and 1/2), and coil it tightly around a AAA battery. Depending on the thickness of the wire, it should be just about the right size to fit inside the AA housing. (My wire only had to be adjusted slightly.)
Take it off and stretch it out a little bit, but try to keep it a pretty uniform spread.
So I had plenty of wire to work with, I soldered short wires to the diode +/-, the coil to the battery +, and another short wire to the battery -, then I ran them across the FlexDrive, to take up slack, and put some heat shrink tubing on some of the wires, to prevent shorts. Before I broke it, I tried something like this with the V4 FlexDrive, but I wrapped the wire around the driver, due to its small size, and that did well to make it take up the extra space (not pictured). The battery negative wire from the driver is leading down and then back up, and sticking out to touch the case just under the rim at the top. The inside of the case is painted, and does not conduct electricity, but the under side of that ring at the top is not painted, which is where our complete circuit is made.
Insert the whole thing into the MiniMAG, and let the diode stick out the top end.
If the reflector doesn't fit snugly, put on some electrical tape.
Add the main part of the twisty-switch-thing.
Add the reflector.
Add the top ring.
Slowly unscrew the twisty-switch until you feel it getting a little tight, then screw it back a little to D/C the battery negative wire from the battery. Insert the 14650.
It'll be pretty close to flush, but don't worry, there's a LOT of space that copper coil can take up.
Screw on the bottom.
And if you did it right, you're done!
And here's the link to my video, showing how well it works
http://www.youtube.com/watch?v=Snu1OjiTgjw


