Welcome to Laser Pointer Forums - discuss green laser pointers, blue laser pointers, and all types of lasers

LPF Donation via Stripe | LPF Donation - Other Methods

Links below open in new window

ArcticMyst Security by Avery

Tutorial: 3405 Build Tips!

bhank

0
Joined
May 7, 2009
Messages
108
Points
0
Great walk through Jay.

I'm working on your 18650 kit build right now and it is MY first legitimate build. So, that being the case, i can appreciate the helpfull hints. You've done many posts on build hints and tips and helped so many people build their lasers that in my opinion, they can't all be wrong lol :yh:

BTW, I believe the correct term is inexperienced, not "dumb"...


jayrob

0
Joined
Sep 21, 2007
Messages
9,862
Points
113
Oh yeah... I remember when I first learned the basics...

Can't stress eye safety enough.

Hope your build goes well...

Now your going to be hooked on building! :cool:

Generally, the smaller the host, the more difficult the build. Check my signature for a list of my kits for you next build! :)
 
Last edited:

bhank

0
Joined
May 7, 2009
Messages
108
Points
0
So far I'm just waiting on the driver to get here then I'll get this baby goin lol. I'm working on the laser goggles issue atm and will make sure to get some before I do anything other than star gazing with it, after checking for planes of course :D

My main interest is beam and color
 

DTR

0
Joined
Jun 24, 2010
Messages
5,684
Points
113
Jay got my unit today and assembled it in under 10 minutes. I have to say the finest unit of yours that I have yet. Cant wait for the SS 18650.

I thought I would document the process that I use for the people that are thinking about picking up one of your hot units. Obviously this is my third build and am in no way and expert. Constructive criticism is graciously accepted.

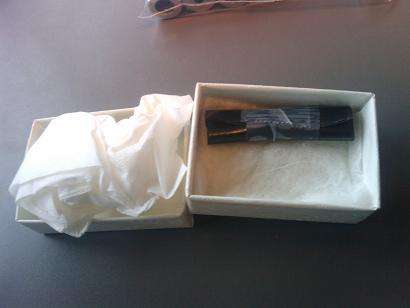
First off got some diodes form Daguin. Extremely well packed as always.

mxdl10.jpg

mxdl12.jpg

mxdl11.jpg


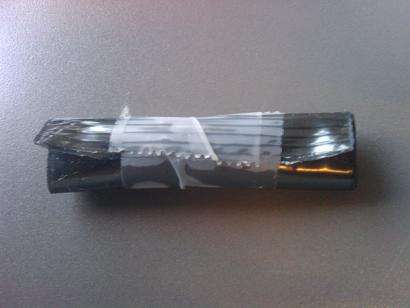
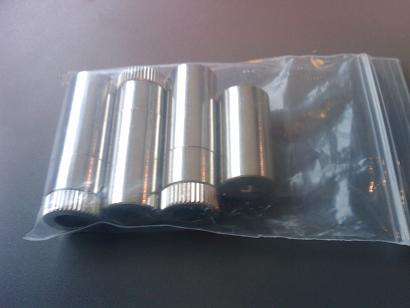
Then the Aixiz modules from Jay. Remember you will discard the back of the Aixiz module as it is unnecessary for this project.

mxdl6.jpg


Now to the presses.

I currently use a diode press tool from Flaminpryo $15 LINK. This tool is great and would suggest to anyone who plans to build a laser. Plus it will countersink the diode past flush.

20pujcl.jpg


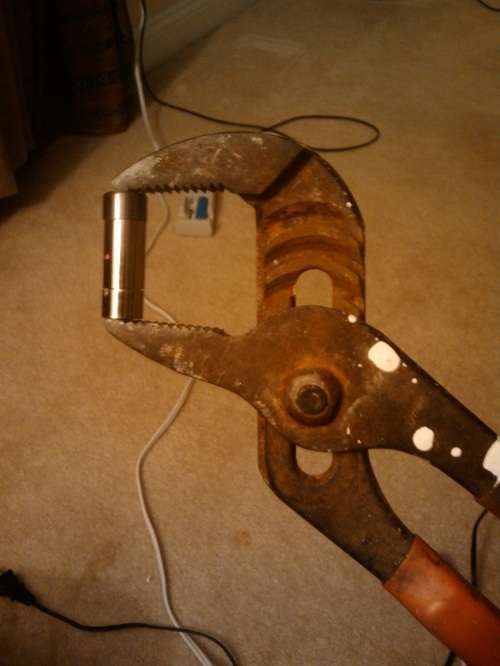
You can use a pair of large pliers instead of a vice as well to press the diode.

didepress3.jpg


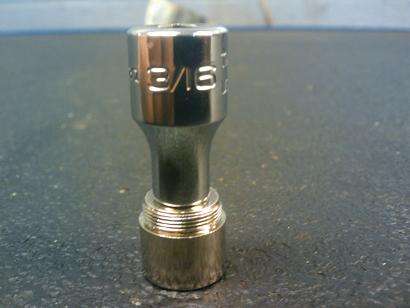
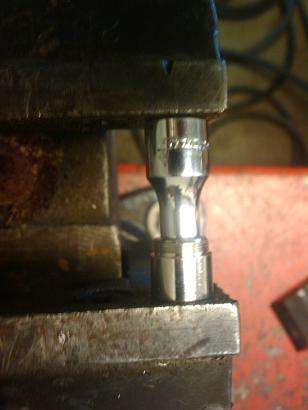
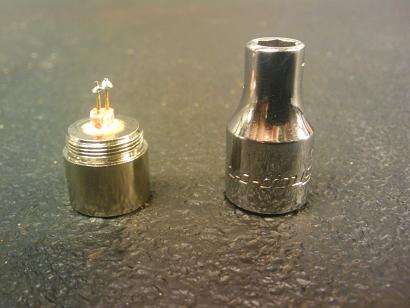
If you don't have a diode press tool you can use a 3/16 socket for pressing the diodes into the Aixiz module. The previous method is better but this will work in a pinch.

mxdl17.jpg


Press it with a vice until the diode is flush with the module.

mxdl14.jpg


When it is in it should look like this.

mxdl1.jpg


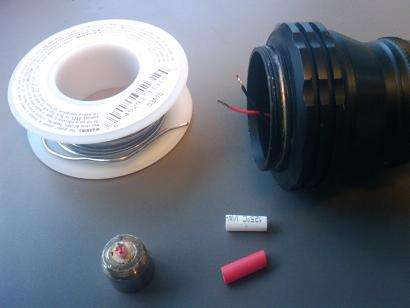
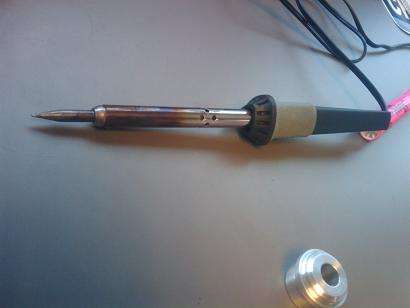
Now comes the fun part. Get all your stuff out. You will need a soldering iron, shrink tubing, solder, pressed diode in the Aixiz module and your hot kit host.


mxdl19.jpg

mxdl15.jpg


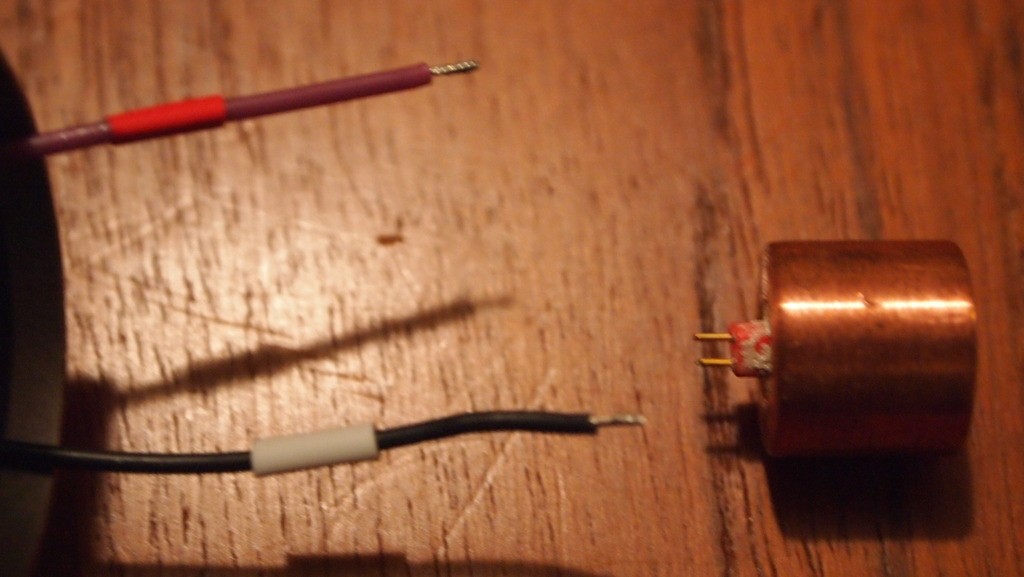
Put the shrink tubing on the wires and push them back toward the host.

5v42.jpg


Next we will solder the diode to the hot kit wires. Here is a pinout for this diode. It does say Blu Ray but the pinout is the same.
PHR803Tpins.gif


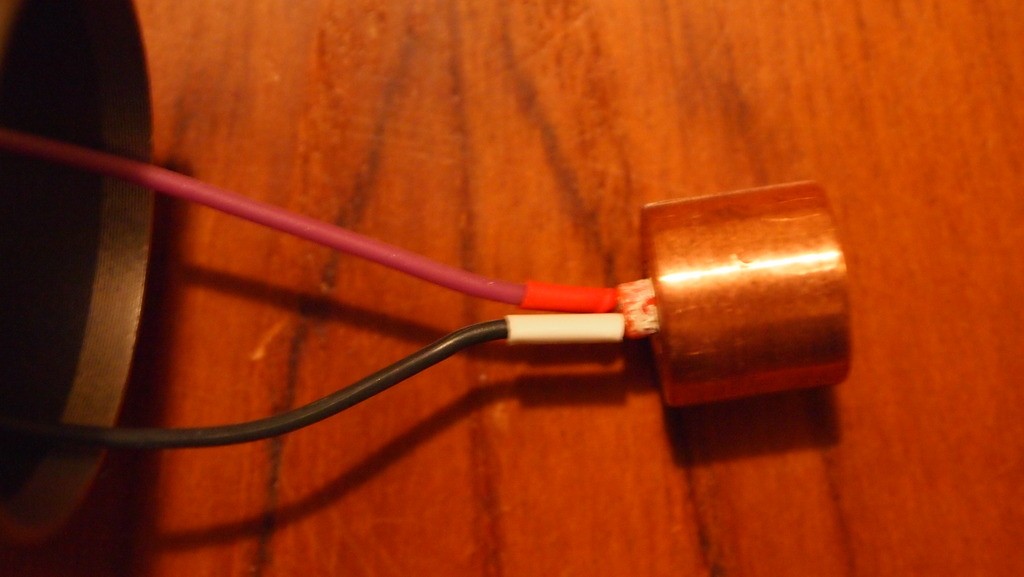
First get your flux and dab a small amount on the diode pins and your wires. Then get some solder loaded onto your iron. Hold the wire up to the diode pin and quickly touch it with your iron. The flux will draw the solder to the joint very quick. Repeat with the other wire pin.

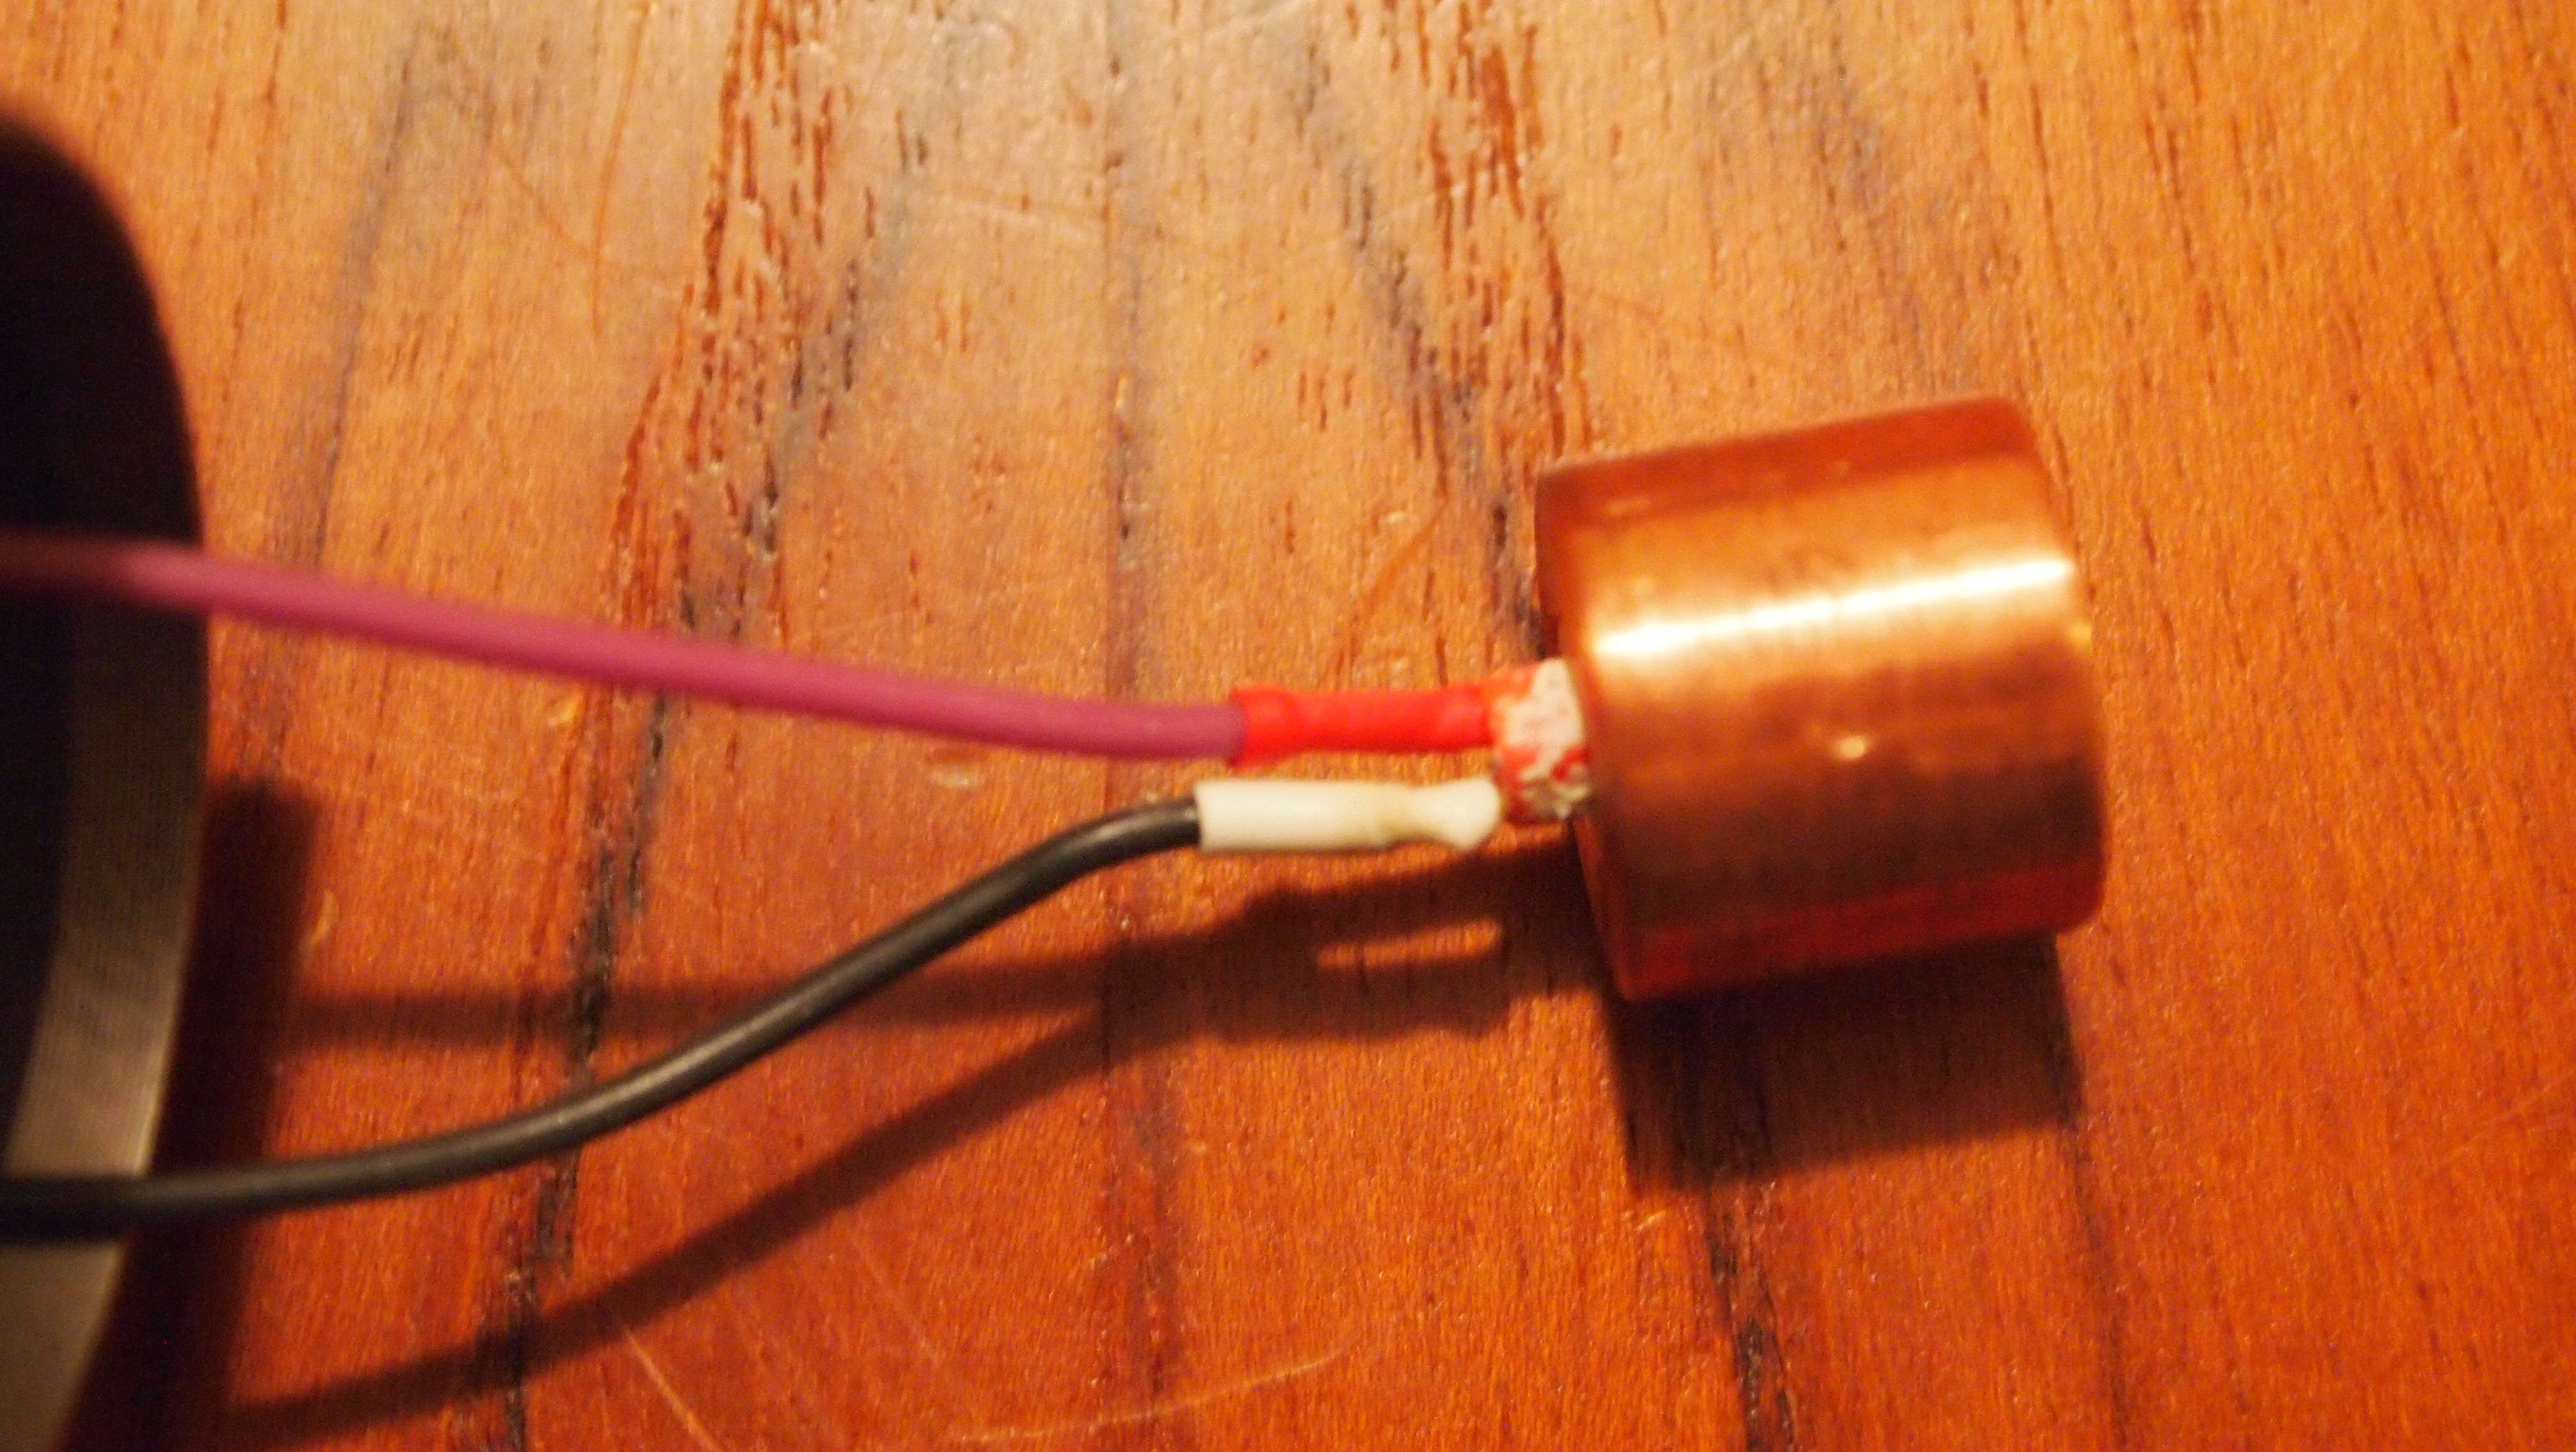
When you are done it will look like this.

p1010890f.jpg


Next after the connections have cooled move your shrink tubing to the head of the diode covering the solder points and pins.(important to let it cool before you try to slide the shrink tubing down because it will shrink as soon as it hits something hot and will not go all the way up)

pee3.jpg


Finally I like to use a butane jet lighter and hit the shrink tubing with it. If you don't have one you can just rub your iron over the shrink tubing until it is snug.

p1010893i.jpg


The hard part is over. Now just put your Aixiz module in your heat-sink and tighten the set screw with your allen wrench.

p1010894c.jpg


Place the heatink gently in the host making sure not to pinch or twist any wires.

p1010895s.jpg


Screw the top on and put in a lens.

p1010896v.jpg


Now you are ready to lase.:eg:


p1010899t.jpg


Hope this was useful to somebody.


Jay on a side note the heat-sink is definitely working wonders on this thing. Ran it for 90 seconds and it has not kicked in the overheat protection yet.:beer:

I will post a review tonight when I get home with some beam shots. Can't wait for my lenses.
 
Last edited:
Joined
Jan 2, 2009
Messages
11,800
Points
0
Sorry to rain on your parade but you need to countersink the diode, not press flush.
 

DTR

0
Joined
Jun 24, 2010
Messages
5,684
Points
113
Sorry to rain on your parade but you need to countersink the diode, not press flush.

There is no rain you big teddy bear.:poke: I was looking for some critiquing. What would be the best way to do this? I will edit my post with anything I learn.
 

jayrob

0
Joined
Sep 21, 2007
Messages
9,862
Points
113
Sorry to rain on your parade but you need to countersink the diode, not press flush.


I'd like to comment on that point TJ...

Many people press flush, there is nothing wrong with that style. True, it may be a tad better contact to the diode case when pressed all the way in, but the entire outer circumference of the diode case is in contact with the module. So I'm guessing it is not much of a difference in heat transfer. If any at all.

But the main thing that I want to say, is that I must fit my lenses and EzFocus designs for a 'flush pressed' diode. Because not everybody presses past flush. And if I fit my lenses and EzFocus adapters for a fully pressed diode, then there would be many people not getting focus, and having other 'fitting issues'.

That said, I am one who has always pressed flush. I have never found the need to press past the flush point. So I just never have done it. And we are creatures of habit...


The reason people talk about pressing past the flush point, is that long ago with PHR builds, you couldn't focus using an AixiZ acrylic lens with the AixiZ focus ring installed unless the diode was pressed past the flush point.

And then people were saying that the diode has more contact to the module if pressed past flush, etc...

But there is nothing wrong with pressing flush. There is plenty of contact. The entire outer circumference of the diode case is in contact with the module.

And the focusing issue is non-existent with an AixiZ 445 lens, or a 405-G-1...


DTR, nice step by step! :gj:

Glad you like the kit! :)
 
Last edited:
Joined
Jan 2, 2009
Messages
11,800
Points
0
People have used a .22 shell, cable adjuster to a bike brake, or a brass air hose coupler. Not sure of the size though. But the diode is 5.6 mm, so not anything bigger than that.

raleigh_cable_adjust.jpg


brass-pipe-coupling-31473.jpg
 

DTR

0
Joined
Jun 24, 2010
Messages
5,684
Points
113
I'd like to comment on that point TJ...

Many people press flush, there is nothing wrong with that style. True, it may be a tad better contact to the diode case when pressed all the way in, but the entire outer circumference of the diode case is in contact with the module. So I'm guessing it is not much of a difference in heat transfer. If any at all.

But the main thing that I want to say, is that I must fit my lenses and EzFocus designs for a 'flush pressed' diode. Because not everybody presses past flush. And if I fit my lenses and EzFocus adapters for a fully pressed diode, then there would be many people not getting focus, and having other 'fitting issues'.

That said, I am one who has always pressed flush. I have never found the need to press past the flush point. So I just never have done it. And we are creatures of habit...


DTR, nice step by step! :gj:

Glad you like the kit! :)

It is good to know I did not totaly screw it up but as a beginner in this hobby I would still like to learn a technique for countersinking the diode in the module and it's advantages. Never lose an opportunity to learn something new.:thanks:

Also what would your guys best guess be as to the mW put out by this thing when I get the 445 Aixiz lense's?
For right now I have the 405-G-1 on it.
 
Last edited:
Joined
Jan 2, 2009
Messages
11,800
Points
0
@ Jay. I dont like the way the lens focuses when the diode is flush pressed. The focus does not start till the lens extended a few threads. With it countersunk the lens starts focusing immediately, and gives a more precision focus.
 

jayrob

0
Joined
Sep 21, 2007
Messages
9,862
Points
113
You definitely have to get focus! :crackup:

Yeah with the blu-ray/AixiZ acrylic, it won't be able to focus with an AixiZ focus ring installed on the lens unless the diode is pressed past flush, or the focus ring is machined thinner.

But with my lens modifications, that is not a problem with a 'flush pressed diode'...


DTR, about your question on power output. With a normal efficiency 445 diode, your 405-G-1 will give about the same mW output, as the mA current setting. Example: 1050mA's will be about 1050mW's with a 405-G-1...

But if you put an AixiZ 445 lens in, then it would be about 15% less. (1050mA's - about 915mW's - AixiZ 445)
 
Joined
Apr 28, 2009
Messages
2,416
Points
63
If that's the same host that I have from Dave, which I'm not sure. I have an idea. It might be possible to cut the brass nib down a bit(in the tail cap) and put a sleeve inside the host to accept a 18650. I'm able to get a beam with a 18650 in place but not with the tail cap screwed down. The 445nm beam is "much" stronger that with my 3XAAA primary batteries. ;-)
 

DTR

0
Joined
Jun 24, 2010
Messages
5,684
Points
113
If that's the same host that I have from Dave, which I'm not sure. I have an idea. It might be possible to cut the brass nib down a bit(in the tail cap) and put a sleeve inside the host to accept a 18650. I'm able to get a beam with a 18650 in place but not with the tail cap screwed down. The 445nm beam is "much" stronger that with my 3XAAA primary batteries. ;-)

Are you using 3 AAA's or did you mean 3 10440's. I can't imagine a 445 running on three AAA's at a high setting.

If your battery holder is still set for serial I guess that would give you 4.5V
partone-24a.jpg


If it is I would suggest modifying the battery holder like Jay suggests and use 3 10440's in parallel. SEE HERE
That is what I use and it is great even at 1.5A
partone-24c.jpg


Top