

Hello guys,
I'm still a little new to the forum, and this will be my first Tutorial! :evil:
This tutorial will be on how to make an ~1.4W 445 Laser using my kit you can purchase here
Lets Get started!
Over view of all the parts

Diode

Host

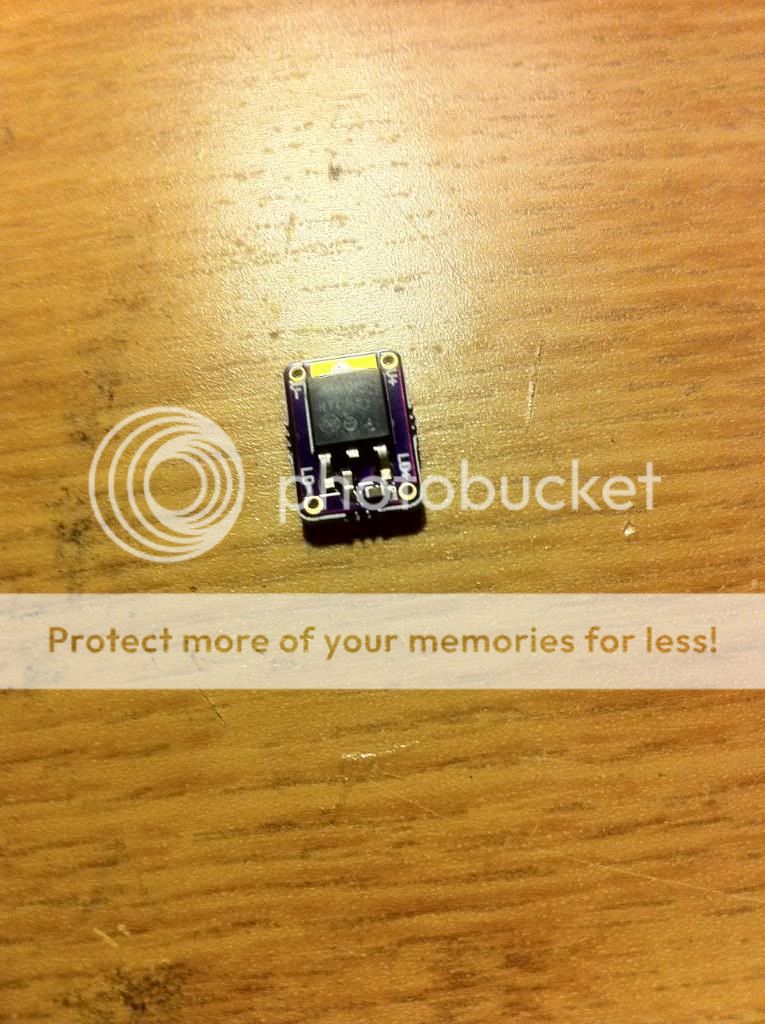
Driver
Lens
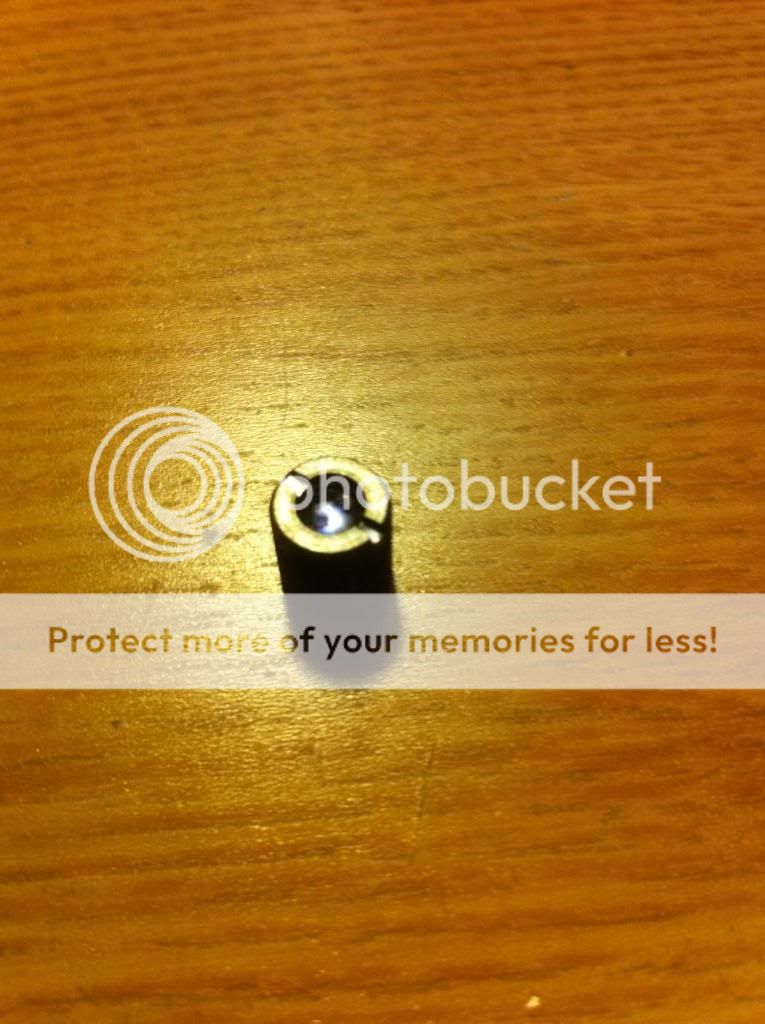
Aixiz

Charger

Batteries

Wire

Step 1: Solder Leads onto driver

Step 2: Mount diode inside aixiz module and solder + pin to LD+ on the driver, - to LD- on the driver and case pin to V- on the driver

I put some fat shrink wrap around my driver to stop from shorts.
Step 3: Set Aixiz in heatsink like so and lightly tighten with hex wrench that is included

Steps 4-10 are done for you with the kit!
Step 4: Pull of the plastic retaining ring and lift the metal tab, the plastic "pill" should slide out

Step 5: We are about to remove those plastic sectionals

Step 6: Slide in your needle nosed pliers and SQUEEZE!!!

You should end up with this

Step 7: Now instead of having the switch in the middle of the pill we want to slide it down to the bottom and bend the tab down more. This creates extra room in the battery cavity. Now you can fit 2 CR123a batteries.

Step 8: Put the switch back in

Step 9: Put the pill back in

Step 10: Using your pliers bend your metal tab into a U shape over the plastic like so

You should end up with this

Step 11: Solder the V+ to that metal tab we just bent.

Step 12: Slide the driver in to the pill

Step 13: Screw the top on

Step 14: Screw the lens on

Step 15: Plop in both batteries + side first

Step 16: Screw on tail cap

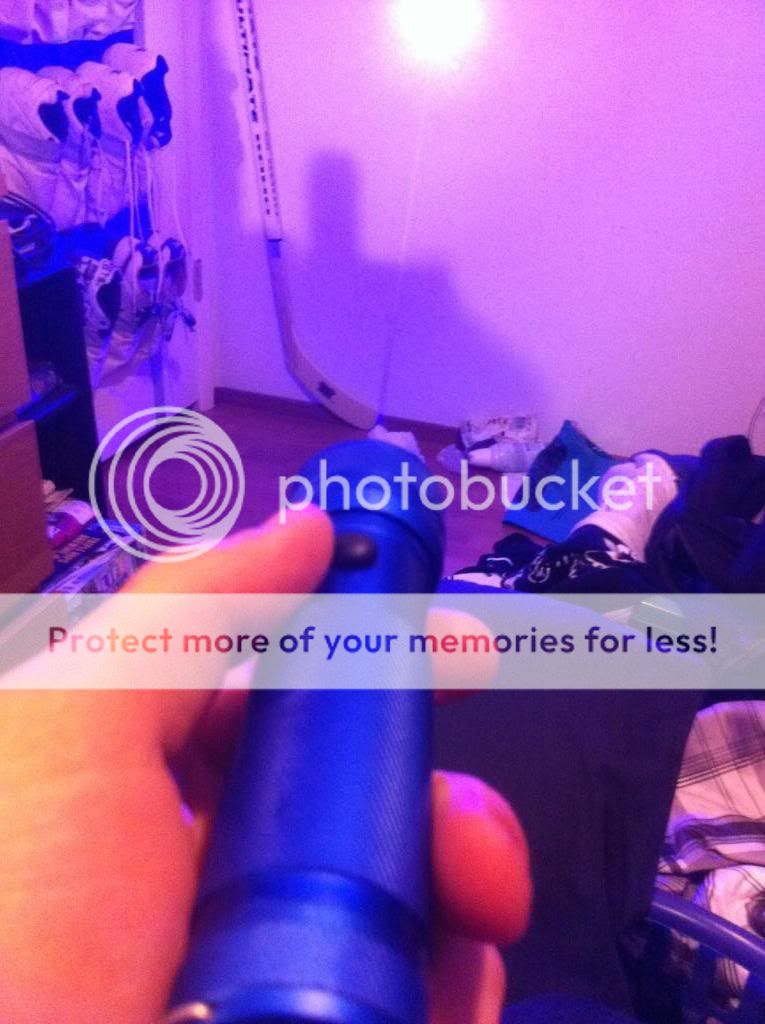
MOST IMPORTANTLY PUT ON YOUR F@LKING GLASSES

LASE!
I hope this tutorial helped you all!
Special thanks to: DTR, Jib77, and Mohrenberg!
Any question please ask! :beer:
I'm still a little new to the forum, and this will be my first Tutorial! :evil:
This tutorial will be on how to make an ~1.4W 445 Laser using my kit you can purchase here
Lets Get started!
Over view of all the parts
Diode
Host
Driver
Lens
Aixiz
Charger
Batteries
Wire
Step 1: Solder Leads onto driver
Step 2: Mount diode inside aixiz module and solder + pin to LD+ on the driver, - to LD- on the driver and case pin to V- on the driver
I put some fat shrink wrap around my driver to stop from shorts.
Step 3: Set Aixiz in heatsink like so and lightly tighten with hex wrench that is included
Steps 4-10 are done for you with the kit!
Step 4: Pull of the plastic retaining ring and lift the metal tab, the plastic "pill" should slide out
Step 5: We are about to remove those plastic sectionals
Step 6: Slide in your needle nosed pliers and SQUEEZE!!!
You should end up with this
Step 7: Now instead of having the switch in the middle of the pill we want to slide it down to the bottom and bend the tab down more. This creates extra room in the battery cavity. Now you can fit 2 CR123a batteries.
Step 8: Put the switch back in
Step 9: Put the pill back in
Step 10: Using your pliers bend your metal tab into a U shape over the plastic like so
You should end up with this
Step 11: Solder the V+ to that metal tab we just bent.
Step 12: Slide the driver in to the pill
Step 13: Screw the top on
Step 14: Screw the lens on
Step 15: Plop in both batteries + side first
Step 16: Screw on tail cap
MOST IMPORTANTLY PUT ON YOUR F@LKING GLASSES
LASE!
I hope this tutorial helped you all!
Special thanks to: DTR, Jib77, and Mohrenberg!
Any question please ask! :beer:
Last edited:


")
 Np you deserved the rep.